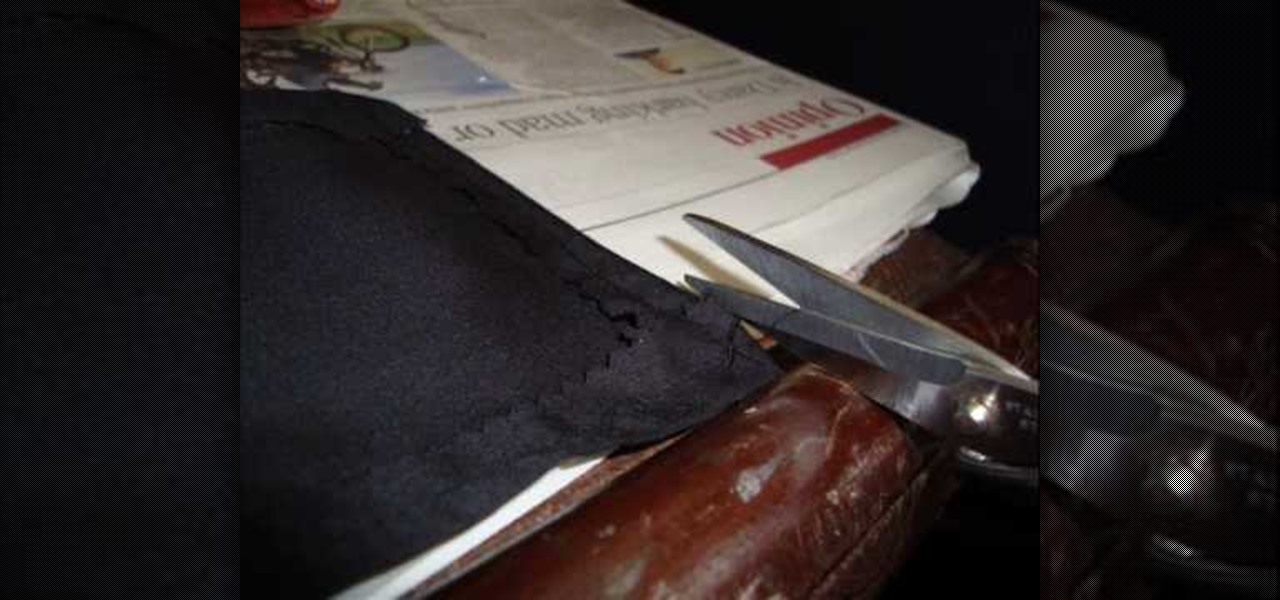
In this tutorial, we learn how to make ring skirts. First, cut out for 22.5 x 5.5" shapes out of black polyester. Next, cut a 21.5" x 4.5" rectangle out of cardboard. After this, iron down all your shapes so they are flat, then place the cardboard on the other shapes so you can see material sticking off of four sides equally. Next, fold the excess fabric onto the cardboard and then iron it down, then pin it on all sides. After this, sew the sides with a sewing machine and remove the pins. Do ...
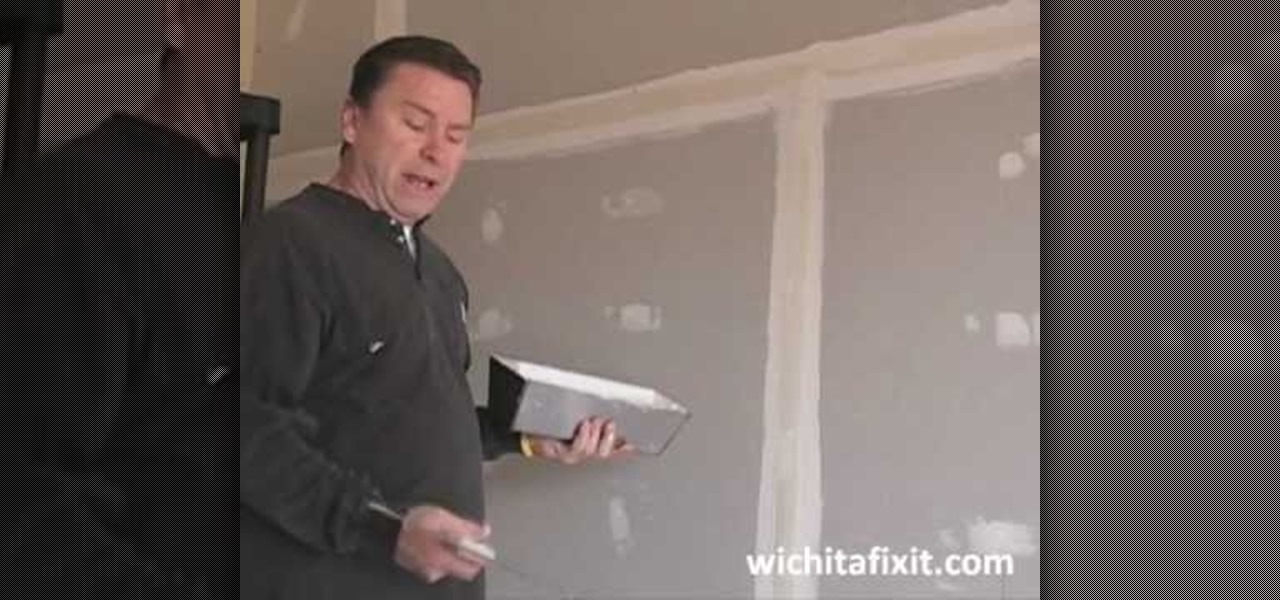
In this video tutorial, viewers learn how to drywall a tape butt joint. This task is very easy, simple and fast to do. Once the tape is on the butt joint, apply a thin layer of drywall compound and then apply a second coat of compound. Scrape off any excess compound. The main goal is to apply the compound over the tape. Make sure to use the drywall knife to smooth out and spread the compound. This video will benefit those viewers who are interested in pursuing a career as in drywall or are re...
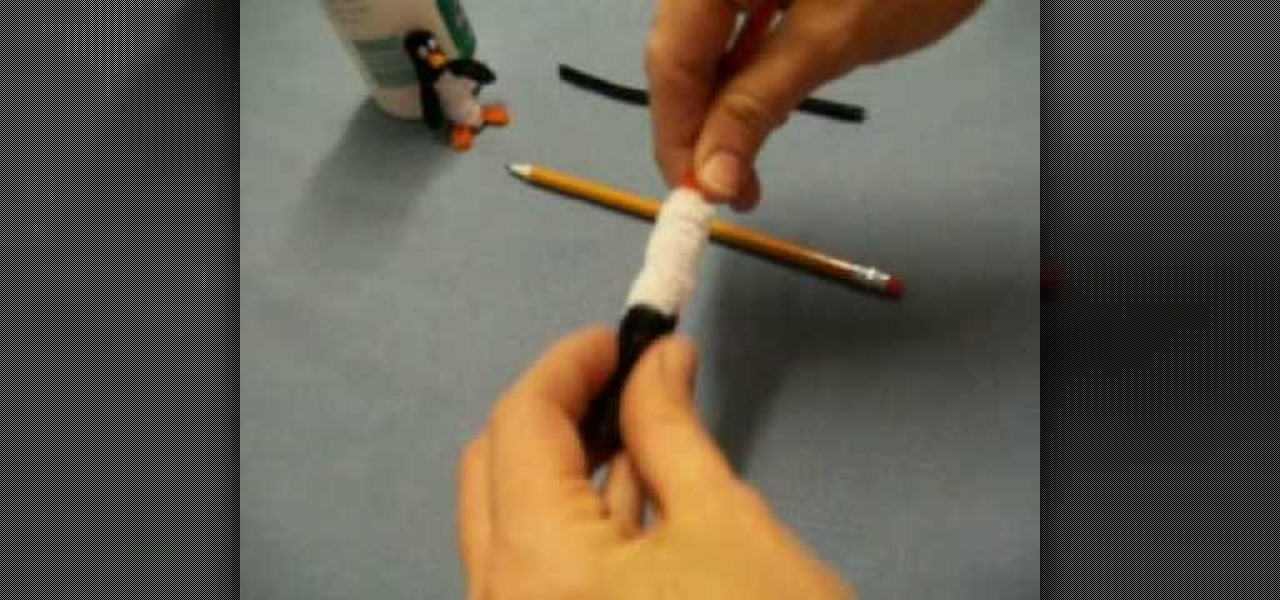
In this tutorial, we learn how to craft a penguin out of pip cleaners. First, grab a pencil and wrap white pipe cleaner around the top. Now, wrap black around the pencil as well, and squish them both together. Slide them off, then take an orange pipe cleaner and fold it in half. About 2 rings from the top of the black, poke the orange through that will be the beak. On the bottom, twist the orange pip cleaner together to make penguin feet, then clip off any excess pipe cleaner. Now, take black...
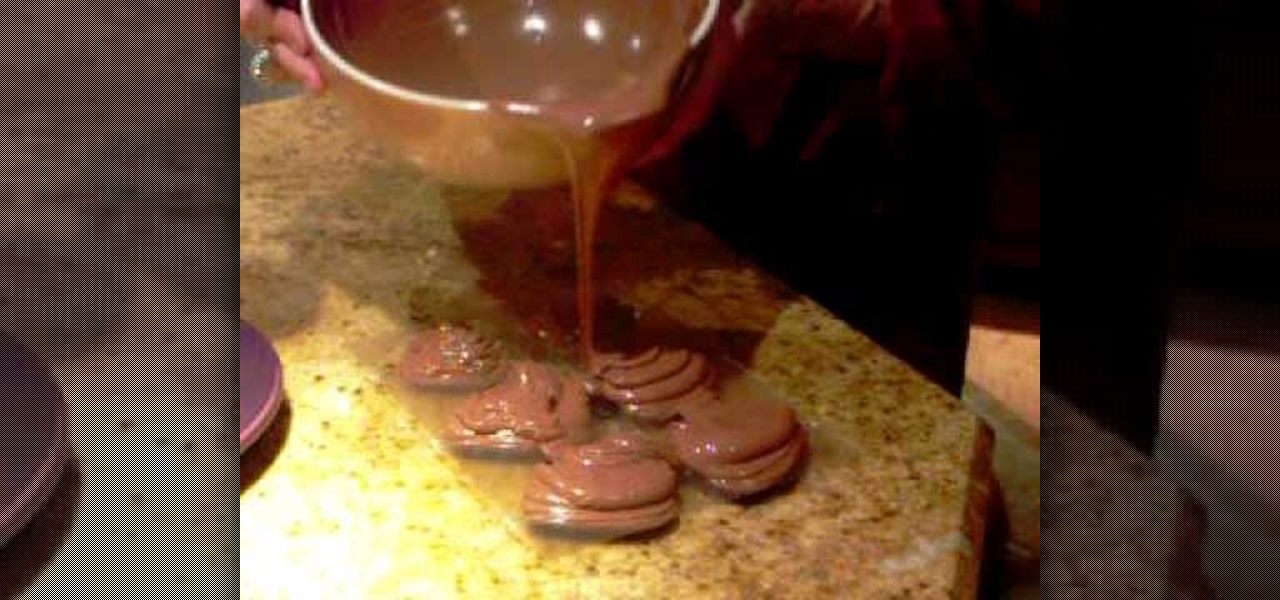
In this tutorial, we learn how to make chocolate hearts for Valentine's Day. You will need 1.5-2 lbs of chocolate and a mold with heart shapes in it and sucker inserts. You will also need sticks to insert into the chocolate. First, melt your chocolate in a large bowl with a spout. After this, pour the melted chocolate into the molds and then scrape excess chocolate back into the bowl. Next, insert the sticks into the molds and then place them in the fridge to let them sit overnight to get har...
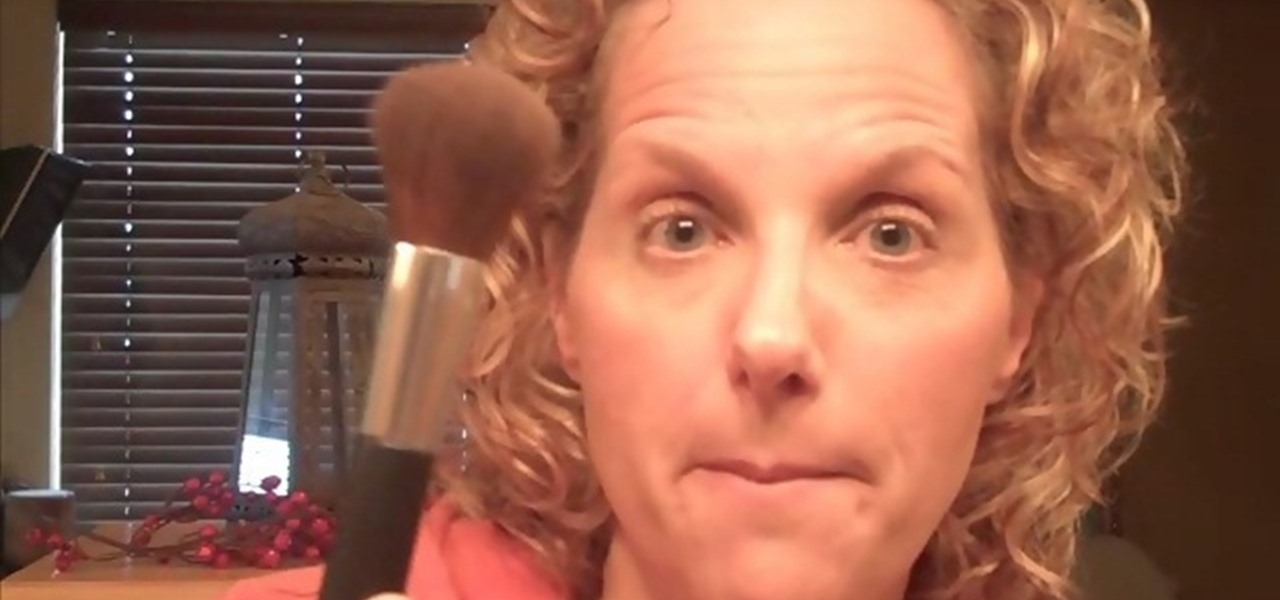
In order to properly apply the Mineral finishing powder, you will need: Mineral Finishing Powder and a large powder brush. Once you have applied all of your other makeup (i.e. blush, foundation, eyeshadow, eyeliner, etc.), then you are ready for the finishing powder.
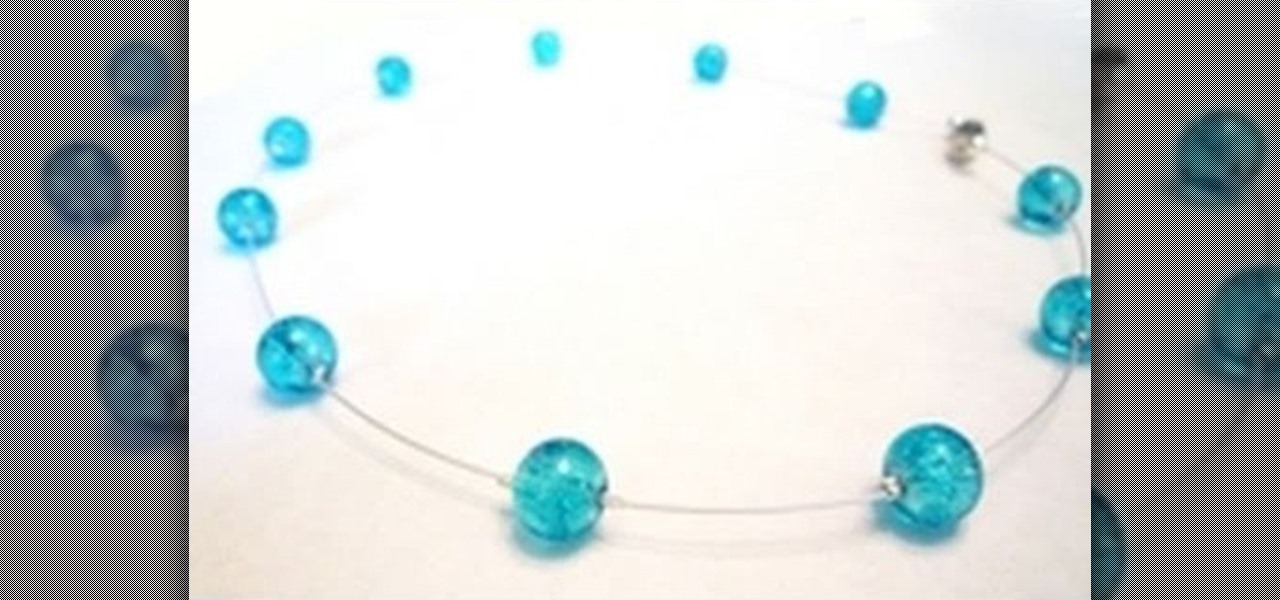
In this tutorial, we learn how to make a floating illusion style necklace. You will need: beading wire, crimping pliers, wire cutters, beads (your choice), crimp beads, crimp covers (3mm), and a clasp (barrel clasp). First, cut your beading wire to the length you want your necklace, add 3-4 extra inches. Next, space your beads out on a beading board evenly, 1 1/2" apart. Now string a crimp bead onto your wire and take the end of the wire and string it through the crimp bead on the opposite si...

In this video, we learn how to apply mineral mascara with Lisa Liddiard. First, you will curl your eyelashes with an eyelash curler before you put any mascara on. Now, grab your mascara and wipe off the tip of the brush to remove an excess mascara. Now, brush the mascara onto your top eyelashes, shaking the brush left to right at the base of your eye. Apply one to two coats of this mascara, putting more towards the outside lashes to give it a darker and more full look. If you'd like, you can ...
In this tutorial, we learn how to do a feather stitch while embroidering. To begin, you want to place your finger right next to where you are sewing so you are making a loop shape and helping guide your needle as you are doing this. You will want to chain the loops together, making the thread look like feathers as you continue. There should be no lines that are straight, all should be looped by placing the needle in between each circle and pulling it into the loop shape. When you are finished...
In order to make a Shaker card, you will need the following: a 2" square punch, scissors, card stock, clear plastic, paper, glitter, beads, decorative cutouts, and 2 sided tape.
In this tutorial, we learn how to make stacked hair bows. Start off with three separate bows: red, white, and blue. Make sure there is a string still hanging from the red one, but the strings on the white and blue are cut off. Now, put glue from a hot glue gun and place it on the middle/side of the blue ribbon, the glue the white one where the glue is and hold together. Next, take the red bow and glue it to the center of the blue and white bow. Hold the red bow in place until it's completely ...
In this tutorial, we learn how to work with memory wire to make jewelry. This is a coil material that remembers its shape and comes in a variety of different sizes. First, decide how thick you want your jewelry piece to be, then cut the excess wire with wire cutters. Next, apply a drop of superglue to one end of the coil followed by a Memory Wire end cap and let dry. Now, string your beads onto the wire. When finished, put a bead stopper onto the wire and apply glue to the very end with anoth...
In this tutorial, we learn how to make a paper snowflake. First, take a copy paper and fold a quarter of it over to the other edge. Next, cut off the excess paper so you have a triangle shape. Now, fold a corner to the next corner, and repeat so you have another triangle. You can now cut corners off so they are even and you have a rounded snowflake. Then, cut a triangle starting from your edge points that you just created. Now cut slits a quarter inch apart into the middle of the paper all th...
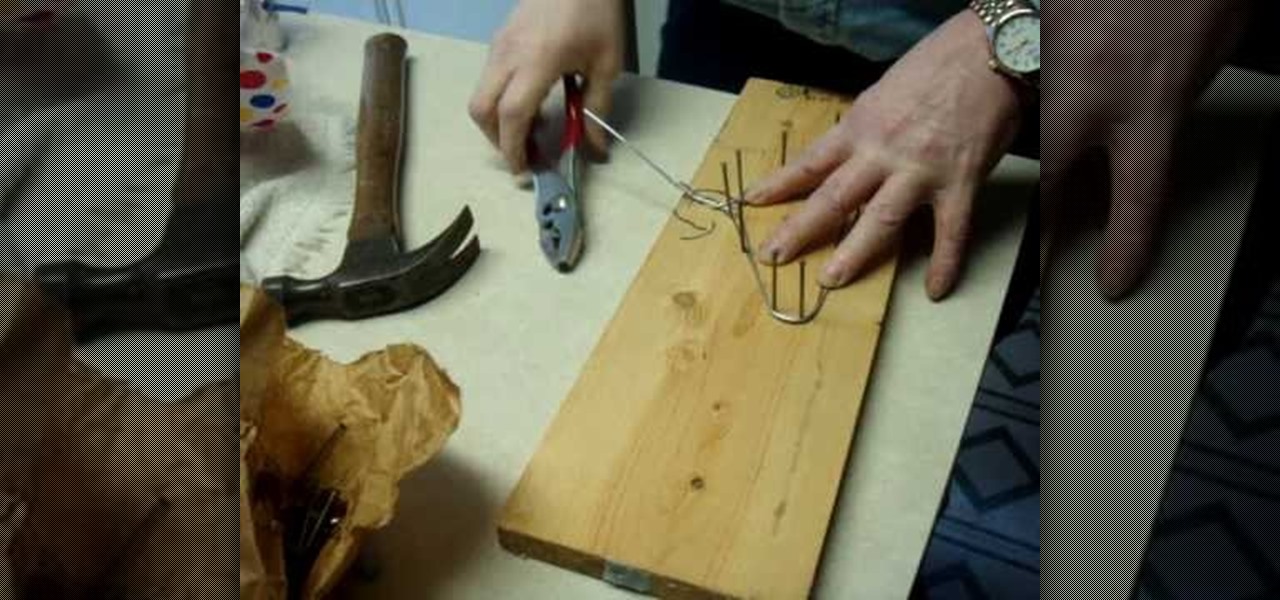
In order to make your own hangers for your American Girl Dolls' clothes, you will need the following: wood, nails, a hammer, a marker, one American Doll hanger (to be used as a pattern), 14 gauge wire, pliers, and wire cutters.
In this video tutorial, viewers learn how to make a paper rose with a napkin, Begin by orienting the napkin lengthwise. Then pinch the napkin corner with your right index and middle fingers. Now wrap it around the fingers. With your left hand, squeeze to create the size of the rose flower. Then hold the flower with your left hand and twist the stem. Now hold the end of the stem twist and pull the corner upward to create a rose leaf. Pinch the leaf into place and pull the excess napkin downwar...
In order to make your own Pecorino Cheese, you will need the following: a sheep's bladder, a caldron of milk, and salt. Add some stomach bladder to you milk. You will need to separate it. This will cause the milk to curdle. This is a necessary step, in order to get the milk to separate. Stir and heat milk, until the curds and whey are separated. Stir constantly.
Popularized by the likes of Andy Warhol, pop art has long been an art genre associated with the glittery excesses of Studio 54 and a modern aesthetic.
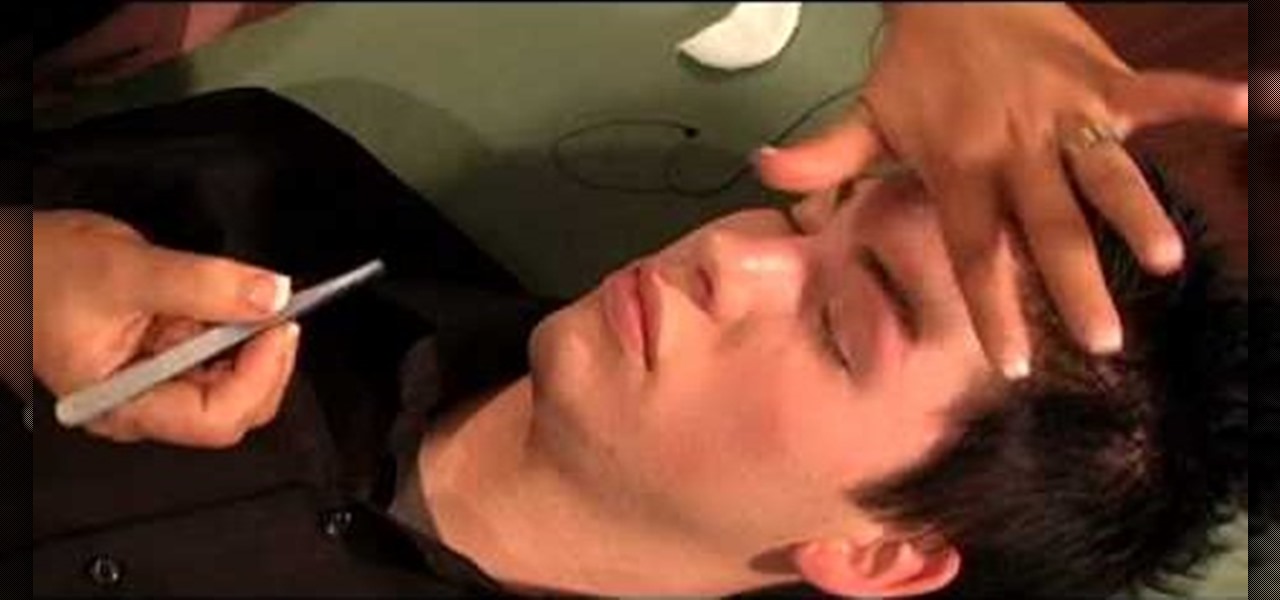
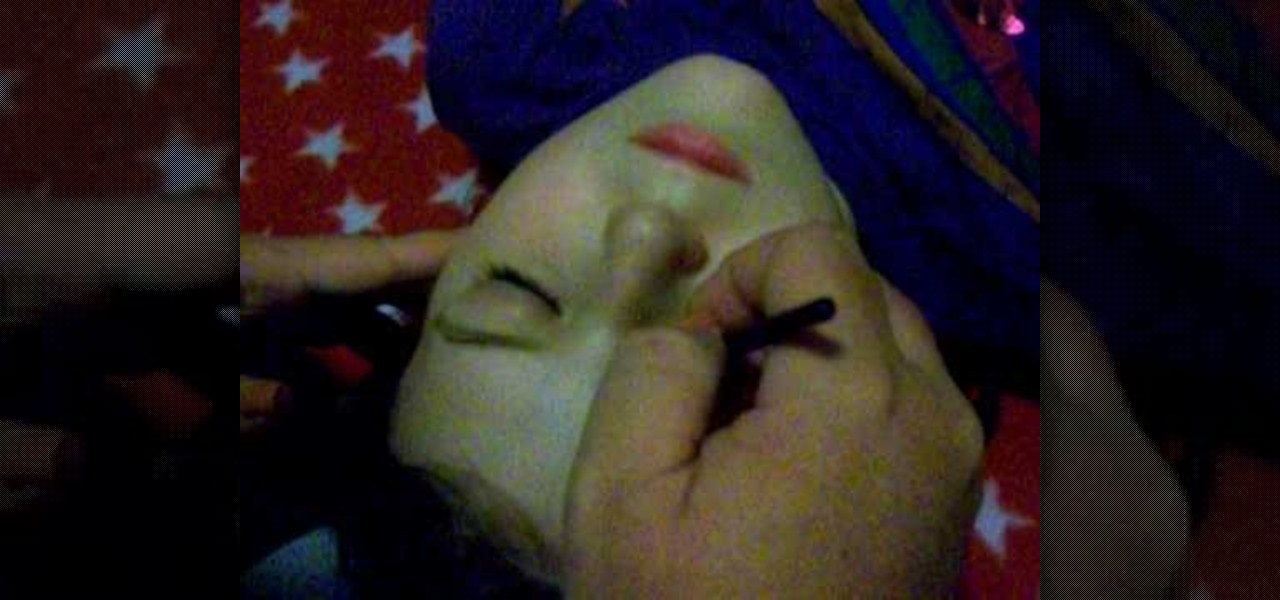
This is a video tutorial that is showing its audience how to remove their excess eyebrow hair by simply using a thread. The first step in removing your eyebrow hair with a thread is to ask the client how they want their eyebrows to look when you are finished. Take two threads and place them between your fingers, crossing the thread in the center. Then you should begin to slowly shape the eyebrow. Ask the client to close their eyes so that you will have access to the whole eyebrow. For men mak...
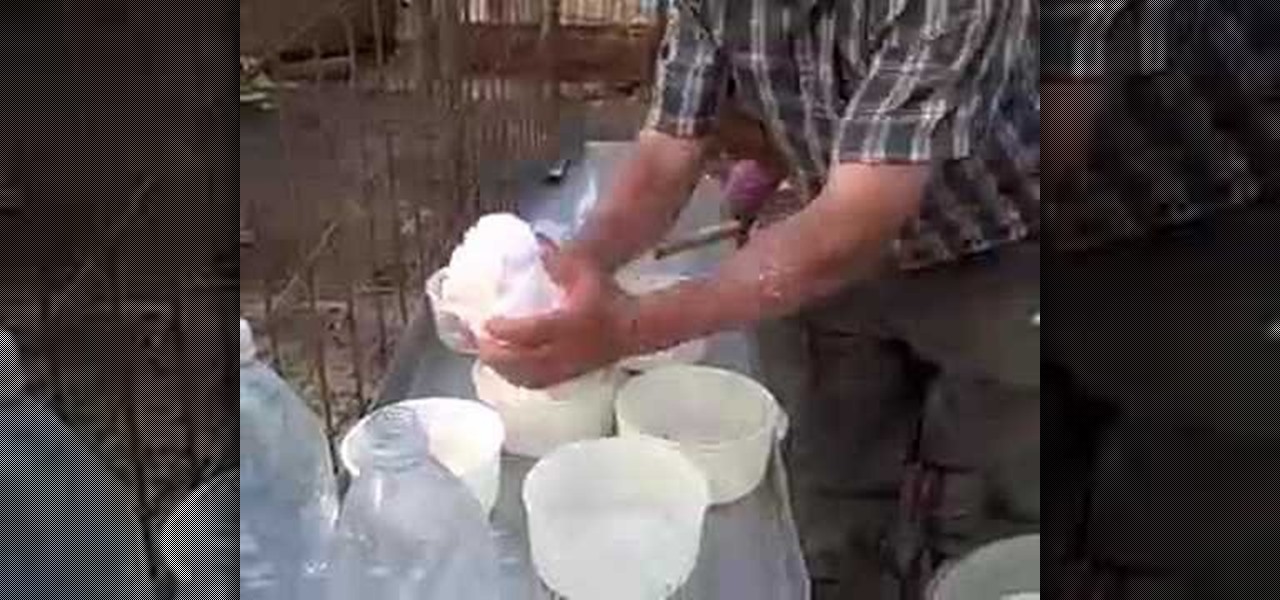
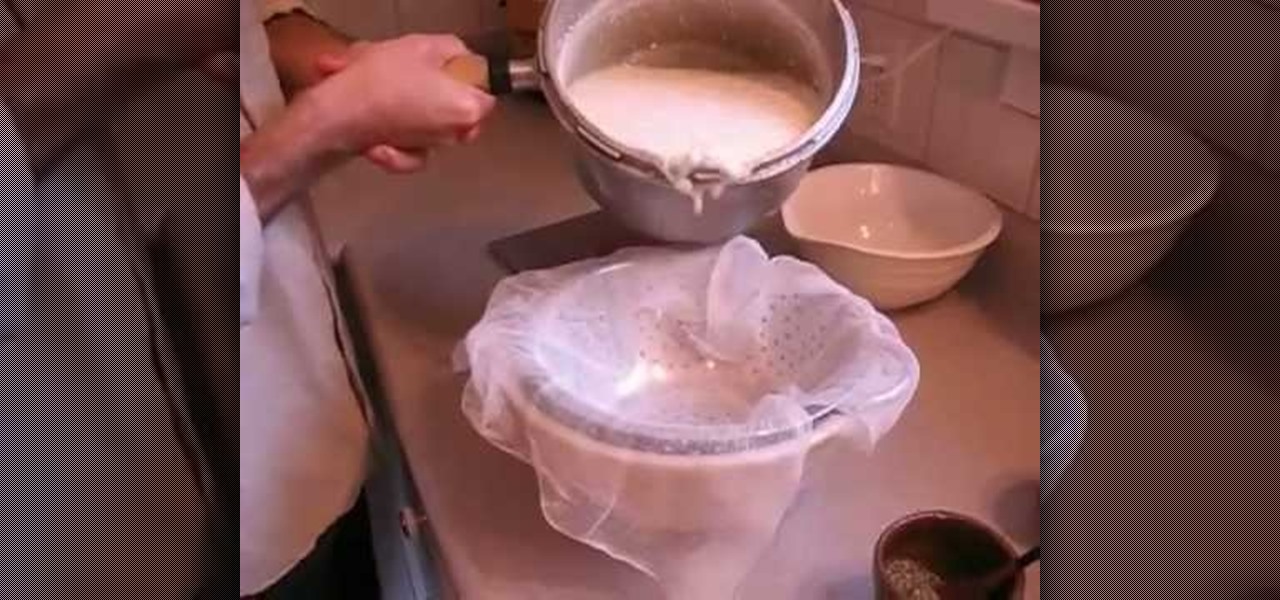
This video shows you how to make a homemade goat cheese.The main in gredients are 2 litres of milk and 1/4 cup of apple cider vinegar.In a large pot,heat the milk,stirring continously.Bring this to a boil and keep stirring.Turn the heat off and slowly add the vinegar.Continue the stirring for some time.Take the pot off the heat and keep it aside until the milk curdles.Keep stirring.Place a coleander pot in a large bowl and put a cheese cloth on top of it.Now pour the curdled milk on this clot...
In this video, Deana teaches us how to distress furniture. You will need the furniture you want to distress and then paint over it with green furniture paint in the parts you want to change. Apply the paint thinly and let it sit for 10-15 minutes, or until dry. Now apply your stain onto the green paint, then add distressing to any parts you want to change, then wipe off with a rag. Buff off all excess oil you have leftover and you're finished! You can use this technique to distress any of you...
Tisch demonstrates a quick tip on how to keep your lips super softer in this video. Take a lip balm and apply it on your lips and leave them for about five minutes. Then you take sugar that is finely powdered(having fine granules), because finer the granules the more well they are going to exfoliate your lips. Again before applying the sugar apply some lip balm and rub your finger on your lips.Now pat the sugar on your lips so that it sticks on lips. Then run your finger all over your lips we...
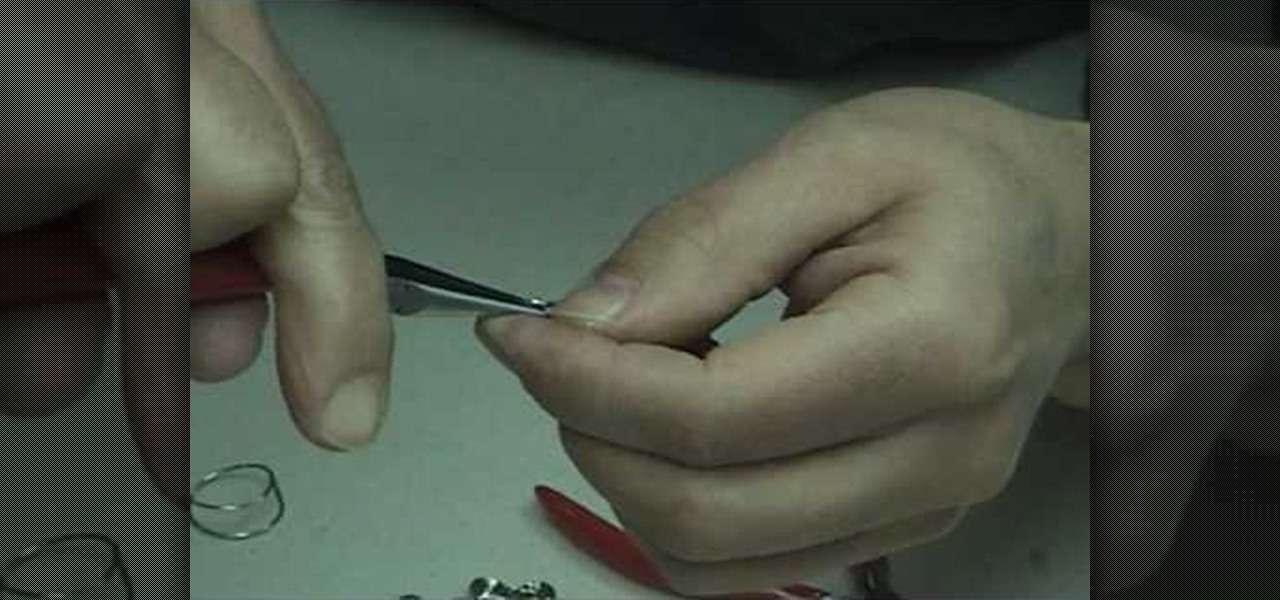
The video describes to make wire hoop earrings. Take a steel metal of anything and take a eighteen gauge wire and wrap a few length of it around the taken piece of metal which is cylindrical in shape. Cut the wire at the desired part and remove from metal.The wire takes the shape of a standard spring. Again cut it into two or three pieces. Hold the wire again and straighten the edge and after that once again bend it down holding at the place where bent begins. Put some on it to design and the...
This is a video tutorial that is showing its audience how to make their own frosting plug for when you need to decorate cakes, cookies, pies, or cupcakes. The first step in making your own frosting plug is to put a piece of plastic wrap onto your counter. Spread it out so that it is in a square shape. Next put a dollop of frosting onto the piece of plastic and roll up your plastic. Next after the plastic is rolled into a tube you can get your plastic bag with your attached frosting plug and c...
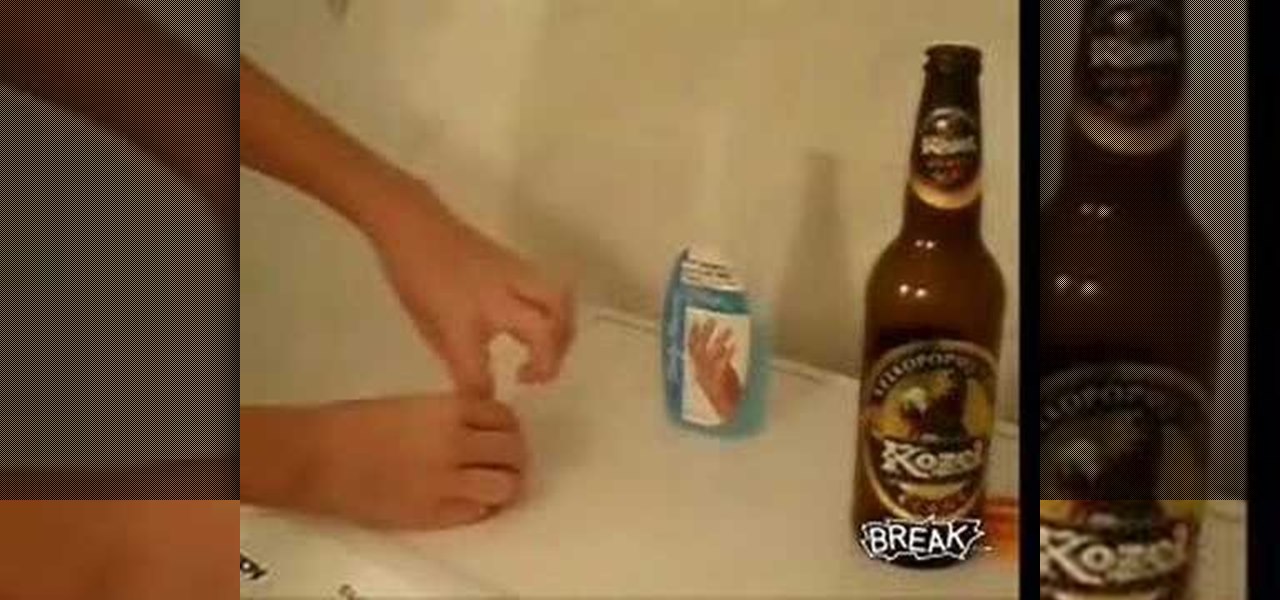
This video describes the process of cutting a beer bottle in half. First a piece of string is tied around a glass beer bottle to gauge the proper length that the string should be. Next, excess string is cut off and the tied string loop is slid up and off of the bottle. Next, the cap of a bottle of nail polish remover is unscrewed and the cap is filled with nail polish remover. The string is then wadded up and dipped into the nail polish remover for a couple seconds. The string is slid back on...
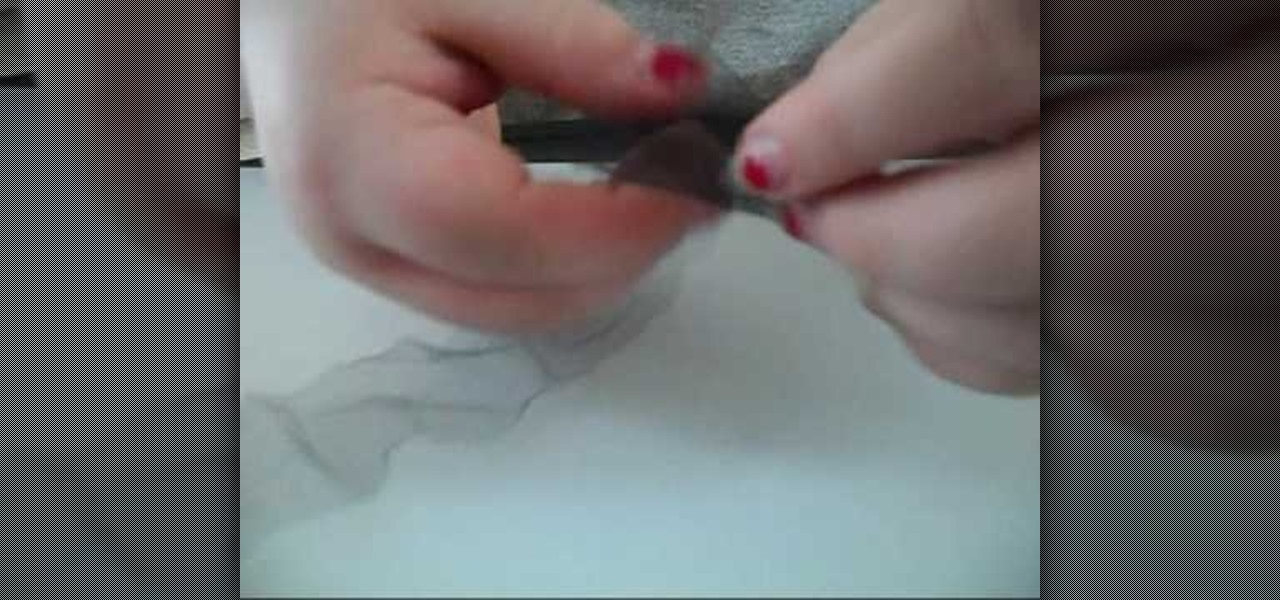
This is a video tutorial describing how to construct a mini loofah for your dollhouse. The first step is to gather your supplies. You will need a needle, scissors, thread, and tulle. The tulle and the thread should be the same color. Next your tulle should be cut to be 1.5 feet long. Then bunch up the tulle so that it is small and compact just like a loofah. Next you should thread your needle. Next sew the tulle so that it stays in the shape that you would like it to be in. Finally cut off al...
Leo Bancroft with Handbag demonstrates how to straighten your hair with a hair straightener. First, use good clips to section off your hair. Fasten the clip to your hair in a straight line and then fold the excess hair up. Comb through the hair to ensure that you are not straightening any knots. Apply the flat iron to the hair without using a clamping motion. Gently glide the hair straightener over the hair shaft with the comb or brush guiding the hair straightener through the hair. Using the...
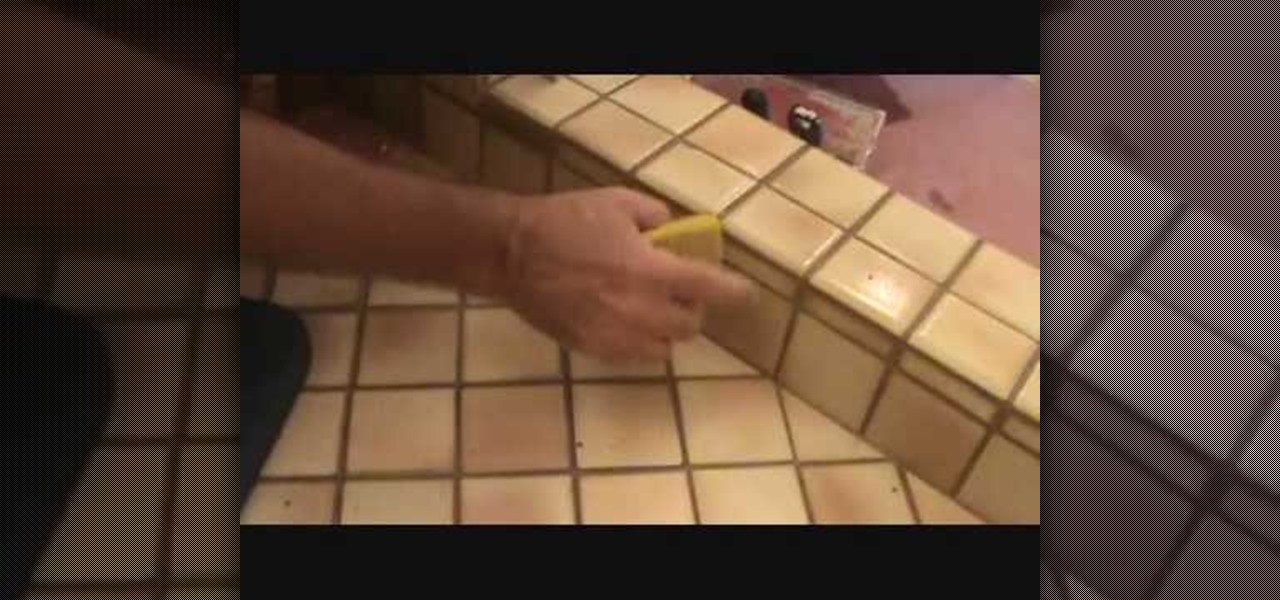
To remove grout from a tile patch area, use a scouring pad on a sponge to gently go ontop of the tiles to remove grout and see where you need to rub harder, but dont rub hard on the actual joint. Don't get your sponge too wet. Once you have everything off the tiles, work on the grout. Make sure you get the grout lines to make them look neat and clean. Make sure the seams are tight and flush, run your sponge over it to clean it up a bit. If you have a missing tile filled with grout, use a wet ...
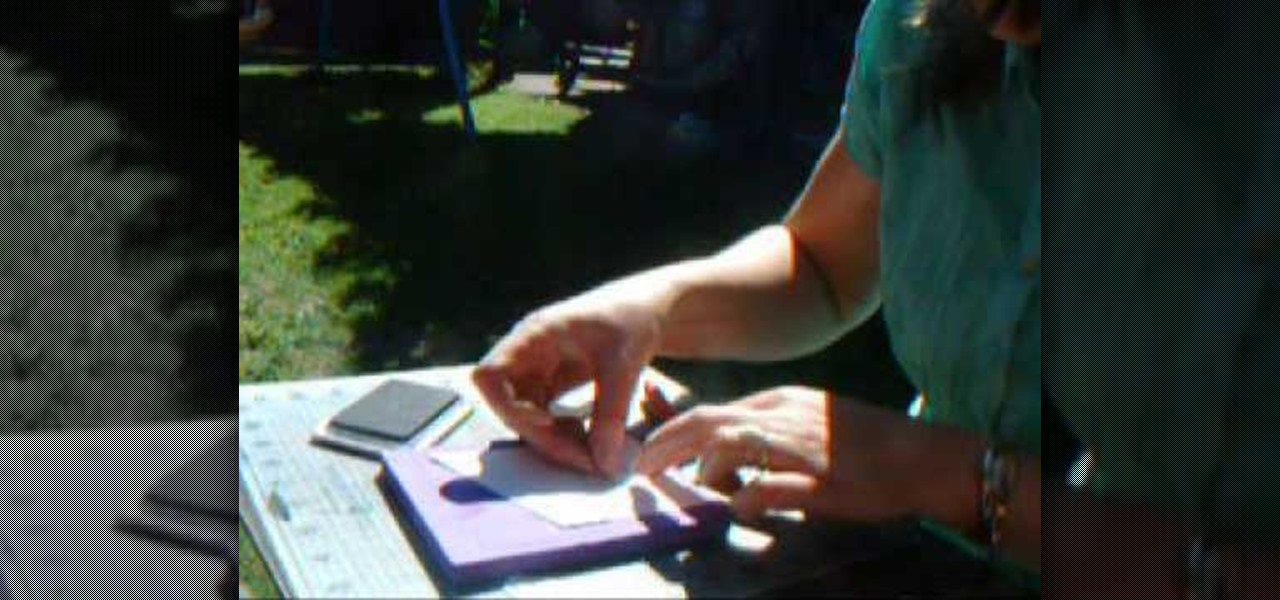
In order to make an accordian- fold style greeting card, you will need a piece of card stock, glue or adhesive, scissors, markers, and stencils/stamps. Cut the cardstock in a diagonal. Fold the card into 3rds, lengthwise. Cut a 5 x 3 ¼” panel at an angle. Use Masking Magic and stamp the excess card stock. Cut out your stamp designs. Color in your designs with Sharpie brand permanent marker pens. Glue the 5 x 3 ¼” cut piece to the card, or you could use 2 sided tape. If you have addition...
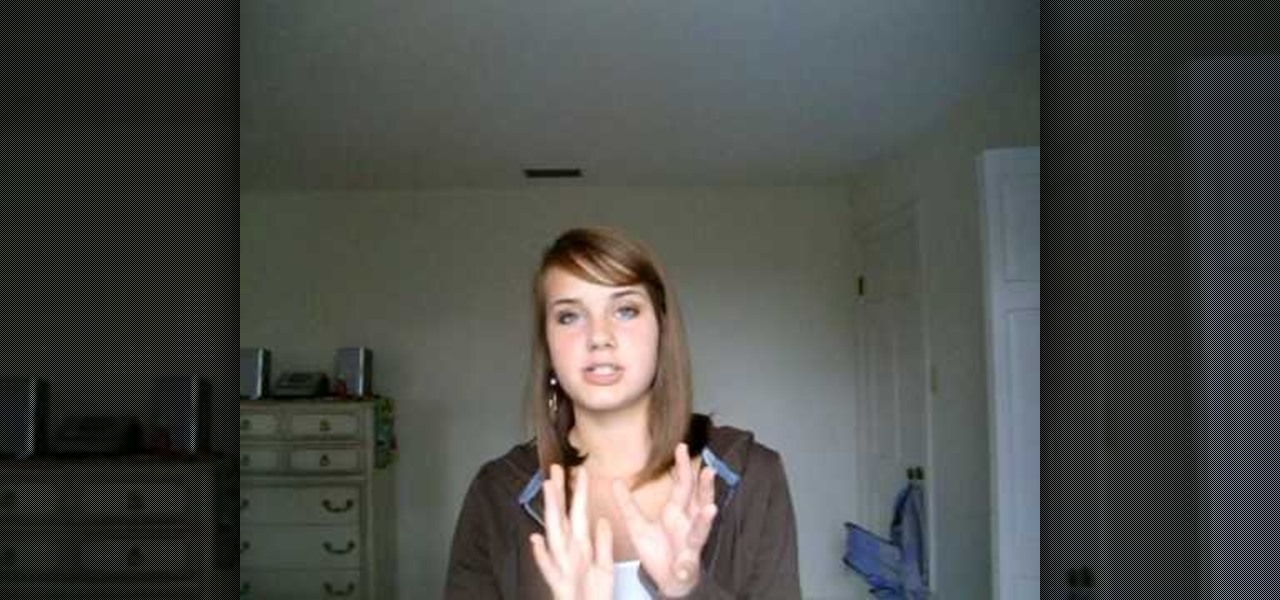
This video discusses helping hair grow faster using daily maintenance ideas. The presenter relays that the most important part of growing out hair is keeping it healthy. To keep it healthy, use a heat protectant if any heat tools like hair dryers, straighteners or curling irons are used. She indicates that heat, when not used to excess, will push the hair follicles to work harder and grow a bit faster. Vitamins and supplements can also support hair growth. She recommends a standard daily vita...
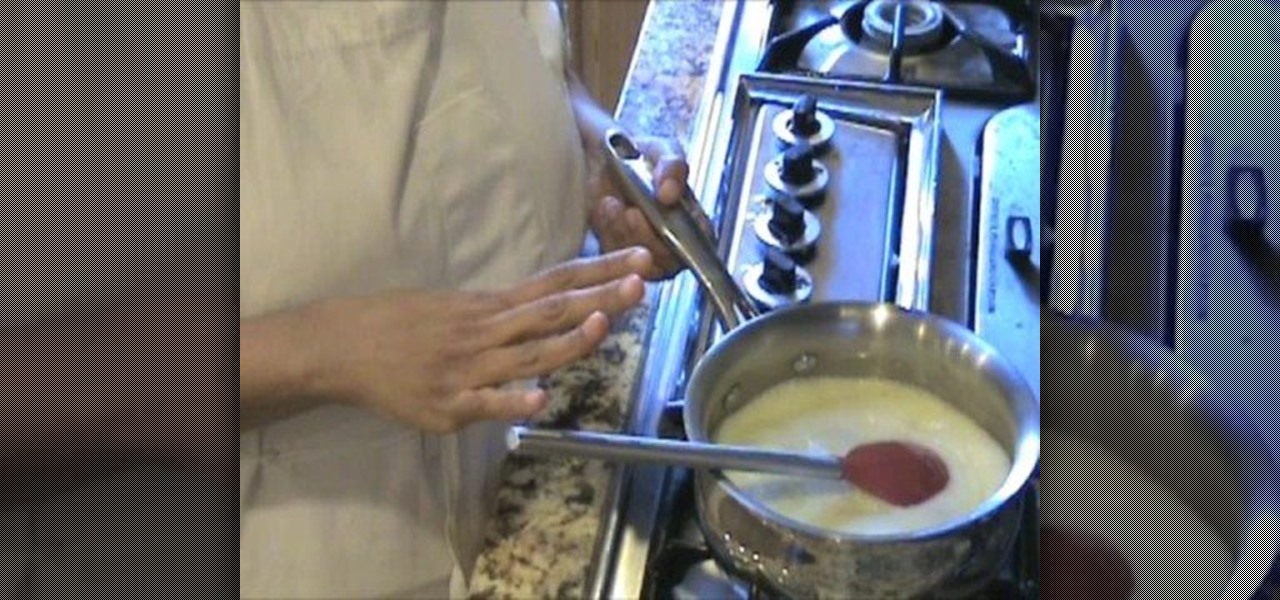
In this video tutorial, viewers learn how to make organic ghee. Users will need 4 sticks of unsalted organic butter, saucepan and a strainer. Begin by adding the 4 sticks of butter into the saucepan and heat it over an oven. Once the butter has melted down, lower the heat. When the sizzling of the butter stops, the ghee will be finished. Once the butter has stopped sizzling, pour it through a strainer to catch any excess butter. This video will benefit those viewers who enjoy cooking and woul...
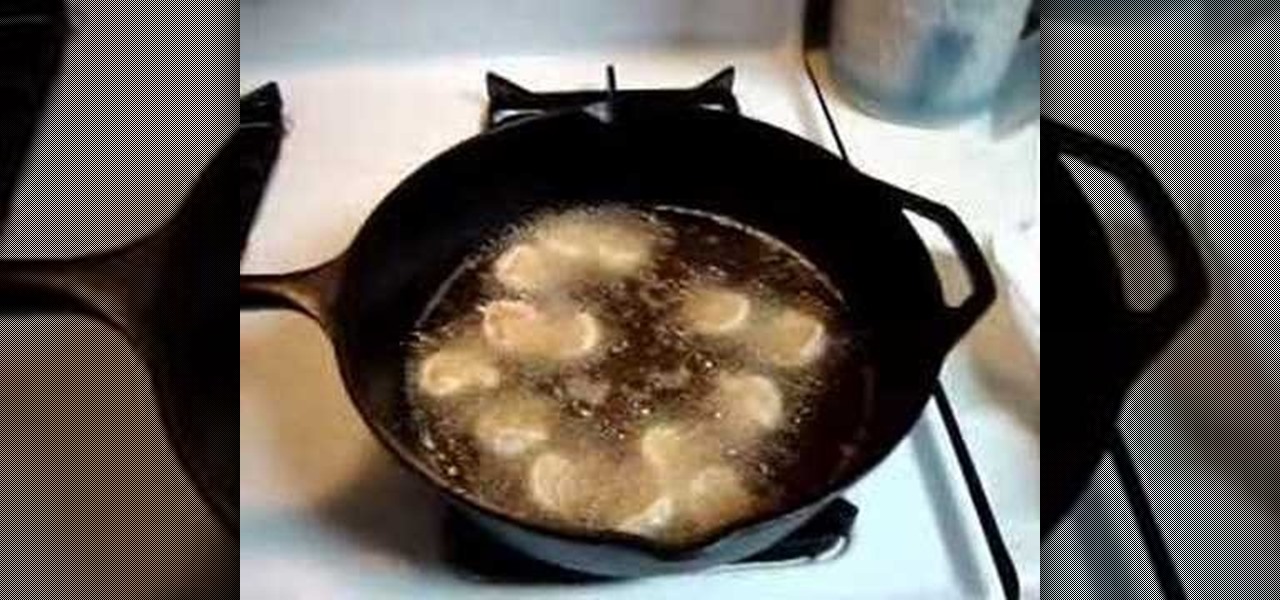
In this how to video, you will learn how to make fried shrimp the Geechee way. First, salt your shrimp and coat them with flour. Let them sit for a minute after this is done. Turn on the stove and wait until the oil starts bubbling. Now place the shrimp in the pan. Next, fry them up in a pan with peanut oil. This will take about two minutes. If you have a lot, only do a small batch at a time. Once they are done, place them in a plate with a paper towel to soak up the excess oil. Once they are...
This video illustrate us how to apply competitive cheer leading tournament makeup. here are the following steps:
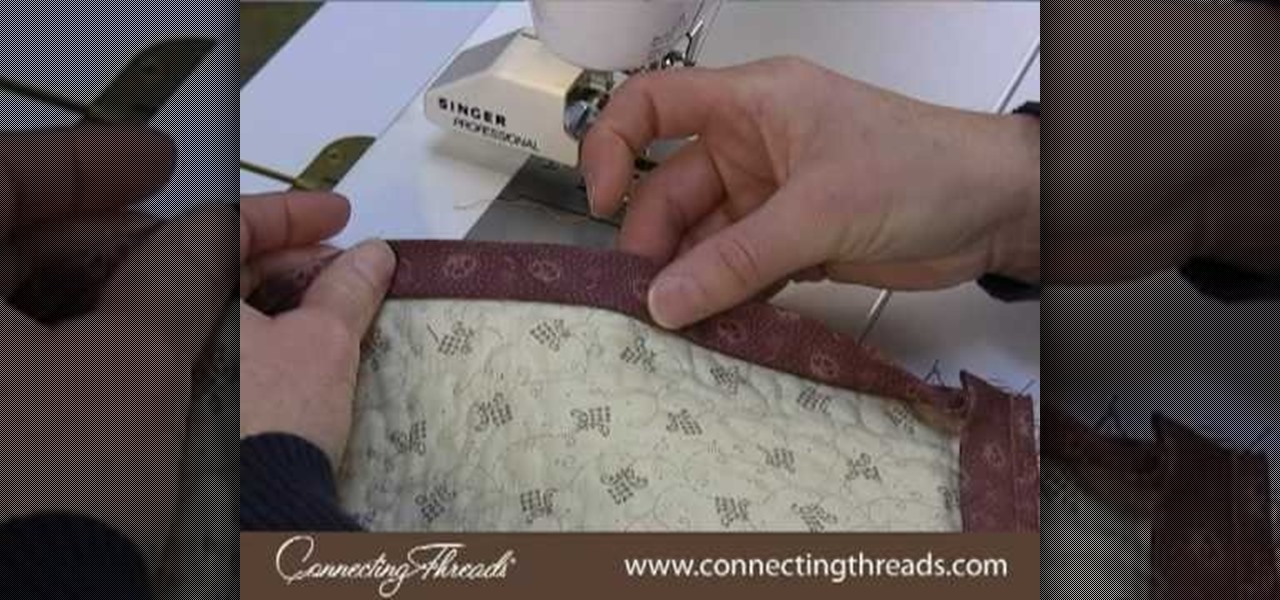
In this video we are shown how easy it is to complete the finishing join on a quilt binding. Just before the final join 6 inches of binding should be left over at the beginning and the end, while the rest of the binging should already be sewn down. The two ends of the binding should overlap by at least 6 inches. You will then need to cut the thread and remove the quilt from the machine, then measure the binding width and overlap the two pieces and cut off the excess binding to match the width...
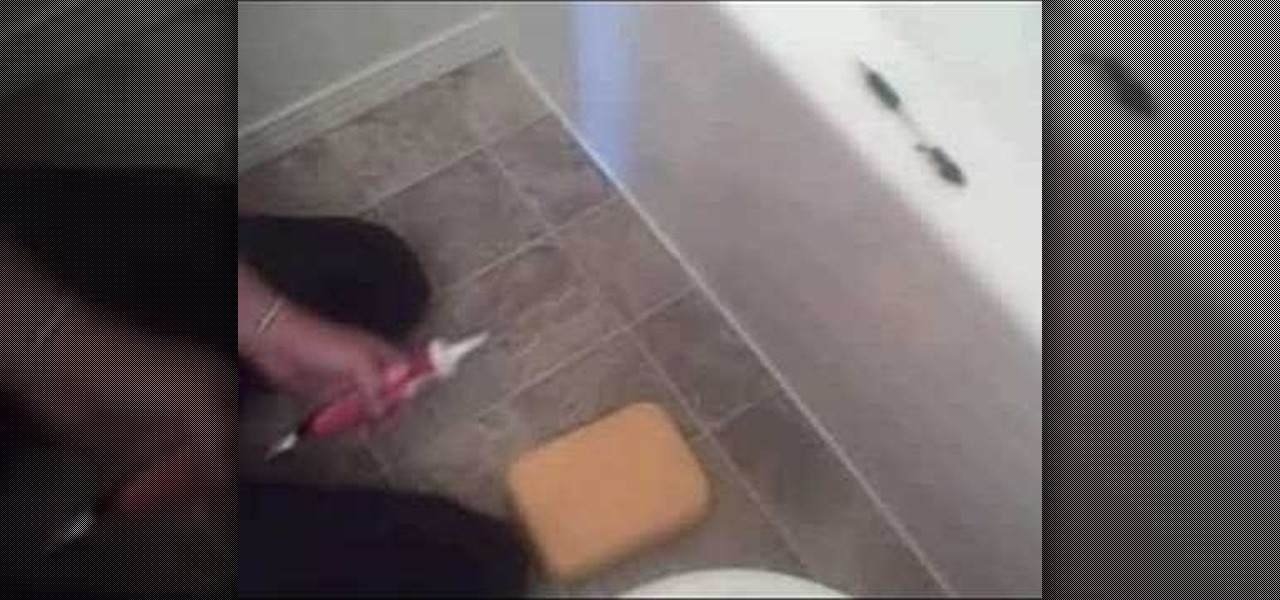
This video shows the viewer how to caulk a bathroom floor – this is where some type of sealant is used to fill the joint between the surface of the floor and the side of the bath. The first stage is to select a suitable sealant, the video recommends a sealant that can be painted as it is useful if you every need to redecorate. Squeeze a liberal amount of sealant into the crack. Then using a dampened finger press the sealant into the corner whilst simultaneously scraping the excess away. Final...
In this how-to video, you will learn how to make jewelry using cord in less than four minutes. Corrine Bradd shows you how to easily do this. First, take a satin braid and tie it in a knot. Trim the excess off with scissors and take a cord end. Place the knot inside the groove and then clamp the cord end with a pair of pliers. Turn it around and do it again for the other side. These cord ends come with a loop on top for further use. These look great on jewelry such as charms. You can use a sl...
In this how-to video, you will learn how to make a repair in cut leather. This is useful if you have damaged leather you would like to repair yourself. Make a knife cut in the leather, and then cut and place a sew patch into the leather. Push it underneath the leather. Now, glue the sew patch in place with inexpensive craft glue. Rub it around the leather and edges of the cut. Wipe off excess glue with a damp cloth and wait until it dries. Place something heavy on it for a good amount of time...
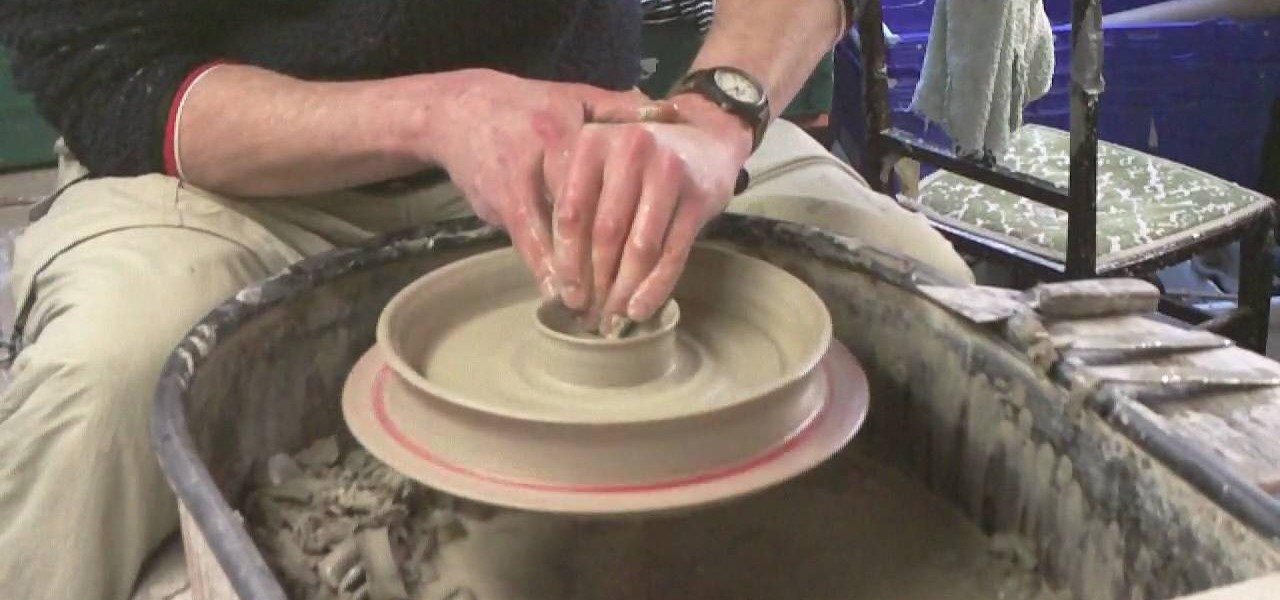
Ingelton Pottery demonstrates how to throw a chip and dip pottery plate. First, well a ball of clay and put it on a pottery wheel. Use your hands and ample amounts of water to depress the sides of the clay forming an indented rim with a raised center. Use your thumb to define the center hub. Create a thin side to the plate. Wet your hands and press down on the center hub, creating a depression. The plate should now have a two bowls with one sitting inside of the other one. Use a blade to scra...
Macherie has an excellent method for conditioning hair. No matter what texture, deep conditioning is essential for healthy hair. Shampoo with hydrating/detangling shampoo. When drying focus on removing the excess moisture from your hair. Conditioner works best and penetrates hair that's not sopping wet. Using her fingers, she separates her hair, as she doesn't use a comb when its in this fragile state. Use approximately a quarter size amount of conditioner starting from the roots to the end. ...
This video demonstrates how to make Chocolate Buttercream Frosting. For this recipe, you will need the following: a bowl, a mixer, Confectioner’s sugar, melted chocolate, vanilla extract, and salt.
In this video, we learn how to remove acrylic nails easily! First, you can cut down the acrylic nails using fingernail clippers if you want to keep your natural nails the same length. Next, take a drill or buffer to remove the shine from the acrylic. After this, put acetone on a cotton pad and place on nail, then wrap the nail in foil. Repeat this for all nails then leave on for one hour. Next, you should be able to easily remove the acrylic. Make sure you buff off any excess material then ap...
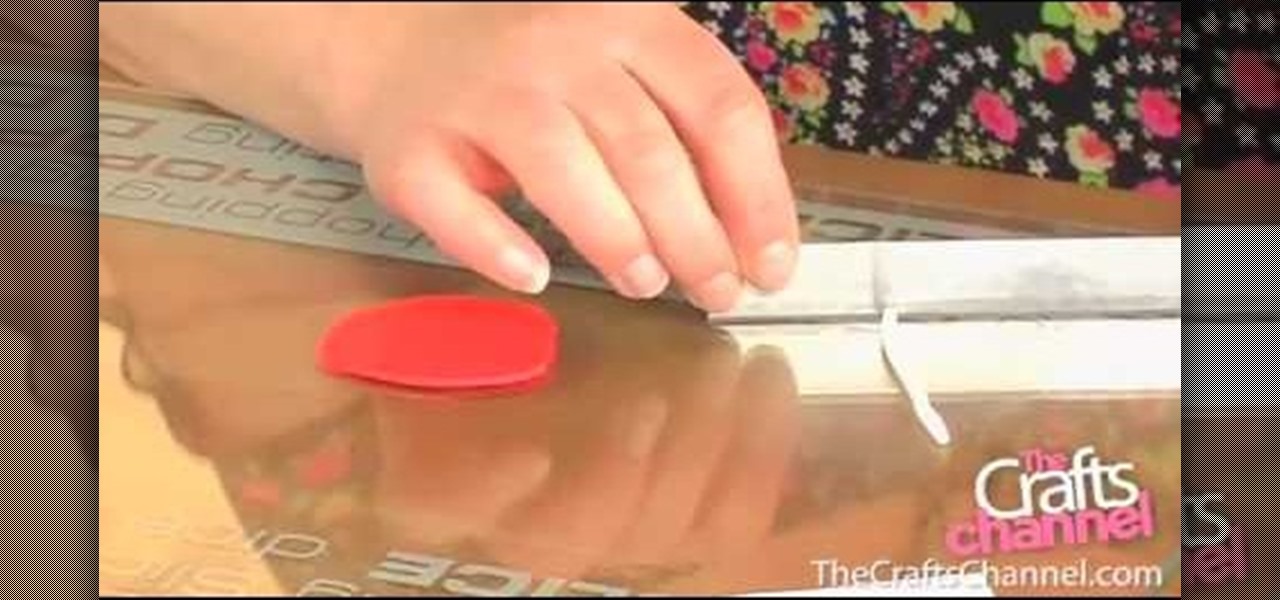
The Crafts Channel teaches viewers how they can make spotty fimo buttons! First, take a piece of fimo and roll it out to about it's a few centimeters thick. Take another color and roll this into a thin long snake shape. Then cut this long snake into lots of tiny slices. Lift them off and put them onto the surface of your rolled out clay. Next, roll over this clay and take a baking surface, cut out the clay with a circular cutter and take away the excess clay. Now with a needle, make your hole...