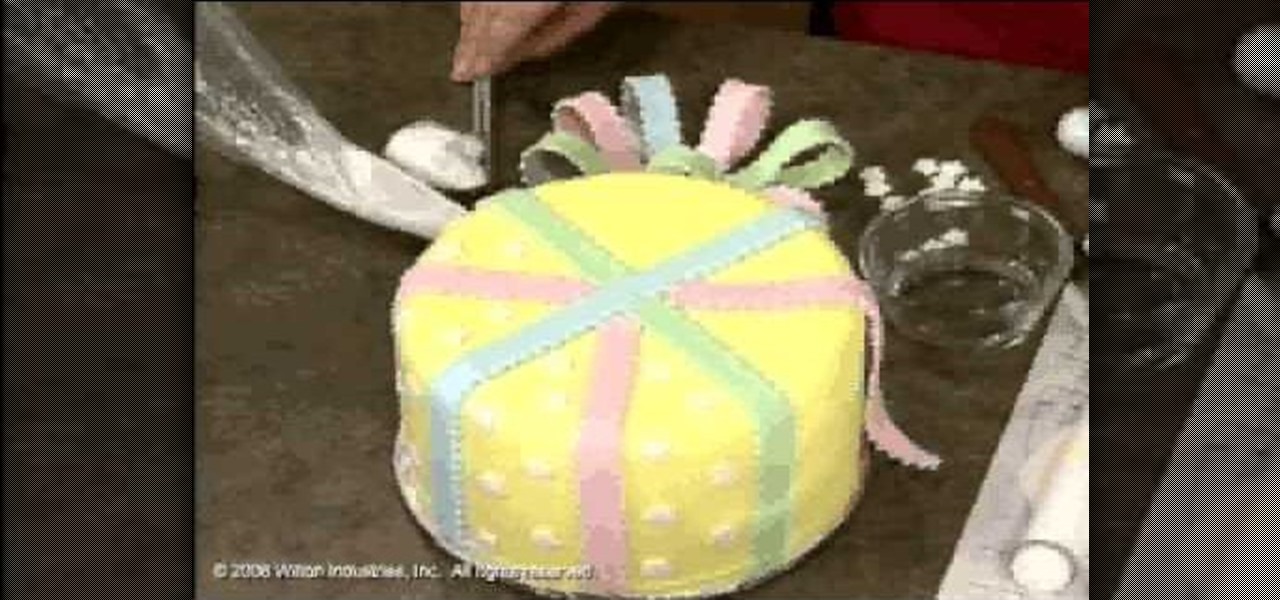
In this video, we learn how to use fondant when making & decorating cakes. Fondant is a dull type of sugar paste that you can form different shapes with and add colors to. When you add the color to the fondant, simply work it with your hands until the color runs all the way through and is smooth. Roll it out when finished, then you can apply it to the cake. To apply it, you will simply drape the fondant over the cake so it's hanging off on the sides. Then, flatten it out on the top and sides ...

In this tutorial, we learn how to make & decorate a vintage retro rose romance cake. Start out by rolling out fondant that has been mixed with yellow coloring. Once this is rolled out, you will lay it over the cakes and then cut off the excess fondant from the bottom. Do this on all the layers of the cake until it's fully covered and completely smooth. Then, you will use the same fondant to roll into small flowers that you will apply around the outside of the cakes. Use icing to help the rose...

In this tutorial, we learn how to scribe break an acrylic sheet. You just need a Stanley knife and a straight edge to do this to any acrylic sheet. First, put some gloves on and safety glasses. From here, level out the area you want to cut on your sheet, then clamp the angle while laying down. Next, use your knife to cut along the edge, going over the same spot several times. Press down hard to ensure it's completely cut. To finish, all you have to do is to bend the excess piece down and it s...

In this tutorial, we learn how to make a pair of great looking earrings. To start, you will take the base of your earring that has the hook on it and then take the wire for your beads. Pick out any beads that you want to attach to the wire, then string them onto it. You can add different colors and any type of bead you want to make these unique. From here, use wire cutters to bend and cut the excess wire from the bead. From here, you will bend the extra piece into a loop that you will hook to...

This is a video tutorial in the Home & Garden category where you are going to learn how to deal with a hollow door when installing bath fixtures. Bob Schmidt shows you how to do this while installing bath accessories such as robe hooks, towel bars or towel rings. The product that you need to do this is called easy anchor. It is a metal anchor specifically designed for the right depth for a hollow core door. Take the anchor and drill it down the door until it is fairly close to going in fully....
In this tutorial, we learn how to cook buttermilk fried chicken. First, take your chicken and marinade with black pepper, paprika, salt, and cayenne pepper. Use any other seasonings you would like. After this, pour buttermilk over the chicken and then let it sit for a couple of hours in the fridge. Now, combine flour with salt and pepper and any other seasonings you would like. Cover the chicken in the flour, getting as much flour on them as possible. Then, let the chicken sit for a few minut...

In this video we learn how to fold a very simple paper football. First, take a piece of paper and cut out a strip from it or fold it into a strip. After this, fold a triangle in the strip of paper. Once you have this, fold up to create another triangle and keep folding up until you reach the top of the strip. There will be one small piece of excess paper left on the strip. You can either cut this off or tuck it into the pocket that you made while folding the triangles. Use this to pass the ti...

In this video we learn how to do basic folds to make a paper football. First, fold a piece of paper in half and then fold each half in towards the center crease. Next, choose one and turn it over to make a triangle. Then, flip this triangle up and make another triangle. Continue to fold new triangles until you reach the end of the strip. Once you reach the top, you will have excess paper left over. Fold this down and then tuck the flap into the triangle so you are left with a triangle. Flick ...

In this video we learn how to make an elegant paper hat. First, place the paper over the head and lay it down. Then, have the person hold the hat while you find their nose and attach tape from this and around the entire head. Once you are finished going around twice, then you can wrap up the excess parts of the paper towards the top. Use a stapler to staple down the sections of paper that you have rolled up. Do this all the way around the hat and then add on different items and accessories to...

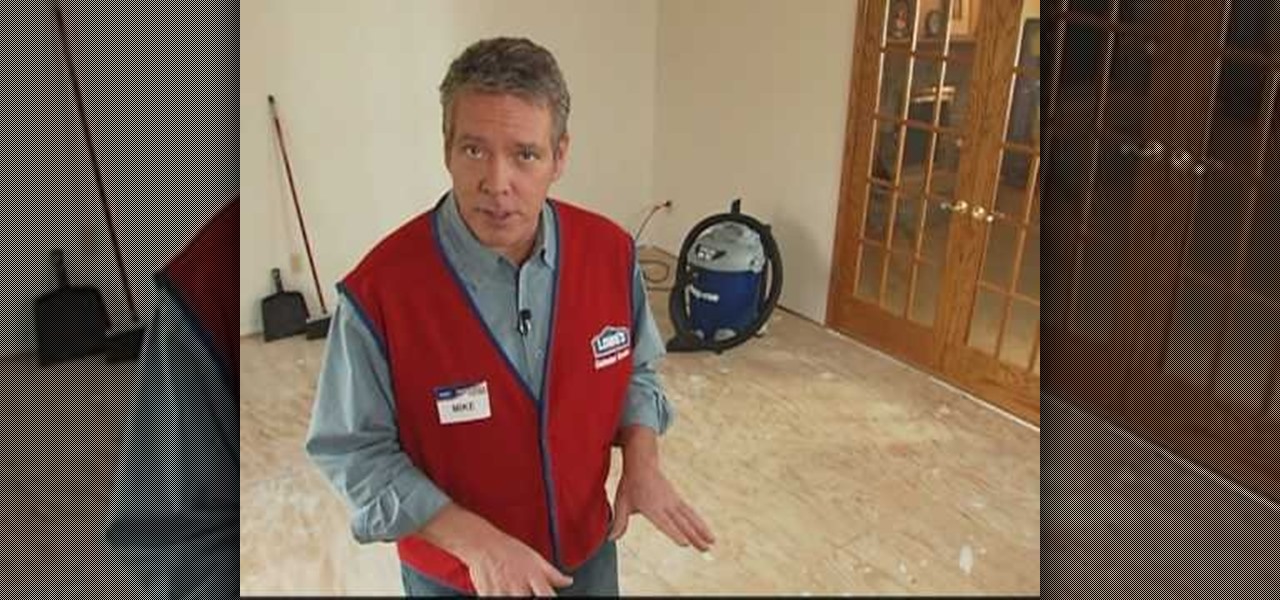
In this tutorial, we learn how to prep plywood subfloor for hardwood and laminate with Lowe's. Before you prep your floor, read the manufacturers direction and information on the flooring. After this, gather all of your materials and tools you need to complete the job. Then, measure out the floor to figure out how much material you will need. Take off all the carpet and base boards from the room, then clean off the floor from dirt or dust. When finished, cover the subfloor with the right type...

In this tutorial, we learn how to create a genuine Italian pizza. After you have your dough, knead it out on a heavily floured surface. Move your hands in a circular motion and use the palms to create the circular shape of the pie. The, bring the dough into the air and pat off any excess flour. Throw the dough into the air, then catch it and bring it back down to the surface. When you have the circular shape of the pie, add the sauce to the top of the dough. Next, sprinkle on any type of chee...

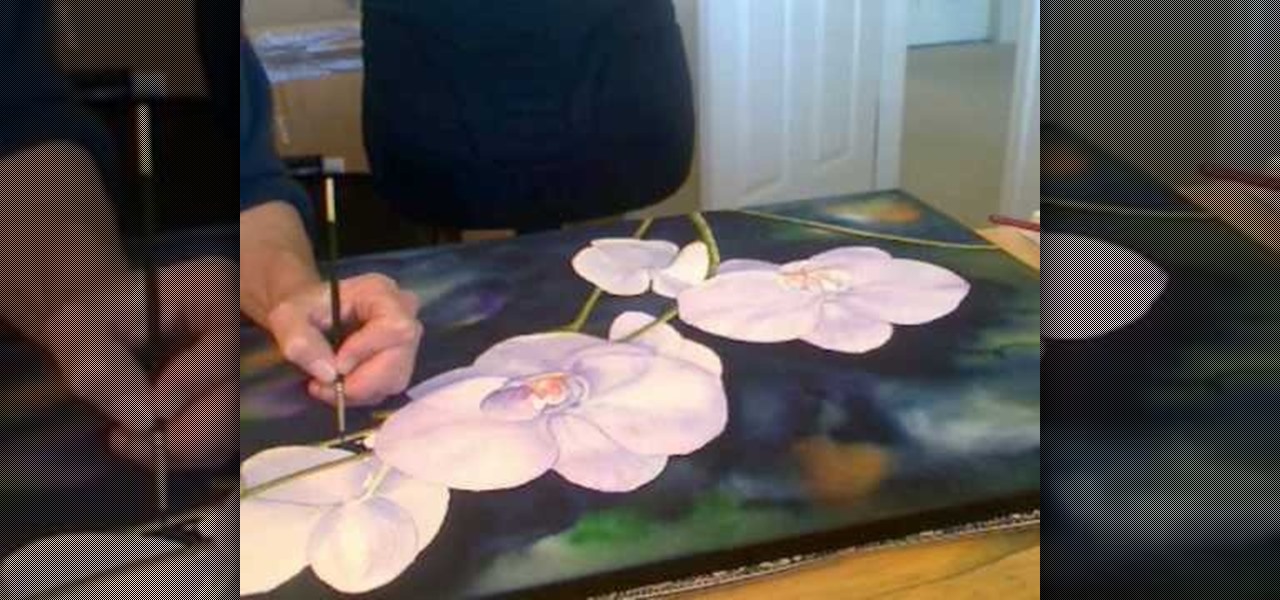
In this video, we learn how to pain orchid flowers with watercolor paints. Start out by using a light lilac color on the petals. Use a thin brush to push the colors around on the picture so you have slight shading around the different petals. Use a darker purple color in the middle of the flower. Then, use a yellow color in the very middle. Add in a green leaf and stem on the bottom of the flower. Use a paper towel to smudge any excess moisture or water off of the flower to make it more prist...

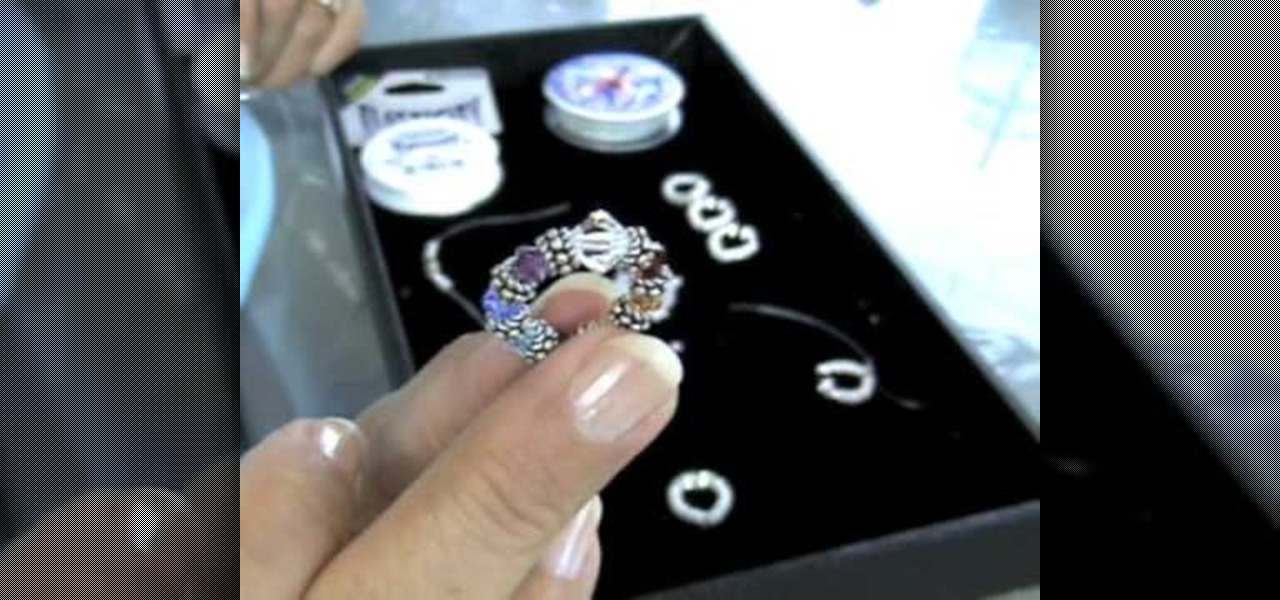
In this tutorial, we learn how to make an elastic Bali bead & crystal ring. First, you need to get all of your supplies together, which include: elastic cord, crystals, glue, beads, and scissors. Start by cutting a 6 inch piece of the elastic cord, then string a bead to the middle of it. Then take a crystal and string it onto one side along with another bead and a silver bead. After this, place more beads around the other side of the middle bead then put it around your finger to see if it's t...

In this video, we learn how to make American tacos with spicy beef and vegetables. You will first take 2 tsp dried minced onion, 1 tsp sea salt, 1 tsp chili powder, 1/2 tsp dried oregano, 1/2 tsp garlic powder, 1/2 tsp ground cumin, 1/2 tsp crushed red pepper, and 1/2 tsp corn starch. Mix these all together, then use to season your ground beef. Now, slice up your vegetables you want on your tacos and set aside. Cook your meat with the taco seasoning, then let cook for 10 minutes or until full...

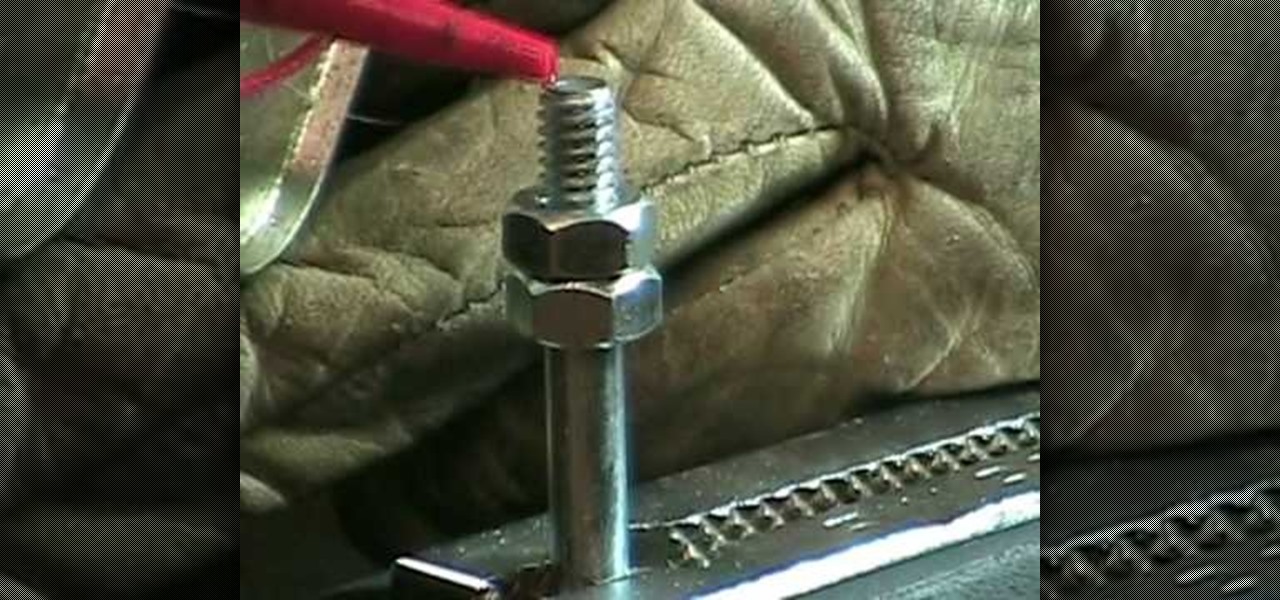
In this video tutorial, viewers learn how to cut a bolt and save the threads. The materials required for this task are: a hacksaw, steel bristle brush, bolt cutters, wrench, oil and a filer. Begin by putting some oil onto the threads of the bolt. Then place the saw on the desired groove and cut across through the thread. Now brush it with the steel bristle brush to remove the debris. Finish by removing the excess metal with the filer and unscrew the bolt(s). This video will benefit those view...

In order to make your own silver wire wrap earrings, you will need the following: sterling 20-gauge wire, chain nose or small round nose pliers, fine sterling wire, and multicolored crystal beads.

In this video, we learn how to dye yarn with Kool-Aid. First, take two chairs and wrap yarn around them as tight as possible to keep them from getting tangled up. Then, place in a bath of lukewarm water for ten minutes. After this, grab packets of Kool Aid the color you want your yarn to be. Now, take the yarn out of the water and squeeze out any excess water. After this, mix up the Kool Aid and place it into individual jars for each color. Next, place the jars in a large pot of water and the...

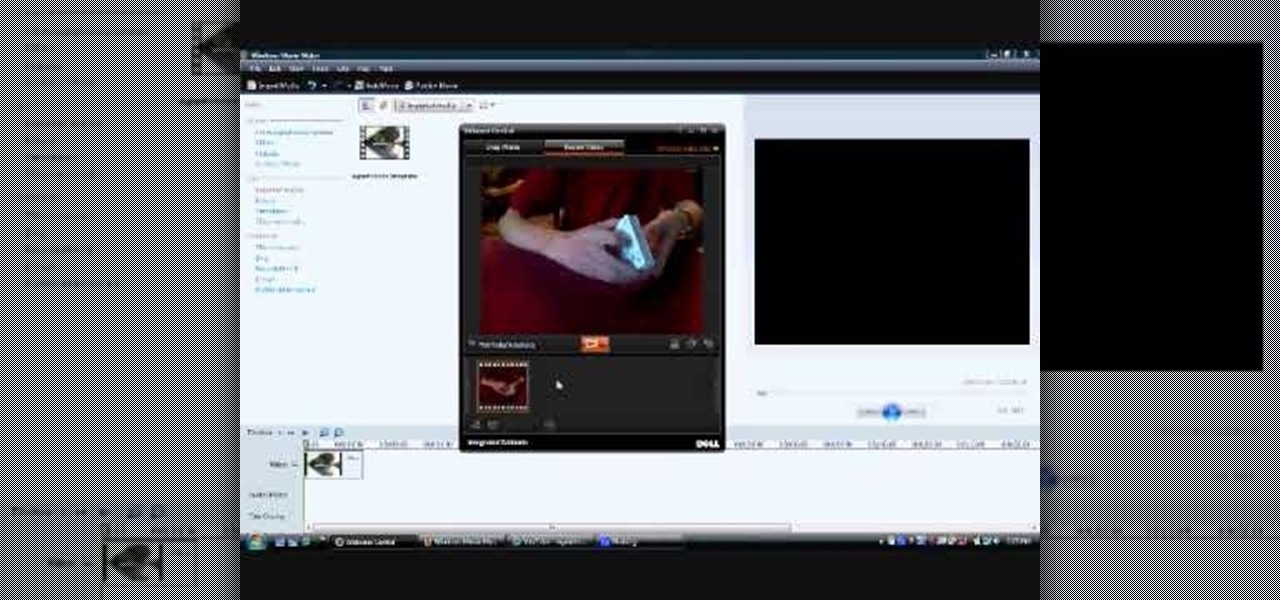
In order to make a card trick video, you will need the following: a YouTube account, Windows Movie Maker, Webcam Central, a computer, and your props.

In order to make a hook for an earring, you will need the following: round nose pliers, a wire cutter, a nail file or sand paper, an ink pen, 20-22 gauge wire. With your round nose pliers, make little hook, in the end of the wire. Bend it, until it makes a little loop.

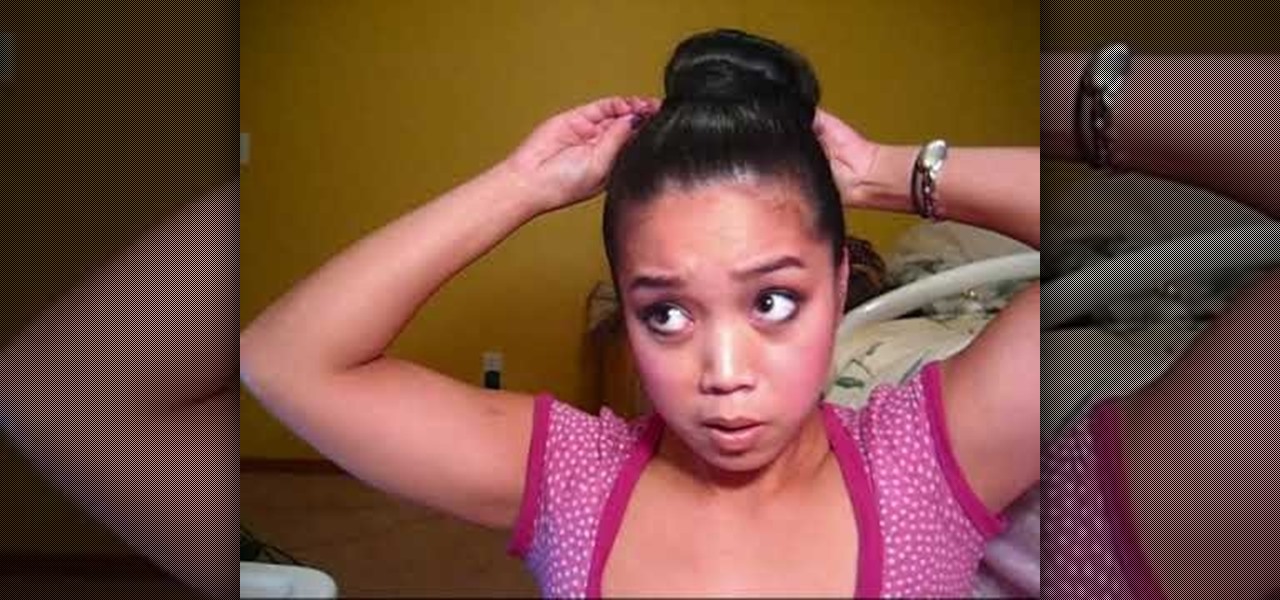
In this video, we learn how to make a large fancy hair bun. First, you want to have your hair brushed and straightened. You will need: brush, hair ties, bobby pins, rolled up sock, and hair spray. Start off bringing your hair up into a pony tail, then tie it with an elastic. Next, grab a hair roll and bring it under the base of the pony tail around to the font. Now, let your hair fall evenly, while pushing your head down. Grab you elastic, and wrap it around the base of the hair bun. Next, ta...

In this video, we learn how to use cones when jewelry making with Christina. First, take a half inch hard wire with a looped end and use a pair of pliers to open up the loop slightly. Next, take your strands of beads and place them onto the loop. After this, close the loop making sure it's secure and the beads won't fall off. Then, take the cone and insert the wire through the wide end and pull it through the narrow end. Using your fingers, bend the wire to a ninety degree angle, then trim of...

In this tutorial, we learn how to revamp a junk shop dress. First, you will need to measure out how short you want the dress to be while still wearing it. After this, take the dress off and pin it where you want to sew it. Cut off excess fabric, then sew the hem of the dress where you want it to be. Next, place the dress back on and pair it with some cute leggings. You can buy a cheap dress and make it look nice without having to pay a lot. Pair this will some cute accessories and you will ha...

In order to make a ribbon tree, you will need the following: 50 2" pieces of ribbon, scissors, a hot glue gun, hot glue sticks, and a floral tree.

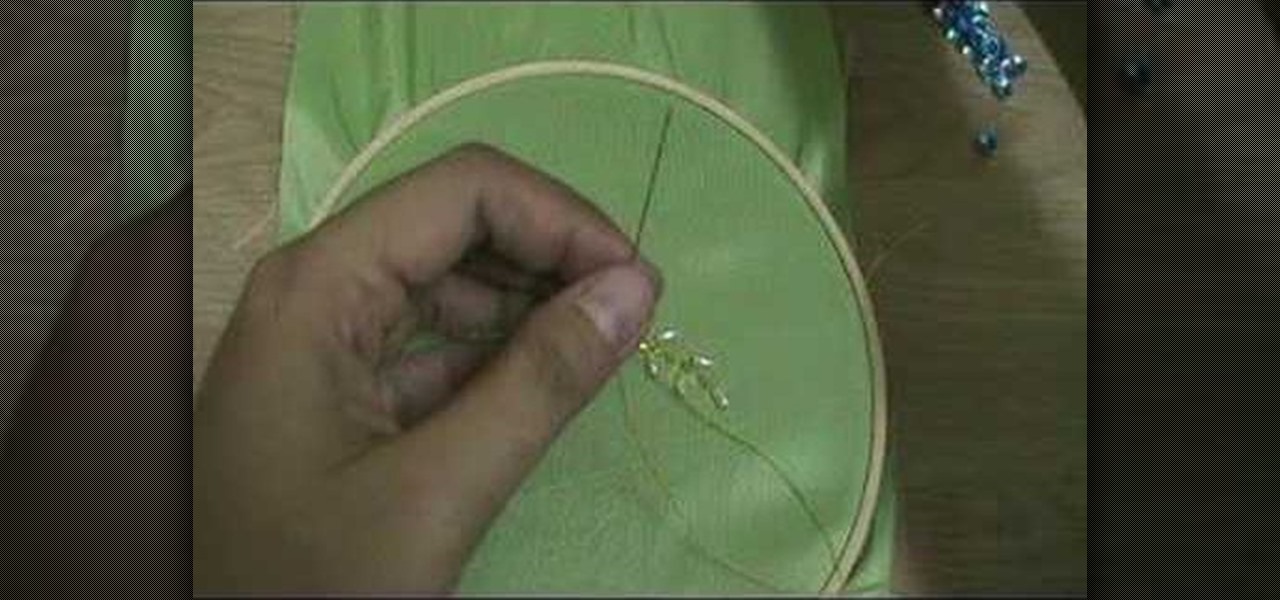
In this video, we learn how to embroider with beads and sequins. First, push the needle through the bottom of the cloth into the top where the sequin is at. After this, continue to thread in beads and more sequins. Make sure you are pulling through on the bottom so you attach the beads to the thread and they don't fall off. When you are done with this, you will push the needle through the top of the cloth, then tie it at the bottom and cut off the excess thread. When done, you will have a bea...

In order to make your own envelopes, you will need a piece of paper, glue, scissors, and optional decorating tools/stickers.

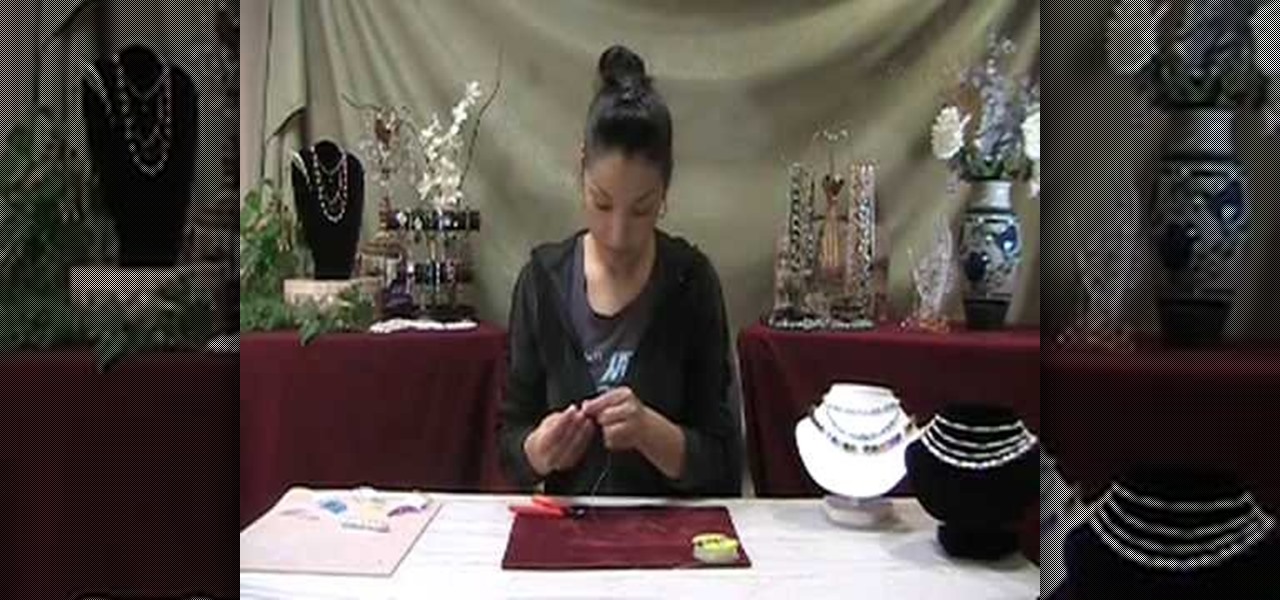
In this video, we learn how to work with Stretch Magic. This is a beading technique that is very easy to use. It's great for making bracelets, because no clasp is required. First, cut a piece of Stretch Magic 4-5 inches longer than you want it. Now, string your favorite beads onto the Stretch Magic. When you are finished with this, connect the ends with a square not and add a drop of super glue for added security. After this, cut off the excess strings from the end and you will be able to wea...

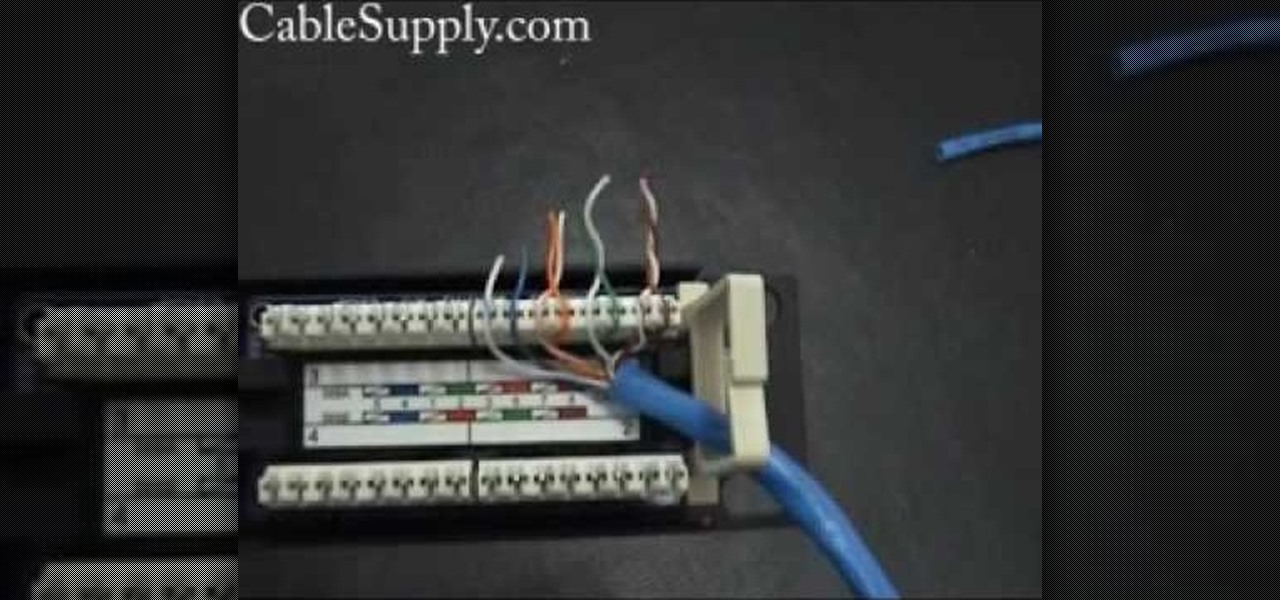
In this video, we learn how to punch down a 12 port patch panel. Start off by grabbing your cable and using scissors to cut off the outer covering of the cable. Next, use the wire scissors to cut off the end of the wires (about 1-2 inches). After this, place the stripped down wires into the appropriate spots that correspond to the colors that are on the 12 port patch panel. After you finished this, you will need to grab your punch down tool. Use this tool to push down on the wires, then it wi...

In this tutorial, we learn how to make a file folder organizer. First, you will need to apply double sided tape to paper, then apply a thicker cardboard paper over it. Now, cut most of the excess paper off, except around 1/2". After you have this cover made, apply tacky glue to some manila folders, and stick them into the cover you just made. After you complete this, you will be able to apply the backing to the folder as well. When you are finished, you can add different decorations to your f...

Jim teaches us how to punch down a 24 port patch panel in this tutorial. You will need: cable scissors, a punch down tool, and 24 port patch panel. Now, strip the cable by cutting it and stripping down the wires. Now, attach the wires to the port punch panel by following the pattern of where the different colors are at. When you have these connected, use the punching tool to punch the wires down, then it will cut off the excess wire from the panel. When this is all done, you will want to tie ...

In this tutorial, we learn how to make a paper football. First, take a piece of copy paper and fold 1/3 of the paper and crease it. Next, do this again until you reach the top of the paper, you should have three folds in total. Next, fold one side into a triangle shape, and then keep folding in until you get to the bottom of the paper. Once you reach the bottom, fold the excess paper into the pouch that you created when folding the triangle in. You will end up with a triangle shape. Now, you ...

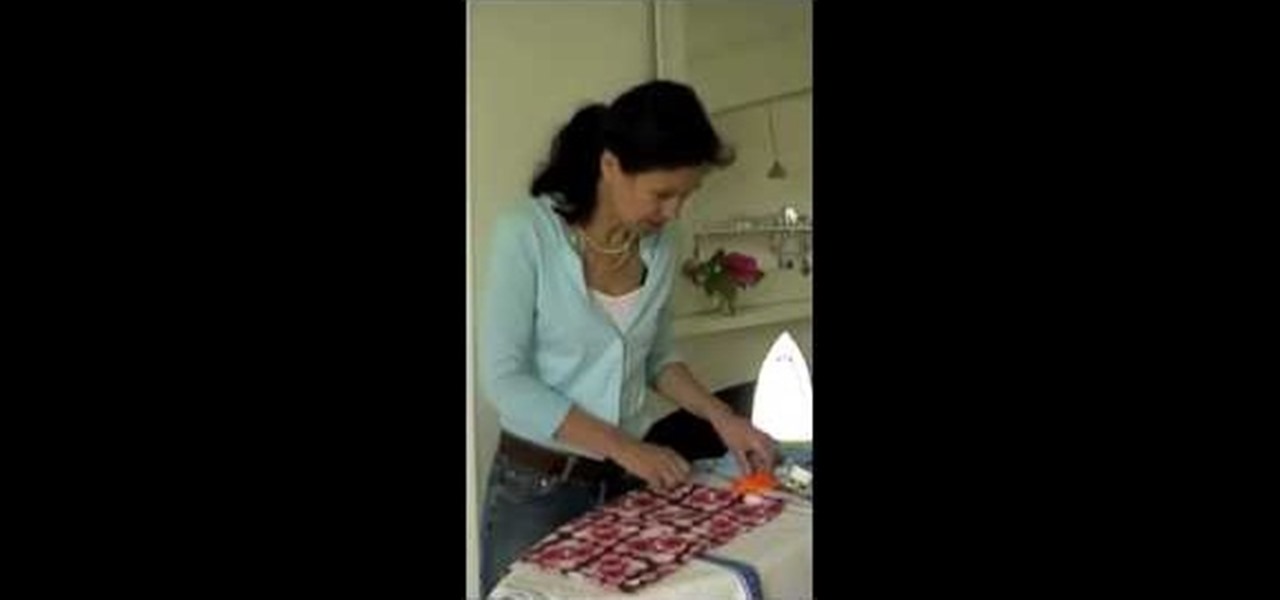
In this tutorial, we learn how to make ring skirts. First, cut out for 22.5 x 5.5" shapes out of black polyester. Next, cut a 21.5" x 4.5" rectangle out of cardboard. After this, iron down all your shapes so they are flat, then place the cardboard on the other shapes so you can see material sticking off of four sides equally. Next, fold the excess fabric onto the cardboard and then iron it down, then pin it on all sides. After this, sew the sides with a sewing machine and remove the pins. Do ...

In this video tutorial, viewers learn how to drywall a tape butt joint. This task is very easy, simple and fast to do. Once the tape is on the butt joint, apply a thin layer of drywall compound and then apply a second coat of compound. Scrape off any excess compound. The main goal is to apply the compound over the tape. Make sure to use the drywall knife to smooth out and spread the compound. This video will benefit those viewers who are interested in pursuing a career as in drywall or are re...

In this tutorial, we learn how to craft a penguin out of pip cleaners. First, grab a pencil and wrap white pipe cleaner around the top. Now, wrap black around the pencil as well, and squish them both together. Slide them off, then take an orange pipe cleaner and fold it in half. About 2 rings from the top of the black, poke the orange through that will be the beak. On the bottom, twist the orange pip cleaner together to make penguin feet, then clip off any excess pipe cleaner. Now, take black...

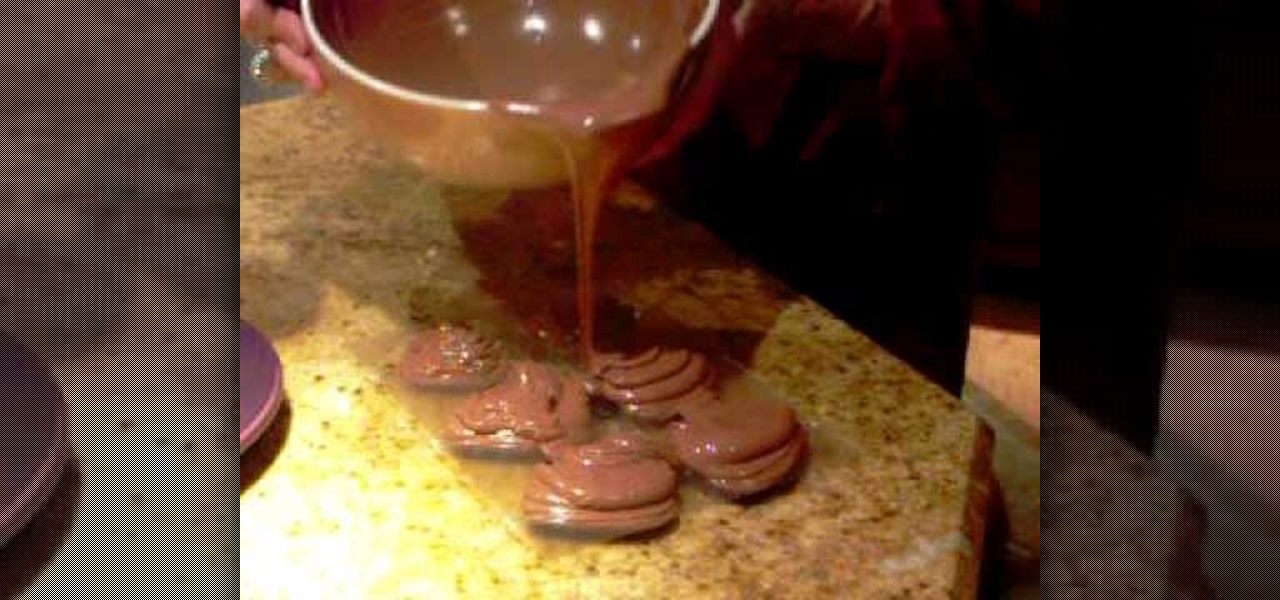
In this tutorial, we learn how to make chocolate hearts for Valentine's Day. You will need 1.5-2 lbs of chocolate and a mold with heart shapes in it and sucker inserts. You will also need sticks to insert into the chocolate. First, melt your chocolate in a large bowl with a spout. After this, pour the melted chocolate into the molds and then scrape excess chocolate back into the bowl. Next, insert the sticks into the molds and then place them in the fridge to let them sit overnight to get har...

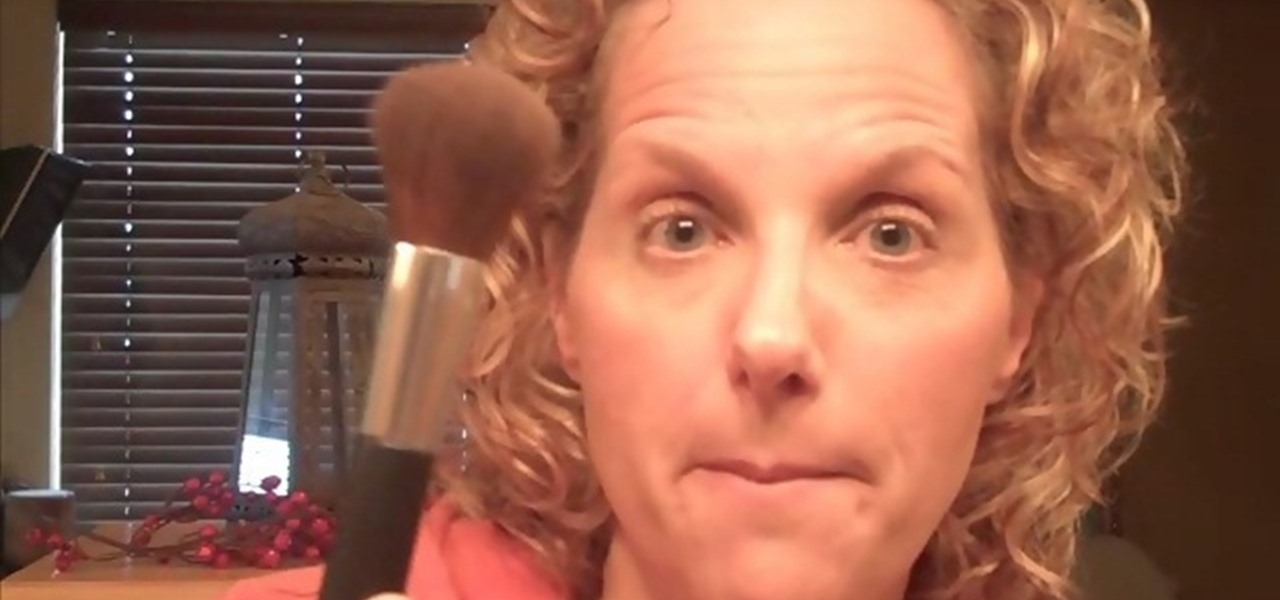
In order to properly apply the Mineral finishing powder, you will need: Mineral Finishing Powder and a large powder brush. Once you have applied all of your other makeup (i.e. blush, foundation, eyeshadow, eyeliner, etc.), then you are ready for the finishing powder.

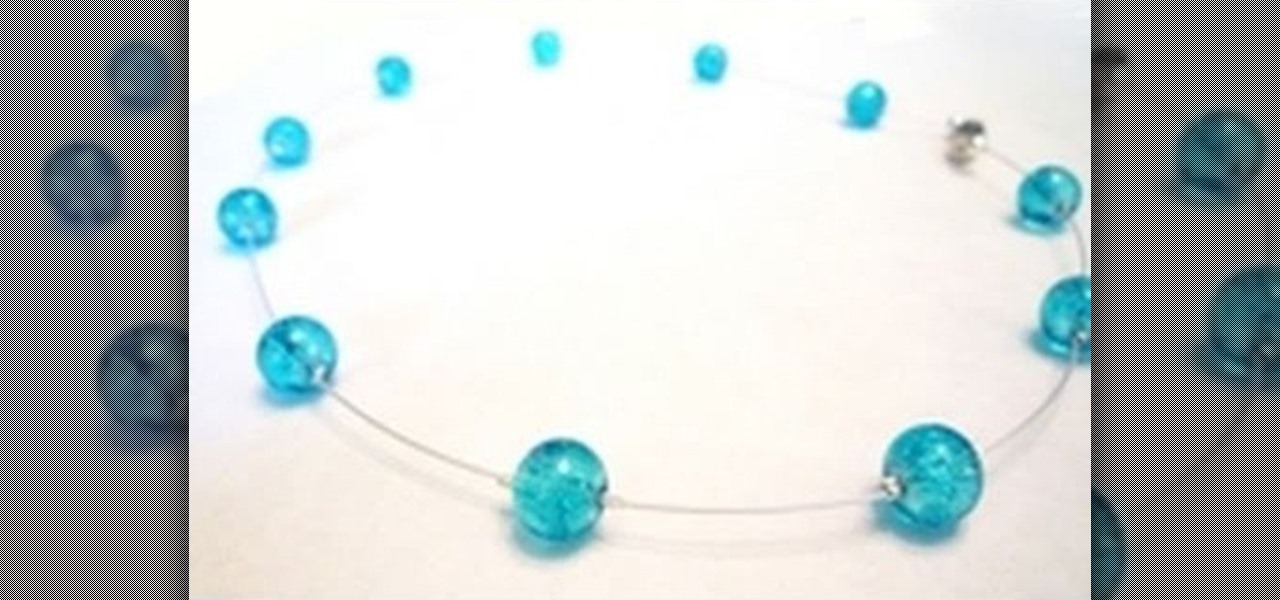
In this tutorial, we learn how to make a floating illusion style necklace. You will need: beading wire, crimping pliers, wire cutters, beads (your choice), crimp beads, crimp covers (3mm), and a clasp (barrel clasp). First, cut your beading wire to the length you want your necklace, add 3-4 extra inches. Next, space your beads out on a beading board evenly, 1 1/2" apart. Now string a crimp bead onto your wire and take the end of the wire and string it through the crimp bead on the opposite si...

In this video, we learn how to apply mineral mascara with Lisa Liddiard. First, you will curl your eyelashes with an eyelash curler before you put any mascara on. Now, grab your mascara and wipe off the tip of the brush to remove an excess mascara. Now, brush the mascara onto your top eyelashes, shaking the brush left to right at the base of your eye. Apply one to two coats of this mascara, putting more towards the outside lashes to give it a darker and more full look. If you'd like, you can ...

In this tutorial, we learn how to do a feather stitch while embroidering. To begin, you want to place your finger right next to where you are sewing so you are making a loop shape and helping guide your needle as you are doing this. You will want to chain the loops together, making the thread look like feathers as you continue. There should be no lines that are straight, all should be looped by placing the needle in between each circle and pulling it into the loop shape. When you are finished...

In order to make a Shaker card, you will need the following: a 2" square punch, scissors, card stock, clear plastic, paper, glitter, beads, decorative cutouts, and 2 sided tape.

In this tutorial, we learn how to make stacked hair bows. Start off with three separate bows: red, white, and blue. Make sure there is a string still hanging from the red one, but the strings on the white and blue are cut off. Now, put glue from a hot glue gun and place it on the middle/side of the blue ribbon, the glue the white one where the glue is and hold together. Next, take the red bow and glue it to the center of the blue and white bow. Hold the red bow in place until it's completely ...


