For various reasons — ranging from lens type to the frame rate to the storage medium —, footage shot with a camcorder doesn't really look anything like what one would see in a Hollywood film. However, with a little bit of work and a touch of post-production, you can make your consumera camera footage look a lot more like a commerically shot project.
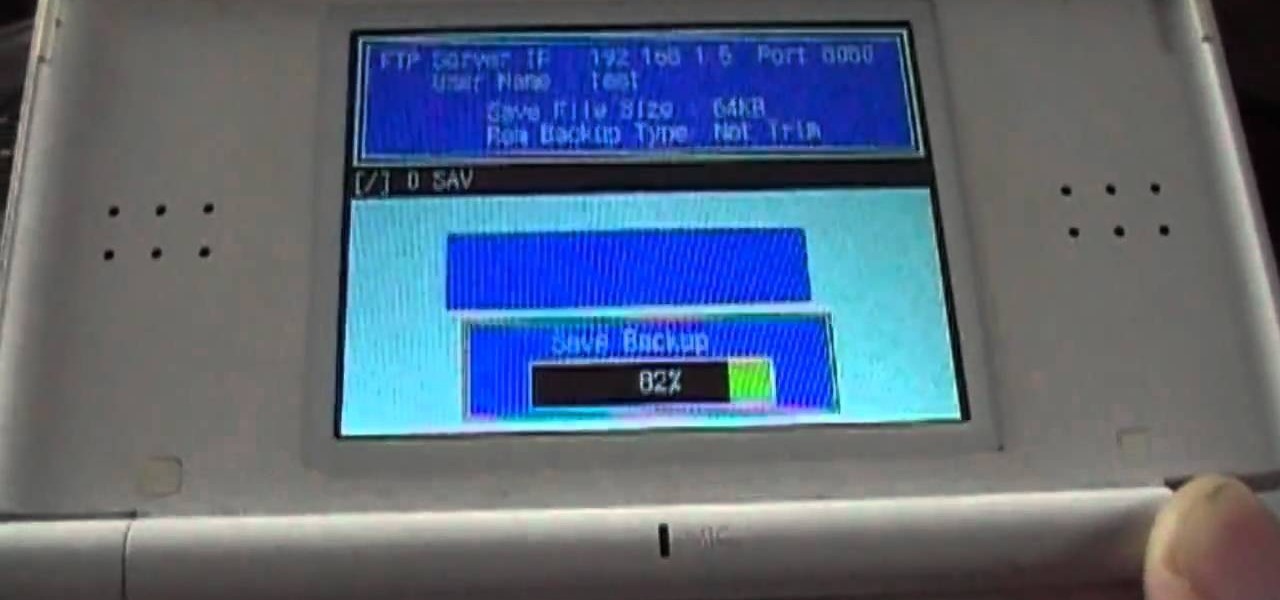
If you'd like to capture footage from your Nintendo DS, either to share online or make walkthroughs or playthroughs with commentaries, download all of the necessary files from Lifehacker, then watch this video for step-by-step instructions on how to get capturing. For recording gameplay this way, you'll need a DS or DS Lite, microSD card, NDS flash cartridge, Wi-Fi connection, SD card reader and a computer (along with all of those files you need to download).
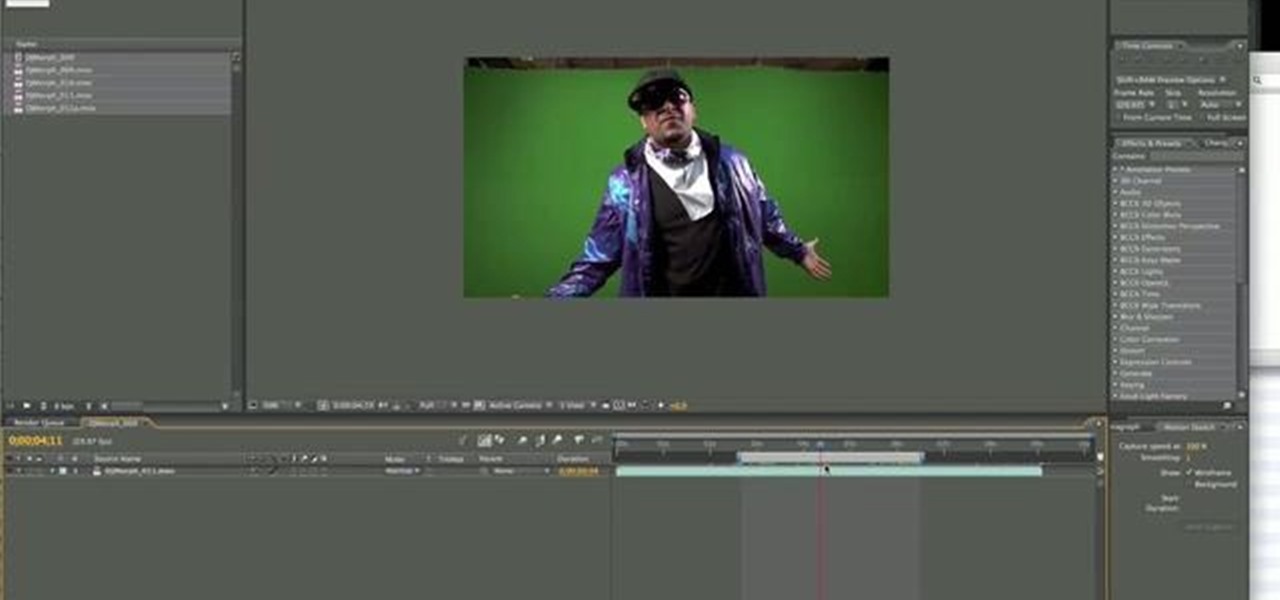
Edit your video footage like a pro with Windows Live Movie Maker. This informative video from Vimeo's excellent Video 101 series of tutorials reviews the steps involved in using the software to create a basic 5x5—that is, a video composed of five clips of five seconds each. The different steps highlighted include importing your video clips, trimming the footage, editing audio, adding transitions, adding text & titles, and uploading to video sharing sites.

Handbrake is a free application that will read DVDs and convert the video footage for usable formats that you can open on your Macintosh, your iPhone, your iPod or Apple TV. The imported video footage can also be edited in iMovie.
This tutorial shows you how to improve your digital asset management. Once you have recorded your digital audio and video footage, you'll want to import it and edit it as efficiently and quickly as possible. This video shows you the most efficient workflow set up to use.
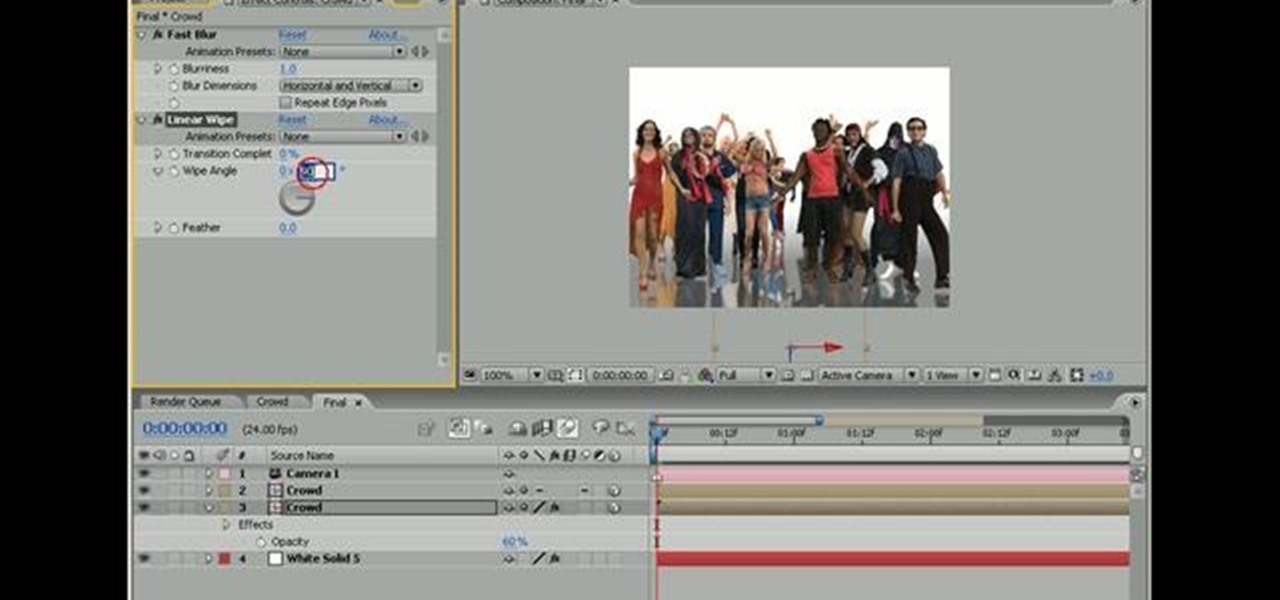
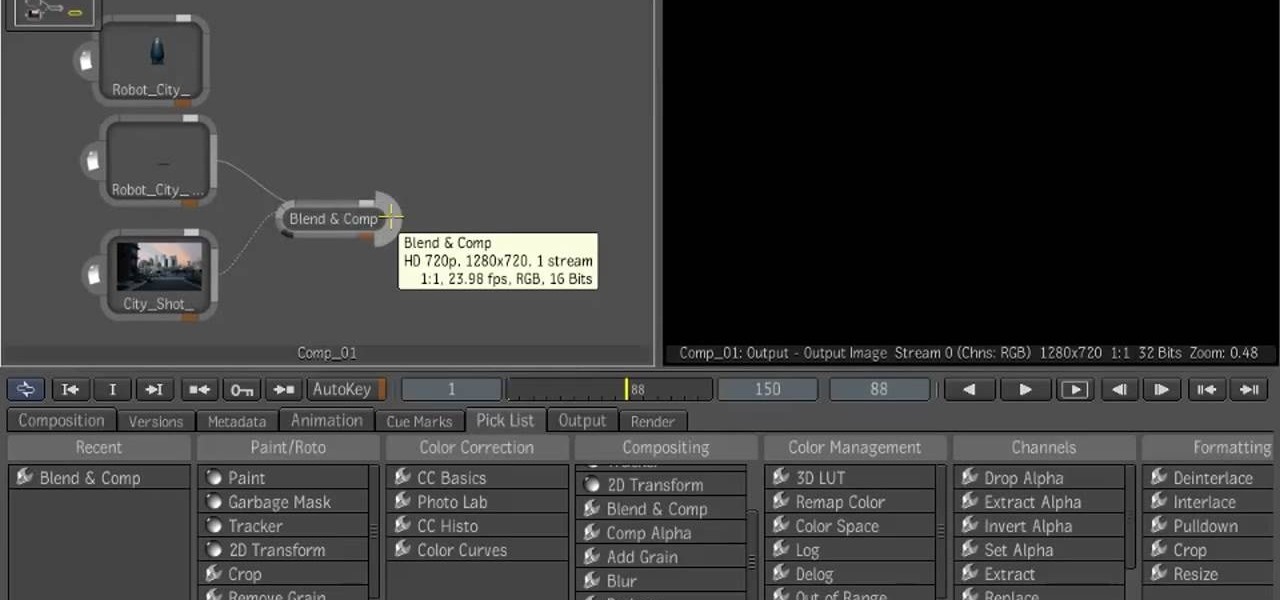
Create simple reflections in Adobe After Effects with keyed footage. In this video tutorial, Aharon Rabinowitz of All Bets Are Off demonstrates its use with video footage of both crowd and individuals. In addition, some potential issues with Collapse Transformations are also addressed.

Decided after you filmed it that your footage shot in 60p would actually look better as a slow motion shot? Fortunately, you don't have to shoot anything over again - you can just use Adobe After Effects to slow it all down.
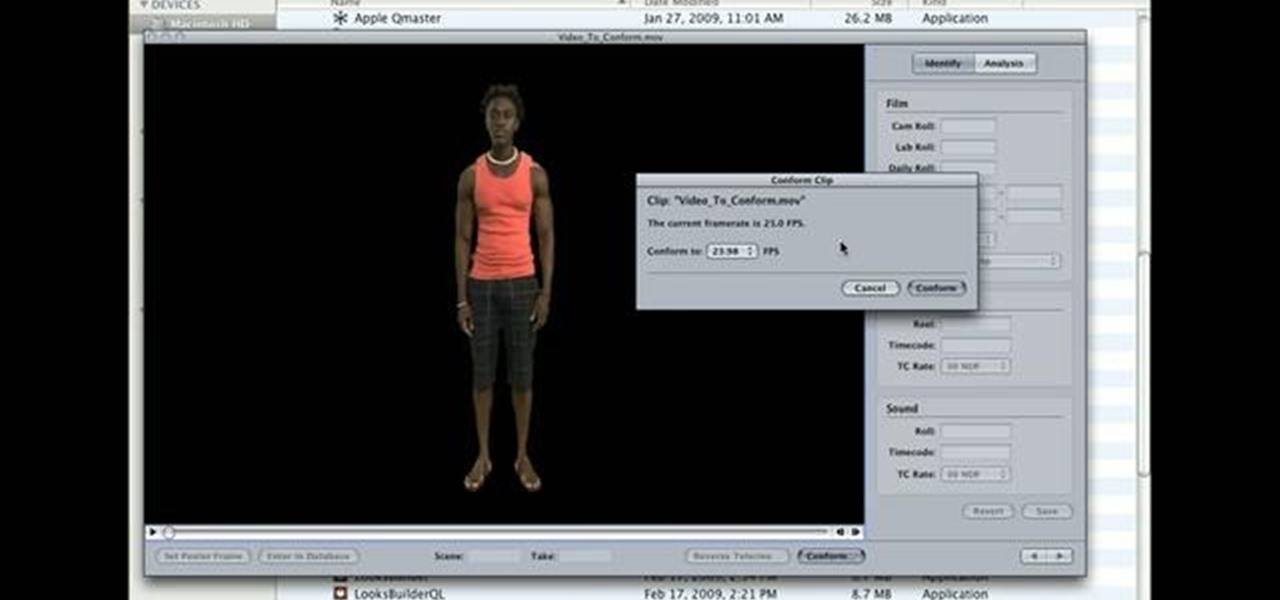
Want to convert your footage from 25 to 24 frames per second? In After Effects CS5, it's easy!
Shoot digital footage to rival film by incorporating a 35mm DoF adapter into your camcorder rig! For detailed, step-by-step instructions, and to get started shooting footage to rival anything shot on a video-capable DSLR, watch this video guide.
In this clip, you'll learn how to get started compositing digital footage within Autodesk Maya 2010. Whether you're new to Autodesk's popular modeling software or a seasoned 3D artist just looking to better acquaint yourself with the Maya 3D 2010 workflow, you're sure to be well served by this video tutorial. For more information, and to get started using this trick yourself, watch this free video guide.
Interested in overcranking your footage in After Effects for a slow motion effect? Let this video be your guide. Whether you're new to Adobe's popular motion graphics and compositing software or a seasoned video professional just looking to better acquaint yourself with the program and its various features and filters, you're sure to be well served by this video tutorial. For more information, including detailed, step-by-step instructions, watch this free video guide.
In this video clip, you'll learn how to treat footage with composite modes and effects in Final Cut Pro or Express. Whether you're new to Apple's Final Cut Pro non-linear video editor or just want to better acquaint yourself with the popular video editing program, you're sure to benefit from this video tutorial. For more information, including detailed, step-by-step instructions, watch this tutorial.
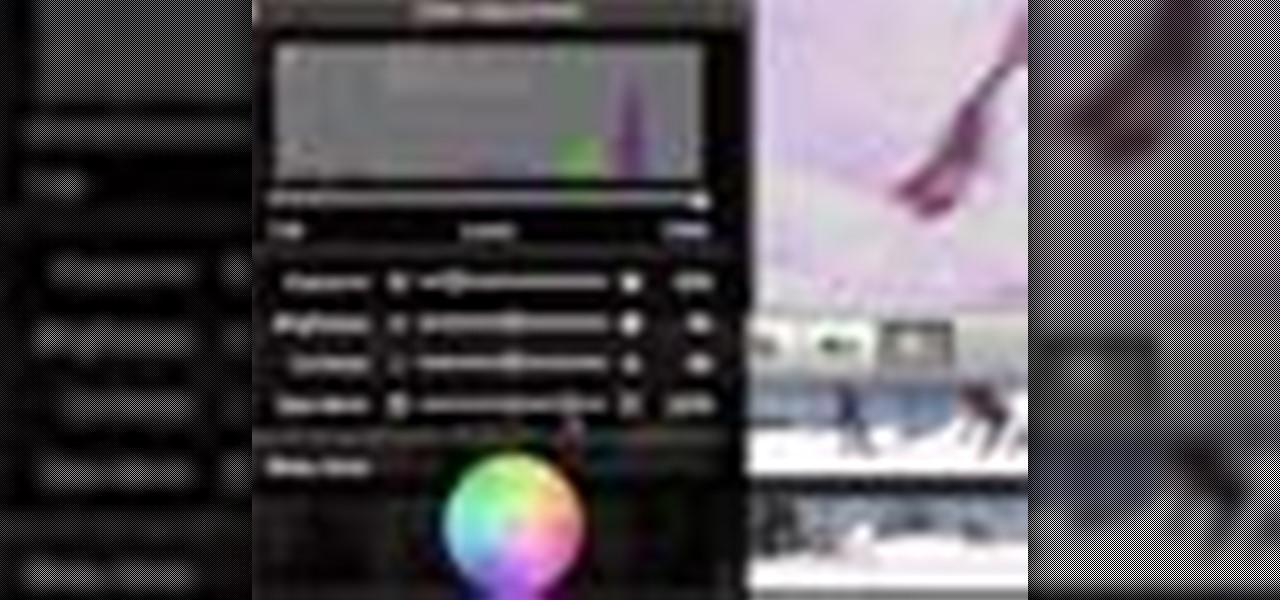
This After Effects user's guide offers an overview of how to color correct and grade footage within AE by using the staturation, curves and levels tools. Whether you're new to Adobe's popular motion graphics and compositing software or a seasoned video professional just looking to better acquaint yourself with the program and its various features and filters, you're sure to be well served by this video tutorial. For more information, including detailed, step-by-step instructions, watch this f...
This how-to video offers some pointers on how to take footage from a low angle. This technique captures a unique perspective neglected by traditional methods of film-making. The principle is simple, flip the camera and go. Check out this video lesson and learn how to shoot low angle footage.
This instructional video will teach you how to enhance your footage [remove grain, bring out more color] with after effects. So enjoy this tutorial, and you don't need any additional plug ins, just the built in tools of after effects.
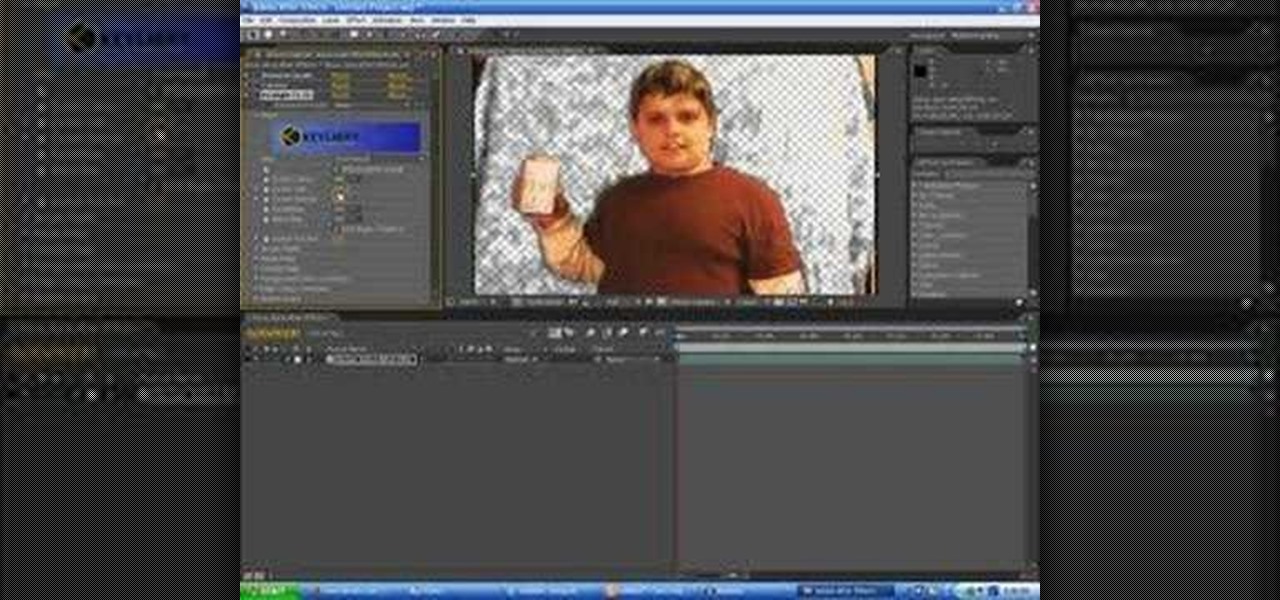
This After Effects tutorial covers how to use the keylight plug-in when working with green screen footage. The keylight plugin makes it easy to remove the subjects from the green screen background. This saves time and makes it easy for you to get working on compositing your effects and other After Effects projects.
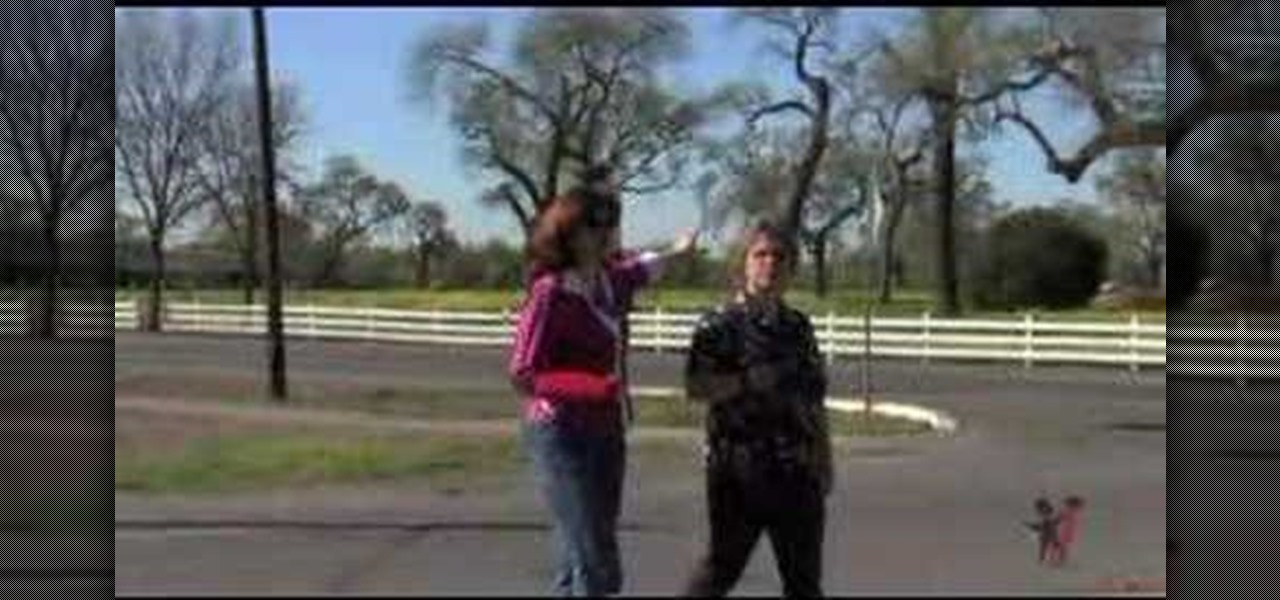
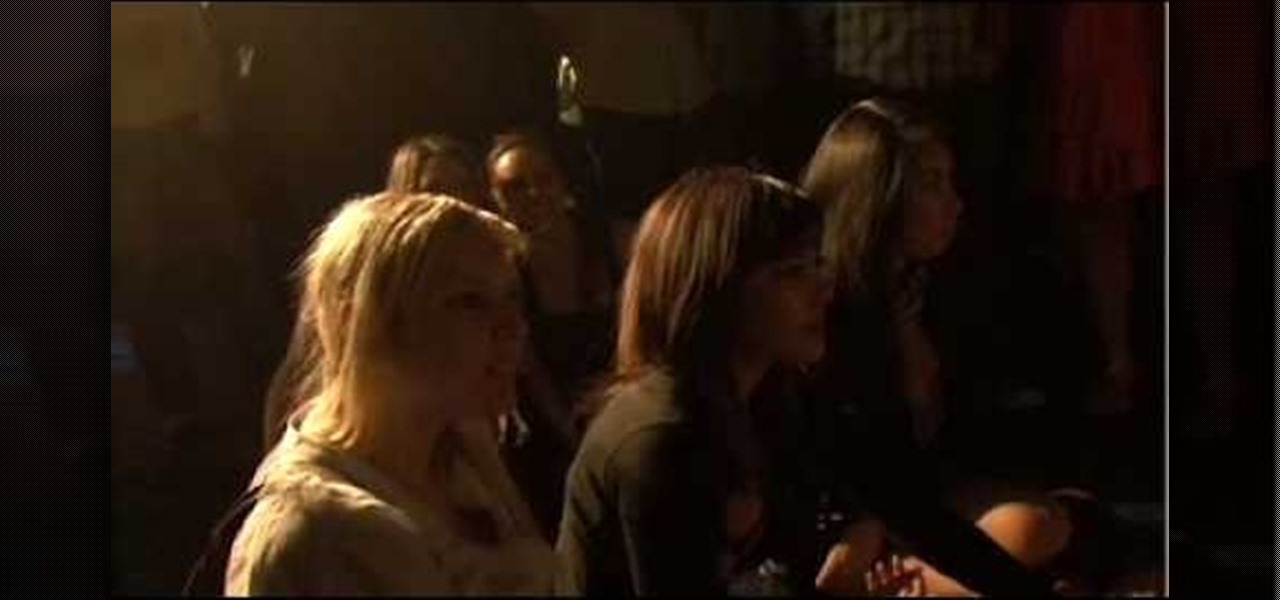
Jennifer gives Melissa, a beginning videographer, some pointers on shooting better hand-held footage.
Matt, the Shirtless Apprentice, gives us some quick tips on how to sync timecode for multi-camera footage. He shows you how to sync multi-camera footage using cameras that support free run and cameras that don't.
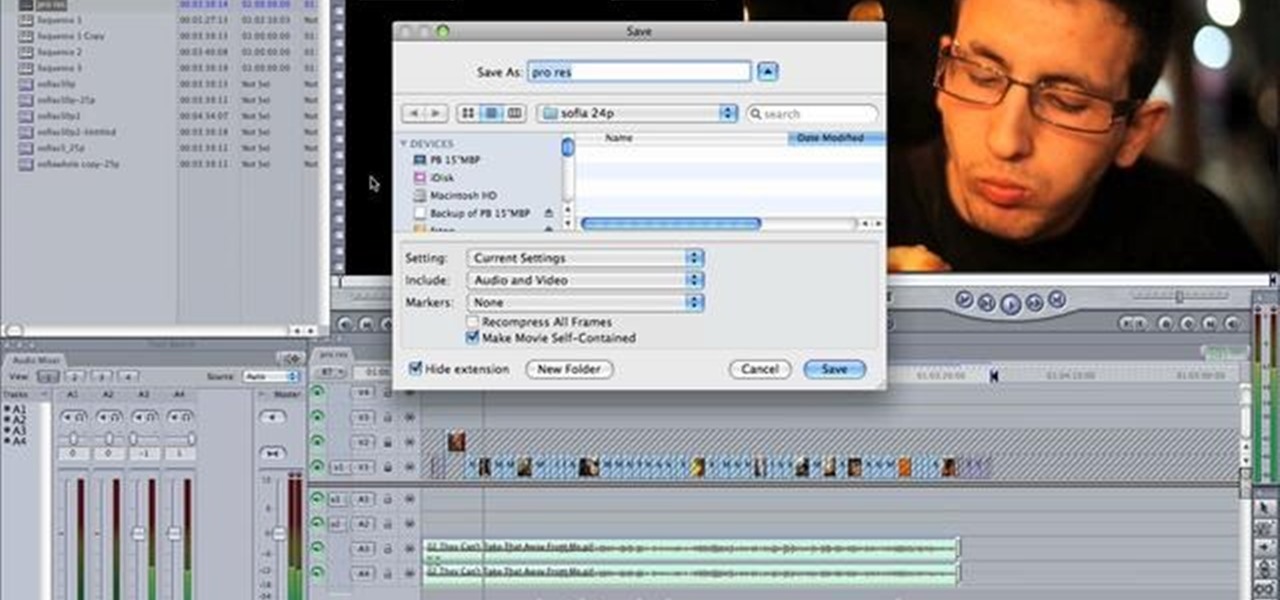
A tutorial using Final Cut Studio 2 on how to convert footage shot in 30p to perfect 24p. Used in the short Sofia's People. Can't quite figure out why you have two of the same filters in FCP? This quick clip will sort you out. Whether you're new to Apple's popular motion graphics and compositing software or a seasoned video professional just looking to better acquaint yourself with the program and its various features and filters, you're sure to be well served by this video tutorial. For more...
In this video tutorial, viewers learn how to import and render footage in Adobe Final Cut Pro. To import files, begin by going to File, select Import and click on Files. Then browse for the file and click Open. Now drag the clips into the time line to edit. To render the footage, begin by selecting it. Then click on Sequence, select Render Selection and click on Both. This video also shows viewers how to cut a clip and add effects. This video will benefit those viewers who are just beginning ...
So you've got hours and hours of footage for your home video, and now you want to make it into a usable product that you can put up on YouTube! Or, you know, onto a tape that you can bore your family with (heh heh heh). But you need to at least edit them down a little so that way you can get the point of your story across. In this video you will learn how to use the editing tools in Adobe Premiere.
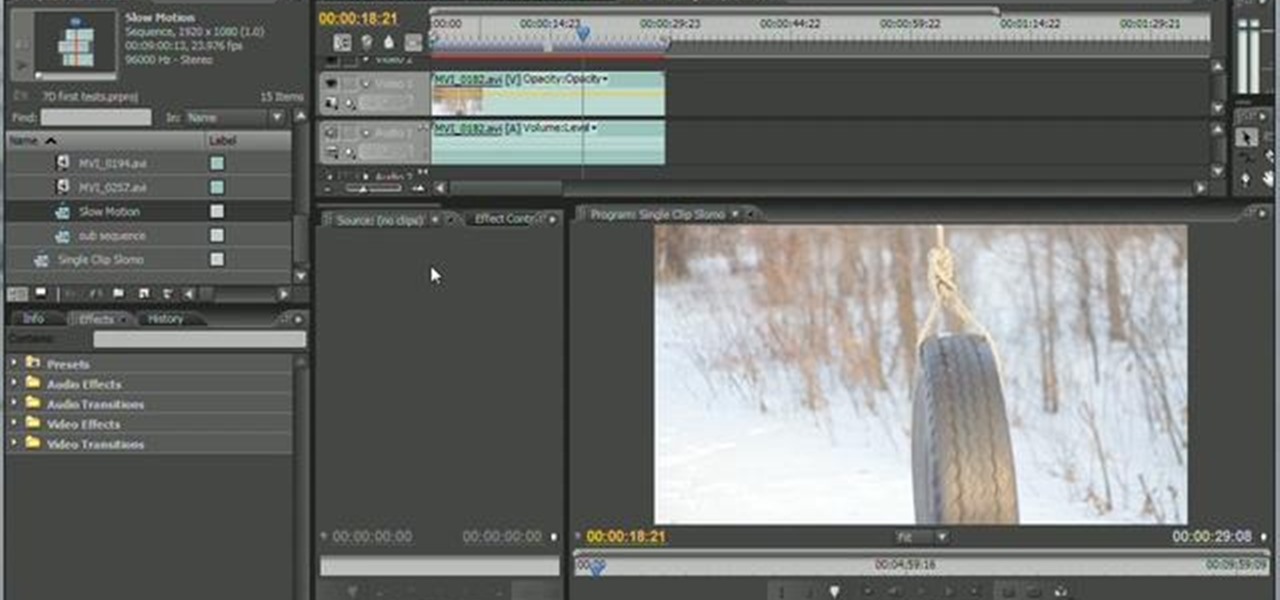
In this clip, you'll learn how to overcrank footage from a Canon DSLR camera like the 7D or T2i to a lower frame rate for a high-quality slow-motion effect. Whether you're new to Adobe's popular motion graphics and compositing software or a seasoned video professional just looking to better acquaint yourself with the program and its various features and filters, you're sure to be well served by this video tutorial. For more information, including detailed, step-by-step instructions, watch thi...
This clip presents a guide to overcranking footage shot on a Canon DSLR camera like the 7D or T2i to a lower frame rate for a high-quality slow-motion effect. Whether you're new to Adobe's popular motion graphics and compositing software or a seasoned video professional just looking to better acquaint yourself with the program and its various features and filters, you're sure to be well served by this video tutorial. For more information, including detailed, step-by-step instructions, watch t...
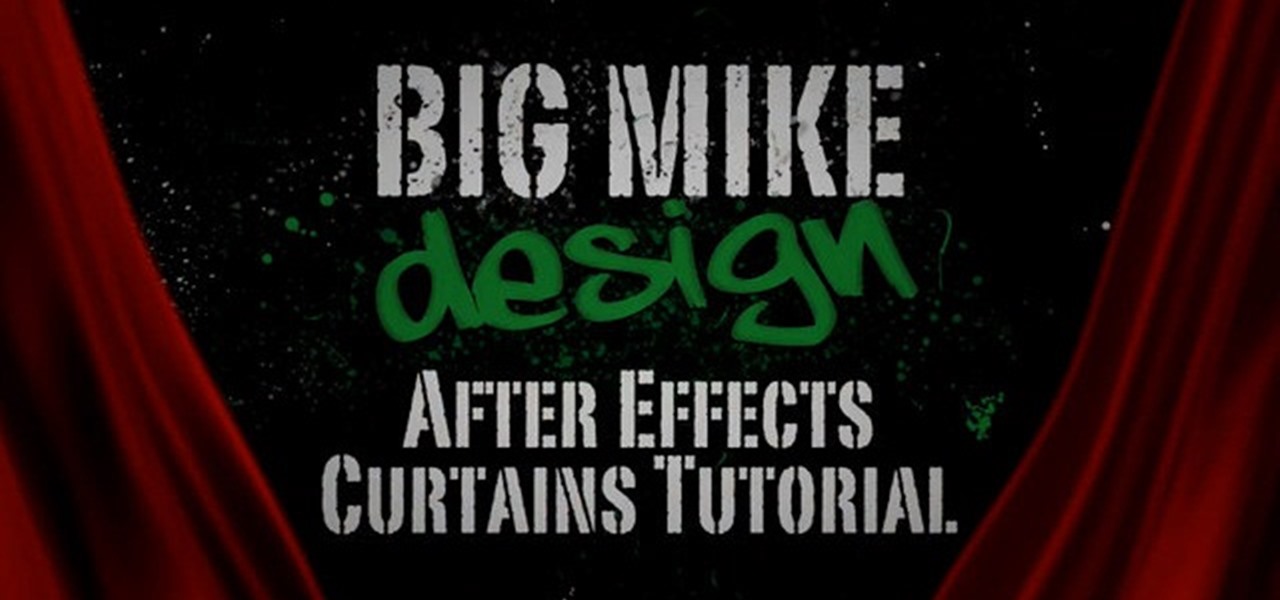
Check out this tutorial of how to create moving curtains in After Effects. You create a set of curtains that opens up to reveal footage placed behind it. You can render the clip out with an alpha channel and always have a curtains clip ready to reveal some footage. Whether you're new to Adobe's popular motion graphics and compositing software or a seasoned video professional just looking to better acquaint yourself with the program and its various features and filters, you're sure to be well ...
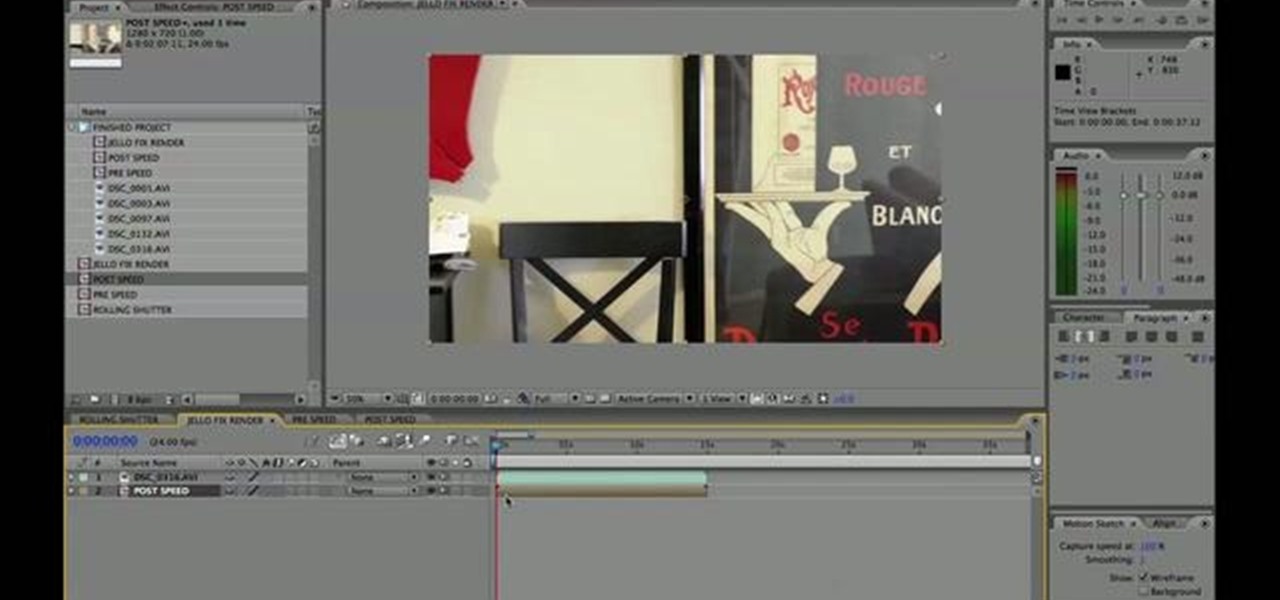
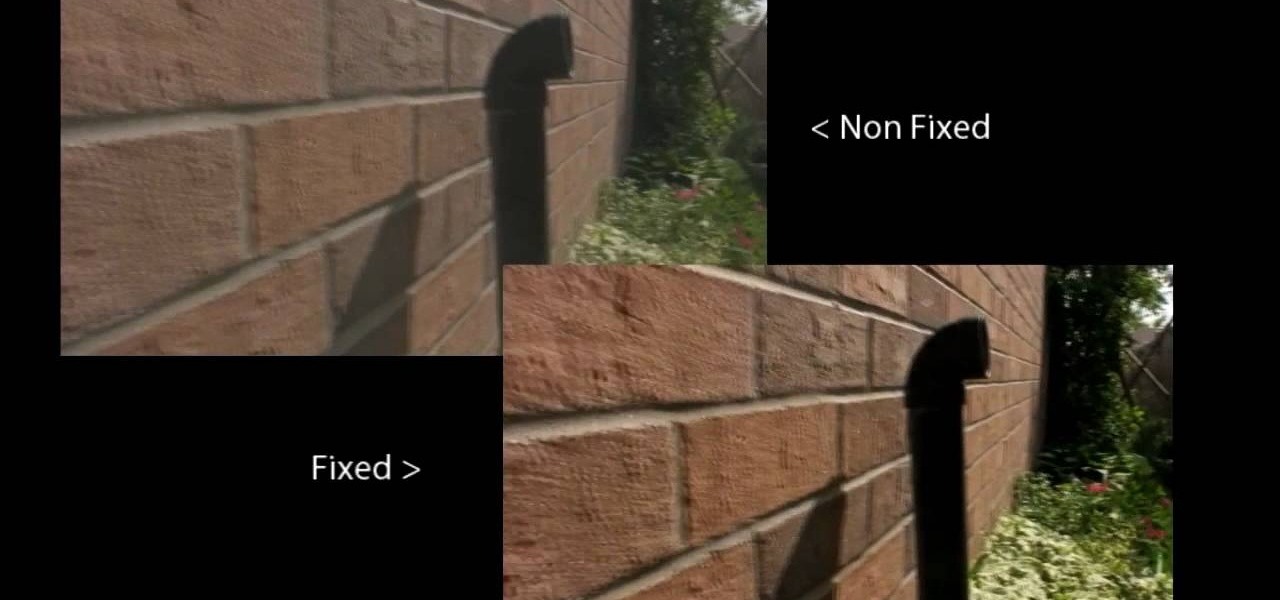
Is your digital SLR camera creating an unintentional "Jello effect"? Well, this is caused by a rolling shutter, which can be fixed in Adobe After Effects. This tutorial serves to help you eliminate your problems on your D-SLR caused by the CMOS's "rolling shutter".
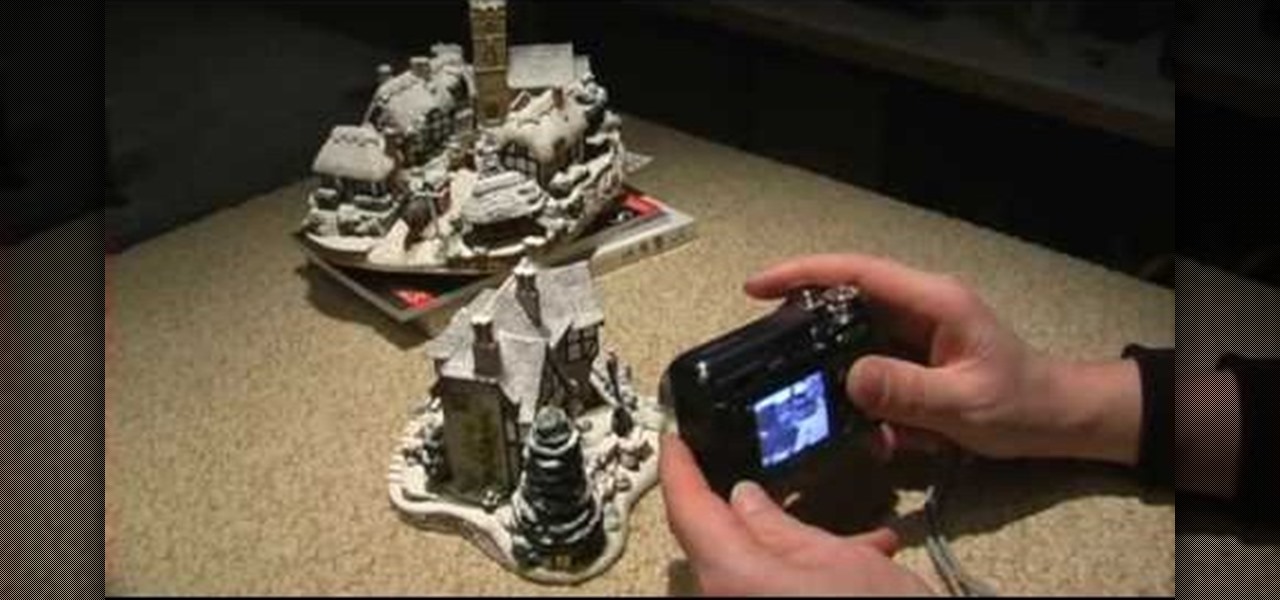
Rick Vanman reveals the secrets to professional video effects using your own computer software. Position your model houses into a setup of your liking. Take a picture of the houses with a digital camera using the macro setting. Edit your picture in Photoshop. Disguise any unwanted objects with the cloning tool. Separate the foreground and the background of the picture into 2 different layers. Film yourself in front of a green screen. Key out the green with your video editing software. Using y...
It doesn't matter what type of weather it is outside when you shoot your film footage. Why not? Because you have After Effects! In this After Effects tutorial you will learn how to add precipitation and raindrop effects to your footage. Make it snow, rain and more with this After Effects CS3 tutorial.
This software tutorial shows you how to use chroma key, the method of using green or blue screen footage, in Wax 2.0. Use the free video editing software Wax 2.0 to chroma key and create cool effects for your video footage.
This software tutorial shows you how to chroma key in Windows Movie Maker. Chroma keying requires having green screen video footage. Once you have footage you can use the chroma key effect tools in Windows Movie Maker to put subjects in different background. See how easy it is to chroma key in this tutorial.
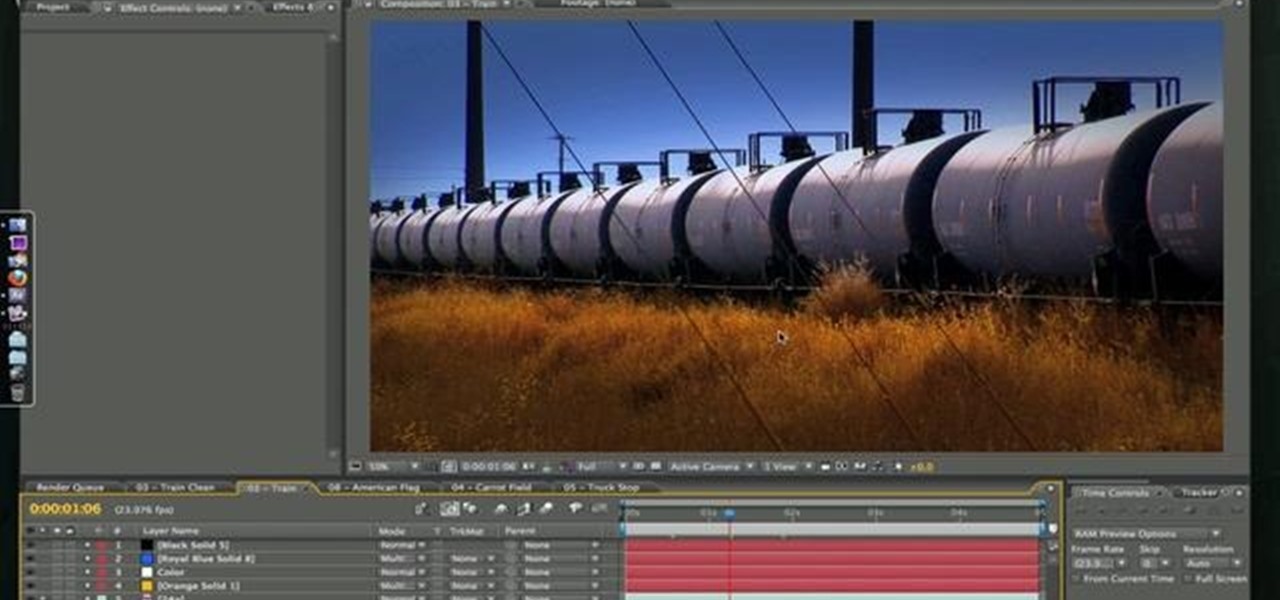
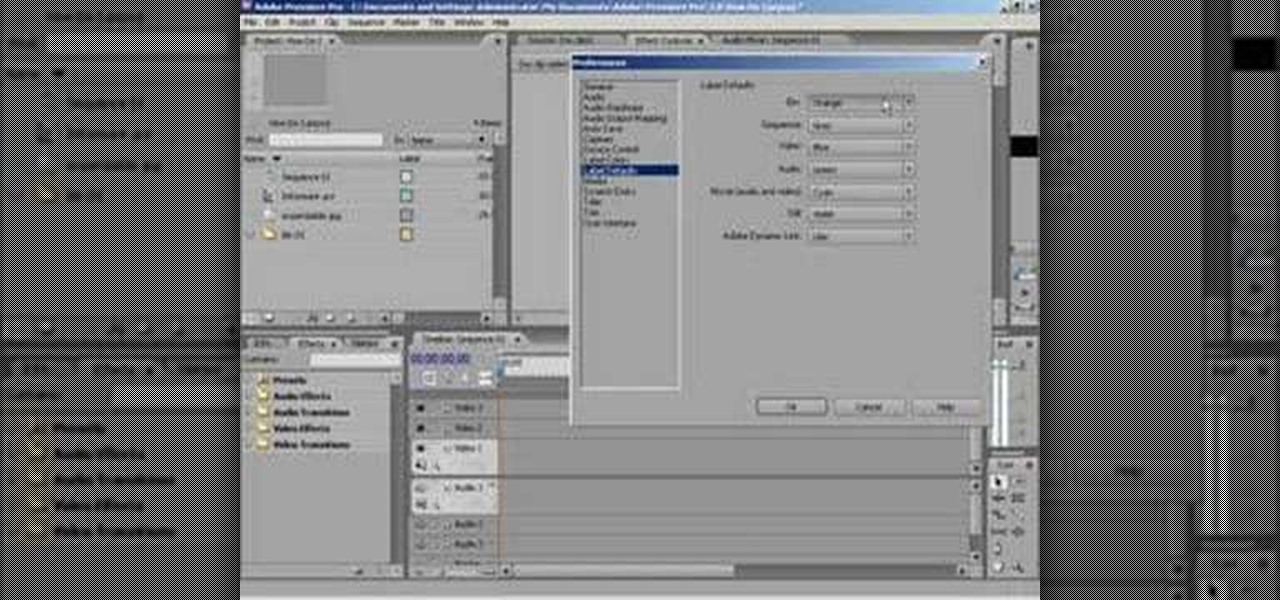
This tutorial shows you how to change the colors on the labels for each footage type in Premiere.
This video talks about cutting techniques. Bear in mind that you will need to have lots of coverage of the same scene if you plan to do editing, so you have multiple angle options. Israel Hyman, an Arizona-based videographer, shows you how to edit your footage in this tutorial.
iMovie allows the average computer user the ability to quickly make movies out of your digital video footage or home movies. This is not the most professional way to color correct your footage, but it should be sufficient for the average Mac user. Follow along and see how to adjust color using iMovie.
Don Schechter demonstrates how to capture your footage from your camera to your computer and log it for easy access later on for Final Cut Pro. Logging clips allows you to organize your footage without having to waste hard drive space.
Don't jeopardize your memories. Learn how to preserve your old home movies by digitizing your VHS tapes.
Before you do any shooting on the Red One Camera, you must set up your project settings and format your media with the settings you plan on shooting with. 2K, 3K, or 4K and your FPS must be set or face bad consequences when you go to edit this footage.
Do you have some footage from the Sony XDCAM EX digital camera memory card that you need to get into Final Cut Pro? Well, check out this brief tutorial on ingesting that XDCAM EX footage into Final Cut Pro with ease by downloading some software, like upgrades. You'll need the Sony camera and a USB cable, then just watch the video to see how it's all done in Final Cut Pro. This will work with Sony EX1 or EX3.
This video tutorial is in the Fine Art category in which you will learn how to chroma key green screen video. Chroma key is the magical process of making images where the background or any object in your scene can be made transparent so that you can replace it with a different image. First shoot some footage in front of your Chroma key backdrop. Then shoot the background footage. Next put the 1st video track over the background track in the editing time line. With Chroma key you can have some...
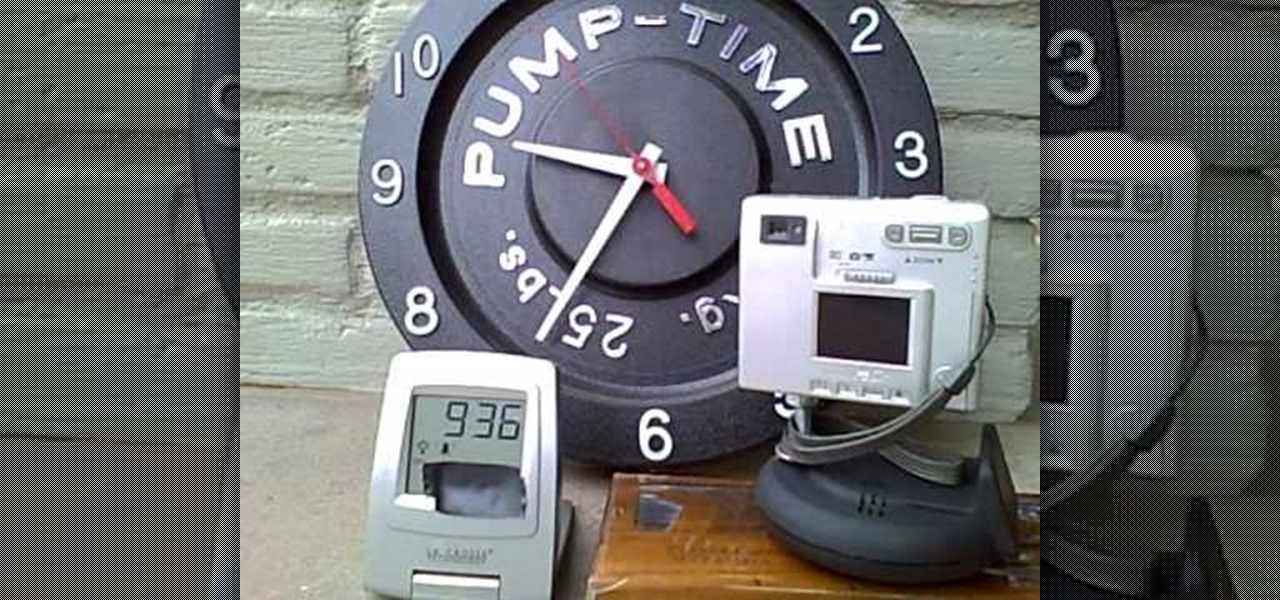
Imagine your own time-lapsed footage in a 360 degree pan. You don't need an expensive Hollywood-style pan mount to get this effect. You can easily do this rotating pan mount on the cheap, with something you would never suspect— a kitchen timer.
This tutorial takes a look at the basics of keying footage in After Effects using the plugin Keylight. This tutorial doesn't go over all the buttons and switches of the plugin but gives you enough to get started and understanding how it works. Whether you're new to Adobe's popular motion graphics and compositing software or a seasoned video professional just looking to better acquaint yourself with the program and its various features and filters, you're sure to be well served by this video t...
It's easy when Jamie-B from Total Recall Films takes an in-depth look at filming and editing techniques you can easily use to make your next film look and feel professional using a well know technique called "tricking the camera" -- and the viewer. Watch to see how to make a one-camera shoot look like multi-cams.