Former Vice President Dick Cheney was so fearful of attacks, he had his heart defibrillator re-calibrated to block incoming wireless signals so that highly skilled hackers couldn't send him into cardiac arrest.
Citing no evidence, and on the heels of yet another baseless “activist” report claiming a massacre has taken place in Homs, nameless US officials claimed to the Wall Street Journal that the Syrian government is taking chemical weapons out of storage for possible use “against anti-regime rebels or civilians, possibly in an ethnic cleansing campaign.” » False Flag Alert: US Claims Syria “Moving Nerve Gas Out of Storage” Alex Jones' Infowars: There's a war on for your mind!.

Shave Your Pubic Area Things you will need:

Peekfreak is a collaborative project between industrial designer Wai Lam and photographer Yann Huey, both hailing from Malaysia. The aim of the project is create experimental cameras made from household junk (such as plastic food containers, discarded bicycle parts, and floppy disks).

You're guaranteed to fool all of your friends with this fantastic magic trick! So grab some ketchup, but hold the fries and get ready to perform along with Ryan Oakes. You will need a bottle of water, a ketchup pocket, and a glass of water. Sometimes we use materials that require adult supervision... like scissors so make sure you have friends and family around whenever you do magic tricks. 1. Preparation: Take the label off of the bottle and find a packet of ketchup that’s not too full. To b...
Venom, the latest in a long list of comic book characters to headline its own movie, is known by comic book fans by his catchphrase, "We are Venom."

Forget Christmas, it's all about Festivus these days. But what is Festivus? When is Festivus?
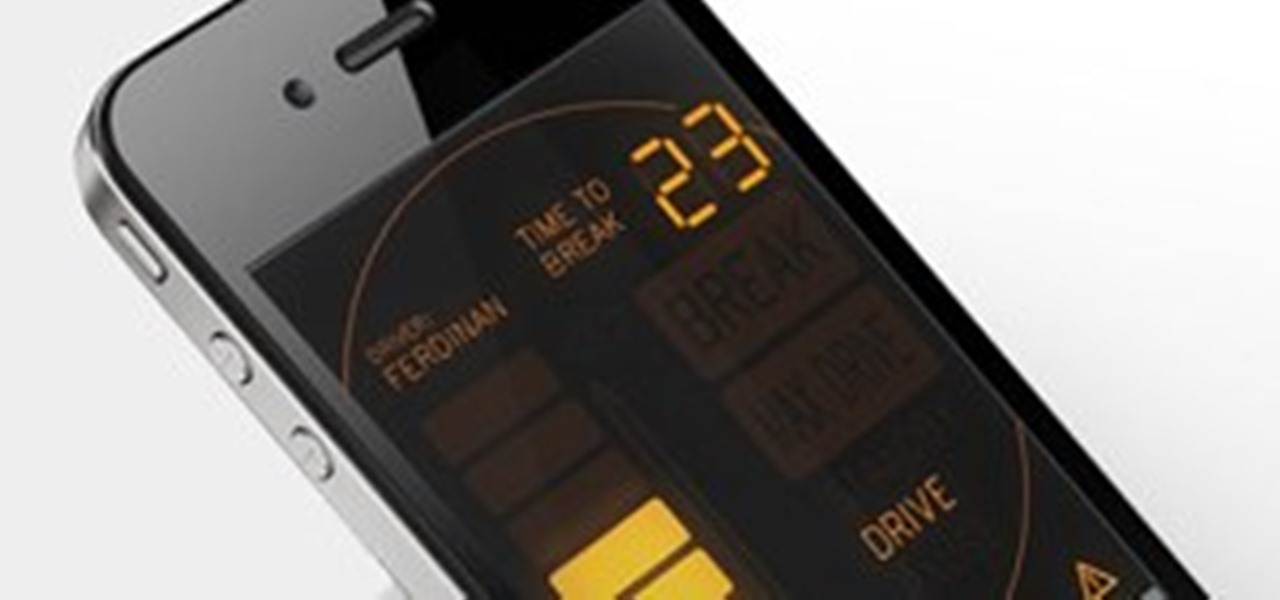
Always falling asleep behind the wheel? The National Highway Traffic Safety Administration (NHTSA) estimates that there are over 56,000 sleep-related accidents each year, resulting in 40,000 injuries and 1,550 deaths annually in the United States. Don't want to be a statistic? Then you may want to try out ASP Technology's mobile application which aims to keep you awake when you're fatigued on the road.
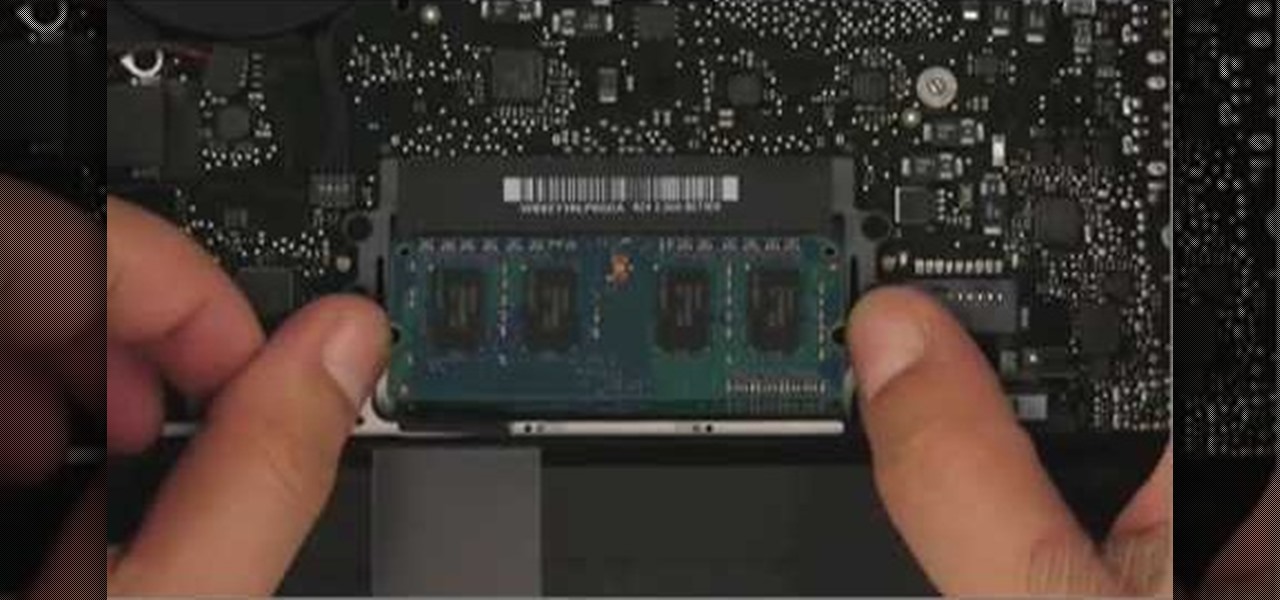
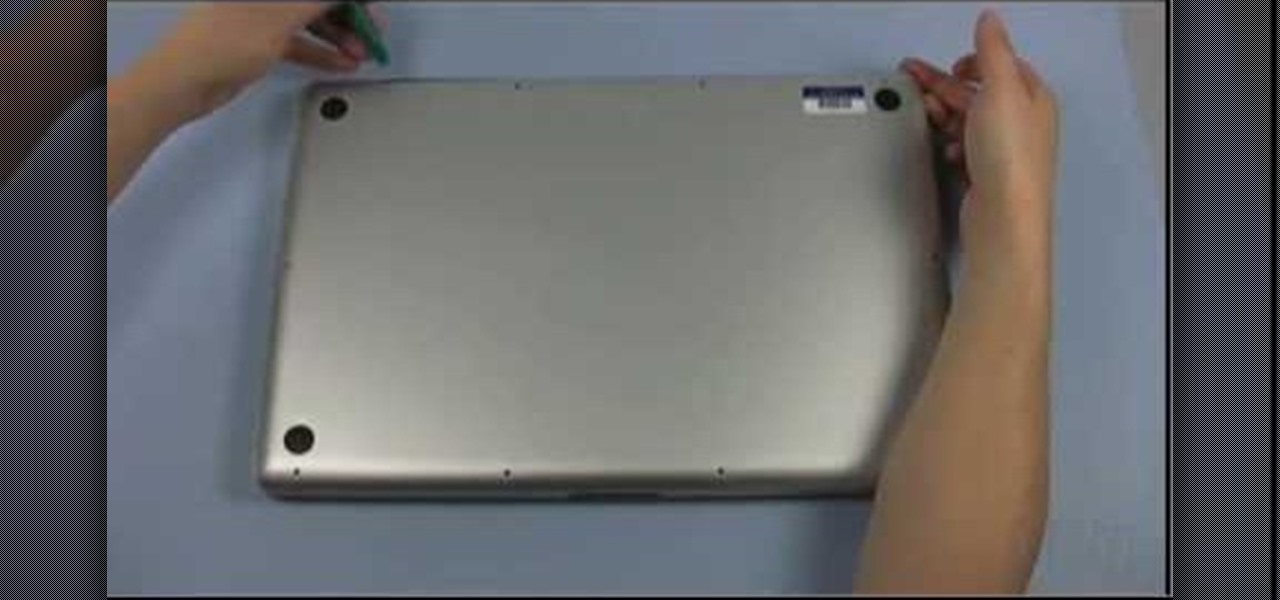
This video demonstrates the installation of memory in a 13” Macbook Pro (mid 2009 model). It’s easy to perform and takes about 10min time. You’ll require a #00 Philips screwdriver (available in the Newer Technology 11- piece tool kit). Take care to work in an anti-static work space. Close the Macbook Pro and flip it over with the hinge side up. You can note 10 screws along the border. Start unscrewing the 3 screws on the right on the top edge, these are longer than the rest. Now unscrew the r...
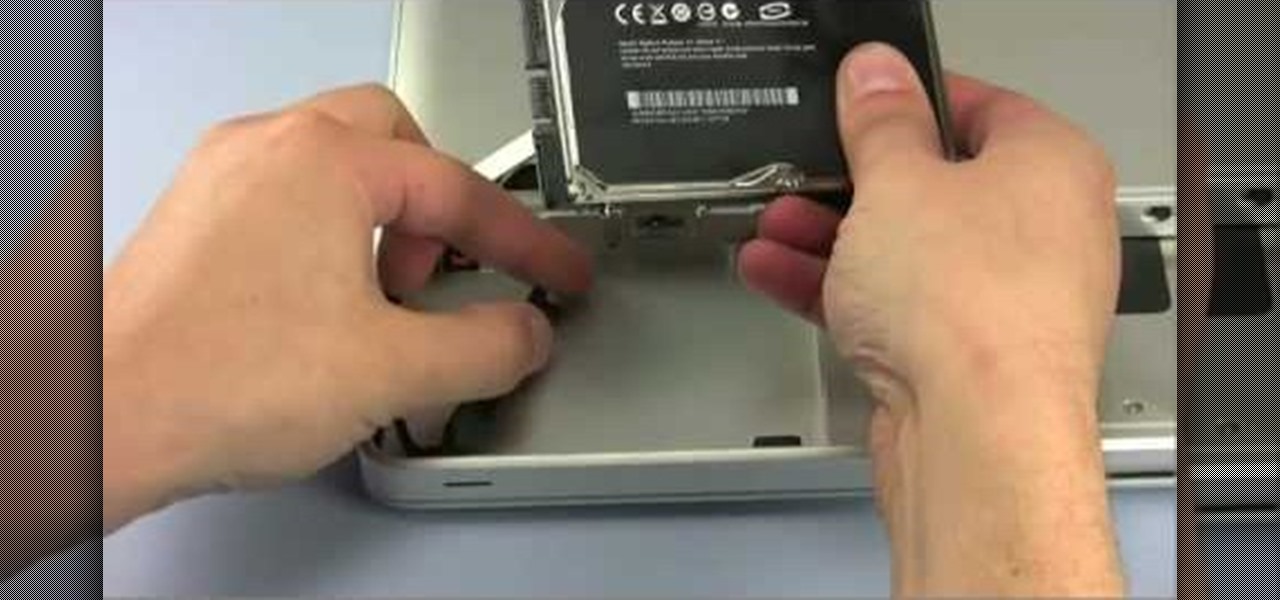
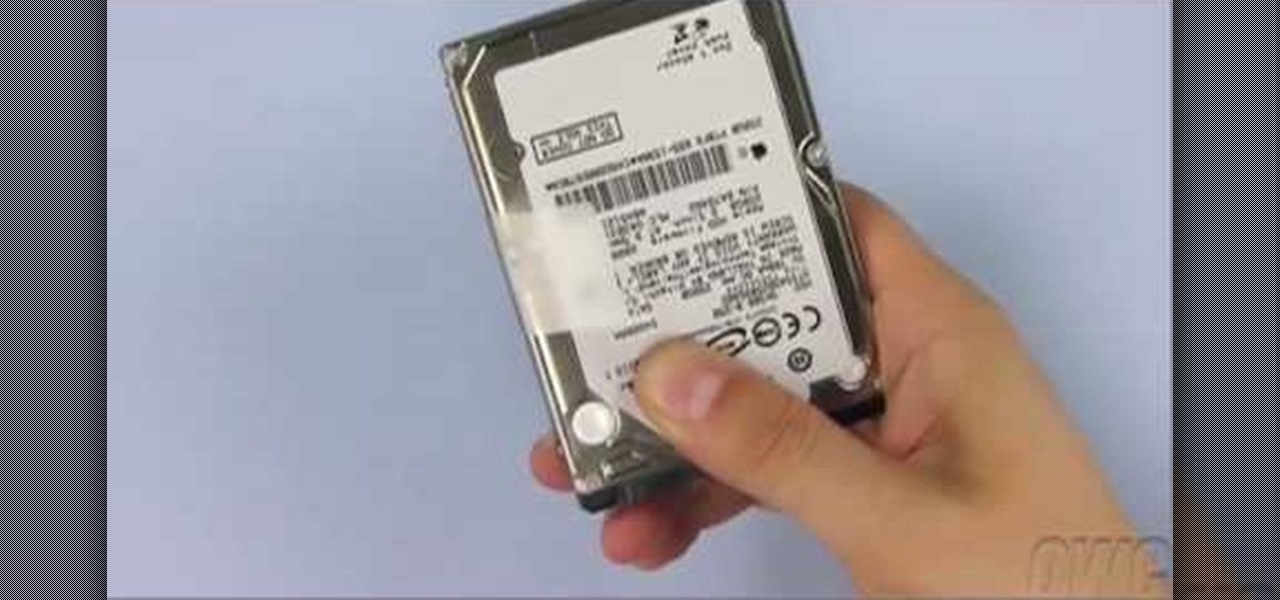
In this how-to video, you will learn how to replace a hard drive in a 2008 Macbook Pro. Make sure you use the proper anti-static precautions before replacing the device. You will need a T6 screwdriver and a Phillips screwdriver. Make sure you transfer your data from the old drive to the new one before installing. Shut down the computer, close the lid and turn the laptop over. Remove the battery cover and battery. The hard drive is held by a plastic retaining bar. Loosen the screw holding the ...
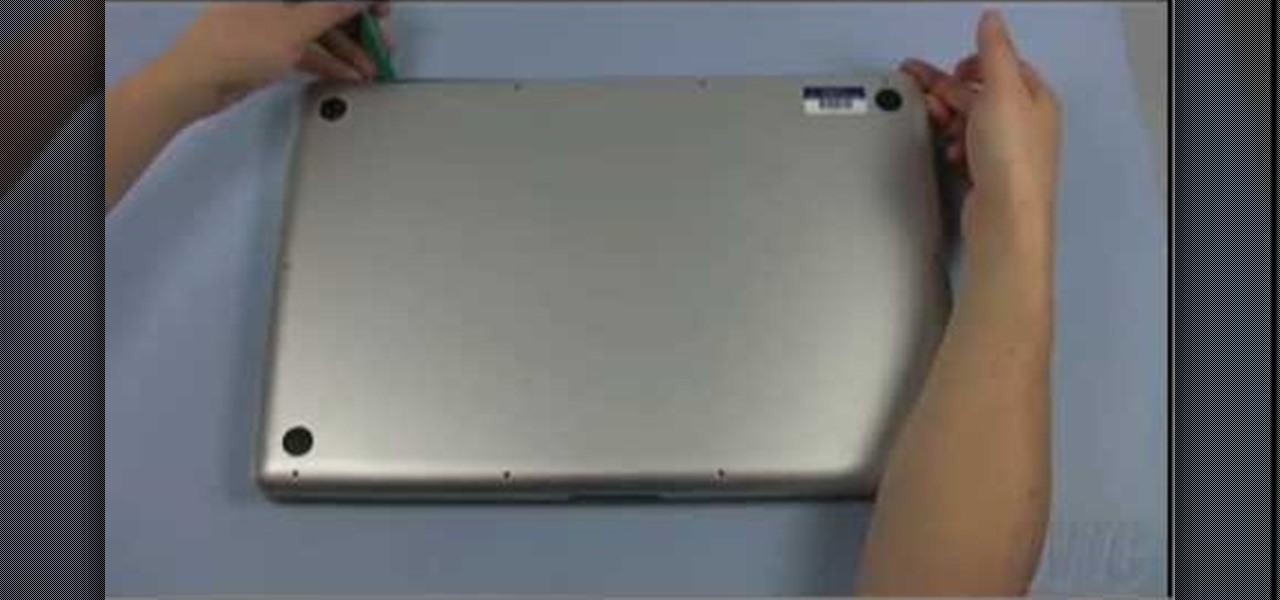
In this how-to video, you will learn how to install a hard drive into a 17" Macbook Pro. Make sure you use the proper anti-static precautions before going on with this procedure. You will need a pry tool, a Phillips screwdriver, and a T6 screwdriver. Make sure you transfer your old data into the new drive before installing. Shut down the computer and flip the laptop over. Unscrew the ten screws around the bottom. Now, remove the cover. You will see the hard drive at the lower right. Loosen th...
In this video from MacOSG we learn how to install a hard drive in a 15" Macbook Pro from around 2009. For this you need a #00 Phillips head screwdriver and a T6 Torx screwdriver. Make sure you use proper anti-static precautions with this. Transfer your data to the new drive before installing. To remove the hard drive, flip over your Macbook. Use your Phillips to remove the 10 screws. Remove the 3 at the right which are longer than the other screws. Then remove the left most screw which is the...
This video from OWC presents how to install memory in a 17" Macbook Pro.The operation will take about 15 minutes and doesn't require an experienced user.First you need to provide all necessary anti-static precautions - discharge static electricity, use static-free surface.You'll need #00 Phillips screwdriver and nylon pry tool.You can find these in the Newer Technology 11-piece tool kit.To start, shut down the computer, close it and flip it over.You will need to remove 10 screws. Use #00 scre...
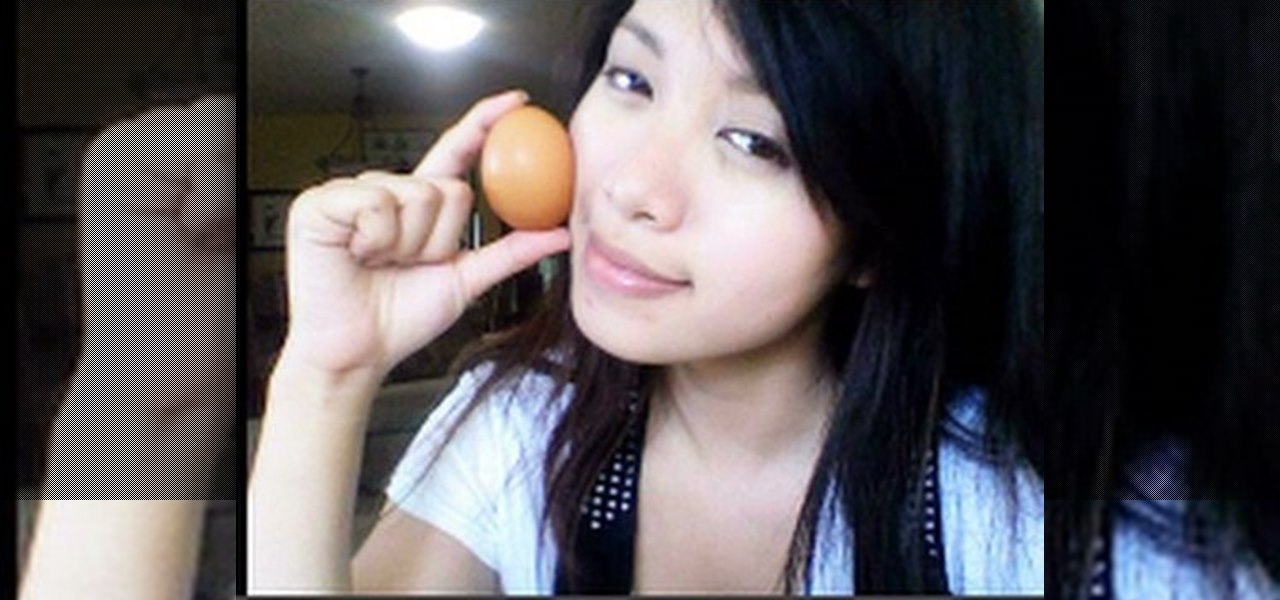
Michelle Phan demonstrates how to create an egg mask facial. Egg white and yolk mask. Perfect for oily skin. It helps brighten and tighten the skin. The reason why the egg yolks are so good and rich for your skin is because they are loaded with Vitamin A! Protein and nutrients!
Watch this video tutorial from the Polish Guy to see how to polish silverware using Cape Cod polishing cloths. In this polishing tip we polish silverware using Cap Cod Metal Polishing Cloths. The cloths are individually packaged in an attractive tin that includes a pair of reusable gloves and a buffing cloth.
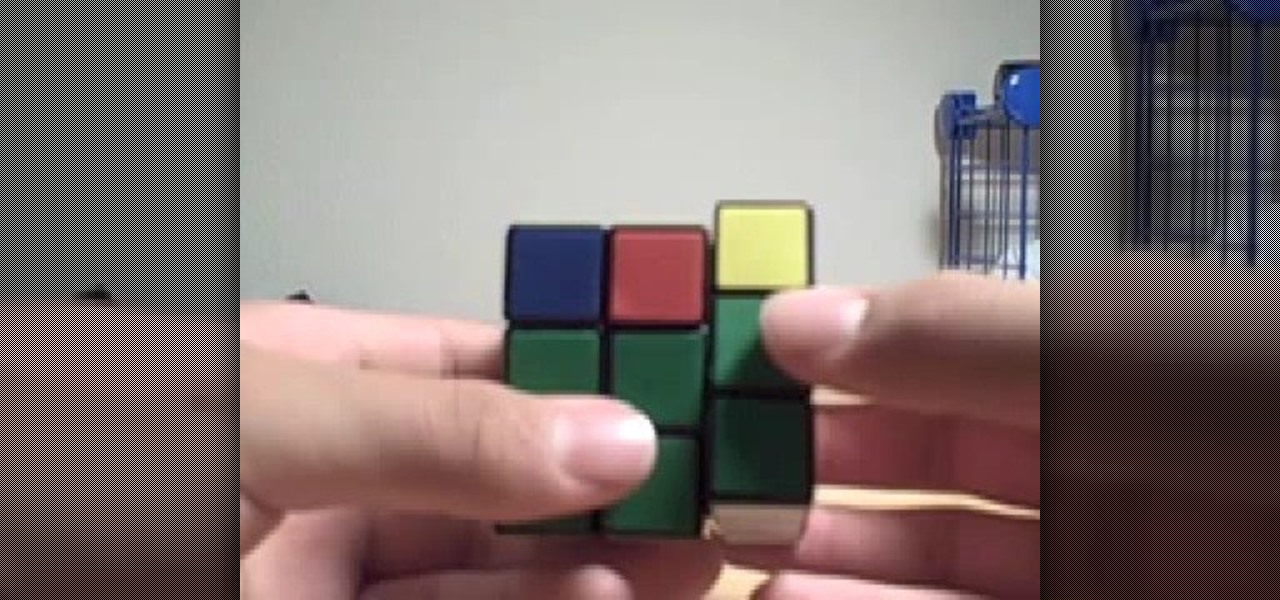
This video tutorial is for beginner puzzlers who are getting more advanced in their speedsolving of the Rubik's Cube. This 2-Look Method is exactly like taking 57 OLL algorithms and slimming them down to the single digits. First you orient the edges of the Rubiks Cube (or the cross if you prefer), then the corners, hence the name "2-Look OLL".
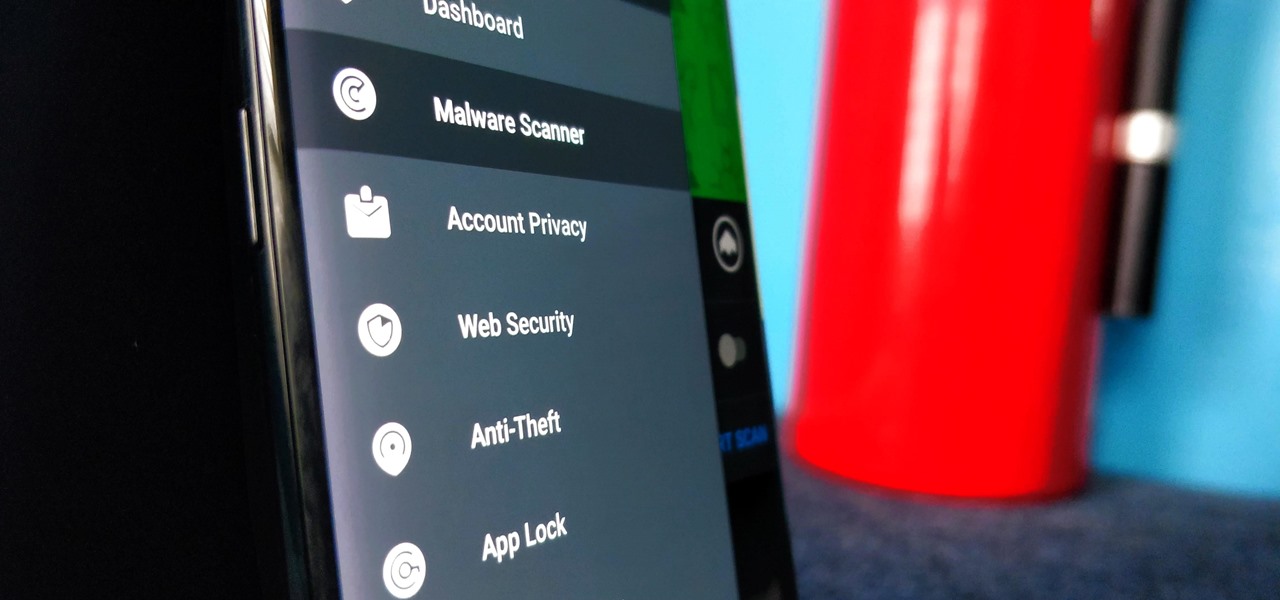
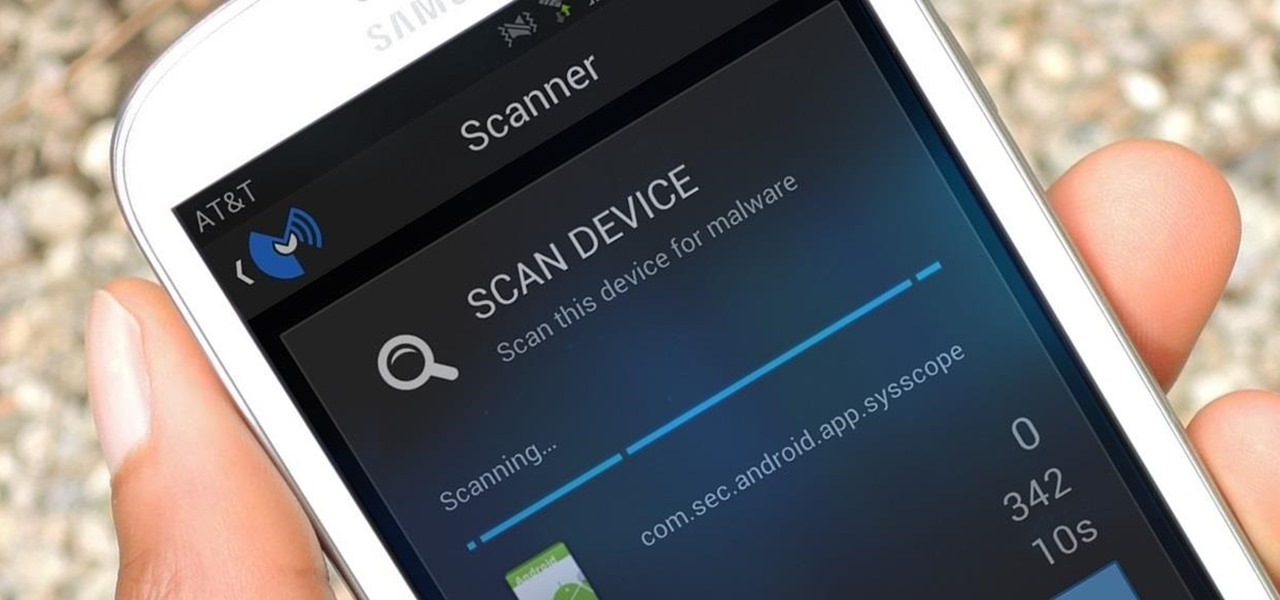
Many people think antivirus apps are useless — why pay a subscription fee when most malware can be avoided with common sense? But the thing is, there were an estimated 3.5 million malicious Android apps discovered last year, with many of them making their way onto the Play Store. As this number continues to rise, can you truly depend on common sense to protect you?
Update Feb. 2020: Google has removed the feature flag to move the address bar to the bottom of the screen. We've out to see if they have plans to bring it back, but received no comment. In the meantime, you can use the new Chrome Duet bottom bar instead.
With some of the groundwork out of the way in getting a Mac set up for hacking, it's time to start looking at toolboxes. Our first toolbox is Git, which will be used throughout future tutorials.
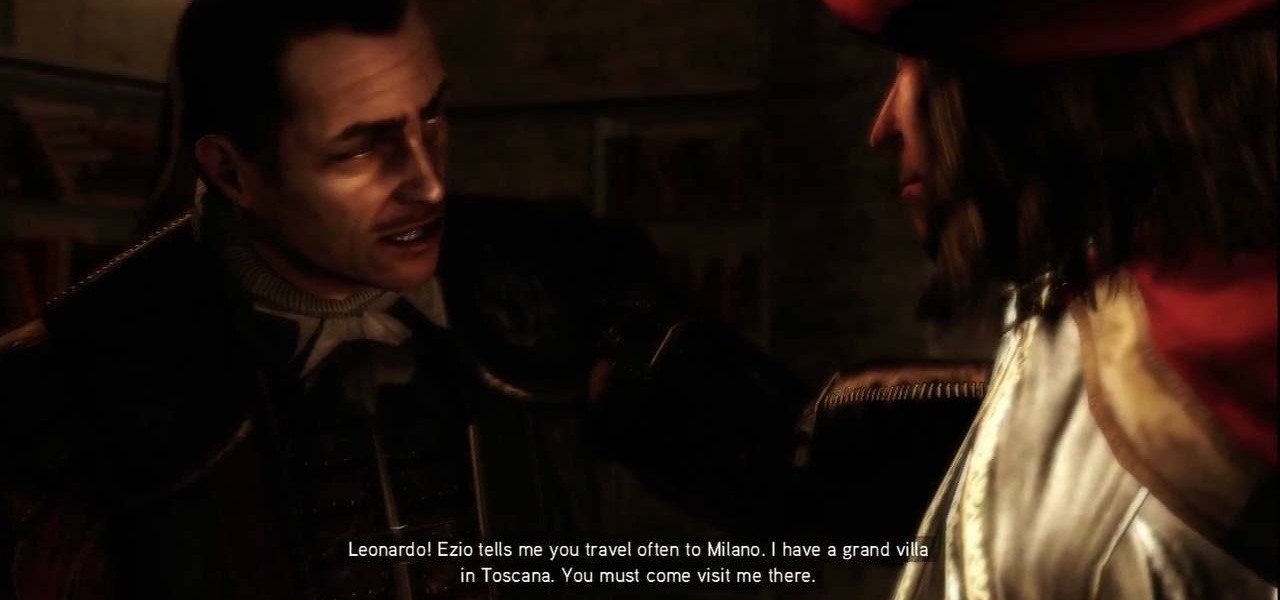
The Battle of Forli: This is downloadable content that fills in the missing pieces and has Ezio defending the town of Forli from the Orsi Brothers. There are six new memories and Leonardo's flying machine makes a return allowing players to fly it across Romagna. Ezio is joined by Machiavelli and Caterina Sforza to protect a Piece of Eden from the Templars. For more info, watch the whole gameplay.
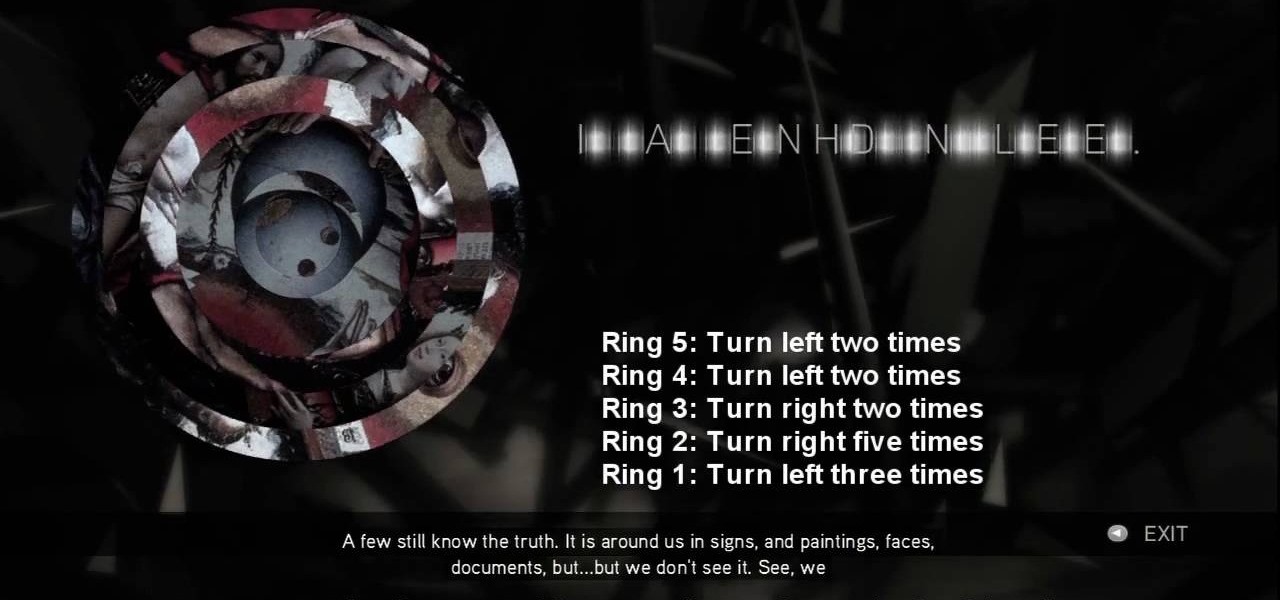
No need to figure out the 20th puzzle, entitled "The Origin of the Species", in Assassin's Creed 2. Here's the answers! Puzzle wheel: Start by turning the fifth ring right ten times, then turn the fourth ring left twice. Then rotate the third (and first) rings right twice, the second ring right five times and the first ring left three times. Image 1: Highlight the eye at the top of the painting. Code wheel puzzle: Ignore the numbers and focus on the Assassin motto: “Nothing is true, everythin...
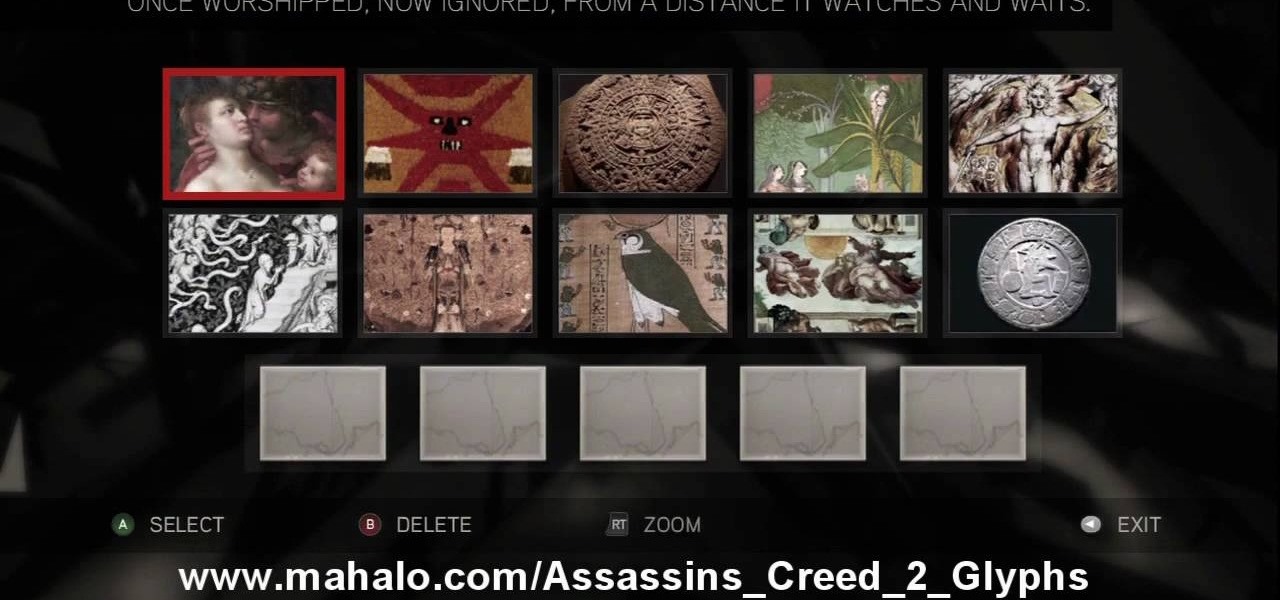
Here's the answers to the 19th puzzle, titled "The Fourth Day", in Assassin's Creed 2. Image set: What used to be worshipped by every primitive culture under the…? That’s right, the sun. Pick the five images that focus on it. Image: Find the tiny image of Earth in the lower-left quadrant of the sun. For more info, watch the whole gameplay.
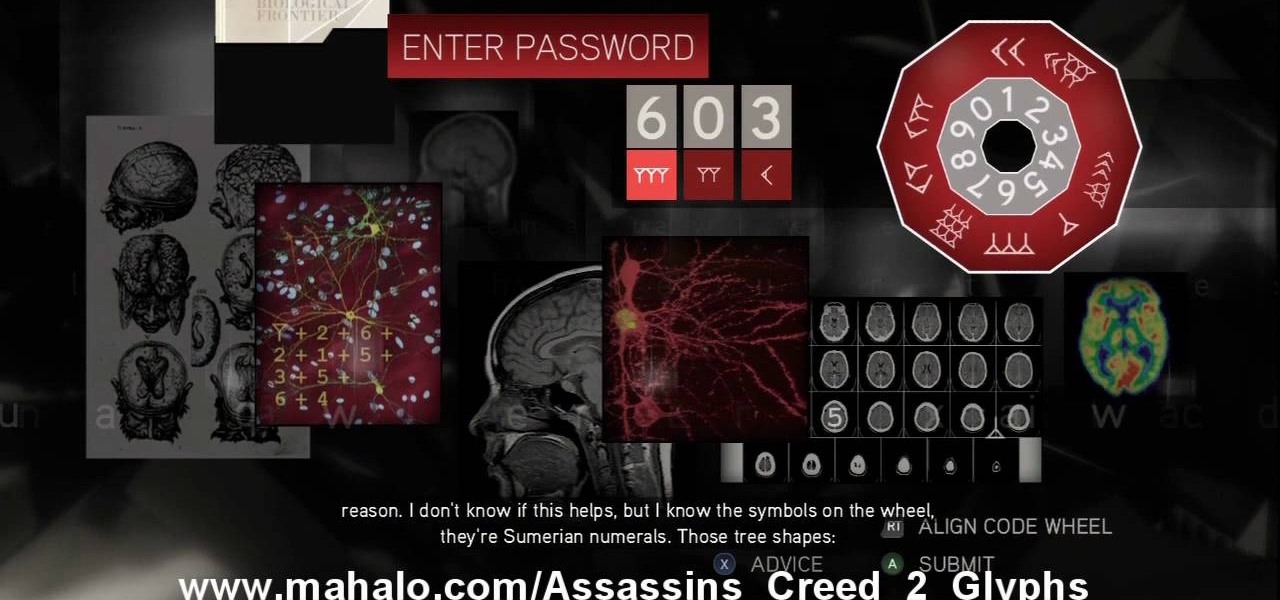
The 18th puzzle is called "Synapses". See how to solve it in Assassin's Creed 2. Code wheel puzzle: Your first clue is to line up 5 with a single tree-looking symbol. The key here is the weird-looking equation on the left, which offers a hint as to the progression of the symbols.
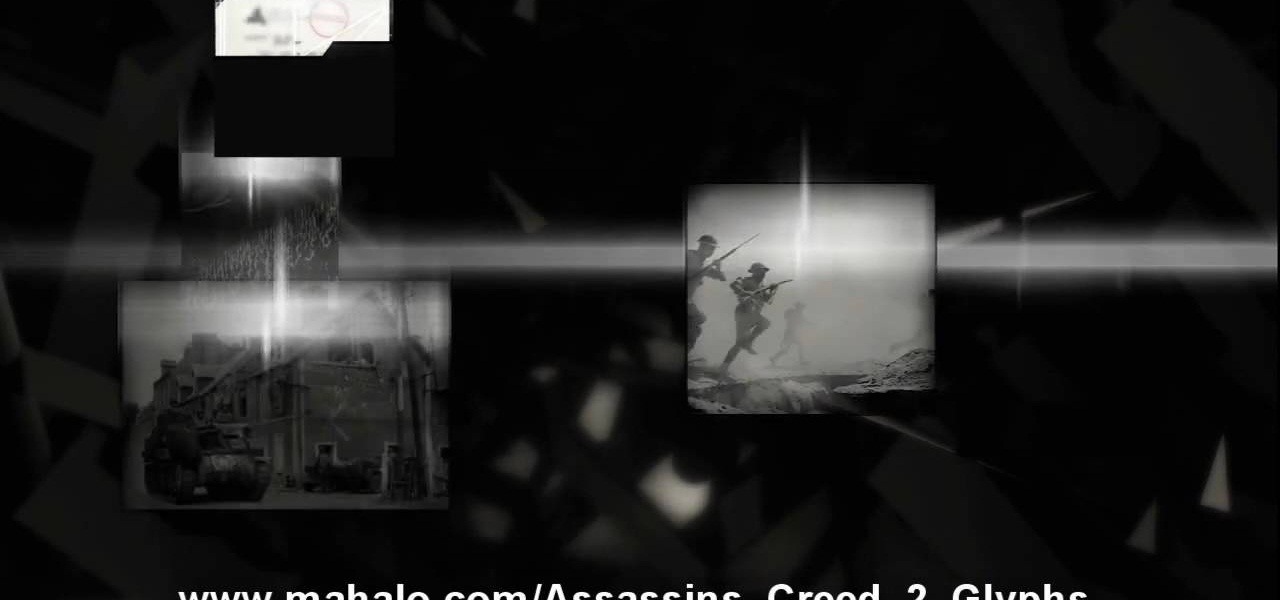
Figure out the 17th puzzle, entitled "The Bunker", in Assassin's Creed 2. Code wheel puzzle: Here’s a tricky one; your clues are “<” and “2,” and the only advice you’ll get from your handlers is that maybe there’s “something we can count” on the strange symbols. In this case that “something” is the number of times each symbol bends sharply. Don’t expect consistency across the wheel on this one; just take a look at what symbols flank the blank spaces and pick a shape with the number of bends t...
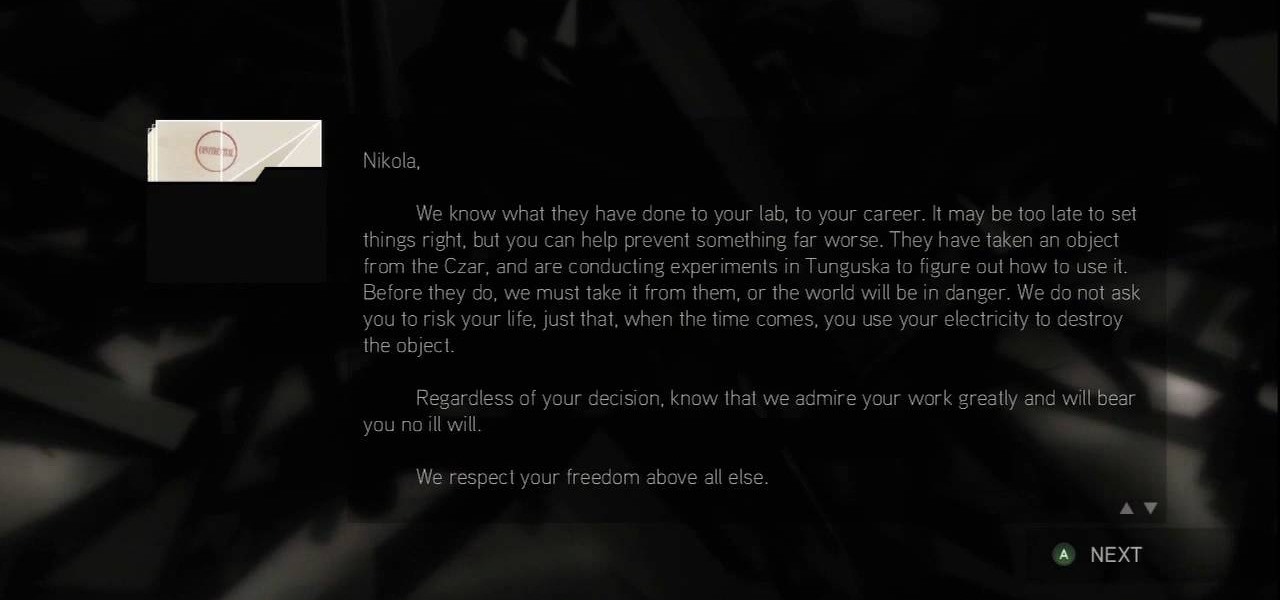
This one's pretty easy. Here's the solution to the 16th puzzle, entitled "The Cavalry", in Assassin's Creed 2. Image 1: Just move the cursor to the word “Tunguska.” Image 2: Move the cursor onto the staff and drag it onto Tesla’s photo. For more info, watch the whole gameplay.
Get all of the info on the 15th puzzle, entitled "Guardians", in Assassin's Creed 2. Puzzle wheel: Seemingly every other ring is linked here, so we’ll cut straight to the chase: Turn the third (and fourth) rings right twice, the fifth (and first) right four times, the fourth (and first) right five times, the fifth (and first) left five times and the second left five times. Finally, move the fifth (and second) rings right five times. Image: Another gimme – just move the Assassin logo over the ...
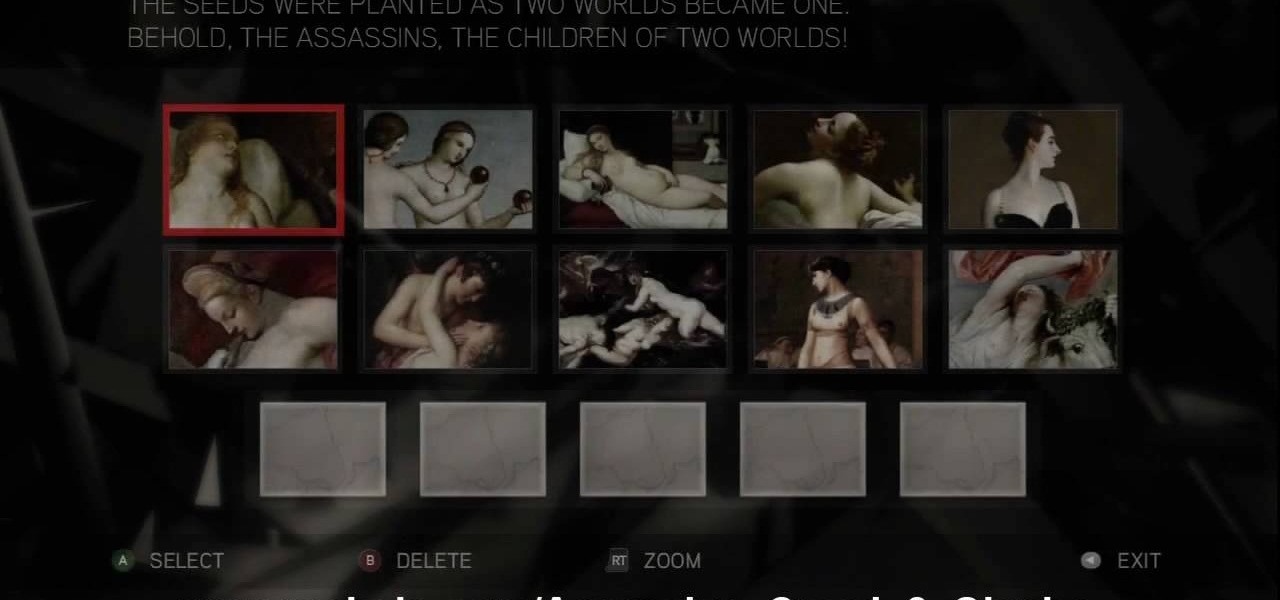
The 14th puzzle, entitled "Bloodlines", isn't really that hard in Assassin's Creed 2. Set 1: Highlight the images that depict women and gods in amorous entanglements (especially if those gods are disguised as animals). For more info, watch the whole gameplay.
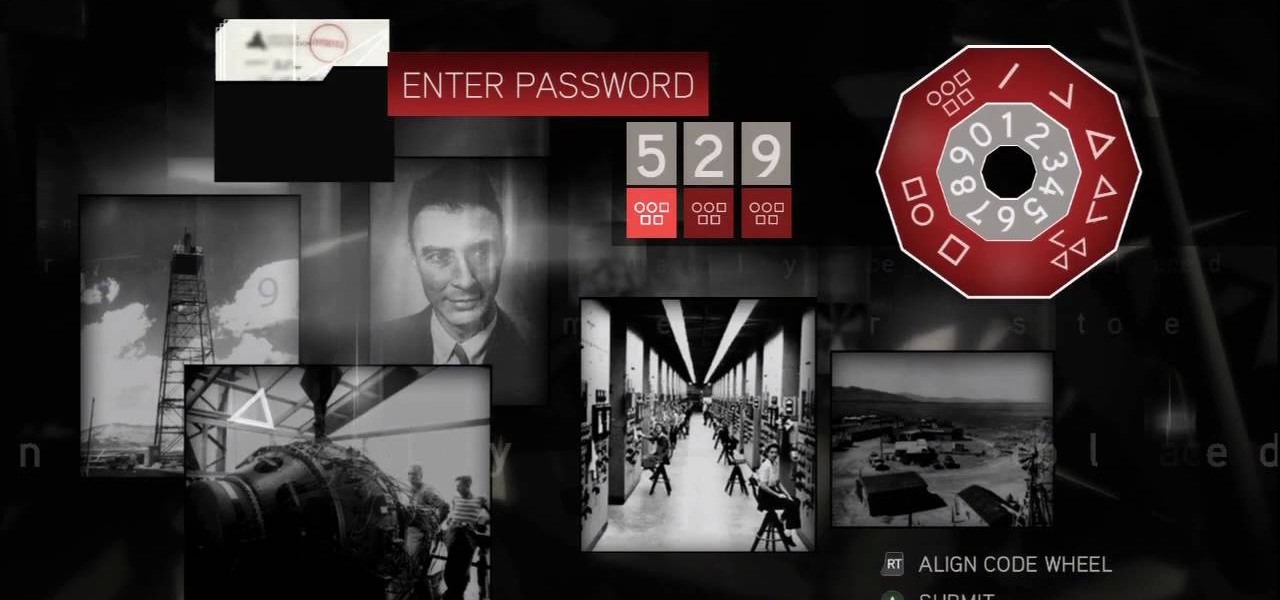
Solve the challenging 13th puzzle, entitled "I Am Become Death, the Destroyer of Worlds", in Assassin's Creed 2. Code wheel puzzle: This one’s even trickier than the last one; starting with the hint that 9 (next to the tower) equals “triangle” (up and to the left from the bomb), you need to figure out which symbols would fill in the blank spots on the wheel, going by the symbols next to them. Image 1: Just hit the button. It’s not hard. Image 2: Use the Geiger-counter clicks to guide you. For...
This is the 12th puzzle, entitled "Titans of Industry", in Assassin's Creed 2. Code wheel puzzle 1: The key here is in the “4=1” on the blueprint at the left of the screen. Line up the red 4 over the gray 1 and input the following code: 917240. Image 1: This one’s the opposite of the light-bulb “puzzle” from before – just move the dollar sign over the bulbs to extinguish them. Image 2: Highlight the glowing ball at the center of the image. Code wheel puzzle 2: Your hints here are the “2” on t...
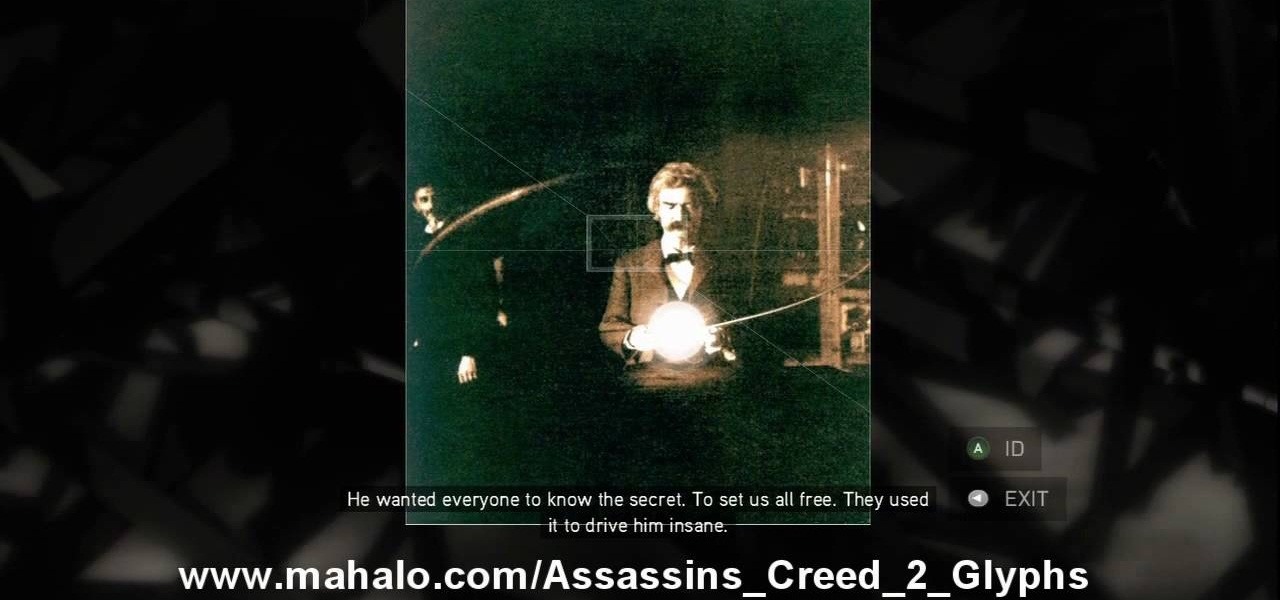
Find out how to solve the 11th puzzle, entitled "The Inventor", in Assassin's Creed 2. Image 1: Just move the lightning bolt over the bulbs to bring them to life. Image 2: Highlight the area just at the base of the tower, between the two windows, to find this hidden image. Image 3: Move the pointer onto Tesla’s lap. For more info, watch the whole gameplay.
Figure out the 10th puzzle, Apollo, in Assassin's Creed 2. Image 1: Highlight the lunar lander just down and to the left of the moon. Puzzle wheel: Another linked-ring rotation puzzle. Your job here is to align all the channels; do this by moving the fifth ring to the left six times, the second ring to the left four times, the fourth ring to the right three times and the third ring to the left five times. Then snap the first ring into place. Image 2: Move the cursor down between the flag and ...
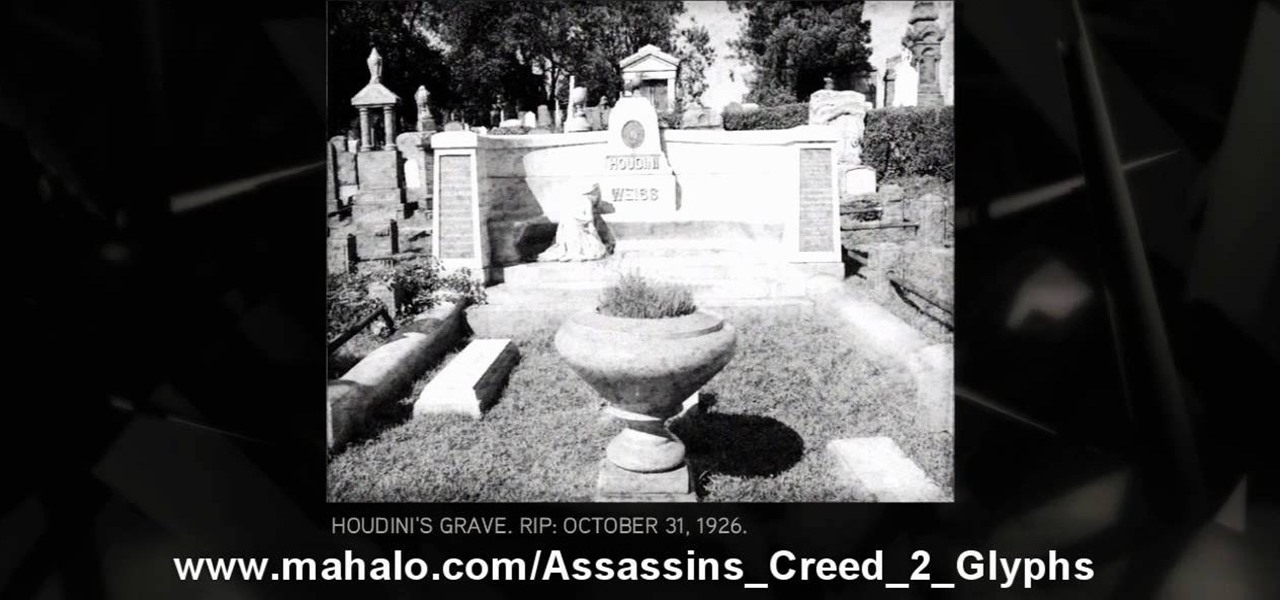
Execute the 9th puzzle, called Hat Trick, in Assassin's Creed 2. Image 1: Move the cursor onto Houdini’s torso. Image 2: Move the cursor over Gandhi’s heart. Code wheel puzzle: Your hint here is pretty obvious; there’s a big, glaring “6=1” next to Oswald’s picture. So move the red wheel so that the 6 is over the gray 1, and plug in the corresponding numbers. For more info, watch the whole gameplay.
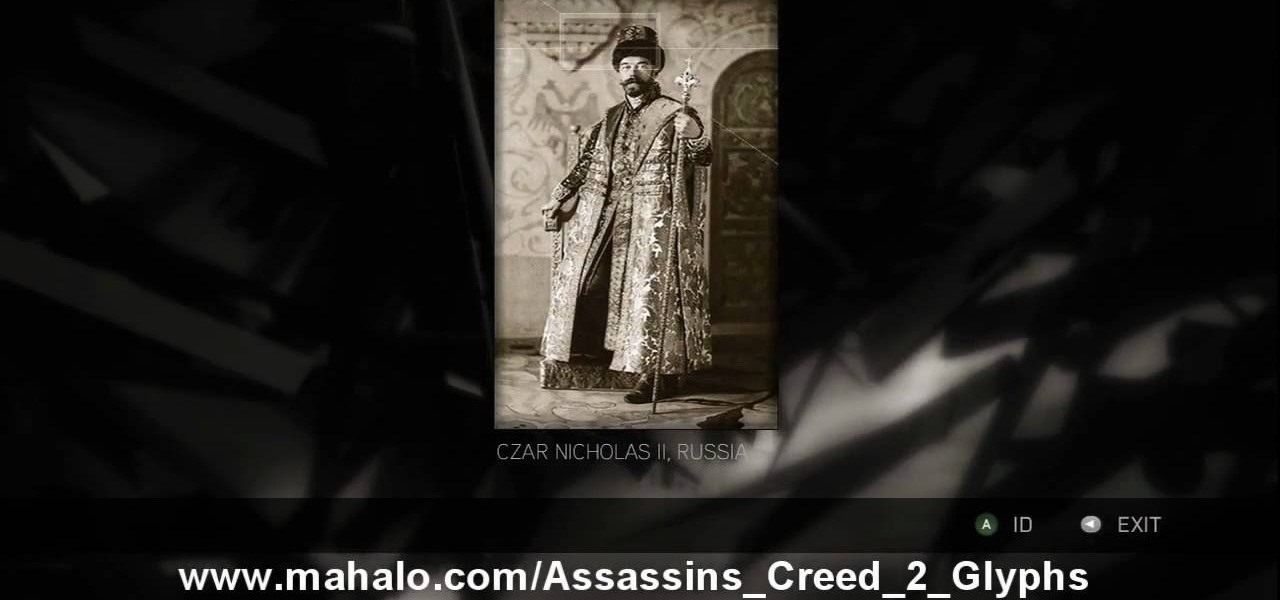
Learn about the 8th puzzle, titled Martyrs, in Assassin's Creed 2. Image 1: Highlight Czar Nicholas’ staff. Image 2: Highlight Joan of Arc’s sword. Image 3: Move the fireball to Joan of Arc’s portrait. Image 4: Move the photo of Rasputin onto Czar Nicholas’ portrait. For more info, watch the whole gameplay.
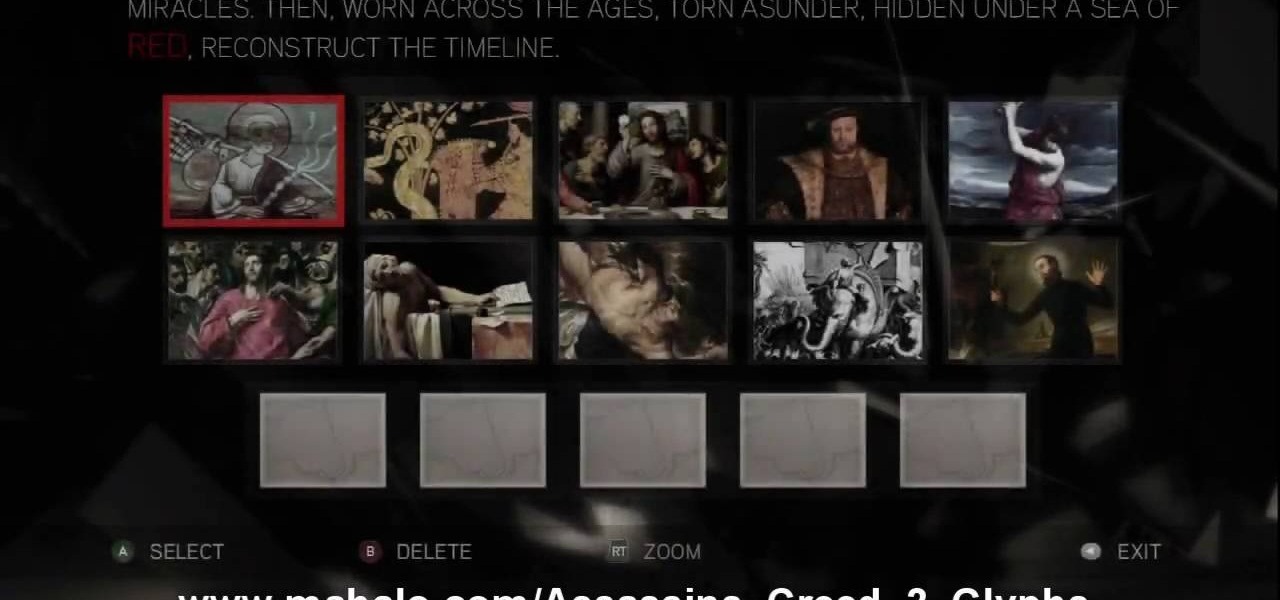
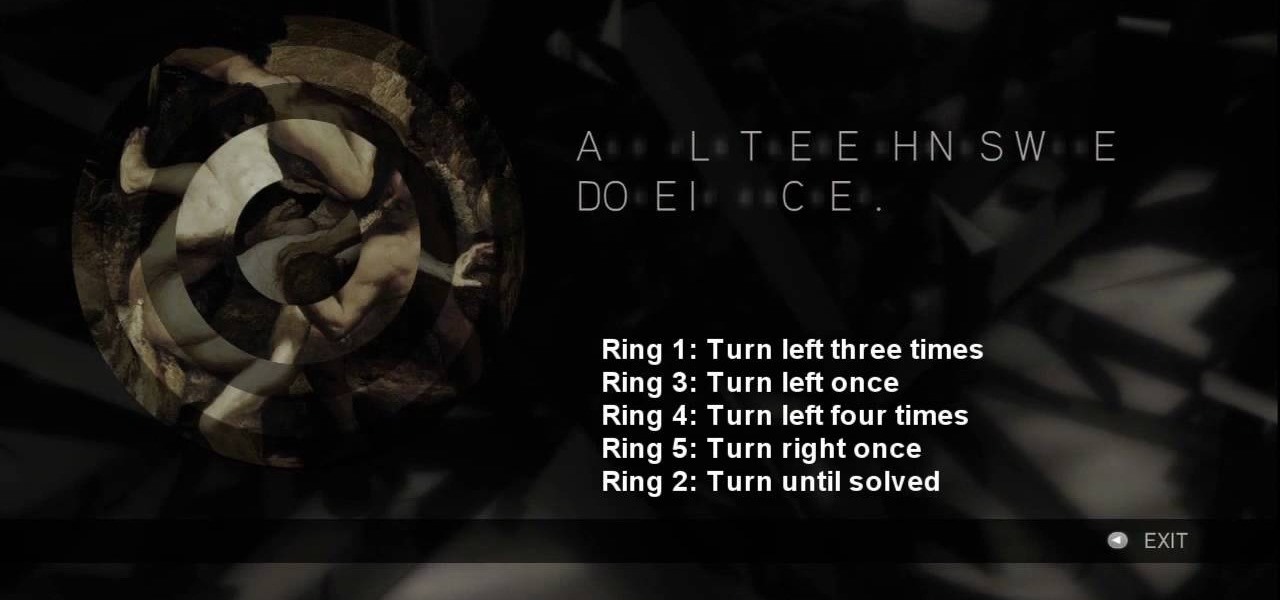
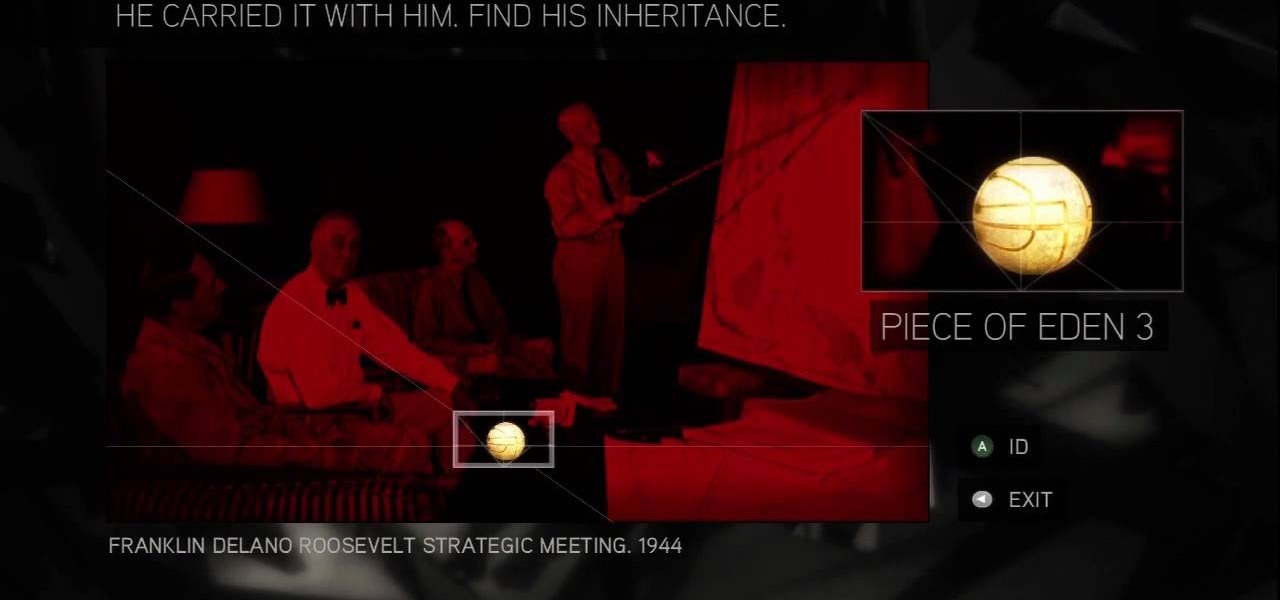
This is about the 7th puzzle in Assassin's Creed 2. Keep on seeking, and you should find… in the first image set, the key word here is "red", so pick the images in which that color shines the brightest. In the second image, highlight the area to the right of Jesus’ hips to reveal a Piece of Eden. For more info, watch the whole gameplay.
See the key to the sixth puzzle "Brothers" in Assassin's Creed 2. This is where things start to get tricky; while the first batch of ring puzzles were simple, these link some of their rings together, so that you can’t move one without moving another. For more info, watch the whole gameplay.
Find out the solution to the 5th puzzle in Assassin's Creed 2. For set one, the hint here is “cut,” so pick the five paintings that feature swords. For set two, what do the people in these paintings lean on? That’s right – pick out the images that feature staffs. For more info, watch the whole gameplay.
Get the answers to the 4th puzzle in Assassin's Creed 2. This is just another hidden-image puzzle. Find them in the barrel of the bazooka, on the helmet of the soldier crouching in the background, on a rifle held up just to the left of the officers, and in the hand of one of the monsters. For more info, watch the whole gameplay.
Find out about the third puzzle in Assassin's Creed 2. Another simple one – just highlight the spot in each image where the Apple is hiding. You can click around at random and maybe find a couple of hidden messages. For more info, watch the whole gameplay.
Try your hands at one of the first puzzles in Assassin's Creed 2. “Core?” “Pick?” That’s a dead giveaway right there. Just pick out all the paintings that contain apples. For more info, watch the whole gameplay.
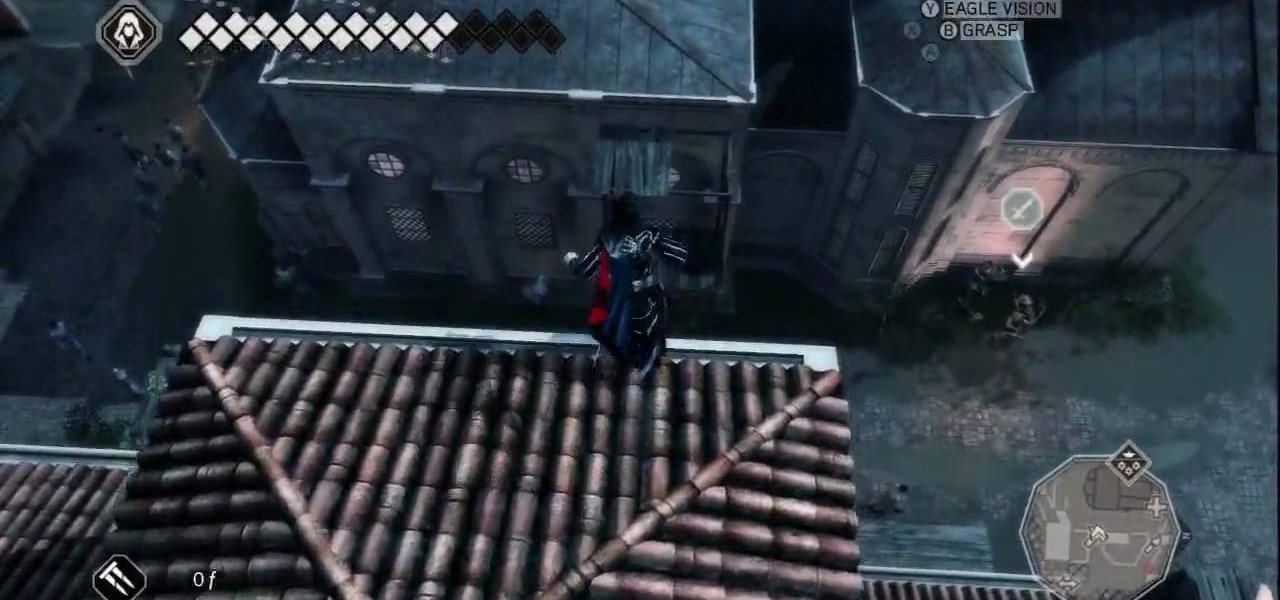
Visitazione's Secret: This is Tomb number 6. The grave of all graves. The entrance to the tomb is on top of the first level of the building's roof. You can pretty easily climb the building on the eastern face and then shimmy around to the north face and continue up. There's a small nook where the building's tower meets the first level of roof, and in there you'll find the entrance.