Enterprise augmented reality developer Atheer is bringing its AR solution for enterprise businesses to the HoloLens by way of a joint venture with fellow AR developer Design Interactive.
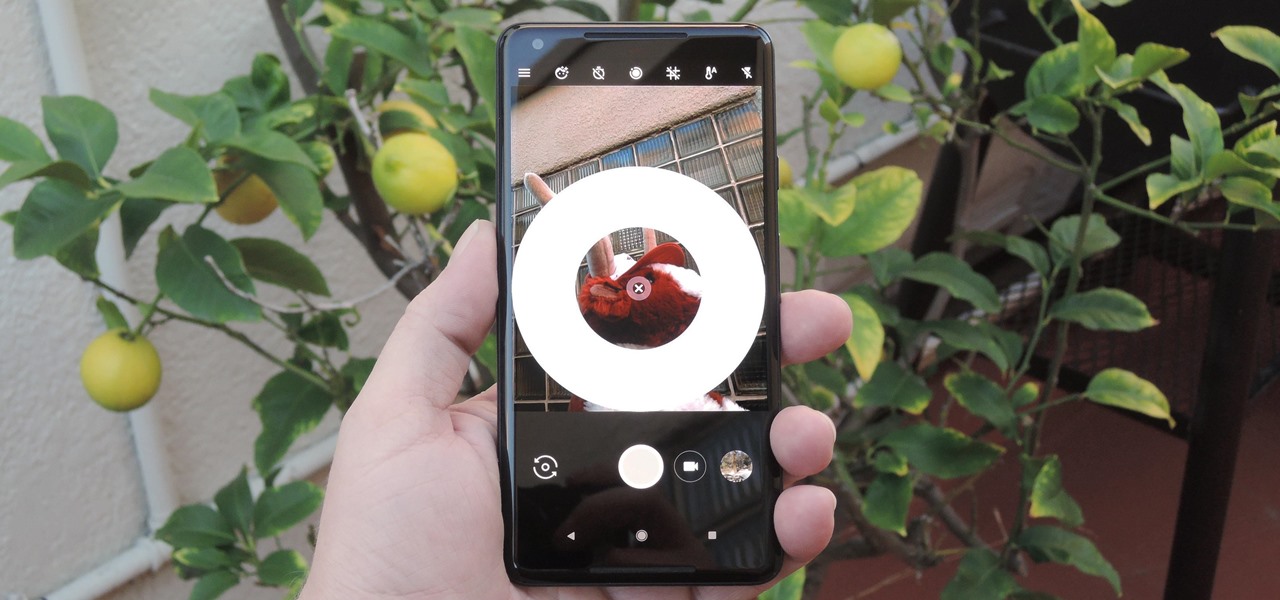
Some phones have a feature that turns your screen white for a second when you're taking a selfie in dim lighting. This does a great job of illuminating your face in a pinch, but there are two problems with it: First, not all phones have the feature, and second, it doesn't work in third-party camera apps like Snapchat and Instagram.
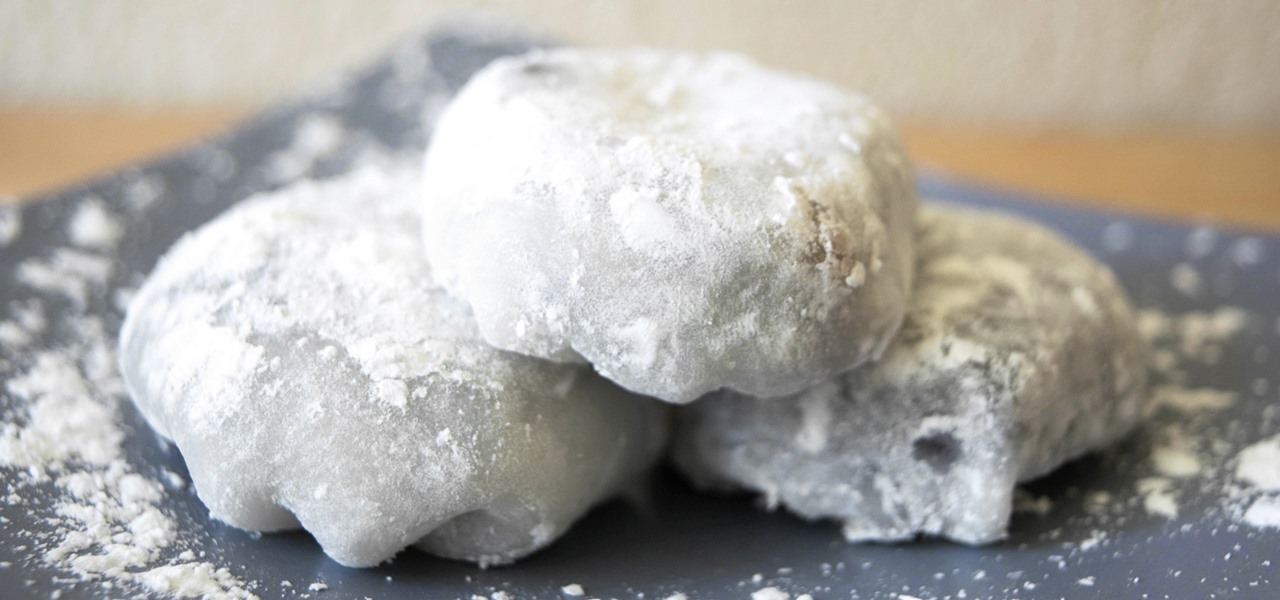
Mochi seems to be everywhere these days: as a topping at your local frozen yogurt shop, in ice cream balls (the green tea ones are heaven), and as colorful treats all over Instagram. It seems like mocha mania is in full force!

Android Nougat came with a lot of new features, including a futuristic and sleek circle animation. When this article was originally published, it was rumored that the circular design would be used as the new boot animation in Android 7.0—but as it turns out, you'll only see this screen while you're installing a firmware upgrade or working with ADB.

My bathroom is like my own private arcade room. Whenever I'm seated comfortably on the toilet, no one is going to disturb me, so I can play anything I want on my smartphone. You probably do it, too — and your parents, kids, friends, colleagues, and boss — so don't be afraid to admit it.
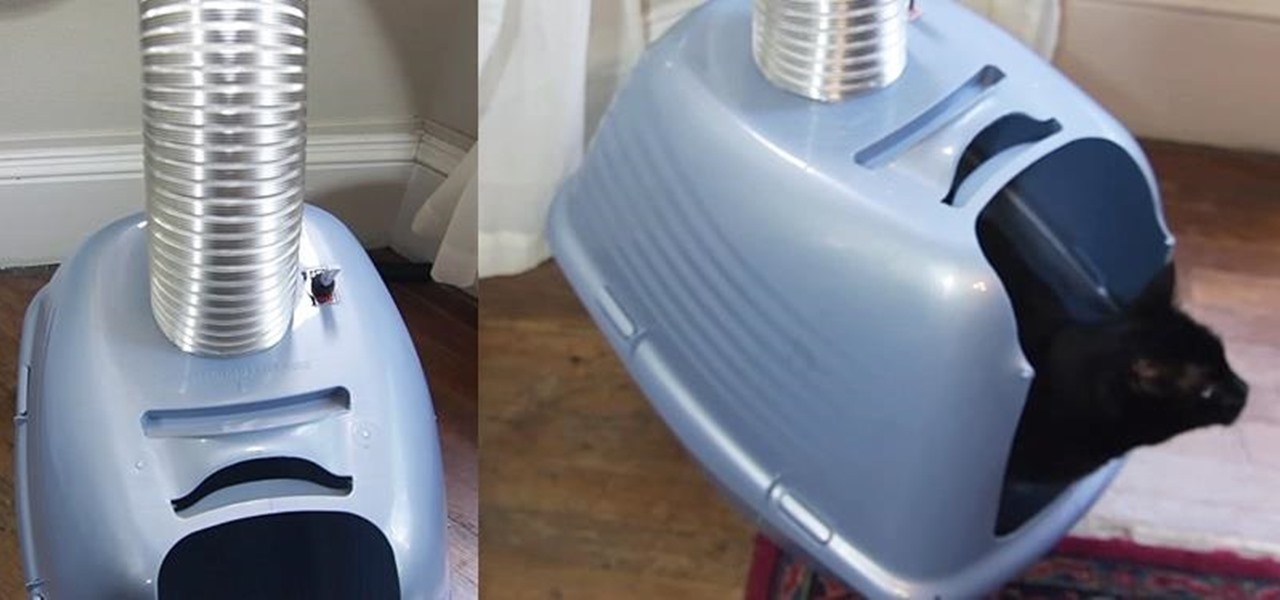
One thing the whole Internet can agree with is that cats are cute and (sometimes) cuddly. But what those endless cat videos you find yourself watching for hours on YouTube don't tell you is that cats stink. While cats aren't the source of the smell, owning a cat means a stinky litter box.

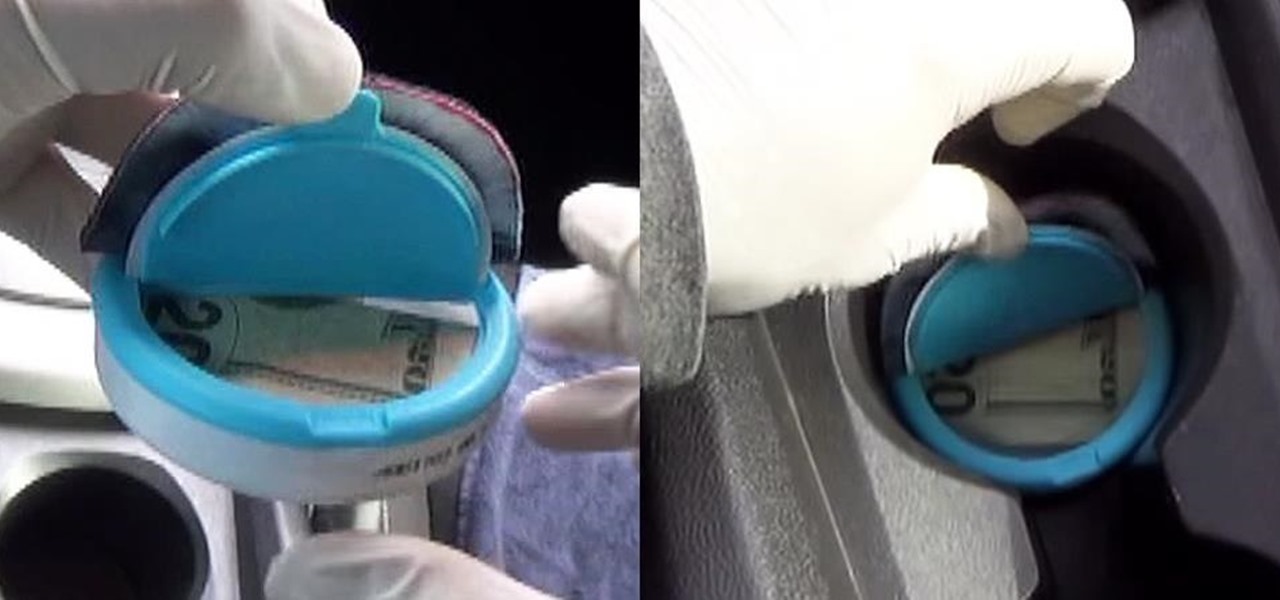
Nowadays, protecting your valuables can be challenging especially when you're on the go. That's why I decided to make a little secret compartment inside my car. Only you'll know it's there because nobody will be able to find it. Not only that, but you'll have easy access to it. It's fairly cheap and the total cost was under $5.00. Let me show you how to make it. You can watch the video or scroll down below for the written guide.
There's nothing better than gathering up all the cushions, pillows, and blankets in your home and having a good ol' fashion movie night. But if you're still rocking the old 19-inch TV your parents gave you in college, you may want to upgrade to something bigger.
So Christmas is coming up, and you want to make a couple of presents for your friends and family, who you don't really feel like splurging on- but want to make something from the heart. You've tried other stuff, and you totally failed at the Cross-stitch from last year, have you tried Knitting?! Well here's a beginners guide to the simple knitting technique- an easy one!
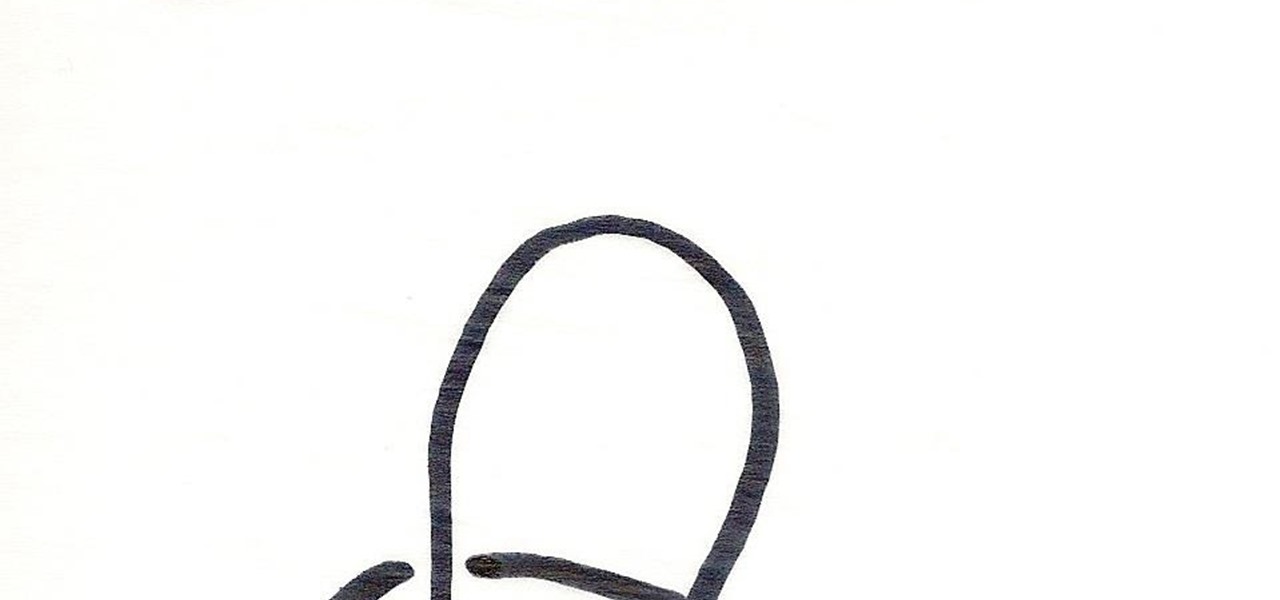
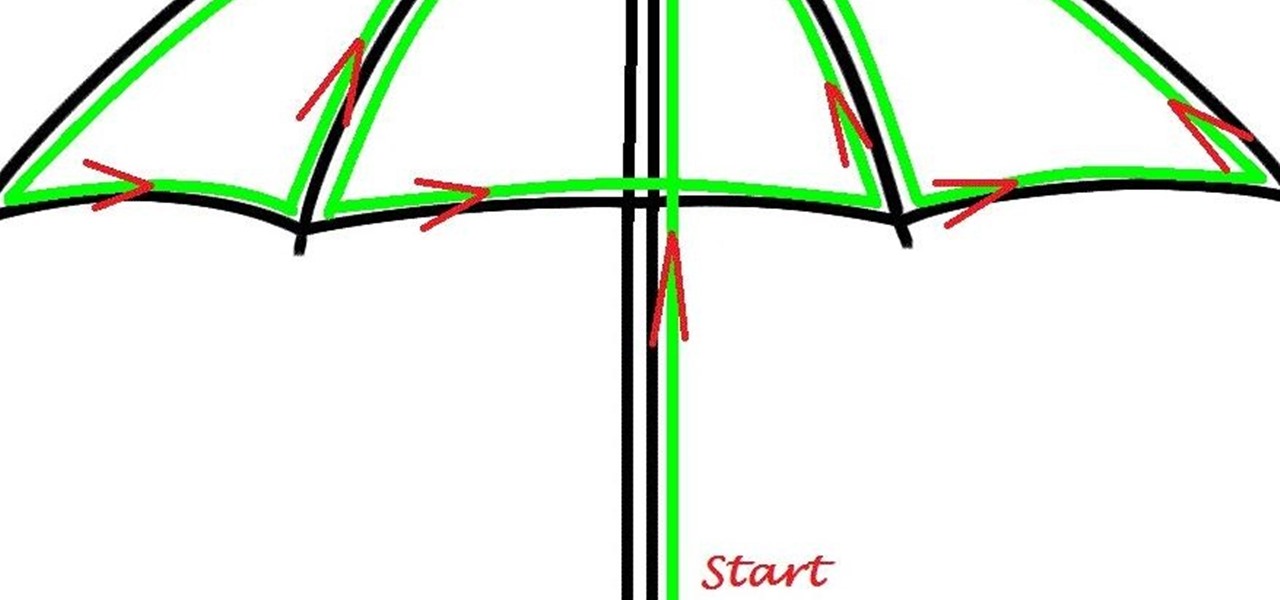
Here's a children's umbrella lined with neon green EL wire. It's definitely an easy and fun project for kids to do with their parents, and more importantly, it keeps the little mischiefs safer if they're out and about on rainy days.
Systm is the Do It Yourself show designed for the common geek who wants to quickly and easily learn how to dive into the latest and hottest tech projects. We will help you avoid pitfalls and get your project up and running fast.
Pixel Perfect is the "perfect" show to help you with your Photoshop skills. Be amazed and learn as master digital artist Bert Monroy takes a stylus and a digital pad and treats it as Monet and Picasso do with oil and canvas. Learn the tips and tricks you need to whip those digital pictures into shape with Adobe Photoshop and Illustrator. In this episode, Ben shows you how to apply localized correction in Lightroom 2.
This video explains how to make Vincent Valentine's arm guards in under 20mins. The supplies needed to complete this task include card paper, tape, gold spray, pencil and scissors. A ruler must be used to measure the length of your hand and fingers so you can correctly size the arm guards. Card paper is the cut into many small circles and placed around all of the fingers and then painted with gold spray. The hand portion is created by wrapping your hand with card paper and pulling tight befor...
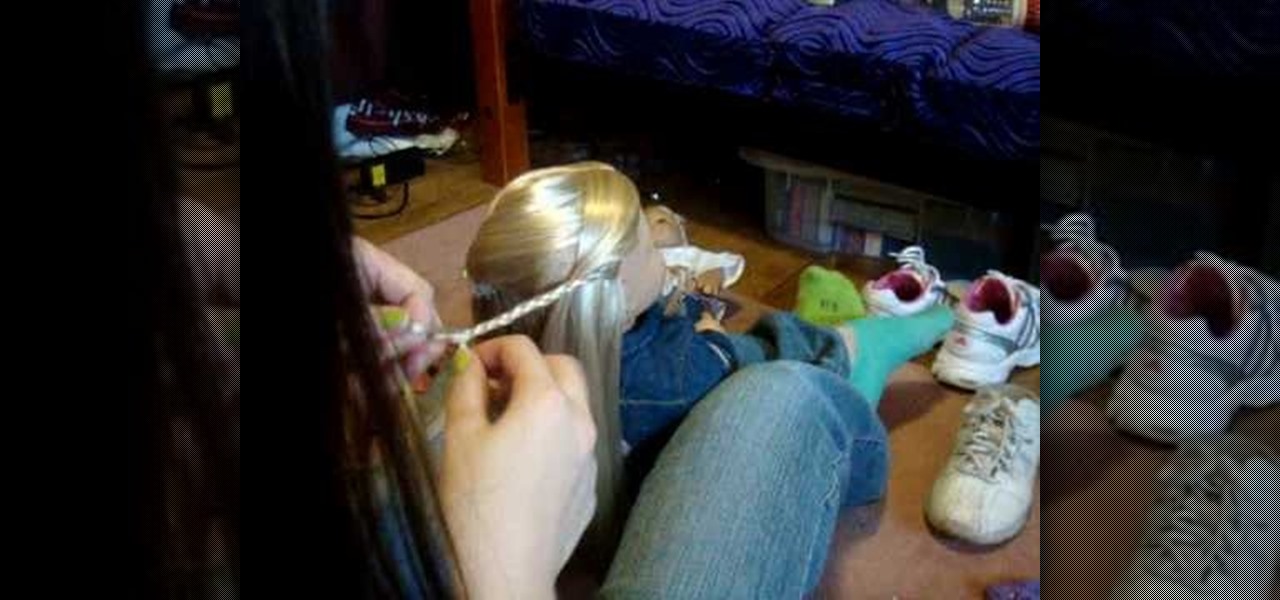
In this video from stephenswodadancer we learn a new hairstyle for your American Girl doll. You need 4 clips and a brush. Take your thumbs in her hair and wrap a circle in the crown of her head. Brush that part out, twist it around, and poof it up. Take the clips and put it on either side of the poof you've just made. You can leave it like that if you want or continue and take a small piece from the side of her hair and begin braiding it. Bring the braided piece across the back and clip the b...
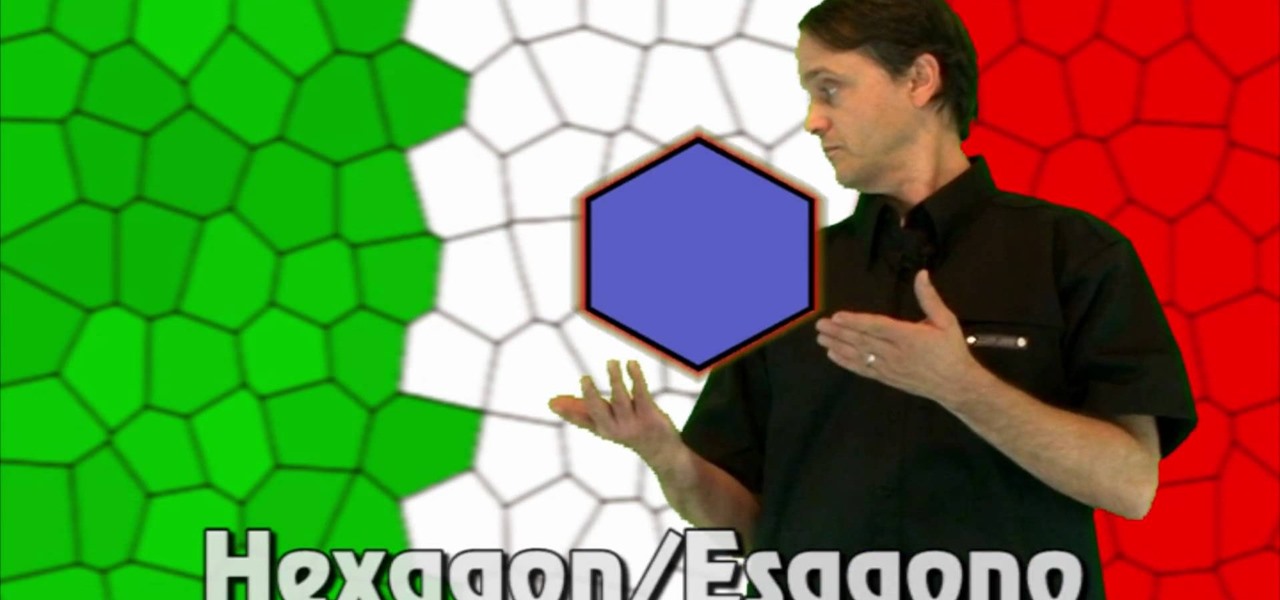
Another Italian language video that teaches some of the other basic words in the language. The knowledge of shapes too is essential when conversing in any language.
In this tutorial, we learn how to draw Sonic the Werehog. Start by drawing the outline of the character, making sure to draw in the spiked hair on the back of the head. Then, draw in the circle for the head and use crossing lines to reference where you want the features of the face to go. Draw in the features and then add in more detail to them as well. Erase the background lines and then draw in the details of the body. From here, color in the body and then shade in corners to make it look m...
In this tutorial, we learn how to draw a cylinder. First, you will draw the sides of the cylinder and then the curves for the top and the bottom. After this, complete the circle at the top and then shade in the side with crosshatching. From here, draw some lines to shade in on the side next to the cylinder. If you want to draw a cylinder on its side, draw a box around it first and then continue to draw. Make sure all your lines are equal to each other so it evens up and looks more realistic f...
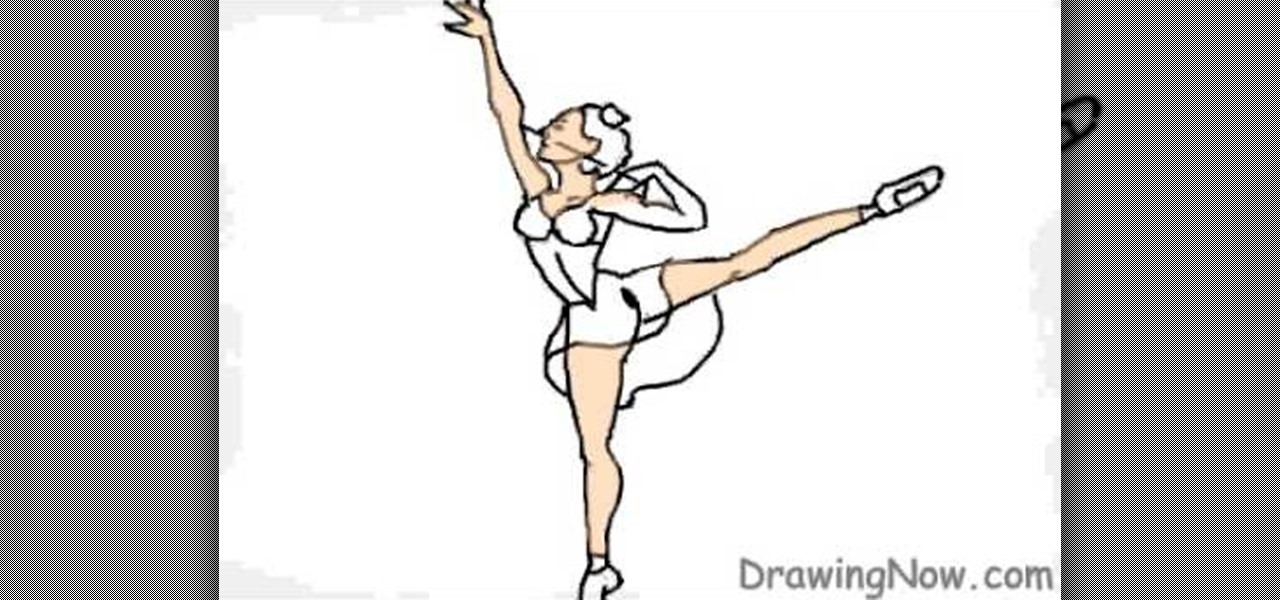
In this tutorial, we learn how to draw a ballerina. Start off by using circles and basic lines to draw the outline of the ballerina's body. Then, use a darker brush to create the body and add in the details of it as well. Draw one leg up in the air, while the ballerina is standing on the other with her arm raised high in the air. Erase any background lines, then start to draw in details of what the ballerina is wearing on her body. Draw in additional details around the figure, then when you a...
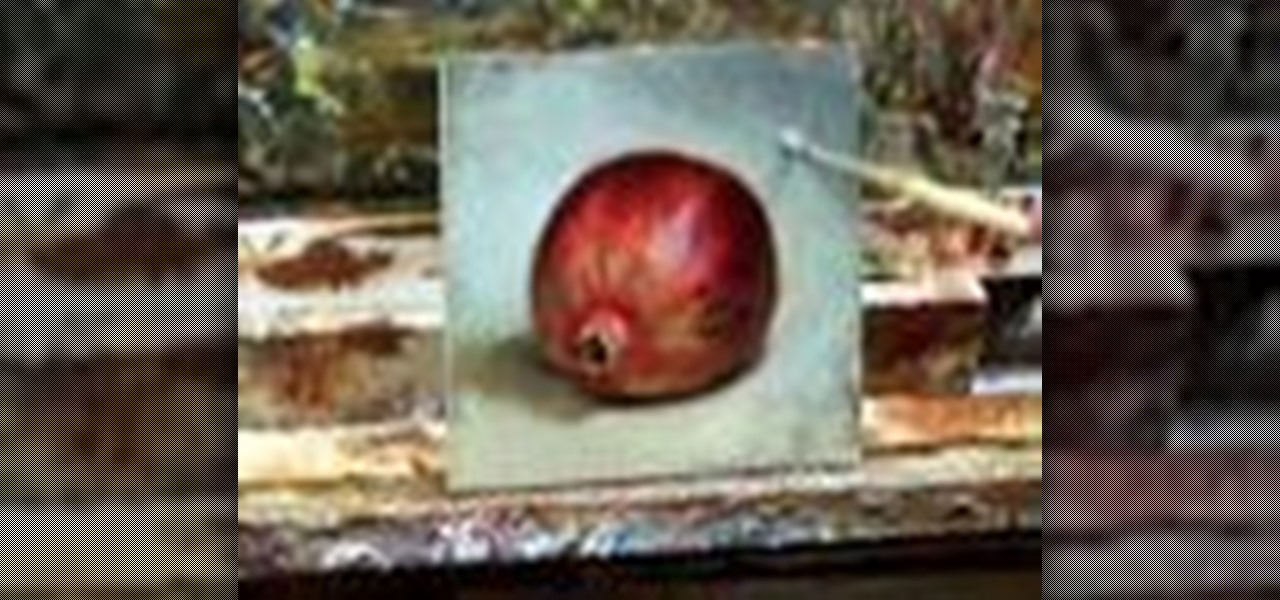
In this tutorial, we learn how to paint a pomegranate. First, paint the circle for the pomegranate. After this, shade the right side with a dark red and the rest with a lighter shade of red. From here, add in a medium red all over the pomegranate and then add another shade over that. From here, start to layer on more additional colors of red to the pomegranate to make it appear more realistic. When finished, paint on the background with whites and grays that are mixed together. Add white to t...
In this tutorial, we learn how to make a Spartan 300 shield. You will need: paper mache, durable cloth, gold spray paint, newspapers, cardboard, nuts and bolts, and the cap to a trash can. After you have these, cut out a large piece of cardboard and place it over the trash can cap in a circle shape. Then, dip newspaper strips into the paper mache mixture and apply it to your shield, taking your time to make it smooth. Let this dry, then cut two strips of cardboard and place it in a 'v' shape ...
In this tutorial, we learn how to decorate a bronze beauty cake with fondant. Start off by coloring the cake with a light bronze or buttercream color. After you do this, you will need to mix up some medium brown colored icing and place it into a piping bag. When you do this, you will pipe this all around the sides of the cake. When you finish with this, you will color the fondant the same color brown and then roll it into a circled shape to make beautiful flowers. Lay these on the cake and th...
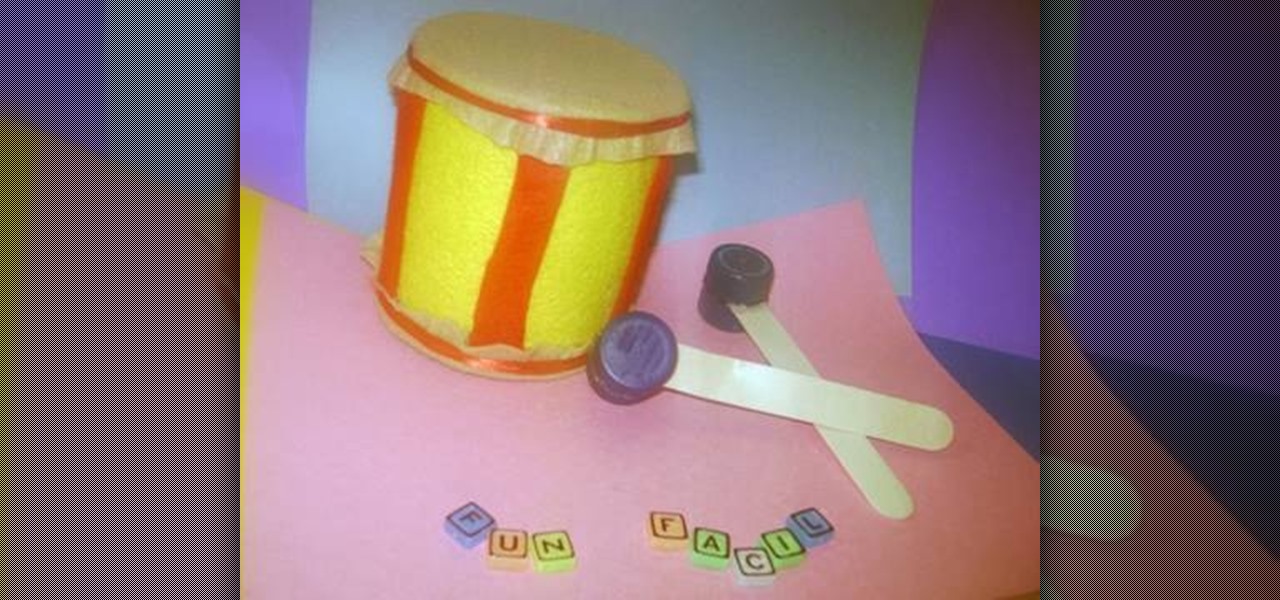
In this tutorial, we learn how to make a toy drum. You will need: felt, recycled tin can, 1 red lace, 4 soda caps, 2 popsicle sticks, glue, and scissors. Cit, cut the felt into a circle and glue it around the tin can. After this, take red felt and cut it into strips, then glue on the side of the tin can so it's striped. When finished, apply glue to the top of the can and then cover with additional pieces of felt. Tie a ribbon around the top and the bottom of the felt on the fan. To make the s...
In this video, we learn how to draw the classic Sonic the Hedgehog character. First, draw a round circle for the head. Then, draw in the eyes and the hair around the head in big huge lines. After this, sketch in the rest of the body. Then, start add details to the head, drawing in the eyes, mouth, and hair lines. From here, draw in the details of the body and then create the leg and feet clothing as well. Draw a bold black line over all of it, then you will add in shading to finish up this dr...
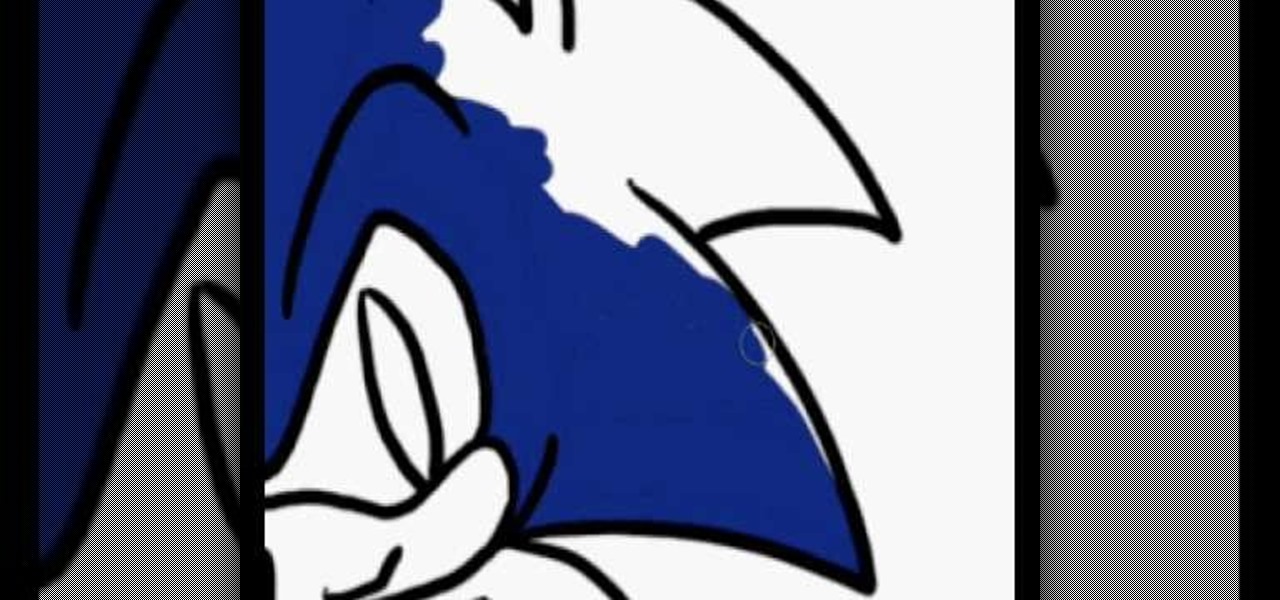
In this video, we learn how to draw Sonic the Hedgehog in Photoshop. First, draw a circle on the page and then draw the eyes onto him. After this, draw on his ears and then his hair around his head. After this, draw in the rest of his body and his feet. From here, use a darker paint brush to create the final outline of the character. Draw in the lines around Sonic to make him appear more realistic. Then, color him a dark blue color with red on his shoes. When finished, save this drawing and y...
In this tutorial, we learn how to make a Saw 2 death mask. Start off by grabbing an old helmet and covering it with plastic wrap. Then, make paper mache over it. From here, cut a piece of rubber into small strips. Then, draw and cut three stripes on a piece of cardboard. Then, use two strips for the shoulders and one for around your waist. Then, make the front chest piece with cardboard. From here, make a square with Styrofoam and cut out a piece of an egg carton. Now, draw the eyes and mouth...
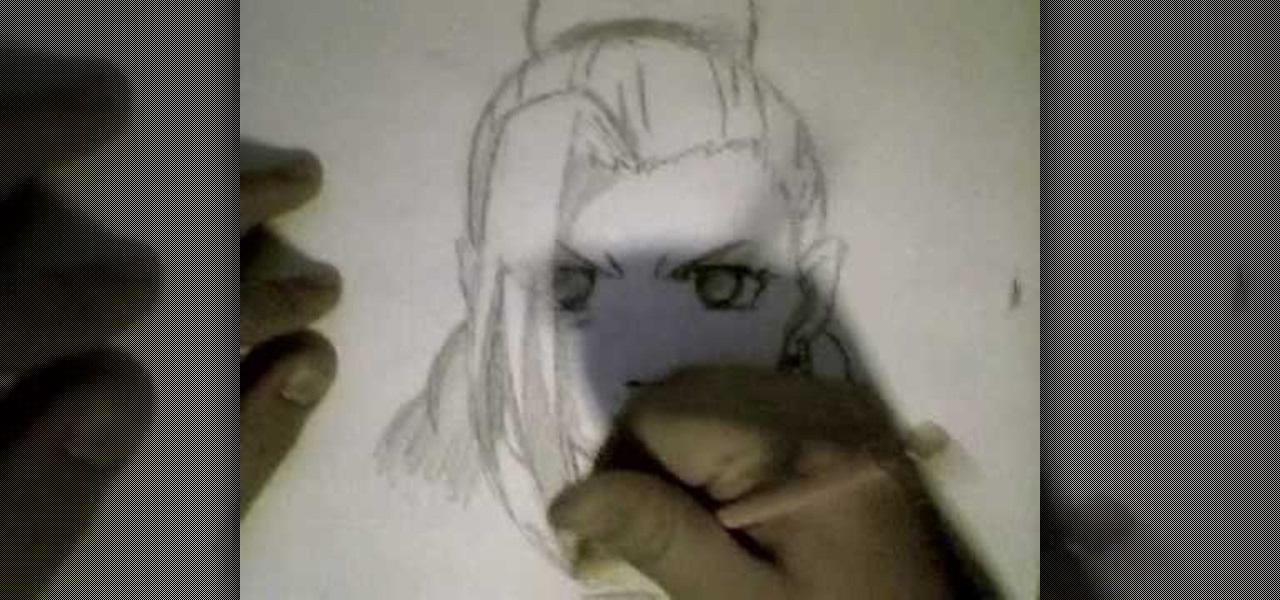
In this video, we learn how to draw Ino from Naruto. Start off by drawing a circle for the head, then drawing lines in the middle to create reference for where the facial features will go. After this, draw in the hair on the top of the head along with the eyes, eyebrows, and creases of the eye. Then, draw the jaw line around the face and erase the lines you used for reference. After this, add in additional lines and hair to make it look more realistic. Use shading around the face to show ligh...
In this video, we learn how to create a marbleized water look with icing. This is a colorful and eye catching way to put icing on a cake to make a memorable piece! First, spoon your icing into a small bowl and then make a rice cereal treat and shape it into a circle. To start to decorate this, you will pipe on green icing to the sides and front of the ball to make it look like a fish. Then, pipe some of the icing onto a flat surface with red confectioner's sugar. Once this is covered and hard...
In this video we learn how to draw hands without references. First, draw the basic structure of the hand using a photo to make sure it's true to size. After this, draw on boxes and circles to create the wrist, hand, and the knuckles. Then, you will draw on straight lines for the bones in the thumb. After this, start to add details of the fingers and make out their basic shape. As you continue with details, erase any background lines and start to add lines in for wrinkles on the skin. Finish t...
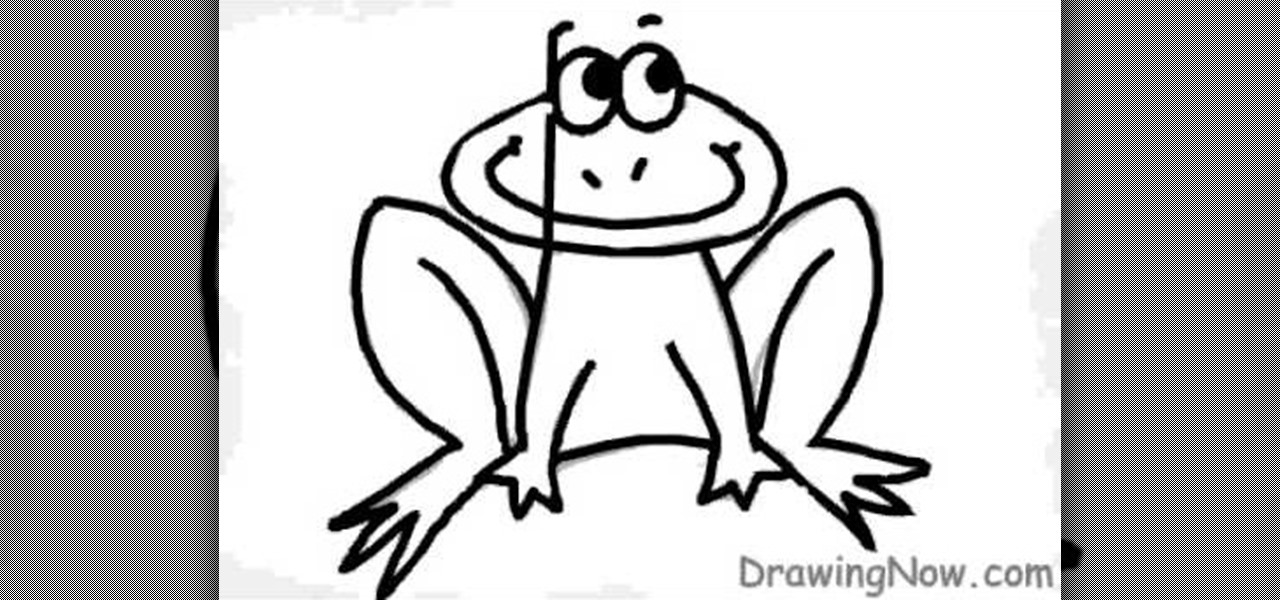
In this tutorial, we learn how to draw a cartoon frog. First, draw an oval fro the face with two small circles sticking up. After this, draw the outline for the legs, arms, and body. Then, draw on the eyes, nose, and a big smile. Make sure to make the toes on the bottom of the feet. After this, erase any background lines and start to add in some color. Use green and dark greens to shade the sides and middle areas on the frog. Then, add dots to the legs to give it some character. After this, c...
In this tutorial, we learn how to make a slit flower frame card. First, gather all your cardstock together in the colors that you would like. Then, take the first one and cut a circle window in it using a blade and a template. Then, punch slits on the outer frame of the window. From here, shade the petals and pull them out from the card to stick out. Then, place a rubber stamp with hearts on the other place of card stock. Then, turn the flower frame over and apply foam tape to the back. From ...
In this tutorial, we learn how to cheat on a test in a short sleeve shirt. First, take a piece of paper and cut out a circle from it. Make sure it's small so it can fit in the palm of your hand. After this, write down all the answers or information that you need onto this piece of paper. Once you're finished, take the paper and stick it into the palm of your hand. Make sure the writing is facing out towards you. Then, when you need the information you can simply open up your hand, then close ...
In this video, we learn how to build parachutes with household materials. You will need: a long string, Mylar, mesh, plastic, scissors, tape, and a weight. To get started, you will first cut your plastic or mesh into a circle or octagon shape. Then, take your string and cut it into several pieces. Then, tape the strings onto your material all around. After this, tie your weight to the strings so it's fully secured. Now, go to somewhere high and throw down your item! The parachute will help ke...
In this tutorial, we learn how to draw Optimus Prime, leader of the Transformers. First, draw the outline of Optimus Prime, use basic lines and circles to show where the joints are going to go. After this, draw the full outline around the character, using a dark line to make it look 3D. Then, draw in the rest of the details for the character, giving him a look like a machine or a bunch of metal. Next, you will start to shade in the different parts and add colors that were used in the movie. W...
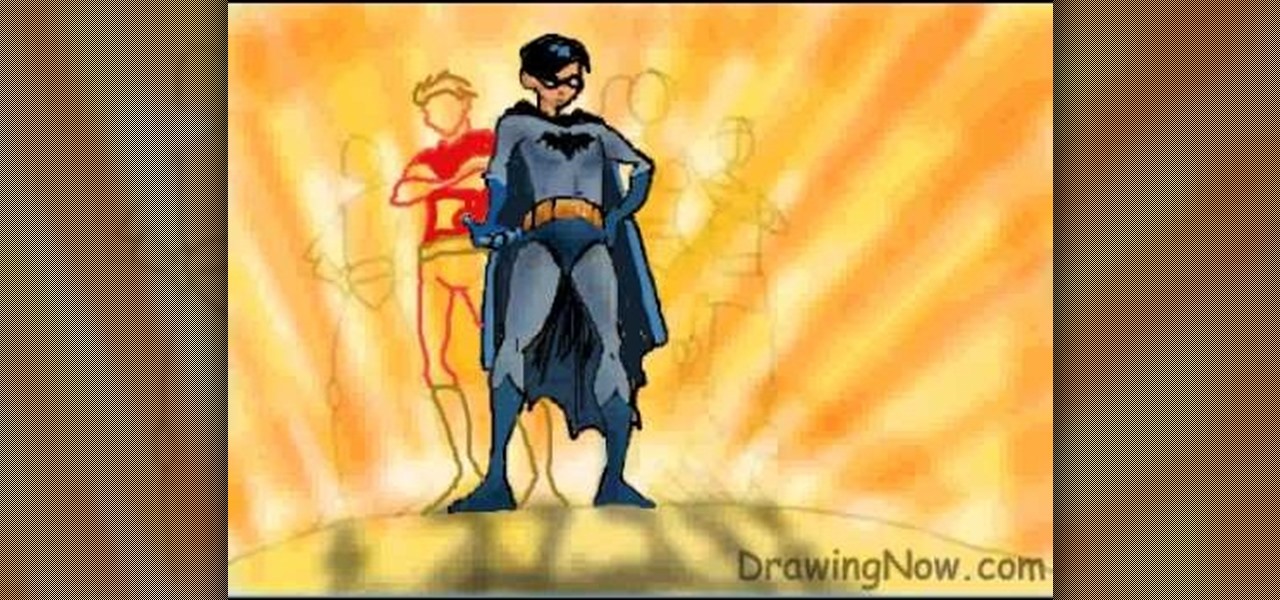
In this tutorial, we learn how to draw the cartoon Teen Titans. Start off by drawing the basic outlines of all the characters. Use circles and basic lines to draw out the outlines of them all standing together. From here, draw in the color for the background behind them, then start adding in details for each of the characters. Draw in each of their outfits, as well as facial features. Use lines and shading to make the characters look more realistic. Color them with the appropriate colors for ...
In this tutorial, we learn how to make a truncated tetrahedron from balloons. This will involve a lot of twisting of your balloons, so use lots of colors to make it shine. Make sure you leave enough space in the balloon so that you can get all of the twists you need to. Twist bubbles throughout the balloon and then create a circle with it. Connect this color with other balloons that you create with different colors. As soon as you are done, these should all connect together and make a truncat...
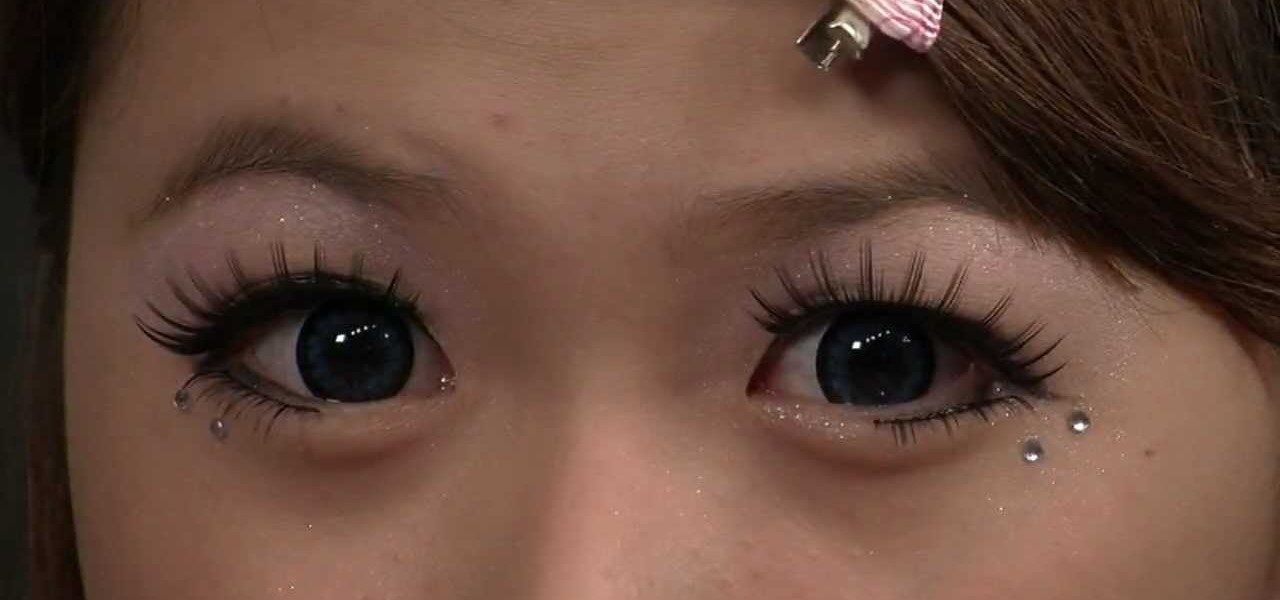
Want to look like a living doll? That's the goal of thousands of Japanese girls in the Harajuku district of Japan, where all fashion trends start. No matter what style of dress, the dolly look seems to be pretty pervasive, espcially when it comes to makeup.
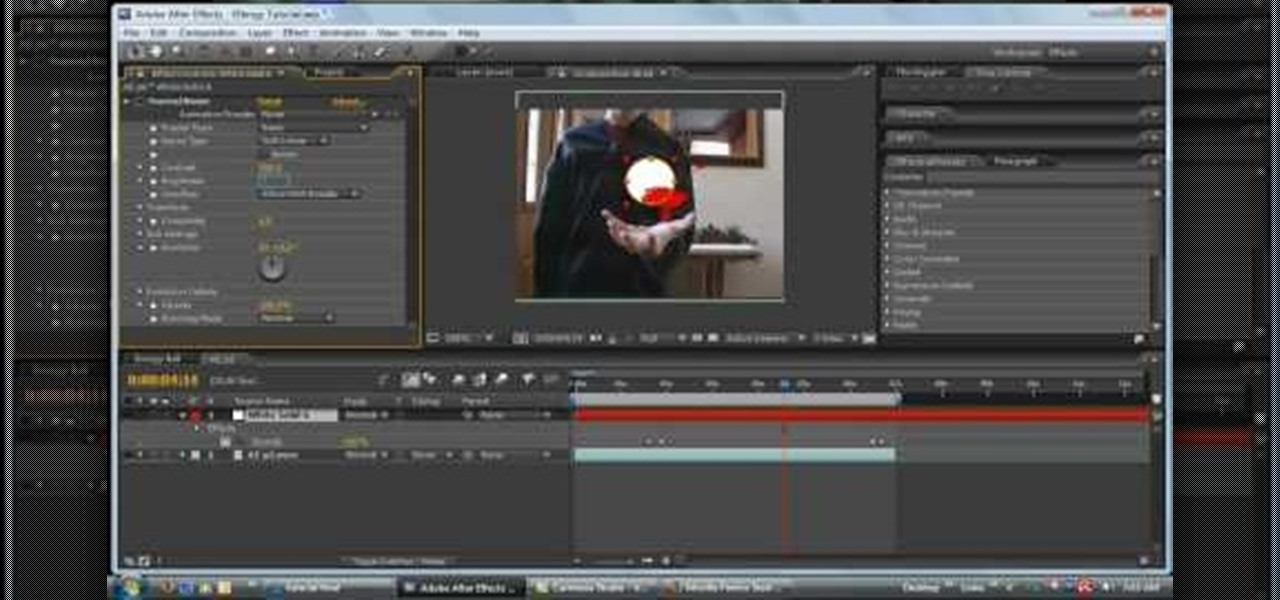
In this tutorial, we learn how to make an energy ball in Adobe After Effects. First, load a movie of someone pretending to hold an energy ball in their hands. After you do this, you will select a new setting and change the color. From here, you will select a round circle tool and add it where the hand looks like it's holding it. Then, change the effect to make the ball move around with the hand. After this, add the tracker to the hand and position it with the hand. After this, change the cont...
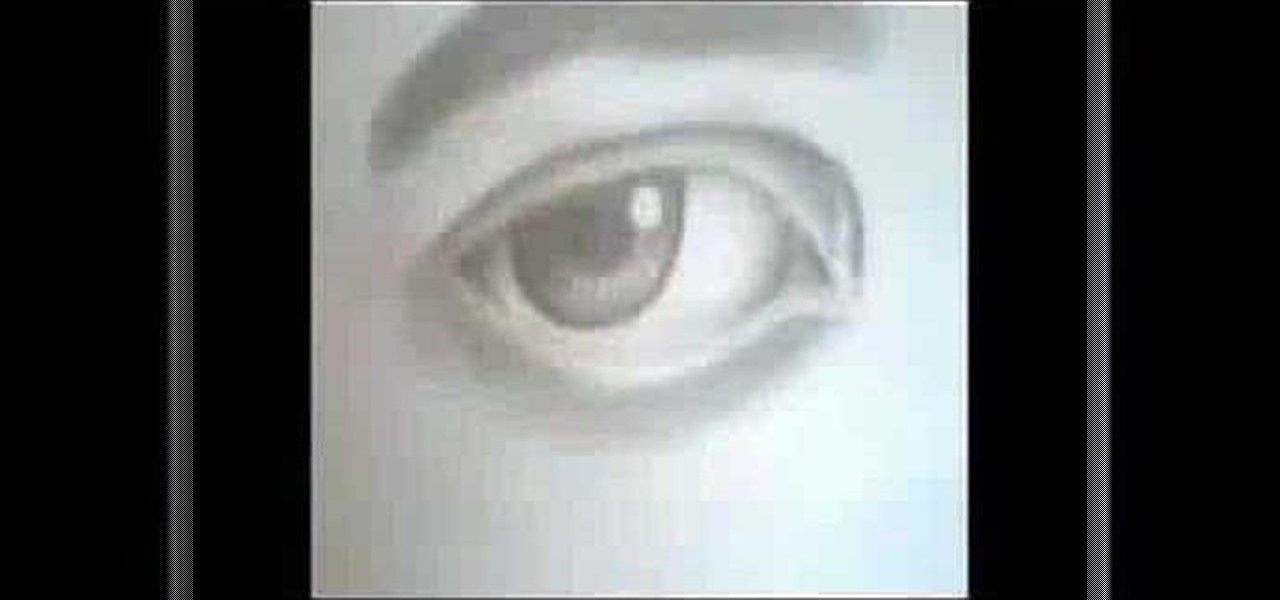
In this video, we learn how to draw a perfect eye. Start out by drawing the outline of the eye, the create the basic shape. After this, draw the crease above the eye and then the inside details of the eye. Darken the pupil, then add in lines around the pupil to show detail. Create a circle eraser mark near the pupil to show the eye having a glare, making it look more glossy. After this, shade in the sides of the eye and underneath where the bottom lash line is. From here, create the eyebrow a...
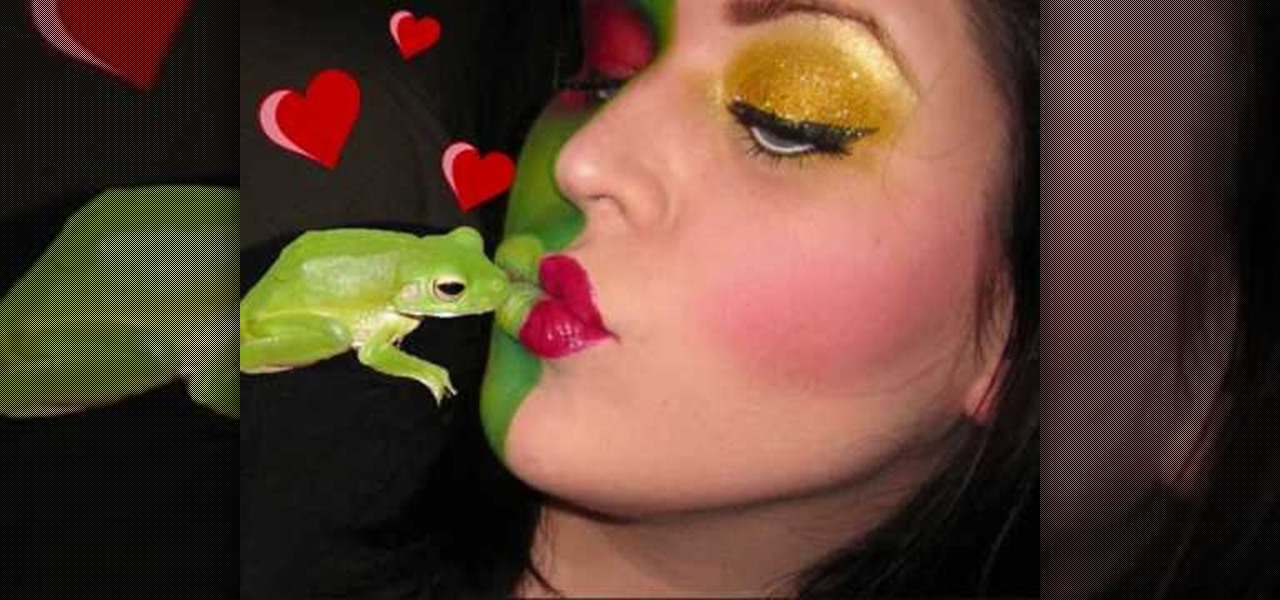
In this tutorial, we learn how to create a two faced fairy tale makeup look. First, apply green paint to half of the face. After this, apply yellow paint to the opposite eye and dab the same color throughout the green paint. Next, paint red shadow onto the eye and then darken the surrounding areas of the red eye. Create red circles on the side of the face with the green, then draw on a mouth to make it longer and smiling. To finish this, apply eyeliner and glitter to the yellow eye. Then, app...
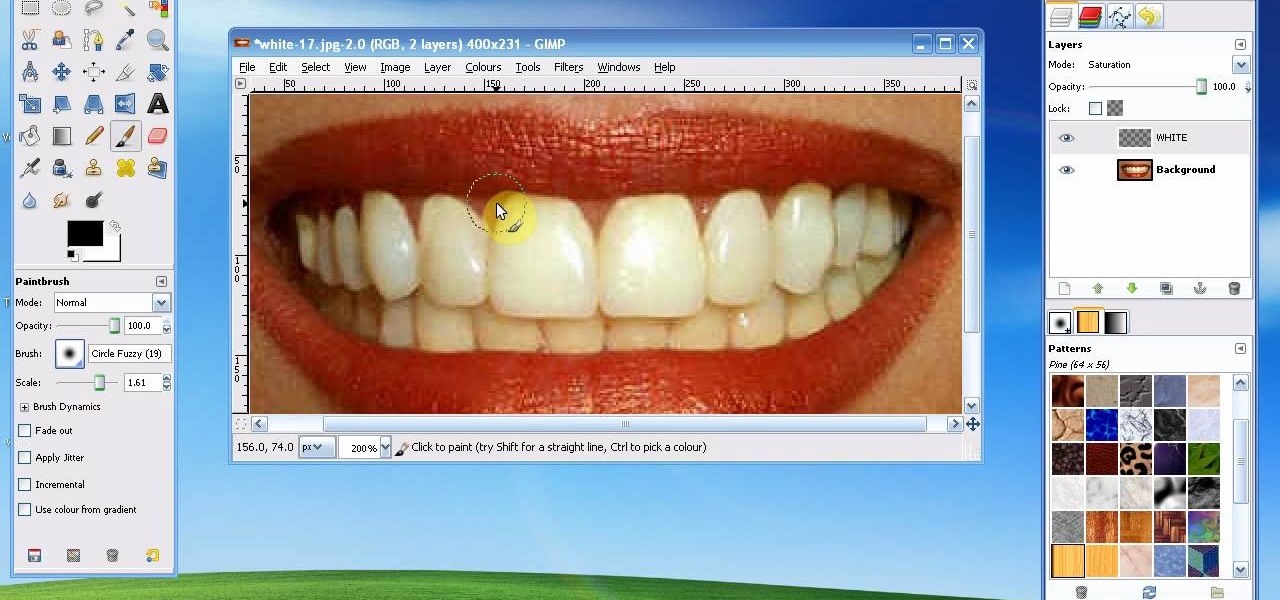
In this tutorial, we learn how to whiten teeth in the Gimp image editor. First, open up GIMP and zoom in on the teeth of your image. From here, create a new layer named "white", making sure it's transparent. Now, make sure the white tab is on the top and go to "mode" then "saturation". Select the brush named "circle fuzzy 19". Put the scale around 1.5 or 1.6 and then draw on the teeth, which will make them white! Do this for all of the teeth, then when you save you can use this as your image ...