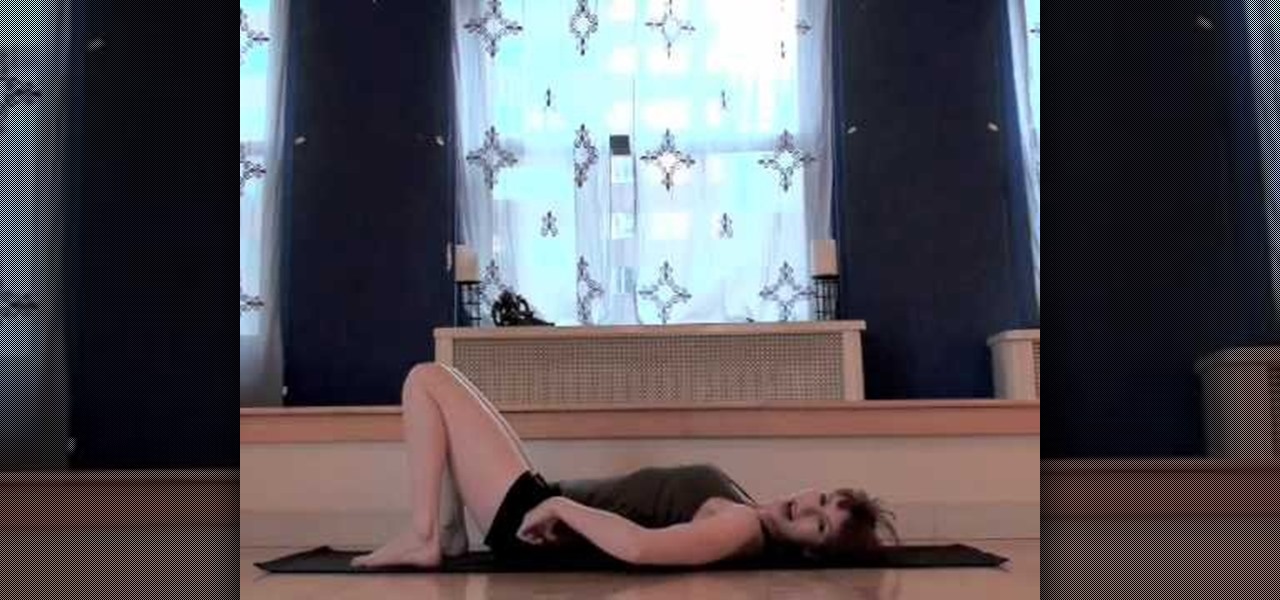
In this tutorial, we learn how to understand Full Wheel alignment. This is a very difficult move to do, so make sure you set up properly before you do this. Your body needs to be warmed up before you attempt to do this. Prepare for the post by laying down on a mat, then placing a couple blocks underneath your rear end. This will help stretch your body out. When you're done, curl your tailbone up and now your body will want to curve into the wheel. From here, push the hands down by the shoulde...
In this tutorial, we learn how to draw Bowser Jr. from Mario Brothers. Start off by drawing the nose, which has two large humps going to the chin. Next, draw his mouth, dimples, teeth, and nose holes. Next, draw in the eyes and eyebrows, filling in the pupils with small white circles in the middle. Make sure the eyebrows are pointed upwards, so it looks like he's glaring. Now connect the top of the head, followed by drawing the hair onto the top of the head. Next, draw on the arms and front o...
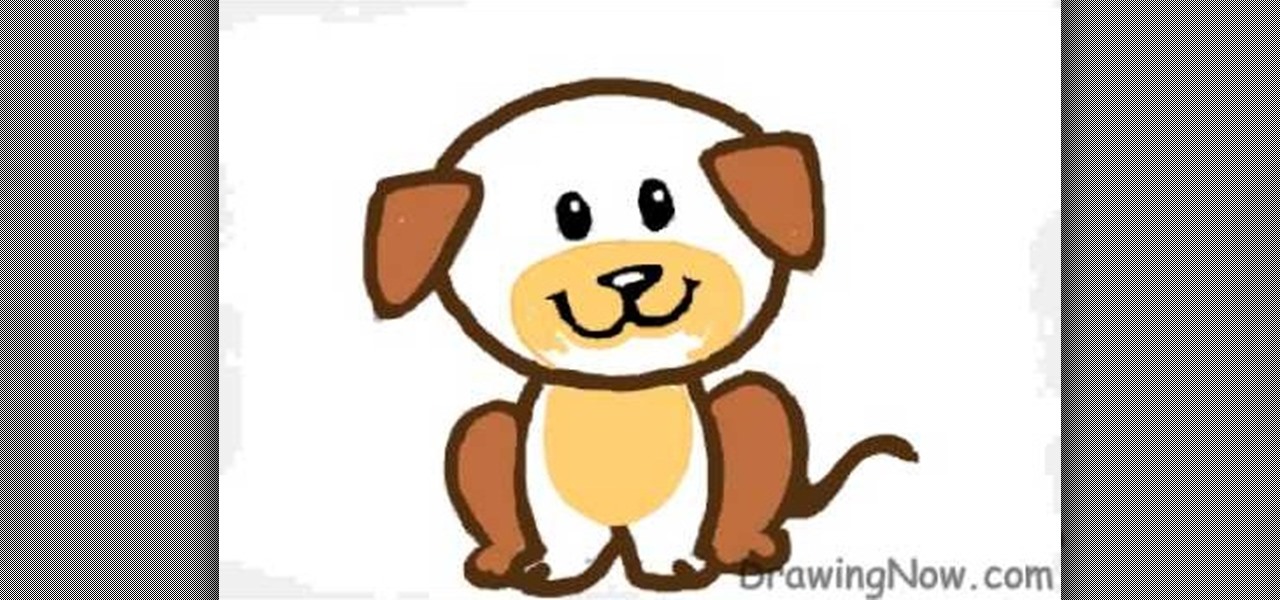
In this tutorial, we learn how to draw a cartoon puppy First, draw the oval head, followed by triangles for ears. next, draw the body underneath with four legs coming out of the bottom like the dog is sitting down. Add on a squiggly line for the tail next to the leg. Now, color the ears and back legs light brown, then add eyes, a nose, and a mouth onto the face. Draw a circle around the nose and mouth, then color in with lighter brown/tan color. Now, color the rest of the dog a darker shade o...
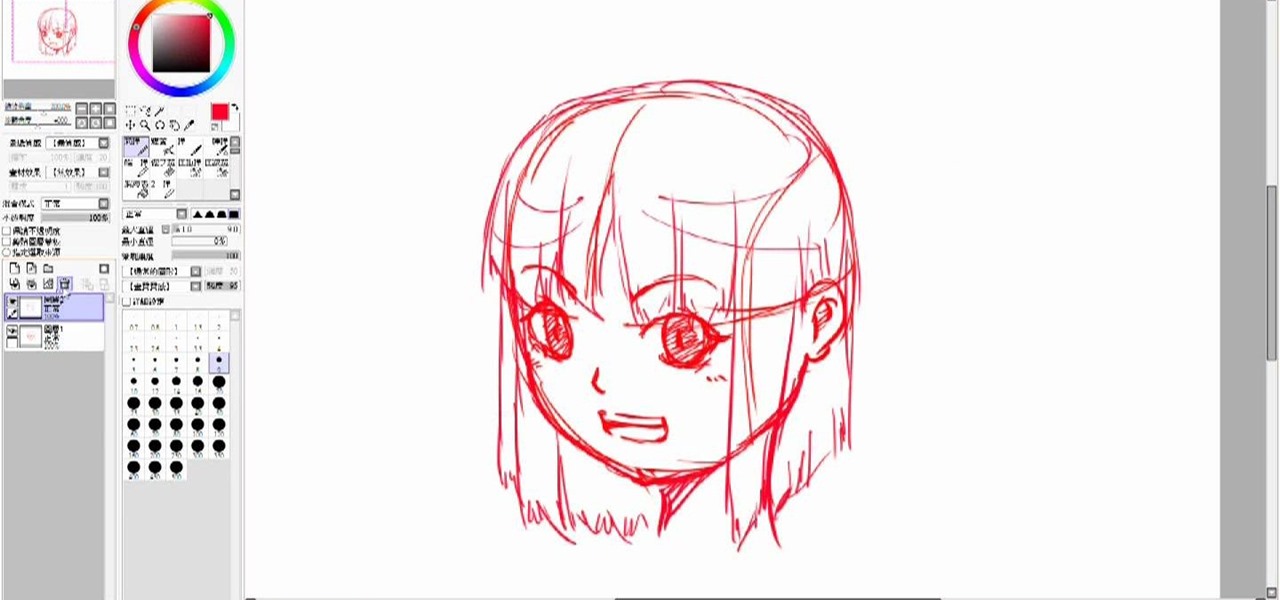
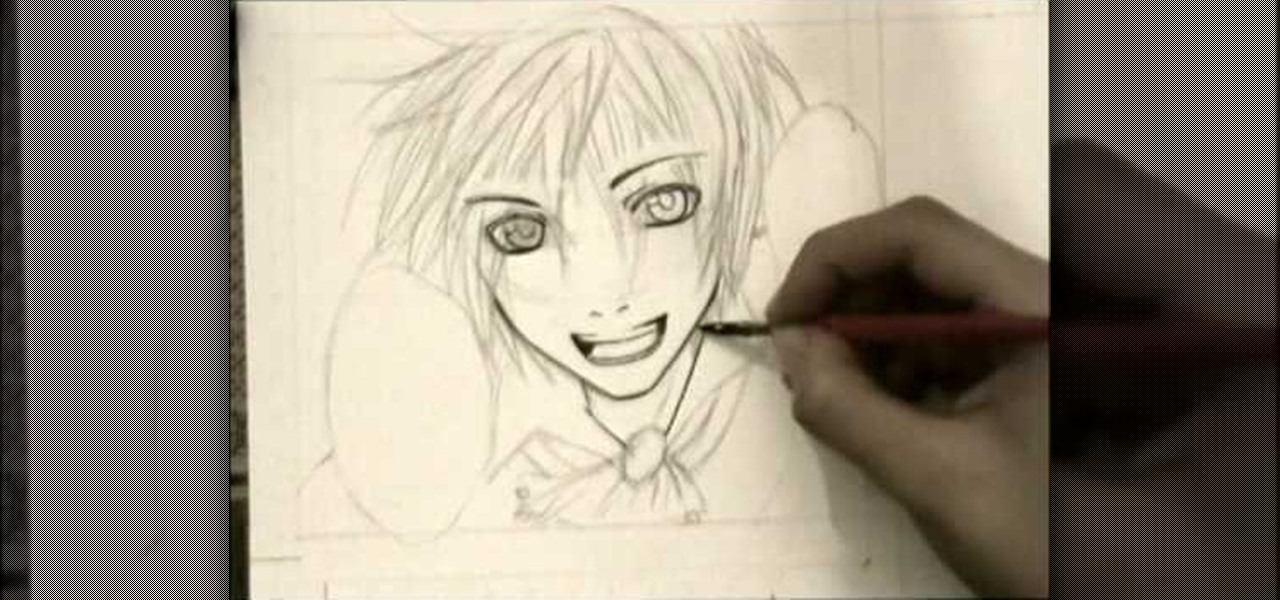
In this tutorial we learn how to draw a manga face. Start off by drawing a circle, after that add a cross in the middle as a reference point for where to draw the eyes, mouth, and nose. After you do this, you can start adding in further details to the face to make it look more realistic. Don't forget to add in lines on the face for wrinkles and pupils to the eyes. Ears should be placed on both sides of the head and don't forget to draw in hair as well. Outline the pictures with a darker brush...

This video tutorial is in the Arts & Crafts category which will show you how to fold a circular teabag paper. This is a simple process and doesn't take much time to do. First fold the circular paper in half to get a semi-circle and then fold it in half again in to a quarter. Unfold the last fold and fold one quarter back to the halfway mark. Then turn the paper over and fold the bigger side of the paper along the fold line exactly matching the edge as shown in the video. Now you get a little ...
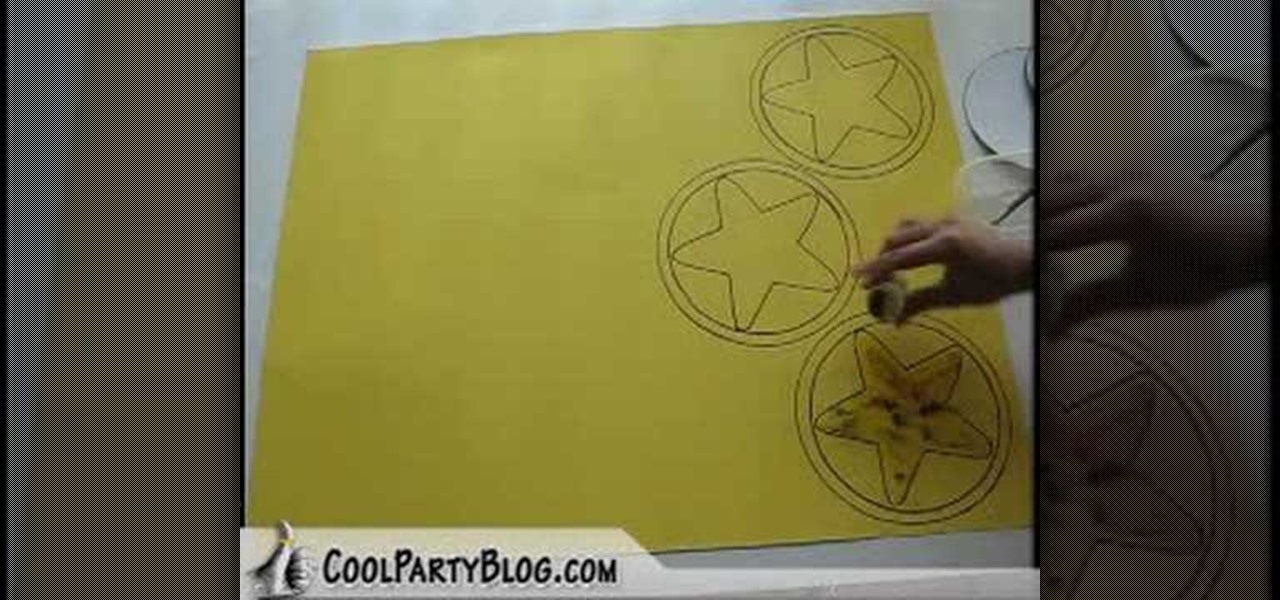
In this video, we learn how to make Mario Party star coin decorations. First, trace templates for the star coin onto a large piece of gold paper. You can get these templates from CoolPartyBlog. After you have traced the entire outline, retrace using a permanent marker, you want your lines dark and full. Continue doing this for all of the coin stars. Now, take the star template and trace it into the inside of the circles with the permanent marker. When finished, add glitter paint or loose glit...

In this tutorial, we learn how to make a paper flower using paper scraps. To make this, you will need: 3 pieces of small pink scrap paper, 1 piece of small green scrap paper, 1/16" brad, adhesive, hole punch, ink, and a sponge. First, you will draw one different size circle on the 3 sheets of pink paper. Next, draw leaves onto the green scrap paper. Now, start tearing the shapes out of the paper leaving no pencil showing. Crumple the paper up several times, then get your ink and put it on you...
In order to make a catfish jug, you will need the following: an empty jug (or 20 oz. soda pop bottle), a1" PVC pipe, eyelet screws, a 6" piece of rebar, hot glue, swimming noodle, fishing line, a sinker, and a circle hook.
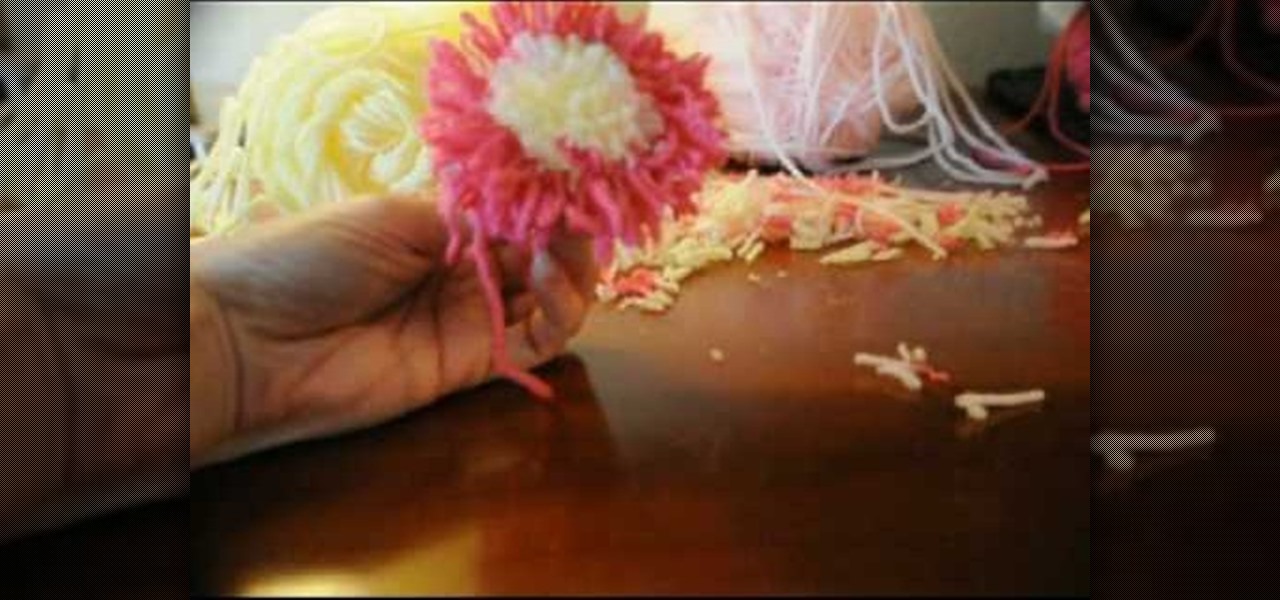
Tracey shows us how to crochet an easy pom pom flower in this tutorial. First, wrap your yarn around four fingers several times, and then wrap another color around as well. Last, wrap one last color on top of the middle color still wrapping around your fingers. Now pull the yarn off your fingers and tie a piece of yarn down the center of the wrapped yarn. Pull this as tight as you can and make as many knots as possible with this piece of yarn. Now cut your loops open with scissors through the...
In this tutorial, we learn how to read your friend's minds with the book test. First, sit by two friends and have three books with you. Have them pick a book, then write a 3 digit number on a card, then have the other person flip the numbers and subtract them. Now have the other person reverse the digits and add numbers again and add them all together. Now, have the other person circle the lat digit and open the page and word of the digit. Have the people think of the word they come up with a...
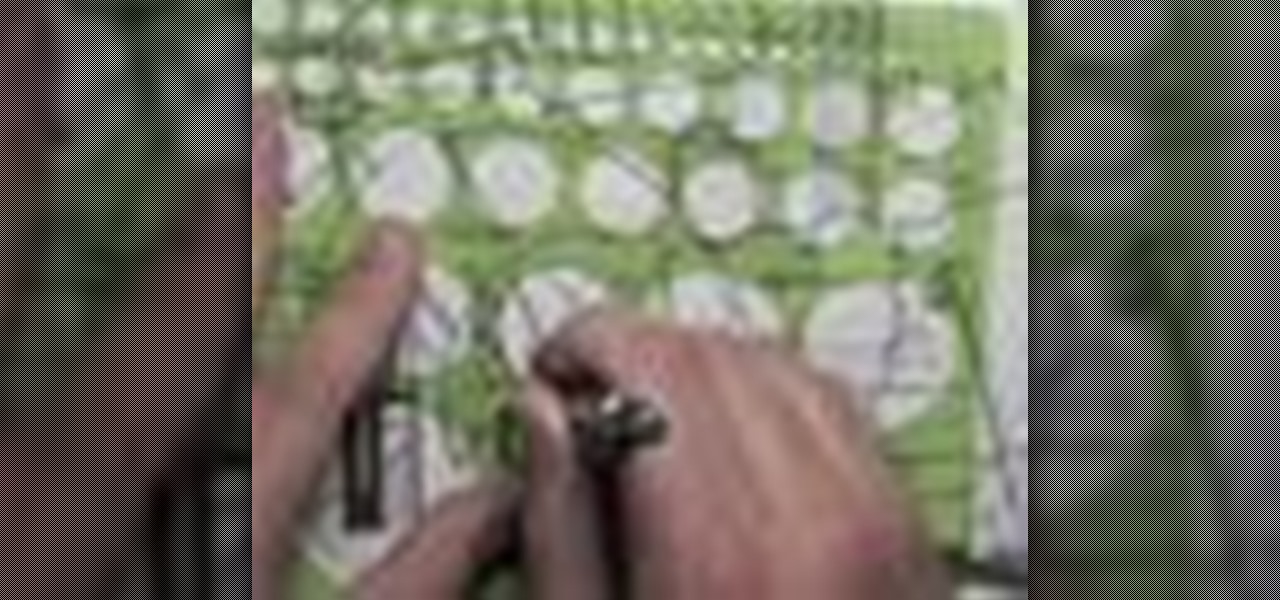
In this tutorial, we learn how to do a feather stitch while embroidering. To begin, you want to place your finger right next to where you are sewing so you are making a loop shape and helping guide your needle as you are doing this. You will want to chain the loops together, making the thread look like feathers as you continue. There should be no lines that are straight, all should be looped by placing the needle in between each circle and pulling it into the loop shape. When you are finished...
In this tutorial, we learn how to make a fall wreath for a door. First, find a basic wreath that has no decorations on it. Next, add leaves onto the wreath, around the entire circle, but don't fill it in the entire way. Now, add on fall leaves to the wreath with a hot glue gun or with pins if that is easier for you. If you need to cut the flowers, cut them from the base not from the stem, or you will have to purchase new flowers. After this, the final step is to add some fall flowers that mat...
In this video tutorial, viewers learn how to draw curves like an architect. The first way is to use circle and oval shaped templates. When using the template, push down on it firmly and carefully picking the template back up to not smear the pencil marks. If the template does not come with a raised backing, use some built-up tape for leverage. Never use permanent markers with the template, work with dirty hands or cut with the template. Users can also use French curve templates and compasses....
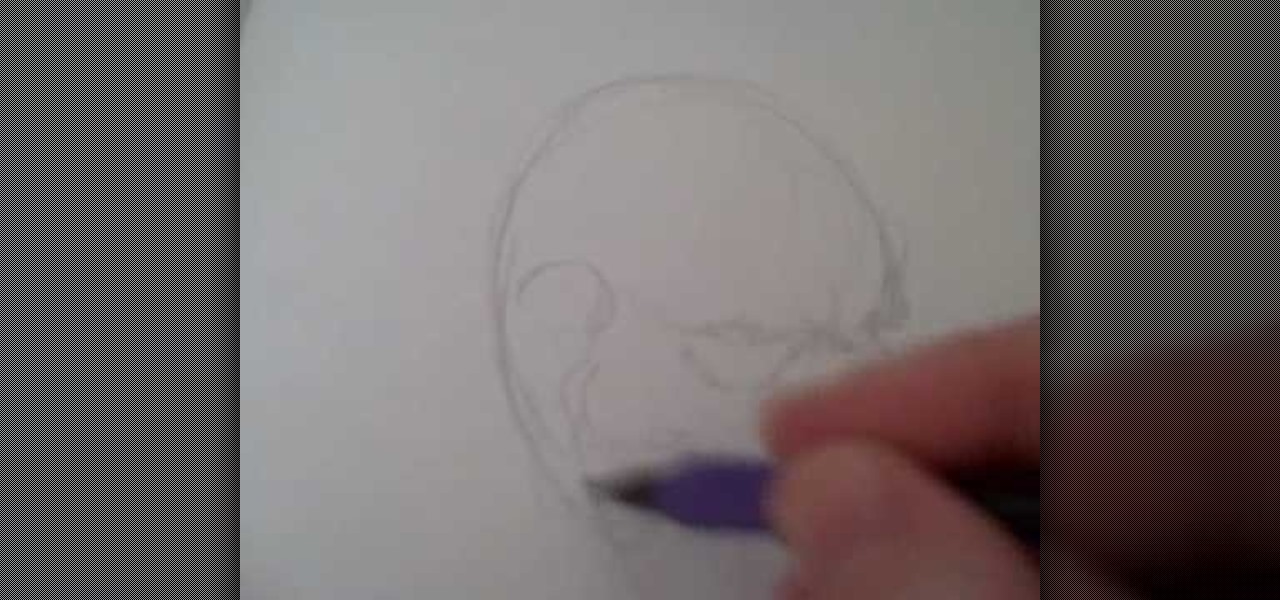
Prep for your dream career in tattoo artistry by watching this easy video which shows you how to draw a skull tattoo. Broken down into four parts, you'll keep equal concentration on the skull's head spikes, evil cranial contortion, unexpected eyes, and severe undereye circles.
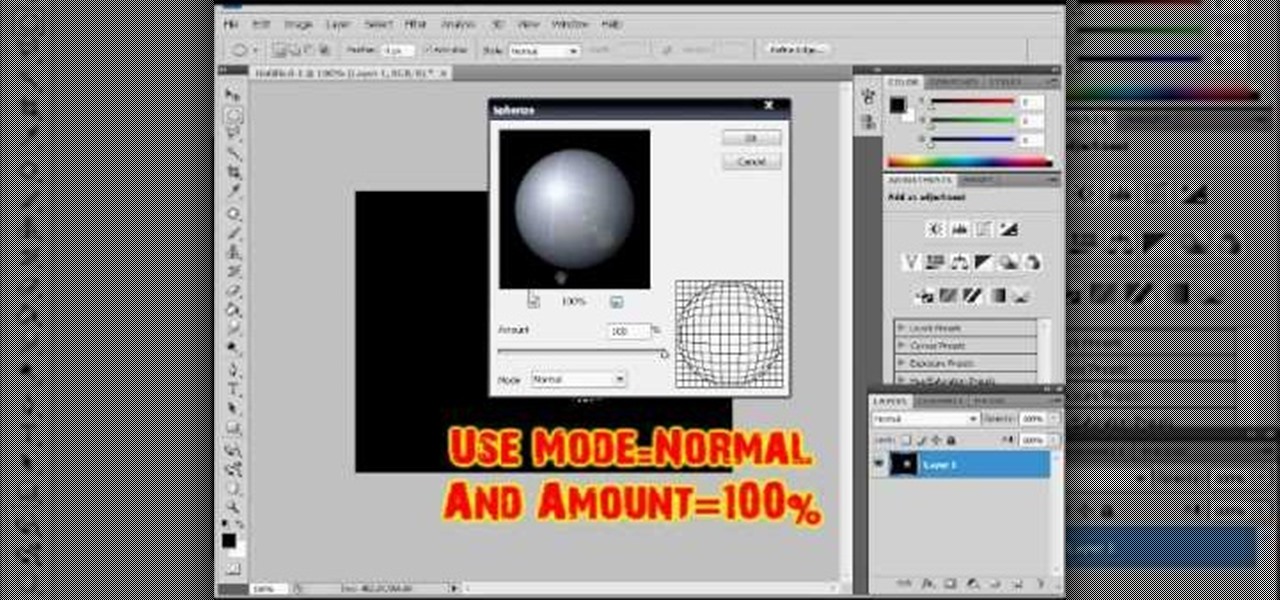
In this video tutorial, viewers learn how to make a shiny glass ball in Adobe Photo-shop. Begin by creating a new document with the default size and a transparent background. Then paint the entire background in black. Now select the marquee tool and create a circle anywhere in the background. Now go to filter, click on Render and select Len Flare. Make the lens flare 105 mm prime with 141% brightness. Then go to Filter, click on Distort and select Spherize. Use normal mode and set the amount ...
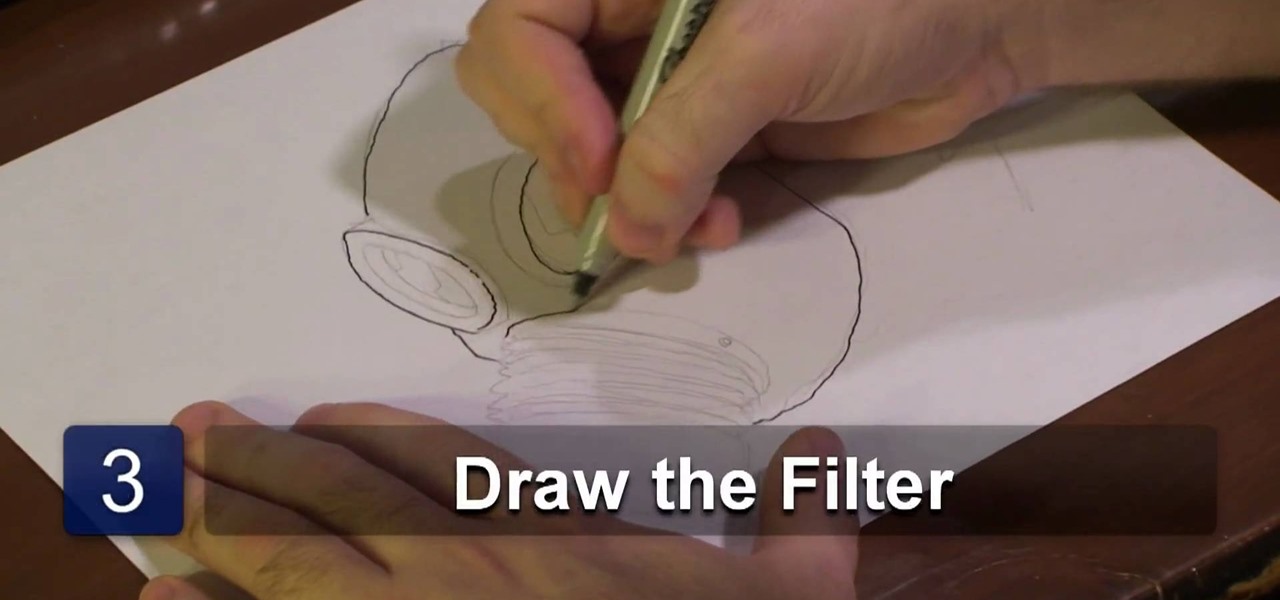
In this video tutorial, viewers learn how to draw a gas mask. Begin by drawing to oval shapes for the frames of the eyes. Then start drawing the base of the mask. Towards the bottom of the mask, draw an accordion-styled tube and attach it to a short cylinder to represent the filter. Now add more details to the eye frames by adding an inner and outer circle to show depth and detail. Then add more detail to the filter by adding lines to the tube and adding holes in the cylinder. This video will...
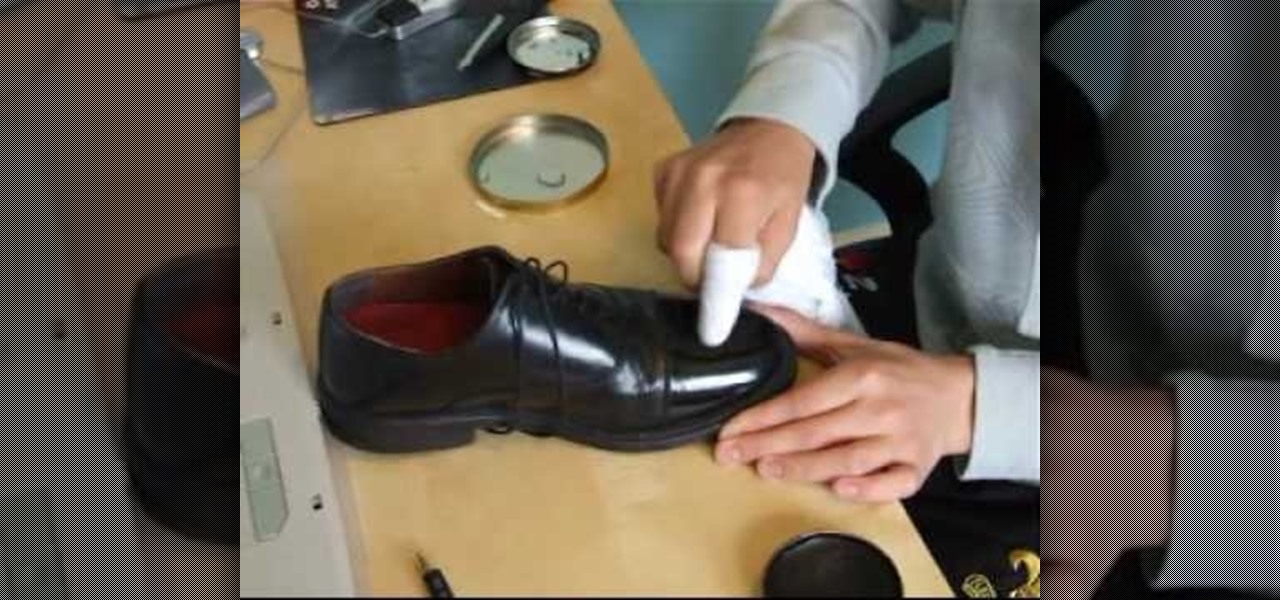
In this video tutorial, viewers learn how to shine their shoes. An old T-shirt is a polish cloth. Begin by putting a small dab of water onto the cloth to make it moist. Then apply a small amount of polish to the cloth. Now start applying the polish on the shoes in small circles, until it feel slippery. Then apply a small amount of water onto the cloth and rub in a circular motion, until the polish cannot be seen. This video will benefit those viewers who have to look formal or have dirty shoe...
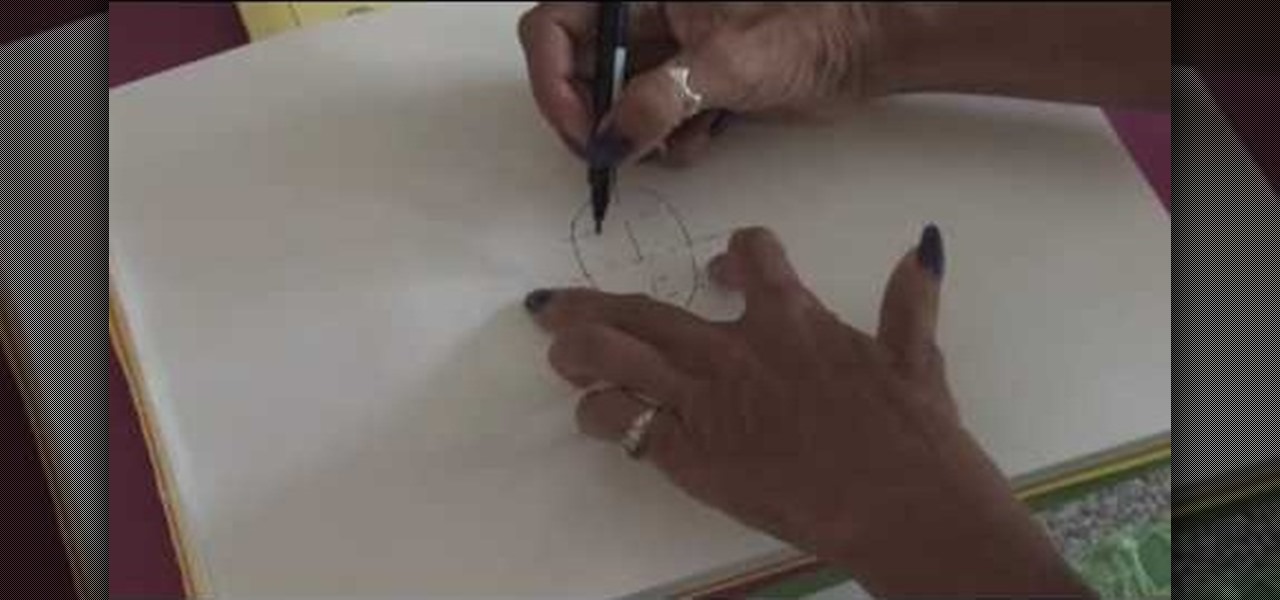
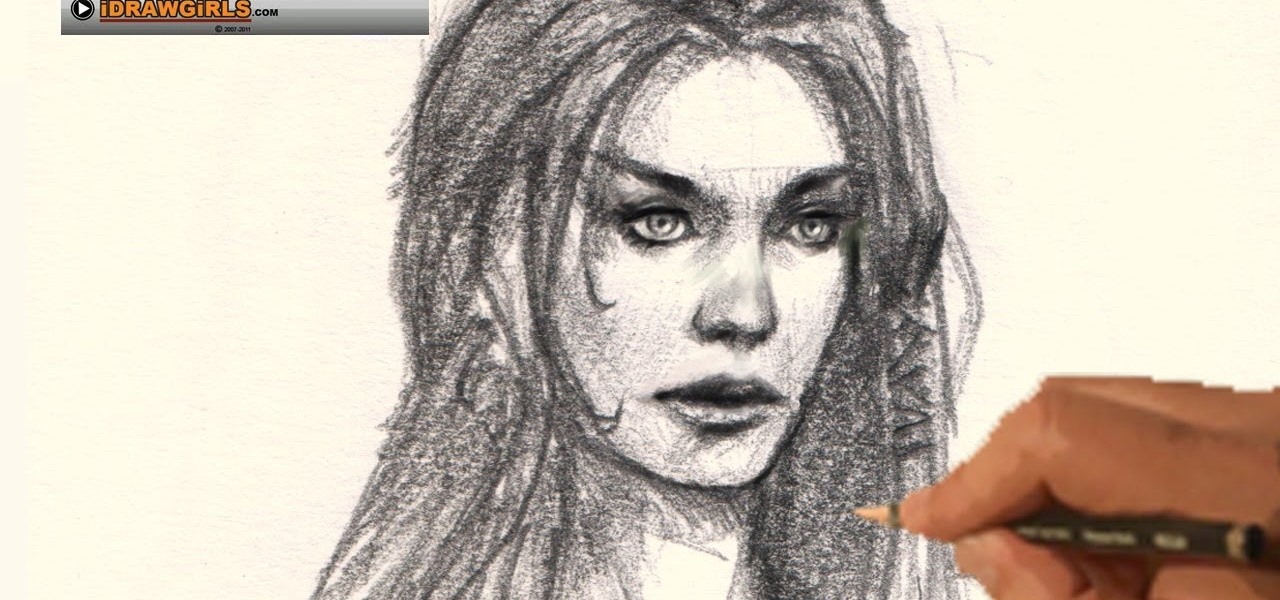
Draw a persons face with this lesson by a professional artist. Start with a basic oval shape. Draw a light guideline through the middle of the face, then a cross line where the eyes might go. Then, draw a line for the nose and mouth. This will leave your drawling divided in three sections. Next, you begin the eyes. Draw oval shapes on the eye line. Then, draw the circles for the middle of the eyes. Then draw in the brows. Next, begin drawing the nose then the mouth. Now you're ready to draw t...
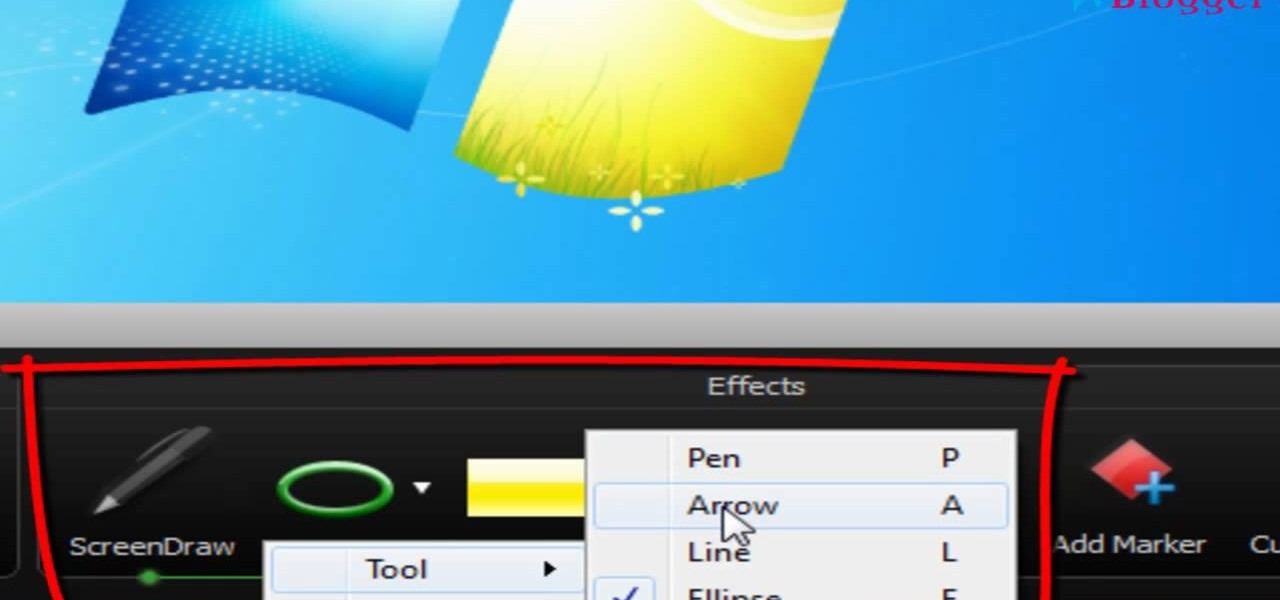
A really cool feature in Camtasia 7 is the ability to draw directly on the screen during a recording. This is helpful if you want to circle something onscreen, or if you want to highlight some text during your screencast. There's plenty of other options also in the ScreenDraw feature. To learn out how to use it, watch this video, which will show you all the things you can do.
If you're into screencasting, then you know all about Camtasia. But there might be a few things you're not well-versed in, like the mouse pointer. That little arrow could be constantly eluding you in Camtasia, but you can fix that! This video will show you how to highlight the mouse pointer for better visual representation.
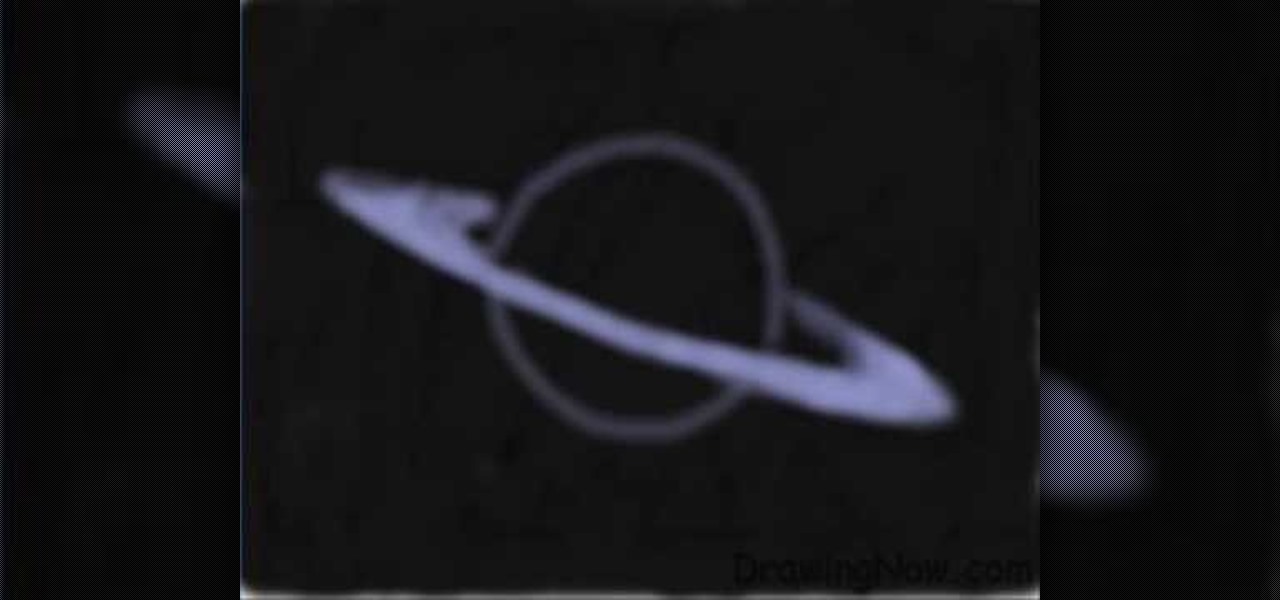
In this how-to video, you will learn how to create a drawing of Saturn. First, fill in the area with black to create space. Next, create a circle and a ring around it. This will be the basis of the planet. Go into the ring by filling it in with more color. Now, fill in the planet with the darker shades. Once this is complete, you can fill in the planet with the striped colors. You must do the same with the ring. Finally, go back into the planet and do some fine tuning. Once this is done, the ...
In this video tutorial, viewers learn how to eliminate facial imperfections using Adobe Photoshop. Begin by opening the image in the program. Then select the patch tool. Now draw a circle around the imperfection and then move it to an area of the skin that has no blemished. Continue doing this for all the imperfections. This process can be done to eliminate pimples, moles, blemishes, scars and wrinkles. This video will benefit those viewers who enjoy editing images to enhance them and would l...
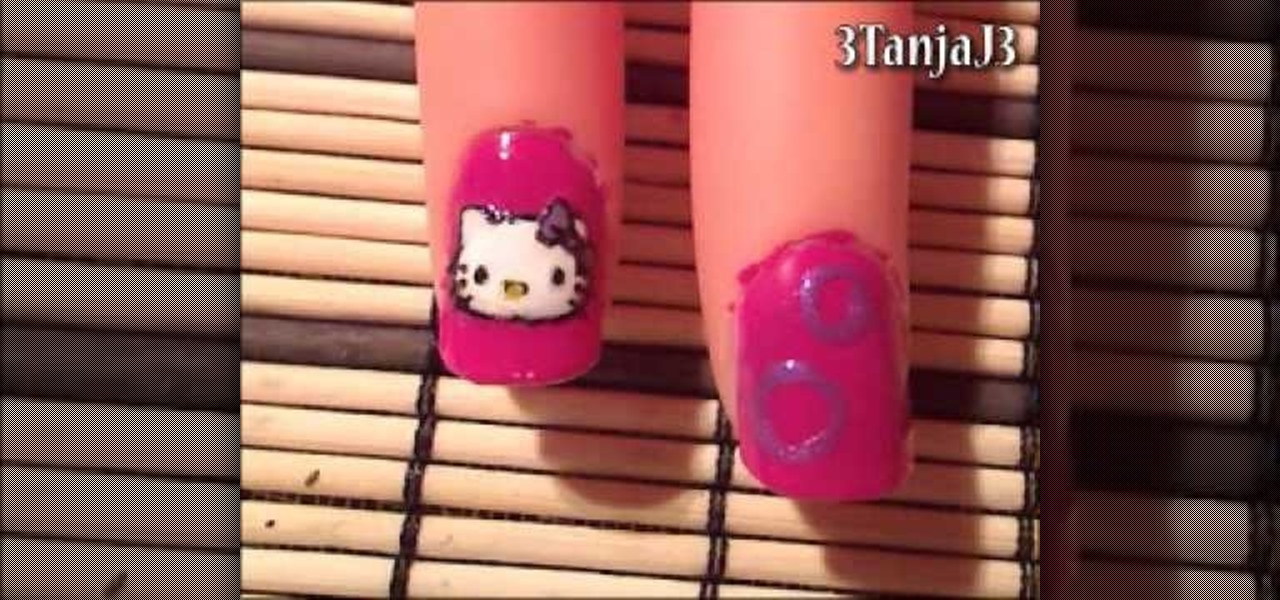
This video illustrates us how to paint Hello Kitty on your nails. here are the following steps: Step 1: First of all collect all your requirements in one place that is nail paint in various colors ,nail art pen, primer, and toothpick.
This video illustrates how to draw a Gondor soldier.Here are the following steps: Step 1: Firts of all take a sheet of paper and pencil and start drawing the face of the soldier by drawing a circle and then draw eyes within it and draw lips as well as the nose.
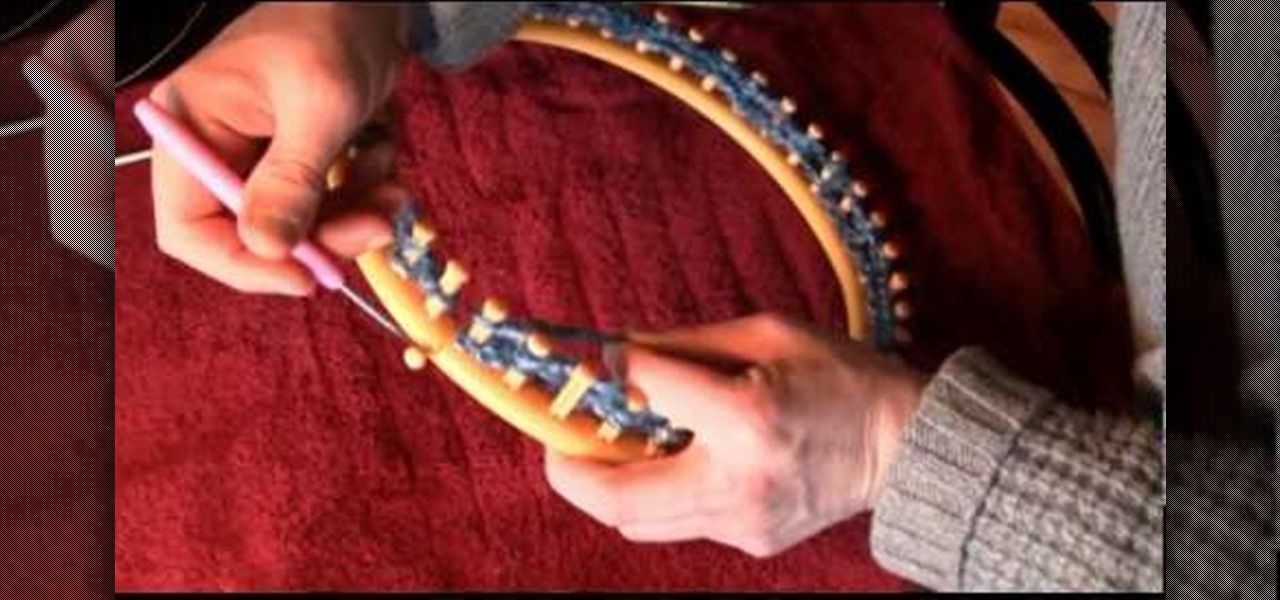
This video shows us how to make a shawl when knitting on a large knitting loom. Here are the following steps:
This video tells us to measure a 1:12 dollhouse polymer clay plate. You can use a 'MINI MAGLITE FLASHLIGHT' to cut out the clay from some clay that has been rolled out on a platform. Roll the toothpaste cap along the edges of the circular piece of clay. The center of the plate is made by pressing it in the center with a small bottle or the end of a pencil which has a flat base. Cut a smaller circle of clay and put it below the plate to form its base. Press the center of the plate again to sti...
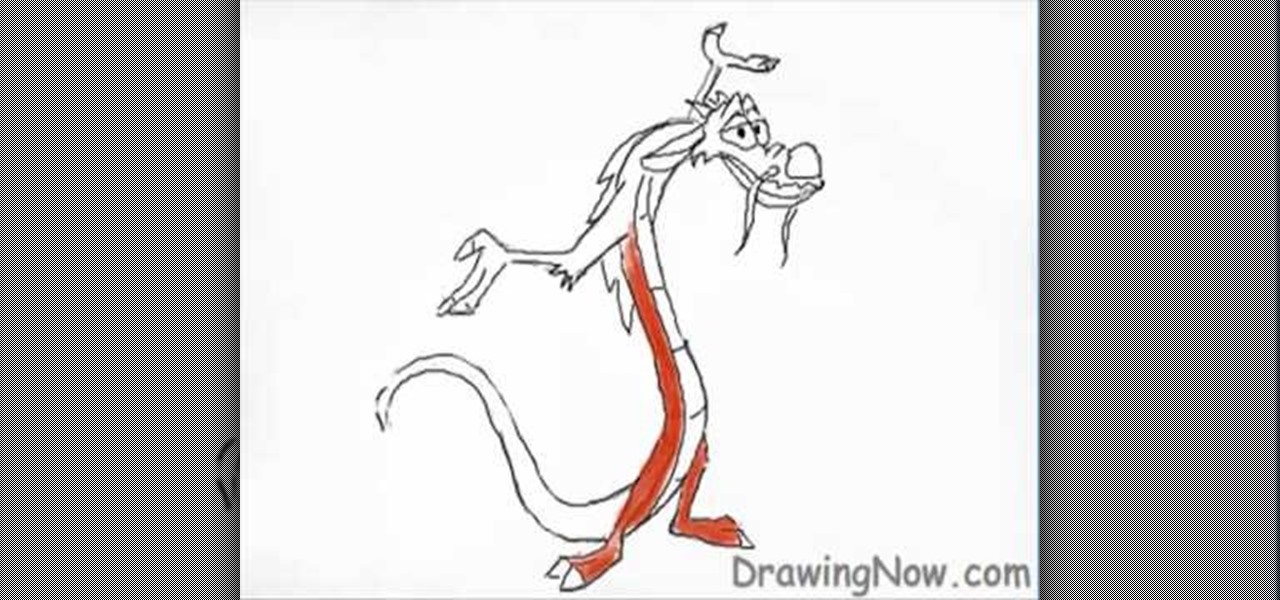
This video illustrate us how to draw Disney's Mushu from Mulan. Here are the following steps: Step 1:first of all draw a oval representing the face and then from the face raw double "S" to form the body.
In this how to video, you will learn how to draw a Cookie Monster cupcake. First, draw two circles for the eyes. Follow this with a furry texture oval shape for the face. Add a mouth with a cookie in it and draw the bottom as a cupcake wrapper. Draw the pupils of the eyes. Next, color the face a blue color. You can draw the cookie inside of the mouth a brown color. Use a black color to outline the areas around the mouth. Fill in the chocolate chips of the cookie with a darker brown color, and...
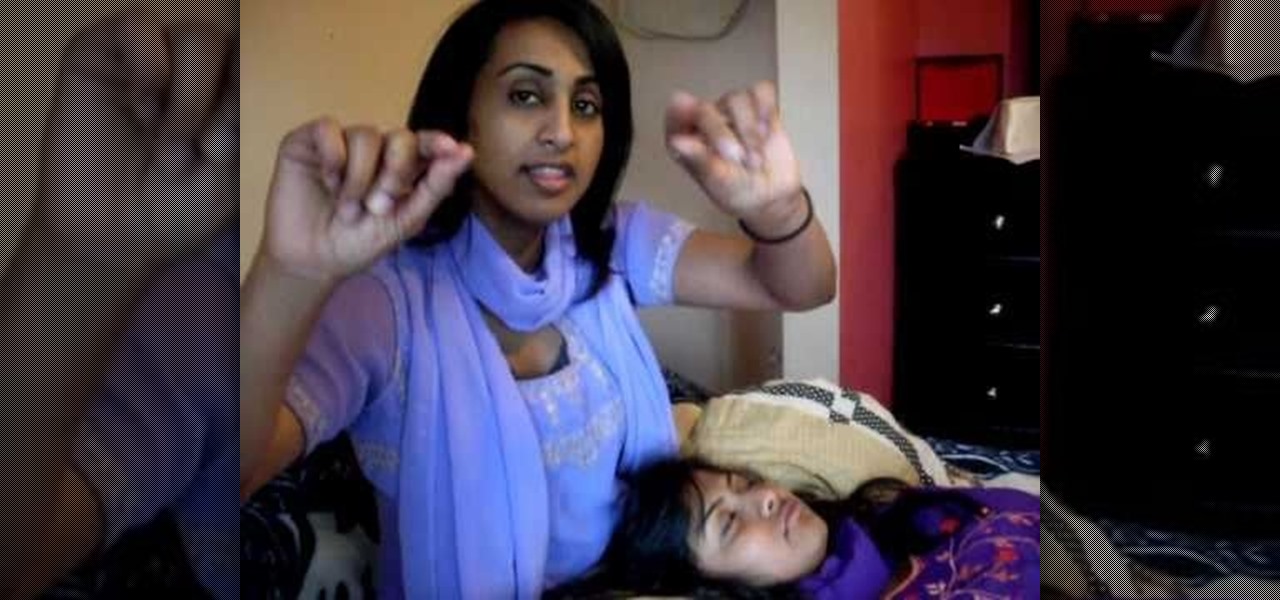
Threading is a process of hair removal using thread. Using about a foot of thread tie a knot making the thread into a circle. Hold the portion of the thread with the knot in your hand and with the other hand twist the thread together until you have about one inch of twisted thread. When starting the removal process the hair should be touching the twisted portion of thread. When you open your right hand the twisted portion of the thread should move forward thus pulling the hair from the follic...
This video illustrate us how to draw a face. Here is the procedure for the following: Step 1: First of all take a sheet of paper and start by drawing a oval representing the outline of the face.
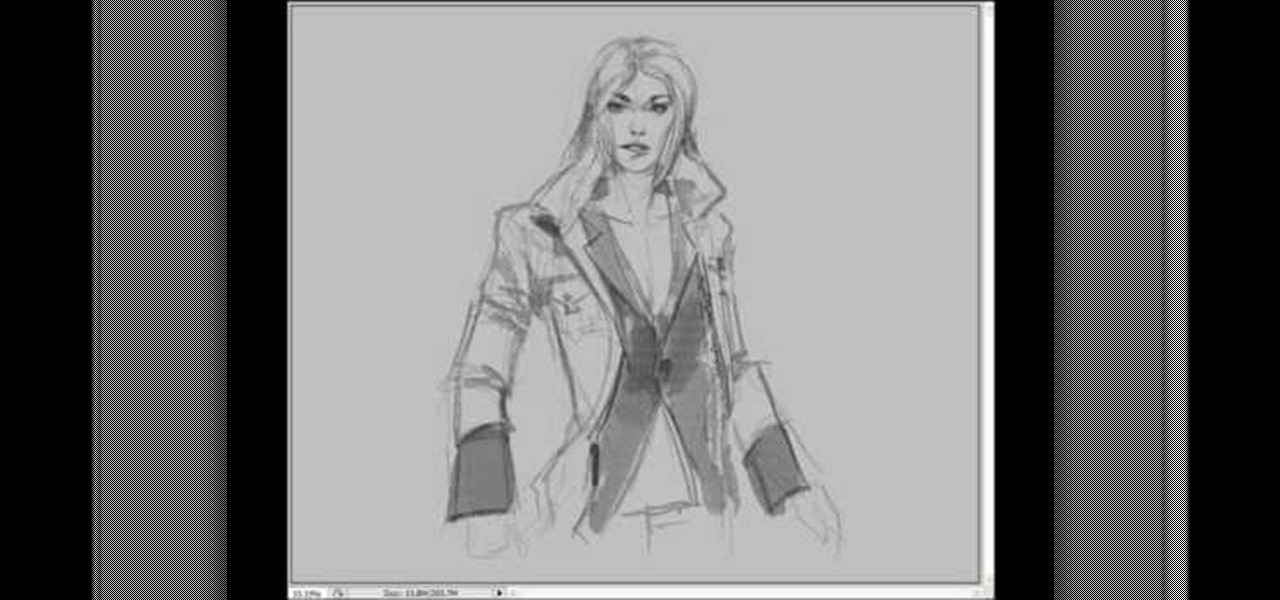
This is a video tutorial describing how to draw a comic style woman character. The first step is to draw a circle in the top of the page that will end up being her head. Then you should draw about where her eyes will be in the end. Then you should quickly draw an online of her hair and quickly draw her outfit. Because it is a woman make sure to accentuate her waist. Then you can then go back and finish her eyes, then between her eyes and half way from the chin to the forehead draw her nose. T...
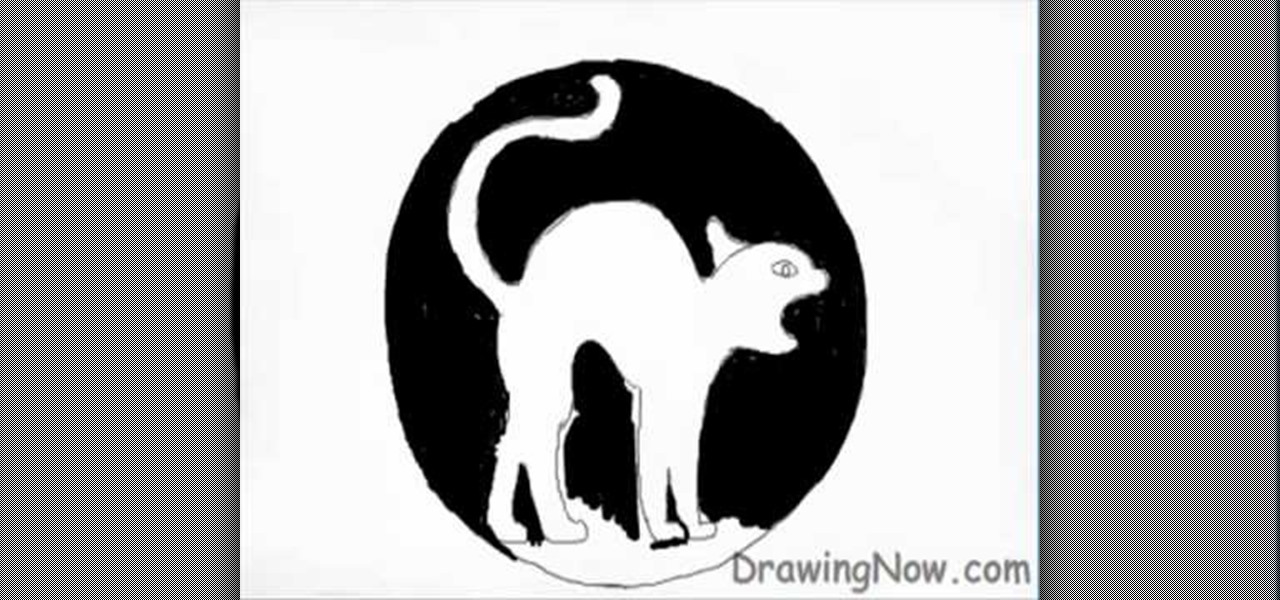
We are shown how to draw a Halloween cat in a several easy steps. First A large circle is drawn. Then in the middle a cat is drawn with an arching back, tail held high. After the cat is completed the background around the cat is filled in with black, giving a silhouette illusion. After the background is completed in black, small details are drawn in white. The fur of the cat, whiskers on the face, hair raising on the arched back and even a gleam in the cat's eye. After this the drawing is com...
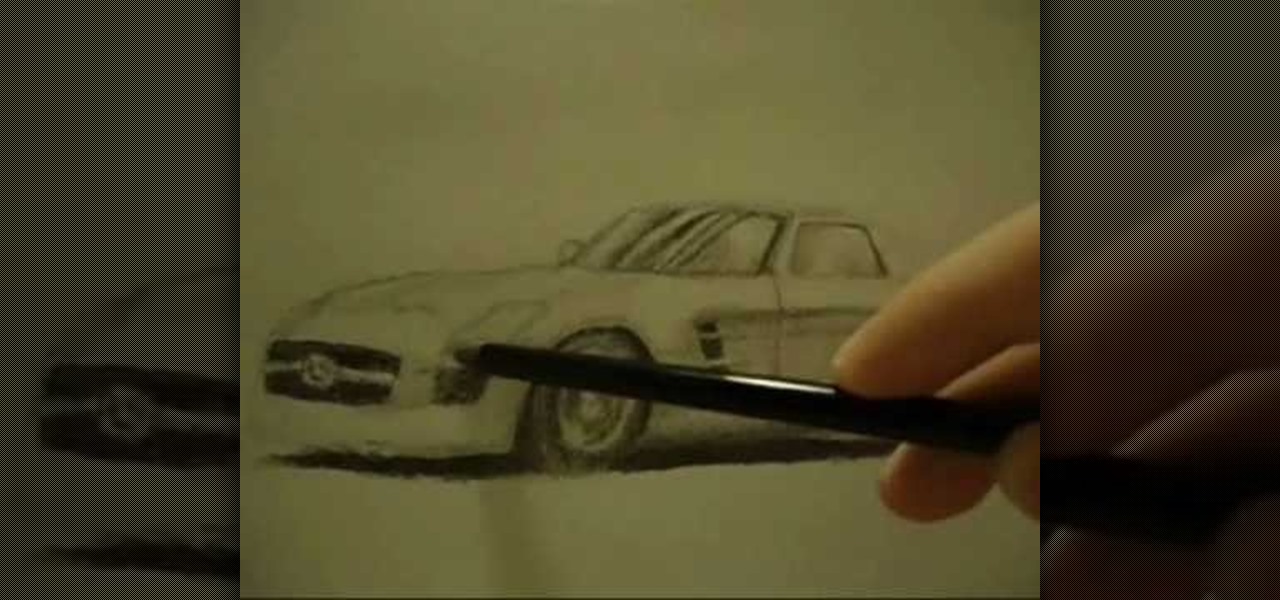
This video illustrate us how to draw a realistic car on paper. Here are the following steps: Step 1: First of all take a sheet of paper and pencil.
In this how-to video, you will learn how to draw Homer from the television show, The Simpsons. You will need a piece of paper and something to draw with, such as a pen or pencil. First, draw two circles for his eyes. Next, move on to his nose and mouth. From here, you can draw the outline of his head. Add the lines for his hair. Move on to his ears and neck. You can also fill in the pupils. Next, draw Homer's collar. You can shade in the color of Homer's skin if you want. This video shows you...
This video is about drawing a horror anime.The materials required for this are a large sheet of paper,a pencil and an eraser.To create the anime, you need to fist draw the skeleton, then do the eyes followed by the eye brows. You should add more details to the face as this would help in creating the nose.Switch over to the mouth,then the ears and the hair.After you are finished with the head,erase the inner circle and start drawing the neck.Then you have to draw the shoulders and the collar b...
Tut Teacher shows that if you're going to edit alot of pictures, learning to change your eye color in Photoshop is helpful.Go to Photoshop and open "human eye", zoom in and it gives more room to work with. First, go to your lasso tool, hold down and click. You can click and drag or click along the outside edge. Set to 6 pixels, more or less depending on the image. Make sure you don't click on scanner..it'll make the image go crazy. Keep clicking along the edge there'll be a symbol on the circ...
In this how-to video, you will learn how to quickly draw a Shy Guy from Mario Brothers. You will need a piece of paper and a pencil or pen. First, start off with the face of Shy Guy. Draw an oval shape and two really long ovals for his eyes. Now draw his mouth, which is just a little circle. You can shade in the eyes and mouth. Draw the strap and then move on to the hood. Move onto his arms, which are very simple. Next, draw his belt. Remember that the robe hangs over the belt a little bit. D...
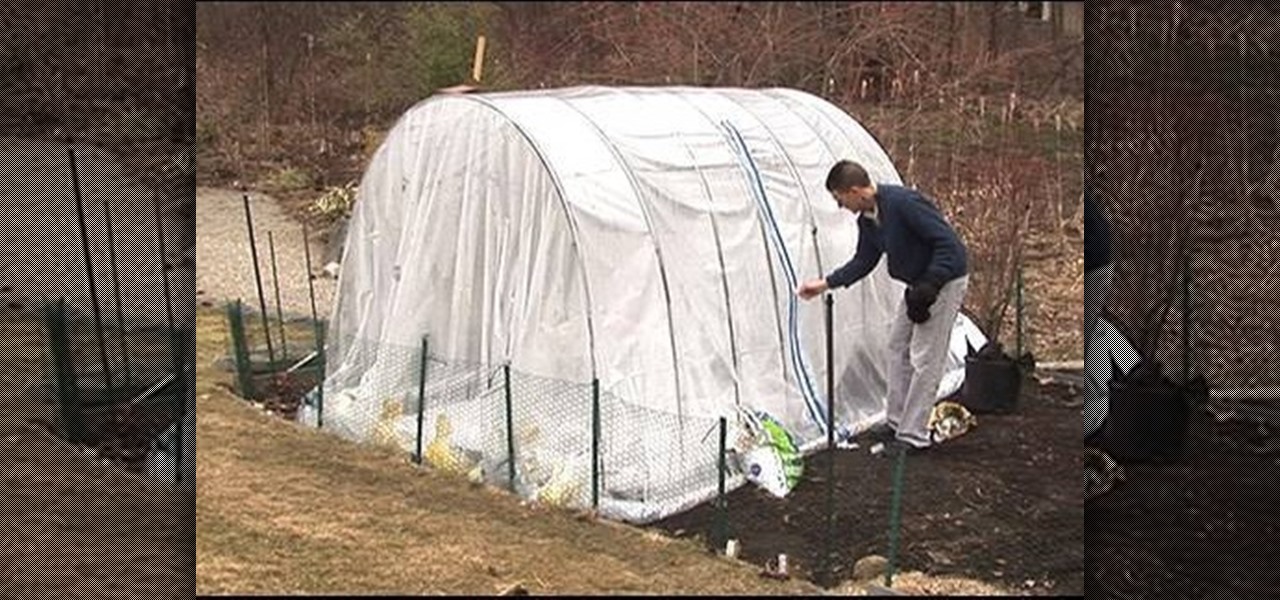
How to build a high tunnel to protect your plants
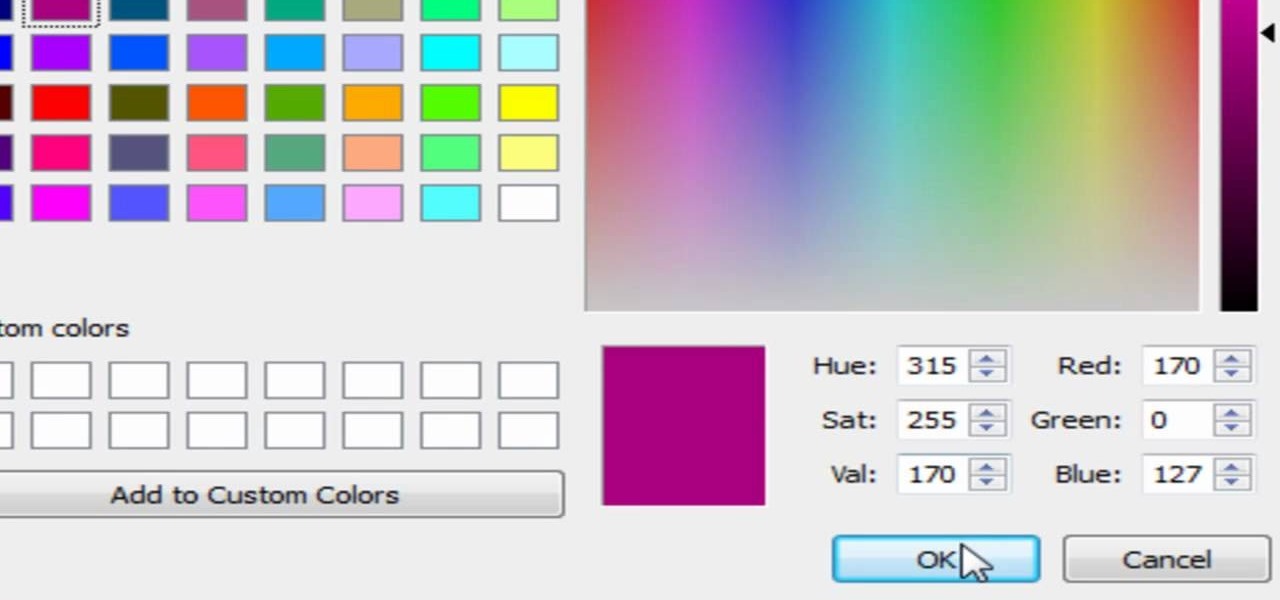
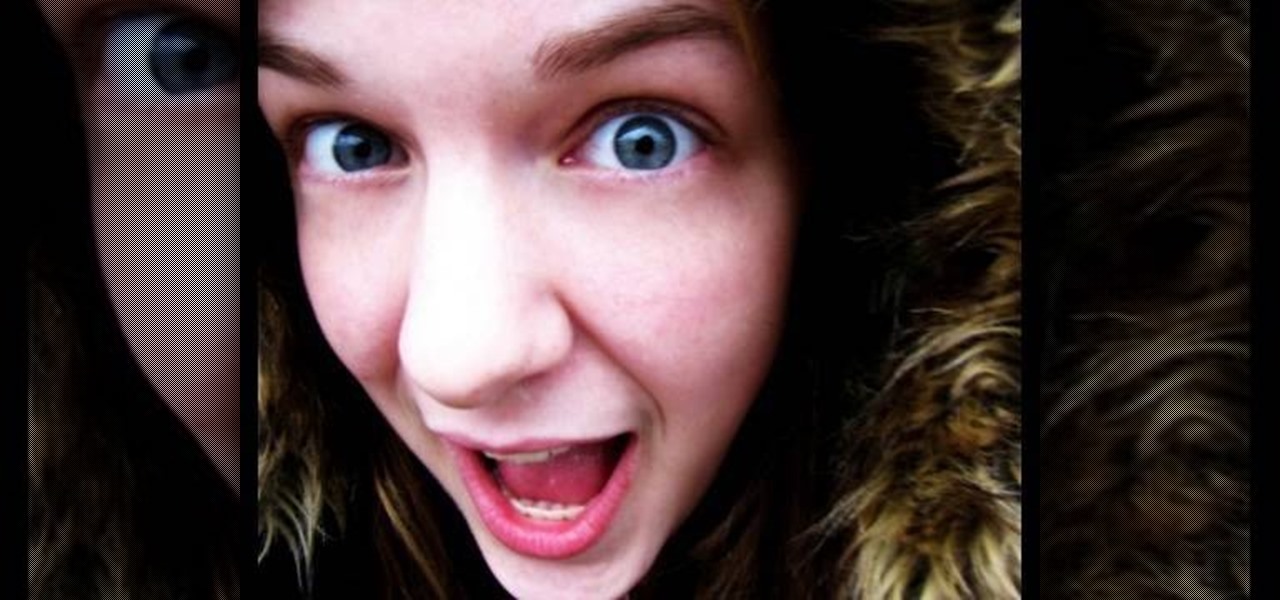
In this video you will learn how to change eye color or removing red eye in Adobe Photoshop. First, to change the eye color you must enter in Adobe Photoshop, open a photo, select the zoom tool and zoom in near the eye. We will use the first tool and make a circle of the eye. By holding shift key remove the areas you don't want to paint. Now go to layer, then new ant the layer you want to copy. Now select hue/saturation. Now slide hue until you are happy with the color, then hit ok and that's...
This video illustrate us how to draw manga characters.Here are the following steps:Step 1:Take a sheet of paper and pencilStep 2:Start by drawing a circle ,this will represent the face of the manga. now draw the eyes ,nose lips of the character with sharp lines to represent action on the face.Step 3: Now draw the middle part of the body and it should be in perfect shape.Step 4: Now draw hands of the character with waves on the hands to show masculine look.Step 5: Now draw the feet and legs.St...