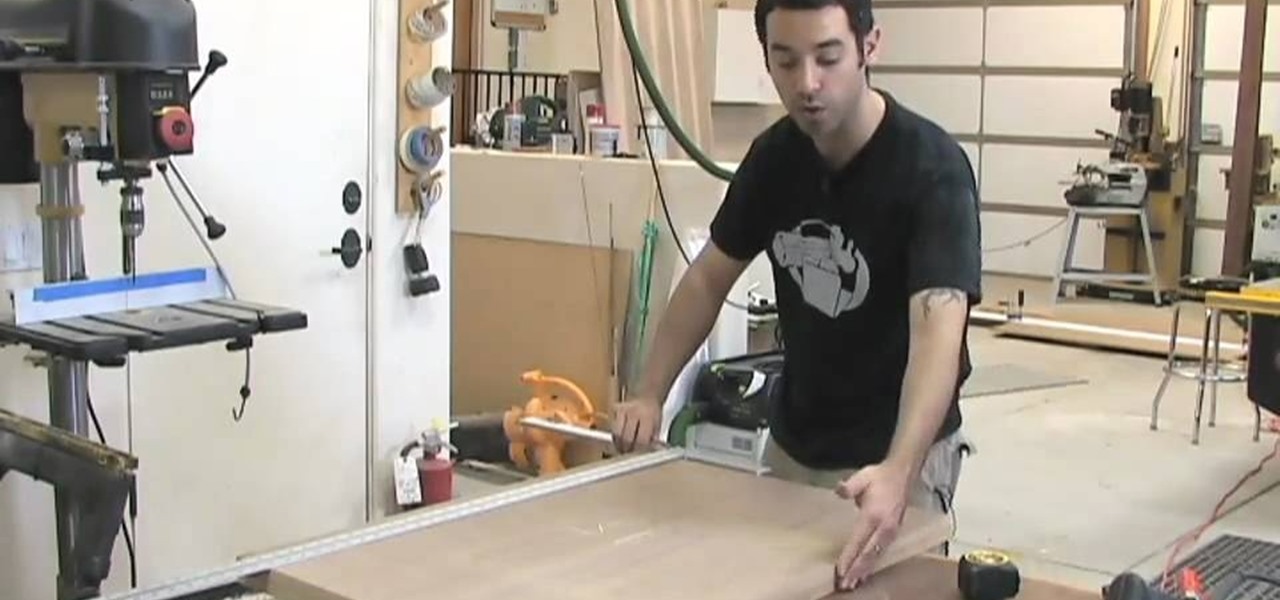
The Wood Whisperer thinks you have what it takes to build furniture. Be sure to watch this entire 5-part tutorial to learn how to build a low entertainment center that is attractive and pocketbook-friendly. Impress your friends with your expert woodworking skills.
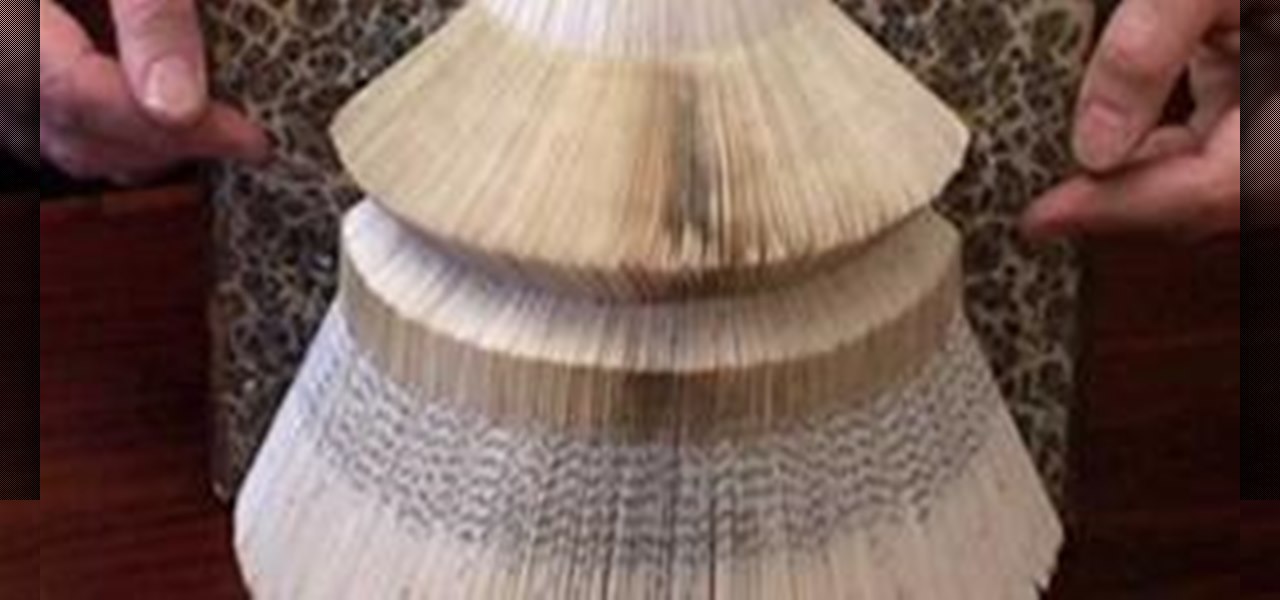
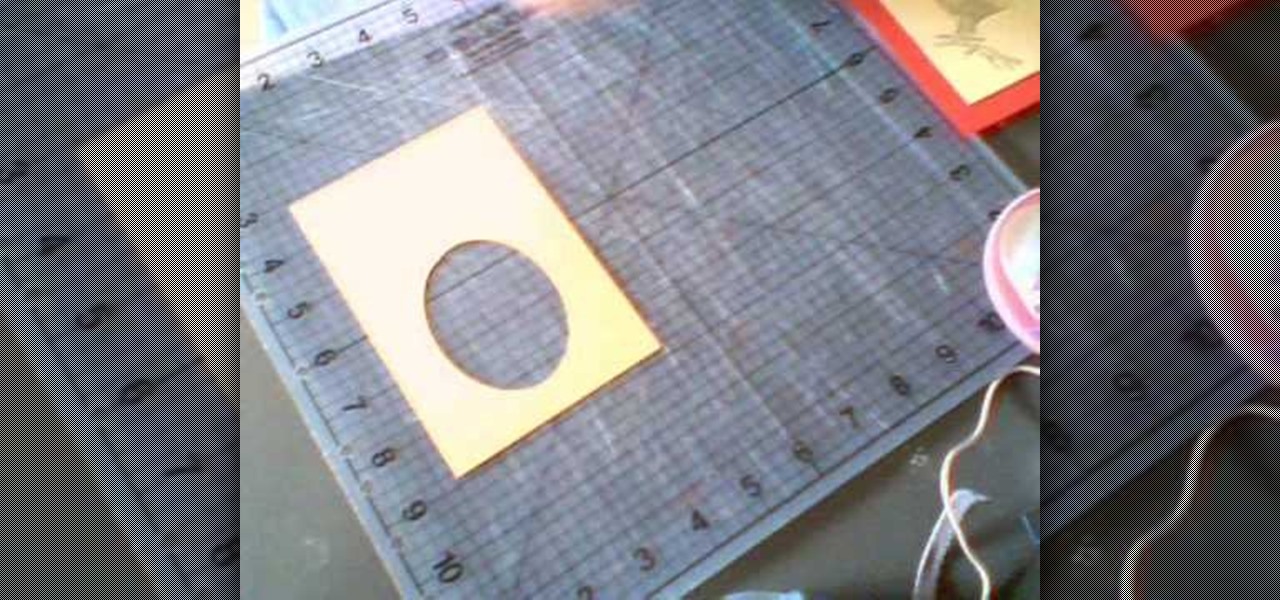
Grand Illusions is a site for the enquiring mind. This how to video demonstrates how to make Folded Page Art. Your wonderful & charming host represents Grand Illusions, an amazing toy, magic & illusion web shop and gallery.
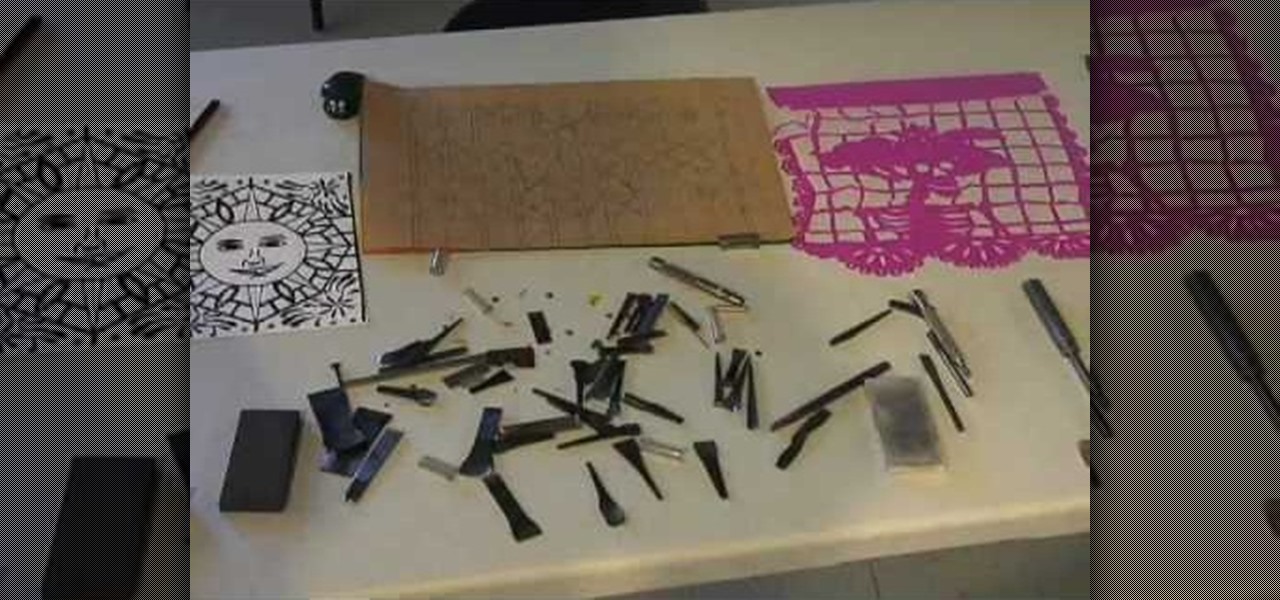
Papel picado is a traditional Mexican paper crafting (perforated paper), and it can sometimes be difficult to cut, especially when you are trying to cut fifty layers at once. To make cutting easy, you can use a chisel, and this video shows you how to make one with papel picado in mind.
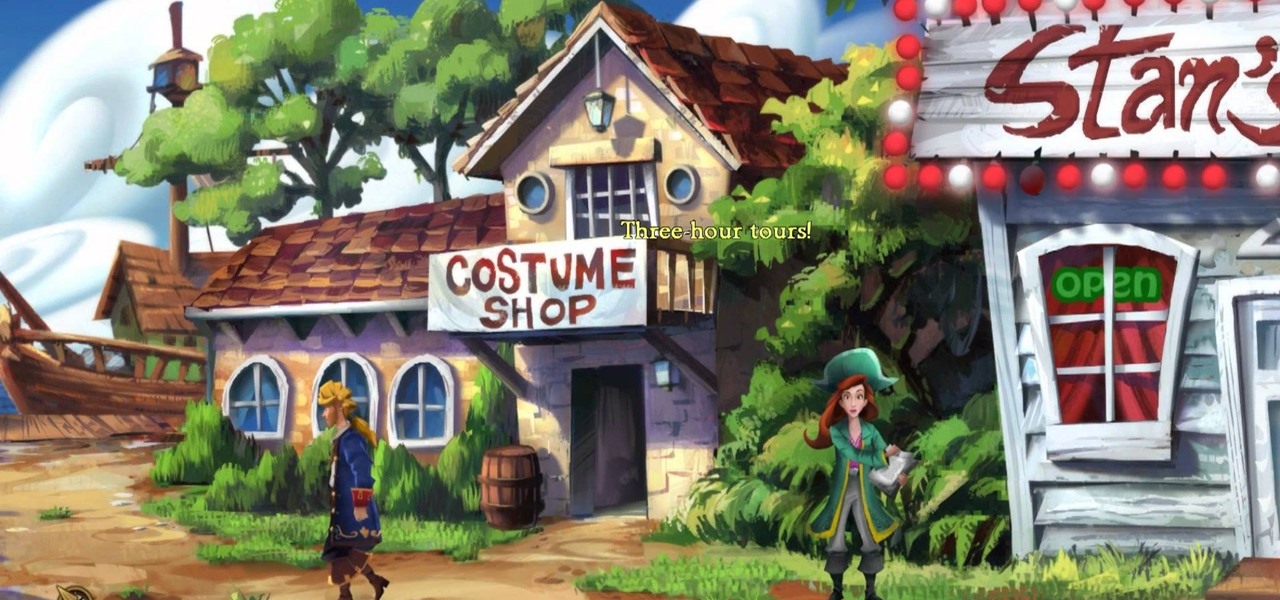
It's time for chapter 2 of Monkey Island 2! Four map pieces! It's off to Booty Island! If you're going around in as much circles as Captain Threepwood then this video is going to be the best map on the high seas! In this video you will get a full walkthrough of this entire chapter along with all the item locations and orders that you will need to get them in.

In order to make Matchbox Mini Chocolate Bar Holders with Cricut, you will need the following: Tag Bags Boxes & More cartridge, card stock, a bone folder, two sided tape, a cuddlebug, Stampin' Up stamps, ink pad, ribbon, a circle hole punch, and adhesive.

Making a scrapbook with glimmer mist, allows you to create interesting effects for scrapbooking. Shake the glimmer mist properly. Instead of shaking it up and down, shake it horizontally in circles. If you shake it up and down, it forces bubbles into the mist, which is the cause of splattering. You'll see a tornado inside, if you are shaking it properly.

How many stitches does your crochet art have? How can you tell? Why would you even want to know how many stitches are in your crocheted sweater or crocheted hat? Knowing how to count your stitches is a fundamental step in learning to crochet – assuming you want your finished product to be the right size and shape.
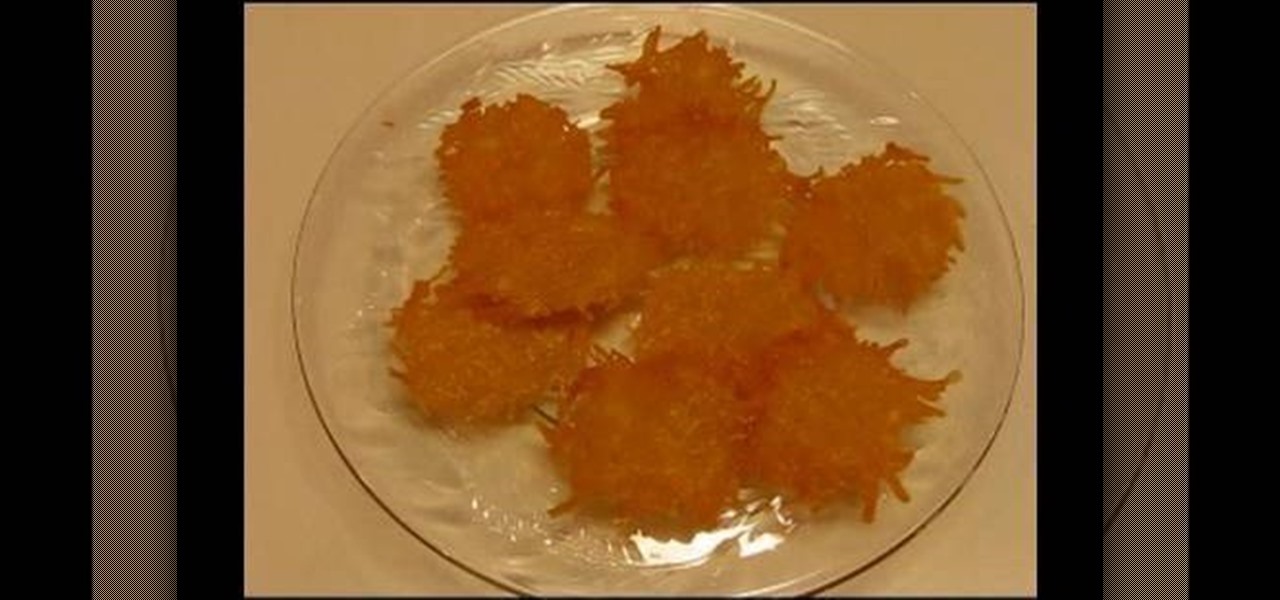
Looking to make a scrumptious snack? Learn how to make parmesan cheese crisps, a recipe from Betty of Betty's Kitchen. You can serve these with any salad, or just eat them as a snack, with no accompaniment. To make these yummy crisps, you will need the following ingredients (for about 12 crisps):
The Fennec Fox is a beautiful animal native to Northern Africa. This video art tutorial from Drawing Now demonstrates how draw a cartoony, adorable little example of on yourself. Here are the artist's instructions:
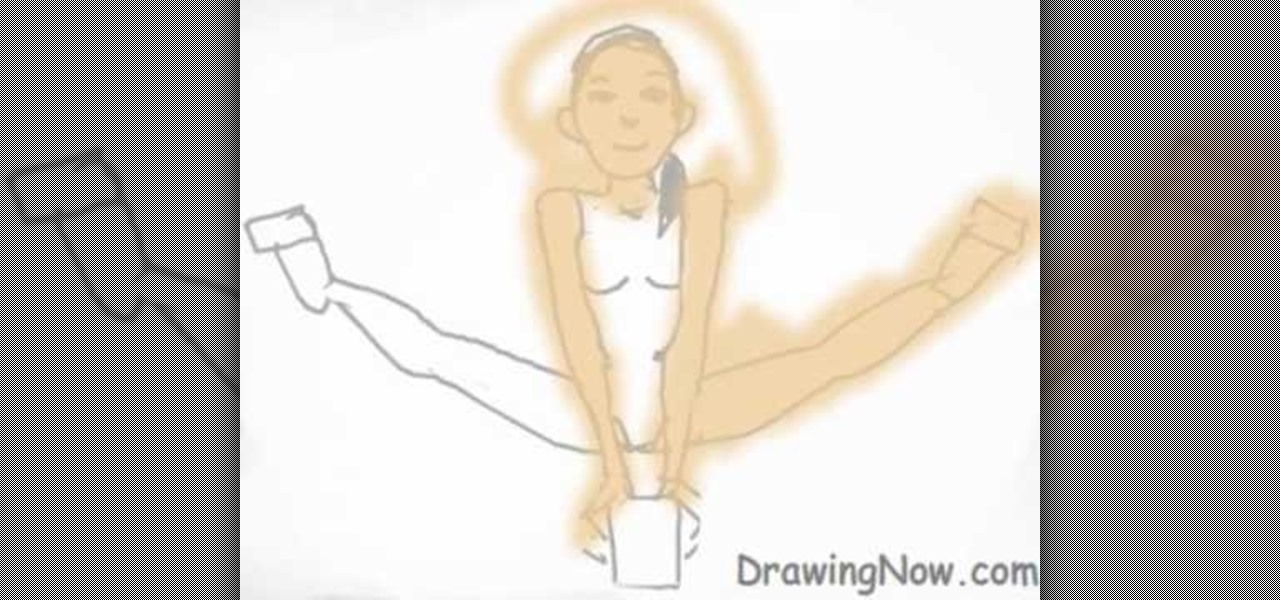
This video tutorial from Drawing Now demonstrates the drawing of a gymnast doing a routine on the balance beam. Her look of concentration evokes the drama and strength of both will and body required by this ancient sport. Learn to evoke that same feeling in your drawing by watching this video. Here are some instructions from the artist:
TutCast shows viewers how to create the blood spatter from Watchmen in Photoshop! First go to TutCast.com/watchmen and download the given file that will provide you with the layers needed for this project. First, click layer and click bevel and emboss. First, start with Inner Bevel, Keep it smooth and leave depth at 100. Direction is up and change the size to 8 and soften to 10. Now, set the angle to -70 and altitude to 30. Now, the gloss contour you should pick the fourth option and the high...
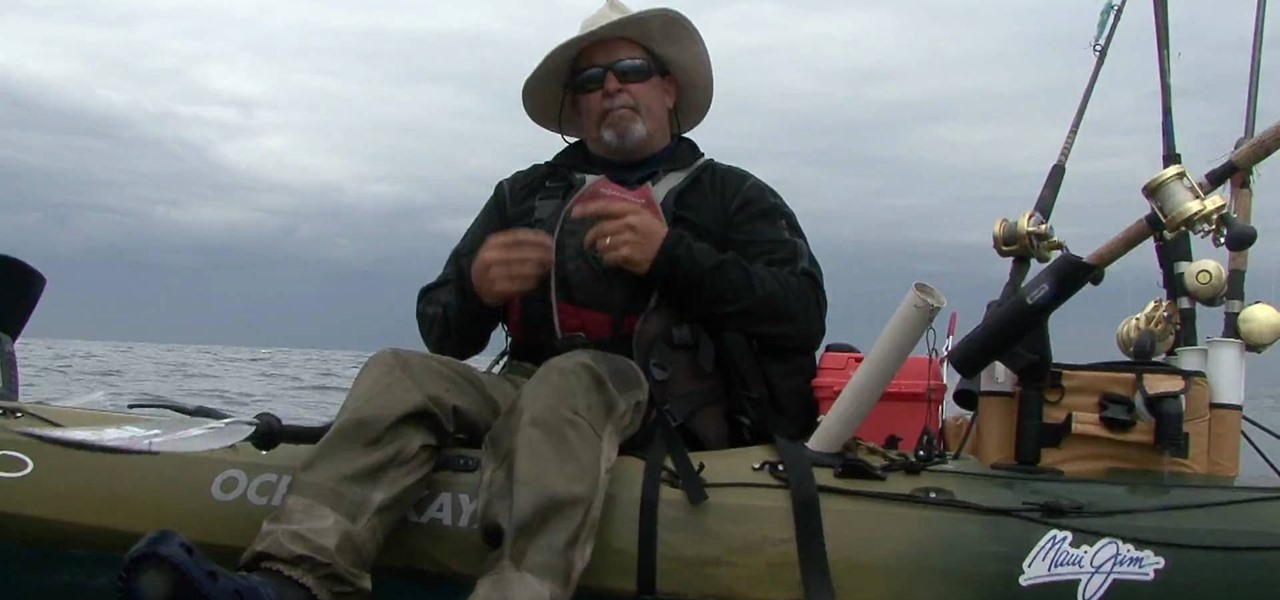
In this how-to video, you will learn how to troll large live bait in your kayak. Use a circle hook and attach it to your rod with a small loop knot. This will allow the live bait to have a natural presentation. This means you must troll slowly. You must have slight tension on the string. The bait must have a natural feel when it picks it up. This means there should be no resistance when it grabs the bait. Use a big casting reel with it out of gear and the clicker on. This means the button is ...
This tutorial guides you through the process of making a mennorade star with origami. It begins with a square of paper that is folded in half and then folded from the corners to make guides on the paper. The paper is then cut in half to make two rectangles. Each rectangle is then folded and trimmed to form a 'Z' shape. It is necessary to complete these steps for ten more pieces of paper. The next step is to take to of the 'Z' shapes, perhaps of complimentary colours, and link them together so...
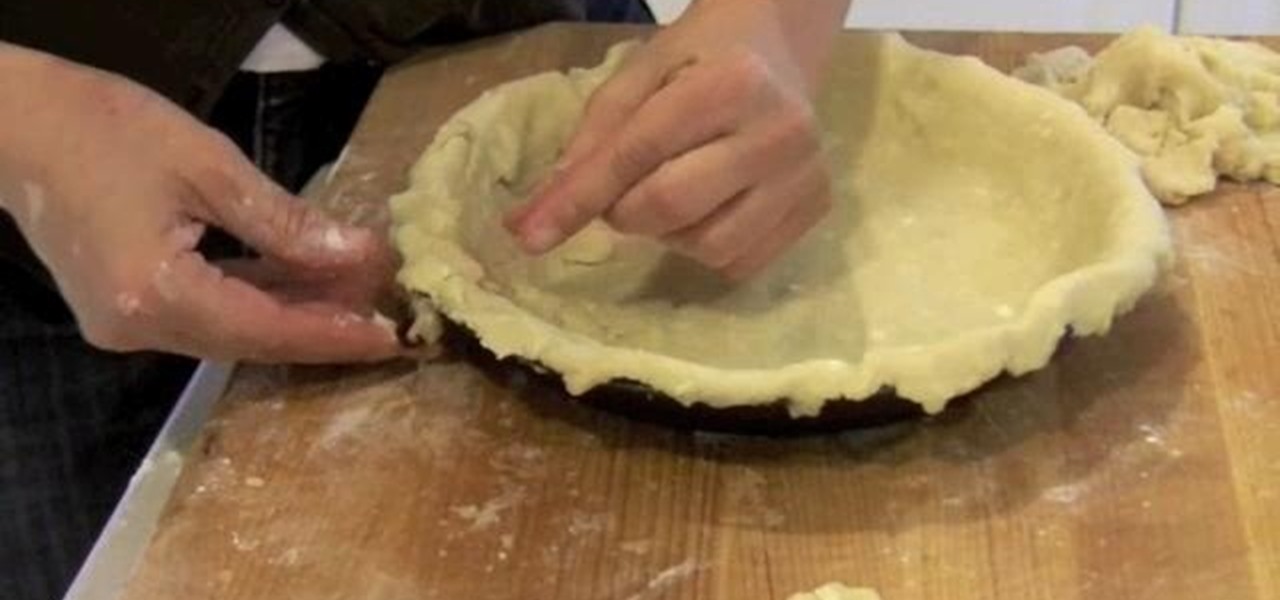
In order to prepare a Flaky Tender Pie Crust from scratch, you will need the following: a food processor, plastic wrap, 1 ¬O cups of all purpose flour, 2 T. sugar, 2 ¬O T. of solid shortening (frozen), 1 ¬º sticks of butter (frozen), water, salt, and a dash of salt.
In this how to video, you will learn how to draw a witch. First, draw three oval shapes for the head and body. Next, draw the basic out line of the witches and legs. From there, you can add the arms, cape and broom. You can also add a bat and cat if you want. From here, you can go back into the drawing with more detail. Add the buckle and band of the witches hat. Next, draw in the curls of the hair and the eyes, nose, and mouth. Next, add in the folds of the cape. If you drew the cat, add fur...
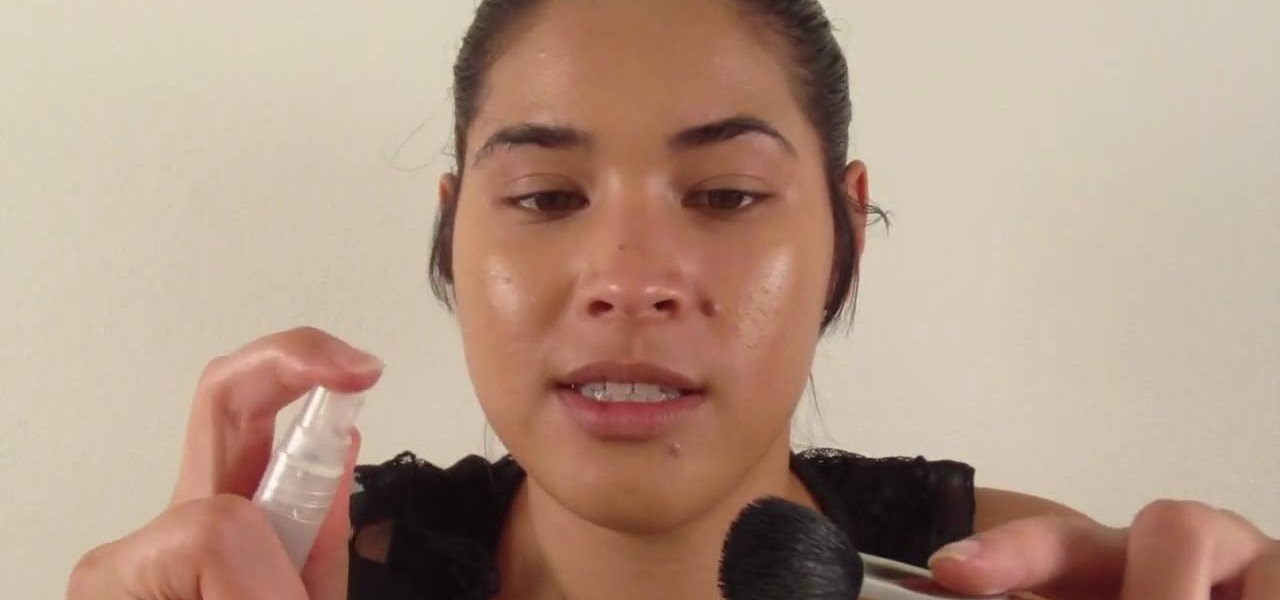
This YouTube video is of Christine from Temptalia.com demonstrating how to apply basic foundation with a 109 brush by mac that is small. First take face primer, try silicon free primer. Apply to your entire face. This helps to keep make up on for longer and is suggested for period that are special are require you to have makeup on or look fresh for longer periods of time. Also suggested for oily skin types to use a modifying cream and primer. It is best to put your primer or moisturizer 10-15...
Howard demonstrates how to control sharpening on your image in Photoshop. First, you want to copy your layer by dragging to down to the new layer icon at the bottom of the box. Next, go up to the menu bar at the top of the screen and click Filter, select Sharpen, and go to Unsharp Mask. A dialogue box will pop up so that you can adjust the how sharp your image is by using the sliders. Click OK when you are done. If you want adjust where you sharpen the picture go to the right side and click o...
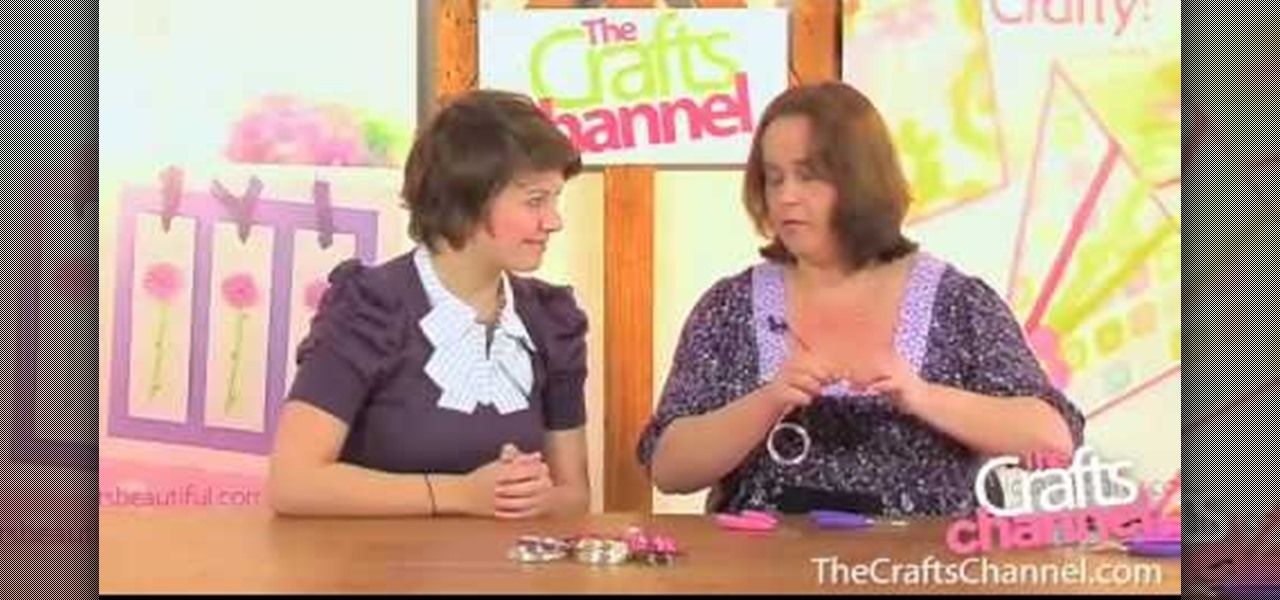
Nathan demonstrates how to easily make a button using the Badge A Minit hand press button maker. First, load the button back into the blue ring. Place the artwork, face side up on top of the button back. Add the clear plastic circle on top of the artwork and put the yellow ring on top. Next, flip the apparatus over and put the purple ring on top of it. Then, put the green ring on top of the purple ring. Place one hand on top of the other on top of the green ring and press down firmly until it...
How to Make a Lattice Top Pie Once the base of your pie is made, roll out a thin, circular piece of dough. This circle should be just a bit larger than the base of the pie. With a pizza cutter, cut 1-inch wide lines through the dough. Starting with the longest strips, place one strip horizontally on top of the center of the pie and one strip vertically on the pie. The strips should form a “plus sign” on the pie.
In this how to video, you will learn how to tell the difference between a tunable and non-tunable bodhran. A tunable bodhran has a tuning mechanism to allow you to adjust the skin tension. A non-tunable bodhran is actually tunable, but it just needs more time to do so. A tunable drum has the tuning mechanism in the inside. They are lugs pressing on an inner hoop. When the key is turned clockwise, this will make it tighter. Make sure to go crisscross rather than around the circle when tuning. ...
Maria demonstrates how to make pita bread. First, she runs hot water over her mixing bowl to warm it. Then, take a cup of warm water and dump it in the bowl. Add one package of active, dry yeast. Then add a tablespoon of sugar. Let that sit for about five minutes. It should bubble up in that time. Next, add a teaspoon of sea salt, two tablespoons of olive oil, and one cup of flour. Using the dough hook on her mixer she stirs in the flour. Next, add a half cup of flour at a time to the mixture...
In this how to video, you will learn how to draw a cartoon fish. First, draw a circle for the body. Add a curly fin at the top and bottom. Next, draw a triangular shaped tail at the back. With the basic outline finished, draw in the details of the face, such as the eyes and pointed mouth. Re-trace the outline of the fish with a bumpy line. Next, draw in bubbles near the mouth. Draw details in the fins such as lines running through them. Add some texture lines through out the body. Once this i...
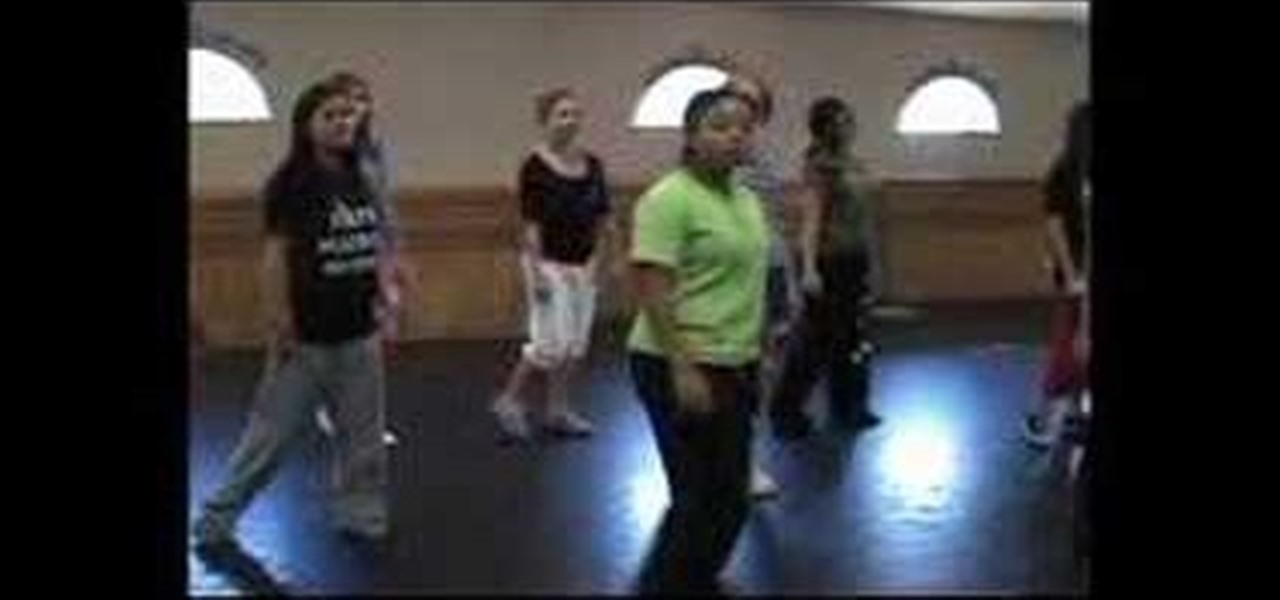
The first part of the dance routine to Every Little Step is to step to the right and bring your left foot to your right. Now do a step to the left and bring your right foot to your left. Repeat. The next step is to take your right foot and move put it in front of you. Now take the same foot and move it behind you. Next, make a circle going counter clockwise using only three steps. Repeat these moves from the time you stepped foward. Now repeat the four steps you made going from side to side t...
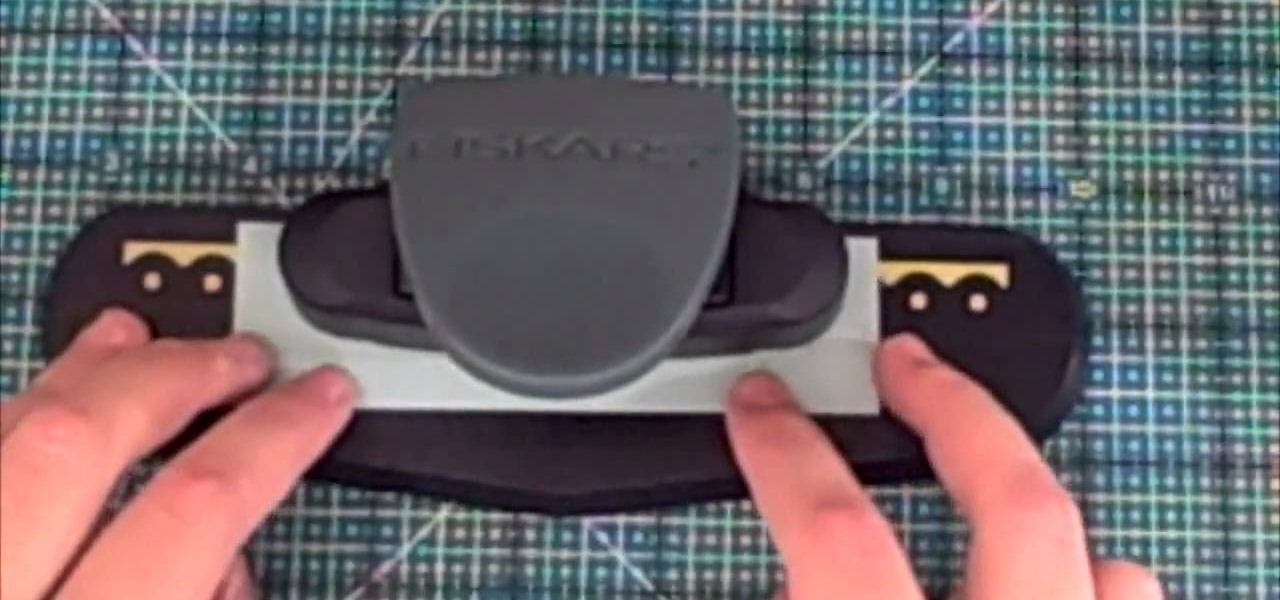
This video is part of the lawn fawn card series and it explains the making of a card using border punches and a stamp.The materials required are a set card-polka dot basics from paper tray ink.This card has a variety of dots on it. Remove the big open circle polka dot and lay it on the aqrualic and place it on a plastic bock with grids on them.Using a color box cover the stamps with ink.Now place the block over the card so that the grid lines with its length and press on it.The polka dots wil...
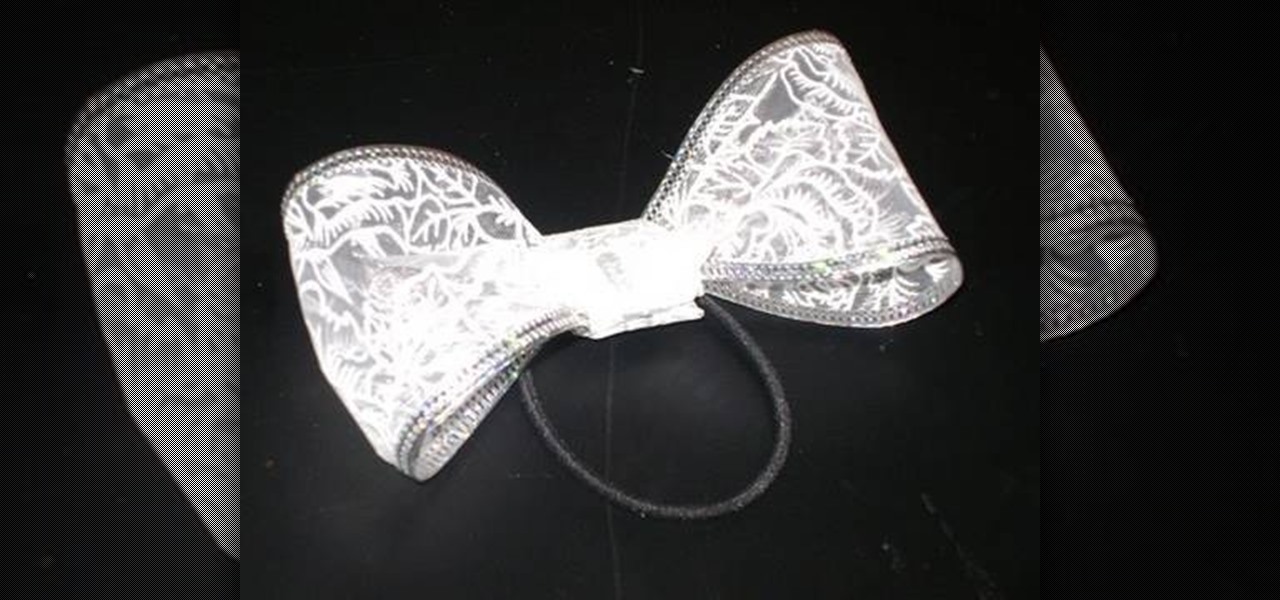
Materials required are lace, hair band, scissors and glue. Start by cutting off a piece of lace around ten inches length using a scissors. Now apply glue at the edges of one end of the lace. And then join the other end of the lace together to form a circle. Now hold this lace at the middle and then push in the middle. Press in at the centre so that it is divided into a Bow as shown. Spread the edges a little to make it appear fine. Now cut off a piece of lace around four inches using a scisso...
This video teaches us how to make shaker cards. These are cards that have a sort of window where you can see glitter or confetti moving about when you shake the card. You start off with your card base. A good size is 6" by 8". You take your front image, either a picture you have or stamp one yourself. Attach this image to the front of your card base. Line your image with thick double sided tape. Don't leave any gaps or your glitter will leak out. Next you cut your window. This will be the ver...
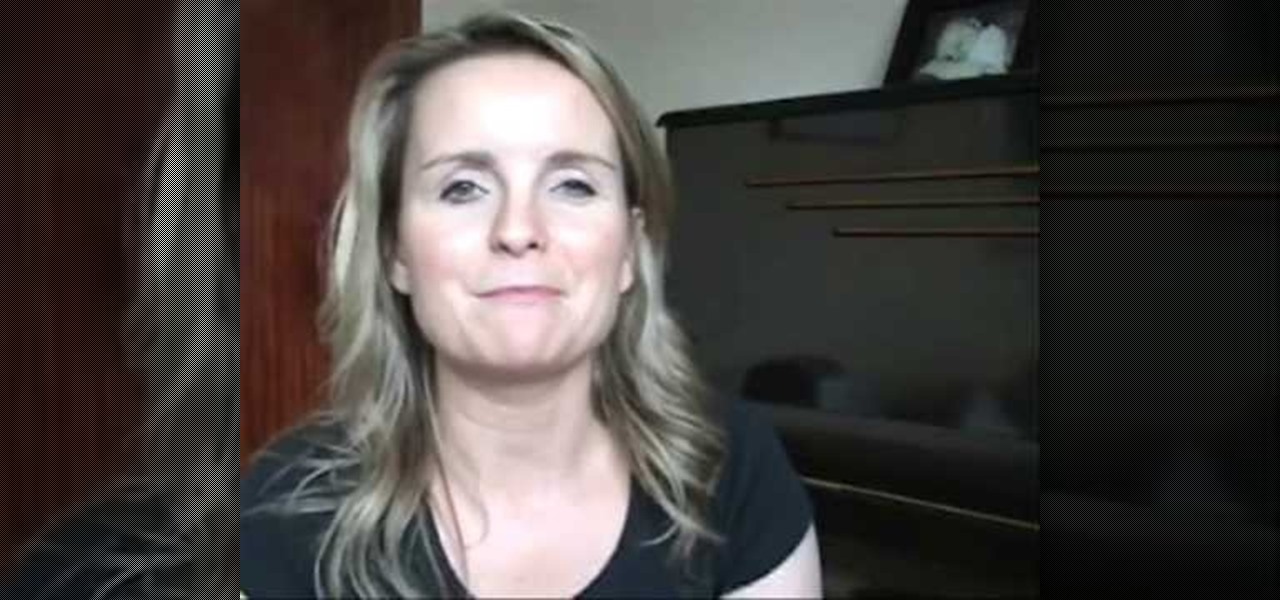
First of all you have to start with the bungee band pony tail at behind. You can use the brush on your back hair to make it appear bigger. Use your brush on the underneath of the back hair to make it appear wider and it should appear to have a body. Pick small locks at the back and brush it outwards so that it looks that you have more hair than actual. After this you have to gather all the hair at behind. Now you have to wind it and bring it all towards your head. Now use a hair pin to grip y...
Krazyboytx shows viewers how they can use spell Florida water. You can use Florida Water to cleanse your alter and for your candles. First, you will need a camfur block. Use one of the four pieces of the camphor block and put this piece into a zip-lock bag. Crush this camphor block up into the zip lock bag to get small crystal pieces. Fill up your bowl as much as you can with one block. Next, pour in some of your Florida water up to about it covering the stones. Put this on your alter until i...
First of all you need roll of wire around 1 or 1.25 millimeter thick. Now take the roll of wire and using a round nose pliers bend the wire about 5 cm. now take a flat nose pliers and the hold the ends and bend it round to make a hook. Now taper off the end and then straighten the wire. This shall be the top portion of your pin. Now take round nose pliers and then wrap it in a complete circle and then repeat it two more times. This shall produce three loops and you can also adjust the length ...
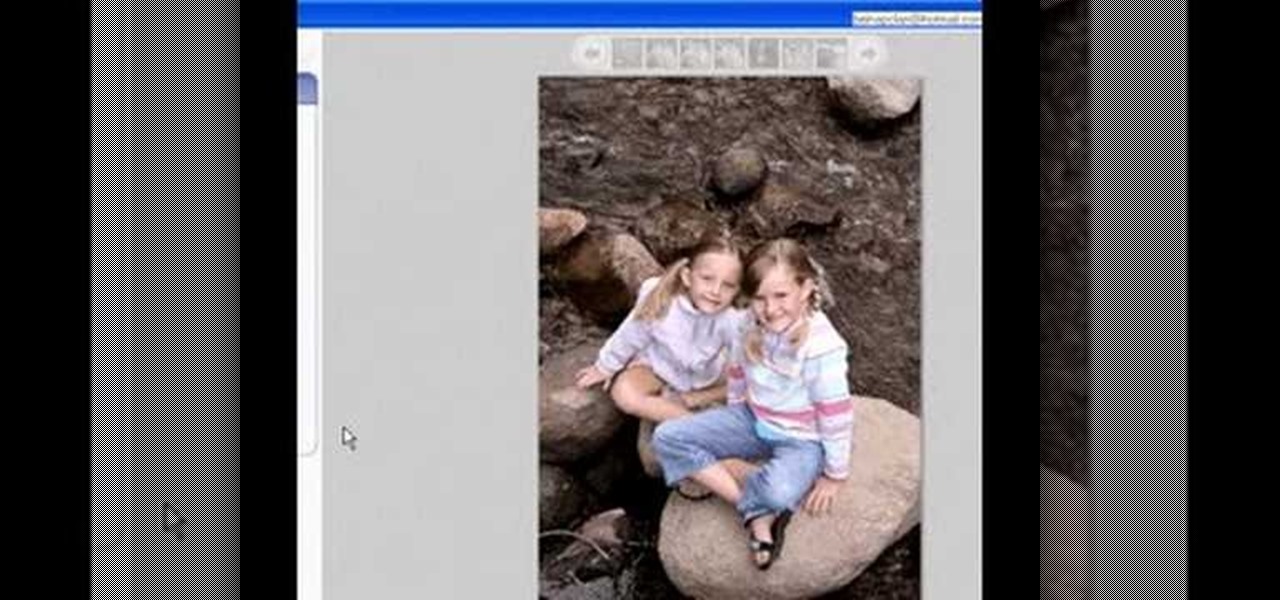
This video is a Microsoft Word 2007 tutorial on working with pictures. To insert a picture in your document, click on Insert and select Picture, then find the picture, select and insert it. To resize the picture without distorting it, click and hold on the corner circles. You can adjust Brightness and Contrast by using the various choices within these settings. The Recolor setting gives you a number of options for changing the coloring of the picture, such as sepia, black and white, or graysc...
This video demonstrates how to make a balloon sword and heart. To make a sword, pump up a balloon as long as possible and tie the end. Twist the balloon at this end making a small ball. Bend the balloon at around 20 cms in length and twist both the ends of the balloon at the same level as the ball creating a loop. This is named the 'elephant bend'. Now insert the long end of the balloon into the loop leaving behind a small part. Your sword is ready.To make a Heart flower. Take a red balloon a...
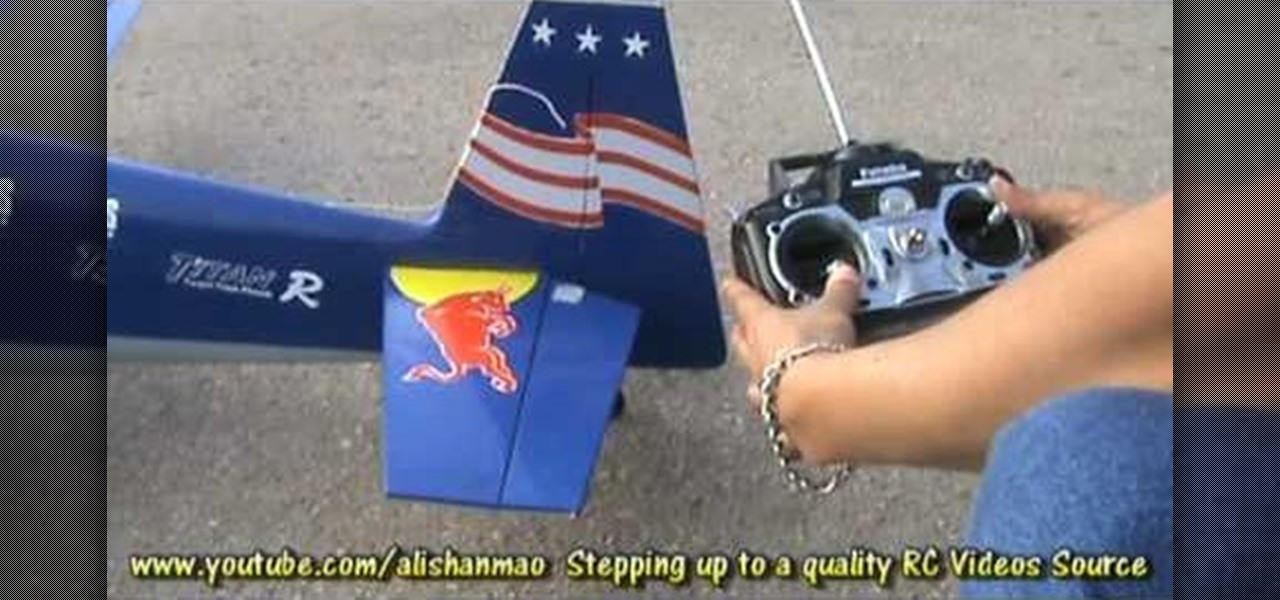
First of all you have to loose the altitude by taking a circle or two around in the air. On the final turn make a good straight approach to runaway and don't use too much ‘ailerons’ then. Just use the controls ‘rudder’, ‘elevator’ and ‘throttle’. Also watch for the cars or the traffic where you are going to land. Keep constant low ‘throttle’. You have to maintain good ‘idles speed’. You might want to adjust and remember the trim settings. After touch down, don’t pull on elevator. Just cut the...
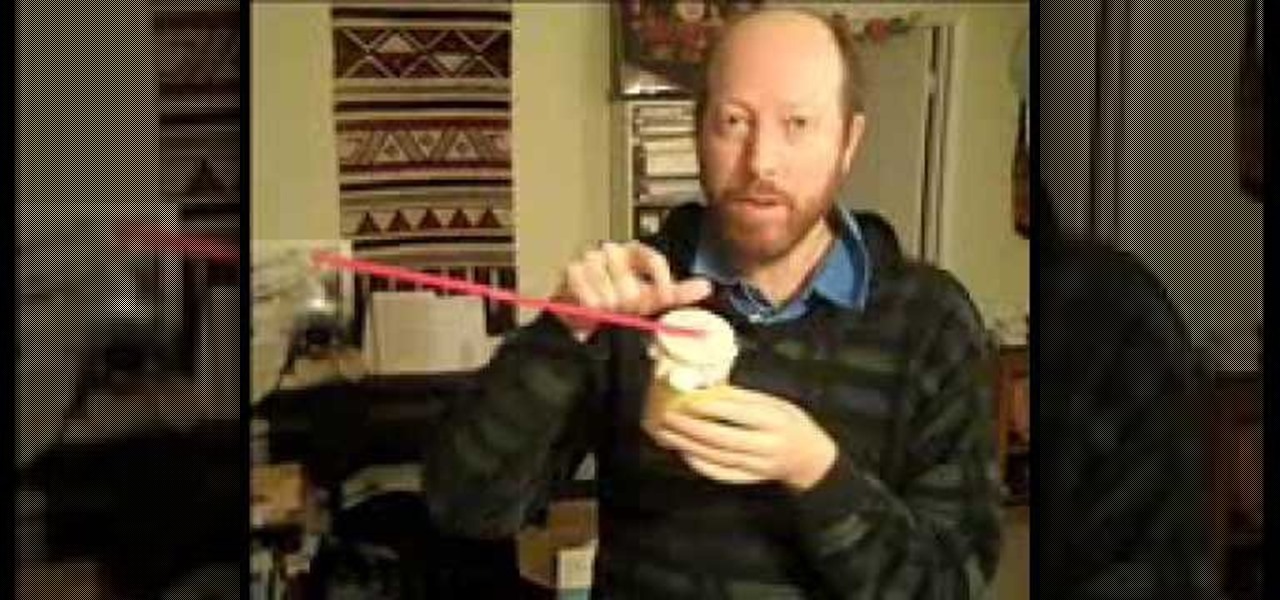
ARHSphysics shows viewers how they can build a simple barometer using household items! First, you need to get a container that is the height of an index card. Your best bet is to get an empty soup can of food can. Make sure you wash the can. Now, you will need a latex glove, cut a semi circle from the glove and attach this to the top of the can using a rubber band. Get two straws and attach them together at the ends. Cut a slit in each one and attach the straws. Attach the straw to the top of...
Begin with starting the program Picasa. If the program has been opened, choose an image for editing. Double click on one of the images and it will open. On the left of the screen there is an editing toolbar. The next option after this is to Crop the picture. Click "Crop Picture". Then choose the format you want the picture to be cropped to. Then hit Enter.The next option is "I'm Feeling Lucky". With this option you can give the picture the best color possible.Following with Redeye Repair. Cho...
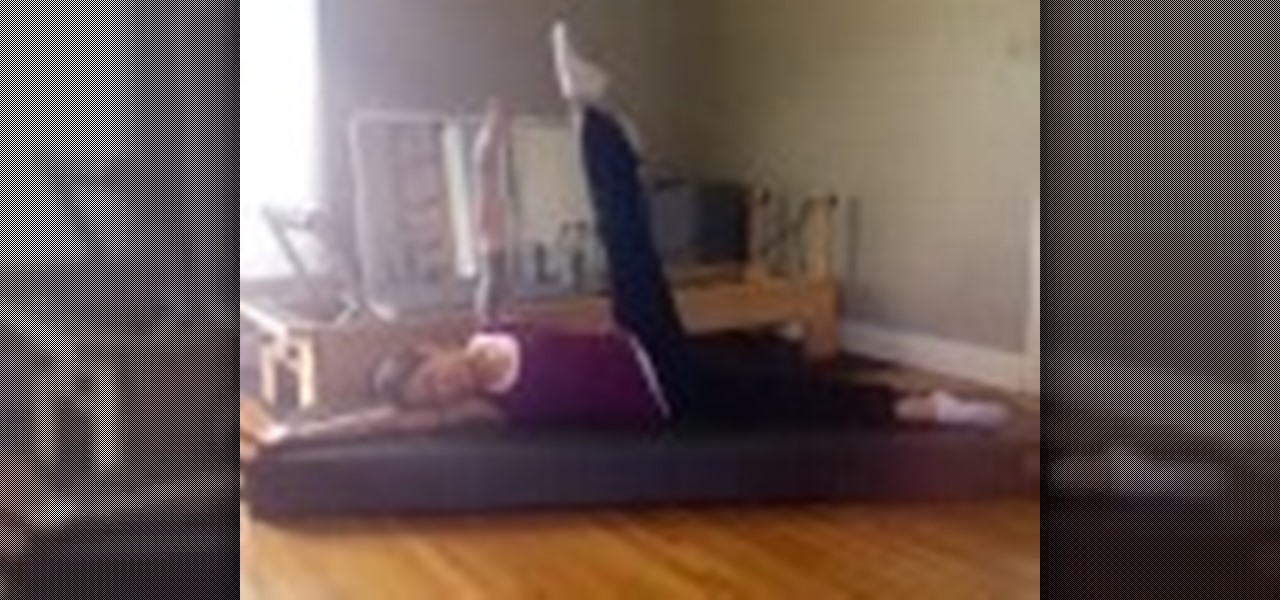
In this demonstration, Erin Huggins shows Pilates exercises that can be used to firm and tone legs. Start laying on our left side with your arm above your head and your head resting on your arm. Your legs should be straight. Start by pointing your right kneecap (top leg) to the ceiling. Then lift it straight up to a 90 degree angle. Flex your foot at the top of the move and keep it flexed when you drop the leg. A variation of the move is to keep your foot pointed and bend your knee as you pul...
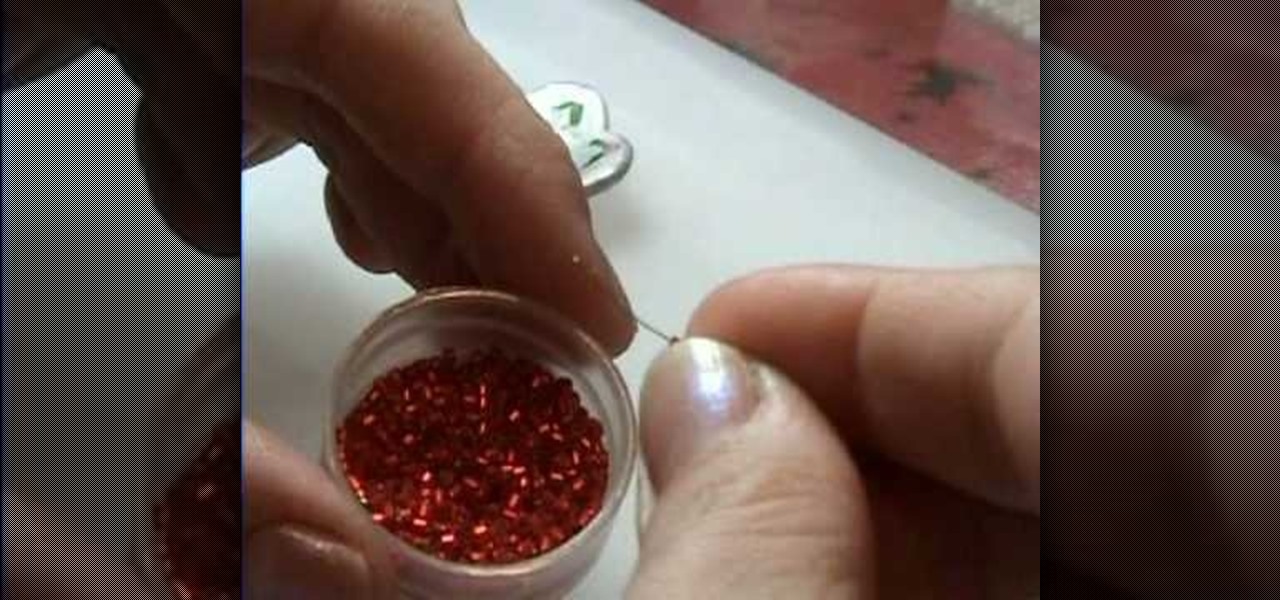
For the fairy sized princess tiara you will need 32 gauge silver wire, silver ball beads, seed beads (your choice of color) and 4 mm crystal beads. Start with about 6" of the wire. String a seed bead to the center of the wire- and twist one or two times to secure it in place. Then bring both ends of the wire together- and clip so that they are even. Next string a 4 mm crystal bead over both pieces of wire and press snugly next to the first seed bead already strung. Then add a silver ball bead...
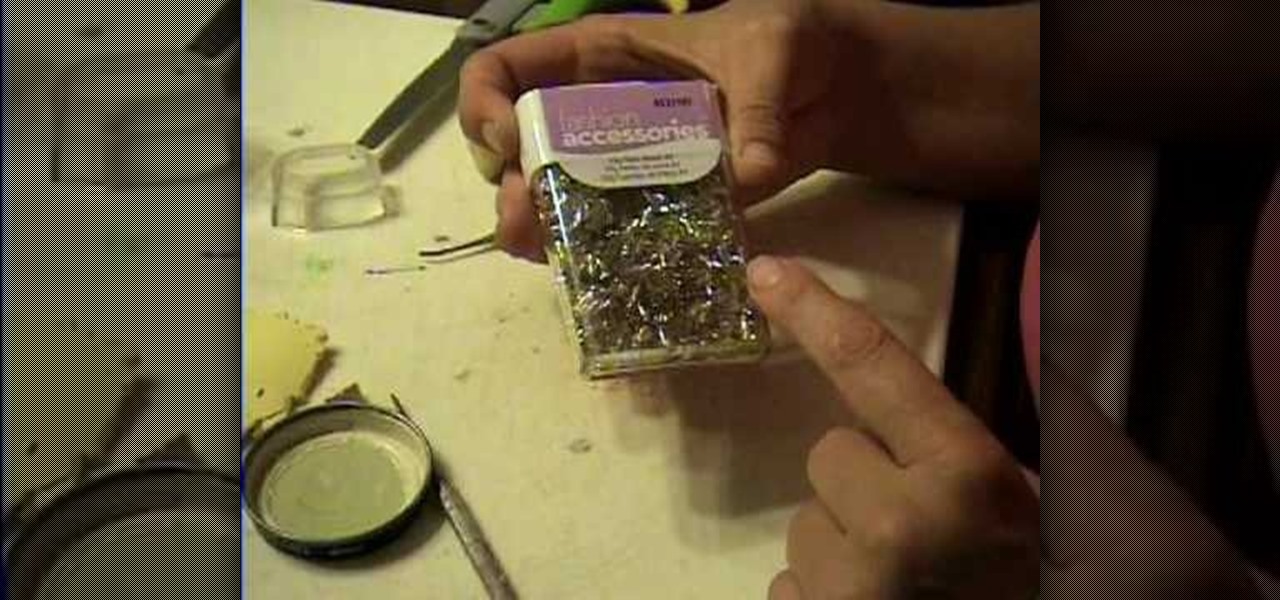
Making your own hoop earrings can be fun and easy. In this video we learn to make gold-filled beaded hoop earrings with some wire, pliers, beads and an empty pill bottle. Take a 6 inch piece of 20 gauge wire and wrap it around the pill bottle. Then you take your round nose pliers and bend the tip of the wire in a 90 degree angle ending in a circle. You can be creative with what you put on for beads. In this video it shows a purple focal bead and 30 plain beads. So you would put 15 of your pla...
Garden Imagination shows viewers how to make a polymer clay mini birthday cake for your dollhouse. First you will want to start off with yellow clay and roll it out on your pasta machine at level 1. Fold this yellow clay in half and use a shape cutter to cut out the cake. You can find a shape cutter at Hobby Lobby and use a circle scare or any shape you want. Cut out two pieces - one for the top and one for the bottom. Next, you will want to use size 8 font on your computer and type "Happy Bi...
This art and craft video shows you how to create a bunny head out of polymer clay. You start it by creating a round ball for the bunny head. You can then make it into a bead by using a small screwdriver (if you wish it to be a bead). You then take some additional clay and shape it into flat ears, fold them over to make them look floppy and attach them onto the round ball (head). The presenter then shows you how to add eyes, by pressing beads onto the face of the bunny using a needle. You can ...
As you apply the wrap you want the most pressure down by your toes and the least up your leg above your ankle. That keeps swelling out of your feet and back up toward the heart. Start by wrapping around the base of the foot. As you move up toward the ankle you will begin wrapping the ankle in a figure eight going around the ankle and then around the foot. You want to wrap the ankle 3-4 times to give it some good stability. Then wrap the ankle in circles around the ankle and then up the leg. Y...