Love4Nails shows step by step tips for achieving this look. Begin by choosing a background color. On top of the base, apply white polish. Then apply a smile line on the top portion of the nail as you would when doing a French manicure. Then fill in the nail. If its not perfectly straight its ok because it will be covered. Next, apply glitter polish on the white area of the nail. With the white polish make three dot and use a dotting tool to extend them, creating flowers. With the original blu...
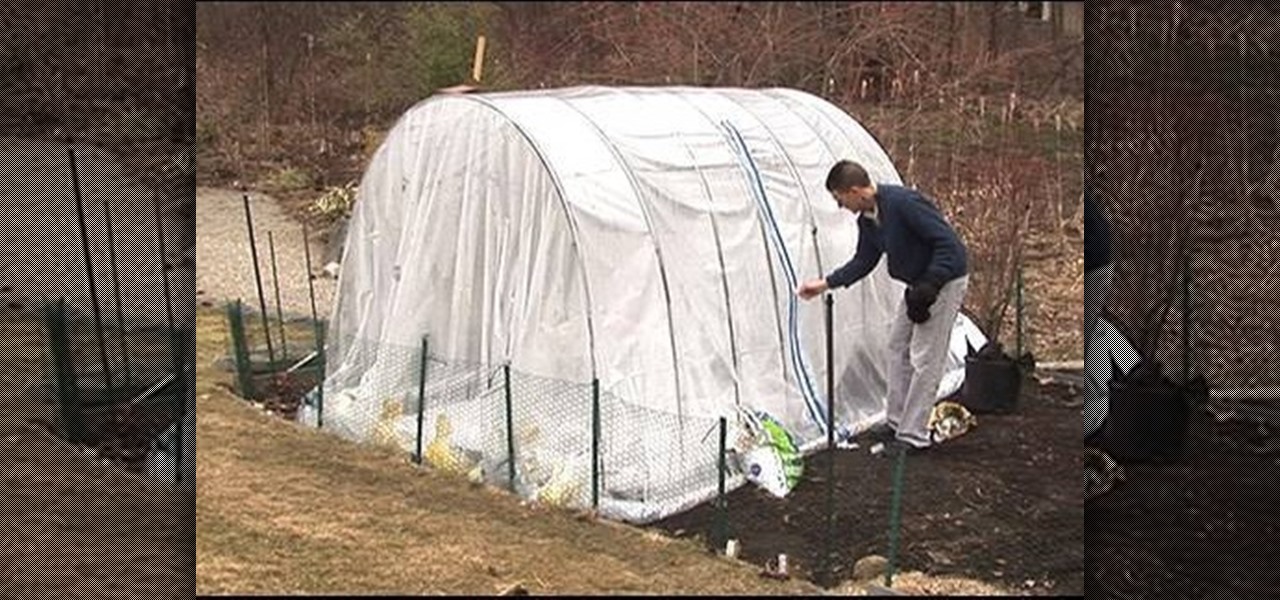
How to build a high tunnel to protect your plants
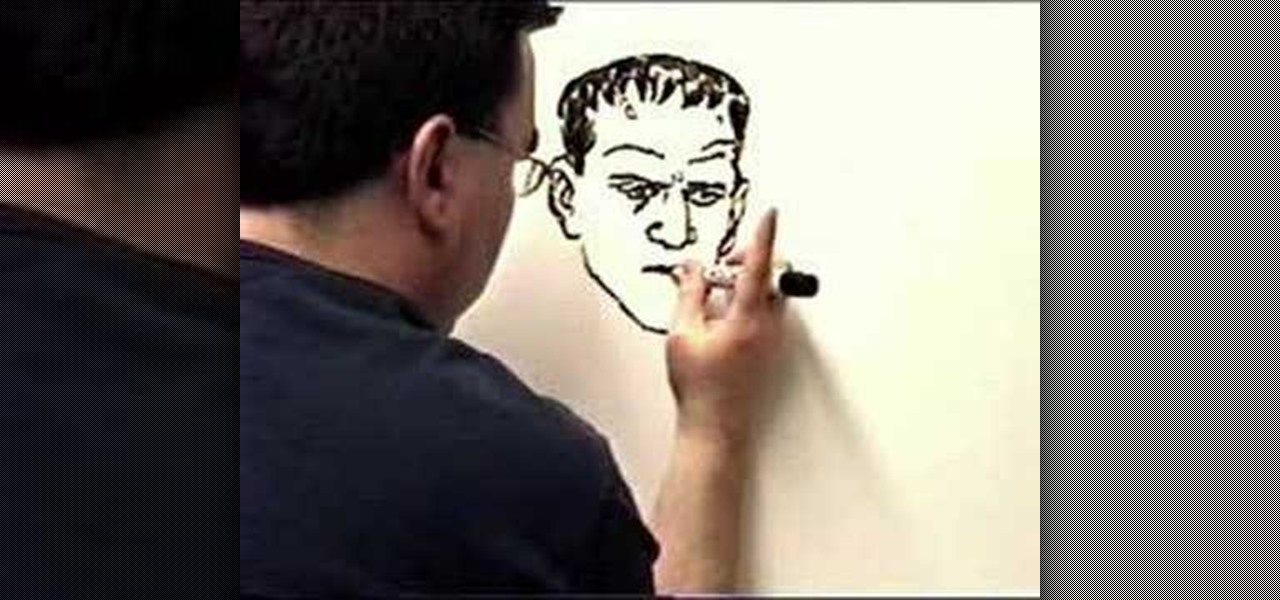
`This video illustrate how to draw Frankenstein's monster. Here are the following steps.Step 1: First of all take a sheet of paper and a pencil.Step 2: Now draw a oval circle representing the face of the monster, draw a big circle within the face showing an open mouth.Step 2: Draw small circle within the face representing the eyes.Step 3: Now draw a free hand mid part from the lower face .Now from this mid part extend two hands with waves to represent masculine look.Step 4: Draw two legs from...
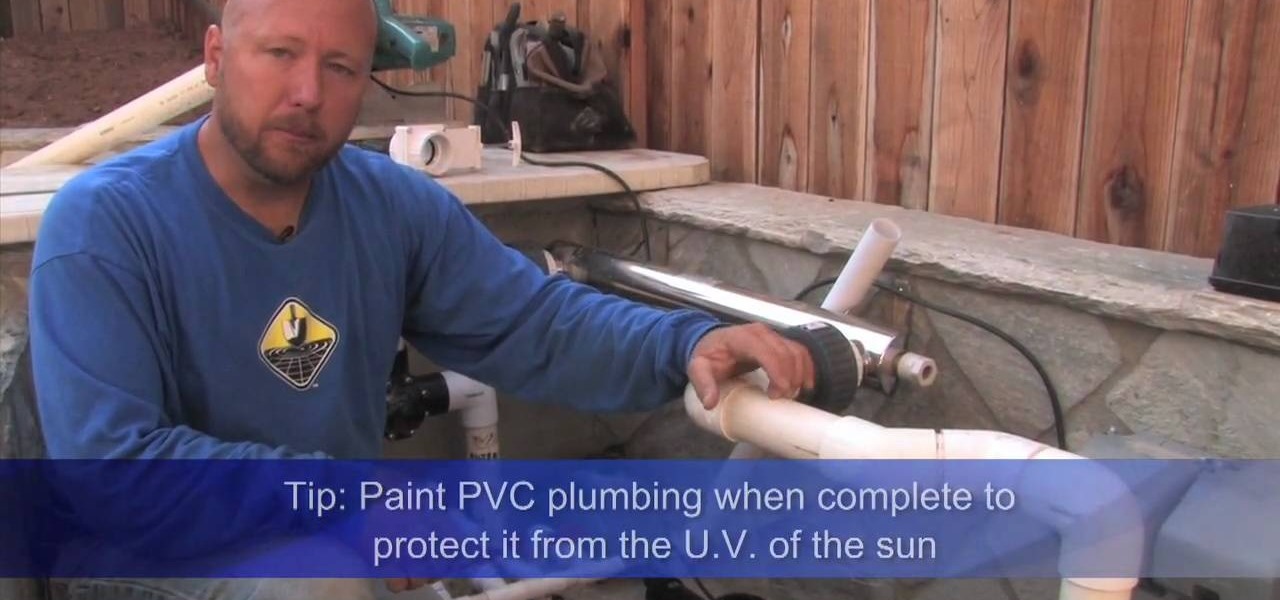
The Pond Digger demonstrates how to set up plumbing for a pond. First, sleeve all pipes coming through the cement foundation to protect the plumbing from elemental stress and provide additional flexibility. Next, use a clear primer and a clear glue to seal areas where you need a clean, finished looking product. Paint the PVC piping to protect it from the sun's UV rays and prevent from becoming brittle. If you need to do cutting, use a chop saw for a quick, clean and efficient cut. Extend the ...

This video illustrate us how to draw an animated fox step by step. Here are the following steps:Step 1: Take a piece of paper and pencil.Step 2; Draw a small oval shape, this is the face of the fox and within this face draw two lines representing the eyes. Draw a small circle between and a bit lower then the eyes representing the mouth.Step 3: Draw the body of the fox by drawing a hands free semicircle and extend the semicircle with two very small circle on the lower side representing the leg...
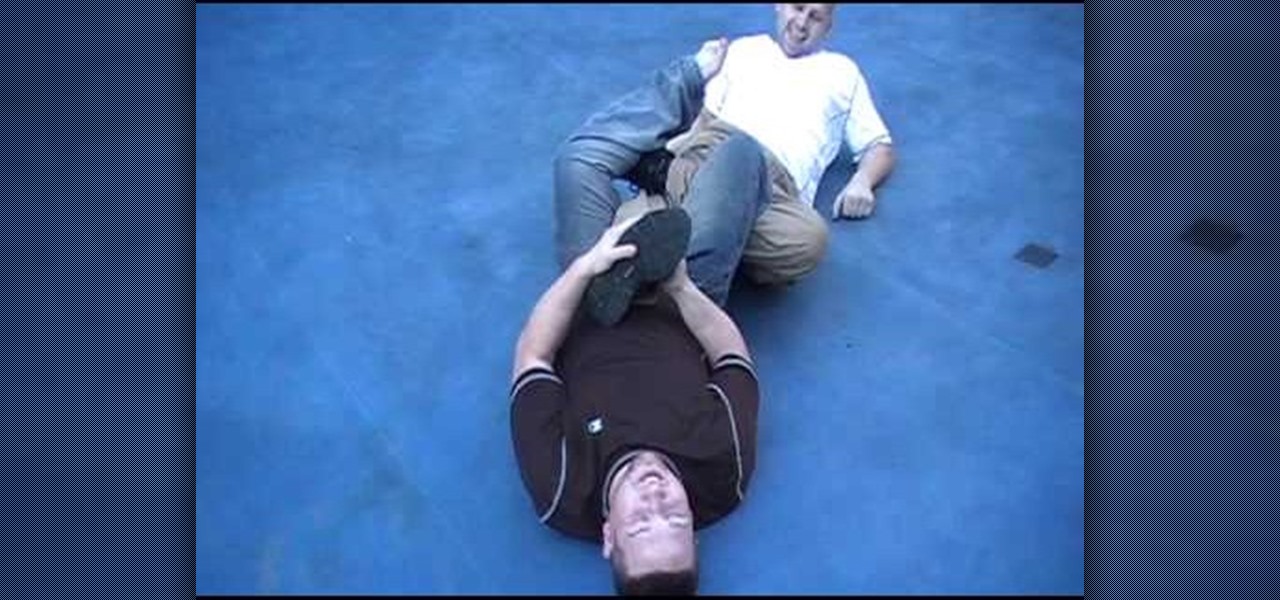
Professional Wrestler John will show you how to perform a Figure-4 leg lock, step by step. He first leads in with a Snap Suplex to put his opponent on the ground, and then demonstrates a proper Figure-4 Leg Lock. John then talks you through the entire process, while demonstrating. He first instructs you to grab your opponent’s left leg, lift their foot up, and step in with your right foot while bringing your left foot over their hip to their other side. Extend and bend their knee, and then br...

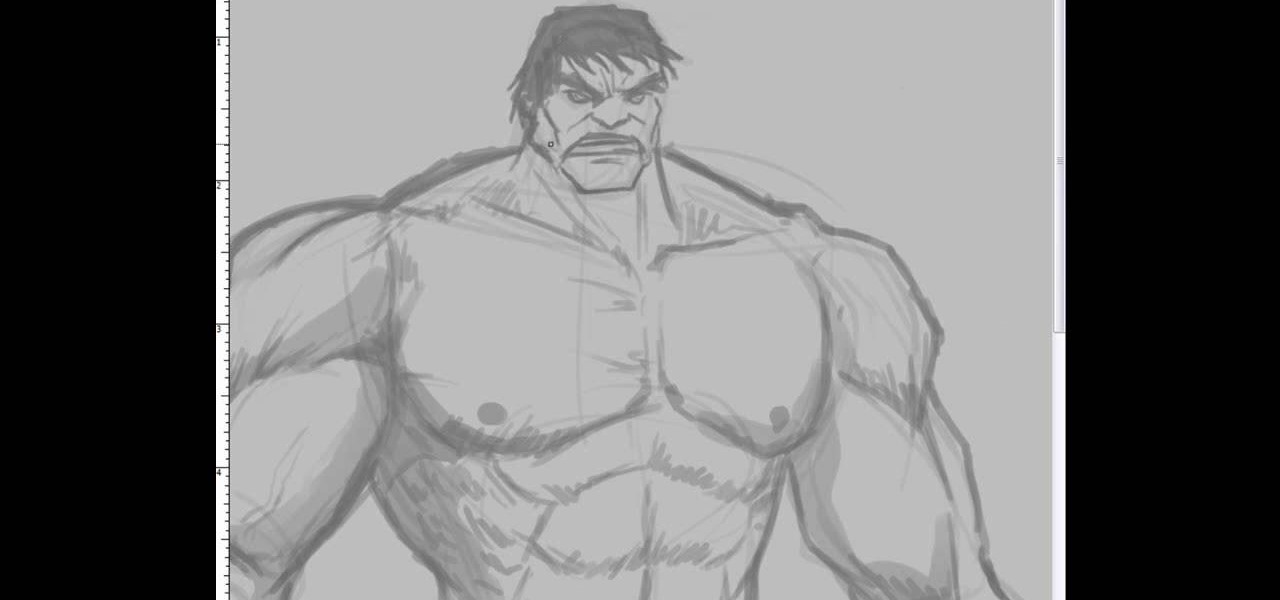
This video illustrate us how to draw the incredible hulk. Here are the following steps:Step 1: First of all take a sheet of paper, pencil and pencil color.Step 2: Now draw a square with round edges representing the face of the hulk. Within the face draw eyes and a big mouth and hairy eyebrows.Step 3: Now from the bottom of the circle draw an oval with wavy structure on it showing the six-pack abs of the hulk.Step 4: Now from the down side of the abdomen extend two legs with muscular legs and ...
Thinking of switching to a Mac using an external hard disk, you'll need to format it so that the Mac can recognize it. In your Mac, go to finder, then applications. Scroll down to where it says disk utility and then select it. Here select your hard disk and press the partition button in the screen that comes up. Make two partitions and rename them to whatever you want. After that change the format of the partition to Mac OS extended. Now just press the apply button to apply the changes, be su...
Being in the wilderness for an extended amount of time can be bad for your health. One thing it can do for you is cause major problems in the personal hygiene department. Find out how to keep yourself nice and clean by using a yucca plant.
In this video tutorial, viewers learn how to maintain a garbage disposal. When using the garbage disposal, always run cold water before using it. Put the debris one by one. Do not stuff it all in at once. When finished, turn the disposal off and let the water run for a while to wash all the debris down the waste line. Do not grind stringy items. It is fine to grind hard food waste. This video also talks about the common problems that people encounter when using a garbage disposal. This video ...
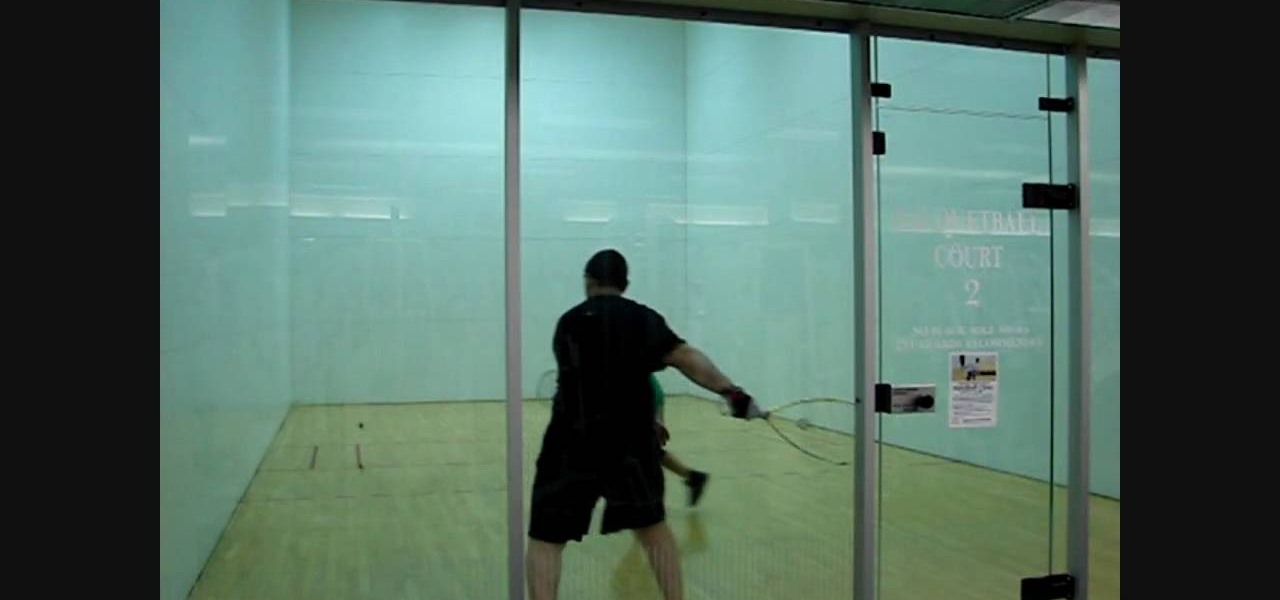
In this Sports video you will learn how to hit shots from the corner in racquetball. When your opponent hits a shot into one of the corners, the common mistake that a lot of players do is to run into the corner in order to dog out the ball. If you do this, the ball can jam you to ‘short arm’ the shot. Don’t crowd yourself into the corner eliminating your full extension. The video demonstrates how by staying a few feet from the corner, the player was able to extend his arm fully to take a full...
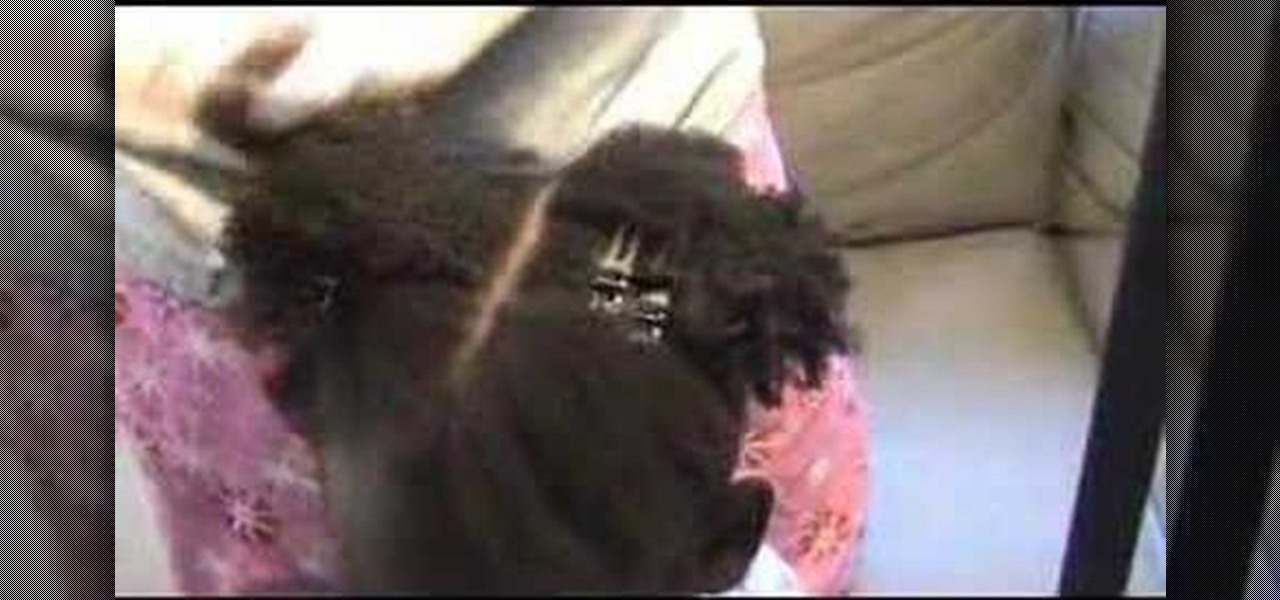
Criss-cross corn rows are a stylish way to maintain your hair. This video tutorial demonstrates how to braid hair with criss-cross corn rows. Begin by dividing the scalp into four parts, with one line extending from ear to ear, and the other crossing down the center of the head. To complete the hair style, continue to divide each section in half until you reach the desired amount of hair segments.
To do a back handspring, raise your hands over your head in a standing position. Then, stretch your arms out in front of your while lowering yourself, with knees bent, to a simulated sitting position. Use propulsion from your legs to jump into the back handspring. If you don't jump into the back handspring you may hit your head on the ground. Reach back as far as you can go, keep your body tight and keep your toes pointed. Keep your arms extended over your head and reach back to flip your bod...
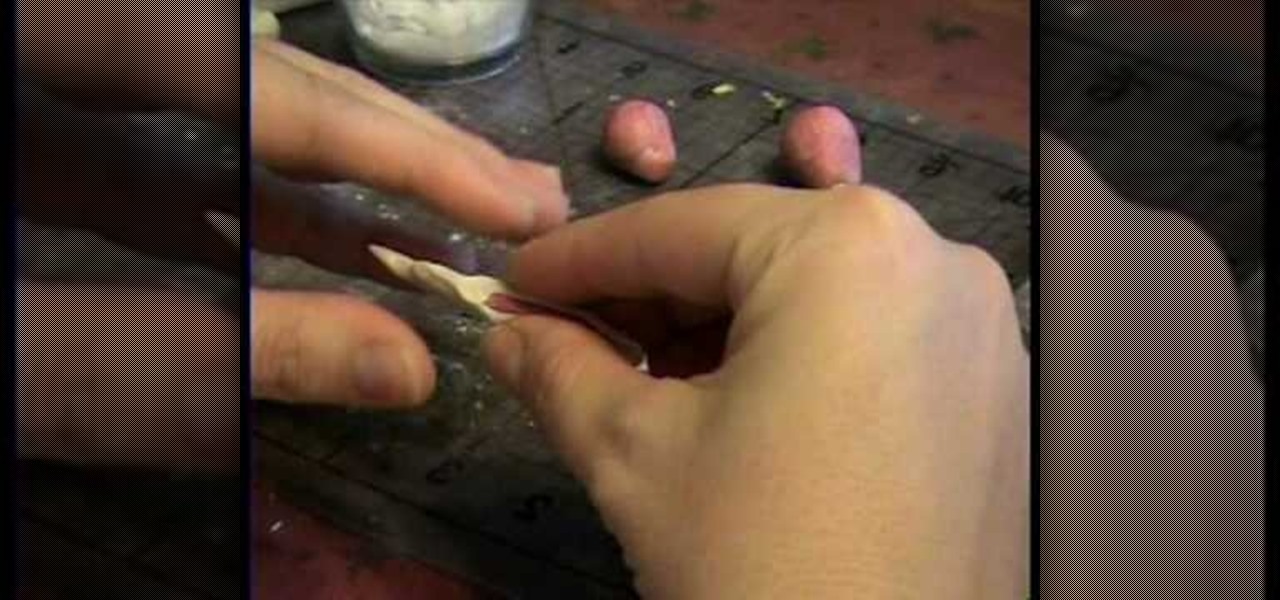
This video shows how to make a miniature ham out of polymer clay, for use in a dollhouse. The instructor begins by taking red and white clay and mixing it to get the color wanted for the meat of the ham. A small, hardened pink piece is then wrapped in a white piece, making the bone with the marrow inside. This is then pressed inside the meat and made to extend out of one end, completing the ham. The process is demonstrated in detail, making it easy to follow along and make your own miniature ...
AMICLUBWEAR created a tutorial on how to host a tea party based on "Alice in Wonderland". The video begins with a step by step instructional on how to make tissue paper "flowers" as decorations for your tea party. The tissue papers are layered in opposite colors, after which the tissue paper is accordion folded and tied together using a pipe cleaner. Afterwards, the tissue paper is carefully extended layer bay layer and shaped into a flower. Next, there was a tutorial for making the "EAT ME" ...
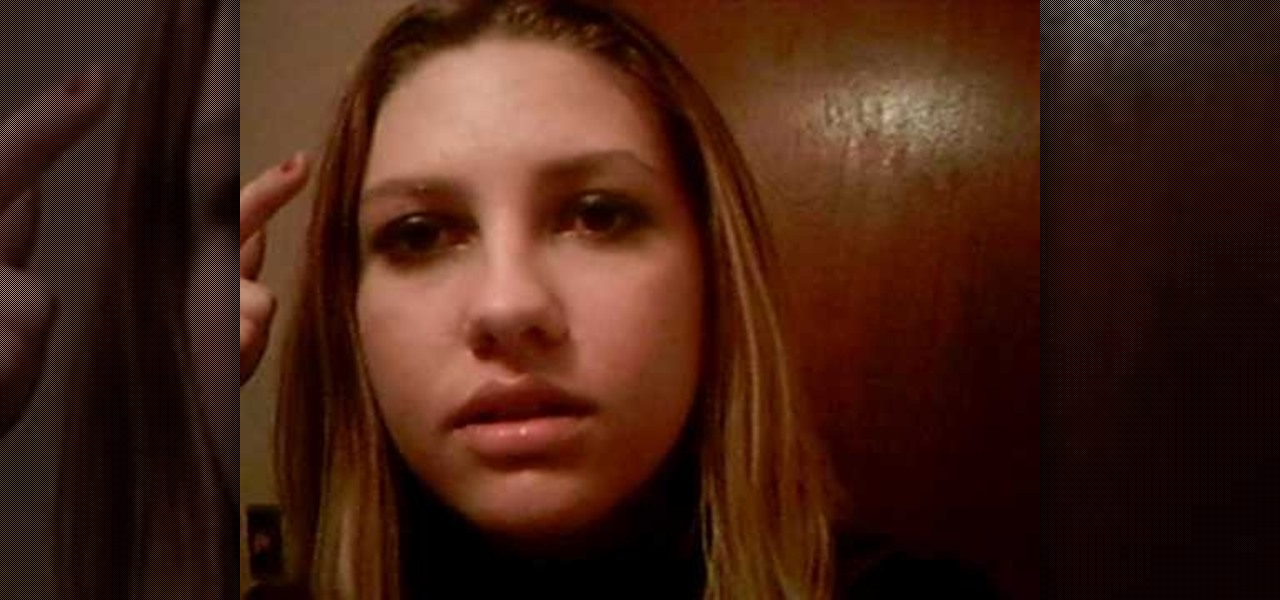
Gabrielle demonstrates how to bleach your eyebrows with peroxide at home. Bleaching your eyebrows is helpful for people who frost or bleach their hair and need to lighten their eyebrows to match their new hair color. Put a little bit of everyday household peroxide on a q-tip and swipe it across your eyebrow. Make sure there's not too much peroxide on the q-tip so it doesn't drip down. Leave the peroxide on overnight. When you wake up the next morning, just wash your face and you will see your...
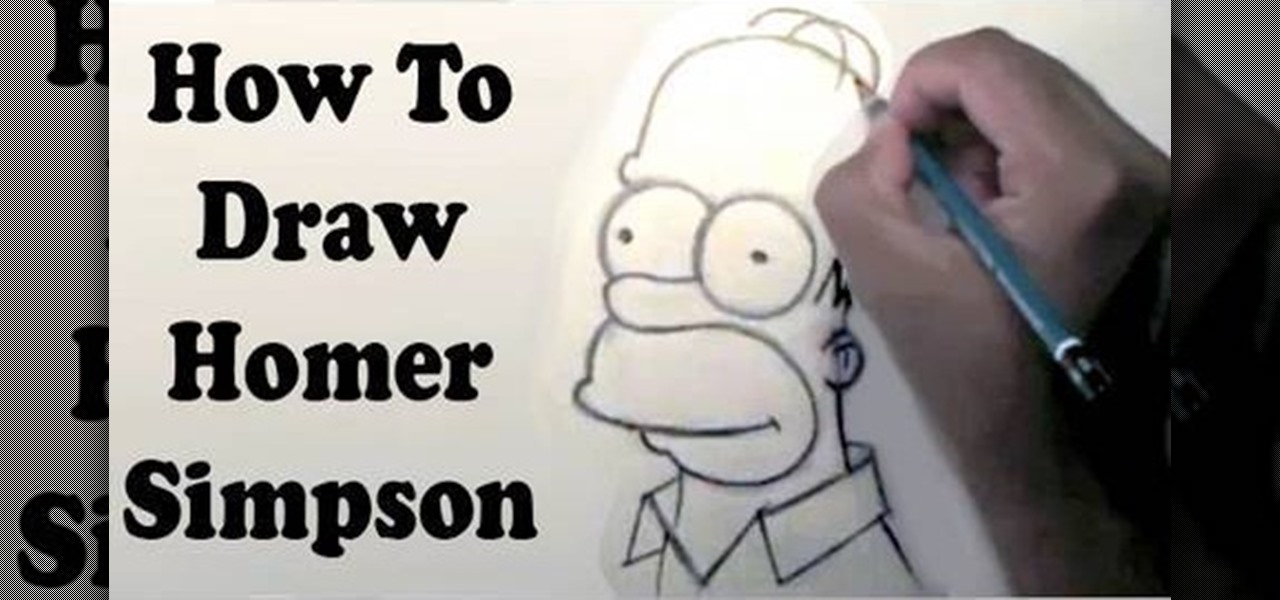
The video shows you how to draw a Homer Simpson cartoon. Start off with a big circle and a smaller circle below. Draw two slightly diagonal lines to the sides, a slightly curved line below and two lines for the lower part of the head. Then add another circle on the left side of the smaller circle. Draw a small pickle shaped nose and an eyebrow above the left circle. Draw the ear just below the eye line. The hair is drawn above the ear, like an M shape. Draw the mouth and the lower lip and ext...
In this video cholowiz13 teaches you how to draw Chilly Willy. You start with a big circle for the head. Inside, draw two ovals and two smaller circles there. These will be the eyes. You then create another oval adjacent to that which will be the cheek. Draw a triangle facing outward, which will be the beak. Draw the body next and two flat feet at the bottom. One arm should be behind his back and the other extending, showing the letters you will draw. Also add a hat on top of his head and dra...
YouTube user DrawingNow teaches you how to draw Kim and Ron from Kim Possible. You start with a green background and use a pencil to sketch their bodies. Start with a simple circle for the head and then add ears and hair. Add the neck connecting to the body and a fist extending forward. Draw the other hand and remember the pants and shoes. Next start with an oval for Ron's face and draw larger ears, but smaller hair. He's also in an action move, so reflect that in the way he holds his hands a...
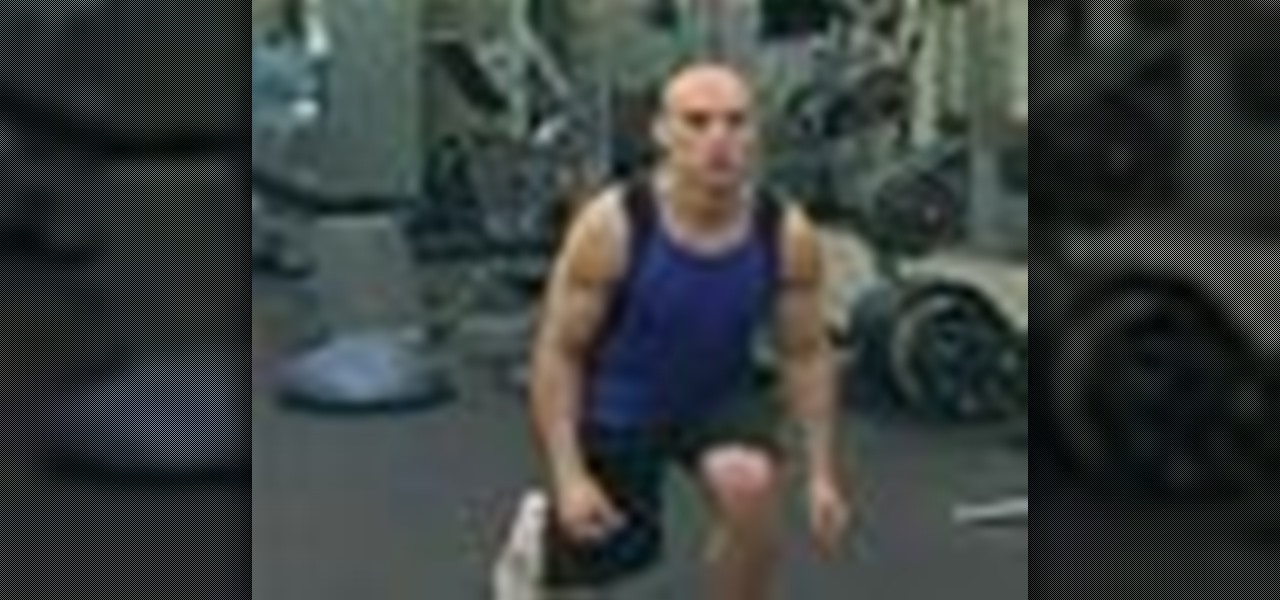
In this video tutorial, viewers learn how to do a body weight workout for beginners. Body weight workouts are recommended for those viewers who don't have access to a gym and would like to exercise. Body weight workouts require no equipment, only the mass of your body. Users work 30 seconds on each exercise. The body weight exercises are: wide squat, plank, split squat, side plank (both sides), hip raises and extending legs and push ups. This entire workout targets the glutes, abdominal muscl...
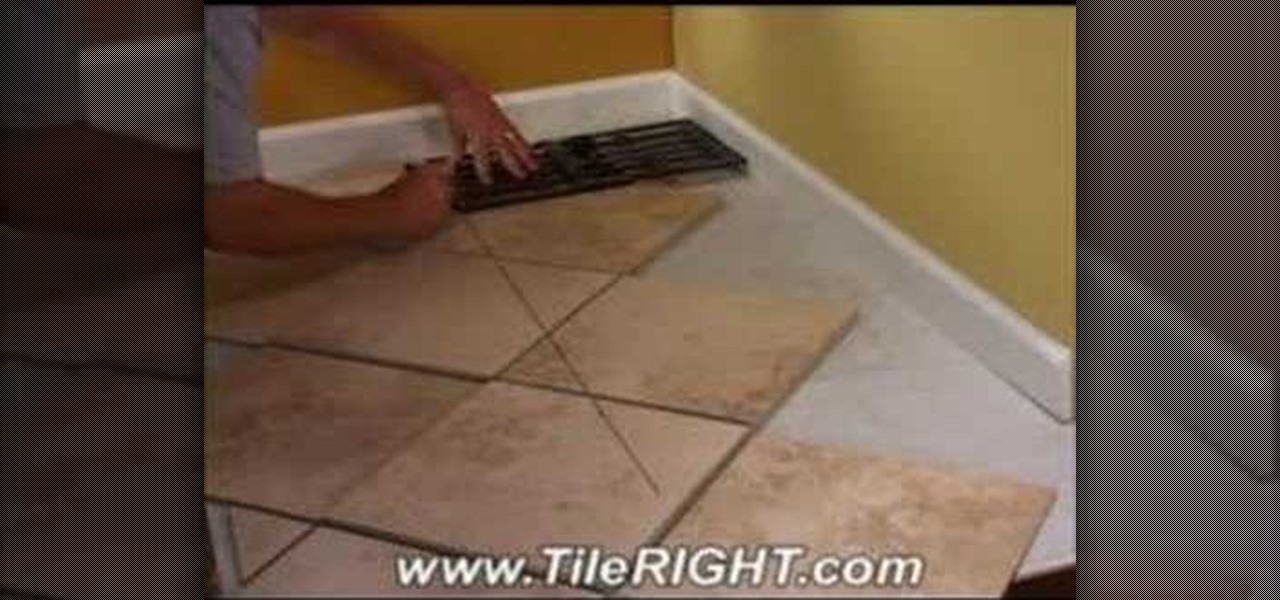
Tile RIGHT demonstrates how to tile a diagonally cut tile. First set the Measure Right Pro to the appropriate setting, extending it from corner to corner along your tile. Account for your grout line and the space up against the wall. Then, lock the tool. Next, place the tiles you're going to use on top of your set tiles. Slide the Measure Right Pro along the wall and mark the tiles. Place the sections in the appropriate place. Then, cut your tiles. Lay the tiles where you've previously marked...
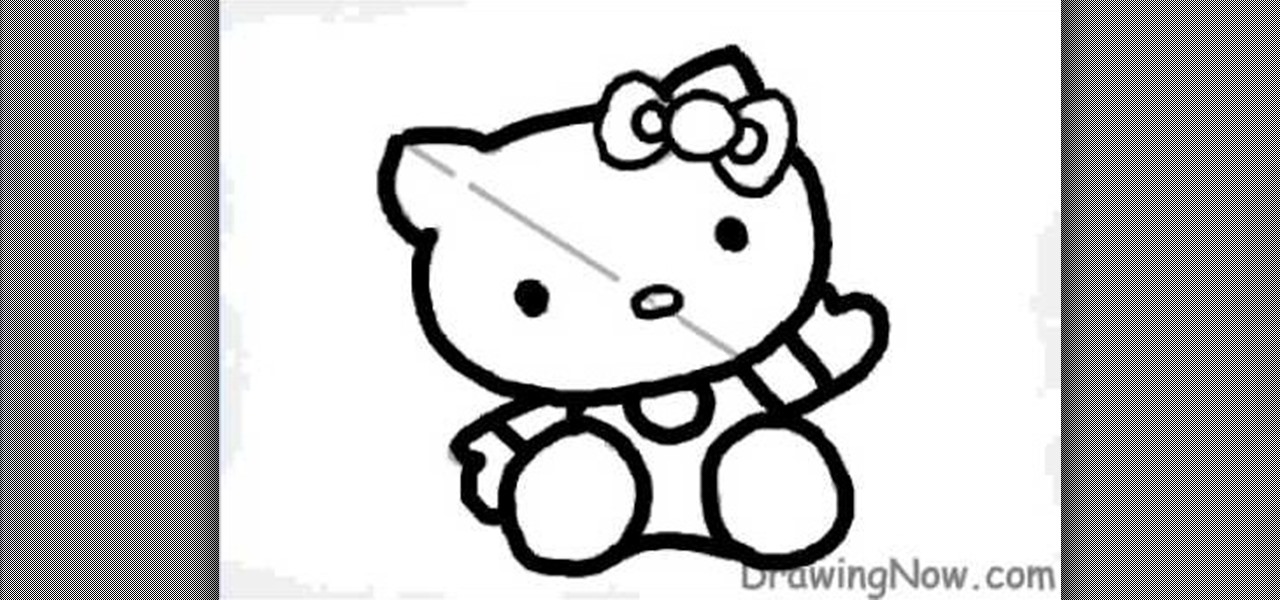
DrawingNow teaches you how to draw Hello Kitty. Start with an oval and make lines for where the eyes and nose will be. Make sketches of the ears, the bow on her head and of the body. You now draw on top of that and you can erase the first outline, as you go along. Draw the nose and color it yellow. The eyes should remain black. Draw 3 whiskers on each side of the face and go on to coloring the body and bow. The bow is a bright red and so is the front of the body. The shirt underneath should b...
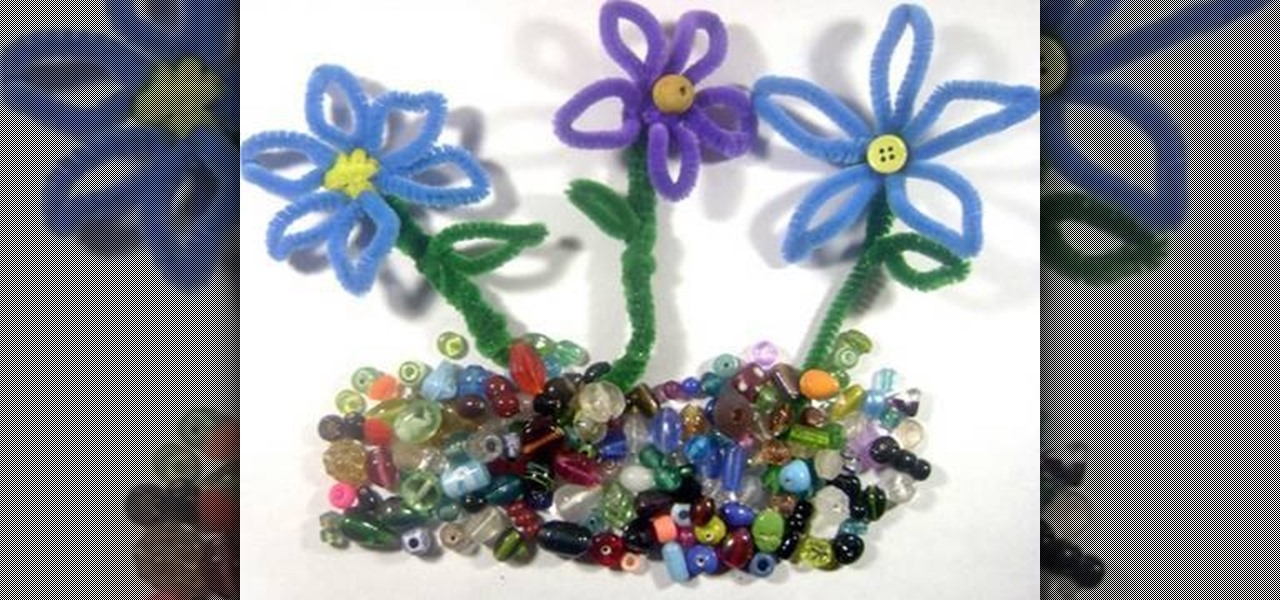
This video will show you how to make flowers out of pipe cleaners. To start you'll need five pipe cleaners. The video shows the basic steps of connecting the first two pipe cleaners by twisting together the ends. Then pipe cleaners are bunched together and wrapped by another pipe cleaner. This creates the petals and the stem that extends downwards. After the petals and stem are shaped correctly, a green pipe cleaner is wrapped around the yellow stem to give it a realistic green appearance. Fi...
In this video tutorial, viewers learn how to perform frontal splits in yoga. The frontal split is a stretch that targets the hamstring muscle. Begin by extending your right leg forward and flex the toes out in front of you on the mat. Very slowly and carefully, slide your right leg forward until you feel some resistance. Once you start to feel a stretch in your hamstring, you need to get your fingertips firmly planted into the floor or else on top of a block. This video will benefit those vie...
Proper car car can extend the life of your vehicle. This instructional video demonstrates how to change the transmission fluid and filters in a 2006 4.7L 4x4 Jeep Grand Cherokee. The process should be similar for other cars, but when in doubt consult a professional. If you're confident under the hood, then save a few dollars and do it yourself.
This video teaches the secrets of partitioning a hard drive on a MAC in simple steps. First open the disk utility, select the root directory of your hard drive and click partition. Now select the required partitions under the volume scheme, adjust the drive space and name them. Select the format a MAC OS Extended (Journaled) and select GUID Partition table from option if you want to boot it. Click 'Apply' to start the partitioning and when its done start using it.
Make the most out of your cosmetic brushes by cleaning them regularly. Wet your cosmetic brush. Take a small amount of a natural shampoo in the palm of your hand and make circular motions with the brush . Rinse the brush under running water, continuing to make circular motions in the palm of your hand until the water runs clear with no bubbles. Don't allow water to extend past the bristles. Gently squeeze the bristles to remove excess water. You can also use conditioner to condition the brush...
Personal fitness coach Yuri Elkaim demonstrates how to do an outdoor fat burning workout. You'll need a rubber exercise band and a tree or a pole for the workout. First, warm up by going for a 5-minute jog. Then do a 30-second squat press. Next, do a 30-second set of pushups. From there, attach the exercise band to a tree, squat into a sitting position and extend the band to you. Do this exercise for 30 seconds. Add a speed skating motion for 30 seconds. Do the four exercises for 30 seconds e...
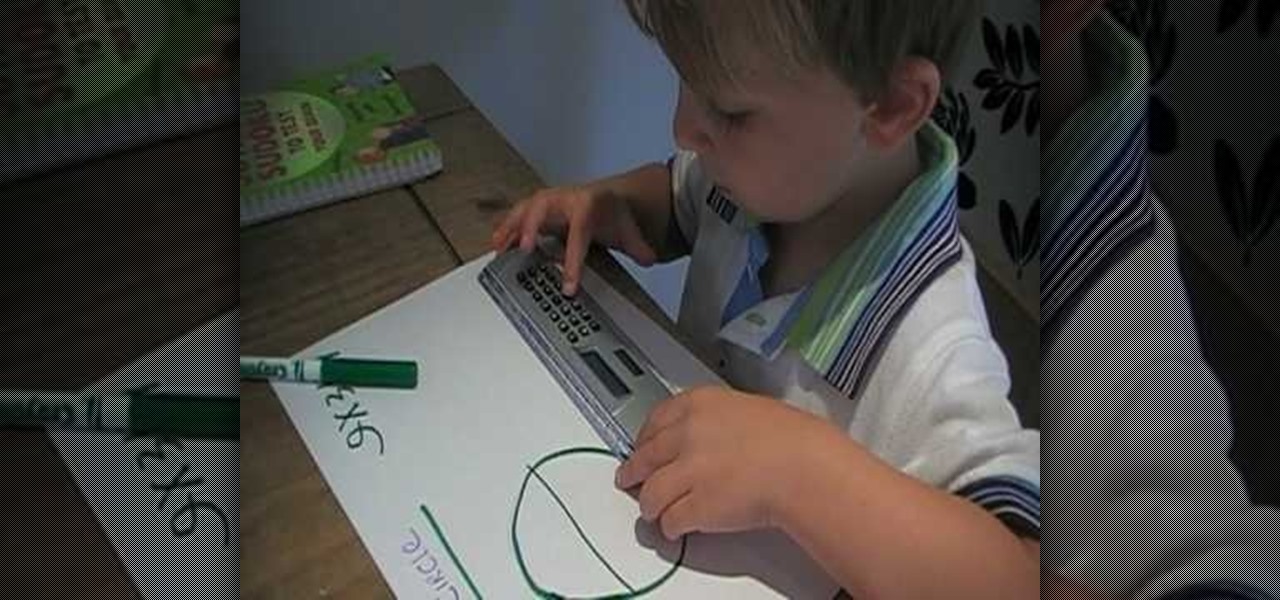
Simonc1973 teaches you how to work out the circumference of a circle. You start with a circle and draw a line across the circle. That's called the diameter. You multiply the diameter with Pi, which is 3.141. The video is even more amazing being taught by Harry Chapple, a 4 year old MENSA member, who is a maths child genius. He simply takes the ruler, measures the diameter and then calculates the result of multiplying it by Pi's value. The common value for Pi is 3.14. For very accurate results...
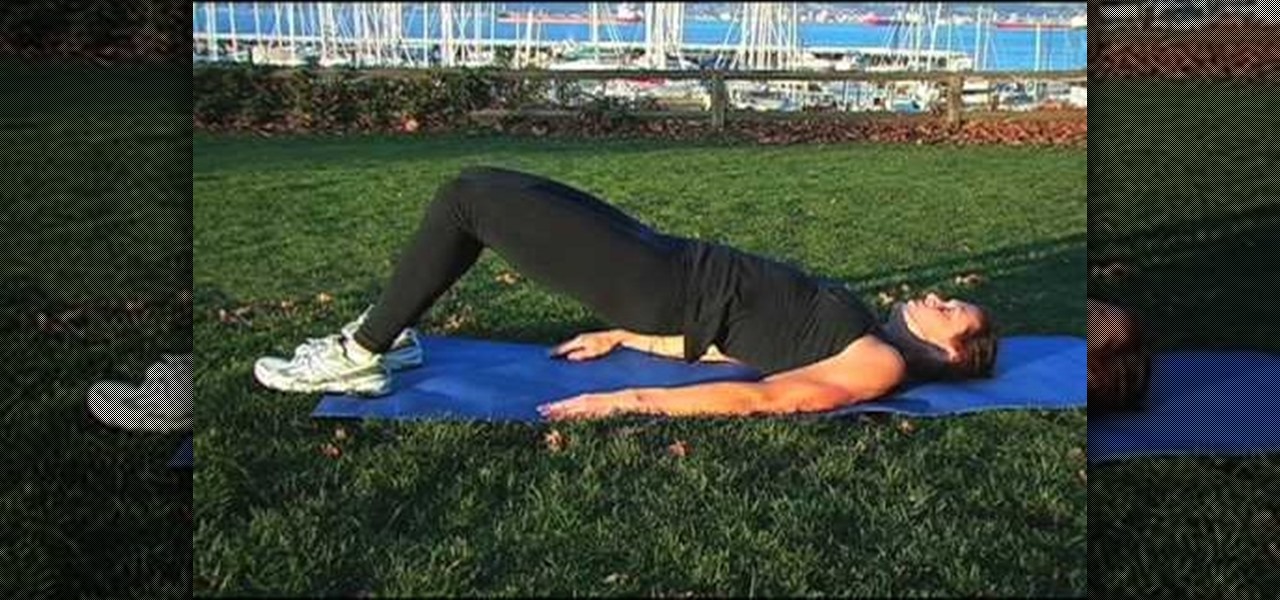
BeforeAndAfterTV teaches you how to get bigger buttocks through simple exercises. You can do these exercises pretty much anywhere. All you will need is a yoga mat. Here is how to get started: lie with your back against the mat, put your hands against your sides, head back and lift your hips, the feet being on the ground. You will have to lift your hips as high as you can and hold it up for about 3 seconds. For an advanced exercise you can have one leg up in the air and lift the hip. For the s...
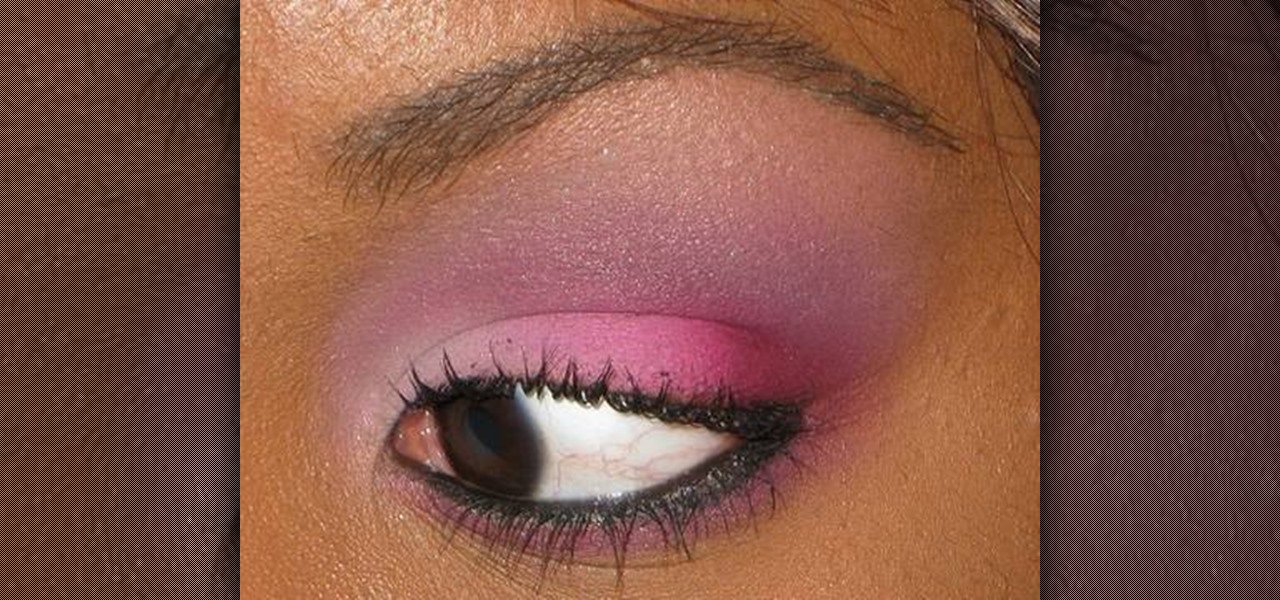
This tutorial will show you how to apply basic eyeshadow for beginners, regardless of your skin tone. A lighter eyeshadow should be used on your actual eyelids, ending at your crease, so that this lighter color may be able to absorb other further eyeshadow colors. A darker color should be used on the eyelid crease itself in order to make your eyelid more prominent. A matte color should also be used above the crease, extending towards your brow bone in order to enhance your eyes. For any begin...
This video demonstrates the proper way to sharpen knives with a steel. First, the blade of the knife should be held at about at 22 degree angle to the steel, Second, the knife should be slid along the steel in a sharpening motion. The steel should run along the blade of the knife from one edge to the other. Both sides of the blade should be sharpened in this manner. The steel has a guard to prevent the knife from accidentally cutting your hand, but if you are afraid of being cut, the steel ca...
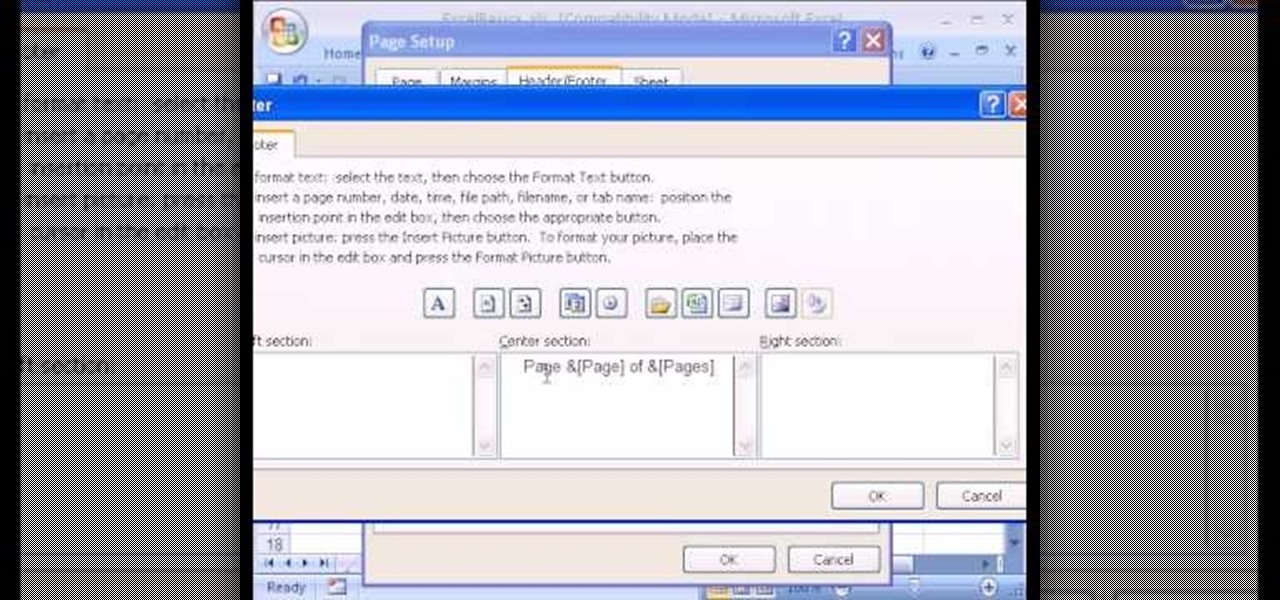
In this Excel basic video the instructor show how to setup a page in Microsoft Excel. Now you before go to a page setup, first you have to make sure that all the cells are visible in a spreadsheet by extending or contracting the size of different columns. You can also select all columns and make their column width a constant. Now go to the orb and select a print preview to get a preview of how the print out is going to be. Now after checking it out you can make necessary changes in the origin...
In this video, viewers learn how to work with Photoshop CS4 Extended, specifically the 3D construction and editing engine. This video contains voice narration for guidance and a visual demonstration for viewers to easily follow along. Viewers will learn how to create a cool abstract 3D shape which is different every time it is made and some cool techniques on how to convert it to a smooth icy looking shape. This will benefit those viewers who use Photoshop and wish to create an realistic icy ...
This tutorial is perfect for beginners to learn how to apply dramatic eyeshadow correctly. This technique will require several layers of eyeshadow to be applied and if done correctly, will highlight and bring attention to your eyes. First apply lighter shades of eyeshadow to your eyelids, stopping at the crease. You can then layer and blend colors on top of this, with increasingly dark colors towards the outside of your eyelid crease. A matte color should be used which matches your eye color ...
There are a number of exercises you can do to improve your jumping and running. Start by standing with one leg forward and one leg back with both feet pointing forward. Keep the pressure on the heel of your front foot and position your back foot on its toes. Lower by bending your front knee and stop when your back knee almost touches the ground. Explode upwards extending both legs as you do. When landing try to remain balanced and return to the split squat position.
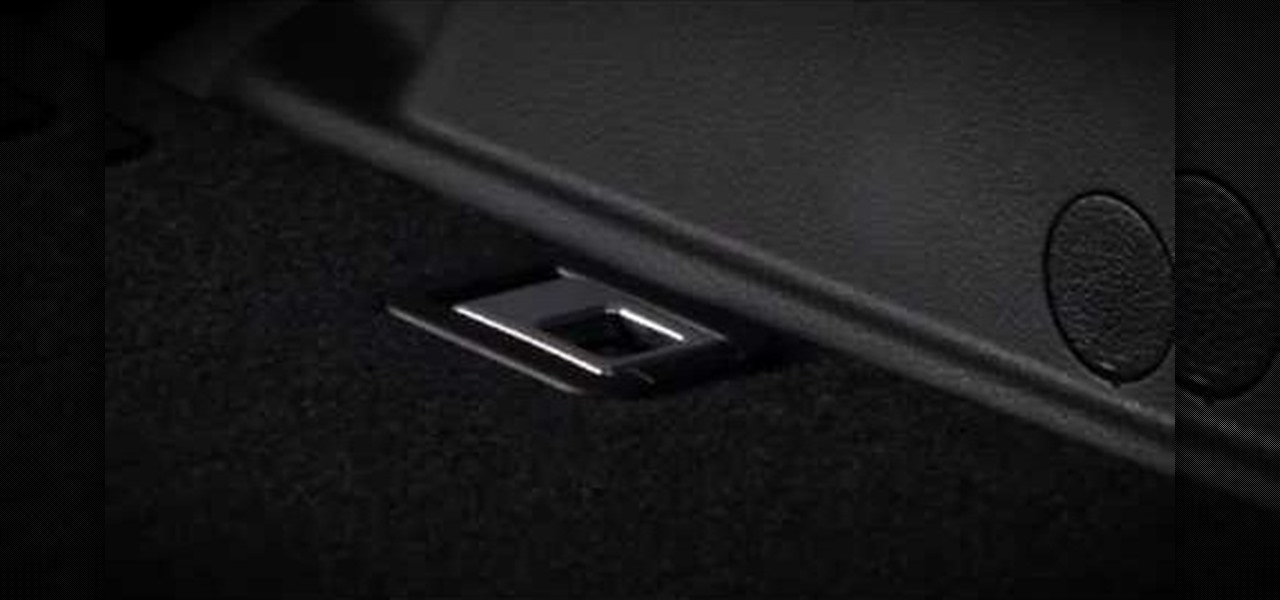
This instructional video by ToyotaUSA guides you on how to use the rear cargo area of a 2010 Toyota 4Runner. The 2010 Toyota 4Runner is extremely spacious and the 5 passenger model has a sliding rear cargo deck which can be pulled out as demonstrated by moving the lever and pulling it to one of the two positions (halfway out or fully extended). There is also a concealed storage area between the second row seat and the cargo deck. It also has rear tide outs to secure cargo. The rear hatch has ...
You use a bike rack that extends from floor to ceiling. Pick where you want to put your picture and place the bike rack there. Adjust the bike rack so that it is at the level you want the picture. Then take a clamp light and clamp it to the pole of the bike rack. If the light slips on the pole, you can wrap some duct tape on the pole to create a surface that the light will stay on. Point the light toward where the back of the picture is going to be. If the picture you want to hang does not ha...
This video tutorial shows you how to join two pieces of wood. What you'll need:
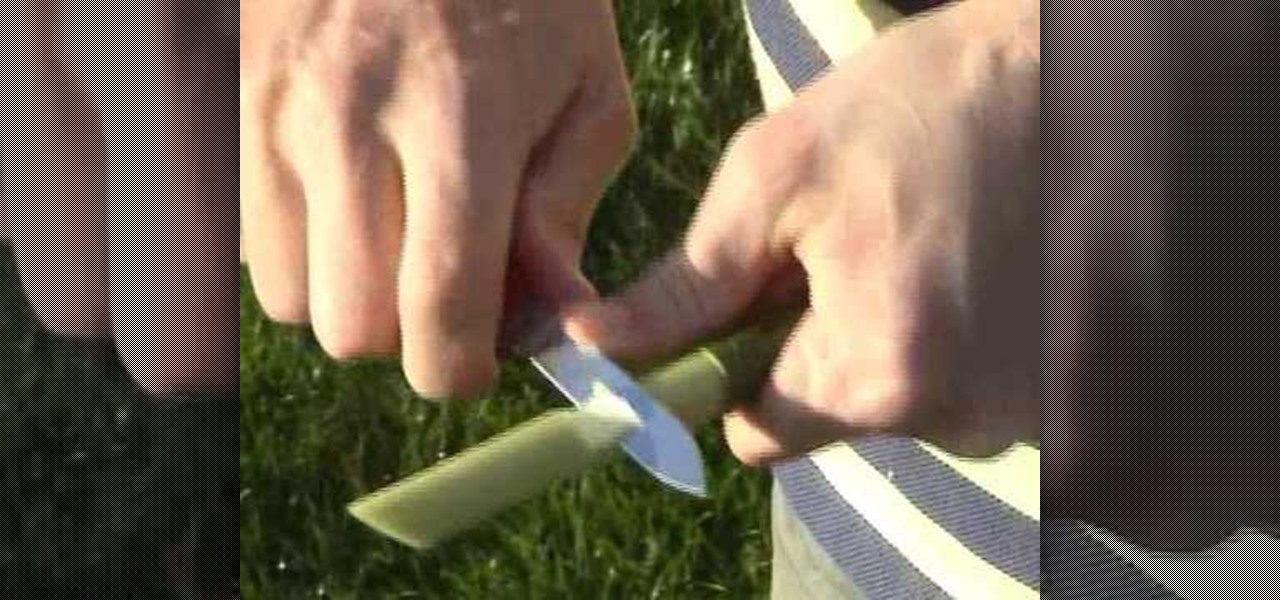
The video guide shows us how to make our very own willow whistle. -Find a willow branch with green bark, cut a small wedge into the bark and in the wood.