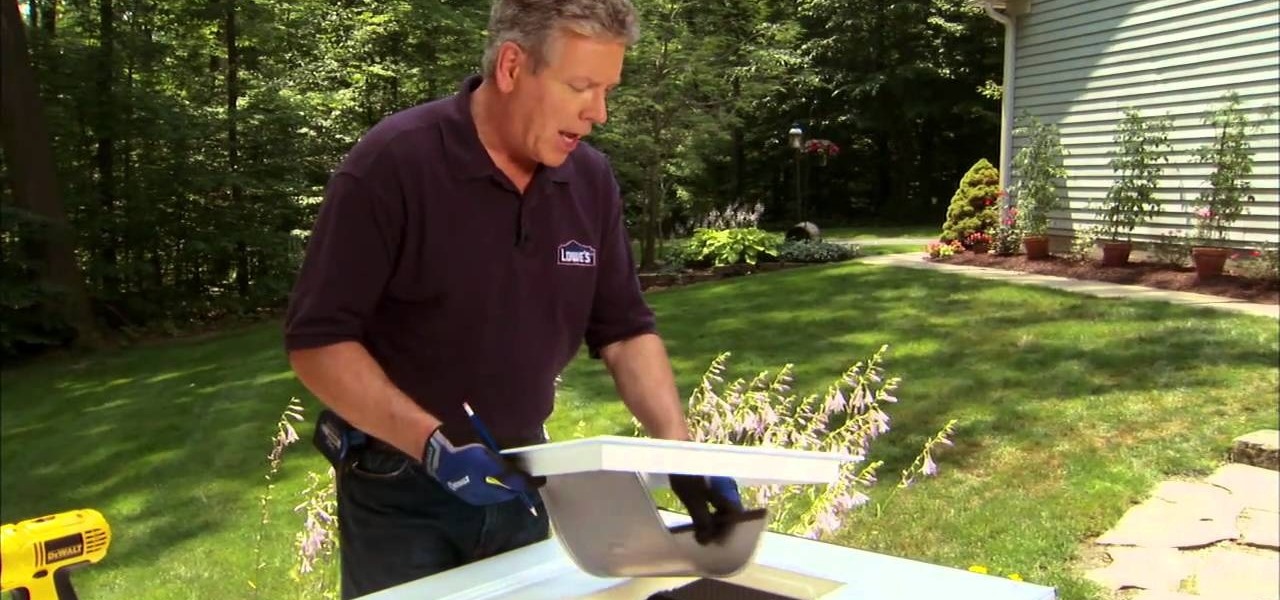
A fresh coat of paint can do wonders for a wood-sided house. But its what's underneath the paint that can really count. Doing the right prep work will make your painting efforts last longer and look better. The prep work will help make your paint job a success and much easier to accomplish. And taking the time to do it will pay off in the end. The five steps to the painting prep process include: scraping, cleaning, patching, masking and priming.
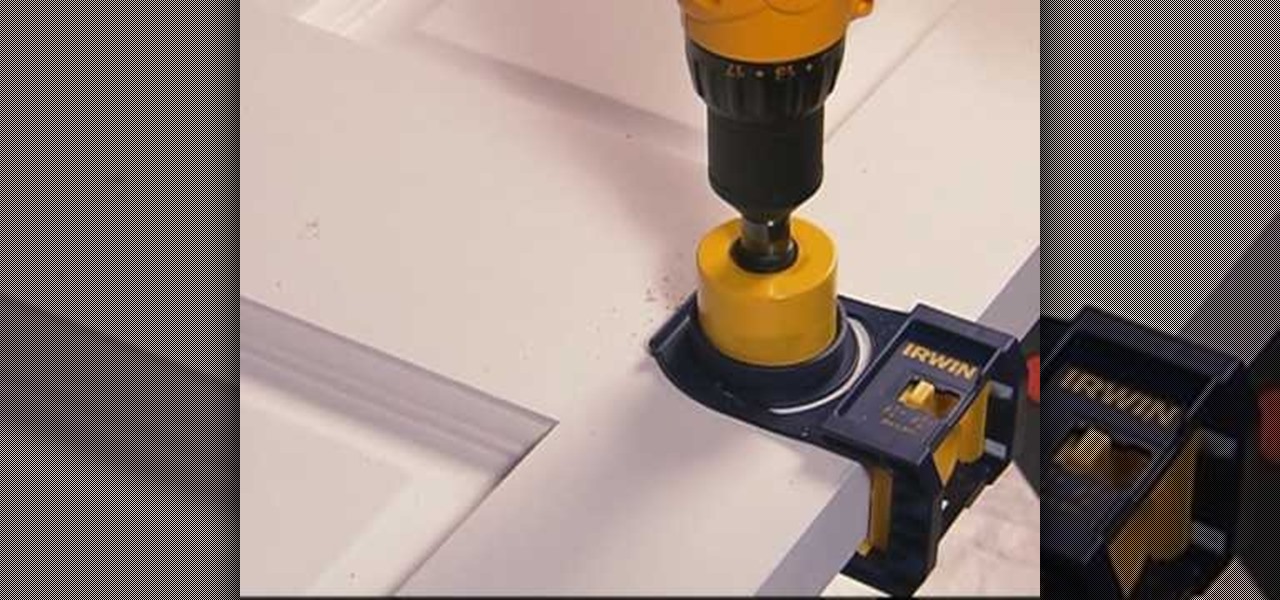
This video from Lowe's will show you how to install a deadbolt lock in just a few easy steps. You can install a deadbolt lock on almost any exterior door, including those made from wood or steel. Deadbolt locks come in several types including the conventional ones requiring a key or the newer ones that have keypads. Whichever type you choose, the principles of installation are the same. This video will show how to a drill in your door and chisel out material in your door jam. Once this is don...

Learn how to cut back plants in your garden effectively to encourage new growth and remove dead and diseased branches. Follow this Howcast guide to learn how to prune plants.
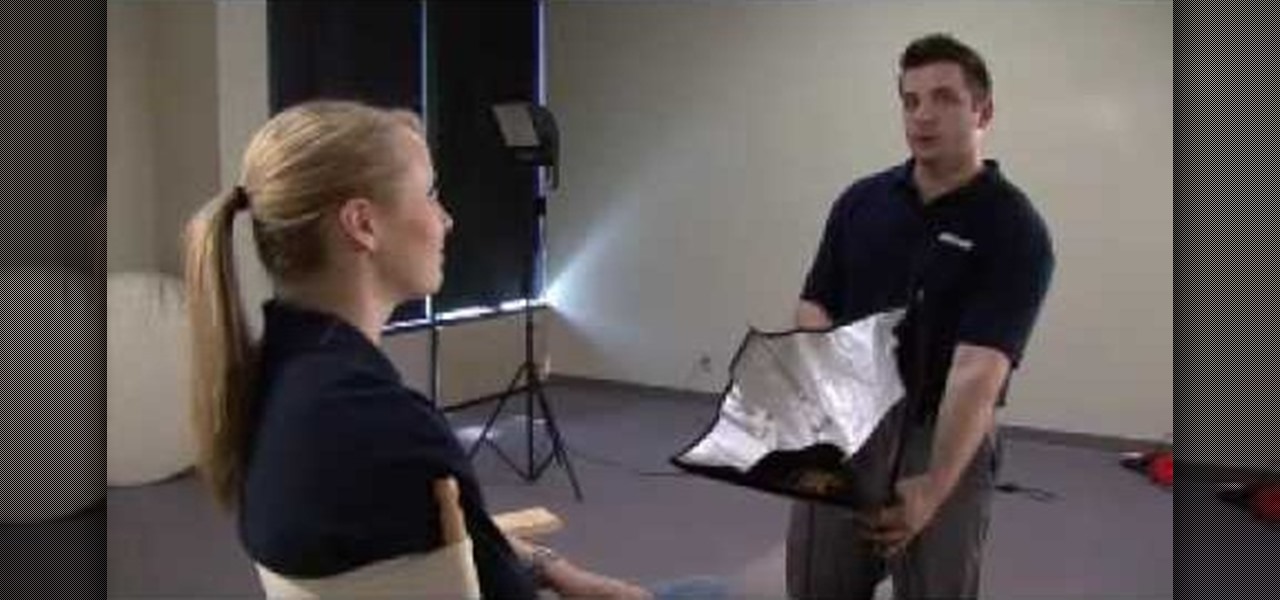
Prevent indoor lighting problems with these great tips. -When a window is behind the object, bring lights closer to object or use a reflector using the light from the window to create a 3 point lighting effect.
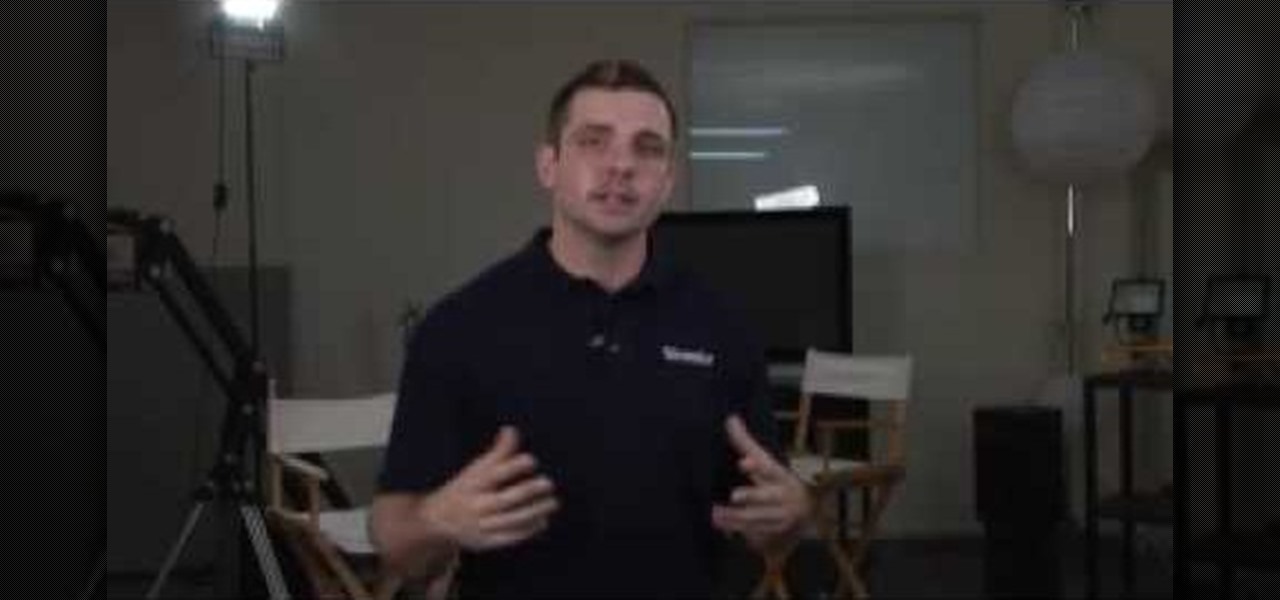
Videomaker Associate Editor Tom Skowronski explains how four basic steps can be used to improve the lighting effects for a video and give it a more professional look.
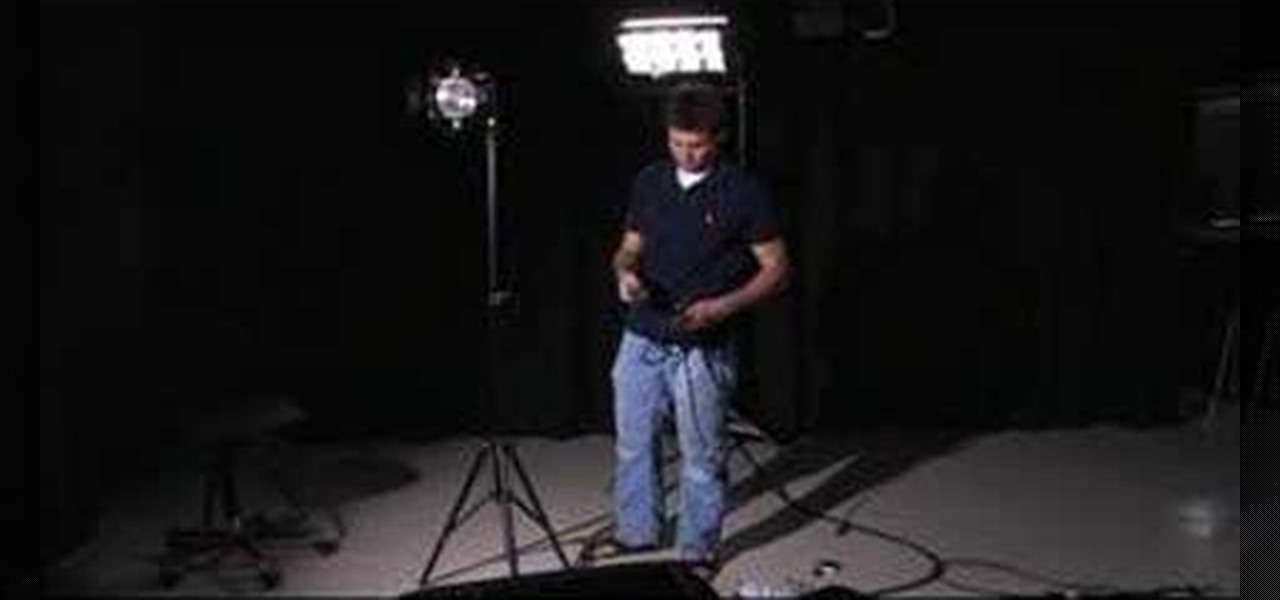
This lighting tutorial video explains the basics of lighting a scene using the 3 point lighting scheme with a Lowell light kit and various essential equipment. Using the back light, the fill and key light, three point lighting will produce a properly lit subject. This video is great for lighting designers and cinematographers alike.

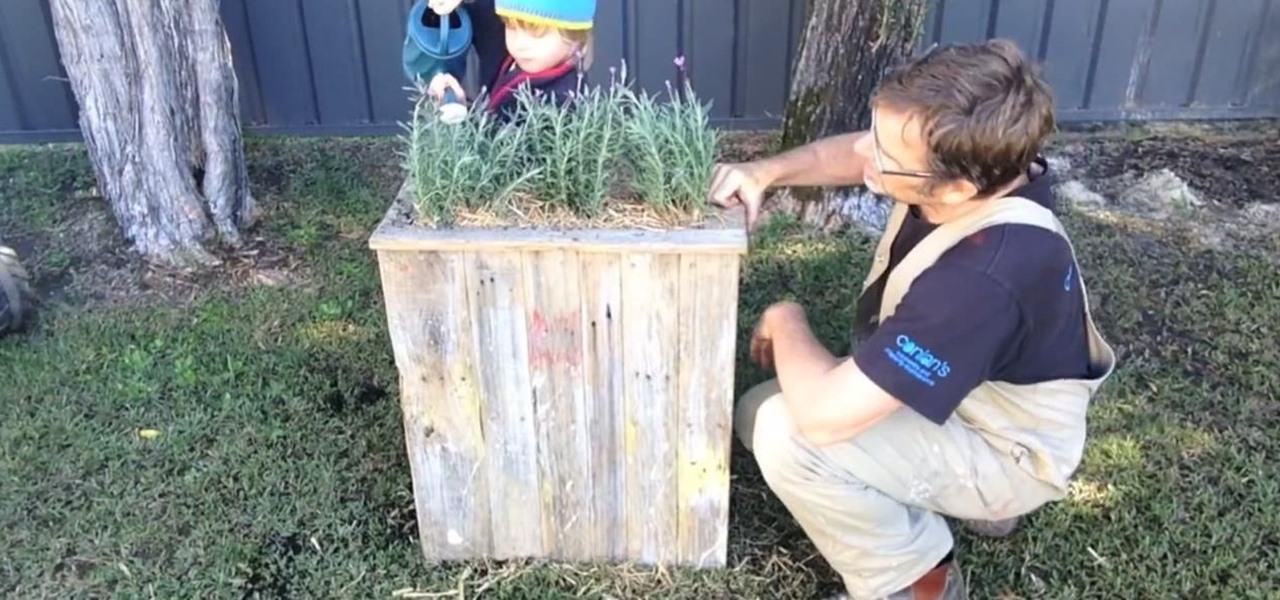
How to build a simple planter box from reclaimed pallet wood and hardwood fence palings. Planter boxes come in all shapes and sizes and mine is a little different than most. It's taller and narrower than many of the ones you see.

Want to secure your home? There are plenty of ways to go about it. You can make your doorbell send you a text if someone rings it while you're not home, or build a motion-triggered security camera. Even better, you can beat potential crooks at their own game by installing a door they can't even find.

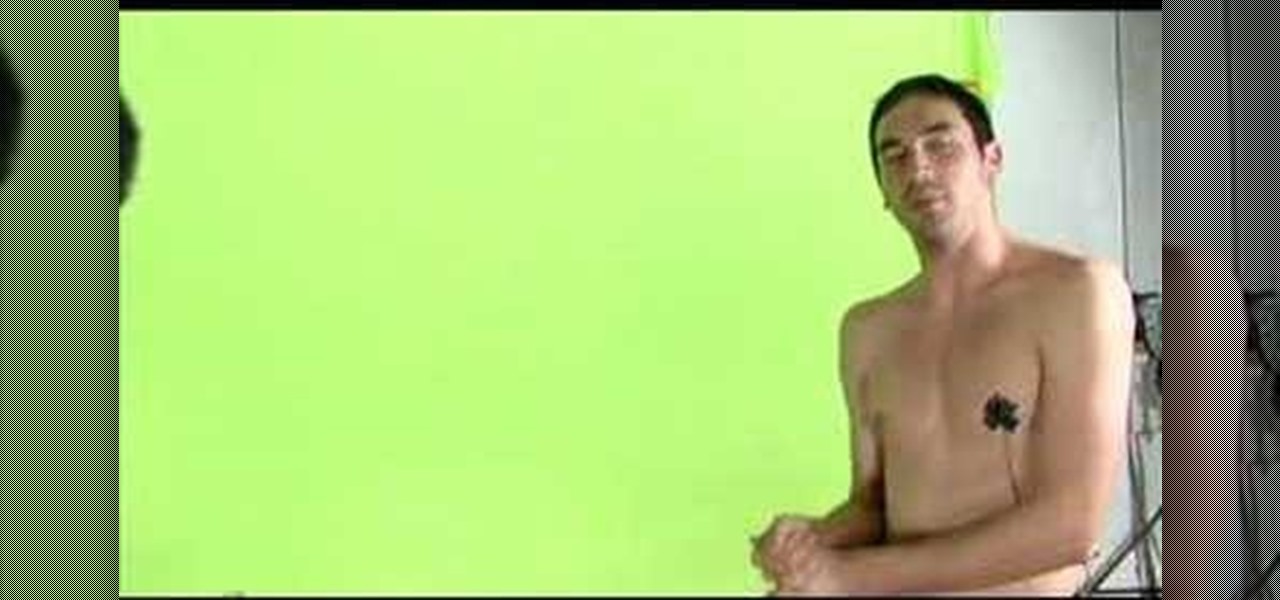
Ever wonder how to create movie magic right in your own home? This video shows you step by step everything you need to know and do to create the green screen effect, from properly setting up your green screen, to lighting it, as well as your subjects for a successful effect. Filled with tips and instructions this is a great video to watch for filmmakers, and special effects artist of all kinds.

Installing security lights outside of your home can make for a great addition, but they also create new problems with regards to maintenance and cleaning. Having lights outside exposes them to all of the elements that mother nature can throw at them. This video will show not only how to install security lights, it will also show the proper measures to take so they will keep working with minimal maintenance and care.

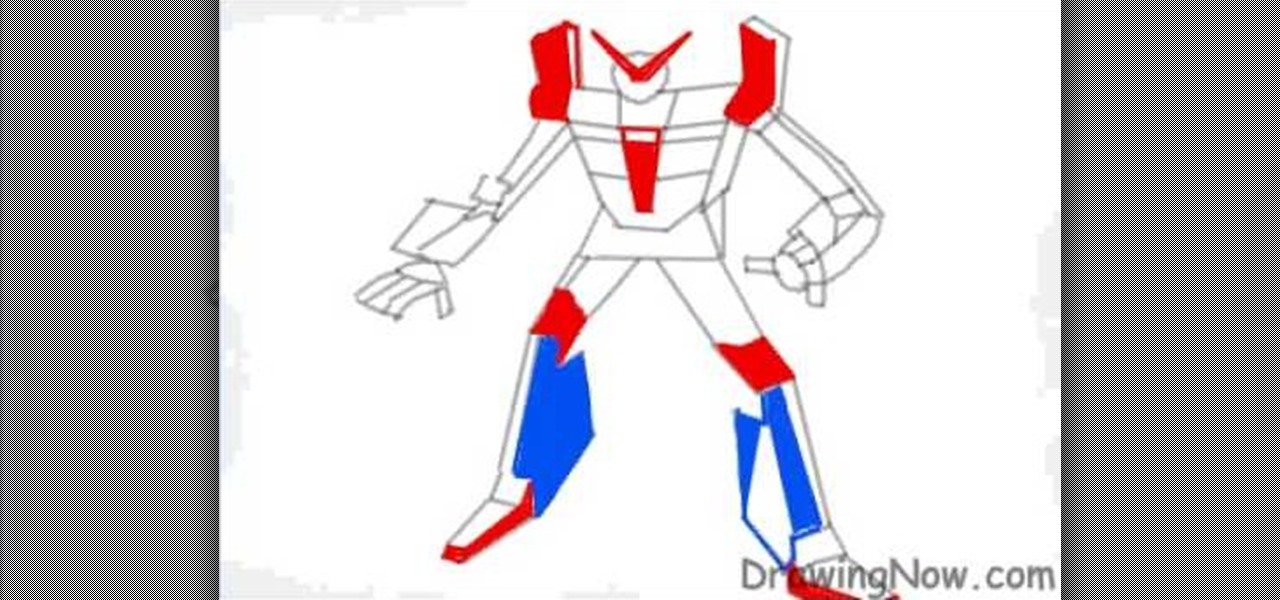
In this video, we learn how to draw a robot. Start off by drawing the outline of the robot, then draw in the details of the robot's exterior. Make sure to use squares to make it appear like the robot is a bunch of metal pieces put together. After this, you will fill in the robot with different colors of your choice. Make sure to add in small details around the figure to make it look more realistic. You can also add in shading to make it appear 3D. Once you are finished with the robot, make su...

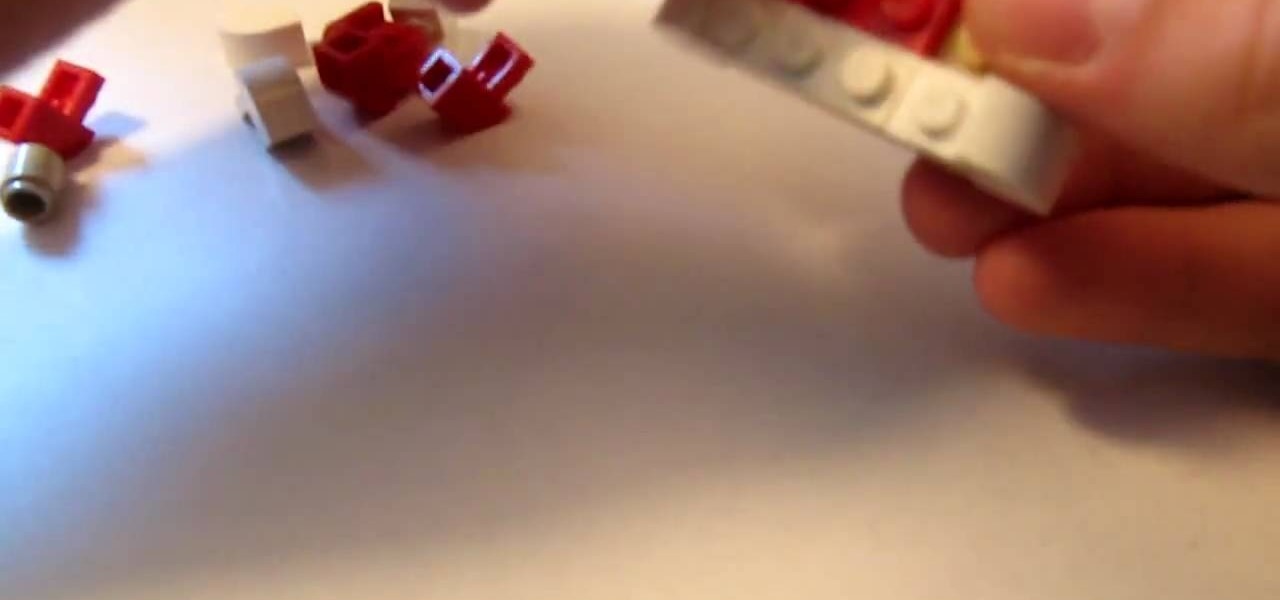
When you're making a restaurant, or a house, or any other somewhat modern Lego model, one way to make the interior (or exterior for that matter) come to life is by making furniture, and what better way to start than with a table with a striped table cloth on it? In this great video you will find out what parts he uses and then go through the assembly process all the way to the final project! Pay close attention though as the placing of some of the bricks are absolutely crucial to the model co...

In this how to video, you will learn how to remove 3M paint protection film, also known as a clear bra. This is used for protecting the front of a vehicle. To remove it, you will need to use a heat gun on the film so that it will peel off. This takes a while to remove, so be patient. The film itself is very useful, as it protects from rock chips and bugs while driving. Note that it is a lot easier to take off during the summer time since the car exterior is already hot. You should not worry a...

Having a raised garden bed is great in the city because you can fill it with good soil and create a healthy environment for your plants. Install a hoop house made from PVC pipe. To build the raised bed, use 2x10x8 lumper. Predrill the holes at the corners to make it easier to assemble. Butt the ends together and use exterior deck screws to assemble it. If you want the raised bed higher, build another box the same size and stack them. Fasten a wire screen onto the underside of the frame to ke...

This video shows several tips that will help you cut down the electricity usage of your refrigerator. Think about what you want from the fridge before opening the door, instead of standing there with the door open while deciding what you want. Set the temperature of your fridge only as cold as necessary, and allow 24 hours for any temperature changes to take effect. Keep exterior condensation switches off unless you need them. Make sure the door gasket is clean and in good condition. Clean it...

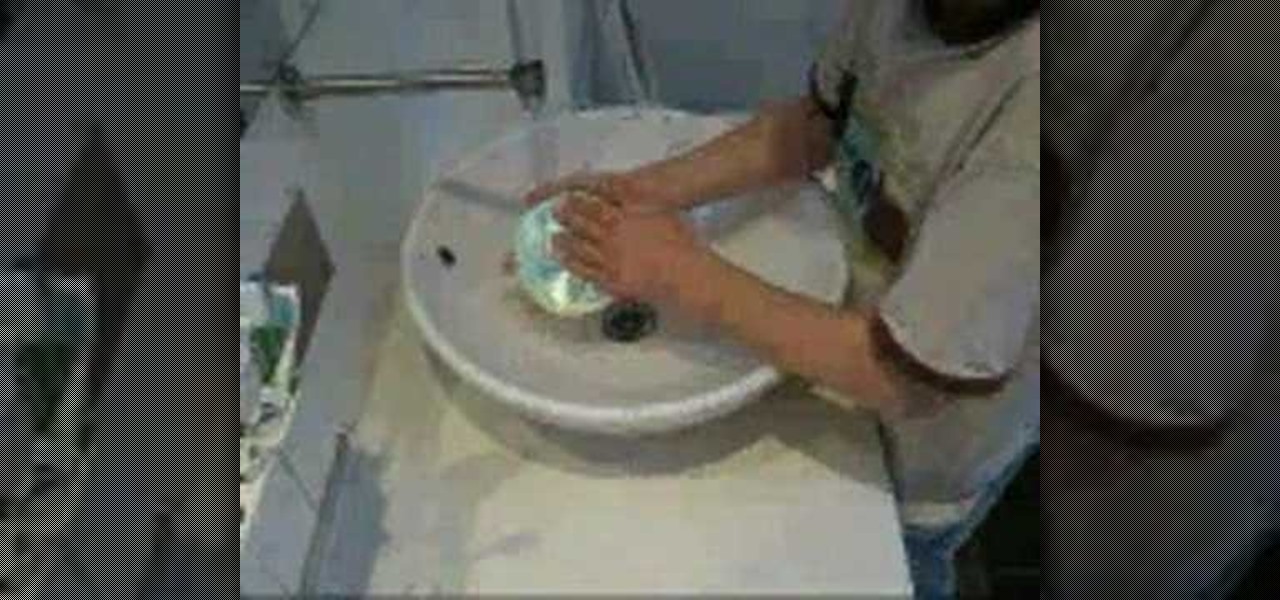
This video shows you how to clean a CD or DVD easily.First of all, you need toothpaste. Apply a thin layer of paste to the whole surface of the disk and spread it evenly. Let it dry for about 5 minutes. After the 5 minutes have past, clean the whole disk at a sink, and make sure you get all the paste off. Wipe off the disk with a towel, but be careful not to make any scratches while doing so. You could try wiping from the middle of the disk to the exterior. The disk must be dry before using i...

This video explains the properties of parallel lines and transversals in geometry. The instructor, Robert Ahdoot, uses an analogy in which he compares lines and transversals to the streets of Manhattan, New York. Continuing with this comparison, he goes over corresponding angles of two parallel lines cut by the same transversal, also explaining when they're equal. He then shows where interior and exterior angles may be found, and then goes over whether two angels are same-side or alternate, d...

Kiwi is quite the ironic fruit. It's to-die-for exotic sweetness is countered by it's very difficult exterior, which is rough and soemtimes hard to scrape off. Luckily, this food tutorial will run you through several ways to choose, peel, and slice kiwis.

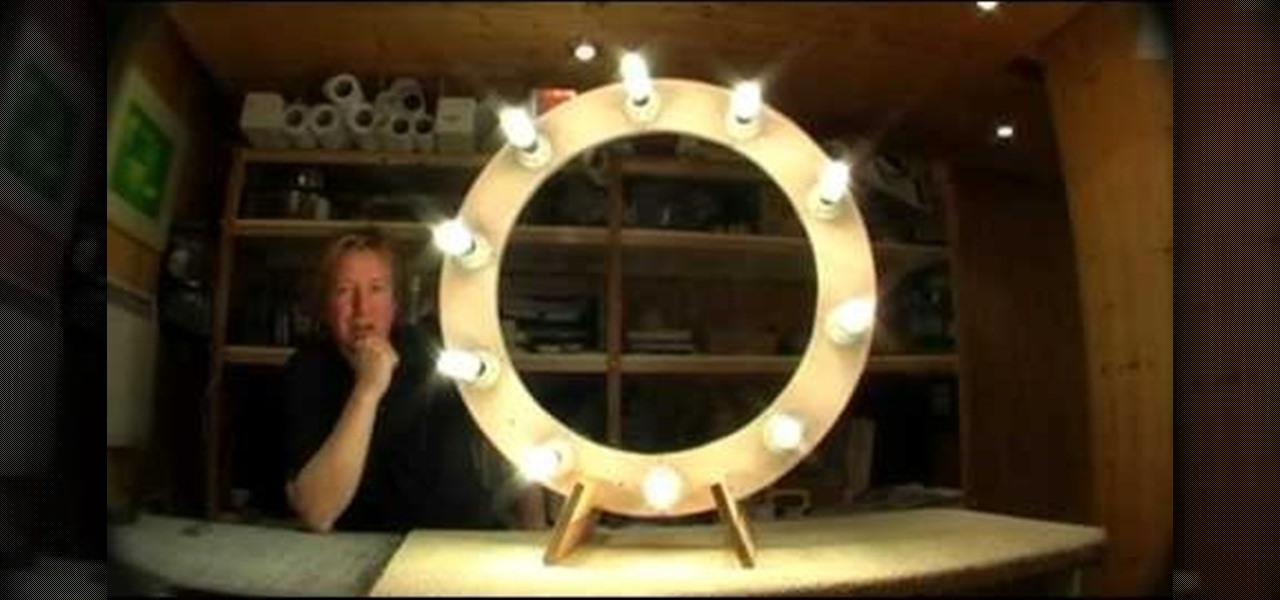
Ring Lights can create a specific lighting that brings out warmer hues from your actors/models, as well as giving you a cool effect for the eyes. If you're not looking to spend a fortune on buying an already made one, you can make one with items from around the house on the cheap, if you have to buy everything you need, you're looking to spend around $100 which is much cheaper than buying one brand new! Check out this video for a full tutorial on how to build your very own Ring Light!

Three point lighting can be used to achieve professional studio results. For this, you will need: a key light, a fill light, and a backlight.

Lighting is everything when it comes to creating a good solid video/film. You will see a great example of a ringlight made of 12 lightbulbs arranged in a perfect circle with a cut-out to allow your camera to be in the middle to capture the best light. You will get an idea of just what materials you will need to create your own ring light.

Take Zer0 covers the topic of lighting, again, because lighting is and always will be an expansive area. We begin by describing the reasons why proper lighting will help to accentuate a scene. And lastly is a visual demonstration of how one common lighting technique can be applied.

Your precious dog can't be a dog without its freedom, and the number one way to make a dog feel its freedom is by giving it unrestricted access to your landscape, meaning— a doggy door. Granted, your pet can't go roaming all across the county, but a dog door is a surefire way to make your canine feel at home.

This is a creative idea for a great light effect for any video project. If you're a cinematographer and are open to knew and creative ideas (and cheap!), then this colorful, moving lighting effect is perfect for your film. You'll need three plastic cups, a 5/16-inch metal rod about 2-feet long, gaffers tape, packaging tape, drill and a light. You can get the plastic cups from the dollar store, which won't cost you more than three bucks! They need to be translucent and have the colors you want...

In this video from FiveSprockets we learn how to light an interior space while filming on a budget. For this you need two Chinese lanterns which he found for $2.95 each. You need 2 light bulbs which he found for $3.95 each. Make sure you get extra ones. Then get a couple of pan lights. They are day light and mood light. They were $7 and $5. You also need a multi colored gel pack which is $6.00. He uses C-stands to hold the lights up but he suggests coming up with other ways if you don't have ...

Three point lighting is the standard used to illuminate a subject for amateur film, video, and even theater application.

Lets keep this short: you can't control the sun, so it's best to adhere to (or slightly manipulate) it. The perk about natural, outdoor light is that it's free, and lights pretty well.

Does your video look flat? By using Three Point Lighting, you will be able to give your flat video more dimension. In this tutorial, Israel Hyman demonstrates the effects of the key light, the fill light, and the back light. This is a long standing lighting technique that you definitely should know if you plan on shooting any type of video.

Interviewing lighting basic training tutorial provides easy to follow instruction in this step by step video. Set up the interview area to allow the best camera angles. Place your lights in key, fill, and backlight positions. Use back lighting spillover to fill subject area without camera spillover. Check your setup with the subjects and make any necessary adjustments to your camera or lighting angles. Place your crew and your ready for your interview. This scenario using key, fill, and back-...

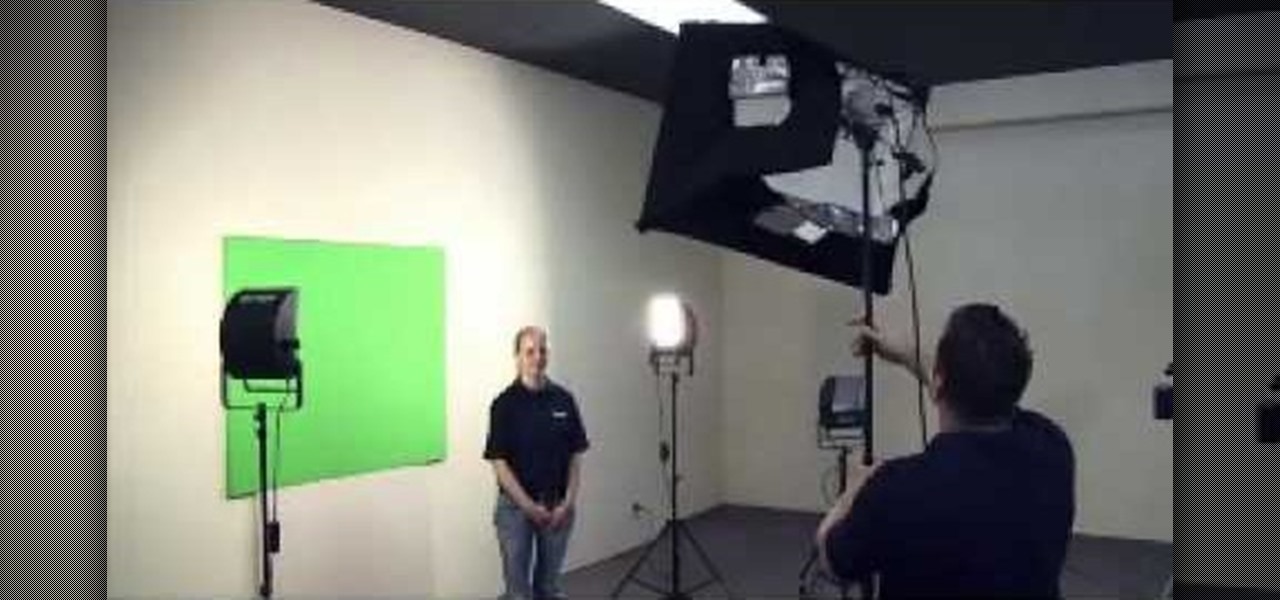
Matt, the Shirtless Apprentice, advises viewers on the proper procedure for lighting a green screen. The successfully implemented chroma key technique can significantly raise the production value of any video podcast. He gives specific advice on how to separate the light that falls on the subject from the light on the greenscreen, a traditionally tricky technique.

In this how-to video, you will learn how to light your web show. This is important as it will make your web show look more professional. Proper lighting allows you to see your face, eyes, and the colors of your shirt. If there is not enough light, you cannot see yourself as well. You will also look dark and grainy. Too much light will cause your face to look too hot. Backlit lighting will cause your face to be too dark because the light is in the background. This is why background lighting is...

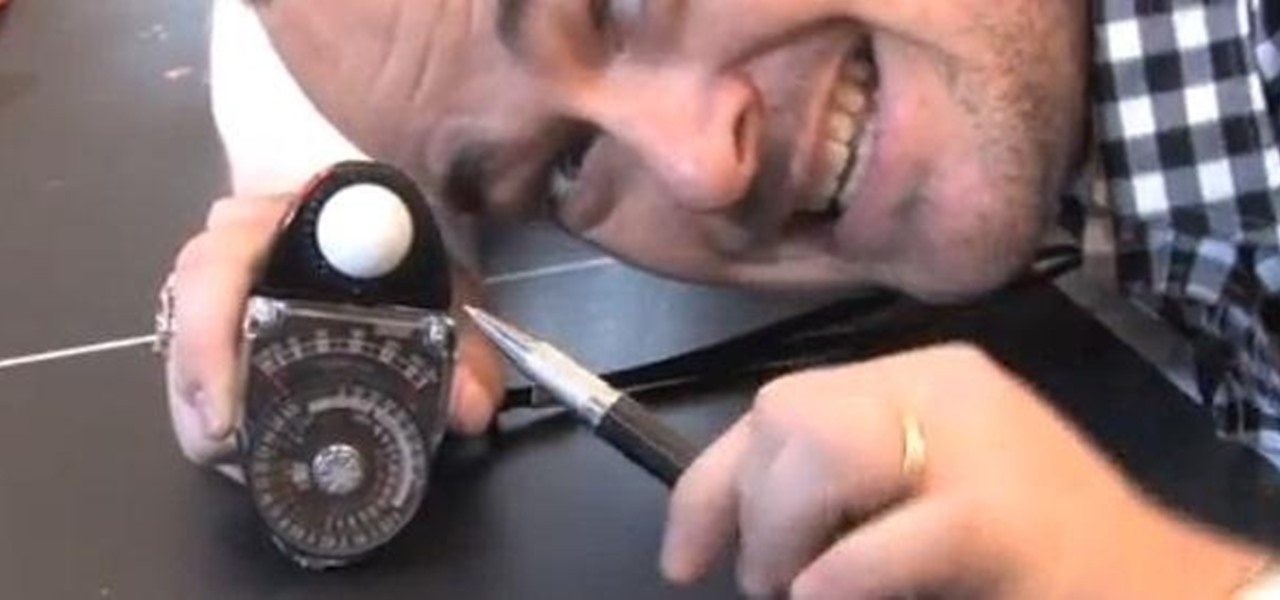
Know a little bit about film lighting, but can't quite grasp the concept of using light meters to measure light for proper exposure? You can't rely on your video camera to accurately capture what you see, so you need light meters to properly and accurately capture what you have created on set.

Learn how to make an adjustable light stand. This adjustable telescoping light stand is cheap if you have all of the materials already, like a painter's pole, a metal table leg, scrap wood and some screws. This light stand is a good choice for film shoots on a low-budget. Who needs expensive light stands anyways?

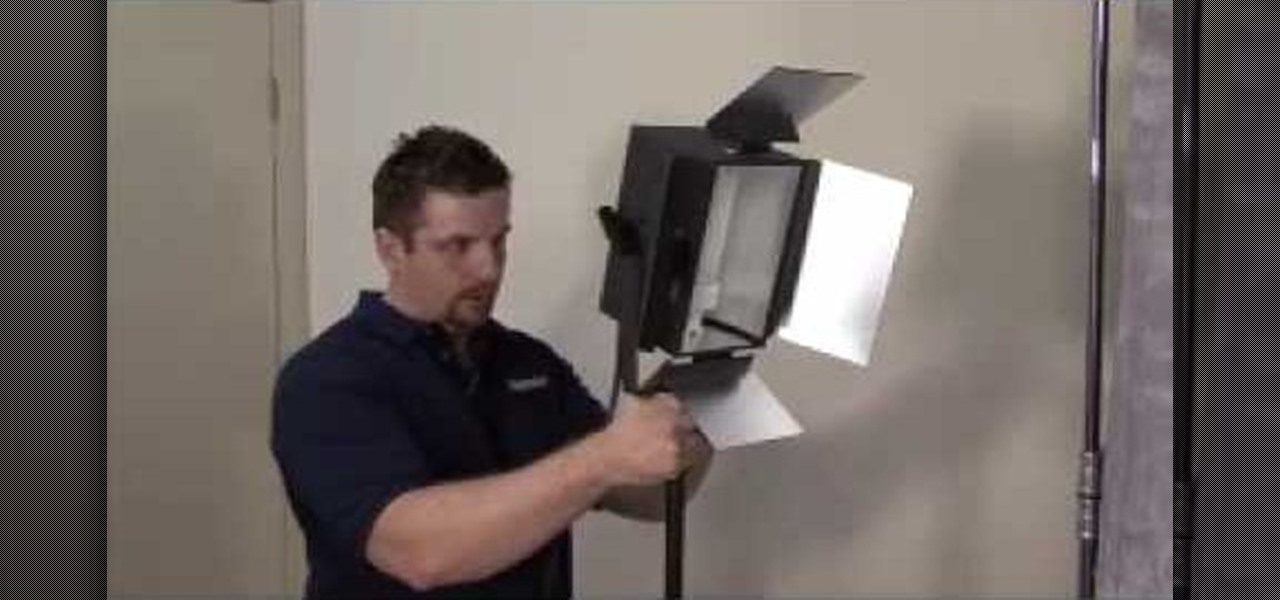
Check out this instructional lighting video that explains how to make cheap barn doors for your lights. For this project, you will need a total of 4 hinges, 12 nuts and bults, a screwdriver, cardboard, scissors, and a lighting fixture. This is a simple guerrilla filmmaking tutorial on how to design your own barn doors. A great addition to any low-budget filmmaker's lighting kit.

This how to video walks you through how to light the exterior of your home. Enhance the beauty of your home at night while keeping it safe with this tutorial.

You've probably tried just about every method of hanging your holiday decorations: nails, thumbtacks, sticky hooks, and, in desperation, even tape. Each method can leave a host of complications when removed, though, from chipping paint to visible holes.

In this DIY project on video, learn how to paint the exterior of your home. Our expert will show you everything you need to know to get the job done. Get tips on preparing the wall with a pressure washer, scraping off old paint, caulking, spackle, priming, and more. Learn the proper paint rolling techniques to get an even, professional result. Watch these videos carefully, and turn a potentially disastrous endeavor, both for you and your home, into a simple painting project. When you’re done,...

Lighting a movie can be dramatically expensive and complex, but for the DIY filmmaker on a budget this can be a major handicap. In this video you'll learn how to create a serviceable lighting setup for your filming using only $25 worth of shop lights and 200w bulbs.

This video tutorial belongs to the Film & Theater category which is going to show you how to build a light diffuser to improve your film lighting. Joe Richardson explains how to do this. You will need four pieces of pine wood 1" x 2" x 8 feet long, framing nails, duct tape and light cloth material. Cut the wood at the edges at a 45 degree angle and lay them out on ground to make the frame and hammer in the framing nails. Now spread the cloth over the frame and start stapling it. Pull the clot...

Simon Leach of Simon Leach Ceramics shows how to finish a lidded box, thrown on a potter's wheel. When cutting into the box, make sure to do so with a cut slanting downwards so that the lid is less prone to falling off. Proceed to smooth off the exterior of the box, beginning where the two halves meet. Once the outside is smoothed, the fit of the two parts is probably not perfect, and so the joint between the two can be smoothed off. Carved features such as scalloped footing may now be added....


