The Stirling engine is a relatively old type of external combustion engine that has never really found a niche despite its unique advantages over conventional internal combustion engines. This video for the DIY-inclined will show you how to make your very own small Stirling engine out out of a tin can and some other basic materials. It may not power your house, but you will be able to amaze and educate your friends with this awesome little device.

Right out of the box, iPhone is incredibly easy to use. If you want to get the most out of every feature, you’ve come to the right place. This video tutorial straight from Apple will teach you how to record voice memos on the Apple iPhone 3G. The iPhone redefines what a mobile phone can do.

In this video, we learn how to draw children's heads. For the front view, first draw an oval with a slight point for the chin. Then, draw in the features of the face lightly with the side of the pencil. After this, start to shade the side of the eye in. The child's eye has a large eyelid, larger than an adult's eyelid. The pupil should also be large. For a side view, make sure to show the curves of the chin, nose, and lips. The eye should be soft and the ear should be soft as well. Fill in th...

In this tutorial, we learn how to draw Yoda the Jedi master from Star Wars. You will first need to draw the basic body of Yoda, don't forget those long ears. After this, add in the small eyes and the rest of the facial features. Next, you will add in the details for the clothing and draw in the light saber he is holding in his hands. Now for the fun part! Use different colors with white mixed in to make it look like the light saber is glowing. Then, color in Yoda and his clothing to finish of...
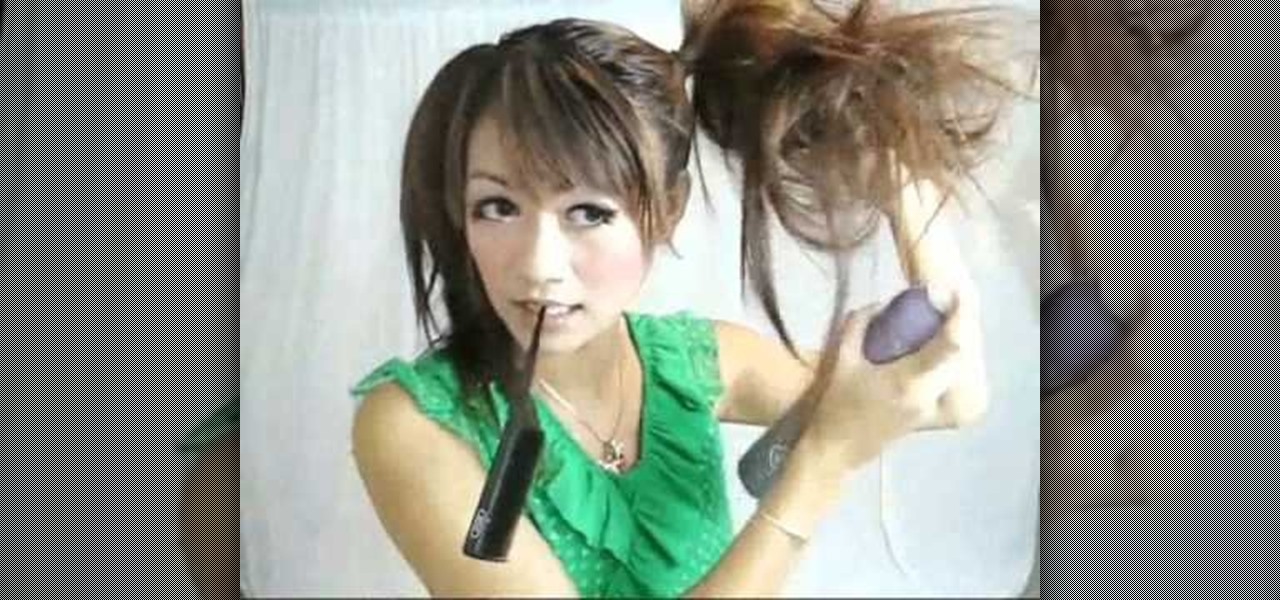
Halloween abounds in spooky costumes and even spookier makeup and accessories. But if you've had enough of ghosts and goblins and want to go for an entirely different look this year then check out this tutorial for creating a teddy bear/mouse look for Halloween.
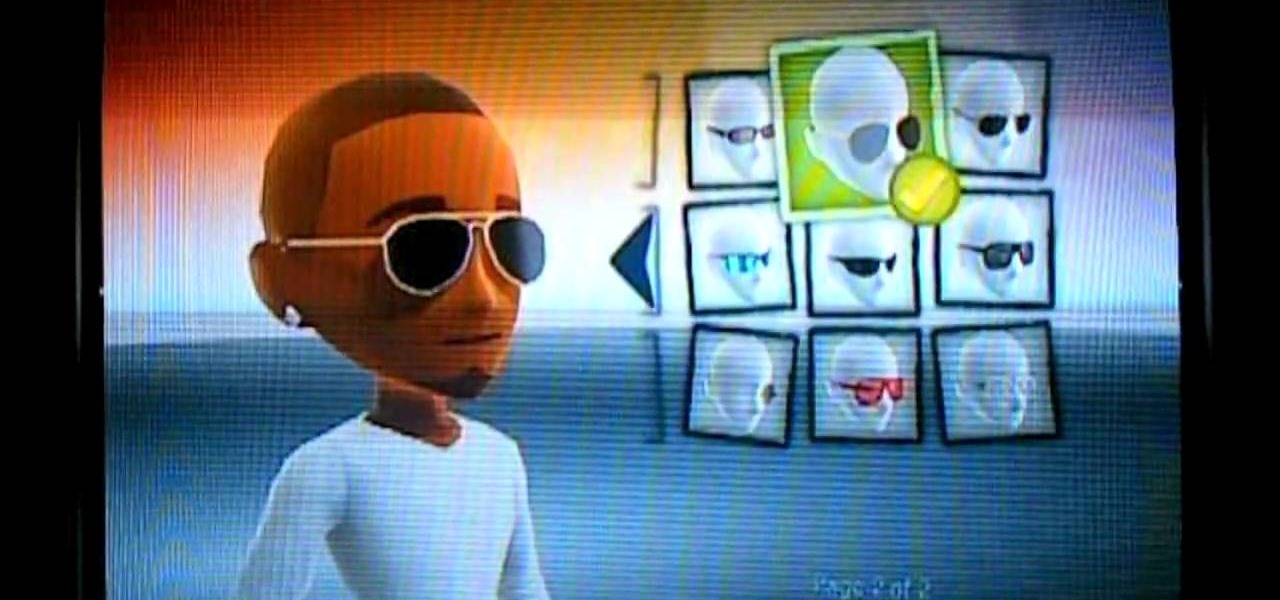
T.I. is finally out of the joint and back on the hip-hop scene. What better way to celebrate in your own home for free than making an XBox 360 Avatar in his likeness? This video will show you how to use one set of clothing pieces to make a pretty spitting image of the rap star.

A sleeping prank victim is much easier to deal with than an awake one. They can't prevent the prank, and afterwards are usually too disoriented to respond violently with any effectiveness. This video will show you several pranks to play on sleeping victims, some of which you've probably seen before and a couple we're betting you haven't.

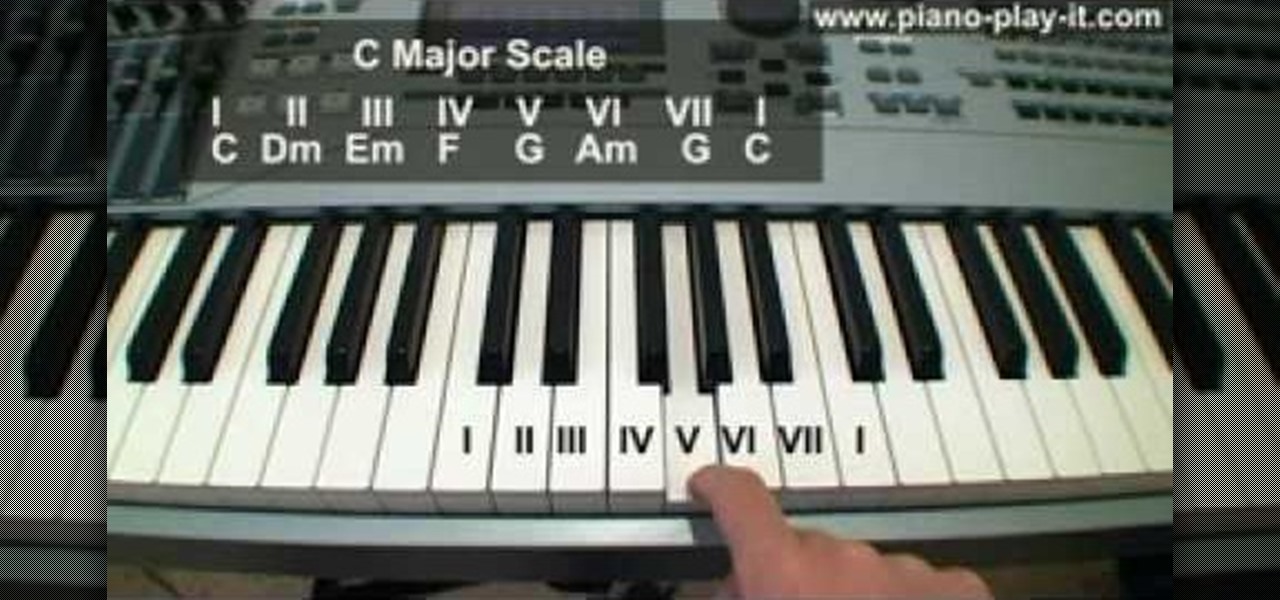
Don't you dare touch that piano until you've watched this helpful lesson in piano music theory! While practicing scales alongside your piano teacher is super important to becoming a master piano player, you can't skimp on the music theory.

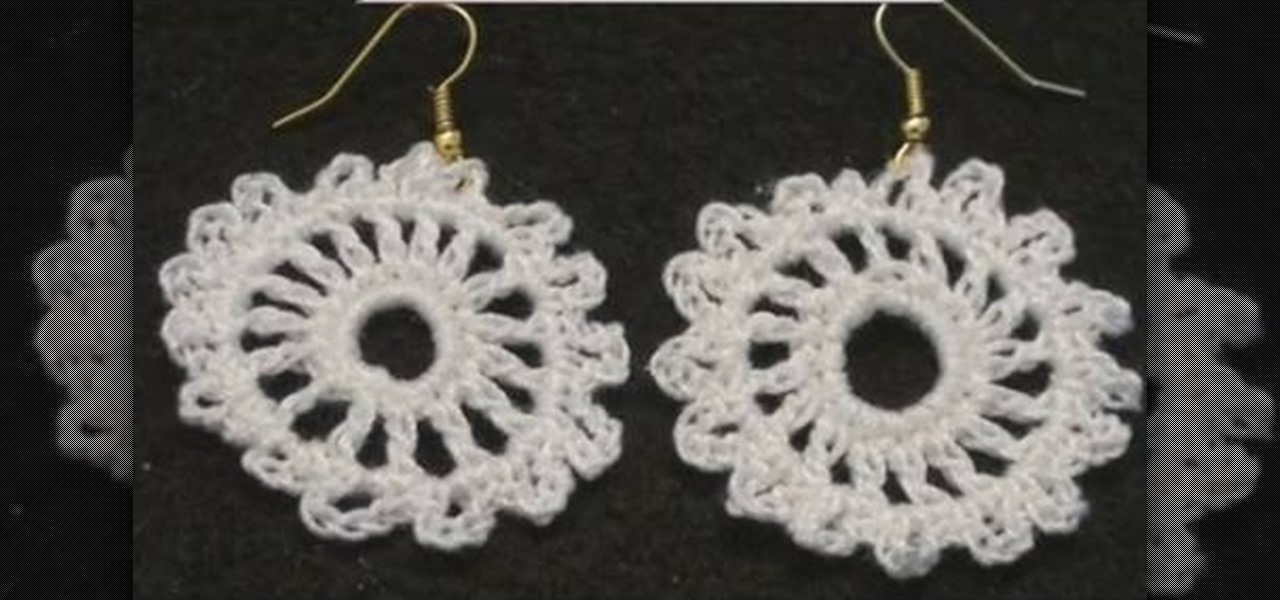
Well this is quite the alternative crochet project. You've probably already knitted a light, hole-y Afghan, and even a long, thick crochet scarf for the winter months, but we can bet you've never even thought of crocheting your own earrings.

In this tutorial, we learn how to make a pig out of punches. First, you will need to have white paper, pink paper, and black paper. You will also need punches that are in star shapes, different circle sizes, oblong shapes, and a flower shape. TO put this together, first glue a small heart shape to the bottom of the oblong shape and set to dry. Next, take a large pink circle and place two white dots and black dots on top to make the face. Next, draw two black circles onto a smaller pink circle...

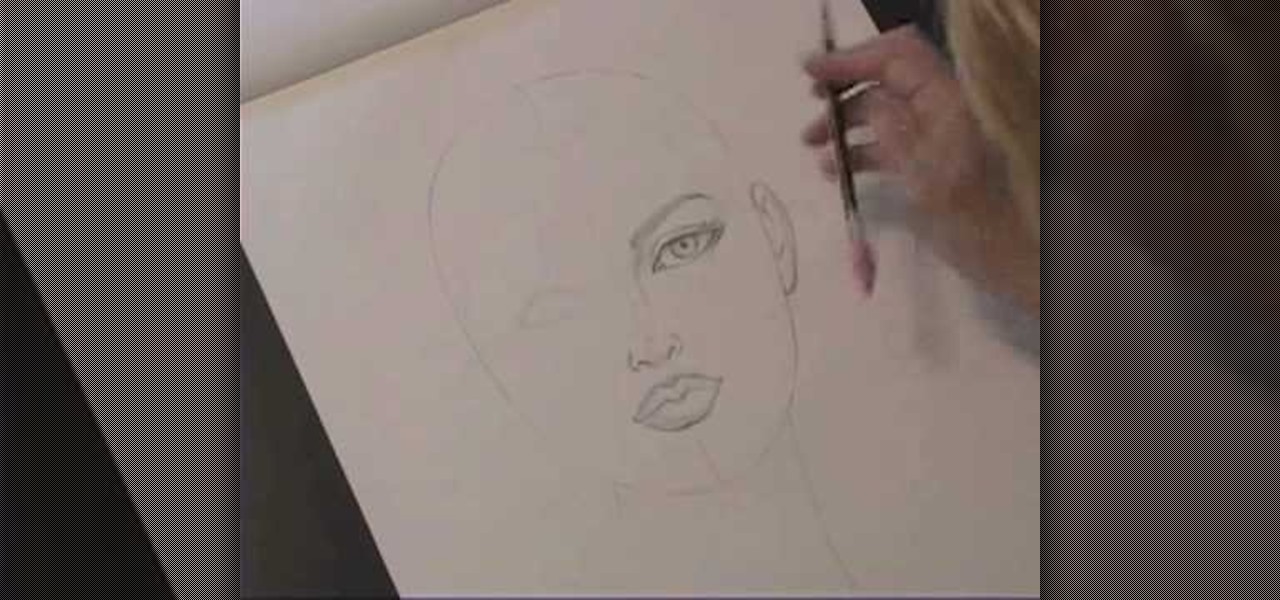
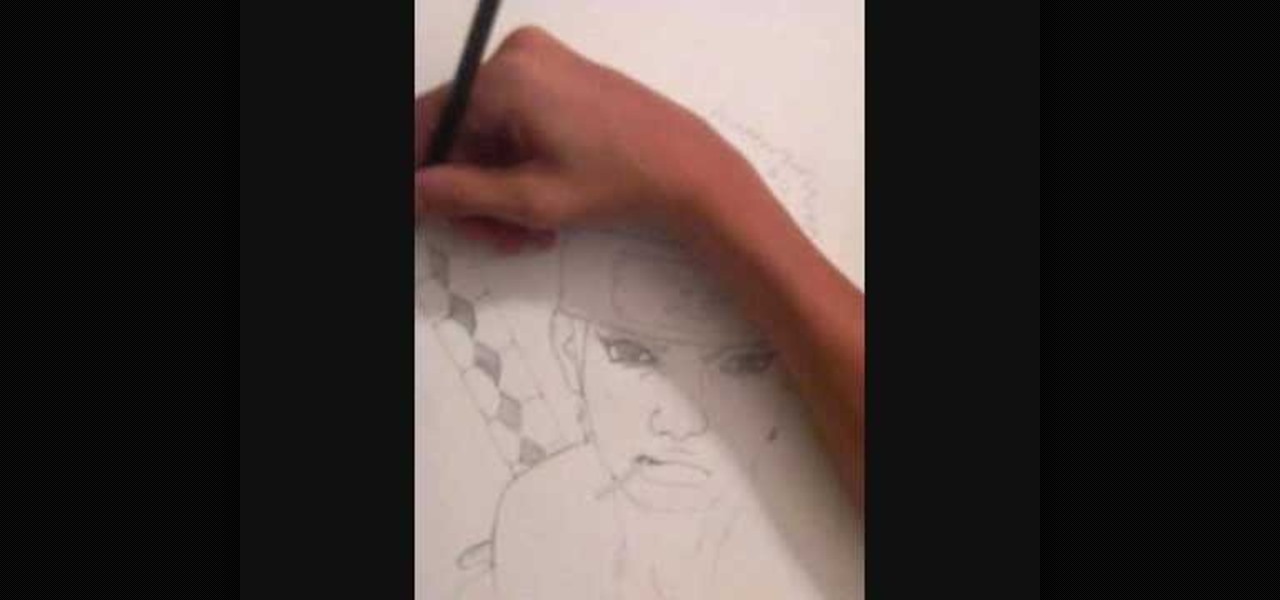
Kathryn Hagen teaches us how to draw female heads in this tutorial. Start with an oval and dissect it horizontally and vertically. Draw in the hairline, as well as the eyes, nose, and mouth. You can measure out where everything should go by using the lines as a reference point. Add details into the eye, then continue on to add more details to the nose, showing the nostrils. Draw more details on the mouth, then define the center of the lip and shape. Draw on the ears, and add a line where the ...

This video shows the method to style a heart shaped hair on a little girl. In the first step, do a zigzag part on the hair and pulling the sides to a pigtail. Part the hair till the ear before tying the pigtail. Wet the pigtails and put some pomade on it to make the pigtail stiff. Take a pigtail and divide it into half. Make sure that they are stiff. Twist the two parts of the pigtail and make a heart shape. Now clip the hair at the base using a pigtail holder. Repeat this process for the oth...

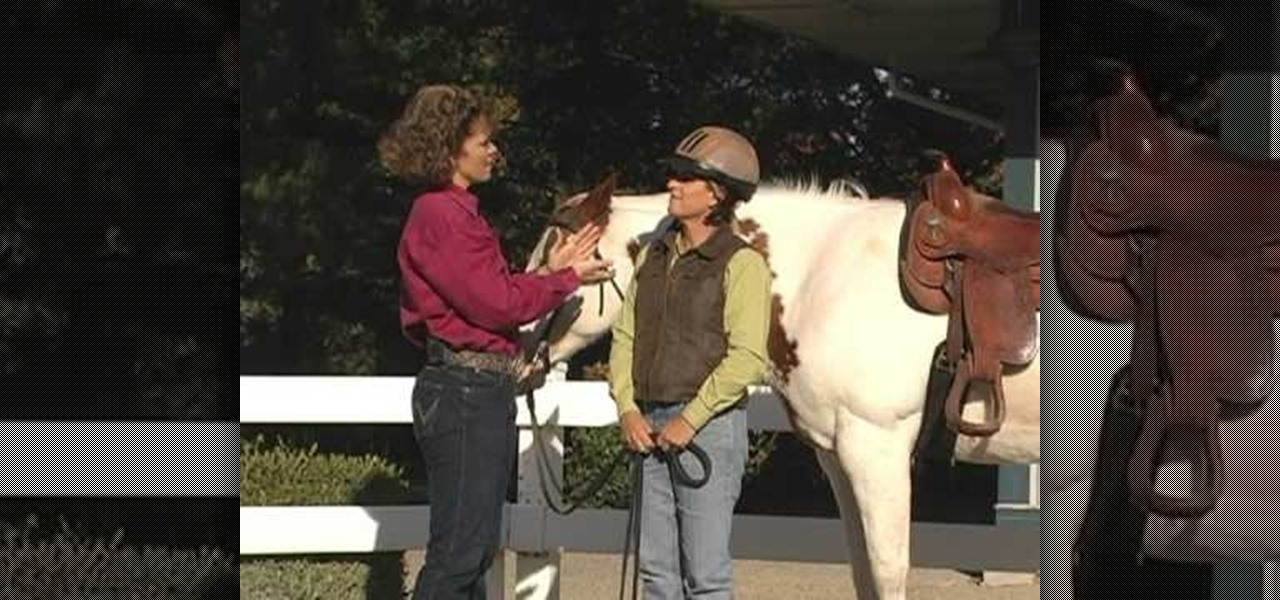
Christy Lendwehr and Julie Goodnight from the Certified Horsemanship Association explain how to know when you have a fitting and correctly adjusted horse riding helmet. First and foremost, you should wear your helmet every time you ride and you should be sure that is a ASTM SEI helmet approved for equestrian riding, as they also make helmets for sports and those should not be used while riding a horse. When putting on a helmet you should be able to push it and only the wearer's eyebrows shoul...

Shoo Rayner demonstrates how to draw a realistic bat that can be scary, funny, or friendly for children's books. You will need a pencil, pen, and eraser to help you achieve texture. With a light pencil sketch, draw a round head and an oval body. But don't worry too much about accuracy, because there are many types of bats that look different from each other. Your bat needs large ears, a tail, a short forearm and a long upper arm. But most of the bat's wing is its three fingers and a thumb. Th...

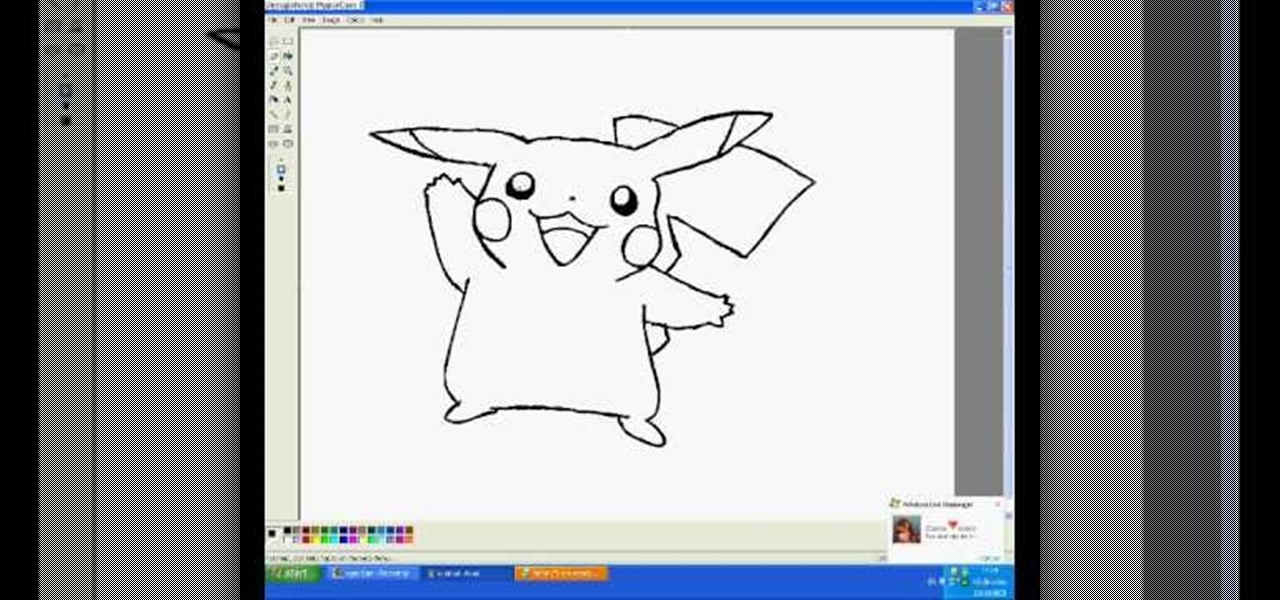
Have you ever wanted to draw Pikachu is MS paint? Well, this video will show you exactly how to do it! The eyes are first. Then, a great big grin. Next, the complicated contours of his face, followed by his long floppy ears. He adds a few details to the face, including the patches on his cheeks. Then, he adds his chubby little arms. He draws the squarish body and his feet. He adds a tail. Then, he does some touch-up work. Last, he starts on color, paying close to detail. He adds some shadows ...

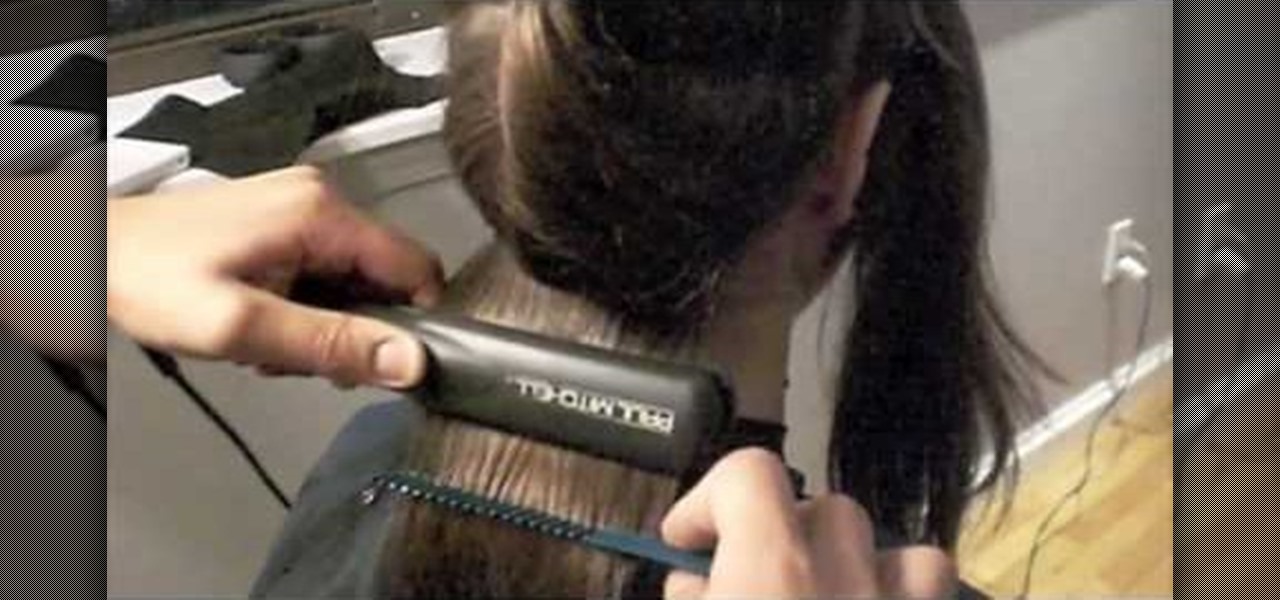
Learn how to properly flat iron your hair with Benjamin Lobol. If your hair is curly, start by blowing out your hair with a flat or round brush to smooth it out. The tools you will need are flat bill clips, a heat resistant comb, a flat iron, hair serum, heat spray. Section your hair into the front and back sections, using your ears as a reference point. In the back, create two more sections - the top and the bottom. Start by slowly flat ironing small sections of the back. Once you are done, ...

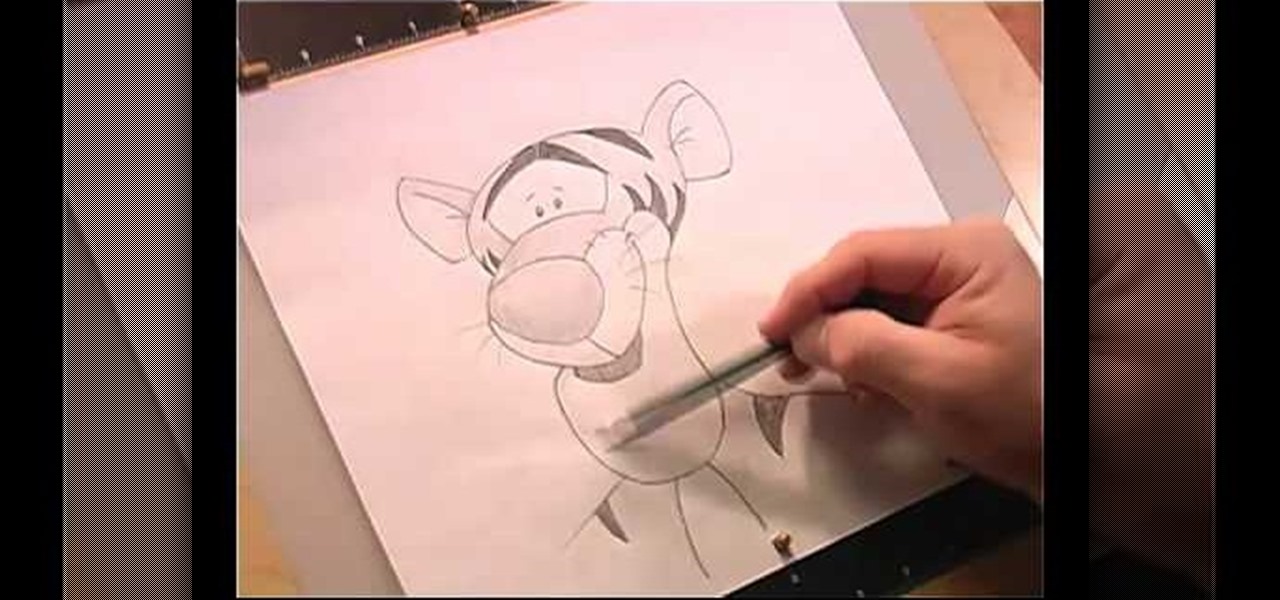
This video is describing the steps needed to draw Tigger from Winnie the Pooh. The first step is to draw an oval on your black paper. Draw diving lines, and make sure that one is a little bit below center. Next draw in his muzzle by lining up the top part of his muzzle with the bottom part of his eye. Next draw his chin. You can draw the bottom by taking the distance of the head and putting the same amount of distance between the head and the muzzle that there is between the muzzle and the ch...

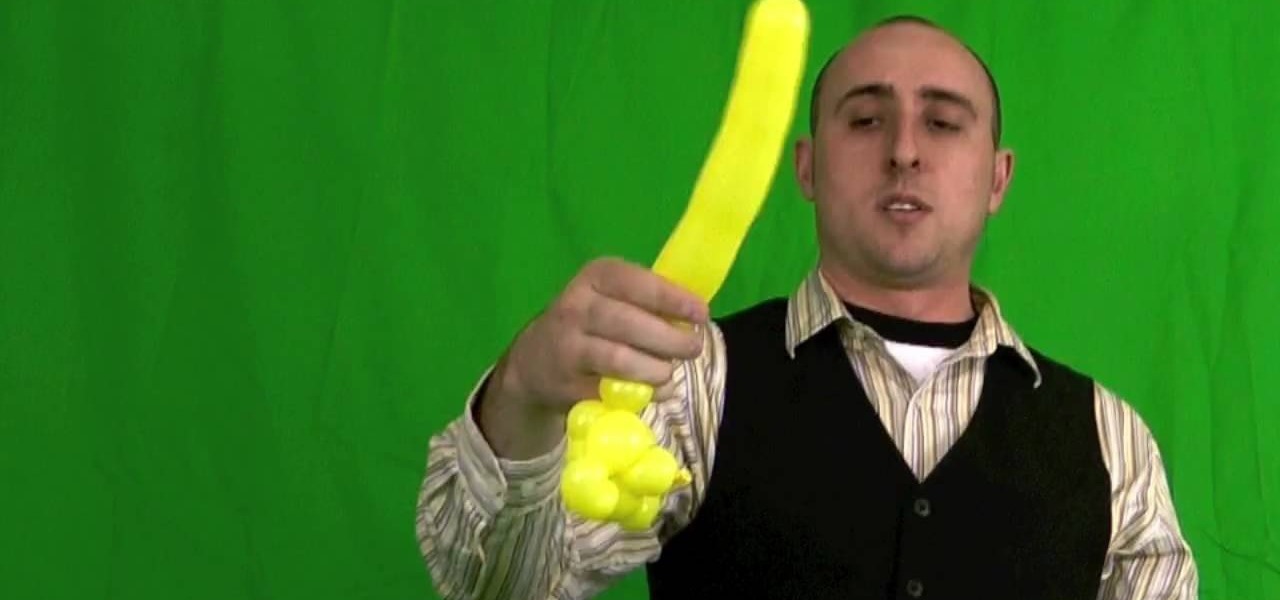
Learn how to make a balloon teddy bear using only one hand by following the steps outlined here in this tutorial. You will need one balloon already filled with air. At the end, create a nose. Then, add two bubbles for the back of the head. Twist the five bubbles that will comprise the head of the bear. Once the head has been formed, you will stick the nose in through your ring for the head to create the overall head and face. Pinch twist to create the ears at the top of the head. The body is ...

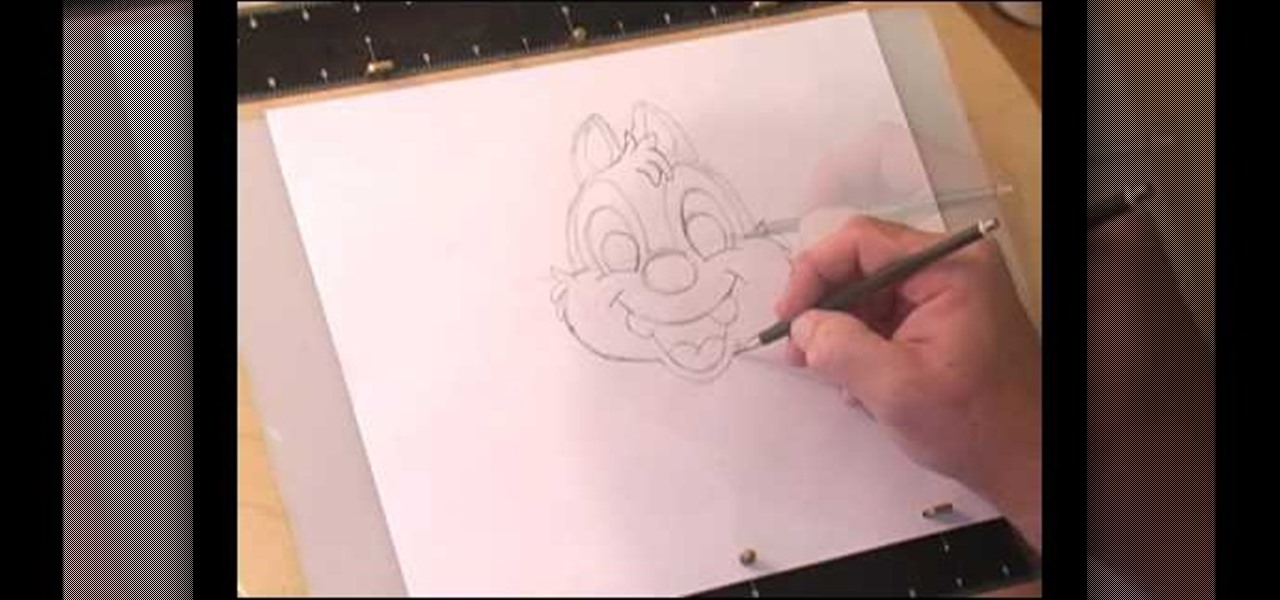
This video shows us how to draw a Dale character. First you draw a ball about the size of an orange. Insert construction lines in the shape of a cross. Starting with the small middle area, draw the mask outline and add the ears at the top. Draw in the nose under the middle line. Draw the cheeks outside the construction line on both sides. Add smile lines on each side and draw a curve between them for the mouth. Extend the lower part of the mouth outside the construction line. Insert teeth and...

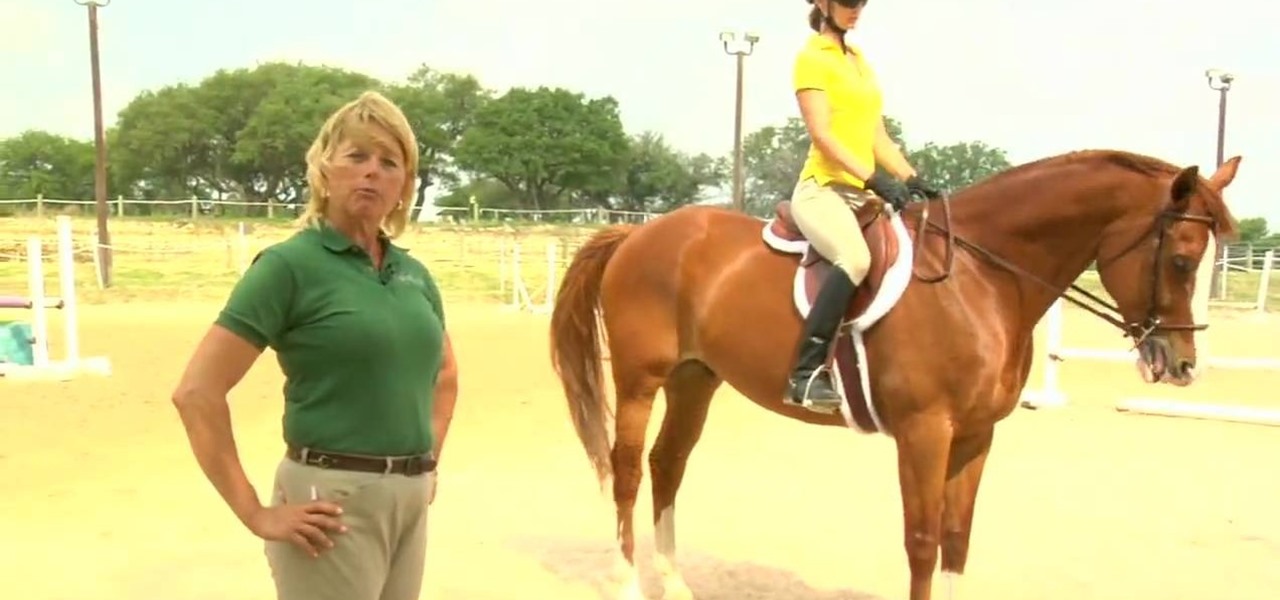
In this Outdoor Recreation video tutorial you will learn how to ride a horse with some basic instructions. This video is from Livestrong. The first lesson is how to create a correct back position that enhances our ability to stay balanced in a saddle. You should create a straight line from ear to shoulder to hip to heel stay right in that position. If the leg moves too far forward, you will feel you are falling back from the saddle. There should be another simple line. From the elbow to the h...

This video shows a quick way to lift your sagging jowls with face exercises. This video targets the platysma and sternomastoid muscles at the front of

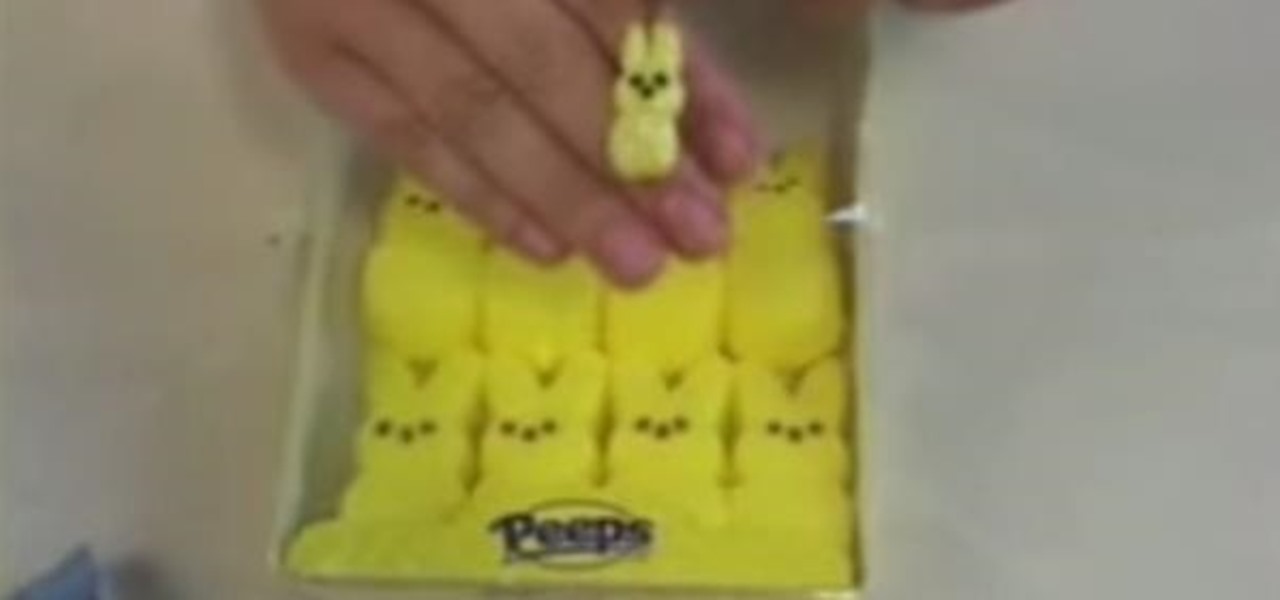
In this video from Polymer Clay Productions, we are shown how to make earrings out of polymer clay marshmallow Peeps. They use holographic yellow glitter for the sugar, polymer clay, and Sunny Side Up yellow coloring. Use a clay color and glitter color that match. Have some real Peeps handy for reference.

This video shows the procedure to draw a face. The video shows various stages to draw a face. These include drawing an egg on the paper, dividing the egg into various parts by horizontal lines, drawing the nose and lips, drawing the eyes and ears. The video cleverly deals with issues relating to the evidence of not being a professional. The video shows the various choices that can be made by the artist in drawing the face like the pencils to use.

This is a video about how to fold an awesome origami elephant by the help of paper only. For this you have to complete the following step (1) Fold half of the paper. (2)Again fold in two outer edges. (3)Fold corner across middle and then fold edge into center(4)Collapse triangle inside and fold corner inwards.(5)Create the ears and trunk also, at last create the body of elephant. This is a very good origami to use or play.

Remove the husks from the ears of corn, as well as pulling off the excess strings. Using a sharp knife, slice the kernels off the cob by cutting a bit off the end of the cob so you can stand it upright. Then slide your knife down the cob on each side to remove the kernels. Add the corn and water to a large pot or frying pan with high sides. Cook the corn over medium heat until there is no water left and the corn has softened. Add the butter and salt and gently fry the corn for 2-3 minutes to ...

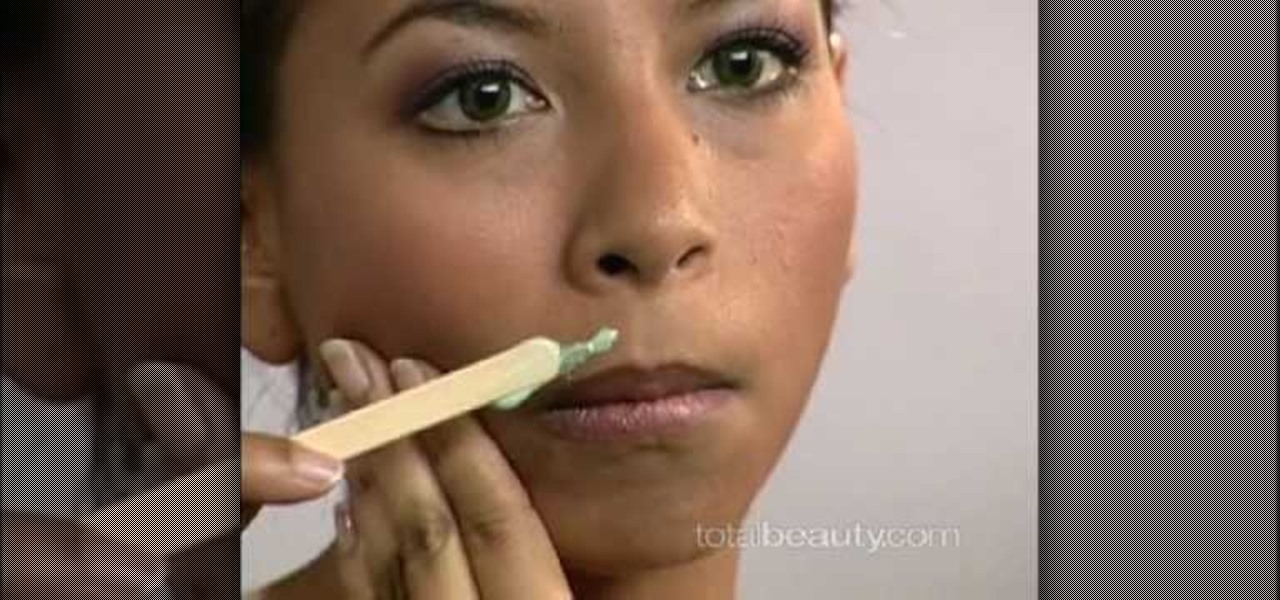
You can remove upper lip hair easily and safely in a few minutes. You must clean the upper lip first remove the oil and makeup. Put a small amount of wax on your hand using a flat wooden stick to test the wax temperature. Hold your skin towards your ear and apply a small amount of wax downward to one side of the lip. Place strip over the wax and press gently a few times. Remove the strip upwards removing the hair. Repeat as necessary. Do the same procedure with the other side of the lip. Remo...

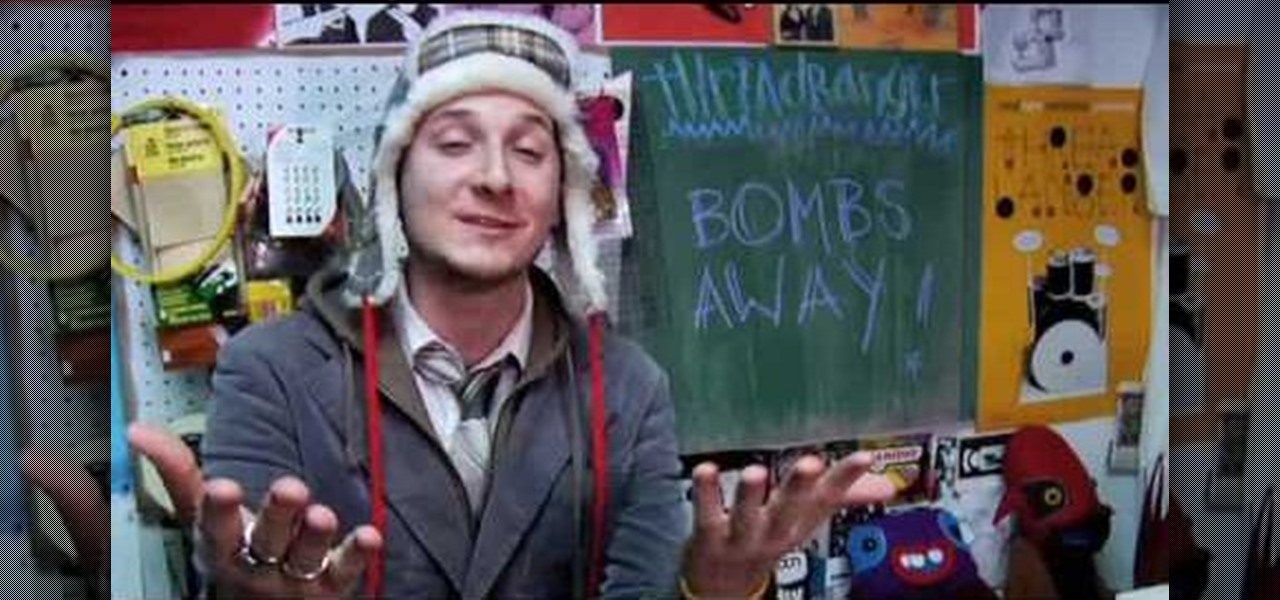
ThreadBanger give us a great recipe to make a unisex bomber hat using just a flannel shirt, white faux fur, a measuring tape, the bomber hat pattern, a sewing machine, and two and a half hours of your creative time. Add pom-poms at the ears to give it extra flavor! Super cool look for both dudes and ladies.

Systm is the Do It Yourself show designed for the common geek who wants to quickly and easily learn how to dive into the latest and hottest tech projects. We will help you avoid pitfalls and get your project up and running fast.

This tutorial shows you how to attach legs, arms, ears, etc to your amigurumi. I also show you my method for binding off (BO) your yarn when you are done crocheting. Amigurumi is the Japanese craft of knitting or crocheting little animals (or any kind of cartoon/ creature) out of yarn. Most important principle of amigurumi: your creation must be cute! Watch this amigurumi tutorial and get started on your own creation.

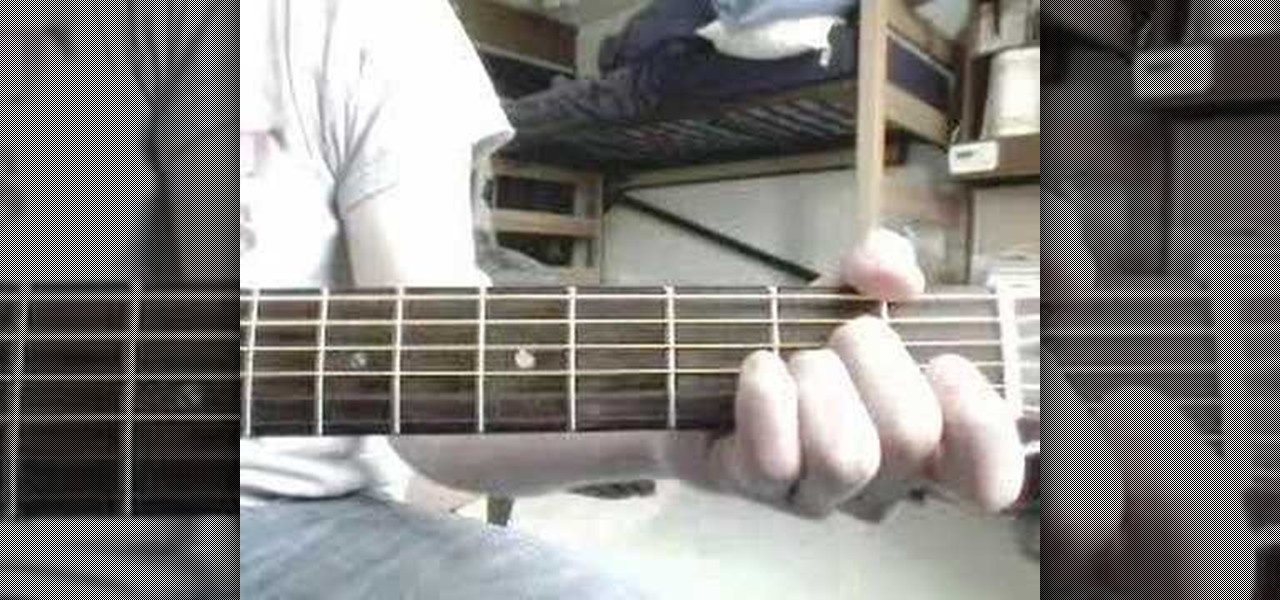
Watch this instructional guitar playing video that shows you how to play the song "Dream Girl" by Dave Matthews Band on the acoustic guitar. This tutorial video was done quickly by ear, and Dave fans are really adamant about getting his guitar part right, but this performer nails it. This is a great instructional video for hardcore DMB fans and acoustic guitar enthusiasts. Practice your guitar skills by learning each chord to the song with this step by step video.

As any informed PopSci reader will know, the iPhone is definitely a game-changing piece of hardware, but it's not without its problems. Chief among those nagging little imperfections, for me, was the recessed headphone hack that rejected any headphones but Apple's trademark gleaming white buds. Apple's 'phones aren't that bad, but my Shure in-ear pair is better for blocking out noise on the subway (and my Grado SR60s are better for listening at home). Thankfully, an easy solution to this prob...

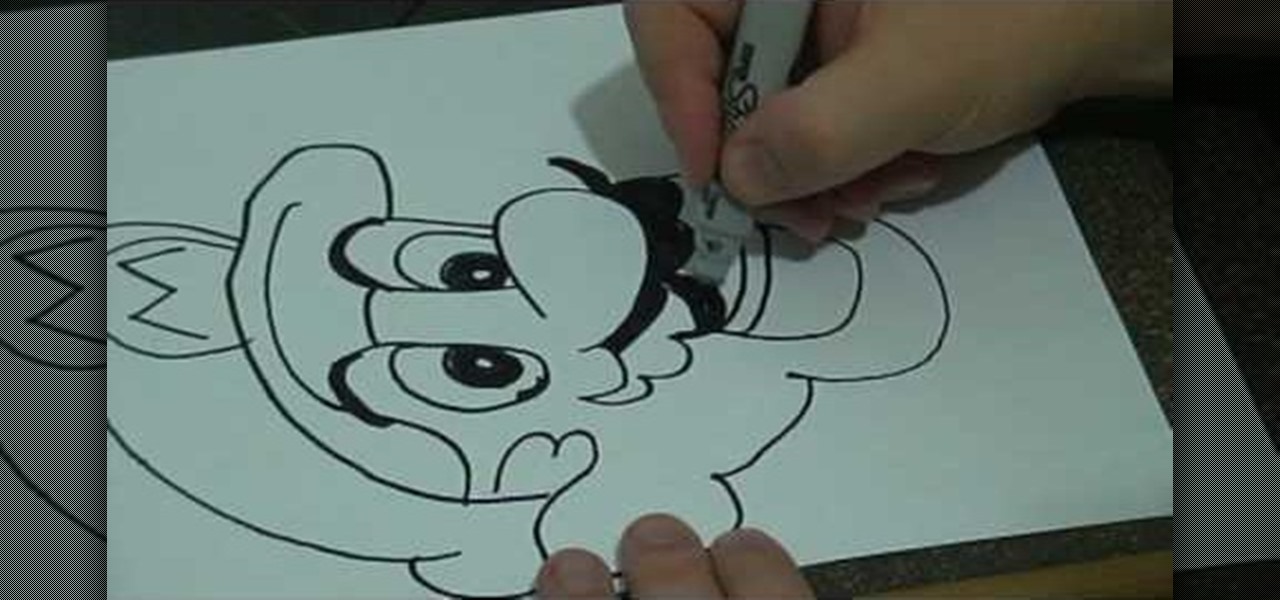
In this tutorial, we learn how to do a basic line drawing of Mario. To start, draw the basic outline of the face with a black marker. Draw in the details of the mouth, don't forget the teeth, tongue, and inside of the mouth. After this, draw in the nose and then the eyes. Draw in the pupils and then start to draw in the mustache and eyebrows. After this, create the hat and then draw around to the side of the head to draw the ear in. When finished, you can leave empty or color in with appropri...

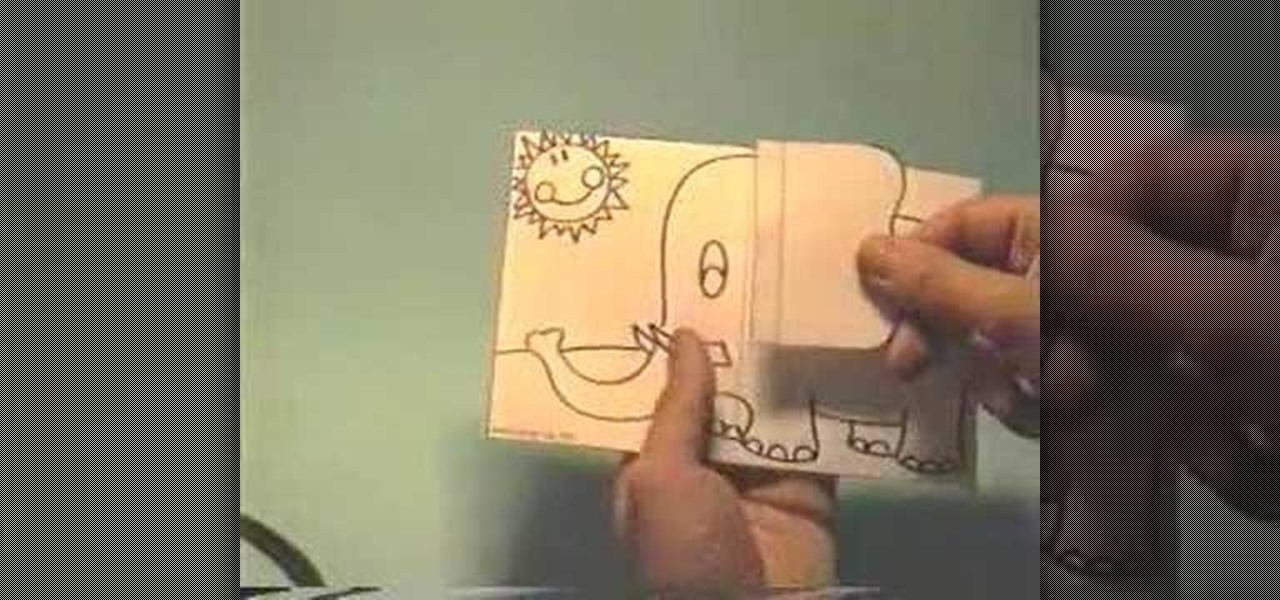
In this video we learn how to make an elephant pop-up card. First, draw a picture of an elephant on a 4x6 card. You can make this anyway that you want and put whatever other characters on it as well! After this, clip a small piece of paper into the shape of an ear. Then, glue the side of it and place it onto the elephant. The other half shouldn't be glued so it will flap up! Then, put this on the inside of a card and color it. When the person receives it, it will be a pop up card, enjoy!

In this tutorial, we learn how to make sure your game is really dead. One of the best things is to stay away from the feet, then touch the eyes with the end of your rifle. If there is no reaction at all, then the animal is dead for sure. After this, you will need to attach a validated elk tag to the animal, making sure it's secured. Glue it to the ear using your hands and pressing it down for several seconds. In different states, there are rules and regulations as to where you have to apply t...

This video contains different techniques to draw Naruto Sage Mode. The first step is to draw the basic outline of the characters face along with the ears and nose. After completing the basic outline the eye outline and details are then placed. The Lips and nose are drawn third to finish the basic features of the character. Dark shading around the eyes must be completed to give Naruto sage mode more realism and detail. The hat is one of the last parts of the character created involving a simpl...

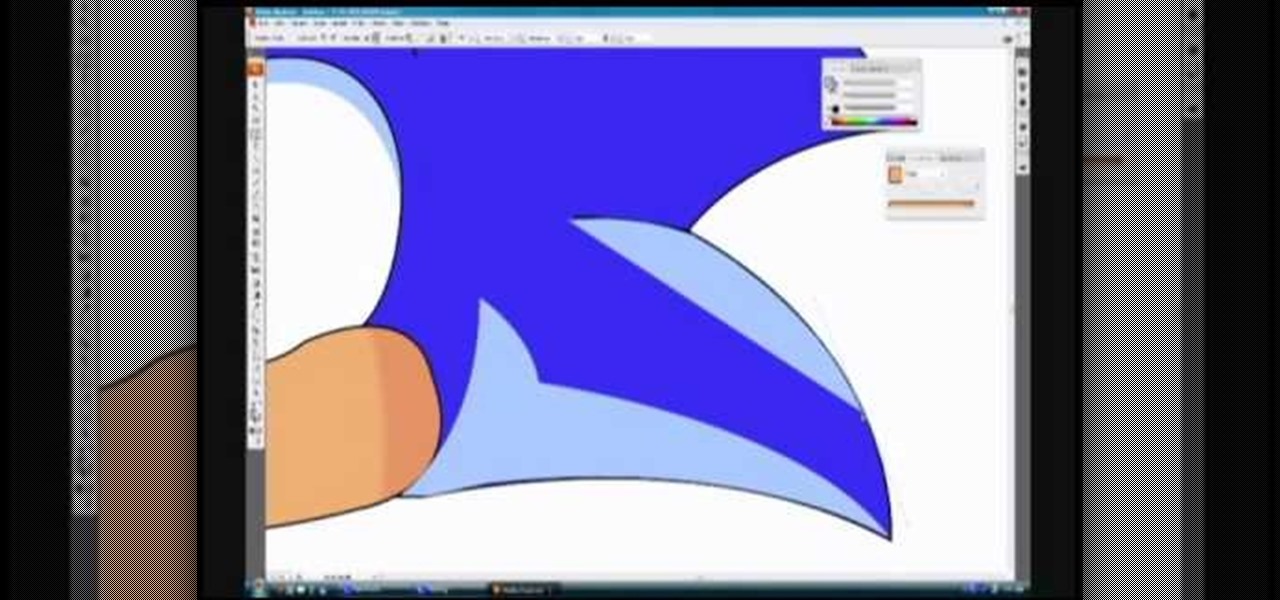
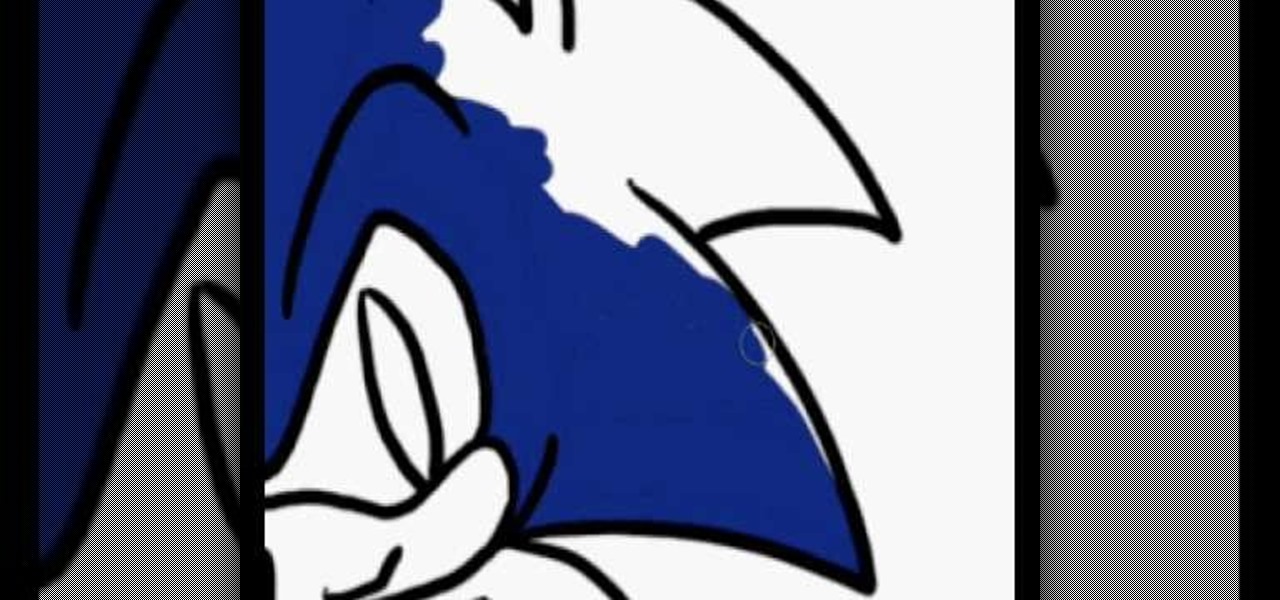
In this video, we learn how to draw Sonic in Adobe Illustrator. First, draw out the muzzle and the nose with a pen. From here, you will draw out the eyes and then make the outline for the ears and the hair. Next, draw in the details around the face. Once you do this, add color to the hair and to the face as you see fit. Then, add in additional lines to show creases and make him look more realistic. After this, add in shading with darker colors on the sides of the face and the hair. When finis...

In this tutorial, we learn how to draw Omoi. first, draw the outline of the character with a thin pencil mark. After this, draw in the features of the face and include the details on the eyes. From here, start to draw in the bangs and the hair around the head. Next, you will draw on the headband on the forehead and then decorate the inside with the usual sign. Next, you will draw on the ears and finish with the details on the face. After this, draw on the upper body and then clean up any back...

In this video, we learn how to draw Sonic the Hedgehog in Photoshop. First, draw a circle on the page and then draw the eyes onto him. After this, draw on his ears and then his hair around his head. After this, draw in the rest of his body and his feet. From here, use a darker paint brush to create the final outline of the character. Draw in the lines around Sonic to make him appear more realistic. Then, color him a dark blue color with red on his shoes. When finished, save this drawing and y...

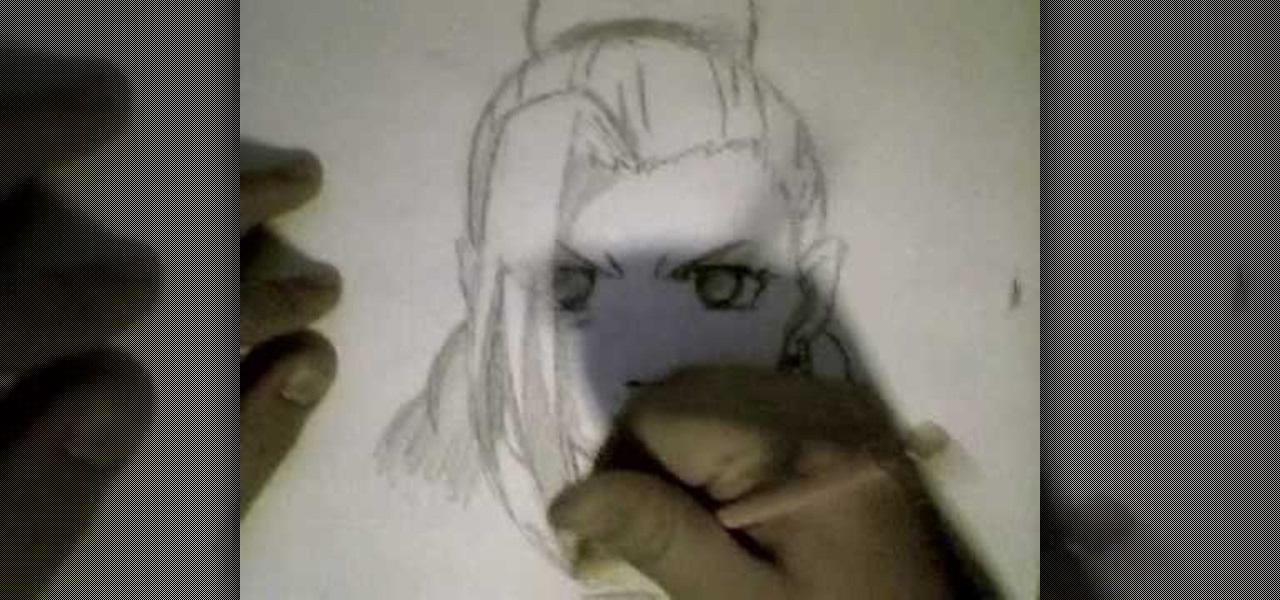
In this video, we learn how to draw Ino from Naruto. Start off by drawing a circle for the head, then drawing lines in the middle to create reference for where the facial features will go. After this, draw in the hair on the top of the head along with the eyes, eyebrows, and creases of the eye. Then, draw the jaw line around the face and erase the lines you used for reference. After this, add in additional lines and hair to make it look more realistic. Use shading around the face to show ligh...

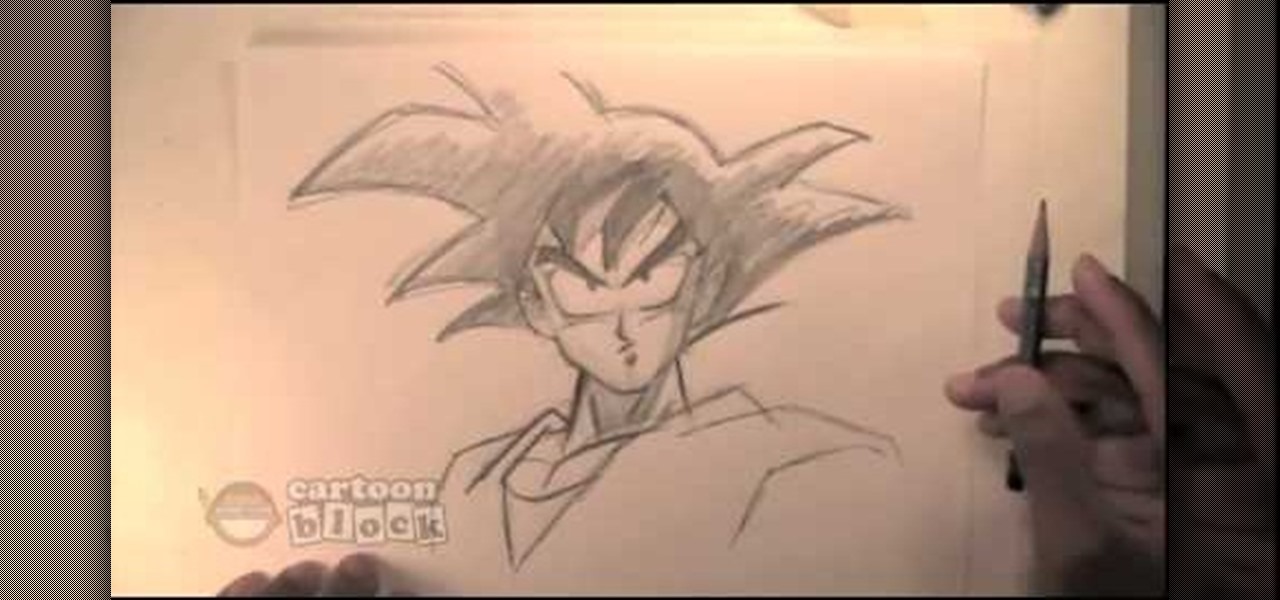
In this tutorial, we learn how to draw Goku. First, you will start drawing the outline of the face, including the features of the face. After this, darken around them by drawing with the pencil. From here, draw in the hair on the top of the head and the ears on the side of the head. Next, you will draw in the neck and the rest of the body as well. Add in lines on the body to show the contours and the muscle on the body as well. Finish this off by adding in shading and erasing any background l...


