Libraries have been used in page layout applications for years. InDesign CS2 has one of the best implementations of Libraries, however, InDesign CS2 also introduces Snippets. In this episode Terry White will show you the ins and outs of both and let you decide which one is best
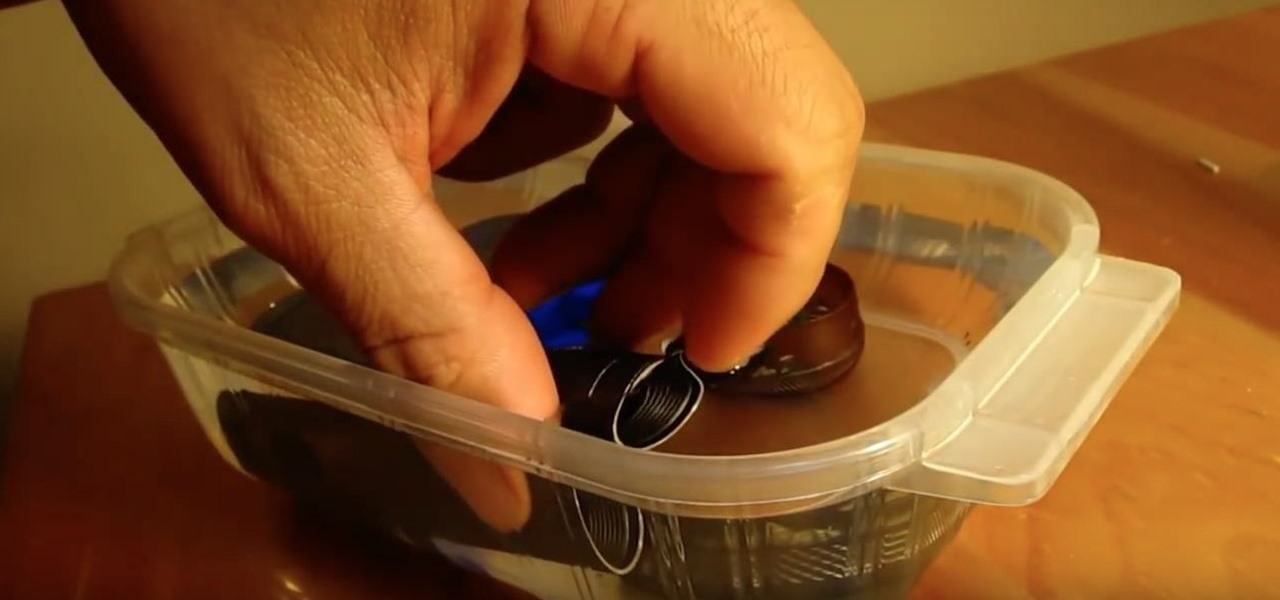
Ever see someone magically put a quarter into a bottle? Learn the ins and outs to this neat little trick to impress eager onlookers. Demonstrate some top notch magic by sticking a quarter in a bottle and bring it out again.
The pressure underwater is undeniably strong. If you were to fill a balloon with water and take it underwater, it would not burst but would stay the same size because liquids are not compressed. The pressure is the same, inside and outside of the balloon. If you were to fill that same balloon with air instead, the lower it dives into water, the more it shrinks, until it eventually can't take the pressure anymore and bursts.
Want to simulate depth of field after the fact? With Adobe Photoshop CS4 or CS5, it's easy. Whether you're new to Adobe's popular raster graphics editing software or a seasoned professional just looking to better acquaint yourself with the program and its various features and filters, you're sure to be well served by this video tutorial. For more information, including detailed, step-by-step instructions, watch this free video guide.
In this clip, Scott Bourne of This Week in Photography demonstrates the new Extended Depth of Field feature found in Adobe Photoshop CS4. Whether you're new to Adobe's popular image editing program or a seasoned graphic design professional just looking to your bag of tricks, you're sure to be well served by this video tutorial. For more information, including step-by-step instructions, and to get started using this effect yourself, watch this free video guide.
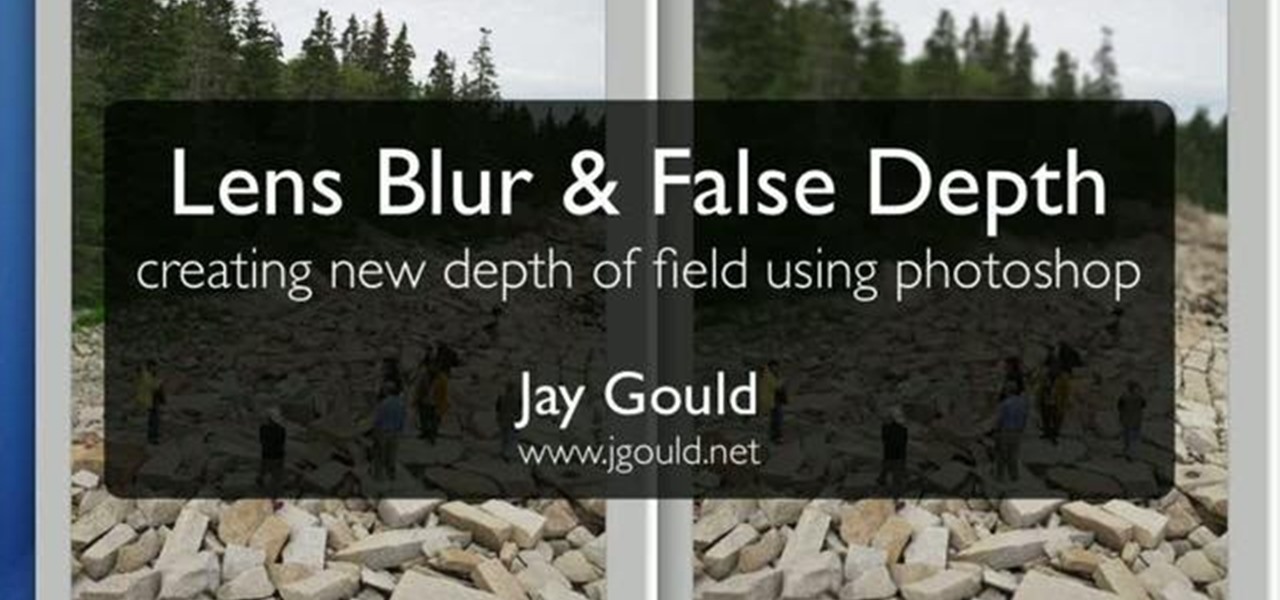
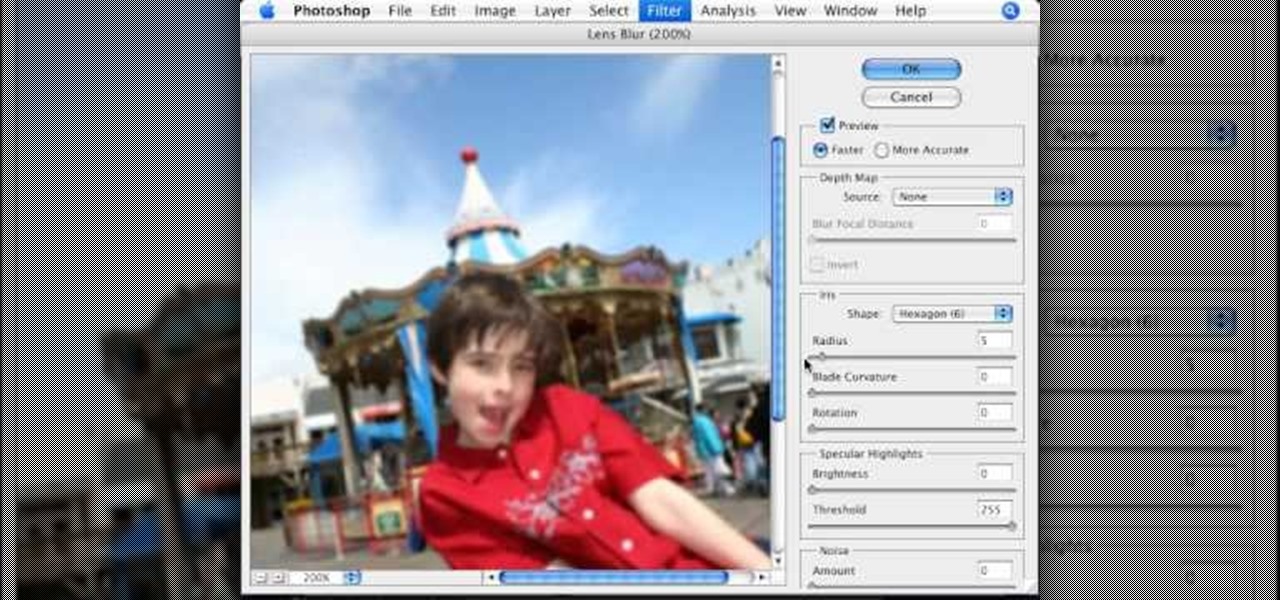
Want to blow out everything behind a foreground object but don't have $500 to drop on used DSLR camera? Then the filter trick outlined in this 17-minute Photoshop CS4 tutorial is for you. Using lens blur, one can create convincing depth of field reminiscent of a view camera or a wide-aperture lens. This technique is complex and requires some real observation and thought, but can produce beautiful results.

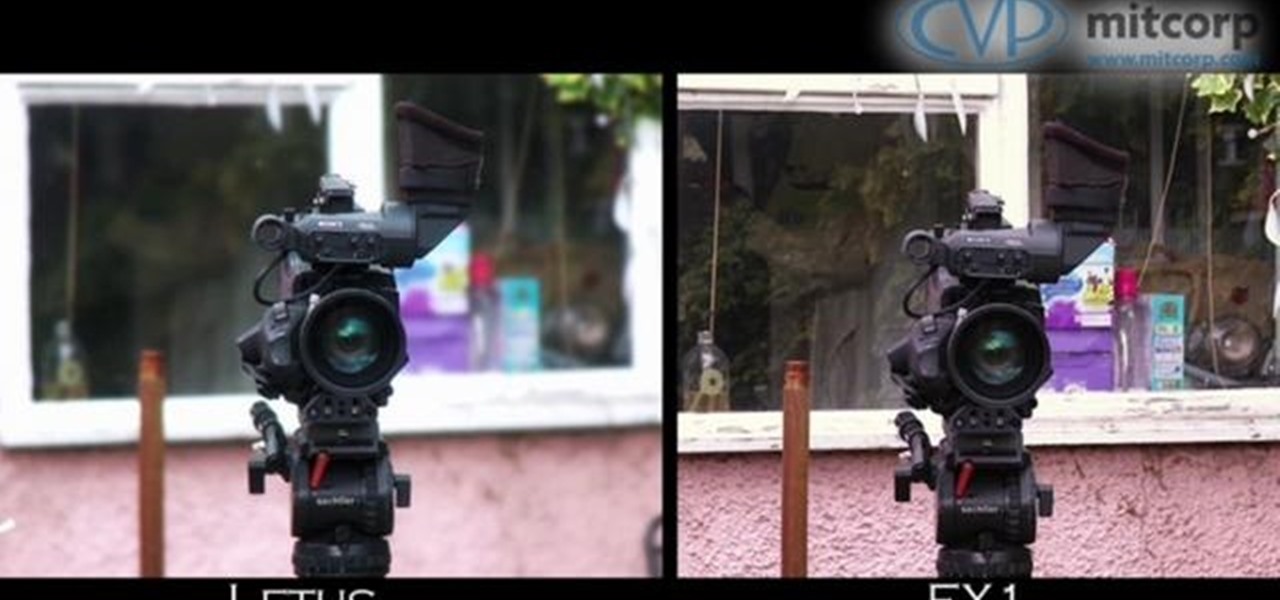
See how to use the depth of field adapter, the Letus Extreme, for your digital camcorders. Also see 35mm adapters for your digital cameras. Great for that professional look you need in your film.
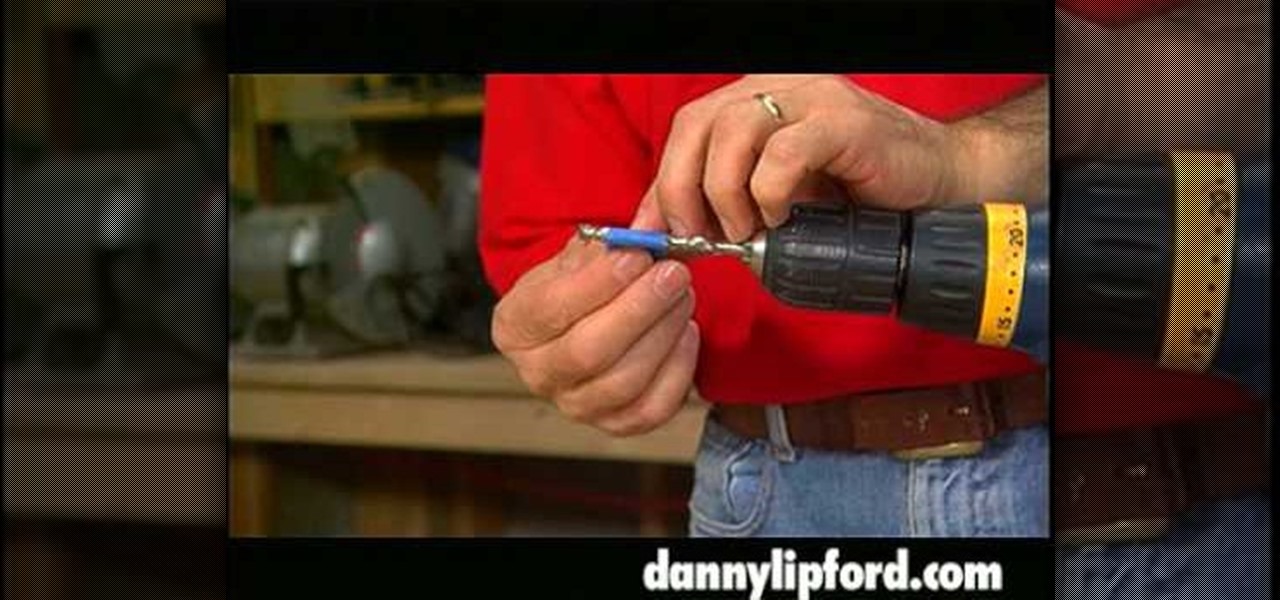
Home improvement expert Danny Lipford helps you figure out a way to get the perfect hole depth when drilling. Watch this video tutorial to see how to make an easy drill bit depth gauge.
Apple's ARKit has built a considerable lead in terms of features over Google's ARCore, but Google's latest update to ARCore adds a capability that makes the platform a bit more competitive with ARKit.
In this video from clickherephotography we learn how to take great photos by using depth of field. In a picture of a bird he used an aperture of about 5.6 which increased the shutter speed on a 300mm Canon lens. With depth of field you can blow your background out. If you used a higher aperture, a lot more of the bird would have been in focus and a bit of the background would have been in focus. By using an F-stop and this aperture, you really bring the bird or whatever object is in the foreg...
The great thing about photography is that you're able to capture a moment that will be frozen in time forever. There are many different techniques that can be applied to capture specific moments in time, you just need to know which one works best for you. This tutorial describes the depth of field in photography and how to take advantage of it. Enjoy!
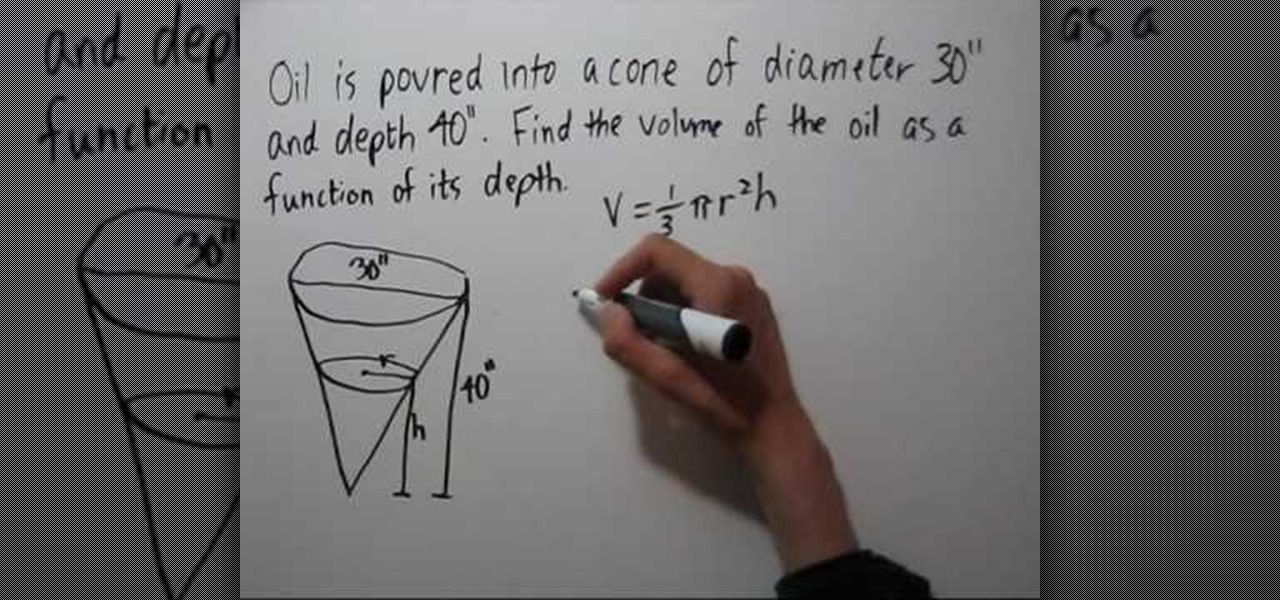
This is a very interesting instructional video on how to fill a cone. Pour oil into a cone of diameter 30 inches and depth 40 inches. Now find the volume of the oil as a function of its depth. Volume = 1 over 3 phi rsquare h. We don't know the height and depth of the oil poured into the cube. Draw similar right angled triangles. In one right angled triangle the height is 40 inches and in the other triangle it is h. Similarly the height is 40 inches and h respectively. Now rover h =15 over 40....
A brief explanation for newcomers to the art of photography to help them understand depth of field, an important aspect of the craft.
Mark and Andrew demonstrate how to crunch the depth of field to achieve two camera tricks. By crunching the field of view it makes the action closer than it really is. Often used when filming fight scenes or being "hit by a car" scene.
Use the lens blur filter in Photoshop to create depth of field in an image, which is a technique used in photography to focus attention on a particular subject
In this tutorial you are going to learn how to create the illusion of depth that is necessary for 3D text. This would be useful for creating a 3D sign like something you'd see above a building.
Israel Hyman is a weekend videographer headquartered in Mesa, Arizona. In this video, he demonstrates how to use “Depth of Field” to make your digital video look better. Yes, learn how to achieve "dreamy" and film-like quality on your video!
Whenever you would use "Portrait Mode" in iOS 10 on your iPhone 7 Plus, the camera would save both a regular and depth effect version. If you were low on space, you could always opt to save the depth effect version only, but this setting is now gone in iOS 11. While at first it seems like only the depth effect version is saved now, the normal version is still there, whether you like it or not — it's just hiding.
This quick Blender 2.5 video tip demonstrates how to use a displace modifier in conjunction with textures to add extra detail to a mesh. Using this technique can help provide another level of depth to a model with relative ease that otherwise would have to be done manually or through bumpmaps. Whether you're new to the Blender Foundation's popular open-source 3D computer graphics application or are a seasoned digital artist merely on the lookout for new tips and tricks, you're sure to be well...
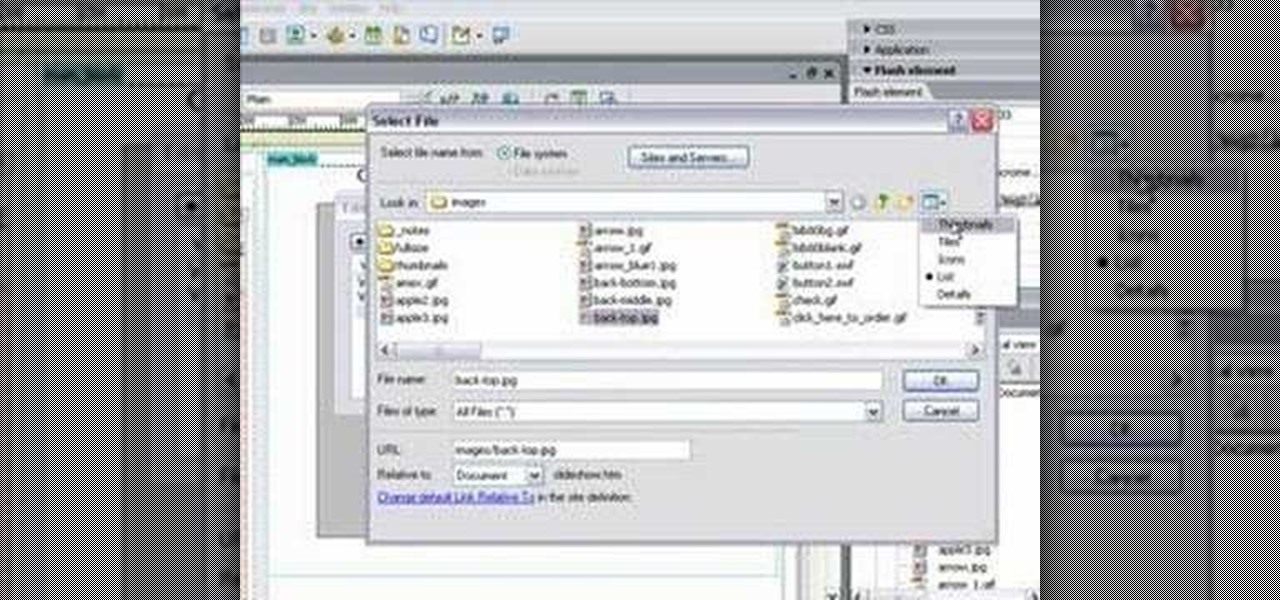
If you're Dreamweaver CS3 user who's looking to build a slide show, check out this video. You'll learn the ins and outs of creating a nice presentation, and, you'll see that Flash can create a slide show for you with lots of automation. Whether you're showing a sweet slide show of your cats, dogs, 1973 Camero re-build or whatever, this tutorial will get you up and running in no time. And the best part? You won't need to hunt for your slide projector, slide tray, slide screen AND, you won't ev...
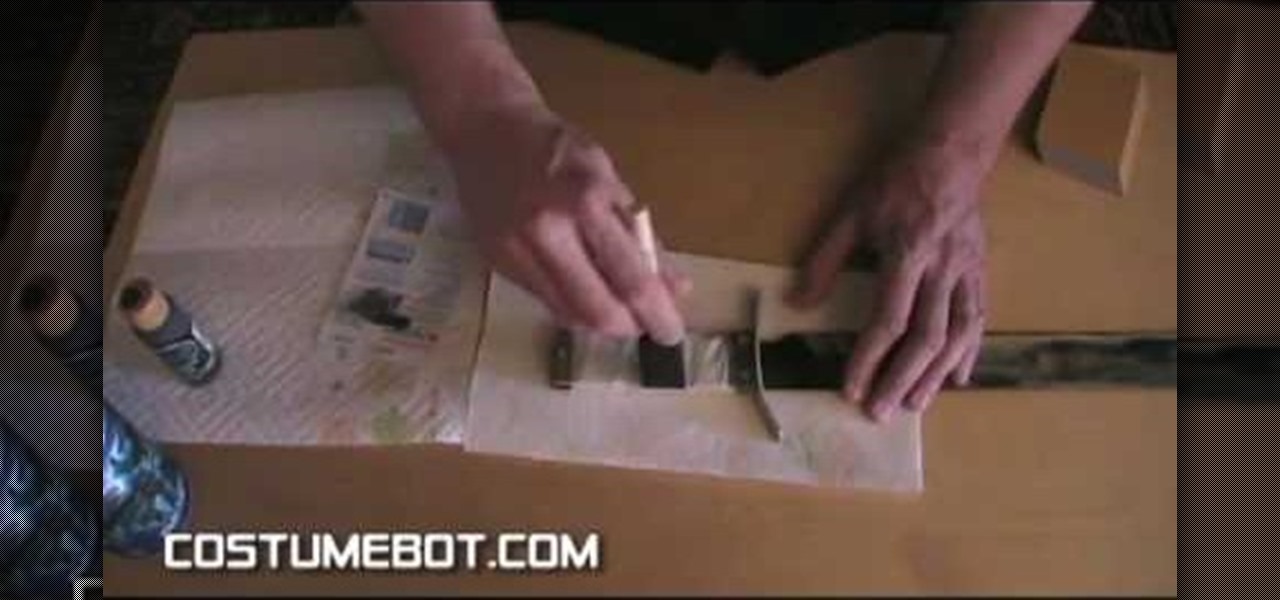
Freddy vs. Jason was one of the greatest film cash-ins of all time, but it was still cool to imagine these two greats of 1980's horror squaring off. This video will show you how to make a replica of Jason's machete from the film, using a real machete as a base. They aren't expensive, and if you're going to a Halloween party where real weapons are allowed this would be a great one to use.
With all the little gadgets people carry around these days, those little cigarette lighter outlets just don't cut it for in-car power sources anymore. Unfortunately, that's often the only option our cars and trucks come with.
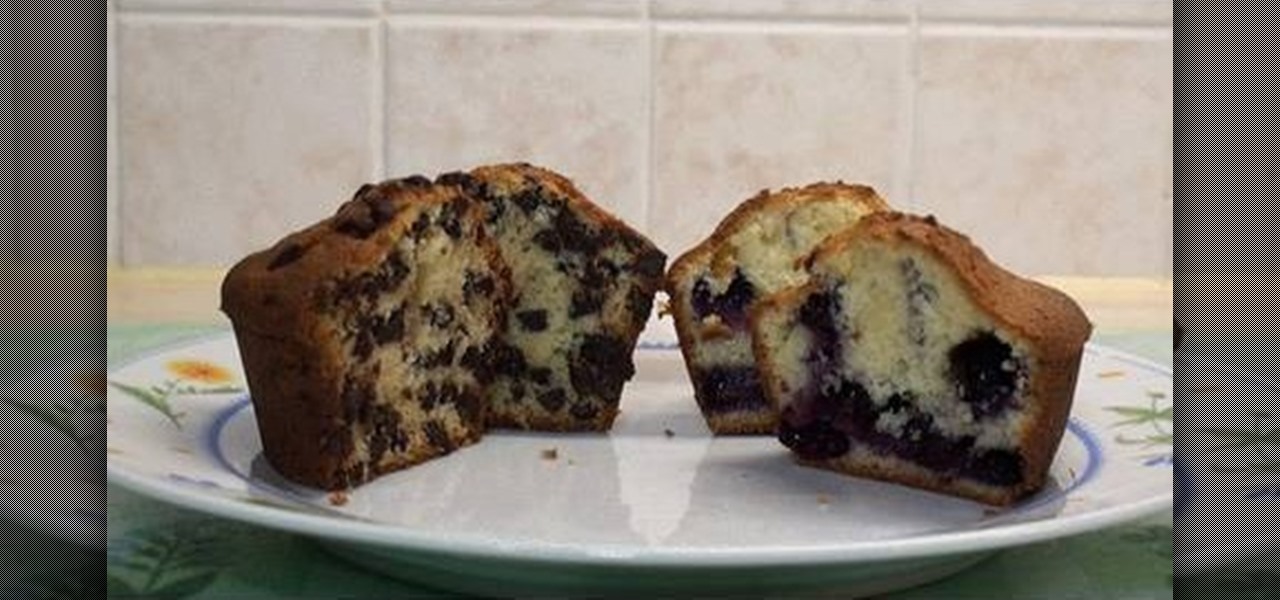
In this video, Titli shows us how to make a muffin mix to be used with all sorts of muffins. The ingredients are: 2 c flour, 1 c sugar, 1/2 c milk, 1/2 c butter, 2 eggs, 2 tsp baking powder, 1/2 tsp salt and 1 tsp vanilla essence. You can use whatever type of mix-in you want (chocolate chips, blueberries, etc). To make them you will first blend the butter, sugar, eggs and salt together until they are creamy. Then add in your sifted flour and baking powder then whisk until combined. Next, whis...
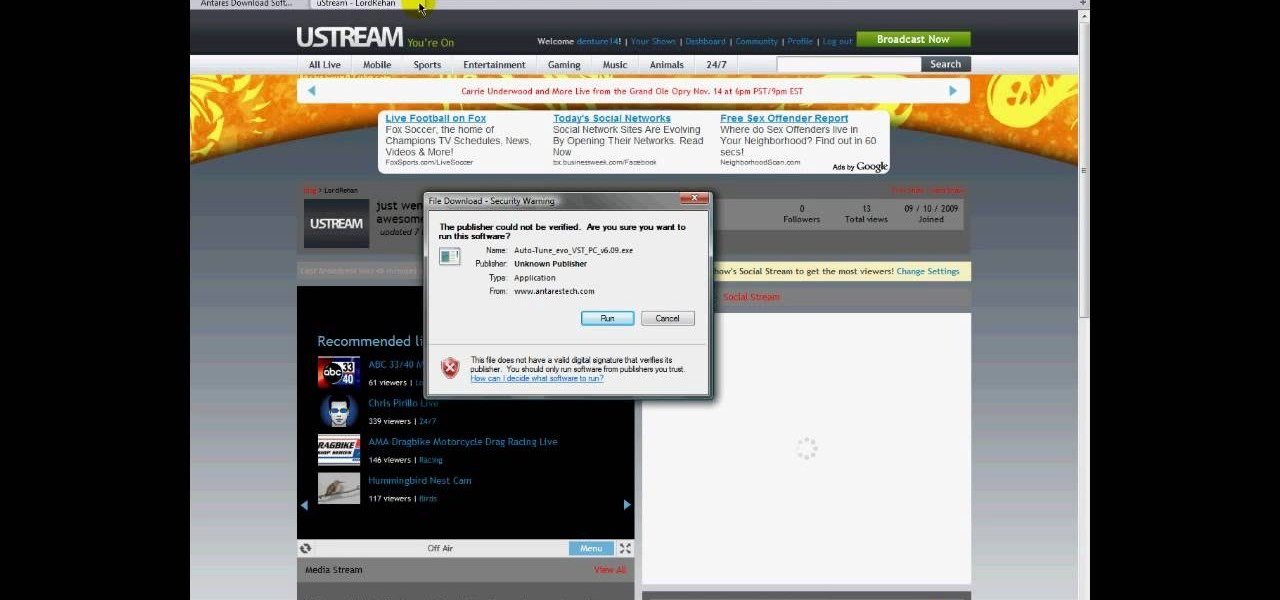
Audacity is a very effective program when it comes to audio and top of that it is free. Download Audacity from its home page, get the newest version because only that one will work with what we need to do. Install it when done with the downloading. Now the first step to installing auto-tune is getting the Audacity VST enabler, you need to need place this right or it will not work, it needs to go into the plug-ins folder in the Audacity installation folder. Now you need to get auto-tune evo fr...
This video shows the user how to give a woman a 'sexy vampire' look. The video shows this in distinct steps. Step 1: Apply a light but natural foundation to the face and neck, and to the shoulders if a strapless top will be worn. Step 2: Apply large false eyelashes. Step 3: Dark lip pencil with the line outside of the lip. Step 4: Add deep red lipstick. Step 5: Layer on dark, ‘almost black’ lip gloss. Step 6: Highlight cheek bones with blush applied with an angular brush. Step 7: Shape eyebro...
Need some help figuring out the ins and outs of LAN networks? They're easy enough to understand. And this brief video tutorial from the folks at Butterscotch will teach you everything you need to know. For more information, and to learn more about LAN networks yourself, watch this helpful video guide.
Making a tutu can be hard, but making a non-sew tutu is nothing but easy. Watch this video tutorial to learn the ins and outs of the non-sew tutu for young children. You can change it up all you want once you get the basics down, but for starting off, use the following supplies:
America's favorite barbecue food, hamburgers are an easy but satisfying meal. Learn the ins and outs of burger grilling.
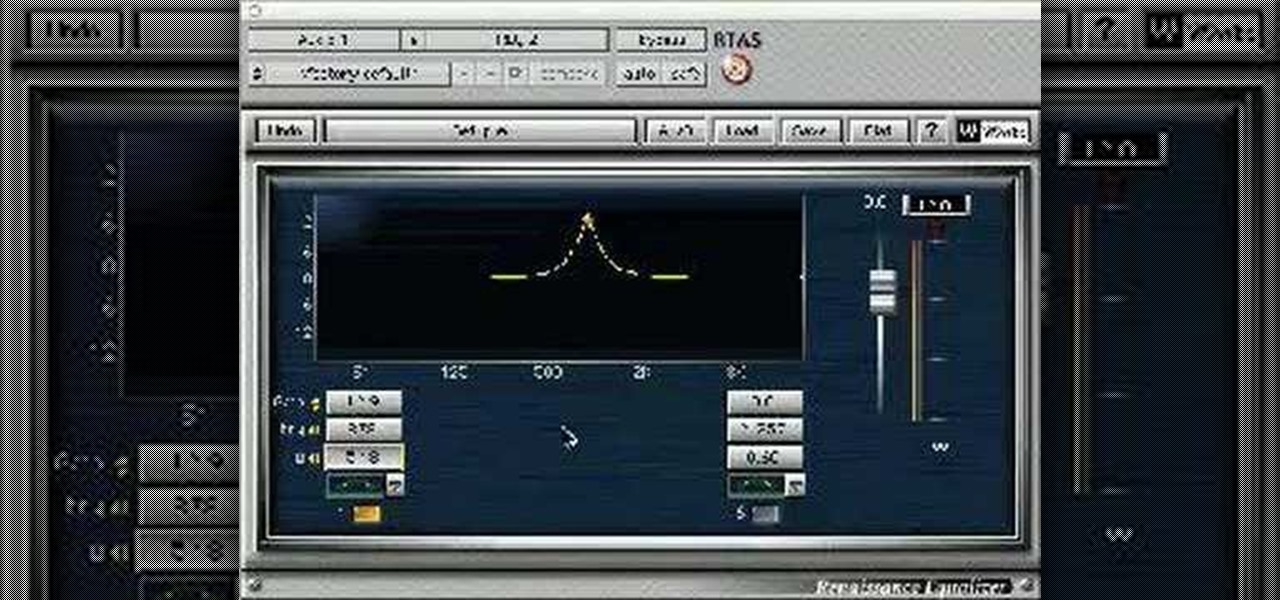
Balance the frequencies in your mix using the EQ plug-ins in Pro Tools and get your recordings sounding top notch.
Bob and Brett guide you through fade ins and fade outs in Pro Tools.
The in's and out's of buying a second hand mixer for your DJ setup. Learn what to look out for.
Looking for a fun project to do with your kids? Try making decorative paper at home with flower petals and bits of recyclable paper. Supplies needed to make paper are 2 identical wooden frames, the cheapest you can find, a piece of screening, duct tape
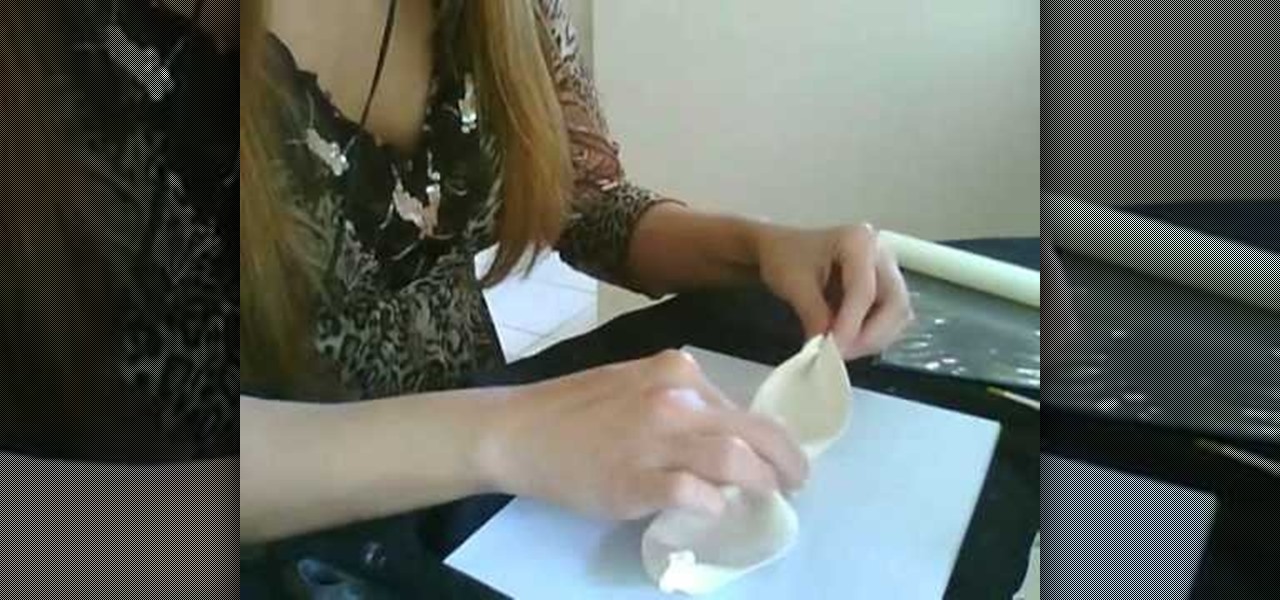
1. Use a piece of gum-paste, fondant, or candy clay about the size of a tennis ball 2. I first will roll about 1/2 of the dough through my pasta machine to a medium thickness (#4) or roll your fondant to approx 1/4 in. thickness 3. You could also use a pizza cutter or knife to cut the strips. Take two strips out to be the bow tails and then cut 2 strips in half to make thin little loops for fill-ins 4. Hang the loops over a dowel or large stick such as a broom handle (about 1in wide) 5. Wet t...
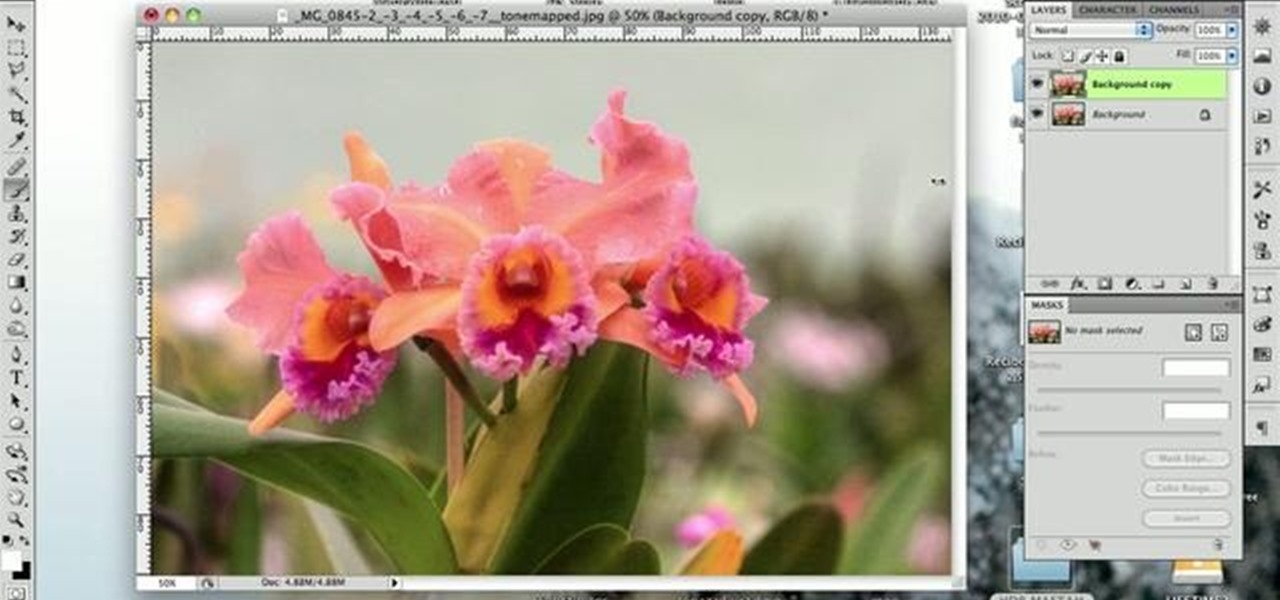
This photo editing software tutorial shows you how to change the depth of field of an image in Photoshop CS3. Learn two methods for creating depth of field effects with Photoshop. The first is very simple and more well known. For the second, Colin Smith experiments with the Lens Blur Filter. This technique will add believable depth of field to you images. Create dreamy backgrounds while keeping your main subject crisply in focus in Photoshop. Change depth of field in Photoshop CS3.
VFX artist Roger Bolton has worked on films including The Lord of the Rings, Charlie and The Chocolate Factory and Kingdom of Heaven. He has also created effects for his own use -- in this case, a wide variety of 2D and 3D VU meters, automatically animated by the audio in your project. He now offers these 8 plug-ins to artists using Final Cut Pro, After Effects and Motion -- with no watermarks, no time limits, no price tag. Please note: these plug-ins are MAC ONLY. Get 8 free VU meter plugins...
Photographer Chris Alvanas explains depth of field and demonstrates a technique for creating depth of field in Photoshop using the Lens Blur filter. Create depth of field in Photoshop.
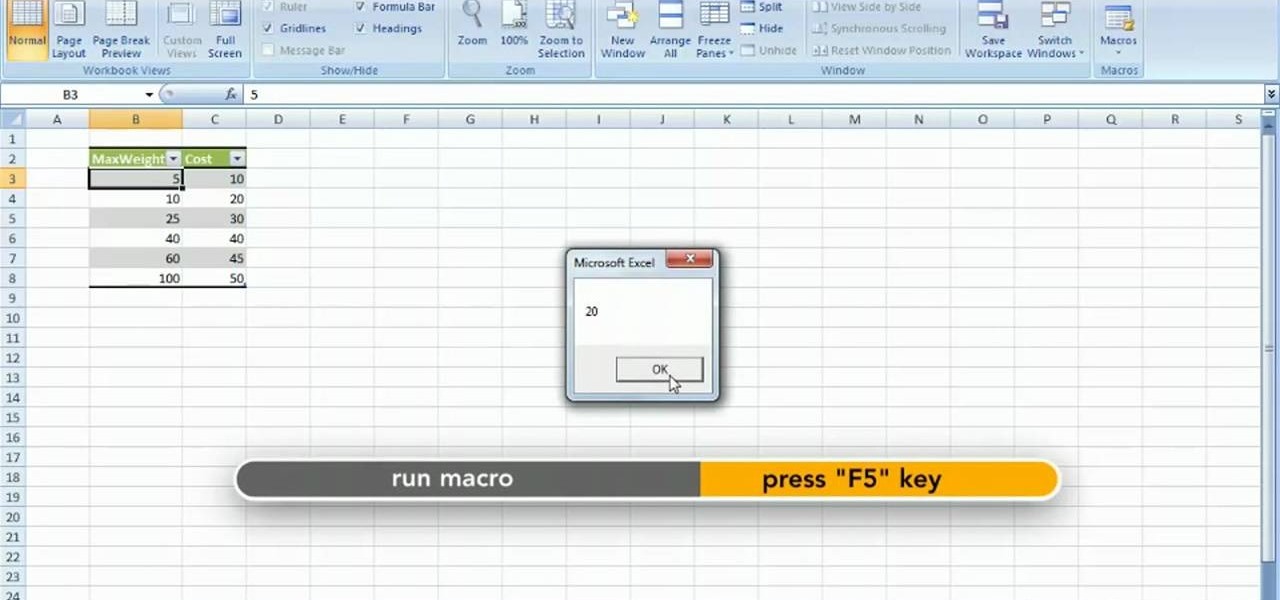
Repeating a task using a For...Next loop : Excel: VBA in Depth from lynda.com Watch the entire course at http://www.lynda.com/home/DisplayCourse.aspx?lpk2=62906&utm_source=youtube&utm_medium=viral&utm_content=youtube&utm_campaign=youtube
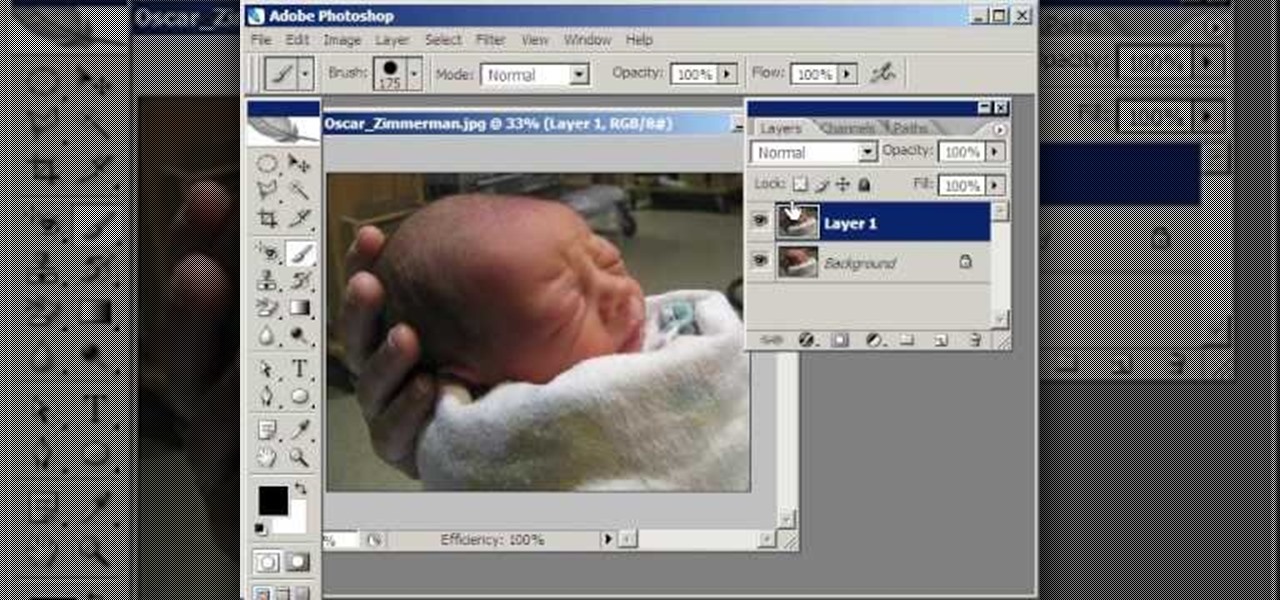
This video tutorial, by photoshopuniverse, shows you how to reduce the depth of field after a photo is taken using Photoshop. This enables you to ensure that your main subject is clearly in focus while the background is out of focus or blurry. First duplicate the layer using the short cut that was mentioned and apply the filter lens blur to the new layer and adjust the radius so that an adequate amount of blurring is achieved. Add a layer mask and bring the subject to focus by selecting the b...
This tutorial shows you how to add a depth of field effect to footage in Sony Vegas. This focus effect example is of a train.