
How To: Organize your plastic ware
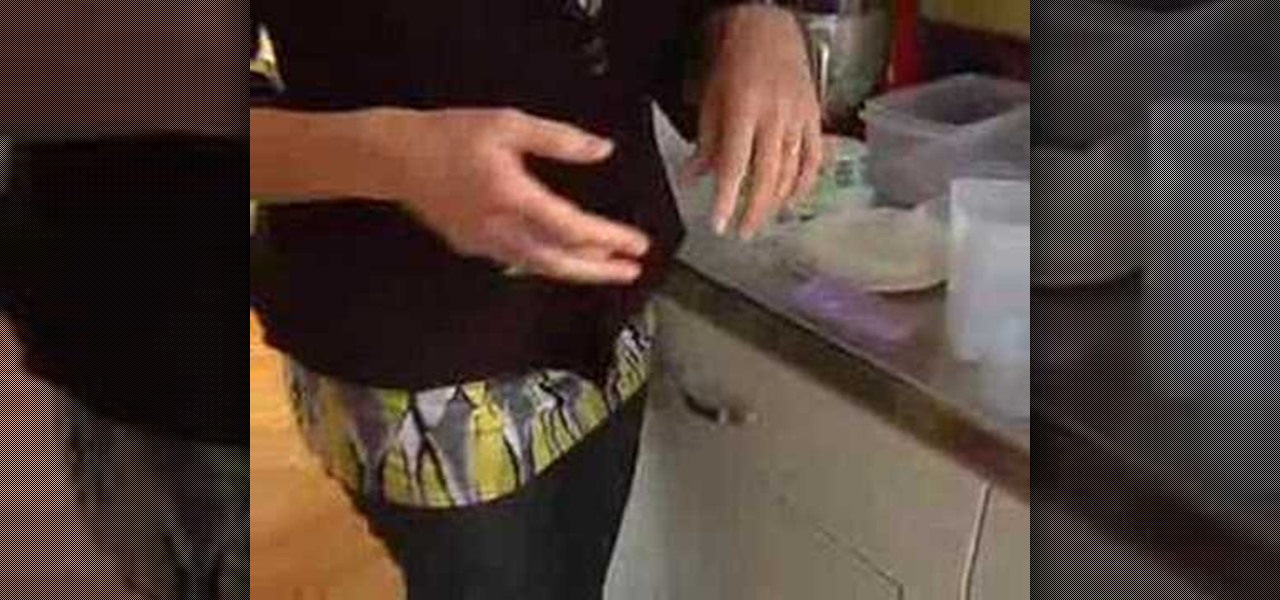
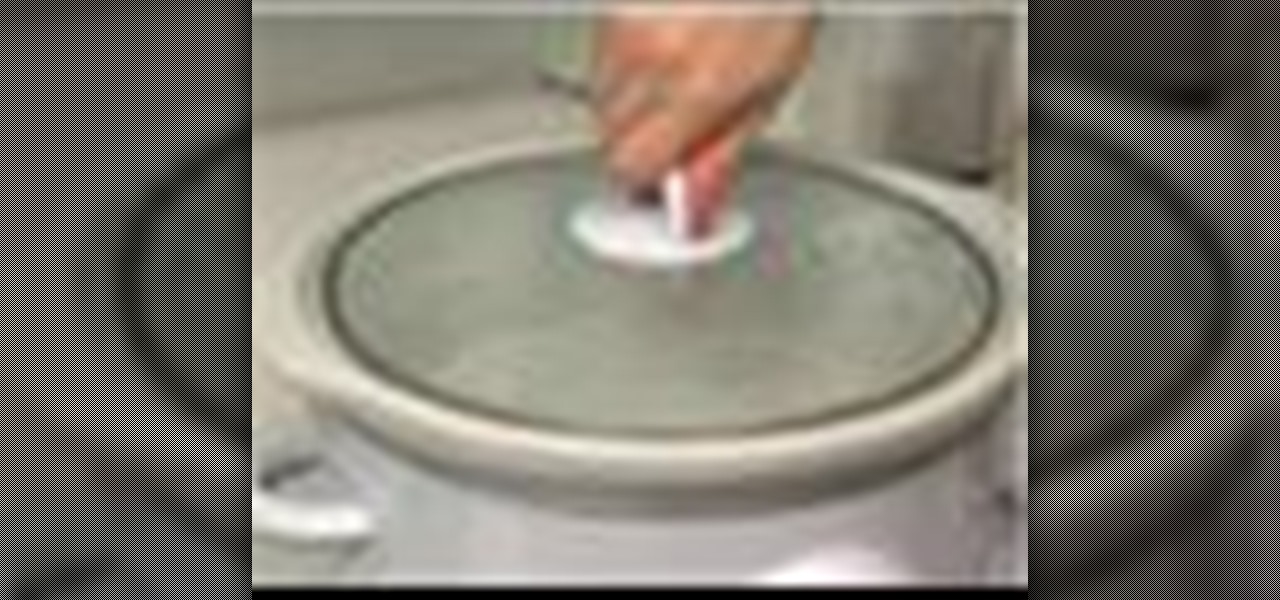
Trying to neatly store your plastic ware can be a chore. Watch this video tutorial for tips on how to get your plastic containers and lids organized.

Trying to neatly store your plastic ware can be a chore. Watch this video tutorial for tips on how to get your plastic containers and lids organized.

Jack takes you throught the steps of creating a plant light. Begin with a large sterolight container, all thread,bolts, nuts and washers, and a power strip with tie wraps to hold it togethers You'll use flourescent lights and two pieces of plywood. Two nuts are used to hold this together and its painted white. The plywood reinforces the lid because it isn't very sturdy. This allows the seeds to grow faster because they're in a controlled temperature. The sterolight is waterproof so you don't ...
Next time you make dinner in your crockpot, be sure to follow these crockpot safety tips. The temperature should be at least 140 degrees. Food needs to cook at this temperature or higher to prevent the growth of bacteria. Do not put frozen foods into a crockpot. All foods should be defrosted before cooking, so the temperature can reach 140 degrees as quickly as possible. Do not lift the lid to stir, especially if you are cooking on the lowest setting. Each time you lift the lid, heat escapes ...

The Cheshire Cat isn't like other famous cartoon cats: he's brilliantly purple and hot pink, ever smiling and entirely unnatural. However, he makes for a perfect Halloween costume, with his bright, neon appearance and mysterious nature.
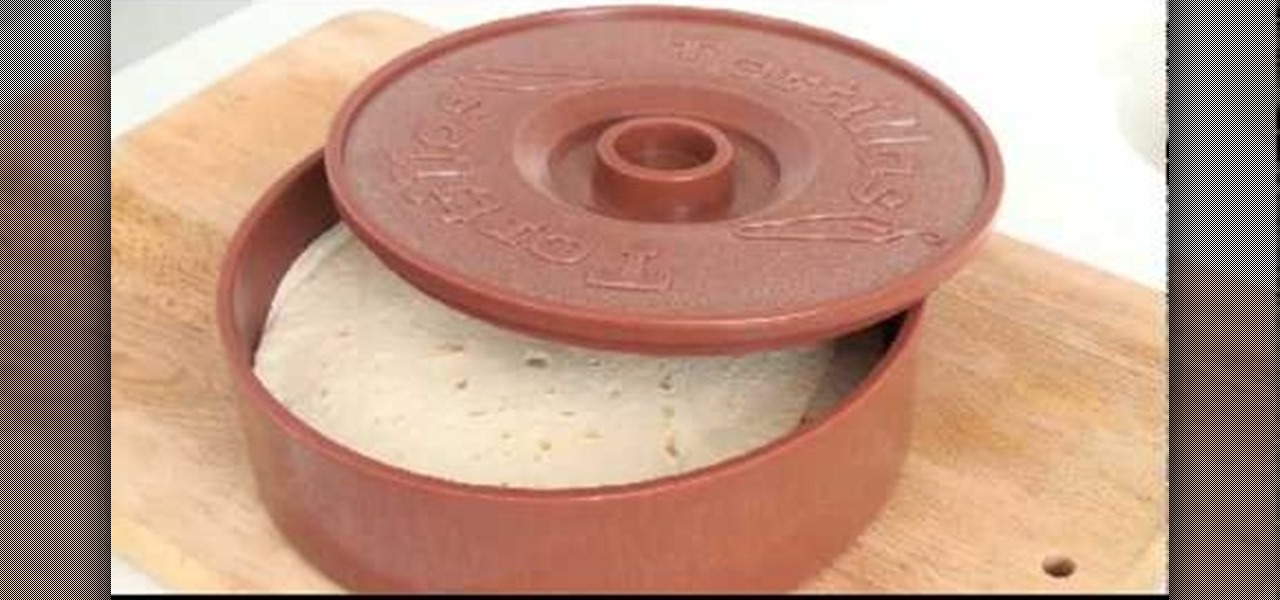
A tortilla warmer is a traditional way to keep your tortillas warm at the table. This tutorial shows you a quick and easy way to warm up your tortillas and the warmer in the microwave. Make sure not to microwave the lid!

Skunks aren't popular anywhere, and no one wants to risk getting sprayed by one. You can keep skunks at bay by using garbage cans with tight-fitting lids, setting up cage traps and installing floodlights and a sprinkler system in your garden.
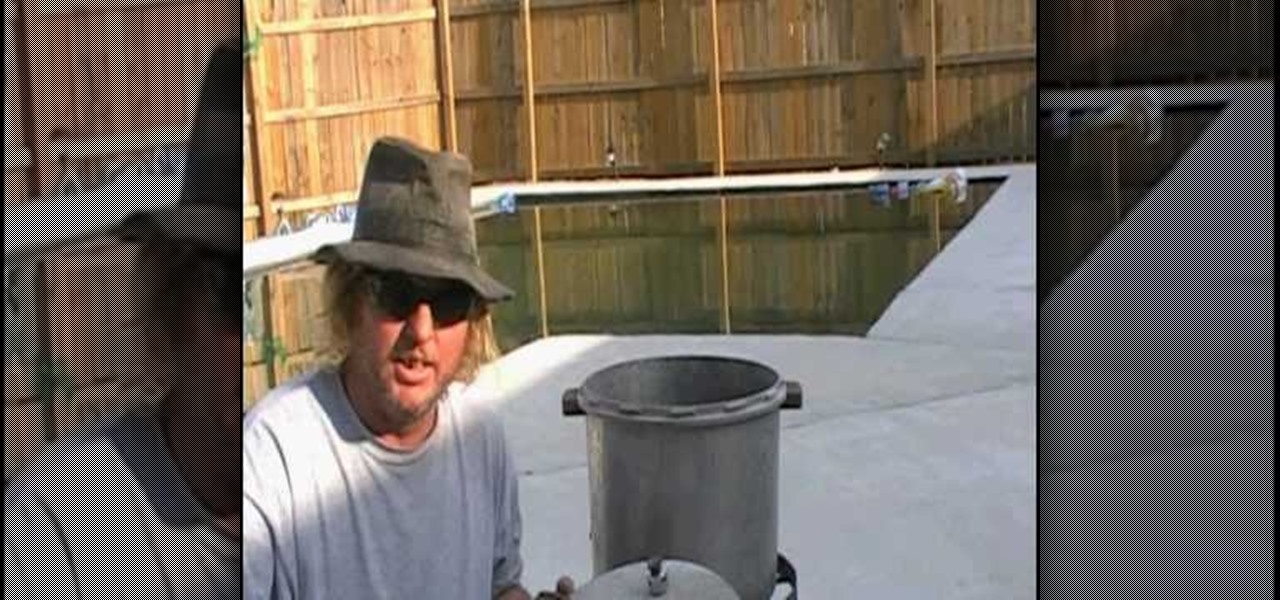
Pressure canners are perfect for processing low-acid foods using heat. These are usually metal like kettles that contain a lockable lid. In this tutorial, you'll find out how to buy a pressure canner and properly use it to preserve veggies and other foods. So good luck and enjoy!
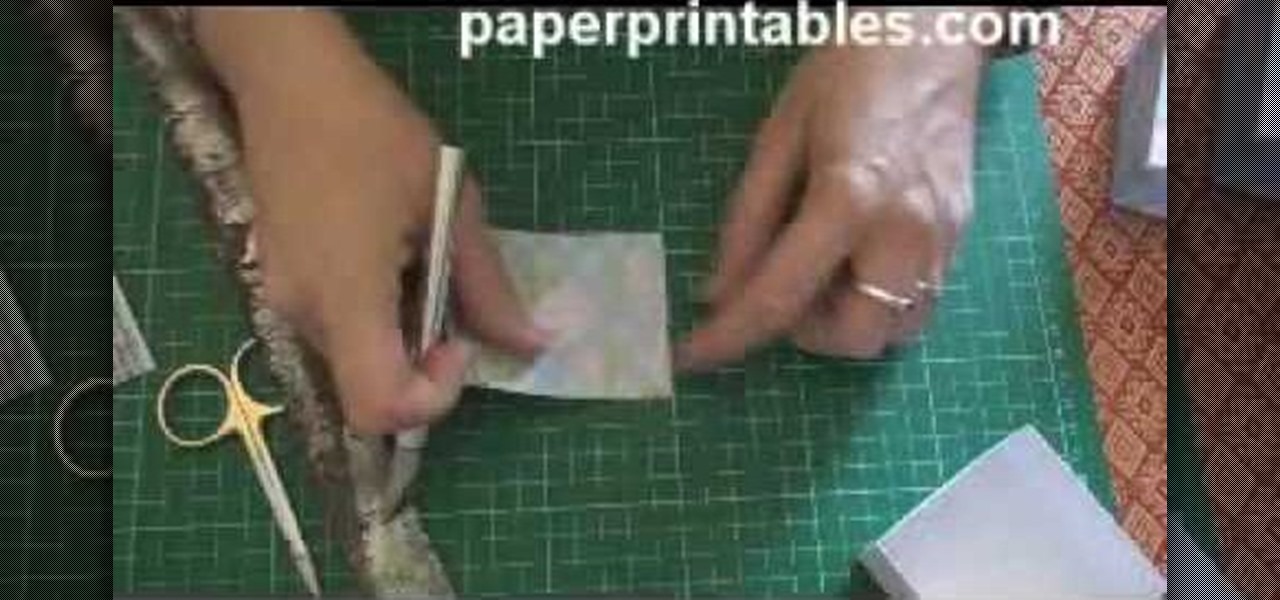
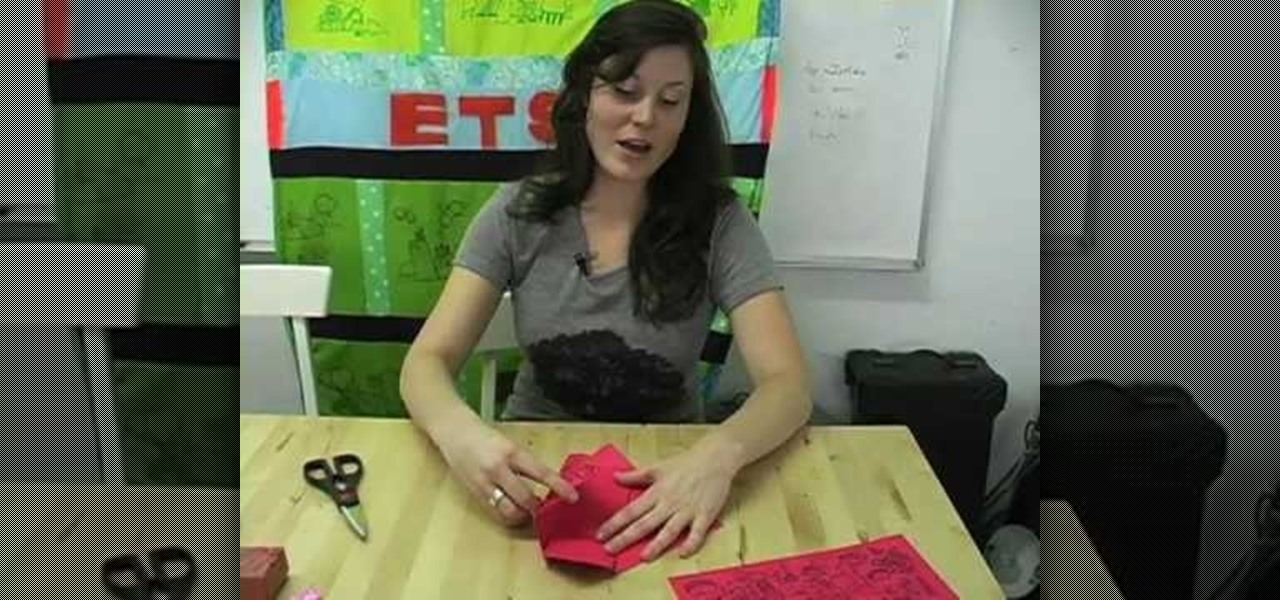
With this guide, you'll learn how to make a paper gift or party favor box using origami, the traditional art of Japanese paper folding. For more information, including a step-by-step overview of the folding process, as well as to get started making your own folded-paper gift boxes, watch this free origami lesson.
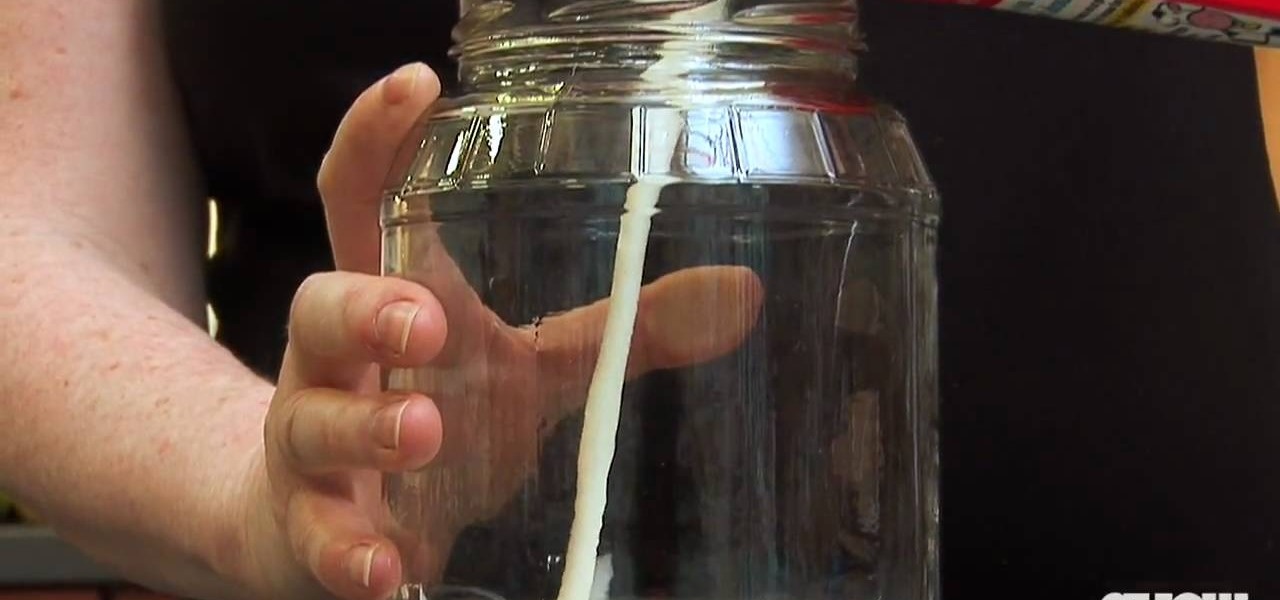
Karen Solomon teaches the secrets of making your own homemade butter in simple steps. First take a clean odor free jar and pour in one container of heavy whipping cream with room temperature. Now close the jar with its lid and start to shake the jar. Keep shaking the jar for about 20-30 minutes, then pour it out by filtering it. Transfer the filtered fresh butter to a plate to finish.

Princess Pink Cat demonstrates how to use Vaseline to apply pigments and hold them into place. Dip a finger into the jar, spread the tiniest amount possible across the lid. You can go all the way to the brow bone or just to the crease. Wipe the excess Vaseline off to avoid creasing. The remaining Vaseline will make your pigment colors pop by gripping the pigments to the skin.
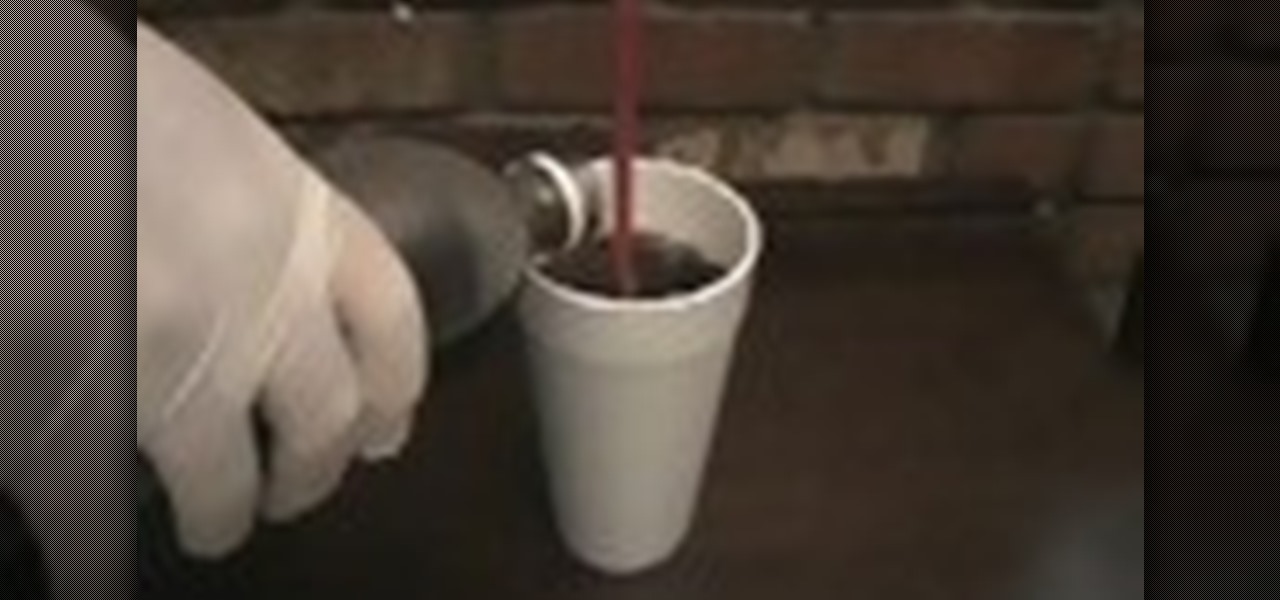
This could quite possibly be the easiest and funniest prank you could ever pull off on someone, all you need is a cup, straw, and lid. It is so unpredictable, No one will ever suspect a thing till they're completely wet. Find out how to execute this Funny prank by watching this video. Use this as inspiration for one of your April Fools Day pranks!

This instructional cooking video demonstrates how to make a non-traditional pizza. Grill it! Shape the pizza dough. Lay it on the grill and close the lid for a few minutes. Flip and repeat this process. Add toppings. Make a traditional pizza... or grill your own nutella dessert pizza.

Offer this quick and healthy snack when the kids come home from school. Prepare a frozen grape slushy with a bag of pre-frozen fruit. This is an easy treat that kids can make for themselves in a blender. Don't forget to close the lid!
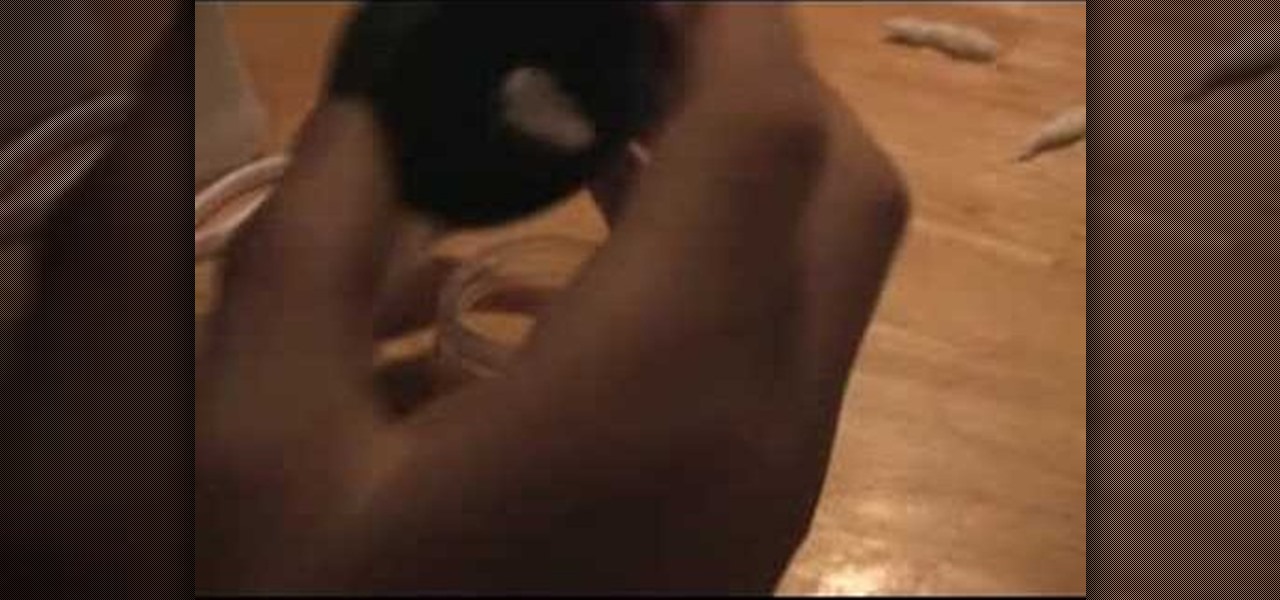
In this science tutorial video, learn how to make a simple lamp from household materials. This lamp is great for power outages and other stuff like camping. All you need is some type of alcohol (isopropyl, ethonal, or even vegetable oil), a pair of scissors, a jar with a lid, and a cotton ball. Make your own alcohol lamp with this instructional video.
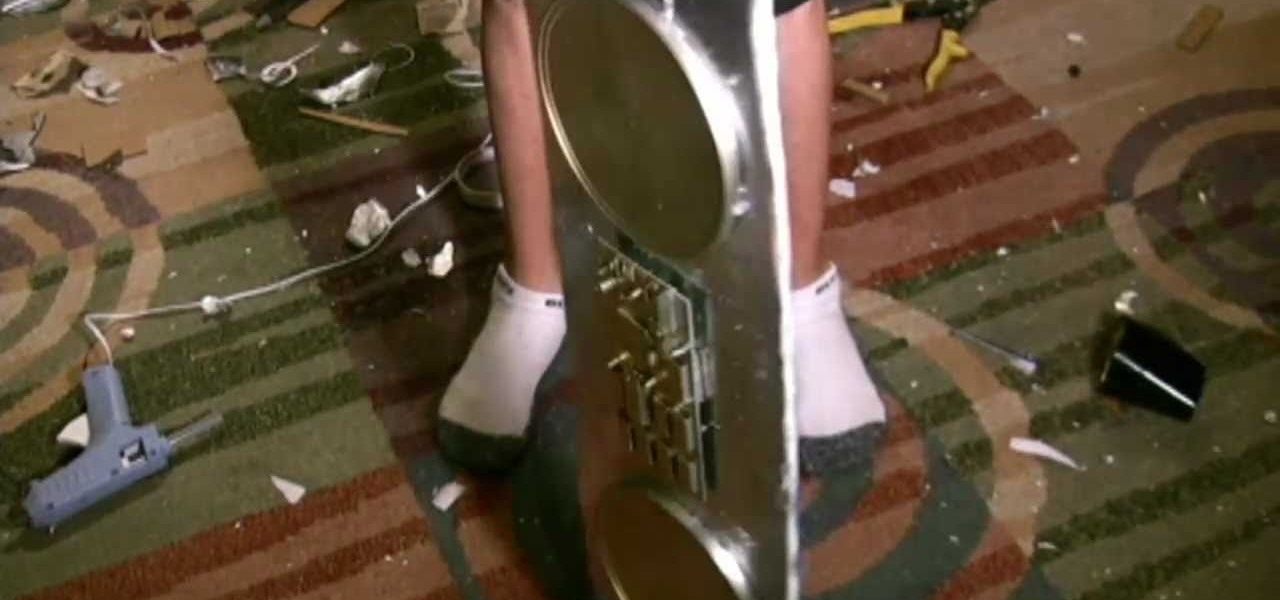
Ever since Back to the Future Part Two, every kid has wanted their own hover board. Parker put together this tutorial to show how to get one step closer to the dream, by building a prop hover board. You will need a plastic lid, spray paint, hot glue, a small circuit board, Mod Podge sealant, and an old skateboard. Watch this video prop-making tutorial and learn how to build hover board prop.
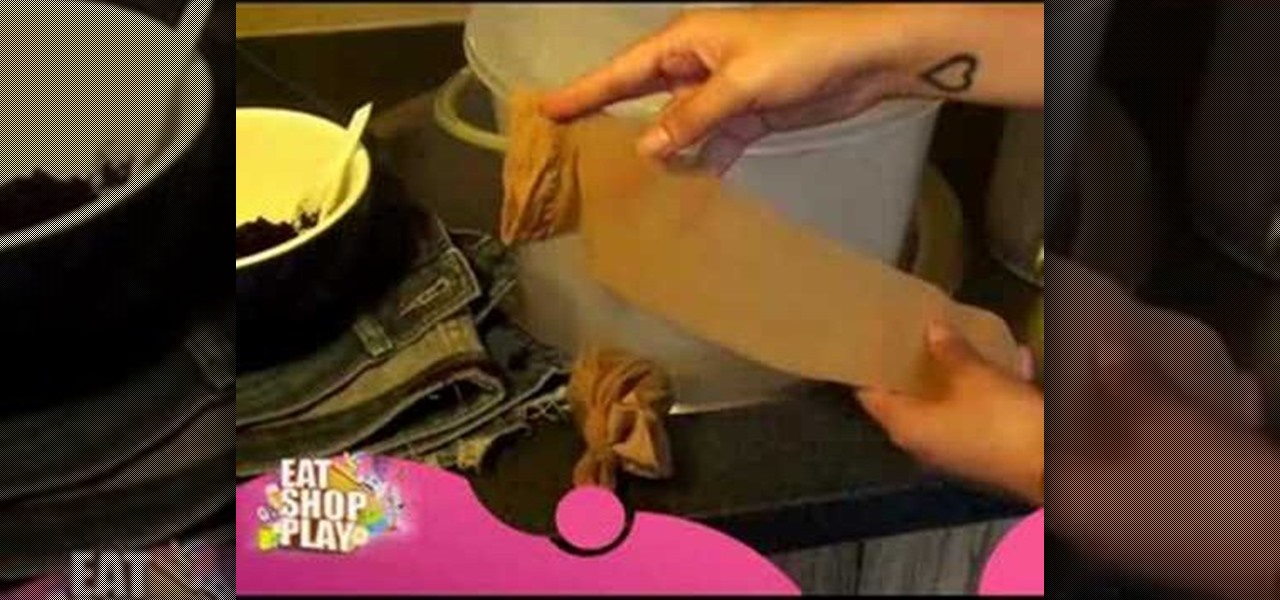
Watch this fashion tutorial video to learn how to create your own vintage jeans by adding a brownish-copperish fade. All you need is old jeans, coffee grounds (preferably espresso), stockings, a bucket with a lid, and hot or boiling water. Soon you'll be sporting your own homemade vintage jeans!
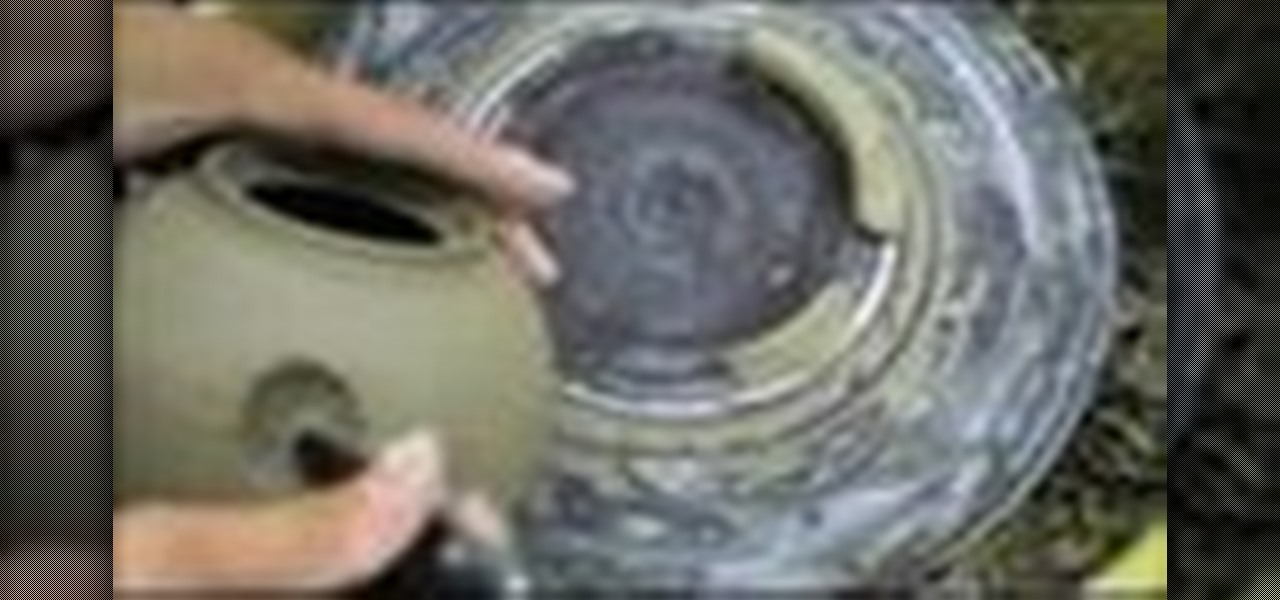
Watch this ceramics tutorial video to learn how to put together a teapot by trimming the lid, sticking the parts together, and pulling the handle. You'll be able to put together very professional-looking teapots in no time using the tips from this how-to video. This instructional video is not for beginners.

Does tapping on the lid of a soda can before you open it really stop it from fizzing? Try tapping a shaken soda can at home with your finger. Watch this how to video to see if this urban legend is true or not.

Mirig Golan demonstrates how to make a box in origami. To start, you take a piece of paper and fold it, so that it is in the shape of a triangle. When your box is in the shape of a hexagon, you fold the triangles in.

Look as classic as Vermeer's Girl with a Pearl Earring. The season's must-have runway combo of glowing gold lids and luminous coral lips conjured up the painters of the Dutch Golden Age. Here, catch up with makeup artist Sylvia Del Orto for the skinny on how to score this neoclassic look.
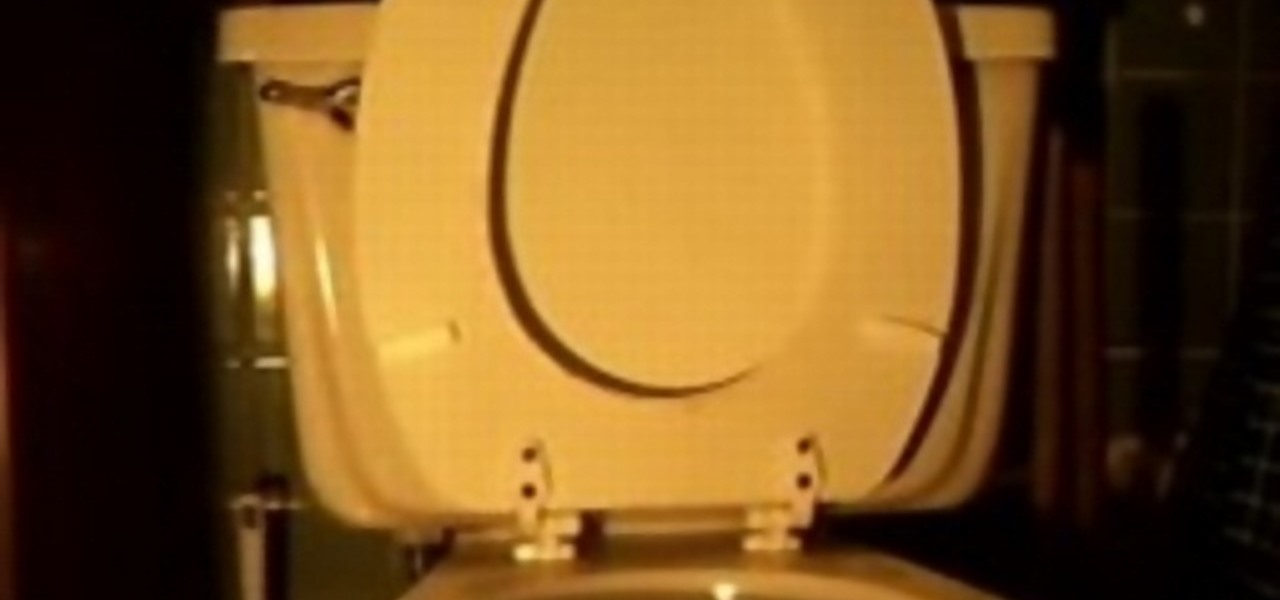
Prank a bathroom by rigging the toilet with a powerful stink bomb that'll go off when someone closes the lid. Use this as inspiration for one of your April Fools Day pranks!
This video shows you how to make a paper box (with a lid) in a few simple steps. Use this to package presents during birthdays and holidays, spruce up the paperclip and rubber band collections littering your desk, or put under wraps all those little chotchkes you've been hoarding.

Inspired by the glittery, flickering lights she saw as she drove through the city at night, Michelle Phan came up with a luminous and sexy makeup look, which she presents here in this tutorial.
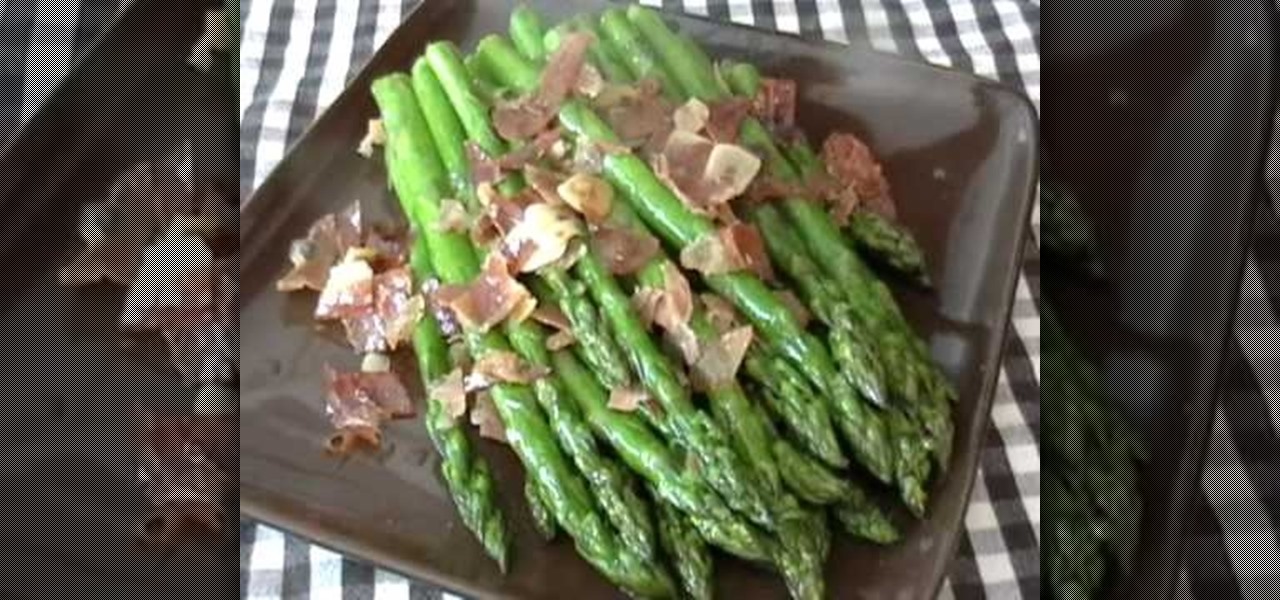
This video describes how to make an asparagus dish. First, a frying pan is put on the stove over medium high heat. Secondly, olive oil is added to the pan. Next, pieces of prosciutto ham; the speaker suggests that other types of ham will do just fine in this dish. After a couple minutes of cooking, the asparagus is added to the pan and rolled around to coat in oil. The asparagus is cooked for awhile before water is added and the dish is covered for one minute to steam. Afterwards, the lid is ...
Every fire needs three things to burn: heat, oxygen, and fuel. As long as those three things are met, the fire will persist. If you are cooking with grease and a fire starts, you must react fast. Grab an oven mitt, find the lid that fits the pan, and smother the fire. Slide the cover over the pan to cut off the oxygen, and turn off the burner.
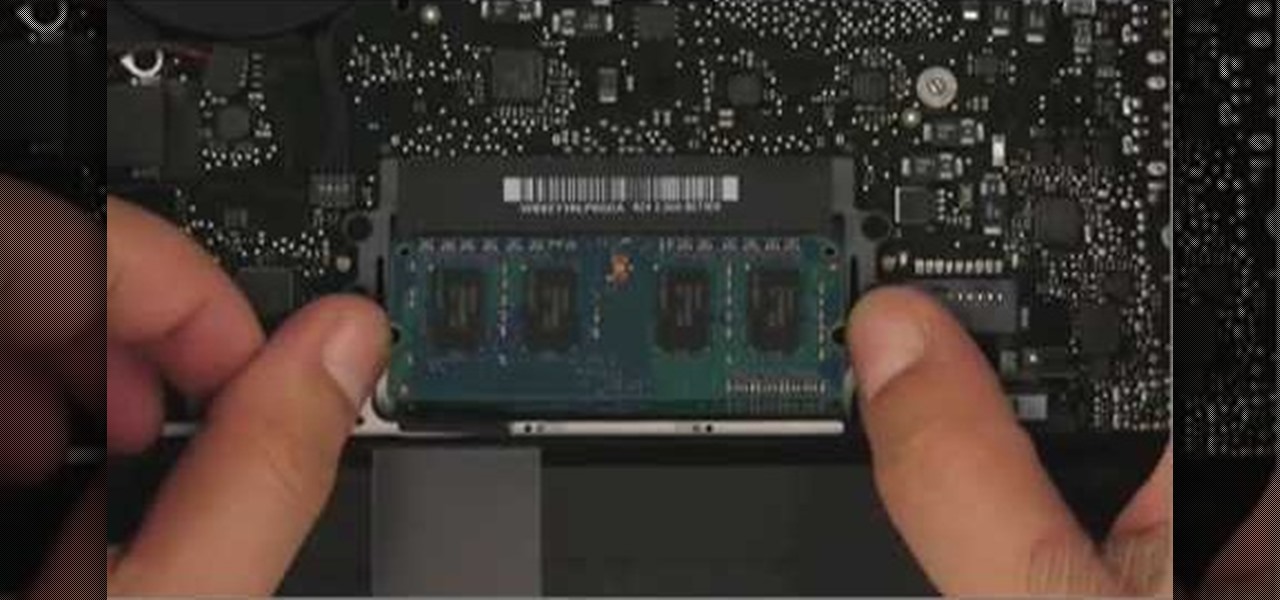
This video demonstrates the installation of memory in a 13” Macbook Pro (mid 2009 model). It’s easy to perform and takes about 10min time. You’ll require a #00 Philips screwdriver (available in the Newer Technology 11- piece tool kit). Take care to work in an anti-static work space. Close the Macbook Pro and flip it over with the hinge side up. You can note 10 screws along the border. Start unscrewing the 3 screws on the right on the top edge, these are longer than the rest. Now unscrew the r...
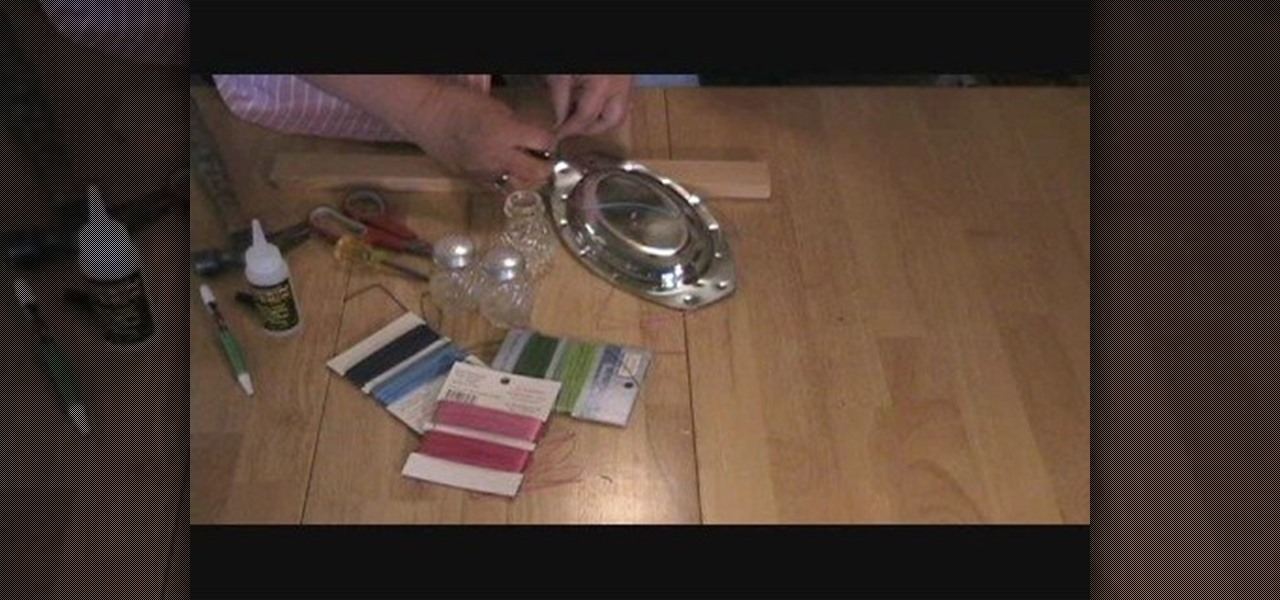
Here is a very crafty and cute way to create a wind chime out of old salt and pepper shakers that can be found either around your house or bought at second hand stores and a small tin tray or plate to hang your shakers from. A bit of out door or water-proof glue and some colorful string or twine, scissors and a nail or awl will finish out all the supplies you need.
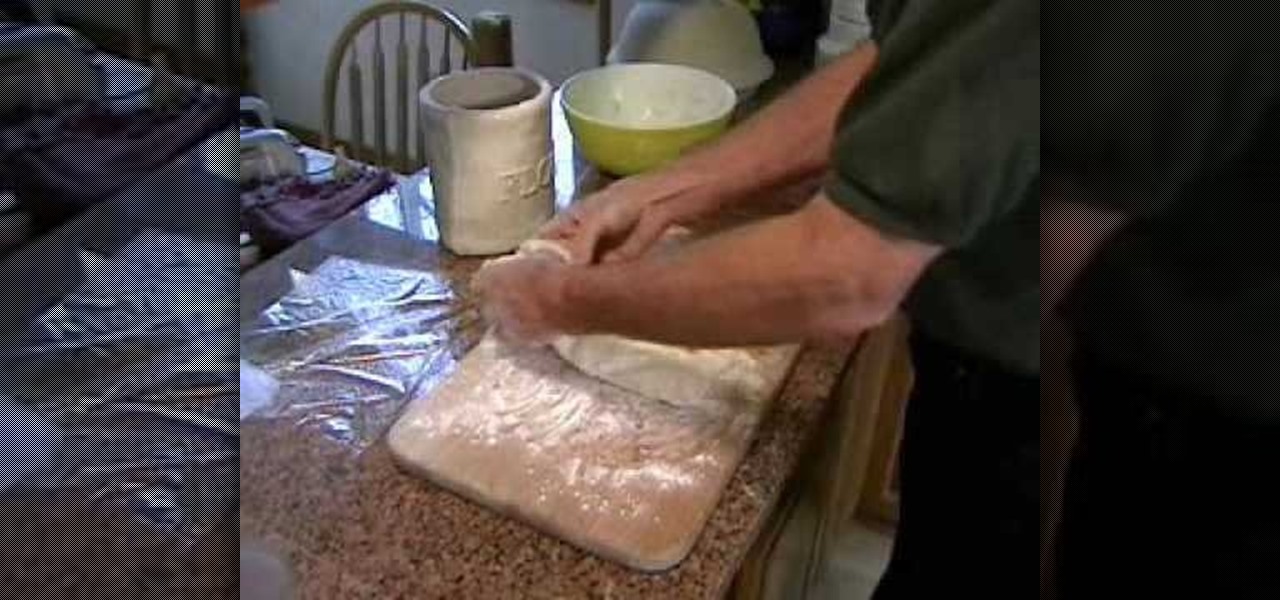
Watch this video to learn how to make no-knead bread. In a large mixing bowl, dissolve yeast into water. Stir in flour and salt (dough will be sticky). Cover with plastic wrap and let sit in warm place for a minimum of 8 hours at room temperature (approximately 70 degrees). Ten to twelve hours may be necessary, so letting it sit over night is a good idea, provided there aren't any dogs that will jump on the counter! The dough will be ready when the surface is covered with bubbles. Lightly flo...

This video shows you how to make monolid eyes look more open and rounded. First, prime your eye. Take a dark green shimmery color and brush that in from your lash line to your eyelid crease. Take a peach shadow and work that in from your crease to below your brow bone. Blend in more green. Blend again. Add vanilla colored shadow on your brow bone to highlight. Now take a lighter shade of green and dab it in the center of the upper lid and highlight with a vanilla color. Line your eyes softly ...

This video shows how to use Urban Decay eyeshadow palettes. You will learn how to use purple and blue together. Start by using a gel turquoise eyeliner as a base. Using a brush, apply evenly over the eyelid. From the Urban Decay Book of Shadows, apply the color Shattered over the eyelid. Now using the color Ransom, use a Mac #217 to the crease of the eyelid. To blend those two colors use a color called Fishnet, which is a hot pink. Use a highlight color from Mineral Magic to apply to the brow...

This step-by-step guide will show you how to make moonshine. To make moonshine you will need the following: A pot with a lid, beer, a big bucket, ice, a jug, and a lot of copper tubing. Put the pot on the stove and fill it with beer. Place the lid on the pot and attach the copper tubing to the lid. The tubing needs to go up about 1 foot and bend at 90 degrees. Bend some of the copper tubing into a spiral. Place it into the bucket with one end coming in, and another going through a hole at the...

Crusty, itchy, red eyes? There is a decent chance you could have conjunctivitis, or pink eye, an infection of the thin lining around the eye and the eyelid, caused by bacteria, an allergen, virus, or even your contact lenses. Whatever the cause — you call up your doctor to get a prescription to clear it up, right? Not really.

Ant-Man isn't one of the most famous Marvel superheroes. In fact, with the news of his individual movie came great doubt that the comic book legends could succeed in telling the tiny story of an oddball hero on the big screen. Yet with its humor and unique story, Ant-Man has become a hit movie in its own right—and the hero will most certainly make a hit Halloween costume.
This video demonstrates how to create a fancy elf look using simple makeup techniques. This look is complimented by a pair of elf ears that can be purchased on the web. To get this look you should colors that are inspired by nature such as deep purples and greens. To create the design, use paper coasters that will provide the stencil for your look. First, lightly apply moss green eyeshadow pencil as a base on the cheek bone, on the temple, and above the eyebrow. Use your finger to blend the p...

This is a cute look. Miley Cyrus is very popular and everyone loves her. This is a great look for going out and partying! Who wouldn't want to look like a famous person? Follow these steps and enjoy the look.
1. Remove the old makeup and sealer. If you are working on a vinyl or resin doll, you can remove the makeup with a non-acetone nail polish remover. Afterward, wash the face well with soap and water. Work at any stubborn stains with a Mr. Clean Magic Eraser. 2. Sand the head, if necessary. Sometimes dolls will come with set-in stains that no stain remover can touch, or with scratches and gouges in the face. If your doll head is made of resin, in particular, do all your sanding underwater to pr...
Here's a great recipe showing you how to make traditional, restaurant style rice. Grab a sombrero and Ole because this rice is awesome!

Whether you've watched Game of Thrones or read the A Song of Ice and Fire series by George R. R. Martin, you probably know the White Walkers (aka the Others) all too well. They're creepy, otherworldly humanoids shrouded in icy white skin and ice-blue eyes. They are not to be confused with the wights, the reanimated corpses that the White Walkers control.
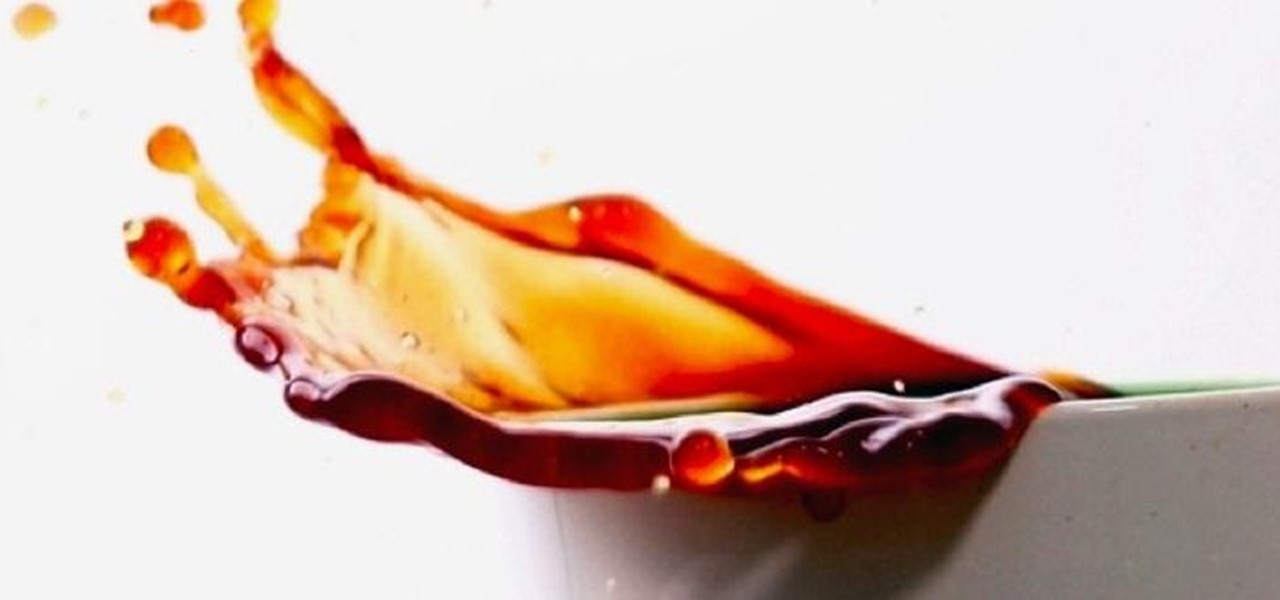
For the vast majority of people, coffee is a must-have in the morning. It provides a stimulating effect that not only wakes you up, but sets your mood and attitude for the rest of the day. Personally, I wouldn't get anything done without coffee.
There is something special about a secret knock. It gets you into secret super villain meetings and is a surefire way to test for rotating bookcase passages. Secret knocks usually work with an intimidating drug lord and for policeman listening at the door for the correct pattern of raps.