
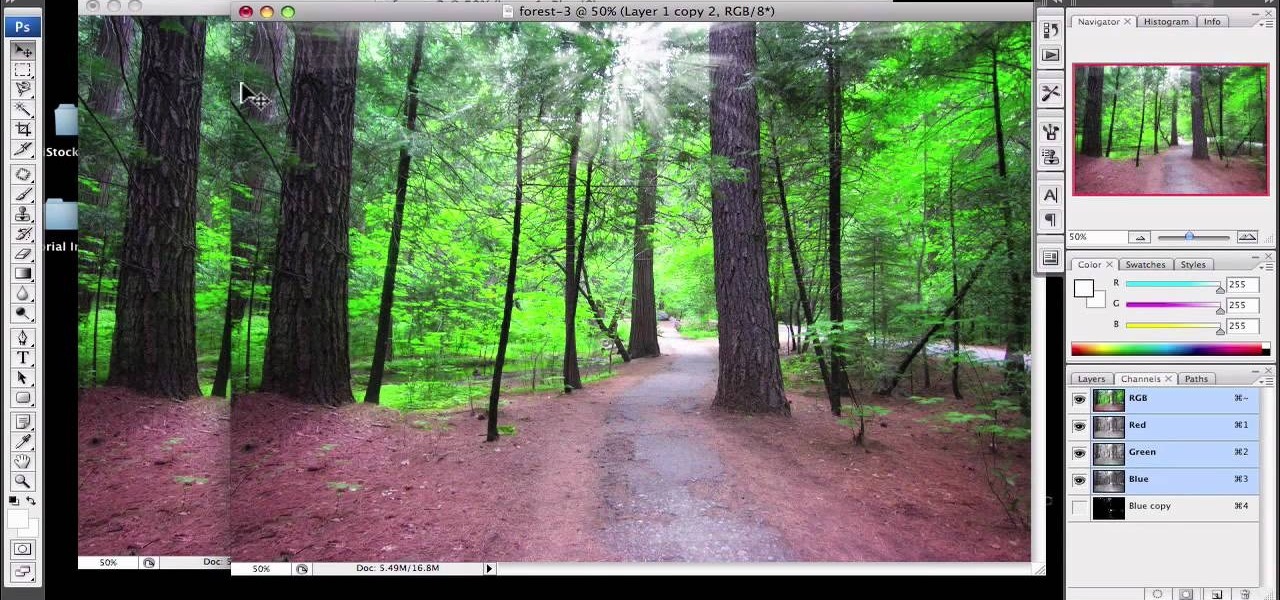
How To: Enhance sunshine in a landscape in Photoshop
1)Open image, go to channel. Look for the channel that gives the most contrast by going through them one by one.

1)Open image, go to channel. Look for the channel that gives the most contrast by going through them one by one.
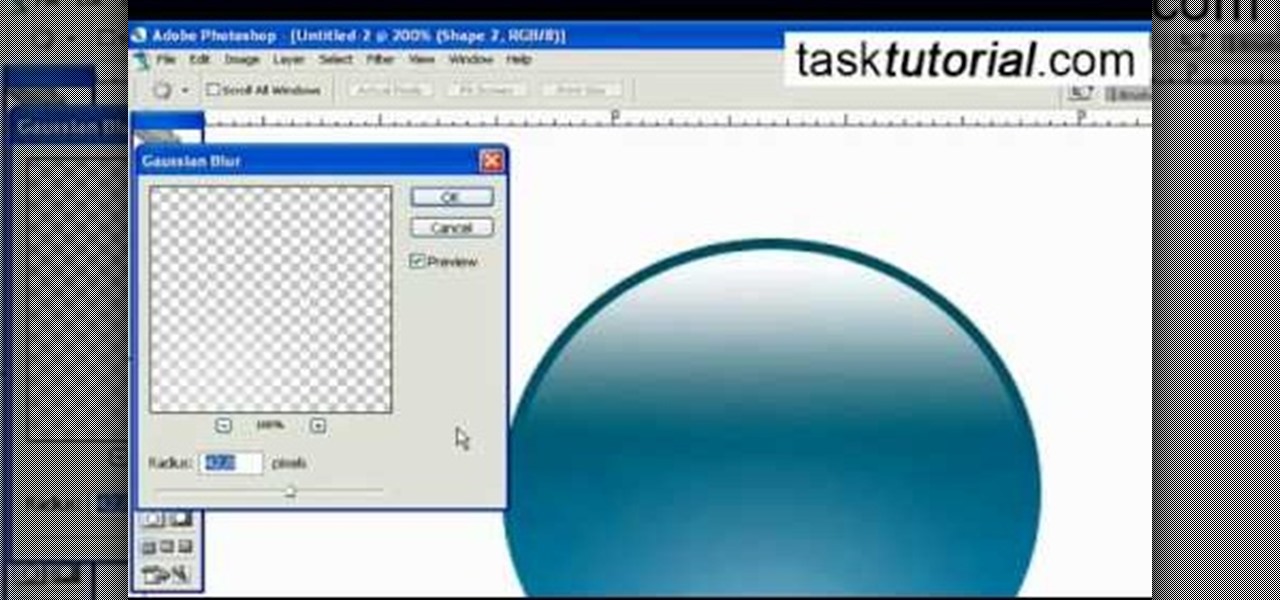
This video describes how to create an easy glossy button in Photoshop. This is done by "simpleretouch.com" website. First select the "Ellipse Tool" from the Photoshop tool bar and then drag it on the layer; it will give the ellipse shape in the layer. Select the "Blending options" from the "Layers" Menu by double click on the layer which is right below corner. From the blending options choose only the "Gradient Overlay" and in that we can choose color and its gradient as your wish. Now take a...
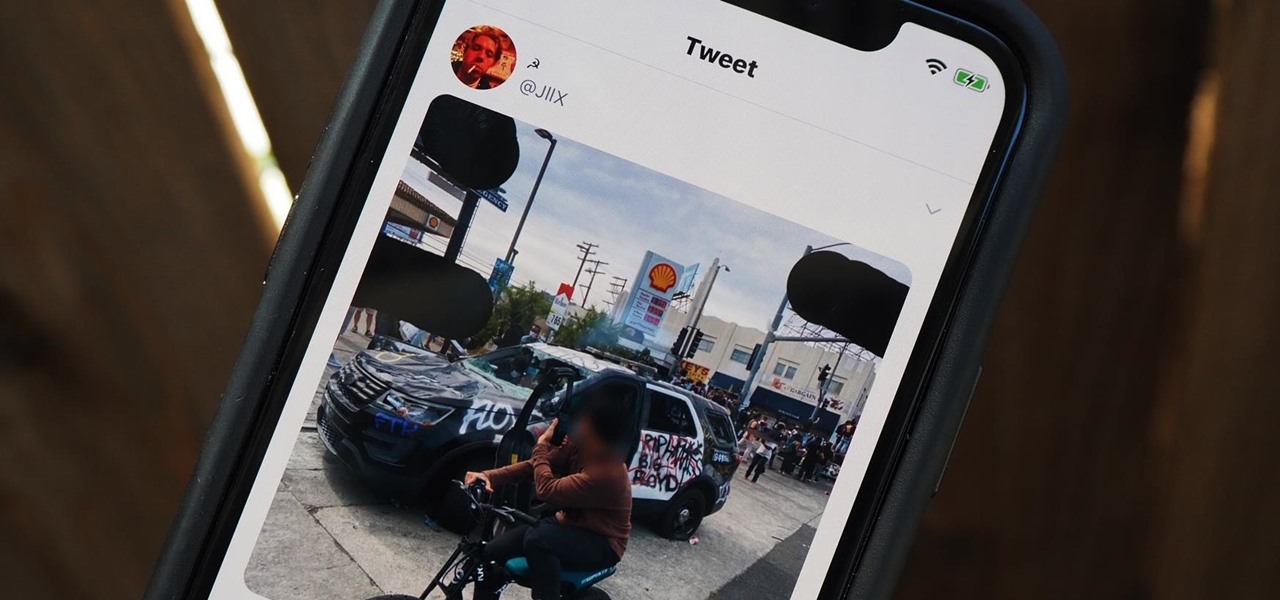
As protests surge in the wake of George Floyd's murder by a Minneapolis police officer, powerful photographs and videos from the demonstrations have gripped the world, putting our nation's very real and very justifiable widespread civil unrest out into the digital world. Unfortunately, these pictures could put you or others in danger if precautions aren't taken before uploading them online.
There's a lot you can access from the Notification tray on your Galaxy S4. Quick settings toggles, brightness controls, and of course, notifications. However, despite the power this simple pull-down gives you, you're still left with a boring, black background for the shade.
Google's new camera, aptly named Google Camera, has been all the rage since it was released onto Google Play last Friday. The main reason is the amazing Lens Blur feature that adds depth-of-field Lytro effects to photos, without the use of any expensive accessories or extra hardware, like on the new HTC One M8. The camera does this by utilizing a depth map through the processing of multiple images. Frame your photo, move the camera (phone) in an upward tilt or motion, and the software capture...

This step-by-step tutorial will teach you the correct way make a Light-Saber effect using Paint.net.In this video, you will learn how to gather the Light-Saber image, paste the image into Paint.net, choose the preferred color for the Light-Saber, and other special effects such as: sizing your Light-Saber, 'blurring' your Light-Saber, and learning the correct way to save your project.Your first step is to right click on the Light-Saber image and click 'Copy'. Next, you open Paint.net. Then you...
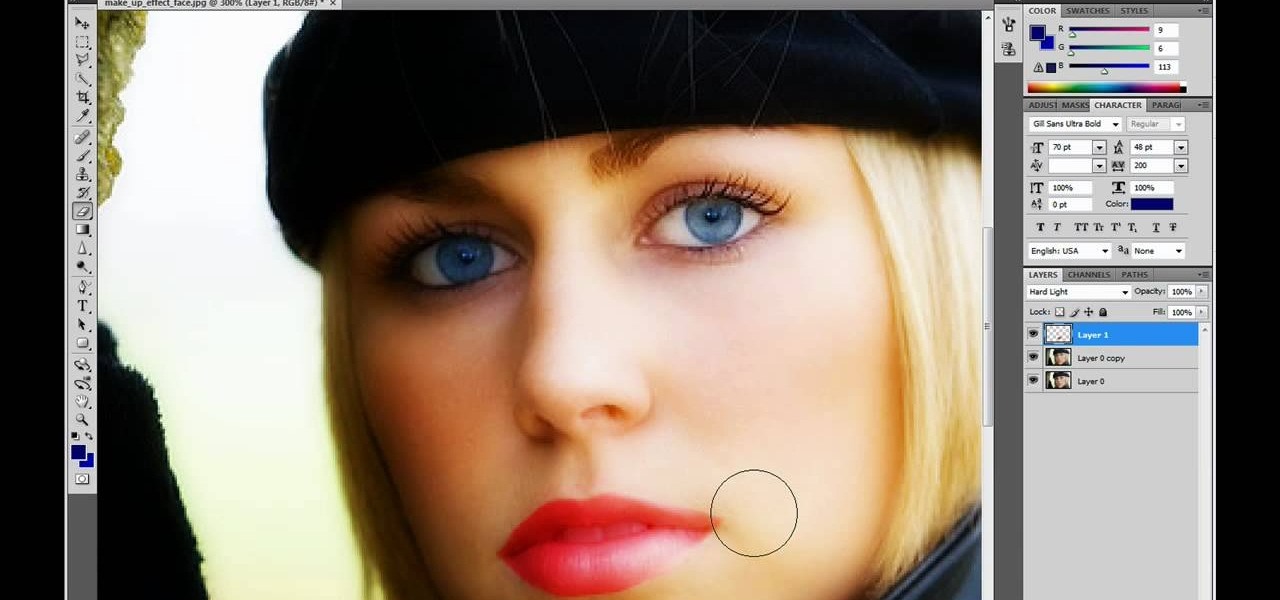
This video is describing how to retouch a photograph by using Photoshop CS4. The first step is to get a photo that you would like to edit, preferably of a person's face. Then make a new layer that duplicates the background, go to Gaussian blur, then go to hard light for your layer blending. Then draw lipstick on the model by using the polygon lasso tool and the hue/saturation tool. Then chase the hue and saturation to the correct color, then erase the edges that you accidently missed with you...
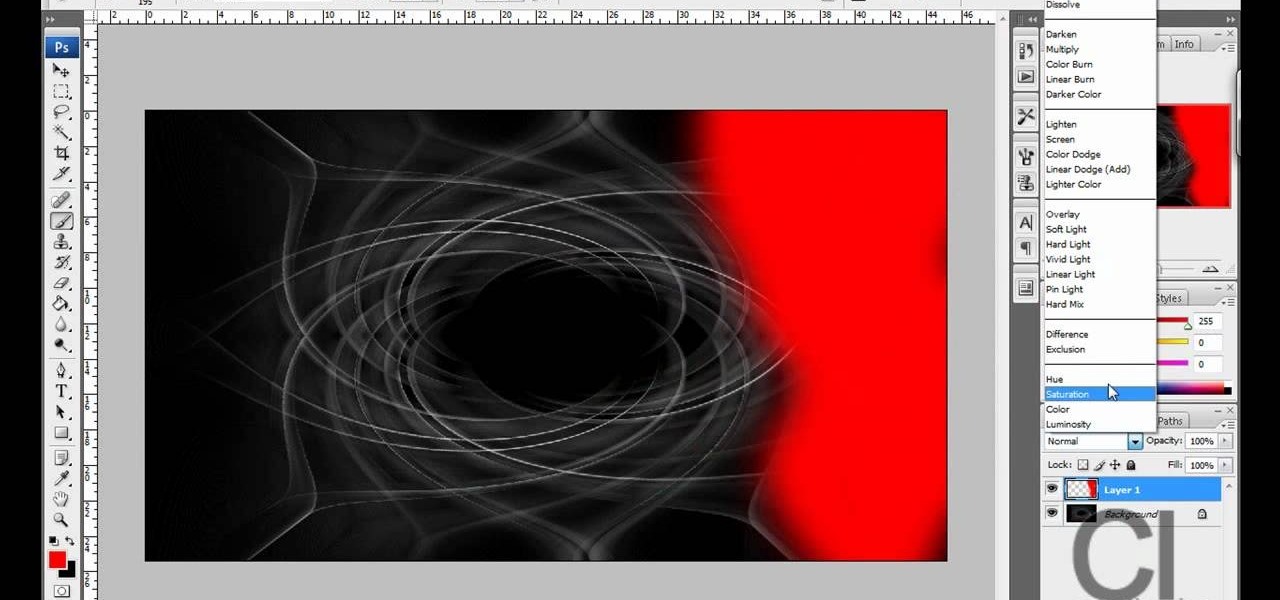
CreativeIceDesigns teaches you how to make a colorful abstract background using Adobe Photoshop. Go to File - New and make it 1280 x 720 pixels. Make the background black. Use the Lasso tool to make a star shape and fill it with white. Go to Filter - Blur - Radial Blur, amount 100%, zoom best. Go to Filter - Radial Blur. Then Filter - Stylize - Find Edges. Press CTRL + I to invert. Go to Filter - Distort - Twirl - 300 and press OK Duplicate this layer. Go to Filter - Distort - Twirl and choos...
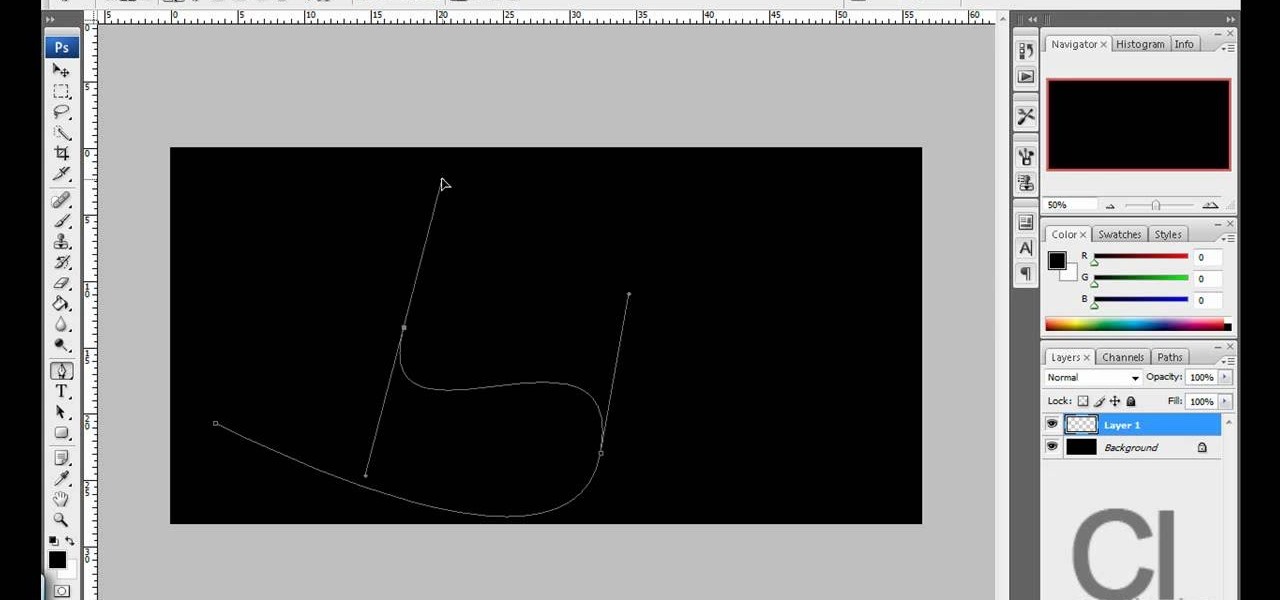
This is really cool, you can make these awesome neon glowing lines using your Adobe Photoshop. This is a fun way to make creative and colorful designs and it looks really neat without spending time working on detailed shapes.
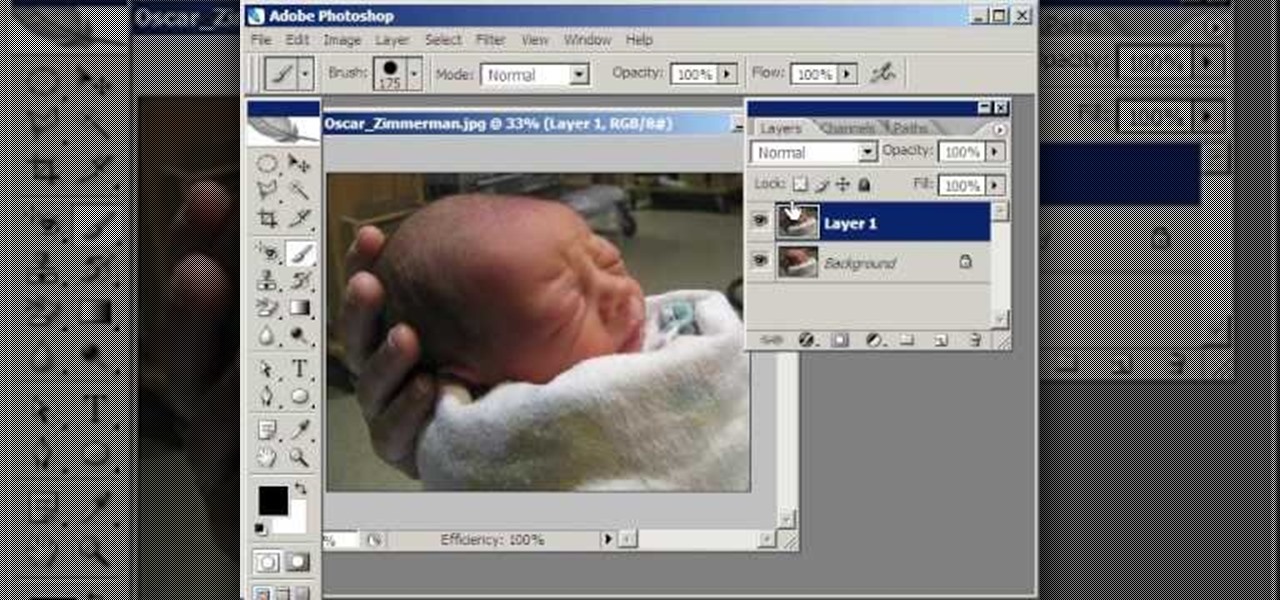
Open an image and on the layers panel add a new layer by clicking on the fifth icon below the layers panel. A new layer is created with the name 'layer 1' and your previous layer would have the name 'background'. These names can be changed by you. For now we'll leave them as they are.
Can't afford a DSLR? Fake it! In this installment from his series of free Adobe Photoshop tutorials, Justin Seeley shows you how to simulate depth of field using the Lens Blur Filter. For detailed, step-by-step instructions, and to get started using this eye-catching effect yourself, watch this video lesson.
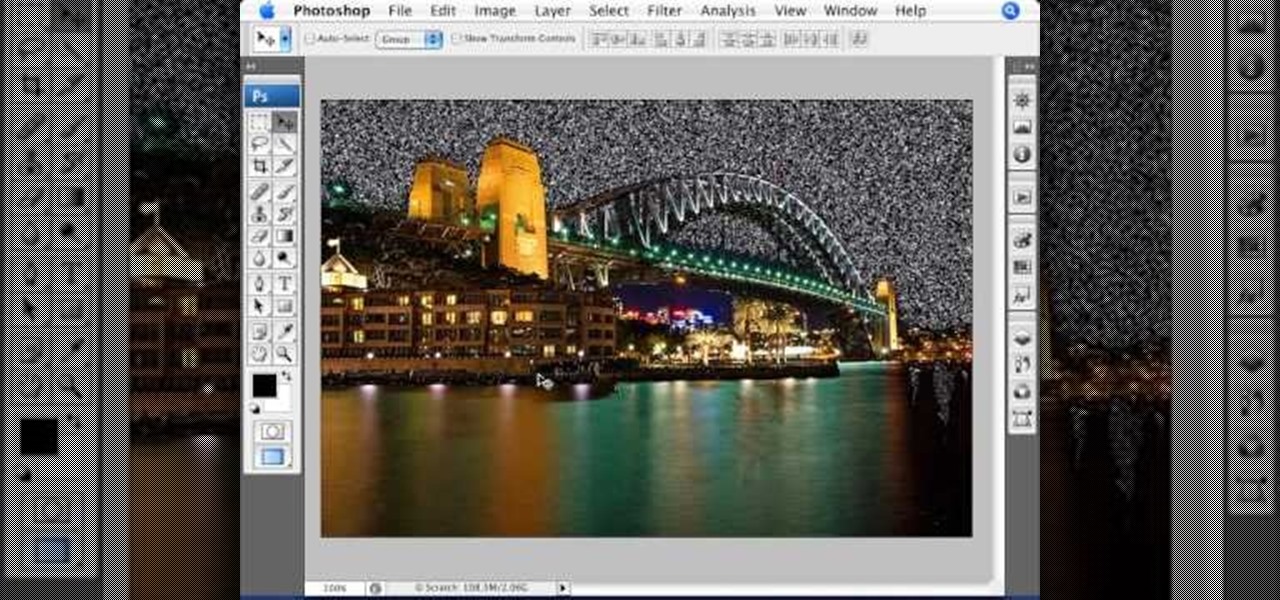
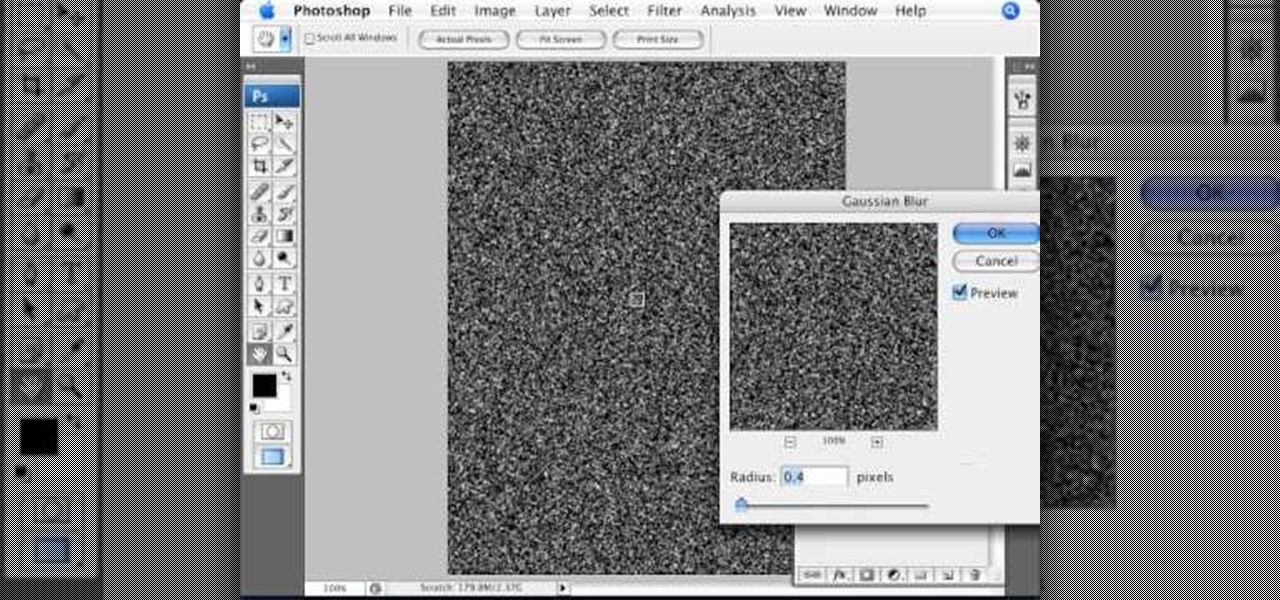
The video is a Photoshop tutorial teaching how to create the starry sky effect, an effect that turn regular sky in a photo into a starry night sky using the Adobe Photoshop software. This effect is created by the use of Photoshop filters like noise, blur, levels and masking in order to achieve the look of a real night sky. By following the tutorial you will learn how to create and control the amount of stars in the photo's sky in only 6 minutes.
This tutorial demonstrates how Twixtor Pro can be used to create slow motion special effects when editing video in After Effects. Learn beginner to intermediate VFX, specifically slowing down footage shot at a very high shutter speed. Twixtor allows the user to manage blur and warping when creating a slow motion effect.
Create a three-dimensional logo in Cinema 4D and Photoshop with realistic lighting, reflection and shadows. The render is created in 3D inside Cinema 4D using Mograph Text and a bend deformer, textured and lit for initial reflections, and polished in Photoshop with blending modes, blurs and curves. Greyscale Gorilla demonstrates in this informative hour-long video.
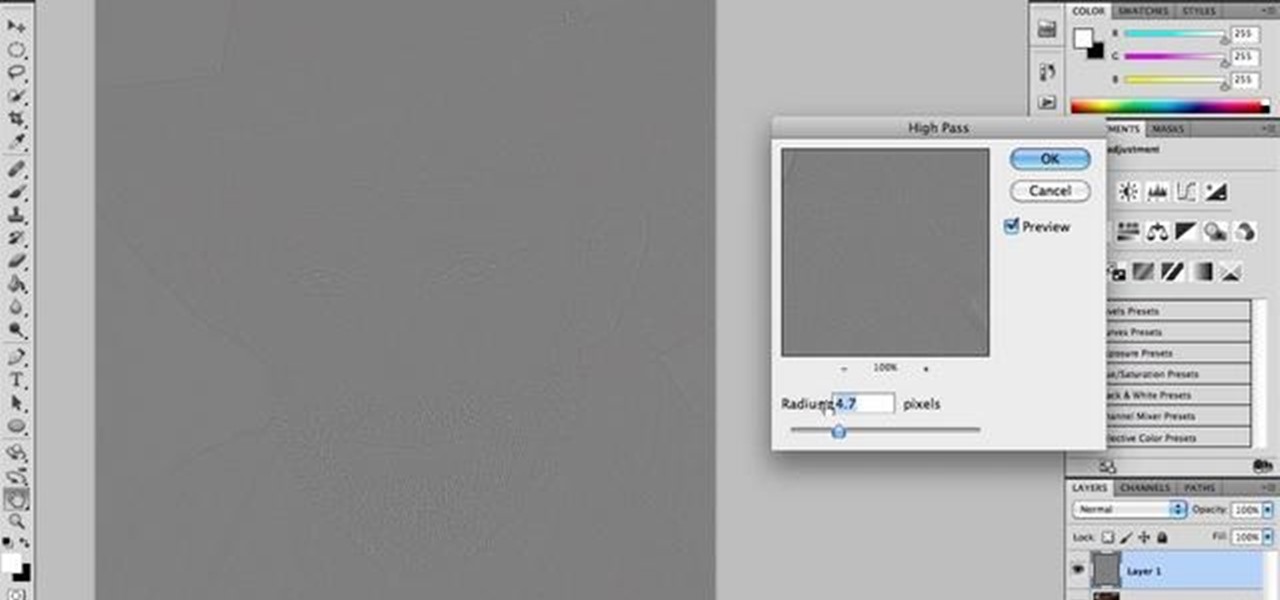
This quick video tutorial demonstrates how to use the Photohsop high-pass filter to soften skin/images without losing detail or blurring pictures. Whether you're new to Adobe's popular raster graphics editing software or a seasoned professional just looking to better acquaint yourself with the program and its various features and filters, you're sure to be well served by this video tutorial. For more information, including detailed, step-by-step instructions, watch this free video guide.
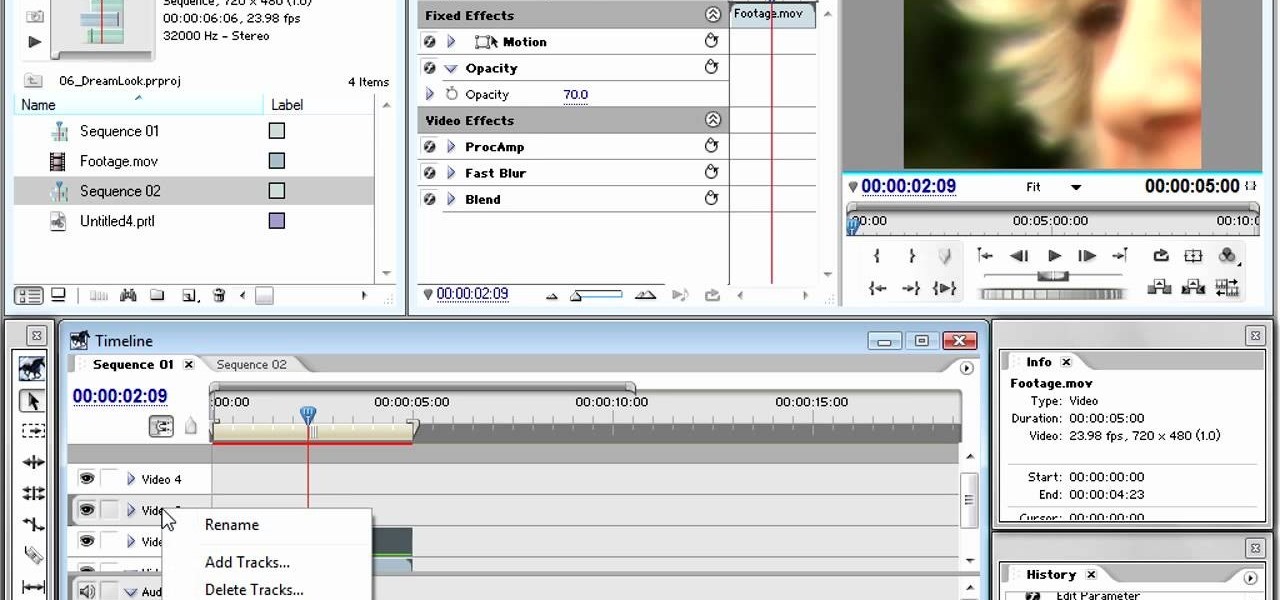
Dreams are often very fun to shoot, as they allow the filmmaker a lot of freedom to include otherworldly content and visual styles. This video will help you make your dream scenes even more dreamy by teaching you how to add some dream effects (including blur and little bit of motion) to your footage using Adobe Premiere Pro.
In this Photoshop tutorial video from Tasktutorial, the host leads you through the process of creating a speech bubble in Photoshop. As you watch this video and follow along with the host, you will learn how to create a speech bubble, like they use in the comics. You will also learn how to add color and blur effects to it, to give it a more three dimensional feel, as well as how to use the stroke effect to give it that comic book outline when you're done.
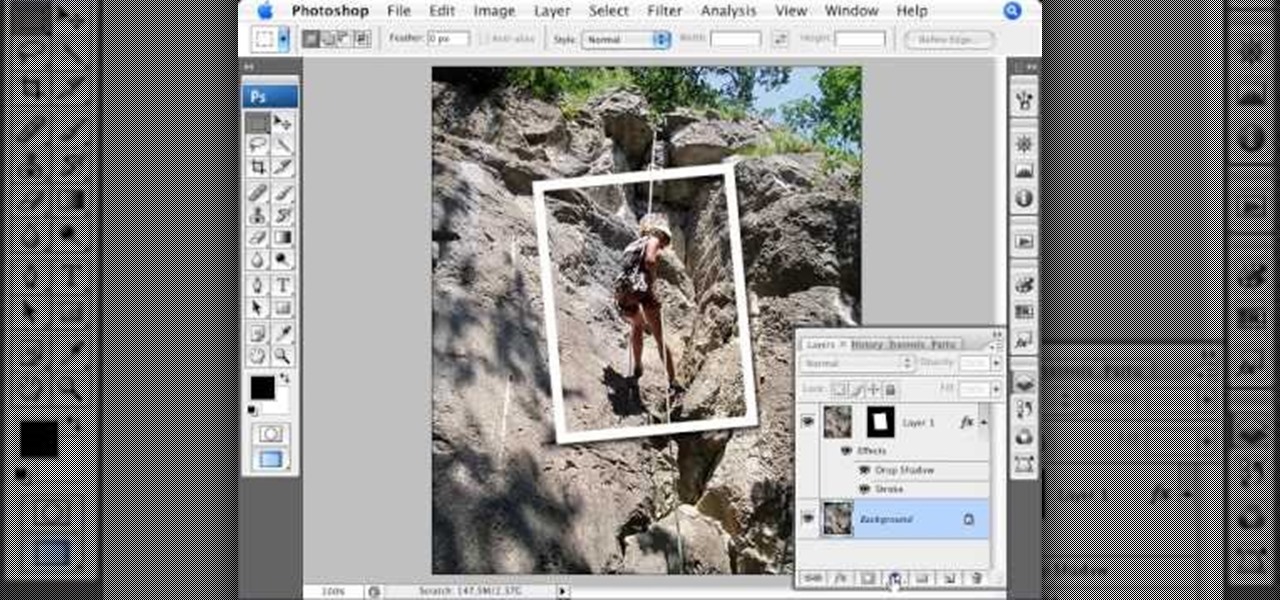
This video shows you how to form an eye-catching border around any photograph by placing a photo within (or on top of) itself using Photoshop. The process includes duplicating the image, adding a layer mask, adding an inside layer stroke and drop shadow, changing hue or saturation, and using a blur effect. If your vacation photos or family pictures are putting your visitors to sleep, try this easy and fascinating technique that will be sure to draw attention.
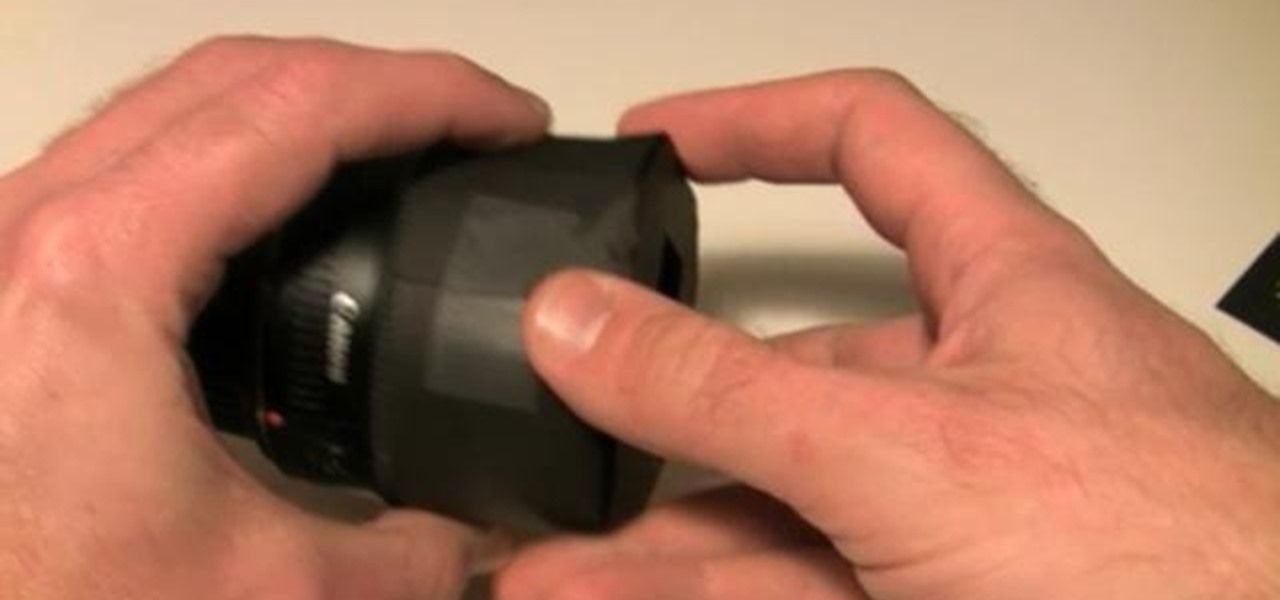
How to make that cardboard hood to assist you in making your own custom bokeh when shooting images.
This software tutorial shows you how to use the Radium Glow plug-in for After Effects. Radium Glow is also available for Final Cut Pro, Premiere Pro and more. Don't settle for glow effects that are just a blur. Radium Glow simulates the way real light behaves, giving you ultra-realistic glimmers and glows. If you've never used Radium Glow, get started with this tutorial.

In this video tutorial you will learn to soften portrait images with diffusion. You will need the Channels palette to do the trick. Learn also to adjust the level of Gaussian blur.
Jeff Schell walks you through, step by step, how to create a handful of different track mattes in Premiere Pro CS3. Schell discusses where you can apply a track matte, how to expand it, how to apply and expand a blur, and what track you want to borrow the shape from. He also shows us how to apply a track matte with a title, and details the effects of a luma matte.

In After Effects, there are several effects that will help you to edit simple shapes into more complex images. Here is a procedure to create a spline that looks like a frosty or "icey" shape using a mask, stroke and distortion blur.
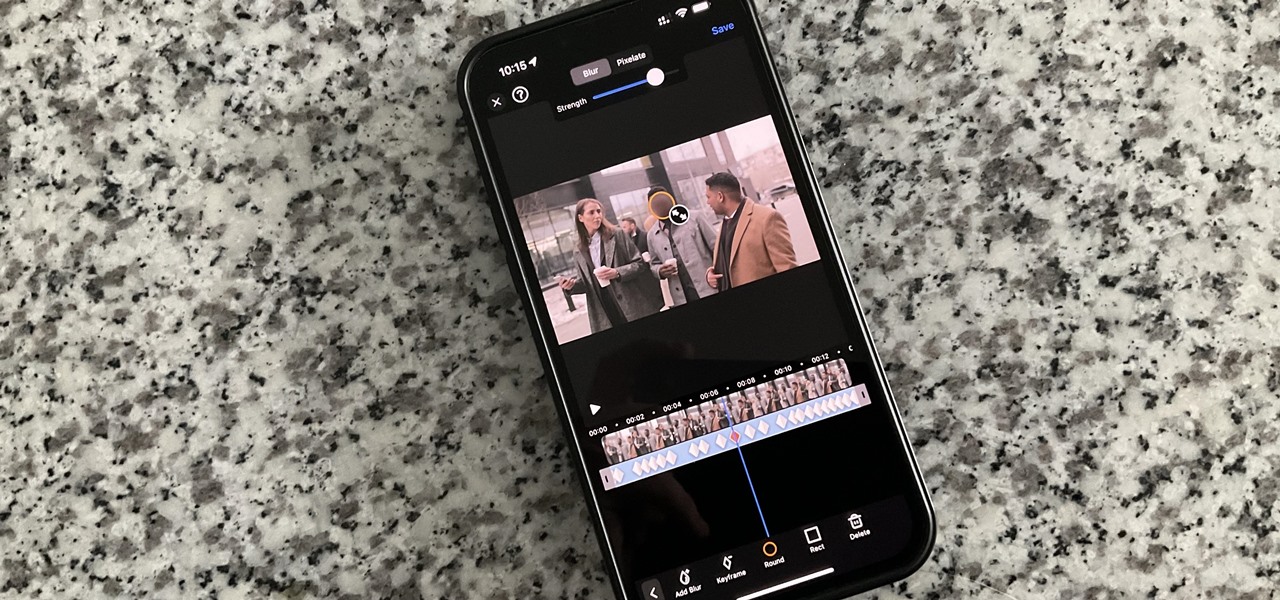
On an iPhone, it's easy to blur or cross out faces and sensitive information found in your images — just use Apple's Markup tool for all your obfuscation needs. Things aren't as simple when it comes to videos. There are no built-in iOS features to blur, redact, or otherwise obscure people, objects, and text in videos, but we've found a free solution that gets the job done well without any watermarks.
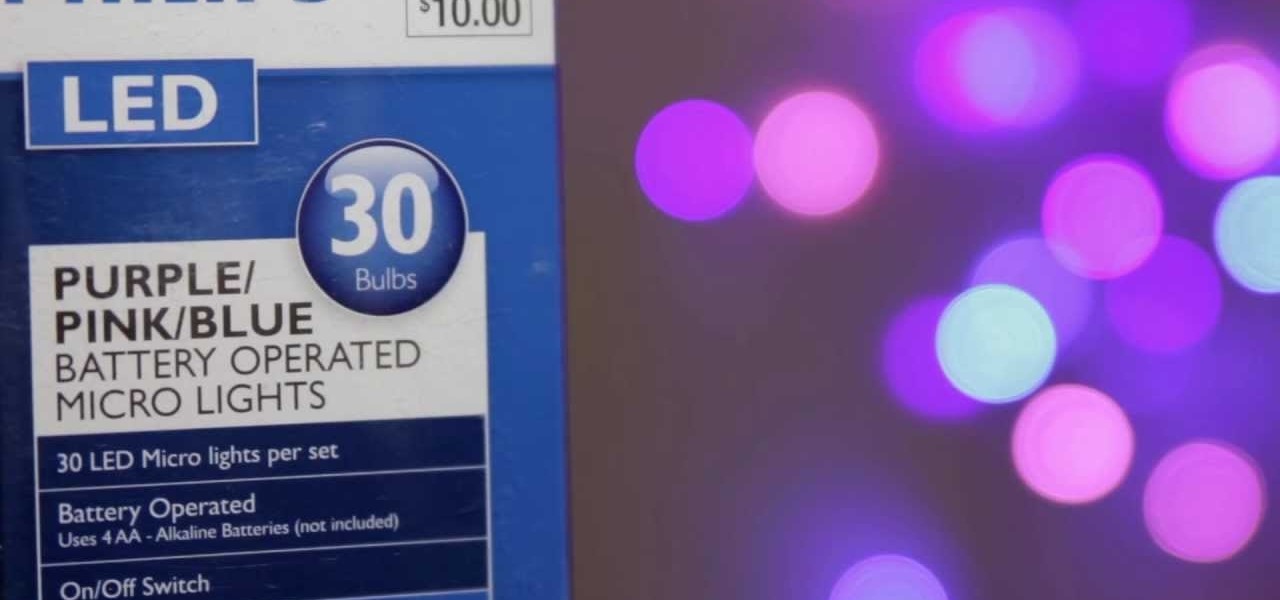
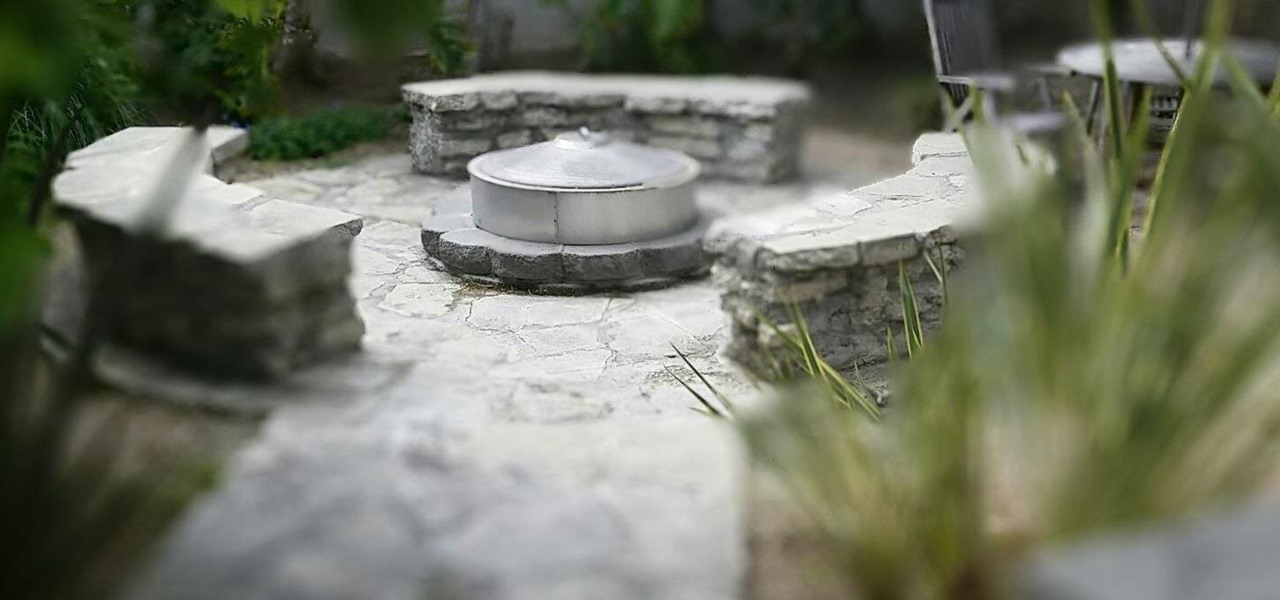
So what is Bokeh? Well, the word comes from the Japanese term "boke" (bo-keh) which means fuzziness. Bokeh describes the character of the blur in an image, but is often used specifically to refer to points of light rendered as fuzzy circles. These "circles of confusion" come from points of light not being perfectly focused. You know when you're taking a picture of your friend at night, and the lights in the background go fuzzy? That's it! Having a beautifully blurred background can help focus...

This video will show you how to use Adobe Photoshop to create a very realistic looking light ray using a Mask, Radial Blur and adjustment layers. Give your images a beautiful sun-kissed appearance with the techniques demonstrated in this how-to video.
Liquid DnB is a subgenre of drum and bass faithful to the mission of the original: making smooth, bass-heavy tracks to groove to. In this video you'll learn how to use Reason 4 to produce a liquid DnB track from start to finish, including the beat, melody, and mastering.
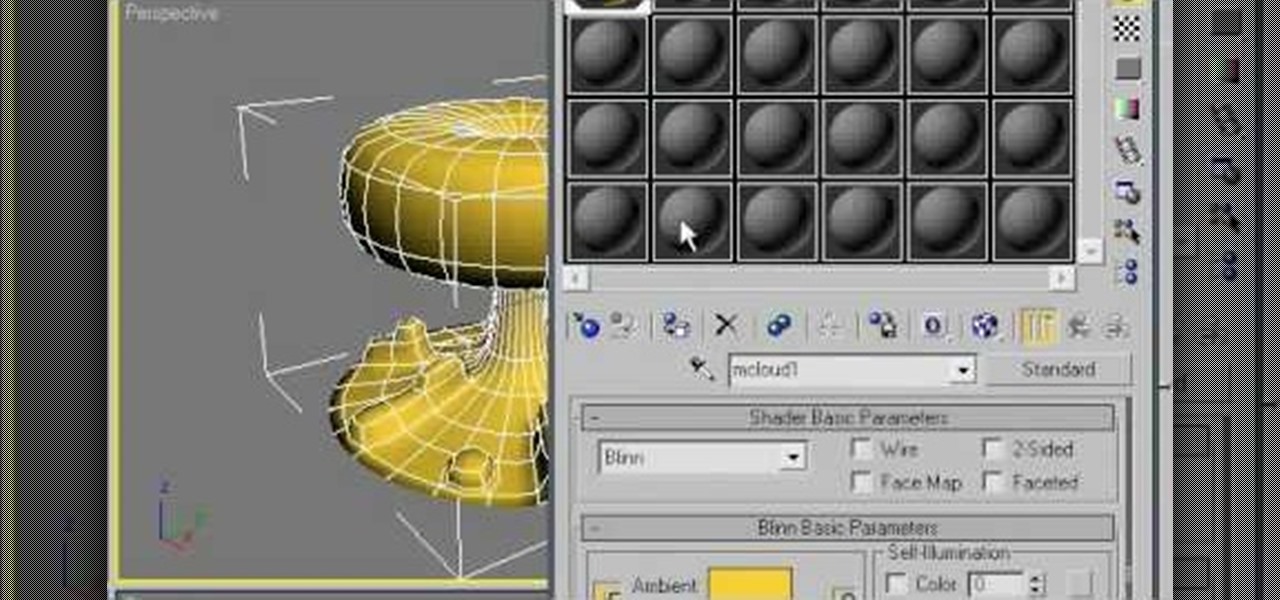
The mushroom cloud is one of the iconic images of the 20th century, calling to mind destruction, progress, and arguably the single most important event of the century. This video will show you how to create a 3D model of one using 3D Studio MAX 4 or higher. This can then be used in all kinds of video games and movies that you might be making.
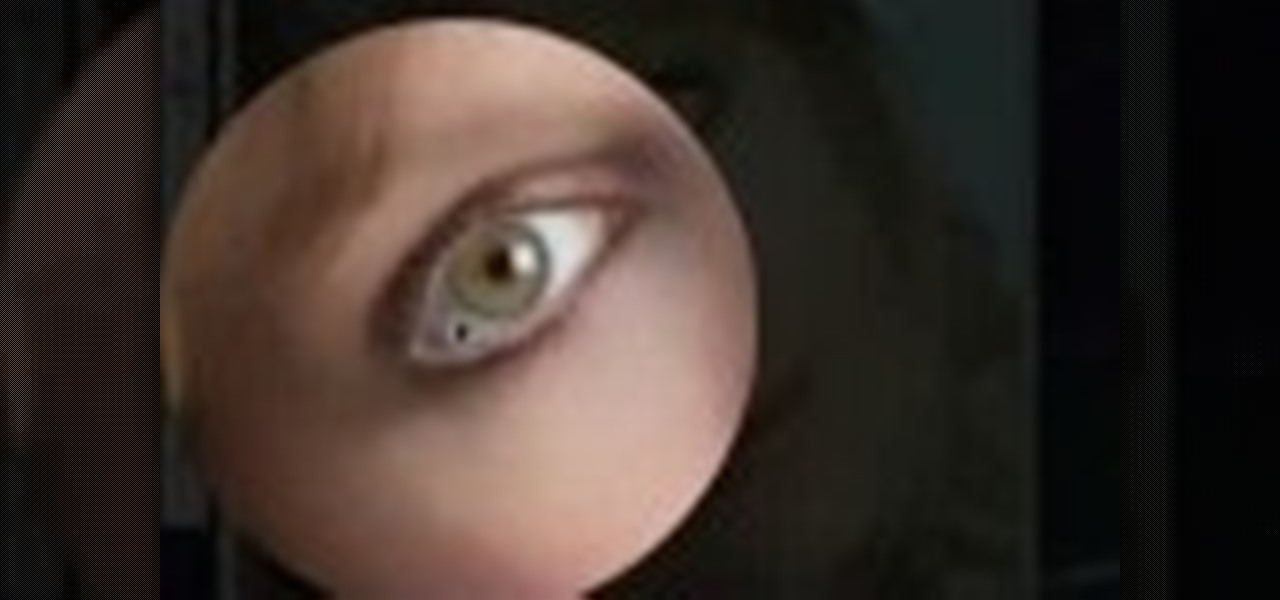
Macro photography is a type of photography used to create interest by focusing the lense on one thing in a picture, generally something that's located in the foreground. The rest of the image (the midground and background) fades out into a blur.
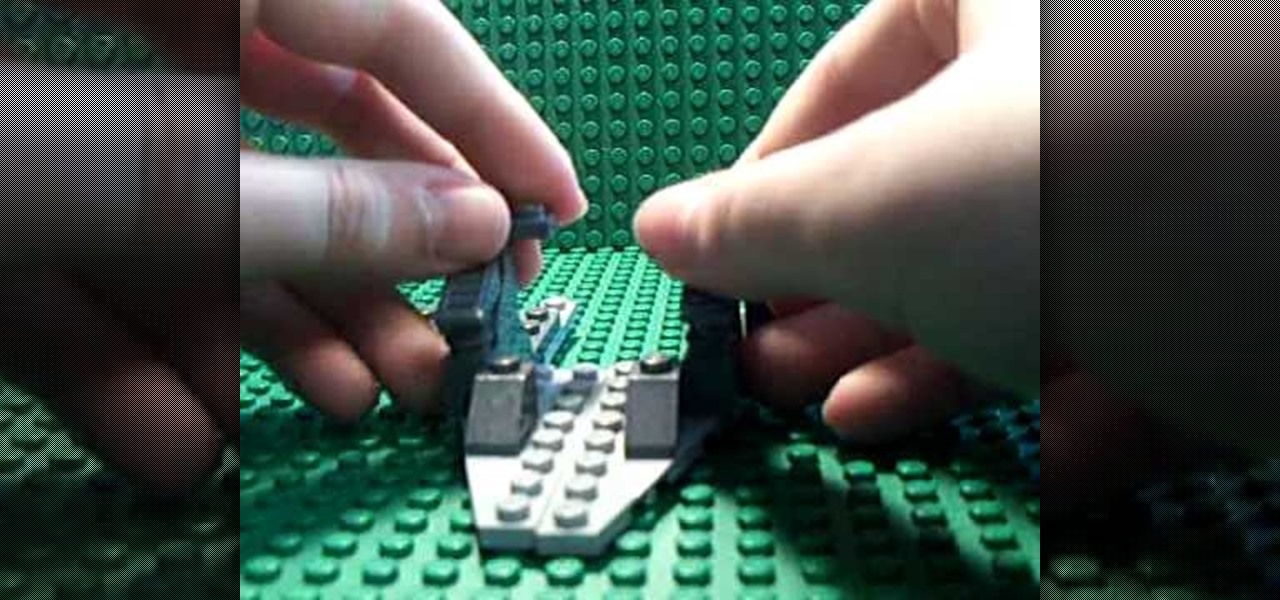
The falcon is one of the cooler of the many vehicles introduced to the Halo universe for the Halo: Reach installment of the series. This six-part video features exhaustive instructions for any video game / Lego enthusiasts out there who would like to make a Falcon out of Legos. It looks very cool and faithful to the vehicle from the game, and will make a great addition to your Lego model collection.

The Orton effect in Photoshop is acheived by combining an image with a duplicate that has been softened or blurred slightly. This will give you original image a luminescent appearance and enhance most portraits and landscapes.
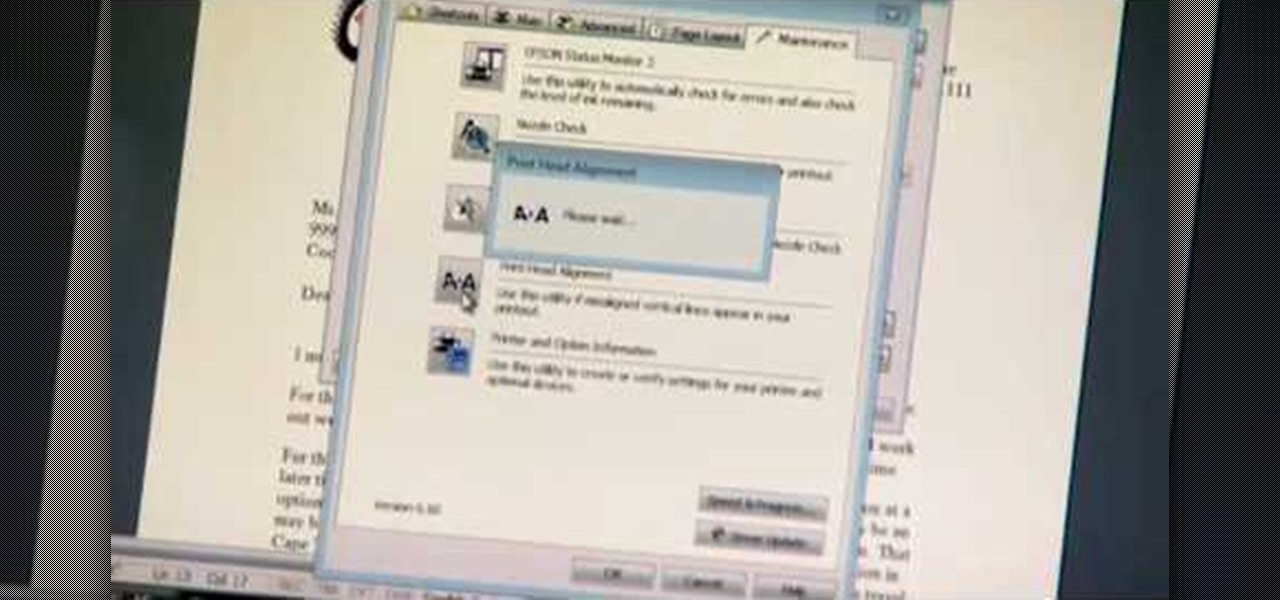
Not aligning your printer before you print is like going to a job interview without brushing your hair: Everything else looks right, but you somehow still look unprepared and messy. Aligning the printhead on your printer will help ensure all text prints out where it's supposed to print out and there's no awkward color blurring with pictures.
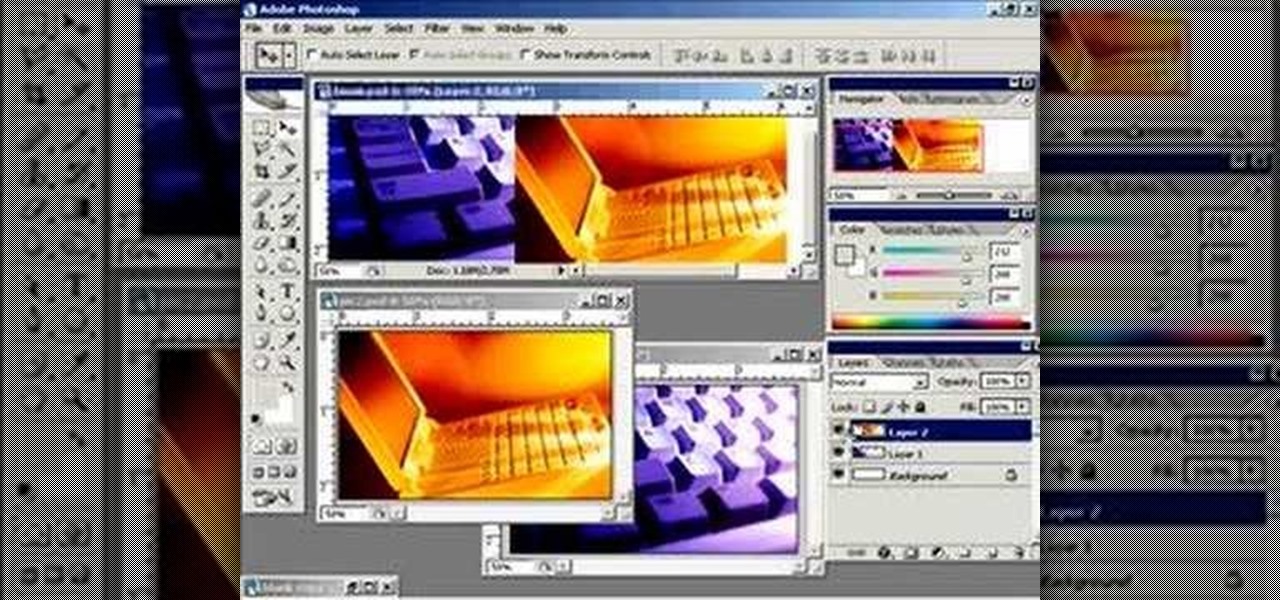
This video shows you how to combine two unique photographs in Adobe Photoshop. Using the mask tool, you can define the level of blur and blending between the two photographs. This is great for slick, professional quality composites.
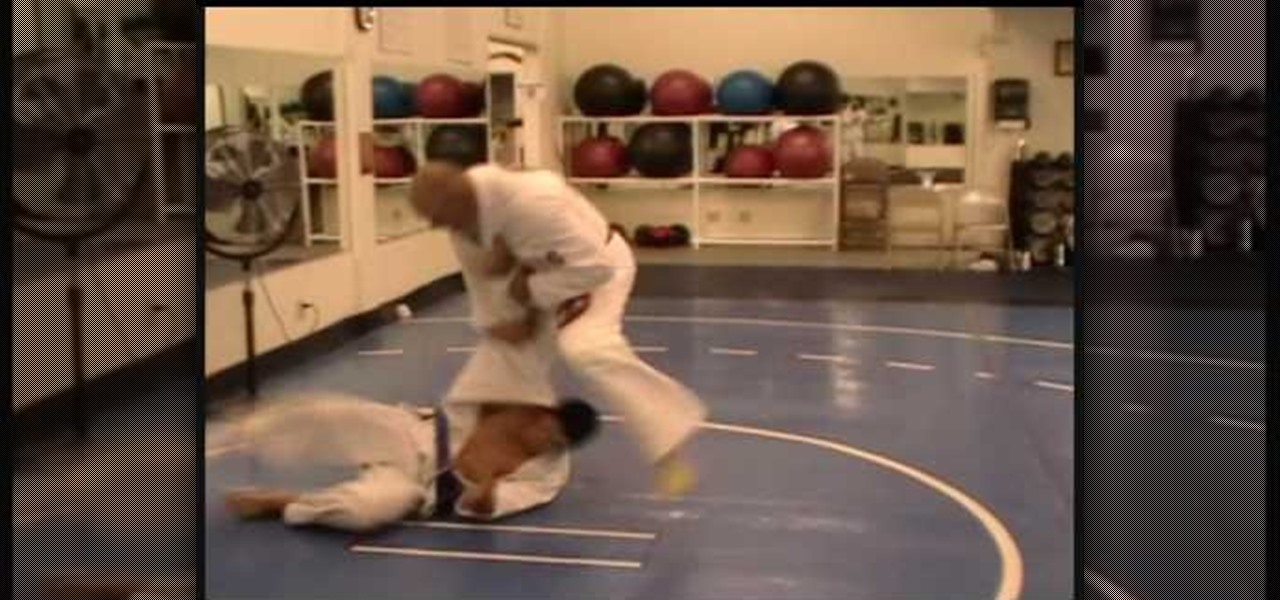
In this tutorial, Judo Black Belt and BJJ Brown Belt Mark Massey will teach us the judo throw for jiu jitsu. Seen during a match, it's a blur of motion and looks hard to learn. But broken down into steps like this, it's much more manageable.
Think every model you see in a magazine has perfectly smooth skin? Sure, but don't worry, it's not natural! You can do the exact same thing in Photoshop with this tutorial. Watch and learn how to smooth skin by retouching portraits with blur tools in Photoshop CS3.
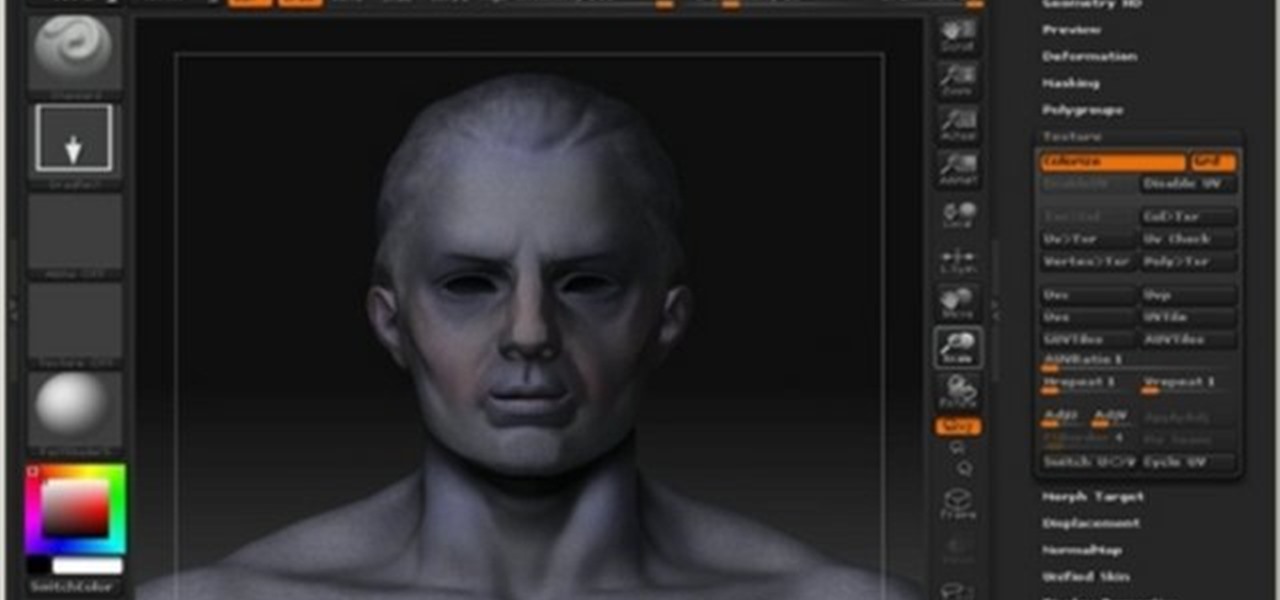
This 3D modeling software tutorial shows you how to work with the Projection Master tools in Zbrush. You will learn how to work with proper UV textures and UV mapping as well as how to properly project textures on a model using projection master. This will give your Zbrush model fairly crisp and accurate textures without blurred edges, as you may get from other projection mapping methods.
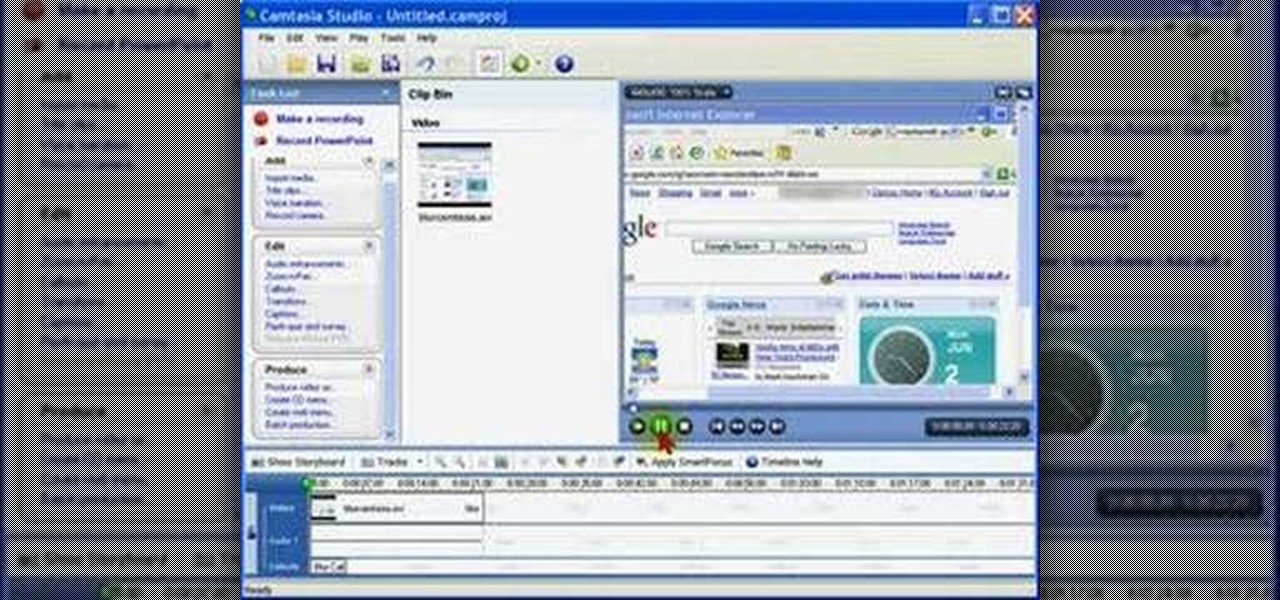
Watch Bill Myers show you an easy way to quickly hide sensitive screen capture text or images using Camtasia Studio.

This tutorial shows you two examples of how to improve a dark or low-light photo. This video covers the auto Enhance feature, retouch brush tool, Effects menu (Edge Blur) and the Adjust menu (Reduce Noise).
Use the lens blur filter in Photoshop to create depth of field in an image, which is a technique used in photography to focus attention on a particular subject

Are you a Star War fan? This is a a tutorial on making light sabers in Photoshop. Learn to use Gaussian blur and Color Balance to create the glowing effect of the sabers.