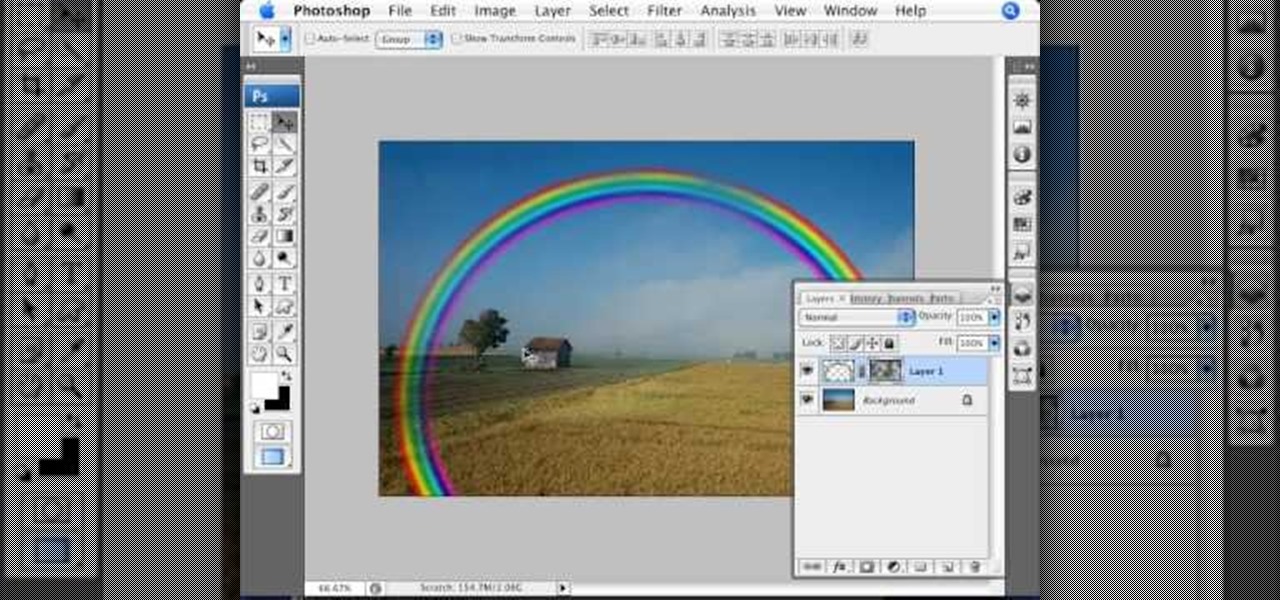
Open the picture you wish to place a rainbow within. A good scene has clouds that are receding into the distance and the light angle coming in from the front of the scene. A rainbow effect appears when by the sun is shining from behind you into the mist-filled air where it is refracted by raindrops.
Pixel Perfect is the "perfect" show to help you with your Photoshop skills. Be amazed and learn as master digital artist Bert Monroy takes a stylus and a digital pad and treats it as Monet and Picasso do with oil and canvas. Learn the tips and tricks you need to whip those digital pictures into shape with Adobe Photoshop and Illustrator. In this episode, Ben shows you how to create a jellyfish environment in Photoshop.
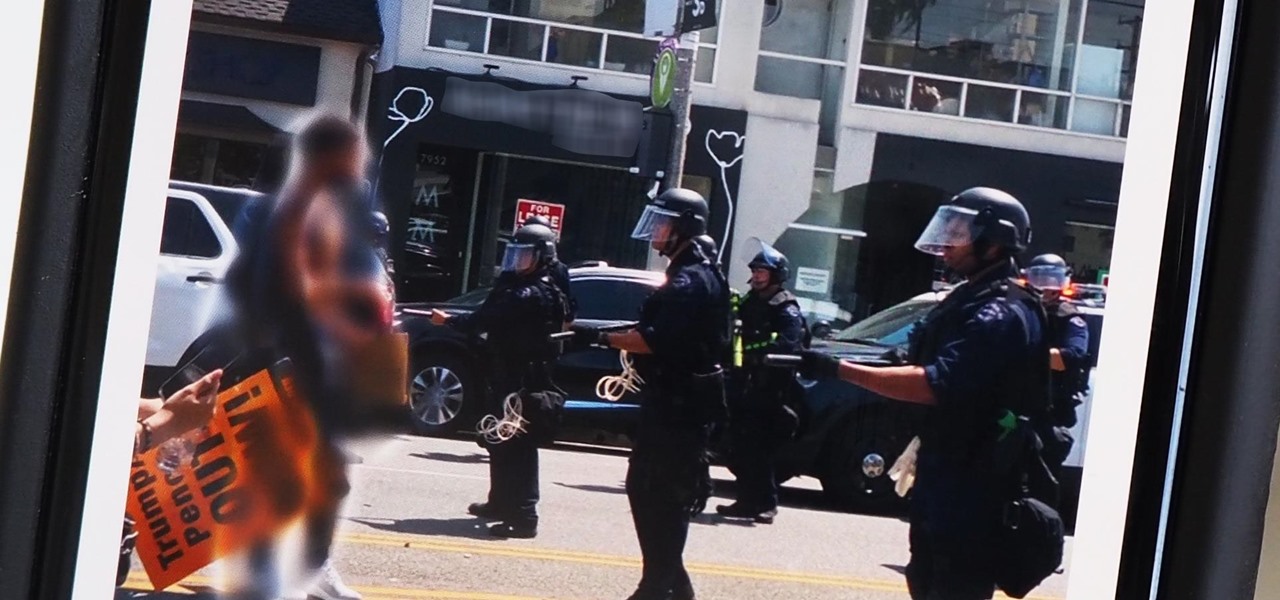
Every single photo you take carries with it a considerable amount of seemingly "invisible" yet important information known as metadata. Although metadata is usually helpful to sort your photographs by location and date, that same information could potentially be used against you, especially if the pictures are taken during a precarious situation.
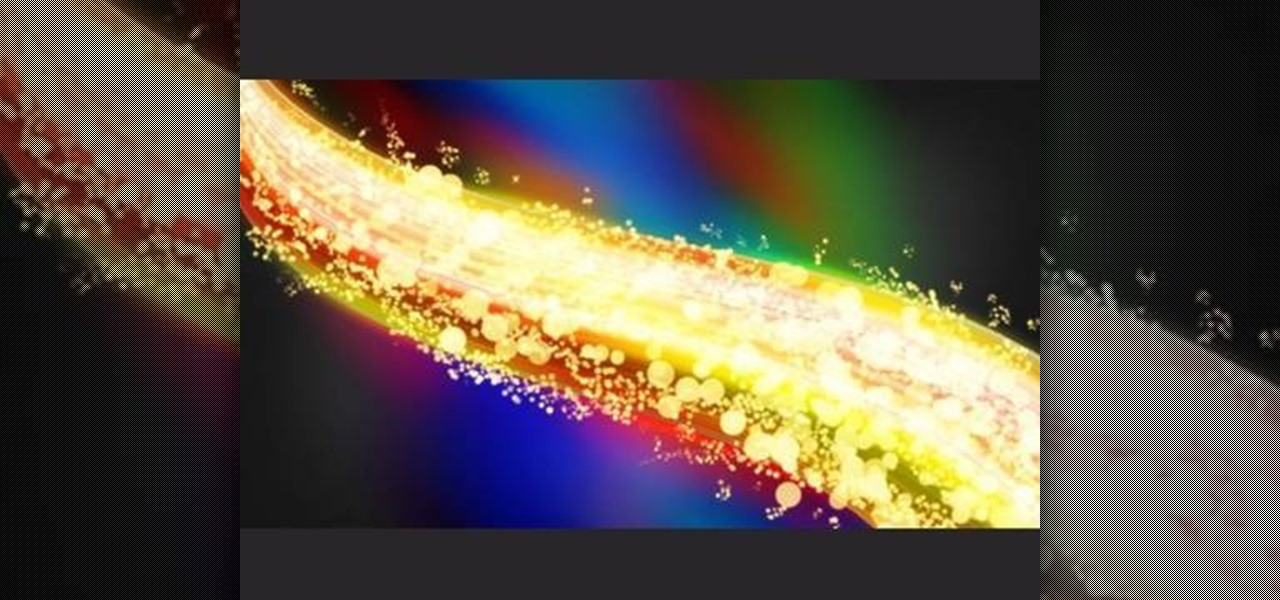
This video will help you learn how to create an Explosive rainbow color swath in Photoshop. First open a new file, keep the width 845, height 475, RGB color mode and white background.
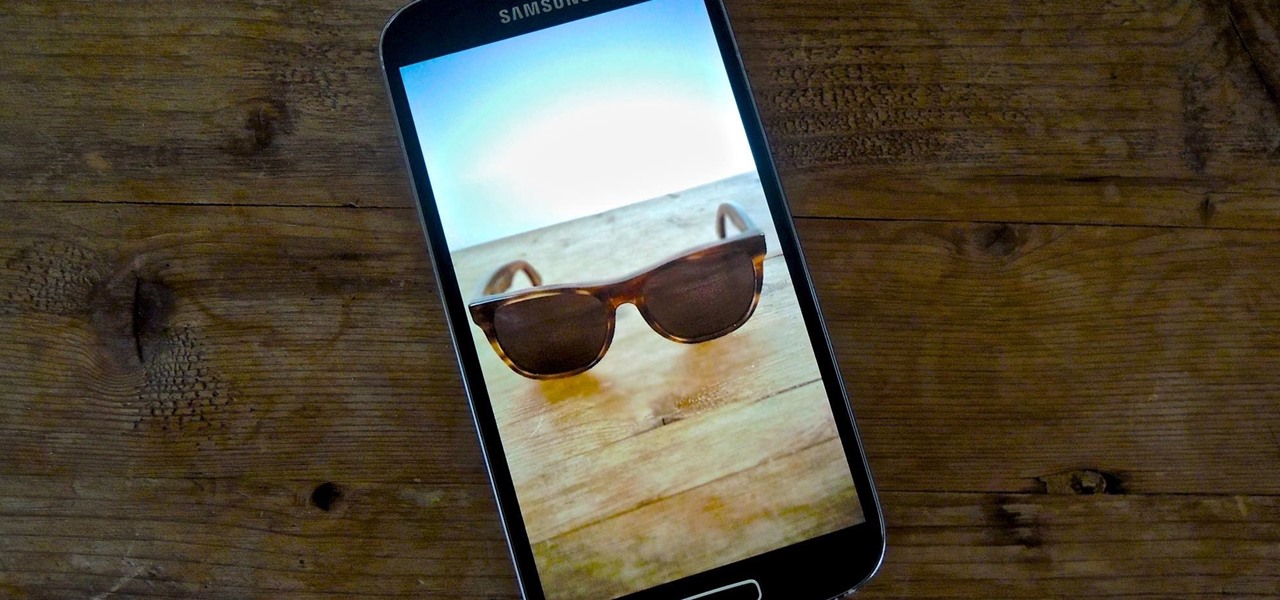
The recently released HTC One M8 and the upcoming Samsung Galaxy S5 are both boasting selective focus features for their camera apps, but with a 13 megapixel camera, the GS4 can take some pretty stellar pictures, too.

One of many cool features in iOS is the ability to listen to your Music app and have the player options, as well as album art, available on your lock screen. While that's super convenient, it's not all that easy on the eyes. The player is placed over a blurred version of whatever your lock screen wallpaper is.

In this video tutorial, Mad Cow Moo shows you how to do blurs on footage in Sony Vegas. Looking on the time line for a break in the audio, place the cursor at this point and hit s on the keyboard to split the video into segments Go to the time line to the final frame you want and point the cursor here, creating a highlight, and hit the s key again. Right click on the audio, select group from the drop down and choose, "Remove From". Right click the video track on the left top corresponding to ...
In this video, Tom Skowron introduces the use of 24p and several important editing techniques. Using 24p can make your film projects look like genuine films. Another way to improve the appearance of your film is to adjust the shutter speed. You should set the shutter speed at twice that of the frame rate. This will decrease the level of motion blur and give the film a clean and crisp appearance. If you use 24p and adjust your shutter speed to the appropriate level, it will look like you spent...
In this video, we learn how to add ray so flight through trees in Photoshop. First, open up Photoshop and open up your picture. Now, go to your channels and choose the one with the most contrast by looking at all of the options. Now, duplicate the layer and go to "image", "adjustments", and then "levels". Now, make the image a lot darker, looking at the image preview as you go. When finished, click "ok", then select this layer and press "control", then click". Go back to the regular image, th...
Pixel Perfect is the "perfect" show to help you with your Photoshop skills. Be amazed and learn as master digital artist Bert Monroy takes a stylus and a digital pad and treats it as Monet and Picasso do with oil and canvas. Learn the tips and tricks you need to whip those digital pictures into shape with Adobe Photoshop and Illustrator. In this episode, Ben shows you how to create fabrics in Photoshop.
Pixel Perfect is the "perfect" show to help you with your Photoshop skills. Be amazed and learn as master digital artist Bert Monroy takes a stylus and a digital pad and treats it as Monet and Picasso do with oil and canvas. Learn the tips and tricks you need to whip those digital pictures into shape with Adobe Photoshop and Illustrator. In this episode, Ben shows you how to create cloud over a sea in Photoshop.
Pixel Perfect is the "perfect" show to help you with your Photoshop skills. Be amazed and learn as master digital artist Bert Monroy takes a stylus and a digital pad and treats it as Monet and Picasso do with oil and canvas. Learn the tips and tricks you need to whip those digital pictures into shape with Adobe Photoshop and Illustrator. In this episode, Ben shows you how to detail an automobile headlight in Photoshop.
This tutorial shows you how to use Photoshop to add motion (or motion blur) to an image.
Quickly turn your photograph into a hand drawn sketch! This Photoshop tutorial shows you one way to do it using desaturate and invert, Gaussian blur and brightness and contrast.
Jeff Schell walks you through a few quick methods of making your titles appear less "computer-generated." This includes adding a linear gradient fill to the title as well as adding a soft Gaussian Blur to reduce the "computer crispness" of the text.
Stephanie Valentin teaches us how to draw a stone angel in Photoshop. You create a new document of 1100 x 200 pixels. You sketch the character with a black brush of 5 pixels and 100% of opacity on a new layer. Keep this layer of the whole painting process. Then create a new layer, filling the shape with a dark color. Use a hard brush of 25 pixels and 100% opacity. Create a new layer Light 1, apply large lights with a soft round brush of 20 pixels and 35% opacity. Apply a Gaussian blur of 8 pi...
pbj746 is here to teach you on how to create a glossy rainbow effect using Adobe Photoshop CS4. This can be easily done in a matter of minutes and you can try experimenting with other colors and effects to get variant number of sassy backgrounds.
Sure, you can go online and send the first flowers you see, but a little thought and planning will go a long way toward impressing her. Sure, you can go online and send the first flowers you see, but a little thought and planning will go a long way toward impressing her. You will need a friend or relative of the recipient. Send her favorite. If she’s ever mentioned a favorite flower, buy that. You’ll get bonus points for listening to her. If you have no clue, ask a friend or relative of hers ...
As someone who's dependent on glasses to see on an everyday basis, losing or misplacing them is obviously a bad thing. I can't even see clearly enough to find the glasses that I just lost, so I'm pretty much blind now.
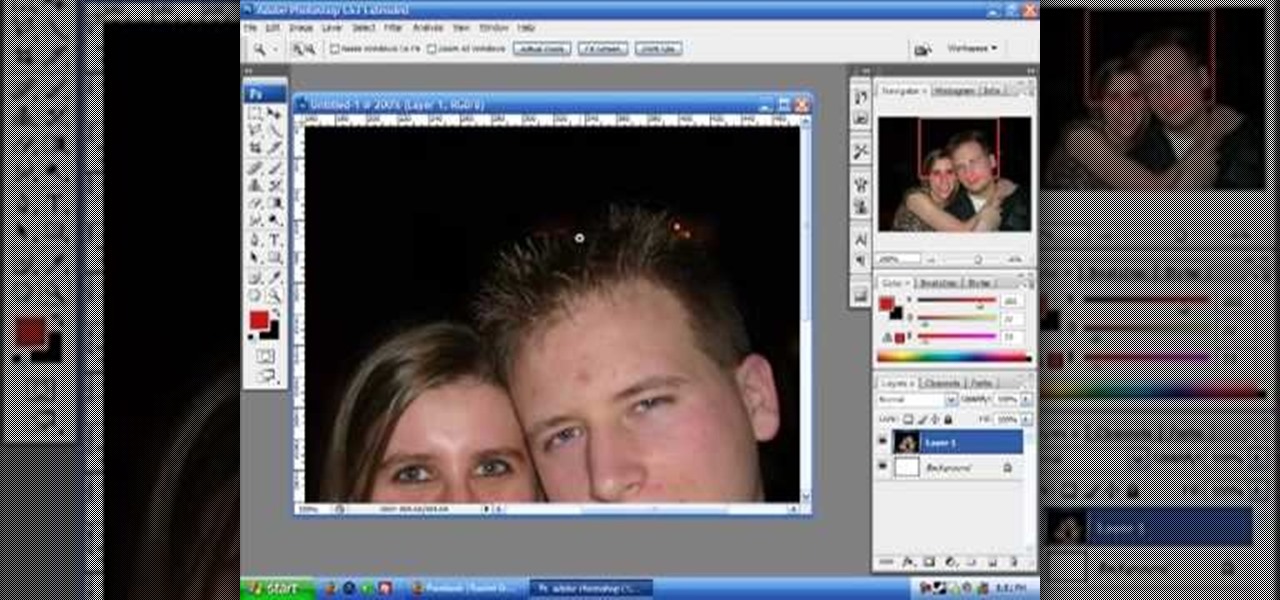
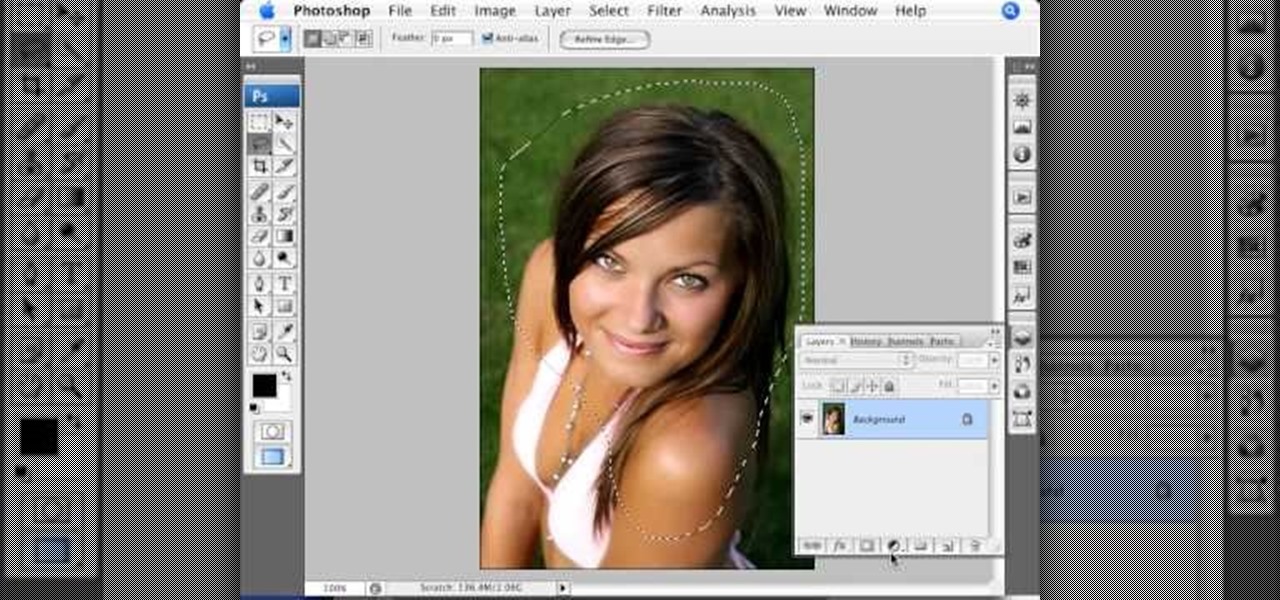
This how to video will show you how to remove blemishes and do other touch ups in Photoshop. First, open the image you want to touch up in the program. Now, choose the polygon tool and select the background of the image. Now, go to adjustments and change the brightness and contrast. You can also add a blur in the filters. Use the smudge tool to touch up any errors from using the blur filter. To fix blemishes, use the patch tool. Select the area you want to fix and drag it to an area of simila...
In this how to video, you will learn how to make a reflection in water using Photoshop. First, open the image in Photoshop. Select the crop tool and select the whole photo. Click and drag the lower part down. Select the rectangular marquee tool and select the picture. Click on the selection and select layer via copy. Click the move tool and drag the upper point in the picture to the bottom of the document. Go to filter, blur, and select motion blur. Choose a -90 degree angle with a 35 pixel d...
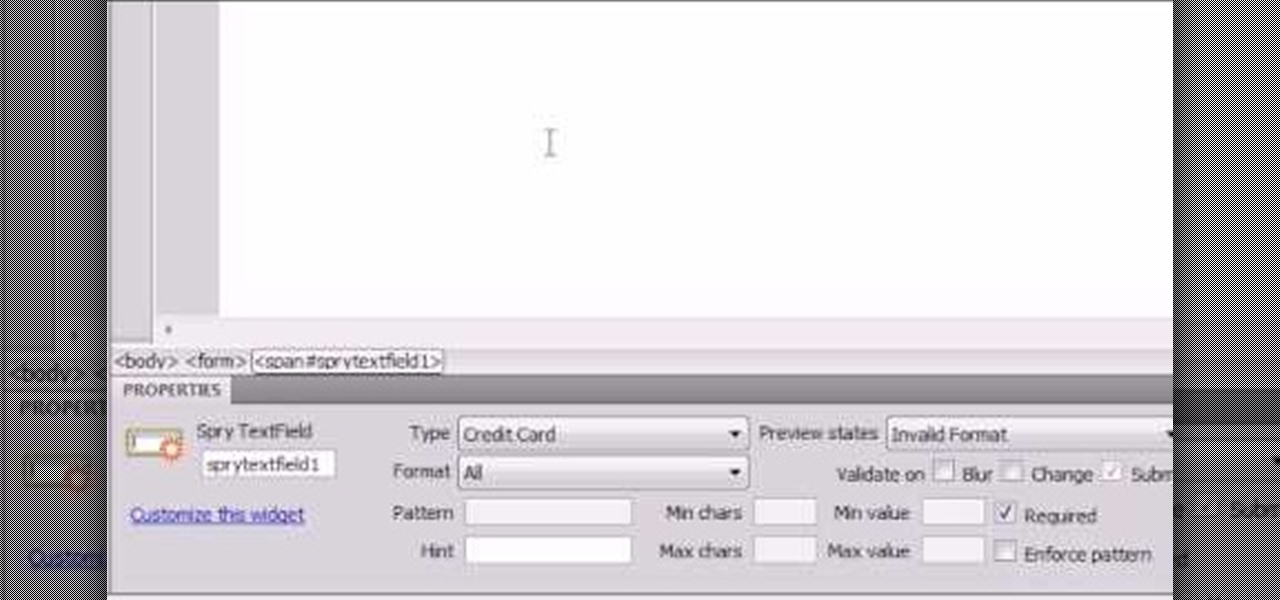
Here the New Boston shows you some tips about using the Spry Validation Text Field. To begin you will go to the Spry Validation Text Field, on Dreamweaver CS4. Looking at the bottom of the page notice the various options that are available for Properties. You find drop-down boxes for Type, Pattern, Minimum or Maximum values, Required, Enforce pattern, Format, Validate on, Blur or Change and Preview States. You can see the types of text available for validating by left mouse clicking the Type ...
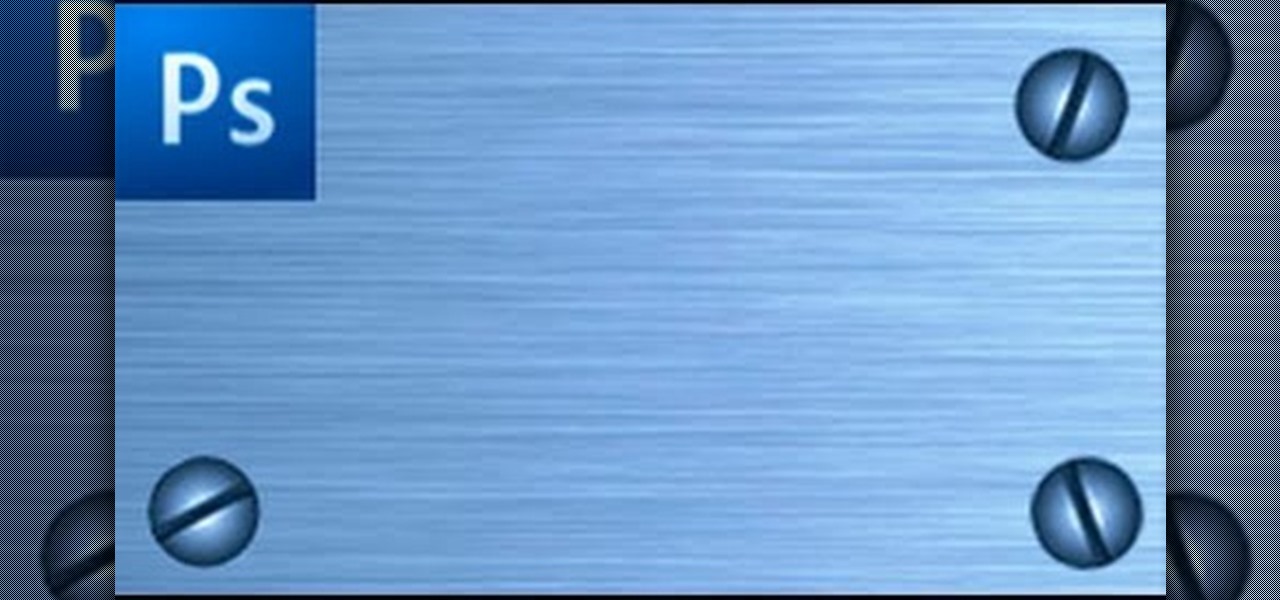
In order to make a brushed metal effects in Photoshop you should first go to your gradient tool and select a dark grey or a black and click okay. Shift and drag your mouse to create the gradient. Next, go to filter, Noise, and then add noise and change the percent to 40% and click okay. Now, go to blur and ocean blur and change the angle to 0 and distance to 100 pixels. Now, for the sides to look like brushed metal, crop those sides out. Now you have a metal effect. To make a screw, click on ...
The video shows us how to create a dreamy effect in Photoshop. Firstly load the image in the Photoshop and then unlock the layer by double clicking on the layer, press unlock and OK. Now make sure your background and the foreground are black and white respectively and if it’s not then press D and it will reset. And then go to filter, click on distort and select diffuse glow. Here you put graininess as zero, glow amount as 6 and clear amount as 19 and press OK which will make the glow with lig...
This tutorial explains how to create a multi colored eye effect. First open the image in Photoshop and unlock the layer. Make a selection of the eye with either the lasso, magnetic lasso or pen tool. If you are using the pen tool, like in the tutorial, right click and choose mark selection, feather radius of three pixels. Now copy and paste the eye. Go to File and select New. Create an image of 1000 by 1000 pixels. Unlock the layer and make sure tea background and foreground colors are black ...
Learn how to play "If I Were A Boy" by Beyoncé Knowles, an acoustic guitar tutorial. Follow along with this demonstration, tabs and lyrics here:
Bokeh (which translates to "blur" in Japanese) is a photography technique referring to the blurred areas of a photograph. Basic bokeh photographs often have one point of focus, while the background falls away into a dreamy, blurred haze.
This After Effects tutorial will show you a nice underwater scene, complete with light rays, rising bubbles and cloudy ocean mist. You don't have to be a professional AE user to recreate this great animated scene, either! Laurence Grayson demonstrates all the techniques for this subtle ocean-like underwater look using the standard toolkit in Adobe After Effects (CS3, CS4 & CS5). Using Fractal Noise, CC Snow and a Lens Blur with Depth Map, Laurence will have you chilling out in no time!
In this video, we learn how to draw a waterfall landscape by hand. Start out by drawing the outline for the drawing with a light pencil. From here, you will start to fill in the different areas with the shading where you would like it. After this, bring in your browns to the rocks and then bring in your greens and oranges. Once you have added the blues and whites, then complete the outline of all the different images. When finishes, you can add in the final details for the drawing. This will ...
When shooting action shots such as runners, bikers, cars, or sports shots, a cool effect that you will see in a lot of professional photography where the person is nice and clear, but the background is blurred to give the intention of being in motion and having a lot of speed. A slow shutter speed is a part of it to capture the image while still showing motion in the photo. In this video you will get tips on how to create the panning effect that will create the desired effect.
There's a technique available for digital SLR cameras that most amateur photographers do not know about, or do not use correctly, and that's using a simple telephoto lens (long lens) to create blurry background, great portraits or awesome up-close macro shots. Without the telephoto lens, you lose a lot of the emphasis on your subject, because the background blends in, whereas telephoto lenses help create a degree of depth, blurring out the background, giving concentration on the foreground. I...
Ever wondered about those digital effects in advertisements having some parts in pixels? Let's try it. Open Photoshop and take a picture. Duplicate its layer and on the new layer,select it and go to filters->pixelate->mosaic. Then you can mask the new layer with having some parts in blur and the other one's in focus or can use gradient. You can lighten or darken the mask layer for better output. This helps in creating unique styles and digitize your world.
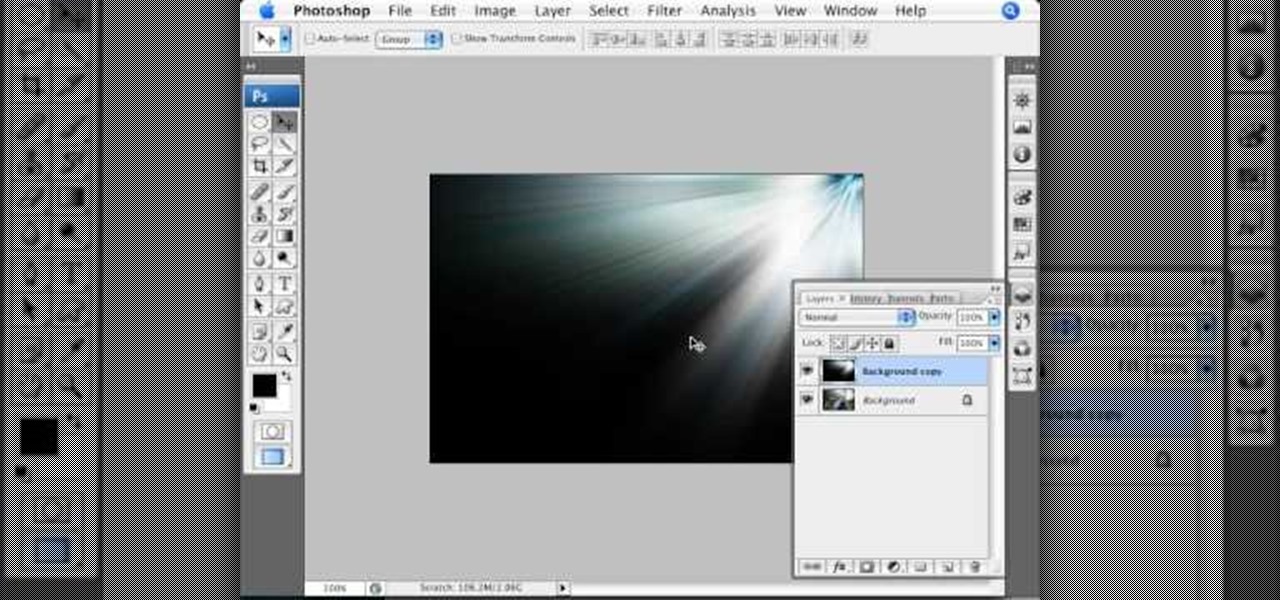
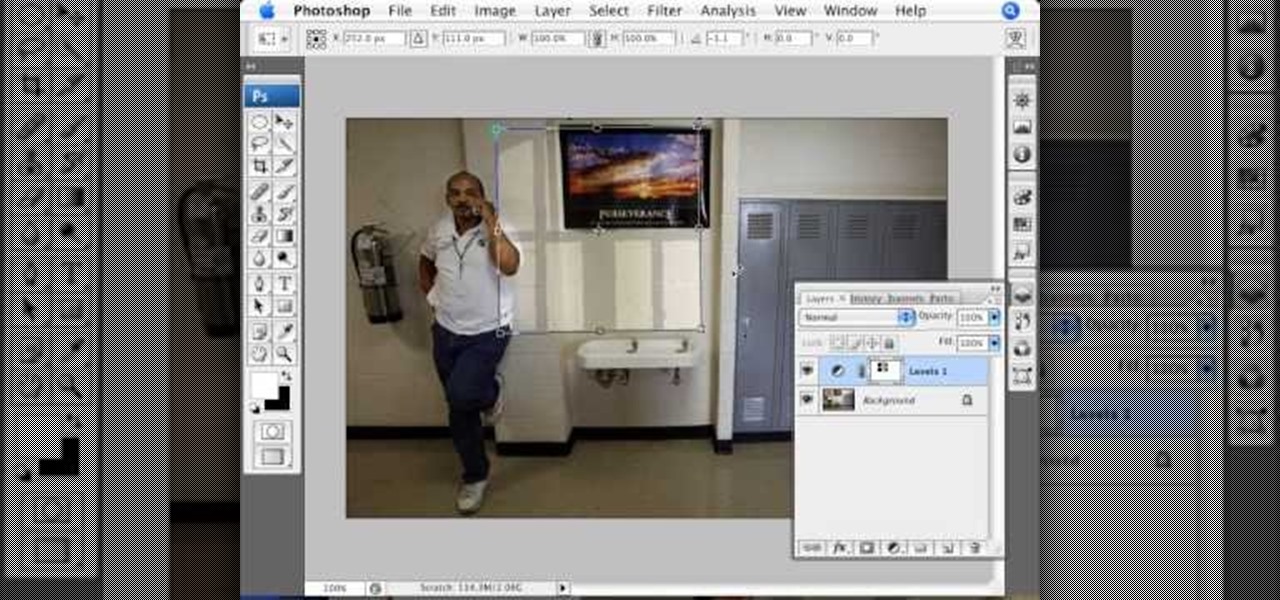
Photoshop Universe shows you how to add a simulated ray of light to your photos. They give you advice on how to use levels, the radial blur filter, and the lighten color blend mode. You can give your pictures a nice added touch by learning this simple and easy to understand technique. A great tutorial for beginners, and a useful tutorial for even more advanced users, these are easy to learn and extremely useful tips and tricks that all Photoshop users should know.
This video, produced by Photoshop Universe, teaches how to reduce beard stubble or 5 o'clock shadows from male pictures. We are shown how to use the dust and scratches filter, layer mask, as well as the advanced layer style command "blend if" on the underlying layer helps us to make this possible. The first step is to duplicate the layer and then select filter, noise, and dust and scratches. The second step is to apply some dust and scratches to the beard selection. Finally we blur the layer ...
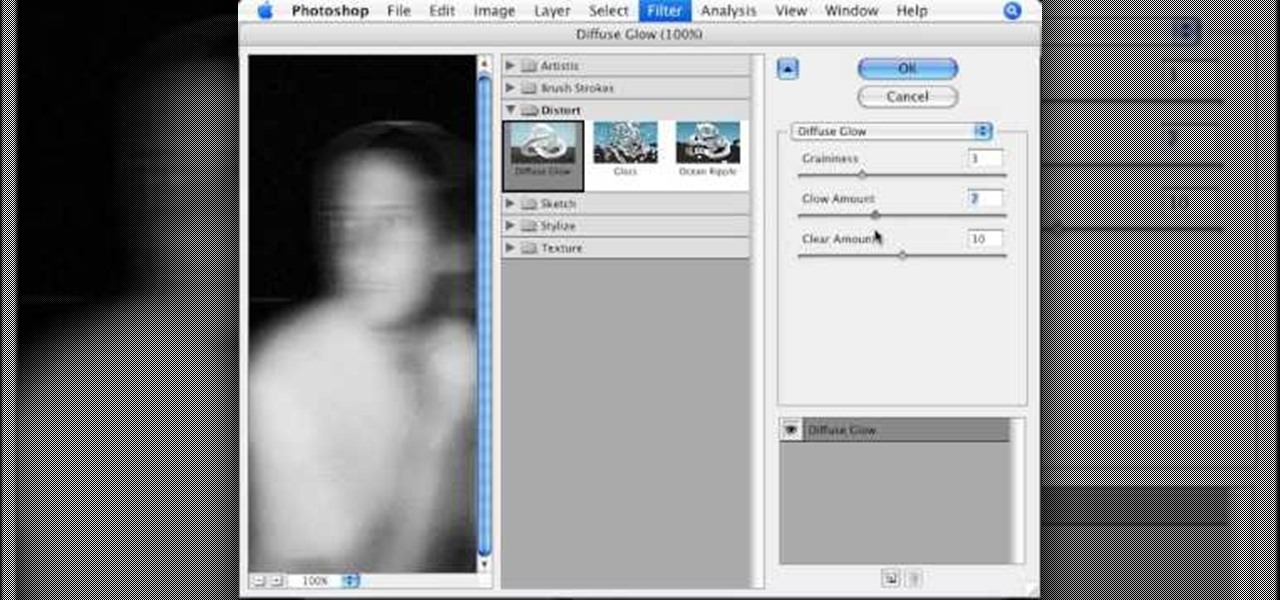
To manipulate photos and turn someone in a photo into a ghost, there are several filters that can be used in Photoshop. This video takes us through the steps of how to take an ordinary picture and turn the subject into a supernatural being using the motion blur technique and the diffuse glow filters among others to alter an image. The best types of pictures to use are ones where the background is relatively dark. By following these simple steps in Photoshop, you can turn anyone in an ordinary...
The video is basically about how to modify the focal point of the image. When the image has some stuff on the background and when you want the viewers to focus more on one particular area and making the rest of the image darker, you need to modify the light values of the image, which will be taught in this video. This can be done by just selecting the area, which you need to highlight on the image by giving some border and then add curves. In the curves the area is made darker than the rest b...
In this video we are going to light cast a window so we can add more focus to the photos. First take unremarkable photo, then find a window image to transfer and select all Ctrl+a. After that copy it to the previous image. Click layer 1, then select the white space in the window that allows the sun light to pass by using magic tool quick select the part of the window. Delete the layer, after that go to adjustment layer, select levels. Adjust the level so that the color of the window is darker...
For this Final Cut Studio video tutorial, Zach King will teach you how to create an Apple reflection look in Final Cut Pro. To create an Apple reflection look, just go to the Video Generators tab, go to Render, and then Gradient. Next, go to Controls, click Gradient Type, go to Horizontal Bottom To Top, and also check Gaussian Blur. Check out the rest of the process in Final Cut. Let the Final Cut King show you how!
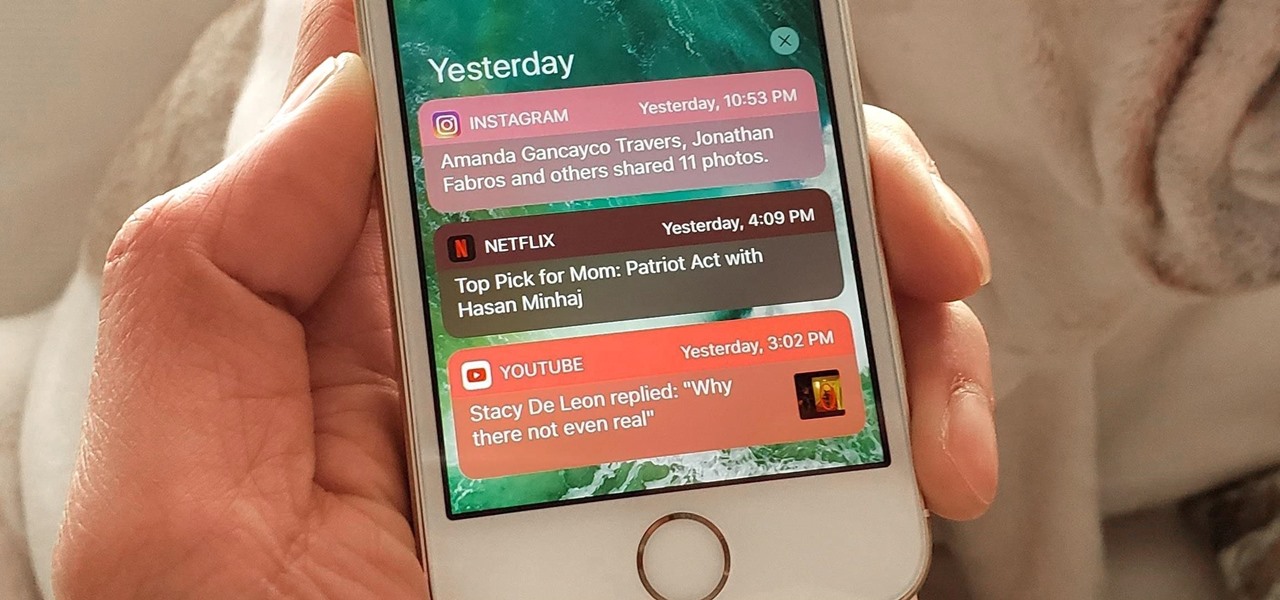
The iPhone's notification system has drastically improved over the years, but it could still use some work. The notifications, while useful, are all monochrome, making it hard to distinguish which app posted each alert, and that's not even mentioning the drab overall look. This is where jailbreak tweaks can come in handy.
Due to their large size and added screen real estate, Apple included a new feature for the iPhone 6 and 6 Plus known as "Reachability." Essentially, this function makes reaching the top part of the display easier by double-tapping the home key to shift the screen down closer to your thumb.