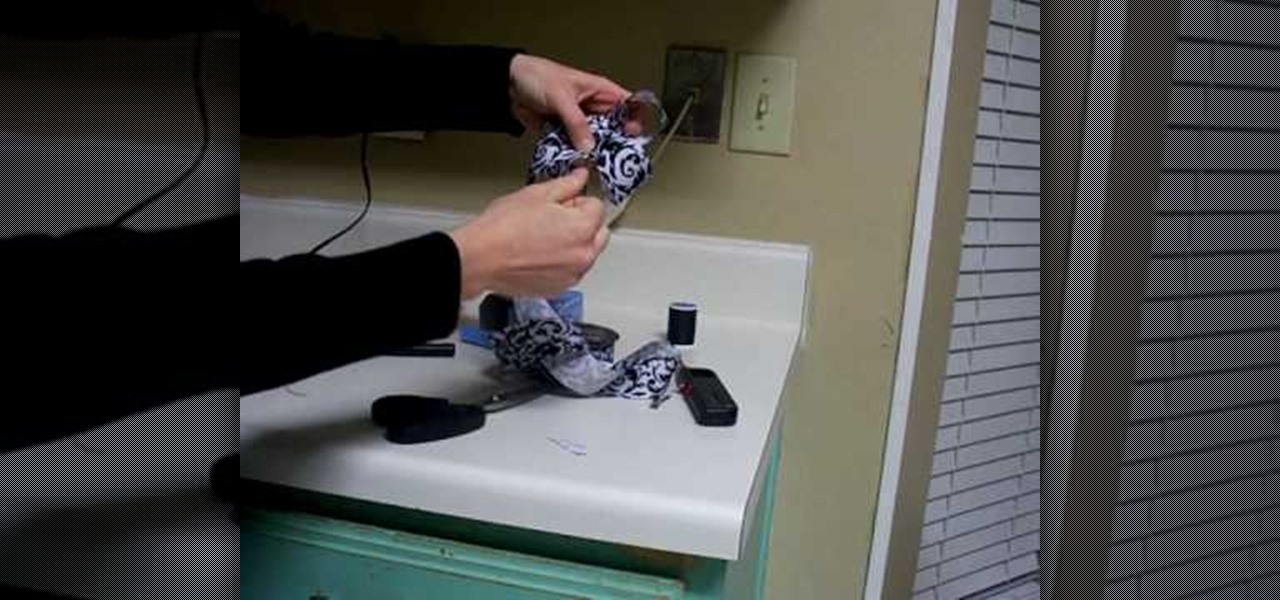
These adorable cards are perfect for gifting your daddy-o on Father's Day, but you should by no means limit yourself to just that one holiday. These collared shirt and tie cards are also suitable for your dad's birthday, or even for your boyfriend on his birthday.
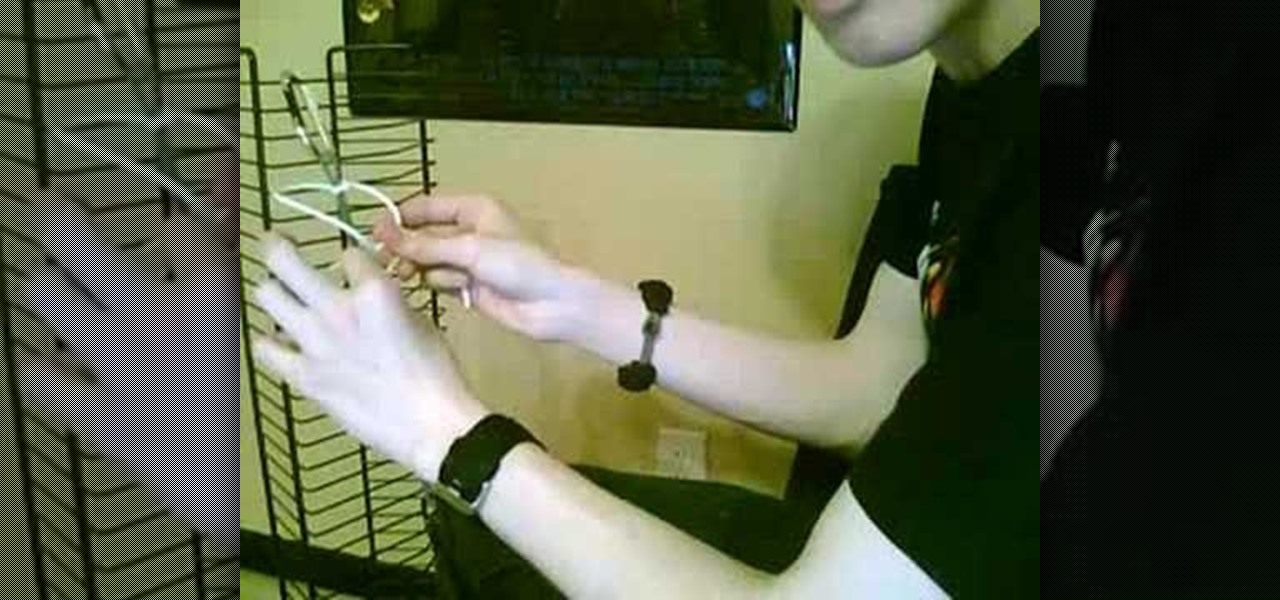
In this tutorial, we learn how to weave a (king) cobra stitch for paracord bracelets. First, take a 10 inch cord, fold it in half, then tie a knot at the end of it. Put this on a holder, then tie another chord on the bottom of it and hold it with your knees for tension. Next, start to weave the other color chord around it by going in and out of the two sides of the first chord. Continue to do this for the entire bracelet, then knot it off at the end to finish. You can add your favorite colors...
In this tutorial, we learn how to tie a Texas rig. First, get your worm and your side hook, then hook the worm to the fishing rod and hook. Tie a knot around the fishing line so it stays in place then you will be ready to use! This is great to use when you are out fishing, and will bring in a lot of fish. Make sure when you hook the hook into the worm, you thread it through so the hook doesn't obviously show. Fish will be attracted to the worm, then get caught on your hook because they won't ...
In this tutorial, we learn how to tie a decorative noose. First, form a loop and then and wrap the end around the loop thirteen times. Next, take the loose end and stick it into the coils you just made. Use a pencil and long scissors to help you do this. After you are done with this, tie a knot at the end and pull so the loop is tight. You can also clip off the loose end and pull the loop to make it larger if you prefer. When finished, use this as you wish but do not use it for violent activi...
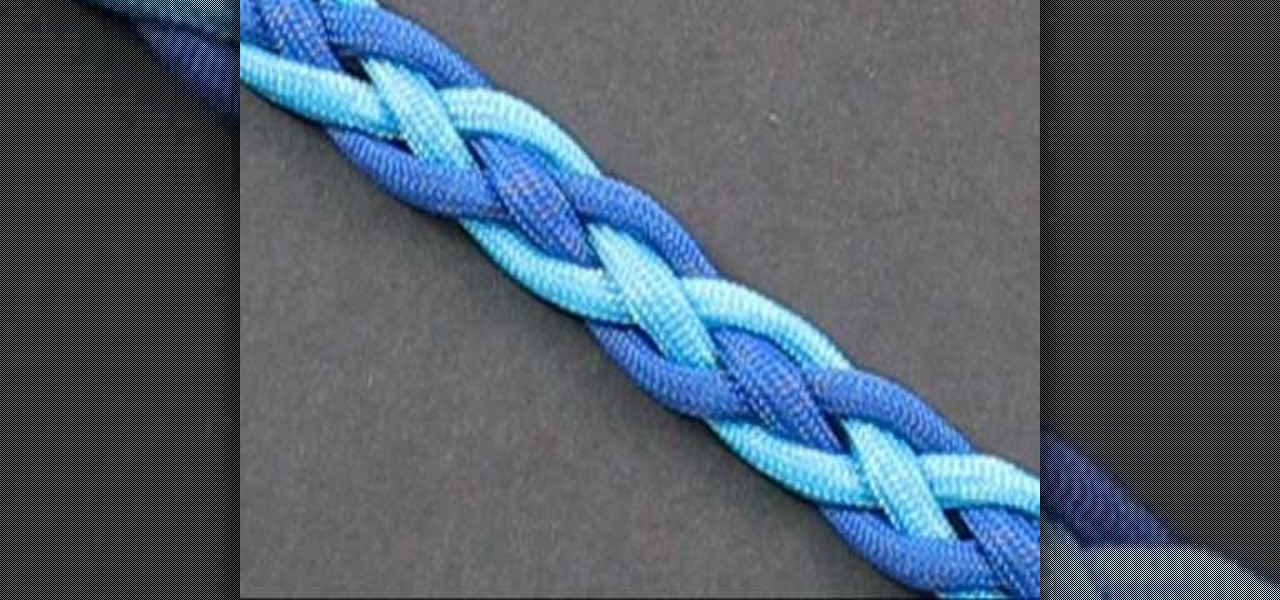
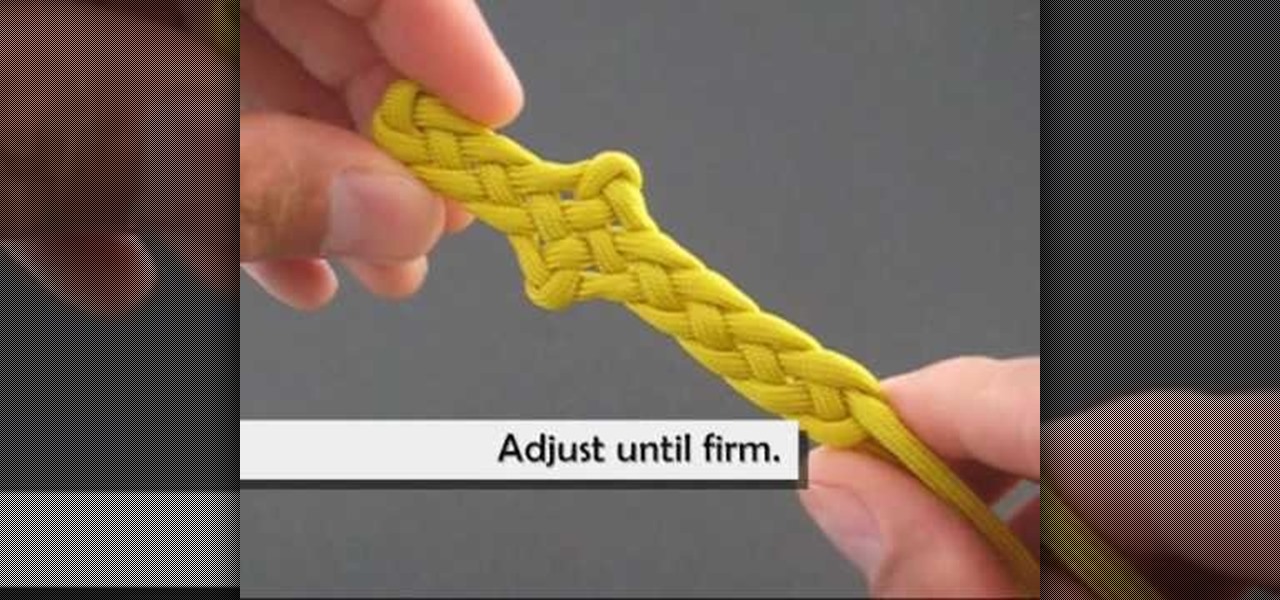
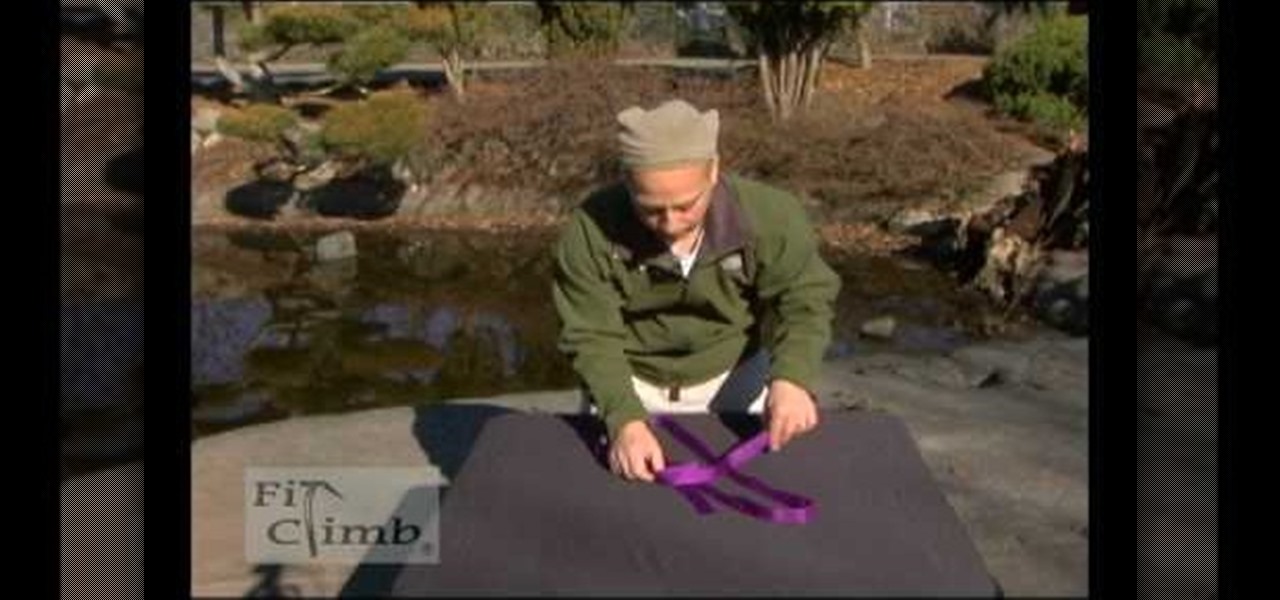
The great thing about weaving, is not only can you make something that is fun to look at, but can be used in certain situations. This next tutorial is going to show you how to tie a two color snake weave. The weave is basically a celtic knot that is perfect to use as bracelets and straps. This weave is different from an original snake weave in that it adds something extra and can't wrap around itself. So check out the tutorial and good luck!
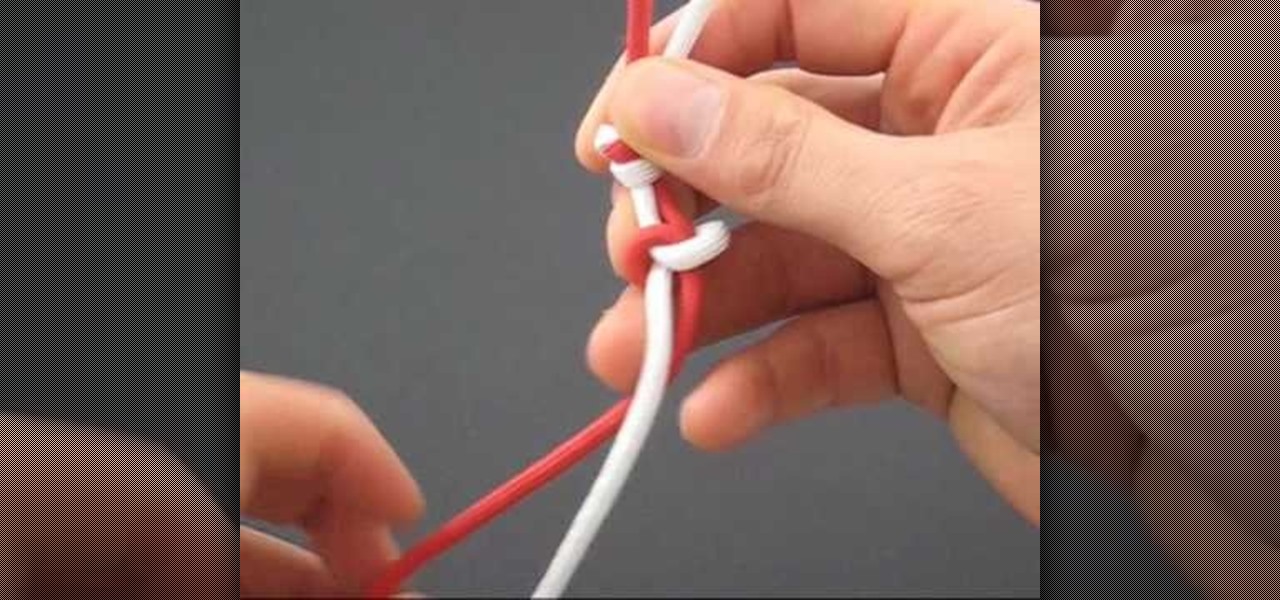
In this tutorial, we learn how to tie a paracord snake knot. Start out with a double overhand knot, by making a loop with two strings and tying it through. After this, start the snake knot by taking the left piece of string and wrapping it around into a loop. Then, take the other piece of string and place it inside the loop, then pull it to the left and wrap it around the other string, then push it through the loop. Continue to do the snake knot until you reach the bottom, then finish it off ...

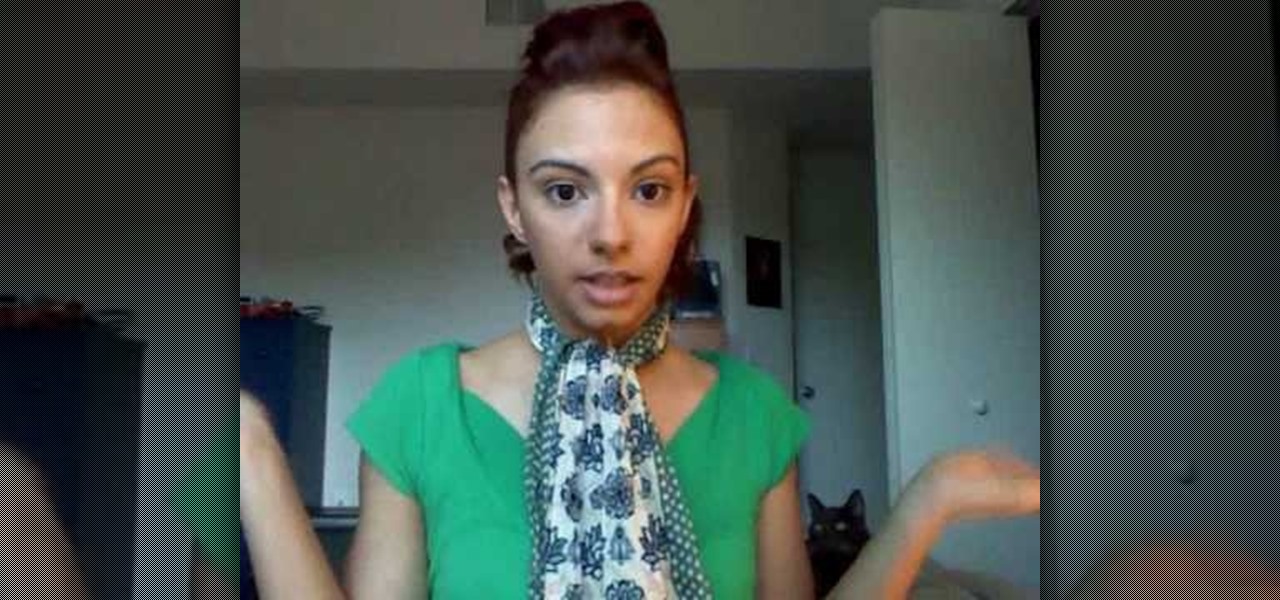
In this video tutorial, viewers learn how to learn how tie a kerchief scarf. Begin by opening the square scarf and then fold the points together on opposing sides to create a triangle shape. Now place the triangle on your chest, with the pointed tip facing downwards and bring the end points around your neck. Users may choose to let the end points hang down loosely or tick them under for a more fuller look. For a more asymmetrical look, turn the scarf to one side. This video will benefit those...
In this tutorial, we learn how to tie ballet slippers. First, flatted the back heel of the shoe. Next, sew the sew from the inside so the elastic isn't sticking out. Then, take the drawstring and pull the shoes on so they fit snugly. Be careful not to pull it to tight. Then, tuck the string back into the shoe, don't tie it into a bow. Even if your foot grows, you can loosen the shoe up. If you have a point shoe, it also has elastic that get attached to the back. You will place ribbon into the...
This video tutorial is in the Arts & Crafts category where you will learn how to tie a sheet bend knot for camping. Take two ropes, make a bite at the end of one rope. Pass the end of the other rope through this bite from underneath and come back through the loop in the second rope and pull it tight. This knot is used to tie two ropes of different sizes together. A variation to this knot is called the double sheet bend. Here you make two loops with the second rope and pass the standing end th...
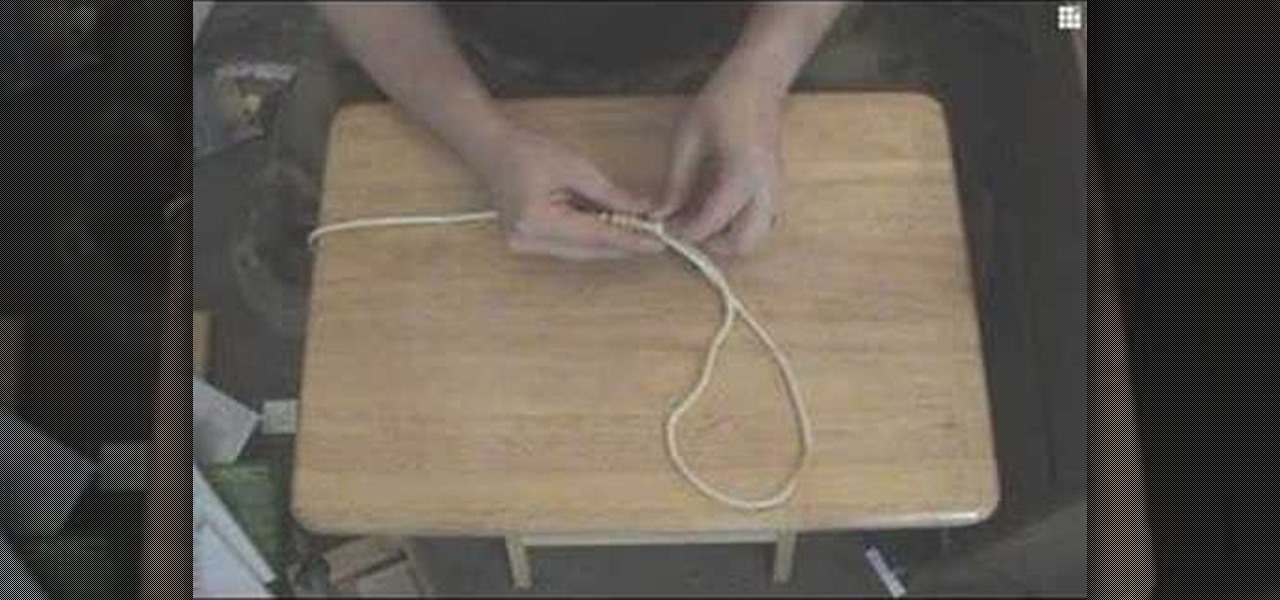
When you think of a dagger, you imagine a weapon that is small in stature, but useful for thrusting and cutting things. This next tutorial is going to show you something that is incapable of performing those tasks.
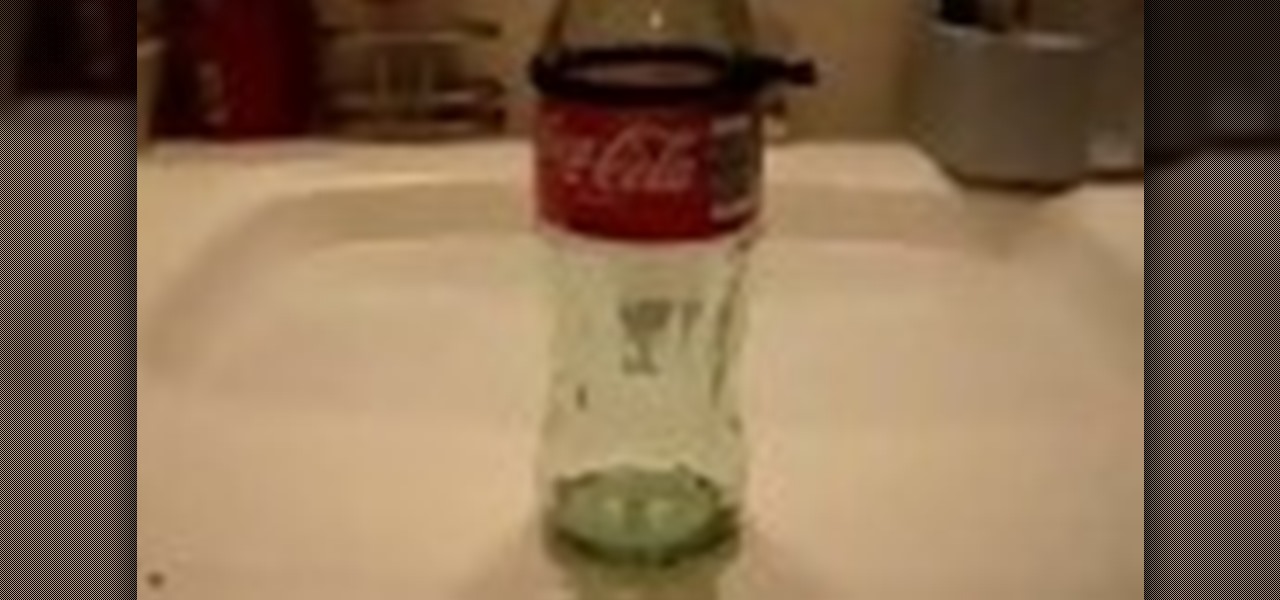
In this tutorial, Tony Vo teaches us how to cut a bottle. You will need: a glass bottle, yarn, lighter, sink of cold water, and acetone or alcohol. First, take your glass bottle and tie a piece of yarn around the part you want to cut. Wrap the yarn two times around, then tie it tie it tightly. Now, take the acetone and drop it onto the yarn until the entire piece is saturated. Next, take your lighter and burn the yarn on the bottle. As soon as the flames die down, place the bottle into a sink...
Ryan teaches us how to make a trapeze spring snare to catch small game in this video. You will need: finishing line, a knife, paracord, and natural living wood. the trap will have two snares built into one mechanism. Start off by gathering all your wood and then place a stake down into the ground. Make a notch in your anchor to place a stick through it, then tie paracord down into a "y" shape tied down onto the stick. When you pull the string, there will be a lot of tension. Tie the center so...
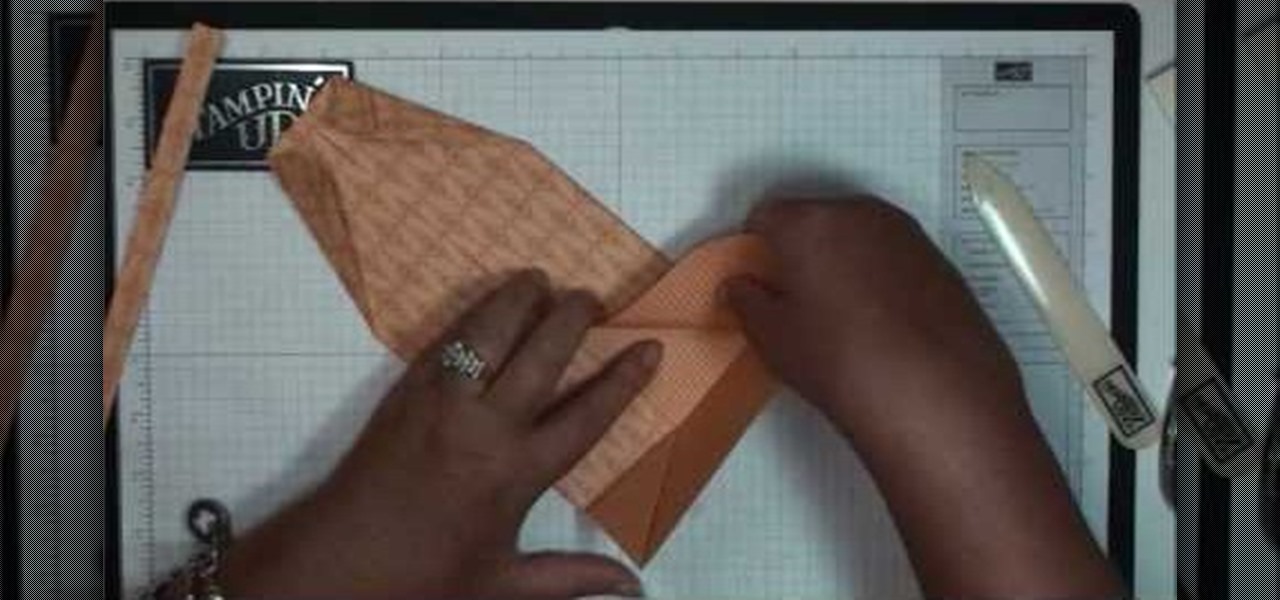
Sure, you've probably seen a million YouTube videos that feature the impressive schemes of 2,000-sided modular origami balls that seem to defy gravity as well as patience. But sometimes the simplist origami craft is the most striking.
Spinner bait are good for attracting and catching bass when fishing. In order to have the lure and the bait working correctly when using this type of bait, you will have to attach the bait directly to the lure. This can be done using the improved fisherman knot. After threading the line through the bait, you should leave about 6-8 inches of line to tie the knot. Begin by making about 5 twists around the line and then thread the line through the hole created below the twists. After threading t...
Although this may not directly help anyone when out in the wilderness, it's still something that many people rely on. This tutorial will show you how to easily tie a paracord prayer beads. It can be used to make a great looking necklace and/or bracelet. It's may seem very difficult to do, but this can be done with the right supplies. So pay attention, good luck, and enjoy!
For some, this may be considered a "London" wall, but to others it's a wall that has some of the most important pieces of family treasures and art hanging on it. This tutorial will give you some tips on how to decorate your wall easily. Things like children pictures, art, and trophies can hang on this wall. So good luck and enjoy!
Check out this video for professional tips on how to bake a delicious glazed ham. This ham is perfect for holidays, family dinners, special occasions and Sunday roasts. Follow along with this video from Betty Crocker and chef Julie Van Rosendaal as they cook up a honey glazed ham that your whole family will love.
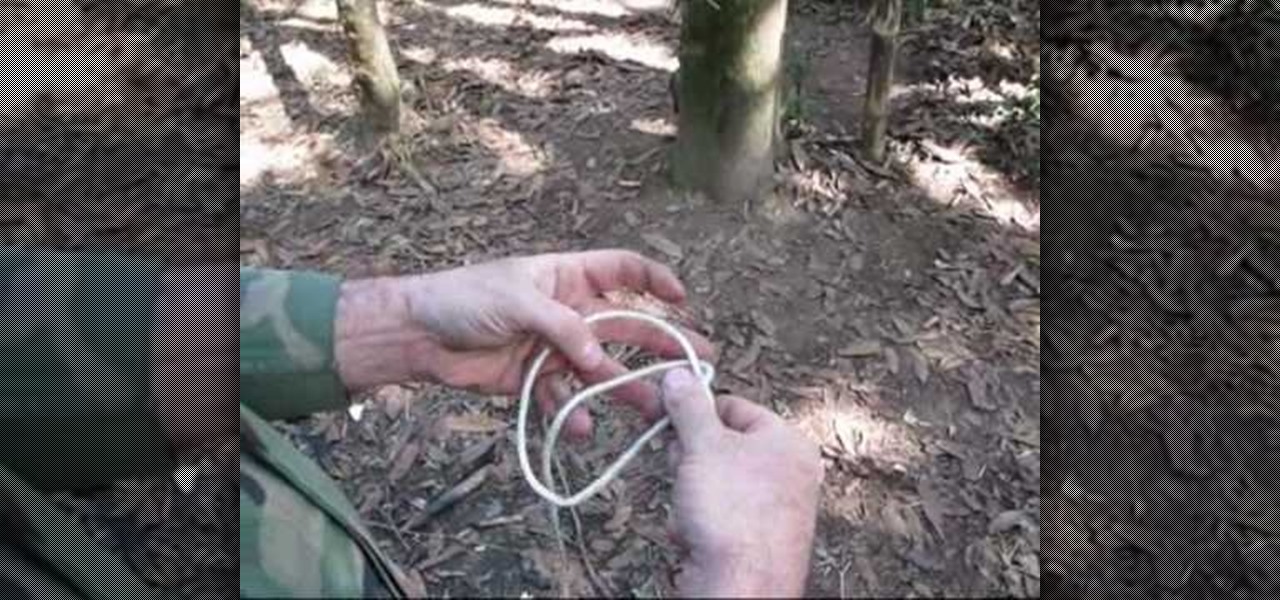
Tying knots and hitches can be an important survival technique. Having the right kind of knots made can make sure you're able to hold on to whatever it is you need. An artillery hitch or loop, is something that is used because it does not bind under tension and can be removed easily afterwards. This is a very complicated knot to perform so pay attention to this tutorial above and good luck!
Want to create a Google Calendar and share it with your entire family or office? It's easy! So easy, in fact, that this free home computing how-to can present a complete (and somewhat talky) overview of the process in just over two minutes' time. For specifics, and to start creating your own networked Google calendars, watch this handy guide.
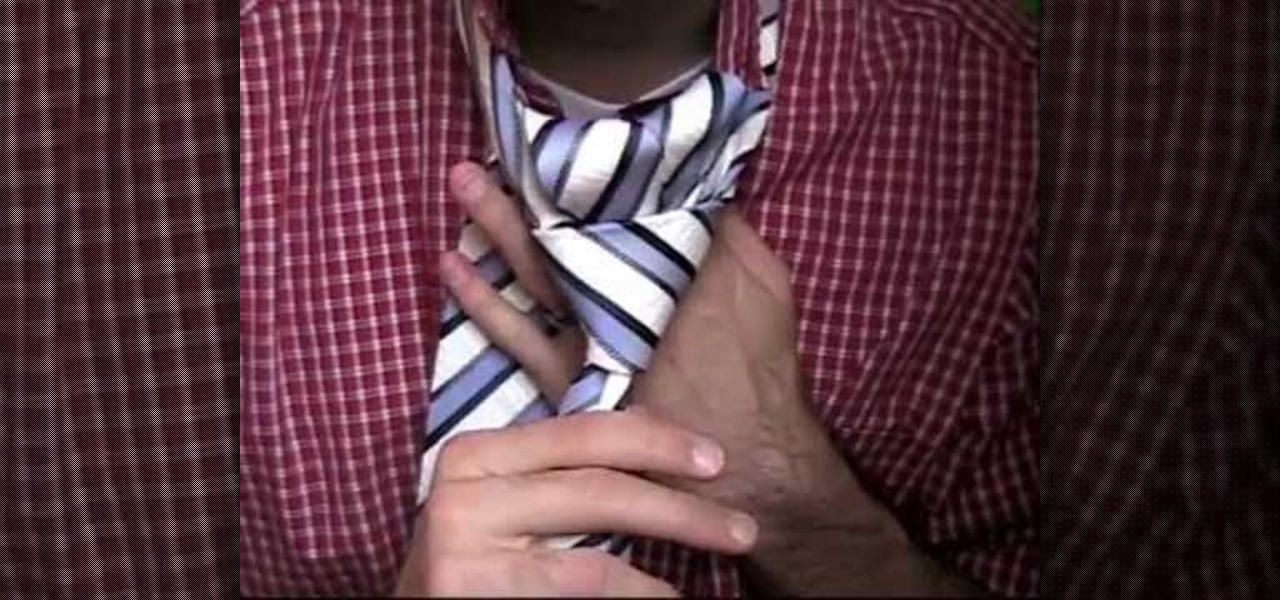
Need help figuring out how to tie a men's necktie using a double (or "full") Windsor knot? It's easy! So easy, in fact, that this video tutorial can present a complete, step-by-step overview of the process in just over a minute's time. For detailed instructions, and to get started tying perfectly symmetrical Windsor knots yourself, watch this sartorial guide.
With sailors to ensnare and seashells to gather for their flimsy bras which break all to often, mermaids have little time to spare on their massively overgrown hair.
Want to grab some great shots at your friend or family member's wedding? Create a glowing, diffused, soft focus wedding photo effect through the power of Adobe Photoshop CS4. Add a whole lot of "mood" to an image by softening and increasing contrast, that also features a vignette around the focal point of your choosing. The beauty of this technique is that by using adjustment layers you can have full control over the final effect's strength and color. Create the perfect wedding photo and give...
Want to get started in the world of blanket making but don't know how to sew? No sweat. There are ways to get around sewing to make a very cool no-sew fleece blanket through just knots and ties alone. Learn how to create an awesome gift for your loved ones this winter with help from this free tutorial.
The great thing about scarves is, not only do they keep you warm, but there are so many different ways that they can be worn. From the obvious bow method to the European look, scarves can be fun to stylize. In this tutorial find out how to tie a scarf in a large flower bow. Make yourself stand out in a crowd by wearing this great looking accessory. Enjoy!
Webbing is not only used in sports like rock climbing and caving, but it also comes in handy in camping and hiking. This video shows you how to tie two webbing ends together to make a loop that will not come off. A square knot does not work for webbing as it will slip through, therefore a water knot is used. Take 4 inches (10 cm) from one marked end and tie an overhand loop. Ensure that the webbing is not twisted. Slip the other end in the knot and trace the second end around the overhand kno...
In this video, learn how to make a cute baby blanket with nothing but a piece of fabric and a pair of scissors.
A bowline knot is one of the most important knots in climbing. You need to make sure you tie it tight for your safety. Watch this tutorial before the next time you hit the hills, and stay safe.
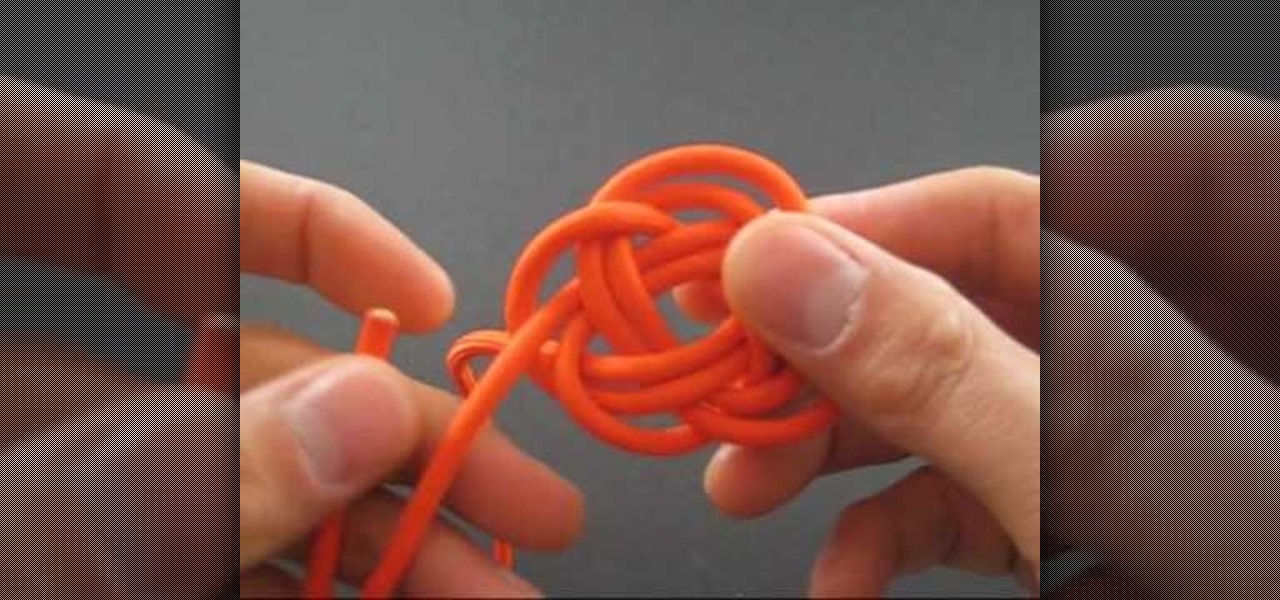
Have more paracord than you know what to do with? If so, and if you're interested in storing it in a creative, esthetically-pleasing fashion (that is completely without any sort of material utility) then the paracord knot balls outlined in this video are for you! Tie some with this free video lesson.
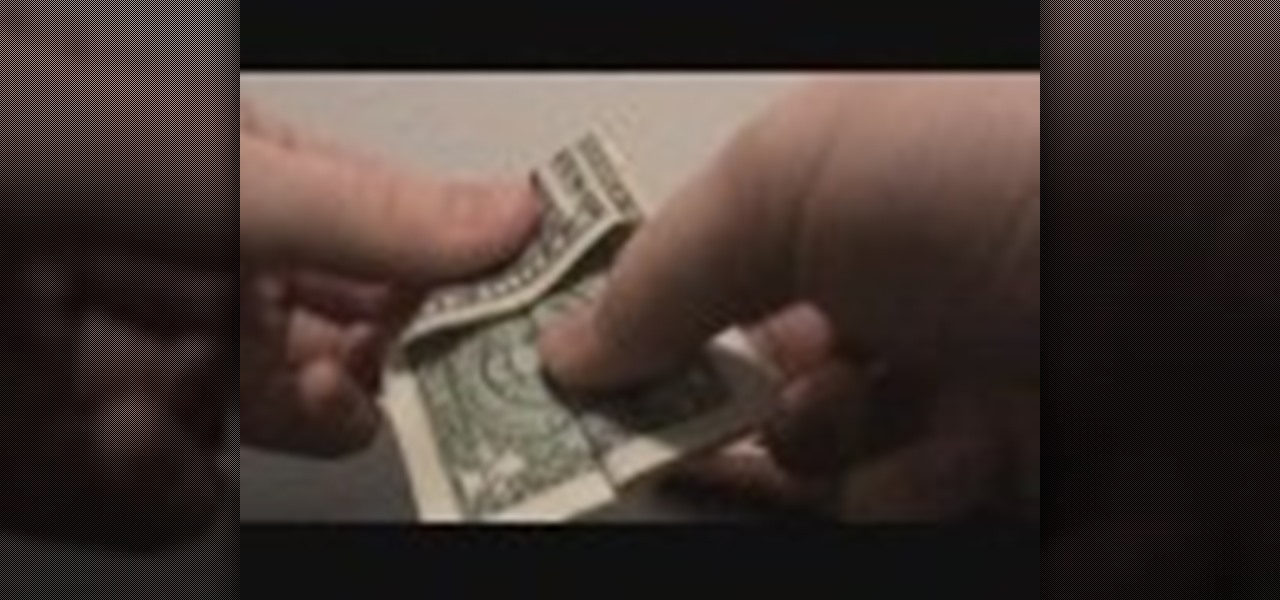
we are taught how to make a unique bow tie from an ordinary dollar bill in just a few short steps. There are no tools are supplies necessary, just your fingers and a dollar bill. Folding the bottom up, then again in half. Opening the sides it forms a 'tent' like fold on either side. Fold up bottom, fold end down. Fold the corners to the center, turn around and repeat that same motion. Pull out while grasping the middle. Flatten it out and there you have in your hand a bow tie, created in just...
This video illustrate us how to tie an ascot. Here are the following steps:Step 1: Take a scarf and hang it around the neck so that it is parted into two equal halves.Step 2: Now take one end and move it towards the other.Step 3: Now bring this end under the first half of the scarf and taking it out from above ,this will form a loop like structure.Step 4: Now bring it out from the loop formed and pull the end downwards to form a knot.Step 5: Now move this knot sideways for a better fashion st...
The video is about creating a plank hitch making use of string and a couple of logs. The video begins with placing a piece of string in a particular pattern on the ground and then placing wood logs on top of it. The string is tied around the logs using a particular knot. The string is pulled tight around the logs and before tying the knot one piece of string is looped twice around the other piece. After the first knot the same process is repeated for the second knot. The video is extremely us...
In this video tutorial, viewers learn how to tie an ascot. Begin by placing the ascot around your neck. Make the right side just a little bit longer than the left. Then cross the left side over the right side. Now bring it up and over through the middle. Fluff it out to spread out the ascot and then tuck it inside your shirt. Make sure that it is flat and smooth inside the shirt. This video will benefit those viewers who are preparing for a formal dinner, party or special occasion, and would ...
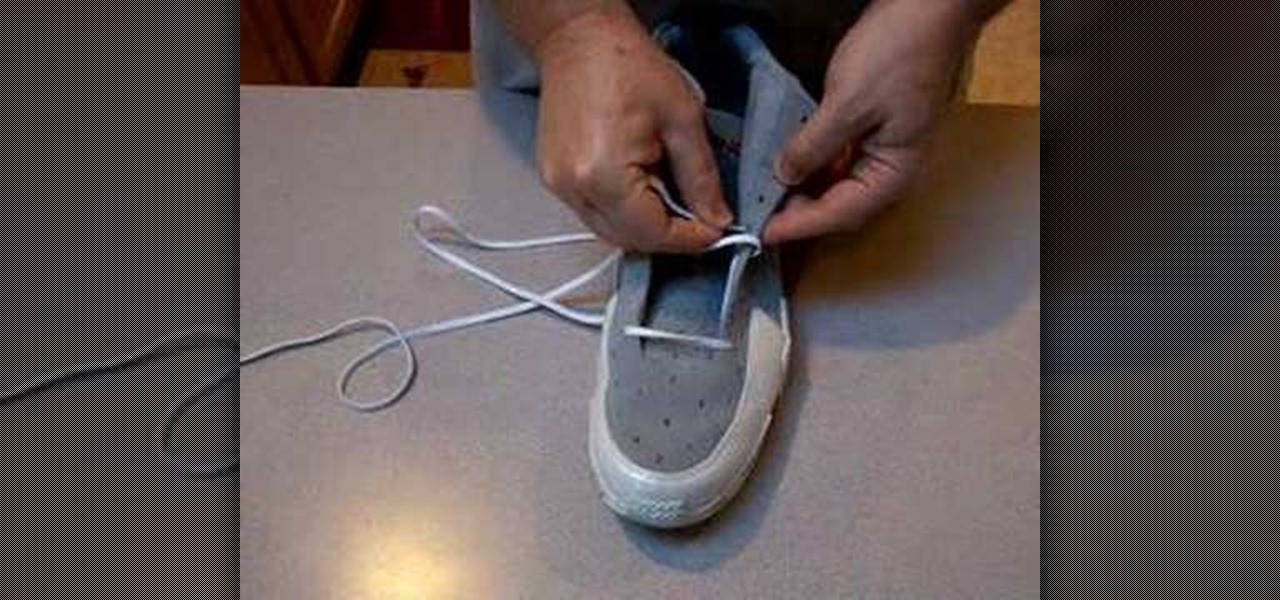
In this video tutorial, viewers will learn how to lace up and tie your shoes to relieve pressure on the foot. There are two techniques shown in this video. The first technique helps to relieve pressure on the top of the foot. If the top of the foot is under pressure, it can cause your toes to go numb. The second technique is the runner's knot. This technique will tighten the top of the shoe and prevent your heel from slipping. This video will benefit those viewers who have foot problems with ...
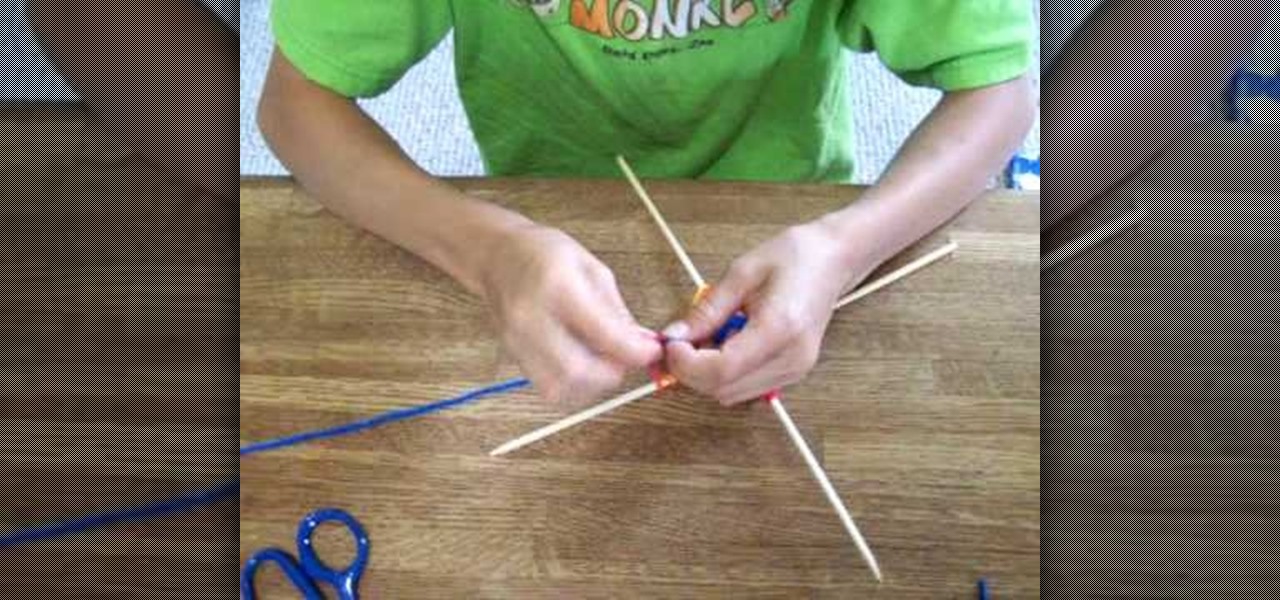
In this video and boy and a woman are showing you the steps to create a "God's Eye" or "Evil Eye". The materials that you will need are 2 sticks, yarn of your selected colors, and scissors. First, you take 2 sticks and use the yarn to knot around the middle wrapping diagonally to form a "t" shape. Then you take another piece of yarn, hold the end in the middle, and start wrapping around each stick going over one and under the next. Continue this pattern until you are done or unless you decide...
Six Minute Style host Susan Doherty is on location in Montana at the Nine Mile School house with Kurt Seer who shows how to create a 3 dimensional wreath mobile. He uses birch as his base. You can use any wood you choose. Make a square out of four branches. Knot, tie and twist floral wire at cross sections of the wood frame. Leave a little tail for the decorations. Tie dried rosemary in the wire tail. Tie leaves and greenery around the frame using wire. Not only for Christmas, you can create ...
This video shows the viewer how to tie a scarf in an ‘Ascot’. Allegedly this is a preppy look and should appeal to young people. The knot is tied by placing the scarf around your neck, one of the lengths should be slightly longer than the other. Wrap the longer length three times around the shorter one before taking it behind the shorter length and pulling it over the ‘knot’. This end is usually the spread out to display the pattern of the scarf. It is suggested that this look is unisex and t...
First of all pass the line through the eye of the hook and do it across seven or eight times. Run it through the loop again and then pass it through the main loop of the line. Make sure that your line is wet. Another different way is that you can tie a loop on the line and then make another loop and then pass it through the eye of the hook and then tie it and cut it off. Another way to make a knot for the live bait is first make a loop and then pass it across over three or four times. Now pul...
If you want to know how to tie a Double Windsor knot, this video is for you. To tie a Double Windsor knot: Lift up the collar of your shirt. Place the tie around the back of your neck so that the wide end hangs down on the side of your dominant hand, a little more than twice as low as the thin end. Cross the wide end once over the front of the thin end and then around the back of the thin end a few inches below your neck. Slip the wide end through the back of the V-shape made by the knot, pul...
A girl is trying to teach us how to make fish friendship bracelets. We need four colors in order to make a bracelet. She shows us on a clipboard the four colors and after tying them we will get a total of 8. She slowly ties up each knot and shows us each step of the way. She does not however provide written explanations for additional information. A background of simple knots is required for this video as she does not explain how to tie the knots.
Learn how to tie a perfect bow. To do a basic pony bow, place the gathered hair in the center of the ribbon and tie a single knot to secure it. Making two loops, cross one loop over the other and pull the loop on top through the hole you've created. Straighten out the ends and tighten so the two loops are on top and the two tails on bottom. Make a headband bow. Run the ribbon along the hairline, drawing the ends up on top of your head. Secure a knot and tie a bow. By tweaking the loops out a ...