

How To: Draw Glen Quagmire (Family Guy)
Learn How to Draw Glen Quagmire (Family Guy) with the best drawing tutorial online. For the full tutorial with step by step & speed control visit: How to draw

Learn How to Draw Glen Quagmire (Family Guy) with the best drawing tutorial online. For the full tutorial with step by step & speed control visit: How to draw
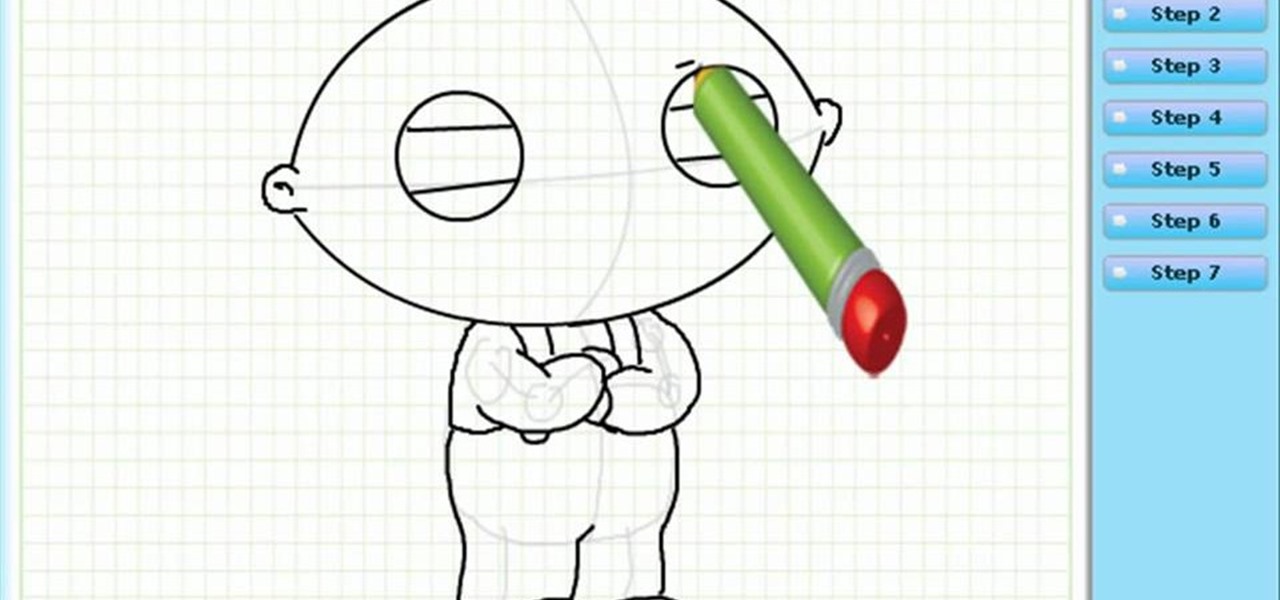
Learn How to draw Stewie (Family Guy) with the best drawing tutorial online. For the full tutorial with step by step & speed control visit : how to draw.
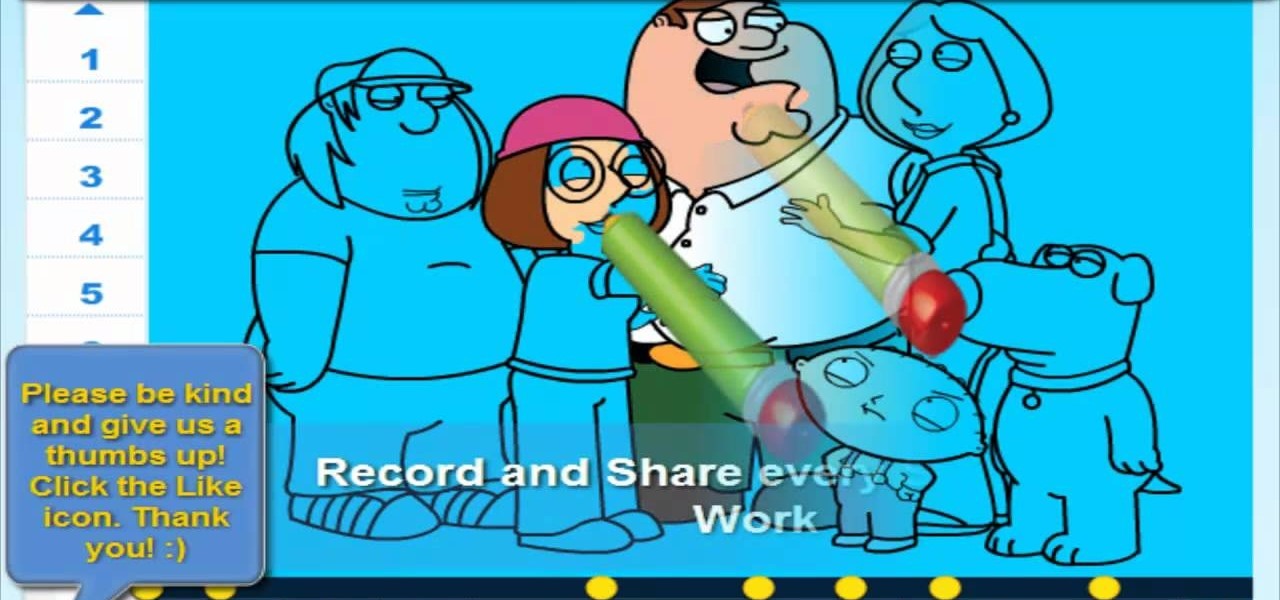
Learn How to draw Family Guy Characters with the best drawing tutorial online. For the full tutorial with step by step & speed control visit: how to draw
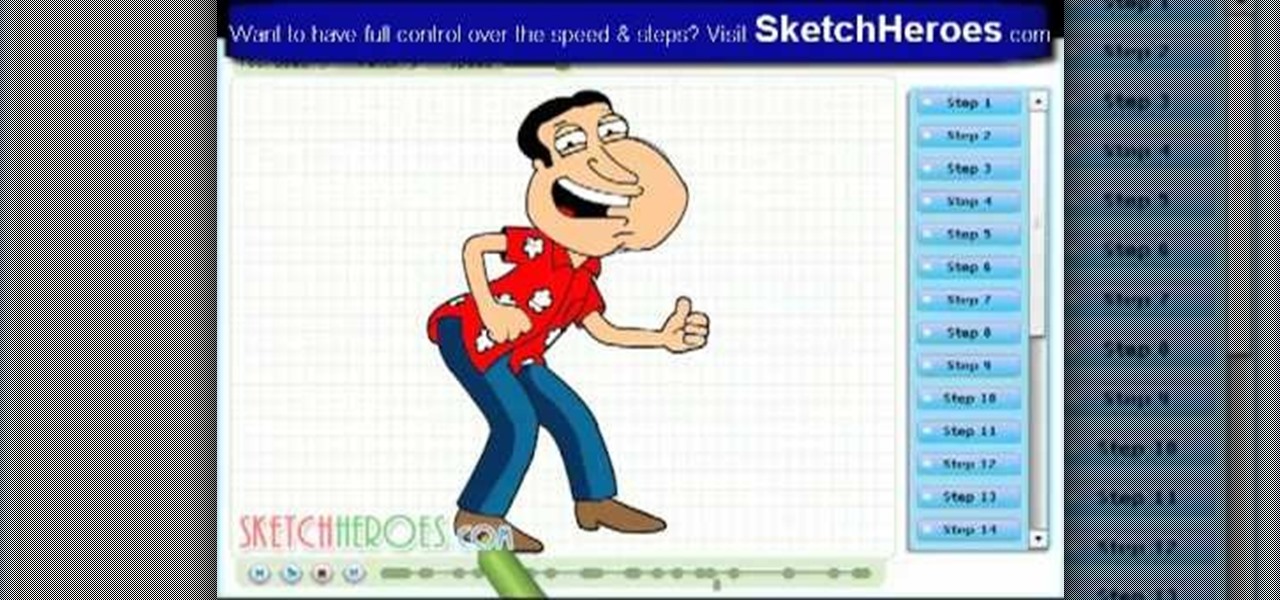
Learn How to draw Glen Quagmire (family guy) with the best drawing tutorial online. For the full tutorial with step by step & speed control visit: how to draw
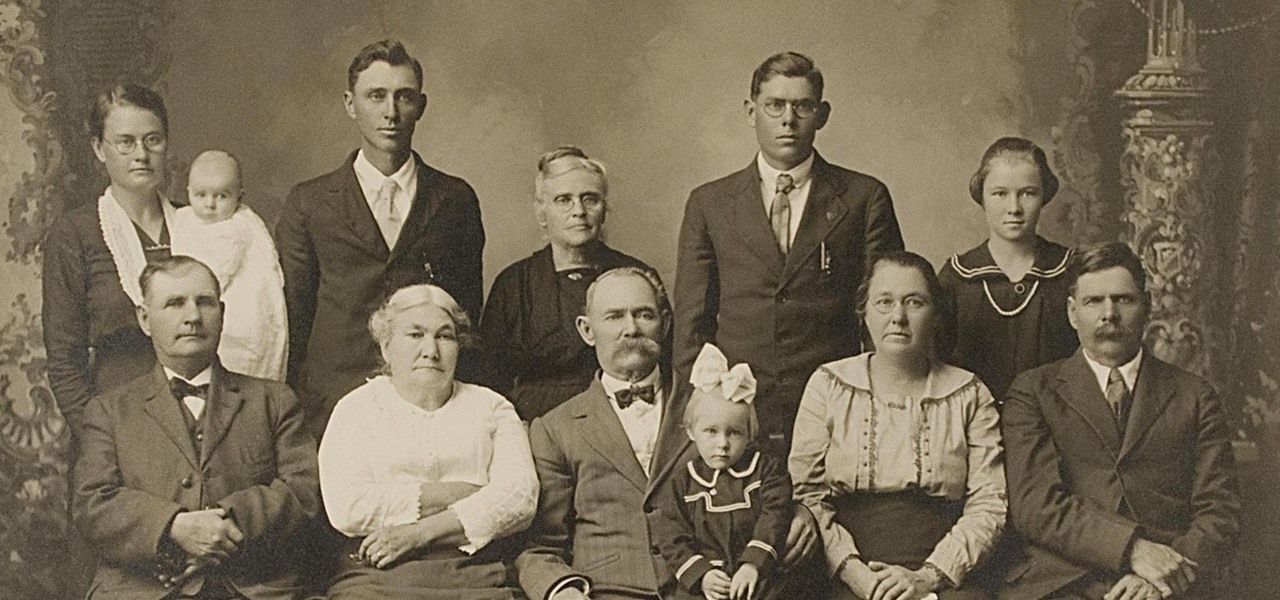
Are you interested in beginning research of your family's history? I began this journey about 3 or 4 years ago and here is what I found. I've done almost ALL of my research online, and gotten farther, faster and more comprehensively than anyone else who has researched my family the old fashioned ways. This is the kind of thing that technology is made for. Here's how to use it.
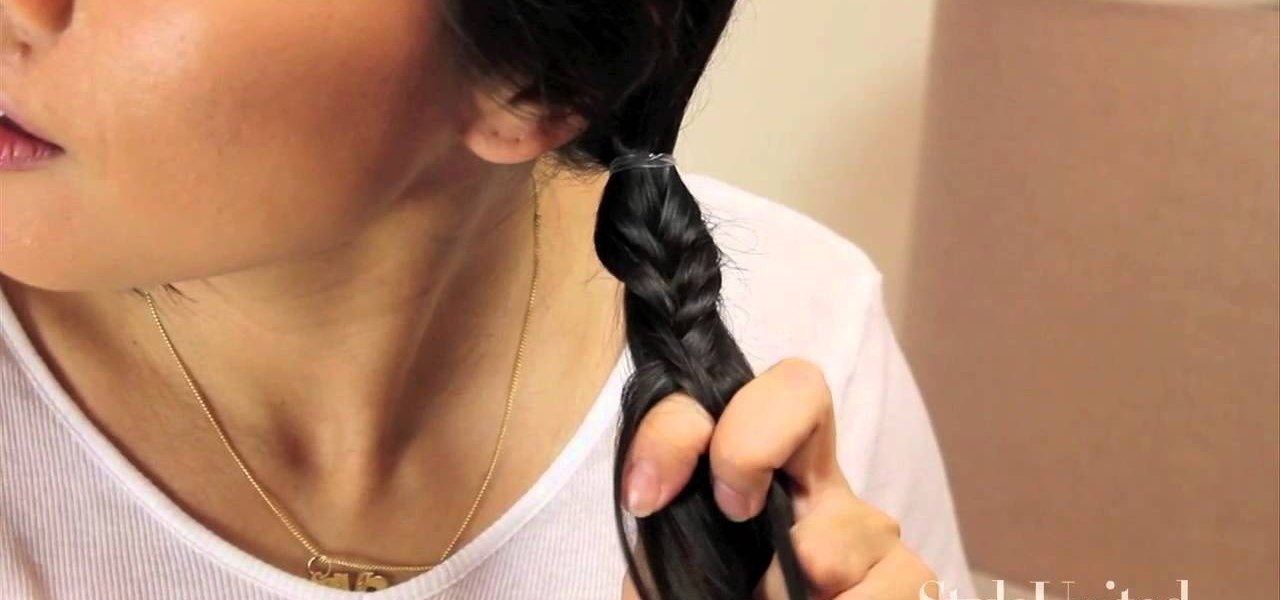
Step 1: Tie a Ponytail Use clear elastic to tie a ponytail and divide the ponytail into 2 segments.
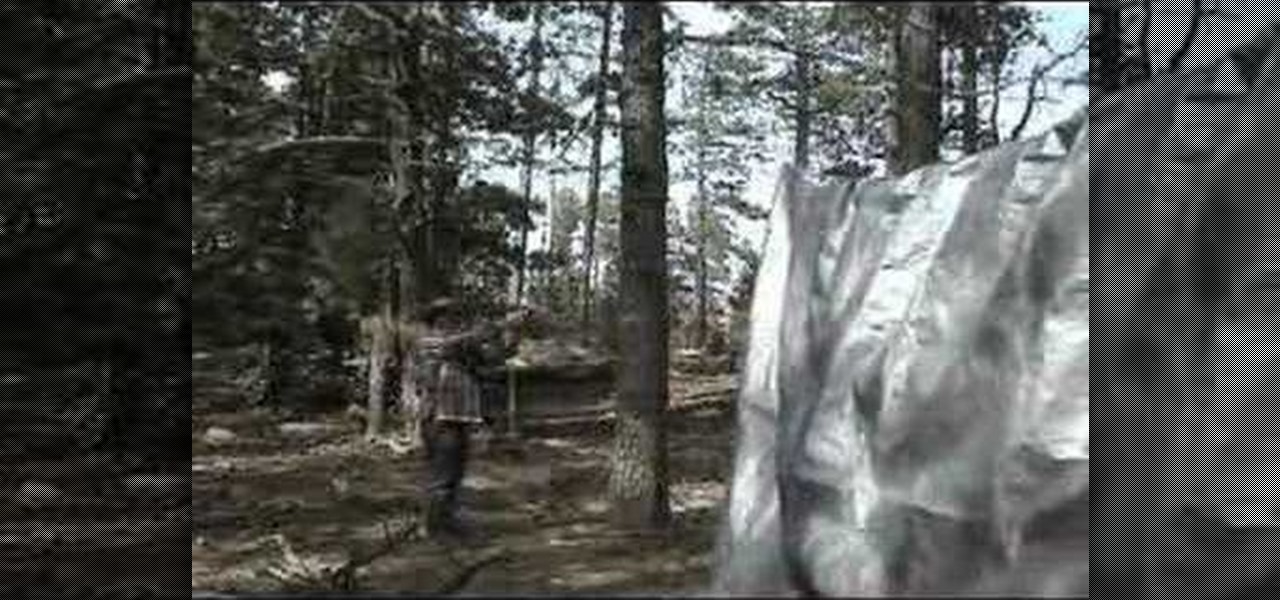
Learn how to put up a tarp for shade and protection from the rain in this video. First, find two trees with a nice flat spot in between them. Throw a rope up over a limb at least fifteen feet or so high. Now, tie the rope off to itself or to a smaller limb. Next, secure the rope on the other tree and leave the slack on the ground. Next, put the tarp over the rope evenly and anchor one end with a wire tie, small rope or bungee. Now you hoist the tarp up using one end of the rope and pull it to...
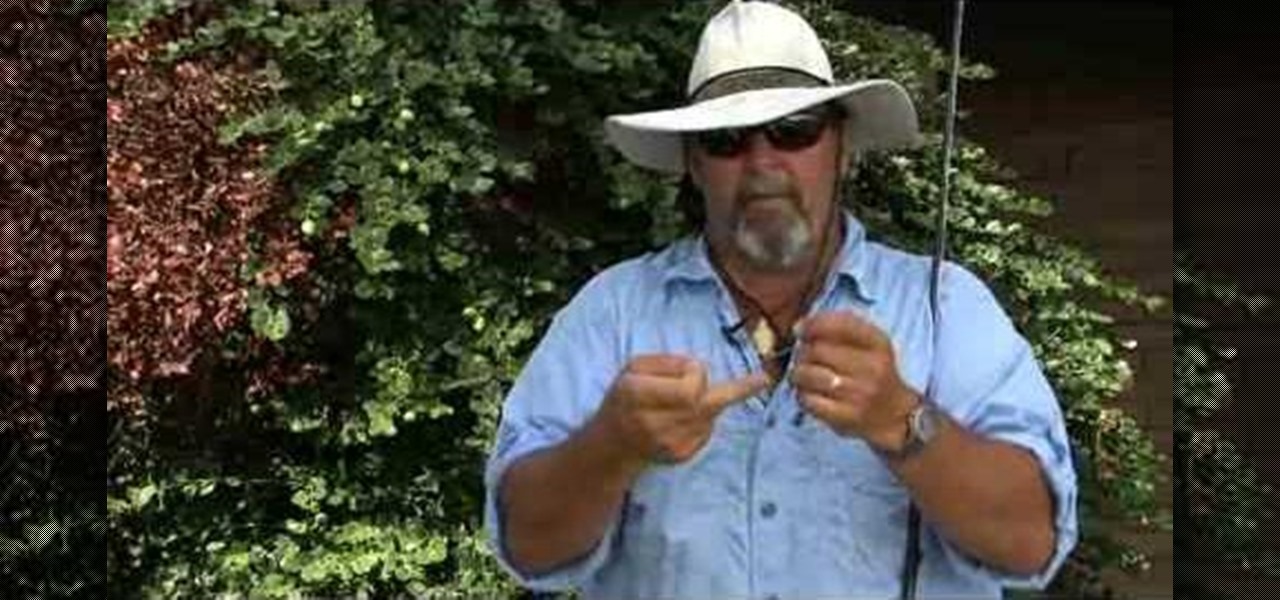
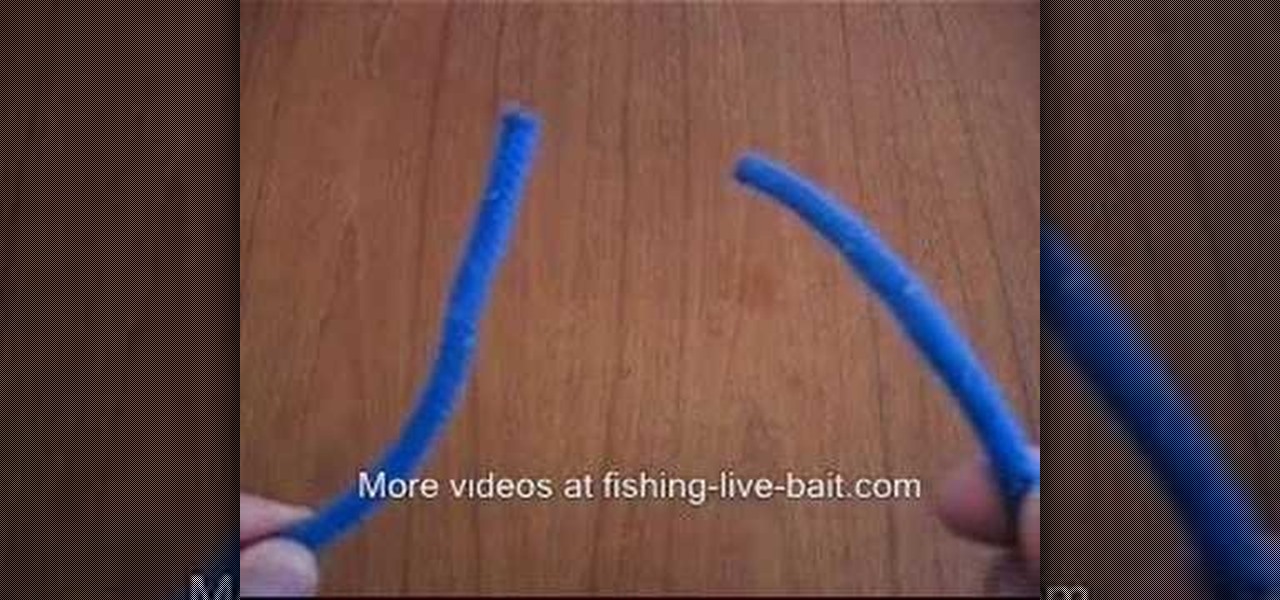
In this Outdoor Recreation video tutorial you will learn how to tie a "Uni-to-Uni" knot for kayak fishing. When fishing for Tuna, you don’t need a heavy leader. You need a 30 -40 lb test as a leader. Most spools come in 25 yard roll. Take half of the roll and use it as the leader. To tie the leader to the main line, you will need the uni-to-uni knot. Tying the uni-to-uni knot is pretty simple. Lay the main line and the leader parallel to each other going in opposite directions. Loop the mai...
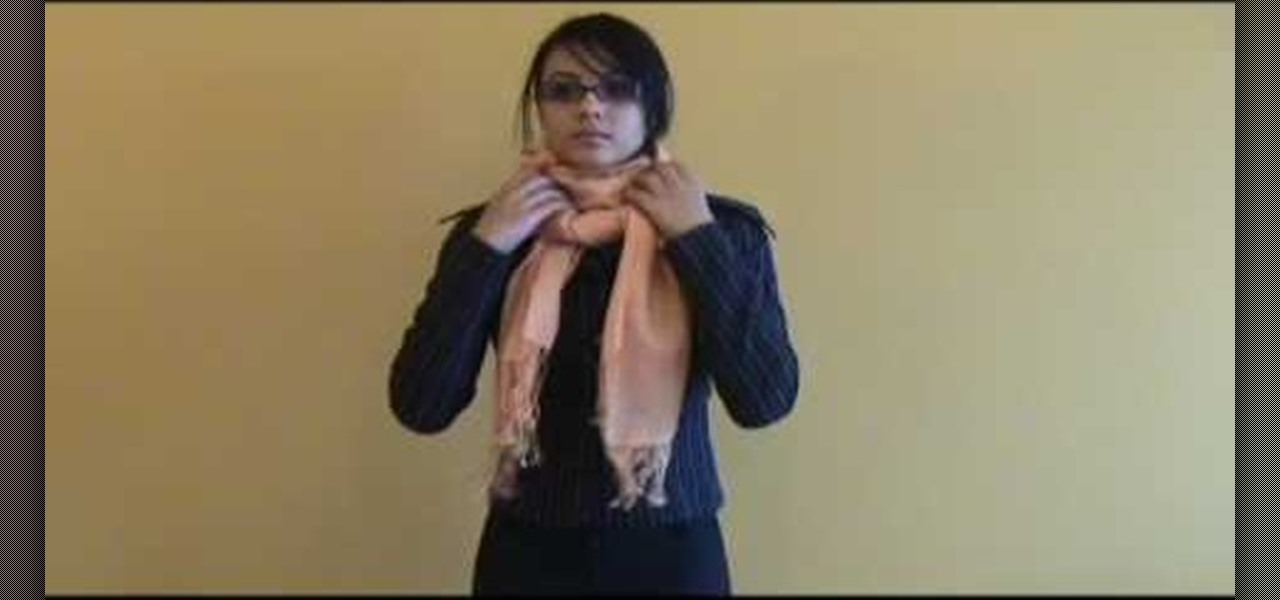
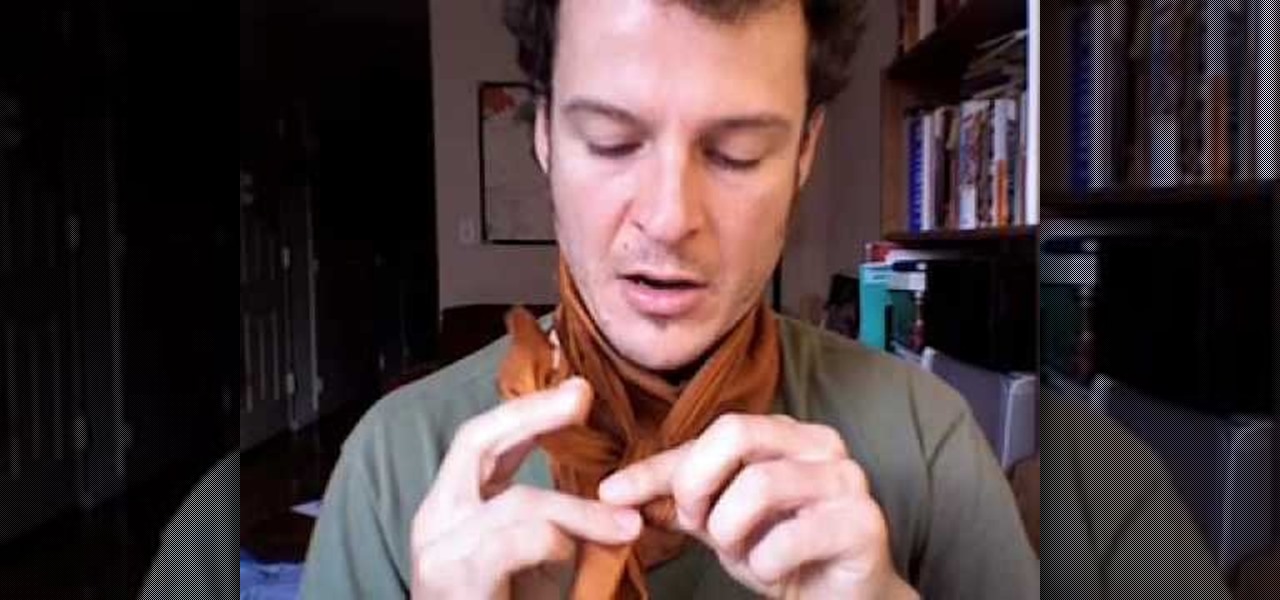
This video shows how to wear a Pashmina, also called ladies muffler, in several different style of fashion. First, with a Pashmina, half fold it, then wear it around your neck accordingly, and pass it from the closed end as tie. Then, stretch to close around the neck. Now, for the second way, open it again, wear it from the center, in a way, that it hangs from the back of the neck, give it two folds and stretch it in opposite directions, so that it is tied around the neck, then make a knot fr...

This video demonstrates how to make a balloon sword and heart. To make a sword, pump up a balloon as long as possible and tie the end. Twist the balloon at this end making a small ball. Bend the balloon at around 20 cms in length and twist both the ends of the balloon at the same level as the ball creating a loop. This is named the 'elephant bend'. Now insert the long end of the balloon into the loop leaving behind a small part. Your sword is ready.To make a Heart flower. Take a red balloon a...

Clam Shell end tips, or knot covers, are normally used when you are stringing pearls or other beads on silk or nylon thread. They cover the knots on the ends of the thread so they can't be seen.
Learn how to immobilize an ankle. The ankle is a complex joint, so when an injury occurs, and you can't get help right away, the first thing to do is keep it from moving – you'll prevent any more damage to the surrounding nerves and tissue.
The method demonstrated in this how-to video makes the Bowline knot quick and easy to tie. It is useful when you expect a blow and need to take a few turns around your winch to use as an additional hardpoint. In this case I am simulating a mast winch but the process can be used on a horizontally mounted winch as well. The secret is to form the bowline eye by capsizing an overhand knot. With the standing part in your left hand form a turn around the winch from top to bottom then cross the runn...

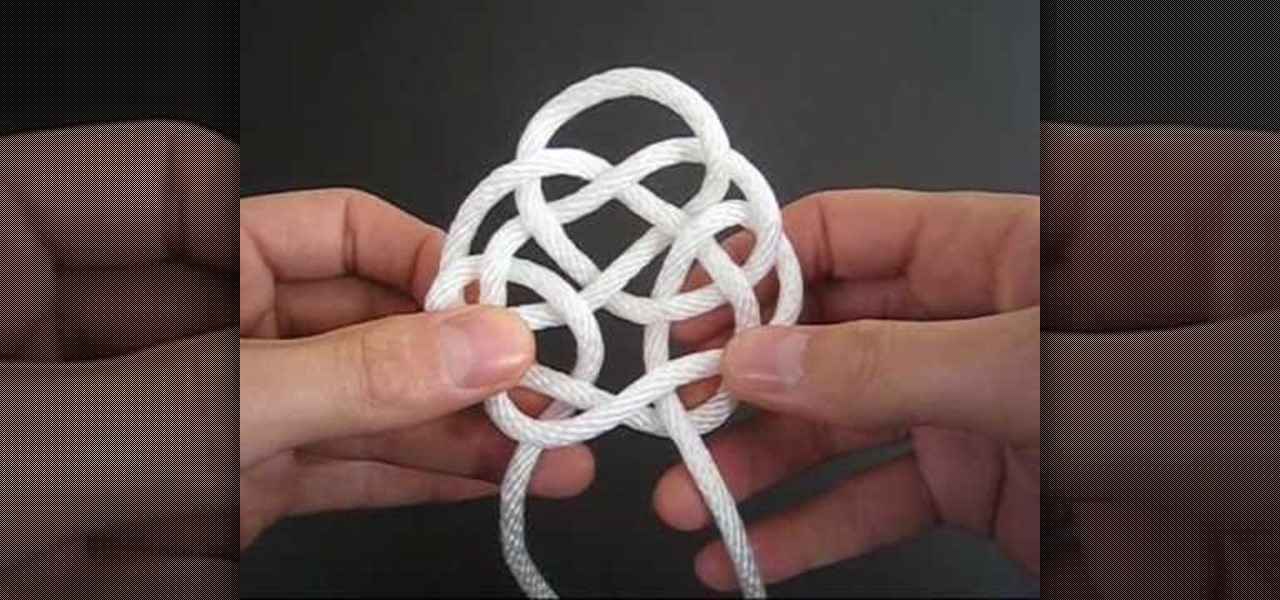
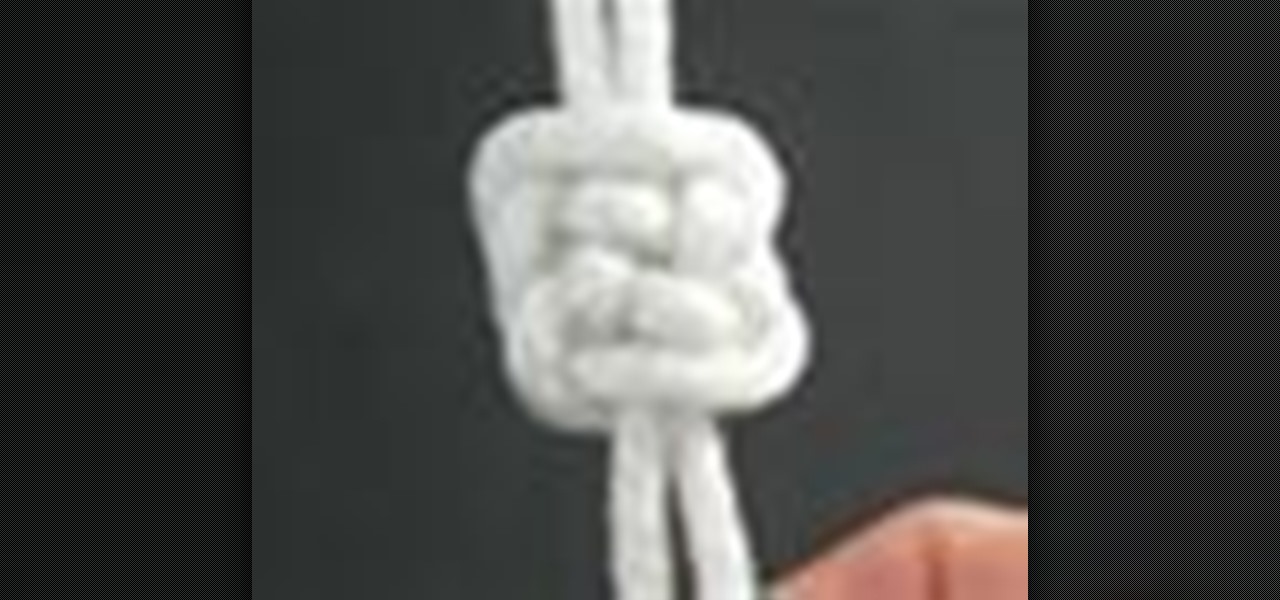
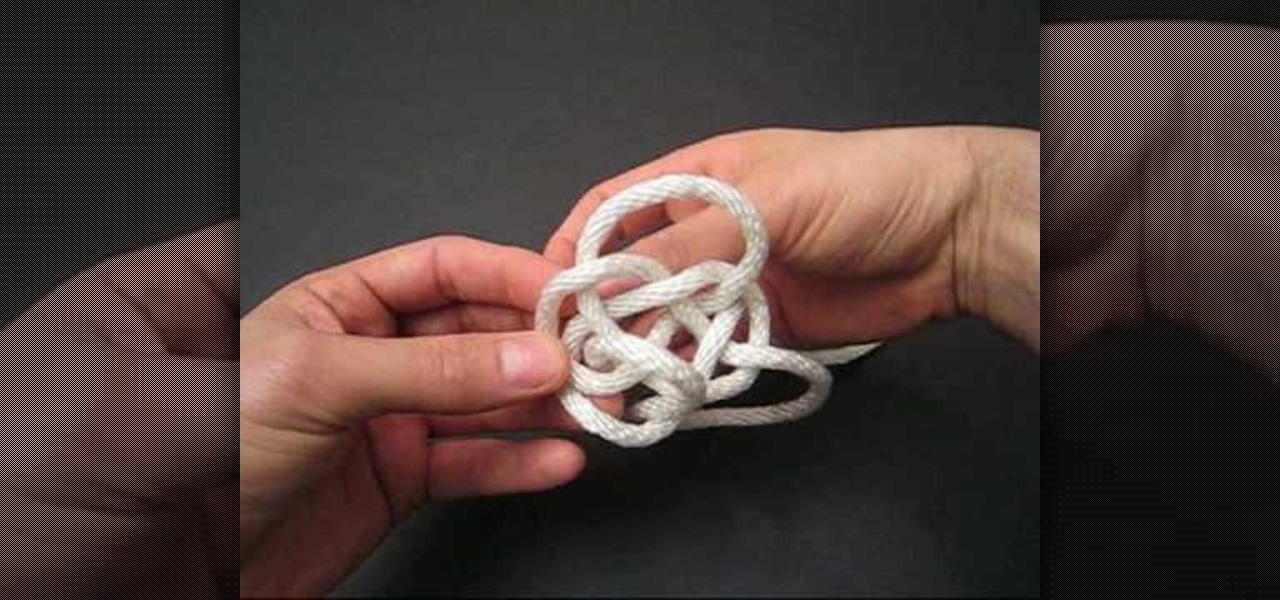
If you're looking for survival knots or nautical knots then you've gone to the wrong place. But if you're looking to bolster your oeuvre of fancy, beautiful knots, then you've stumbled upon the right video.
This is a video tutorial in the Arts & Crafts category where you are going to learn how to tie a Bowline knot with one hand. Doing this is really simple and easy and doesn't take any time at all. Hang a line from any support. Take the lower end, that is the running end in one hand and pass it around the standing end. Then take it out through the loop and pass the running end around the standing end and pull it out through the loop. Tighten the knot and it's done. It's really that simple and e...

In this tutorial, we learn how to make a family photo album from digital photos. iPhoto from Apple has a ton of different options for you to make a great photo album. You can first start out with loading these on your computer and then creating them into a book. After this, you can choose the borders and text that you want to include in this, then drag the pictures in. After this, you can add in captions for each of the photos and then design the layouts of the different pages. After this, yo...

In this tutorial, we learn how to make a family photo album with iPhoto. First, you will load your photos onto iPhoto from your digital camera. After this, you can combine all the photos from one event and label them into one album. You can use facial recognition on one photo to find more pictures of the person you're searching for. Once you open up a new scrapbook photo album, you can drag the picture into it. After this, you can add in text about the trip and then insert titles. You can als...
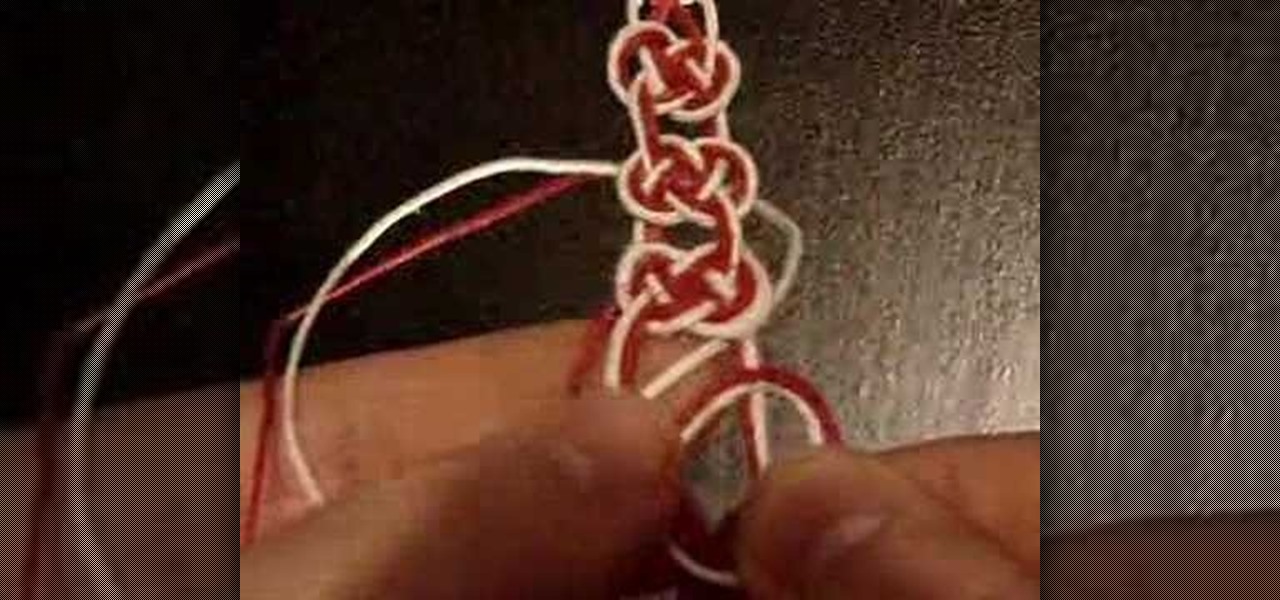
In this video we learn how to tie a pretzel knot for hemp jewelry. First, making a loop with the chords in your right hand and place them over the left chords. Hold the loose ends on the right side and take the chords from the left hand. Go over the right chords and then up through the top. Then go over the loop under the left side of the loop pulling the chords up. What you get here will look kind of like a mouse, so you will need to get the first color on the outside. Then, slide this up an...
In this video we learn how to tie an easy fishing knot system. First, put the line through the hook and pull. Then, take the end of the line and make it come through the loop. Bring this over and then you will have a hole at the bottom of the string. Take the end of the line and put it through the hole around six to eight times to get a strong knot. Then, pull on the main line and you will see the knot glide up to the hook, To go lower, just pull it down. This creates a strong and efficient k...
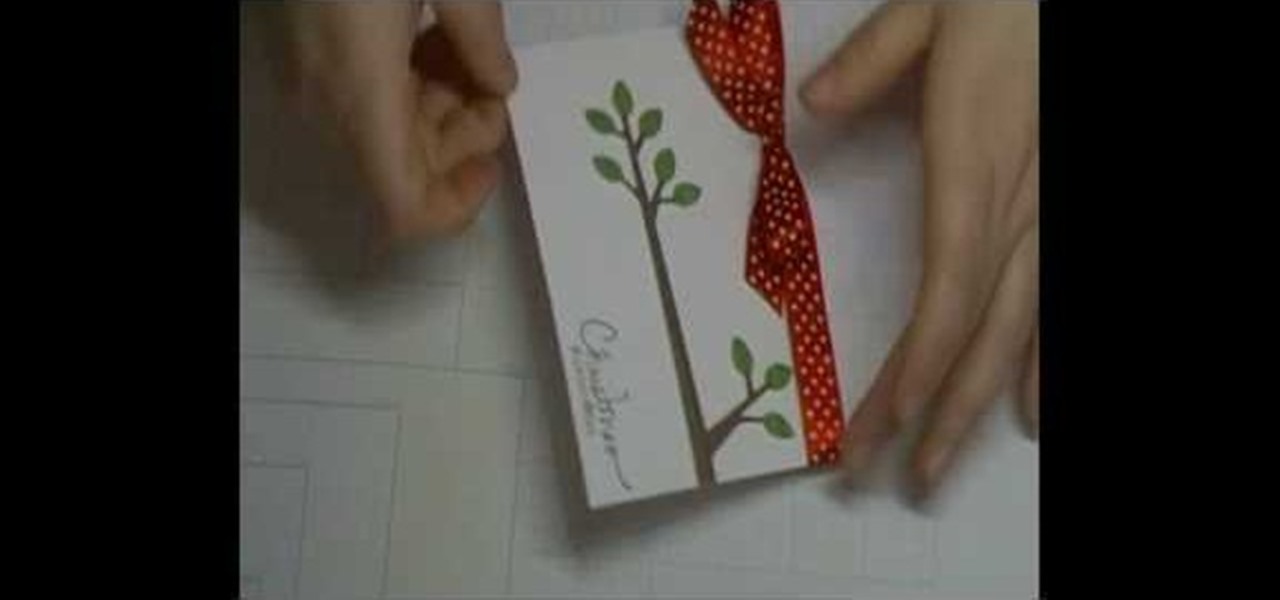
In this tutorial, we learn how to use Cricut Serenade & Joys for a simple Christmas card. First you will need to take a piece of white card stock and tie a red and white polka dot ribbon to the top. After this, you will need to take a tree branch stamp and stamp it on the side of the card like it's growing out of it. After this, make sure the color on the leaves is green and the branches are brown. Now, you will cut out another piece of card stock in a punch out to create the ornament that wi...
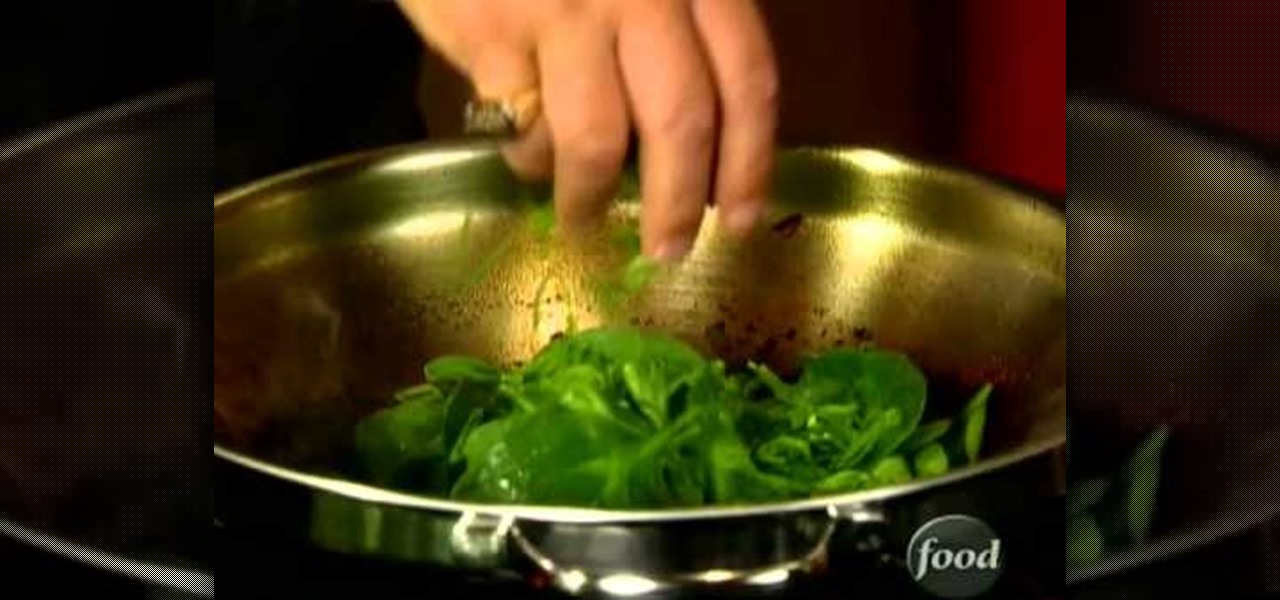
East meets, well, east in this cross cultural stir fry dish by Guy Fieri. Fieri takes classic Chinese stir fry up a notch on the heat meter by adding spicy Korean kimchi.
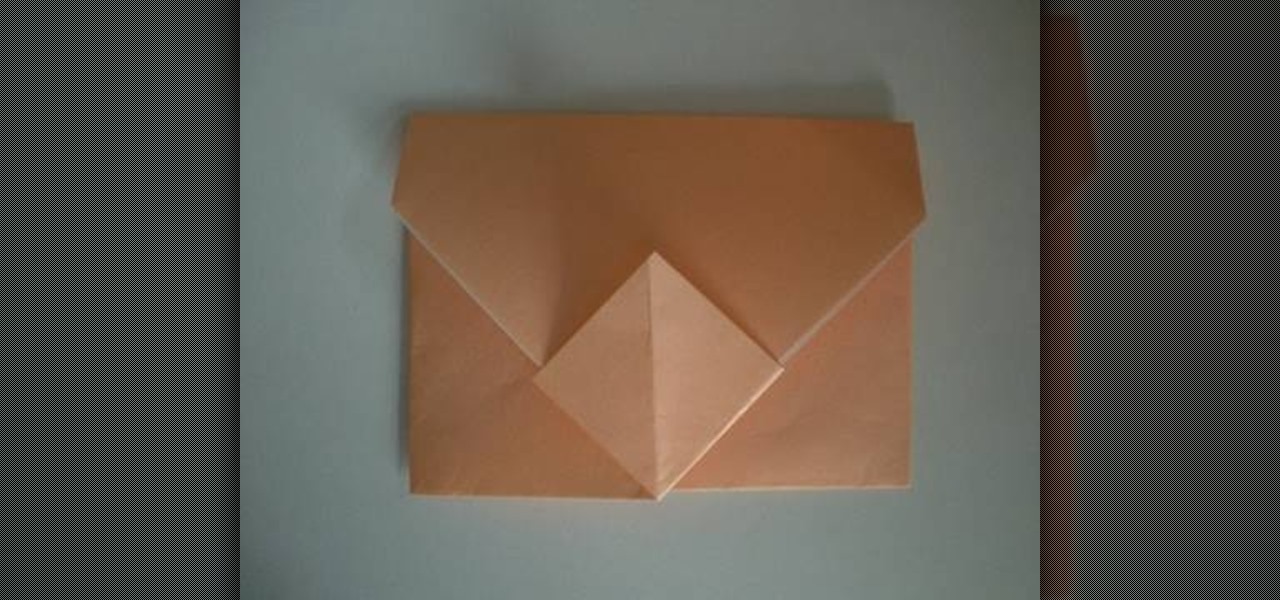
Honestly, we're getting a little tired of purchasing mass-produced cards. Not that we don't adore Papyrus, with its often handmade-like cards and pretty details, but more and more we're finding we enjoy gifting our friends and family something authentic for special occasions.
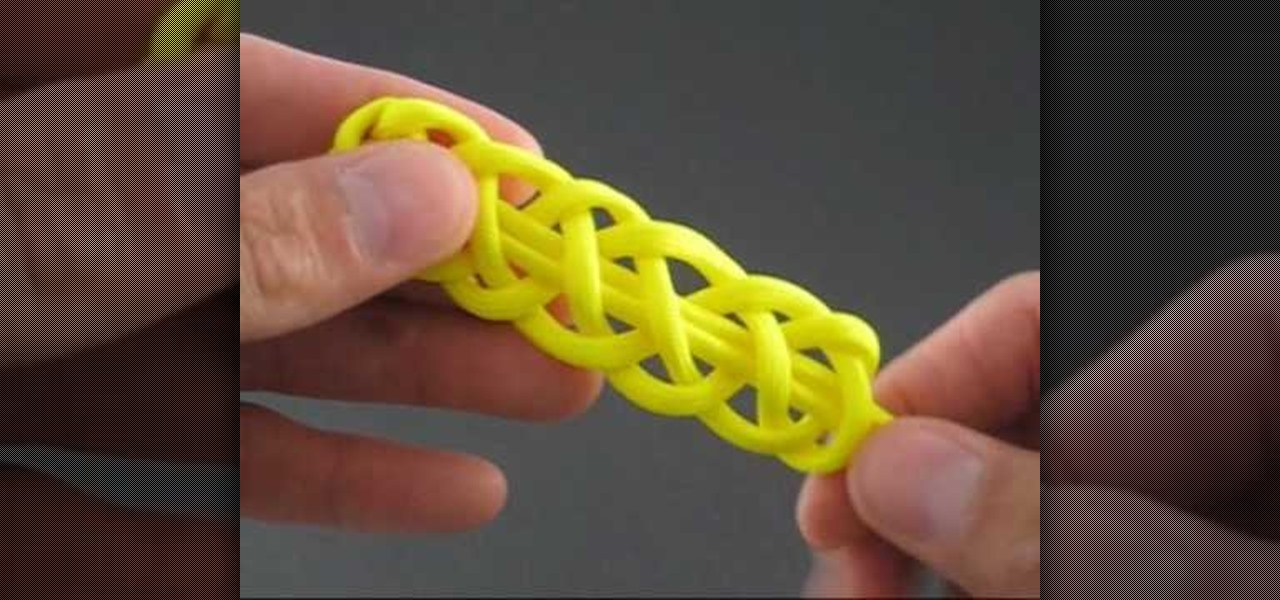
If you need to take up a hobby, you could try taking up making cool, decorative knots. This hobby isn't too hard to take up and can result in beautiful looking pieces of art that you can sell or just giveaway.
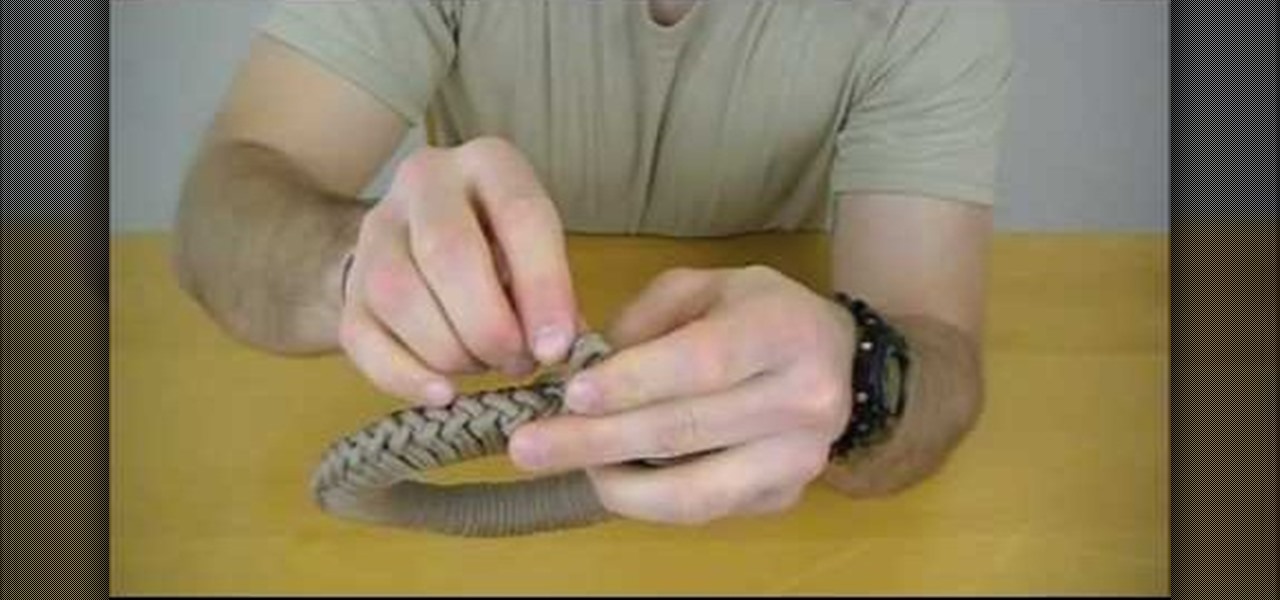
In this video, we learn how to tie a paracord storage sinnet. First, coil up the paracord and then form a bight with the working part at the top of the coils. Next, create a loop from the bight and pull the loose part underneath this and pull it underneath the loop you created. Now, tighten the new loop up and then take the loose part and place it underneath to create a new loop. Push this through the other loop, then tighten with the loose end. This is a very difficult knot to do and is not ...
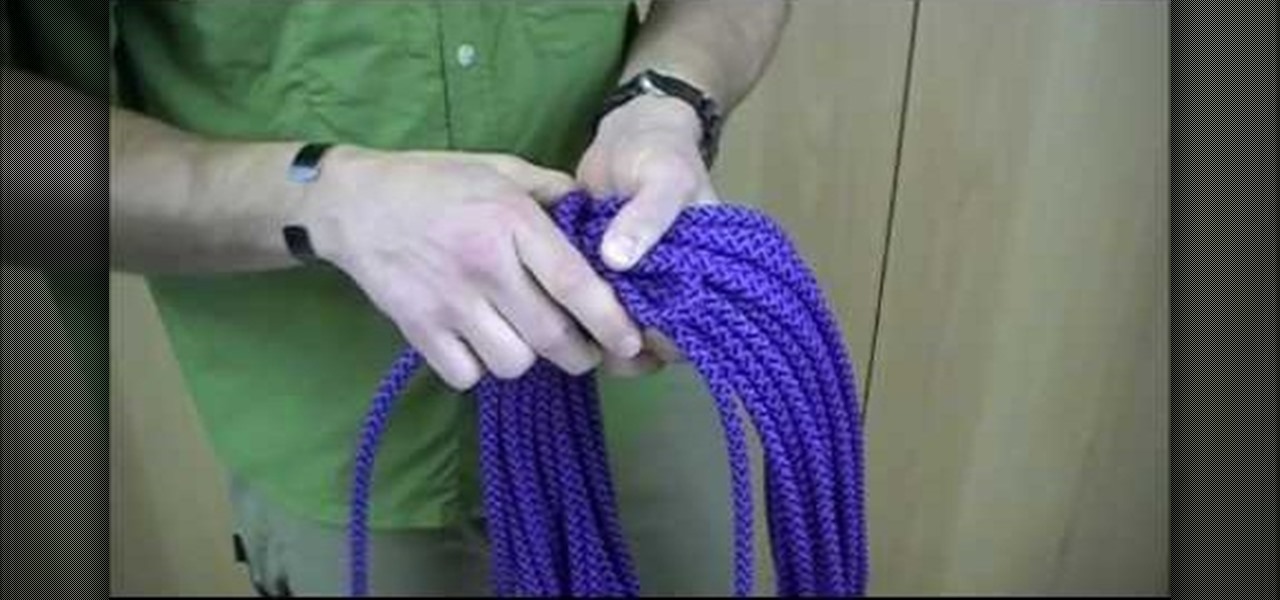
In this tutorial, we learn how to tie an Alpine Coil knot. When you start your coil you want the starting end to be inside your hand. First, take the working end of your rope on your last coil and make a loop in your rope. Then, wrap a couple of turns around the rope and lock it into place. Once you've made a couple of turns, the working end will go into the loop. To secure, go over to the end from the loop and give it a tug, which will lock the working end into the rope and make a nice way t...
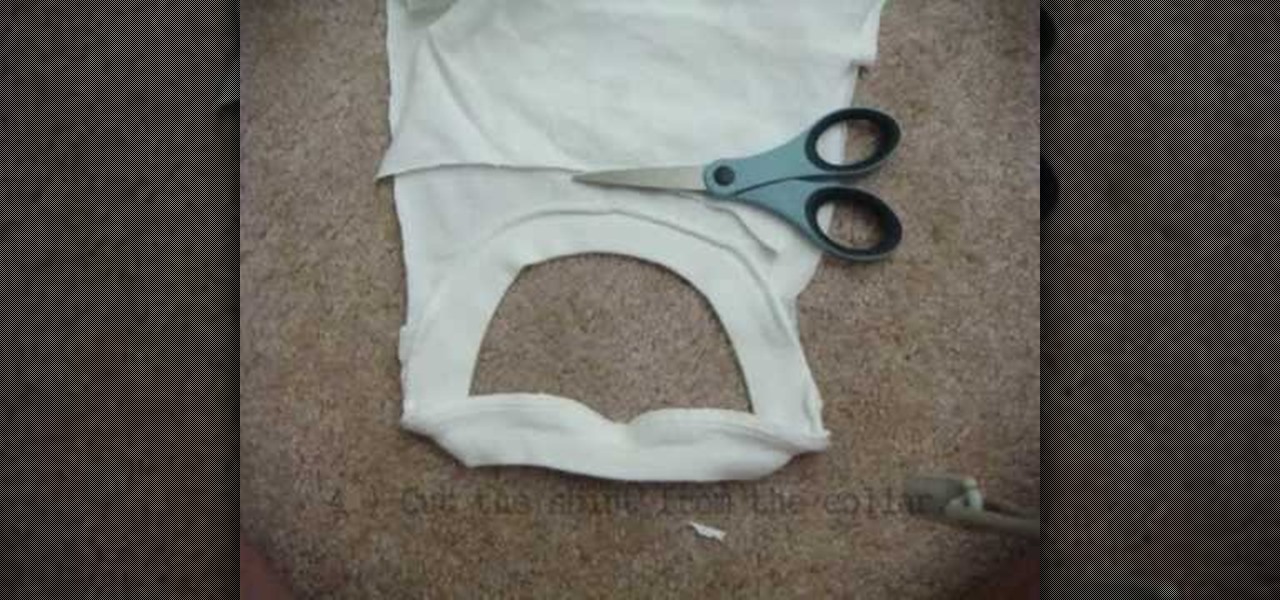
In this video, we learn how to create a knotted tank top. First, you will need to take a shirt that is too large, the cut off the sides of the two sleeves down to the bottom. Next, cut the shirt from the collar and make strips out of the excess fabric. Tie the strips on the back of the shirt going to the front of the shirt and tie it. You can also make a chain shape to make this look more unique. When you are finished with this, you will wear a tank top underneath it, then you can wear this c...
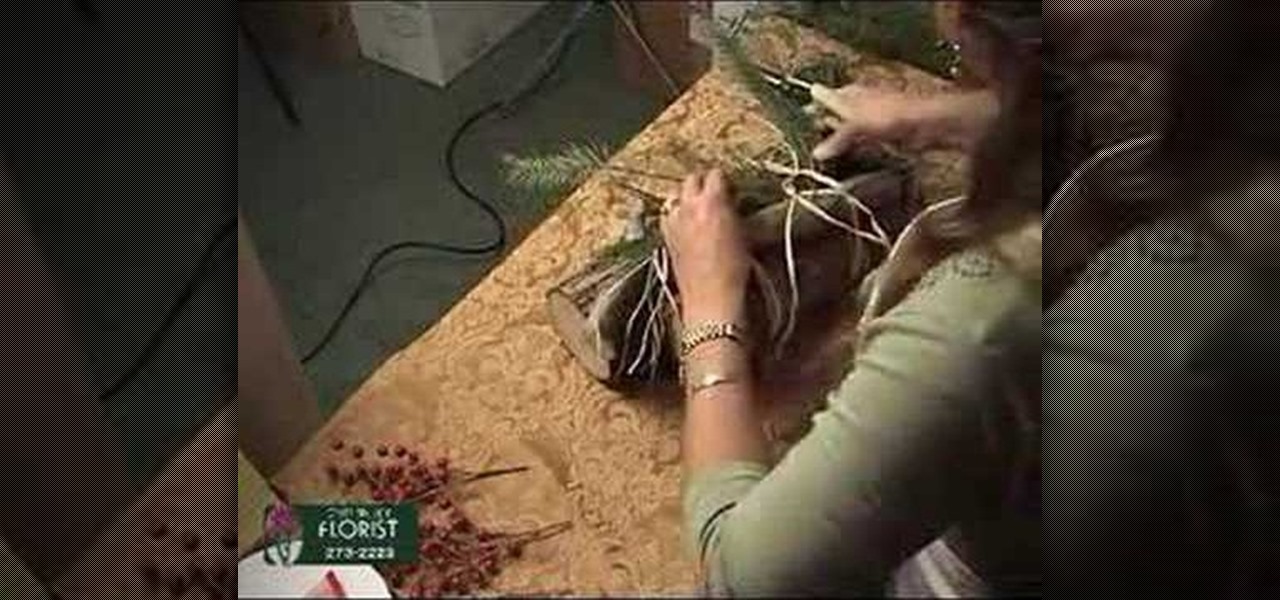
In this tutorial, Ingrid teaches us how to make a yule log for a gift. First, wrap two pieces of wood together with wire thread. Next, take some raffia and tie it onto the top and bottom of the yule log to give it a rustic look. To warm it up, add in some pine needles to the middle, as well as fur, cedar, and whatever else you find. To make it look more festive, take some red shiny ribbon and tie it onto the top of the pieces of wood like a package. This is inexpensive and useful for anyone t...
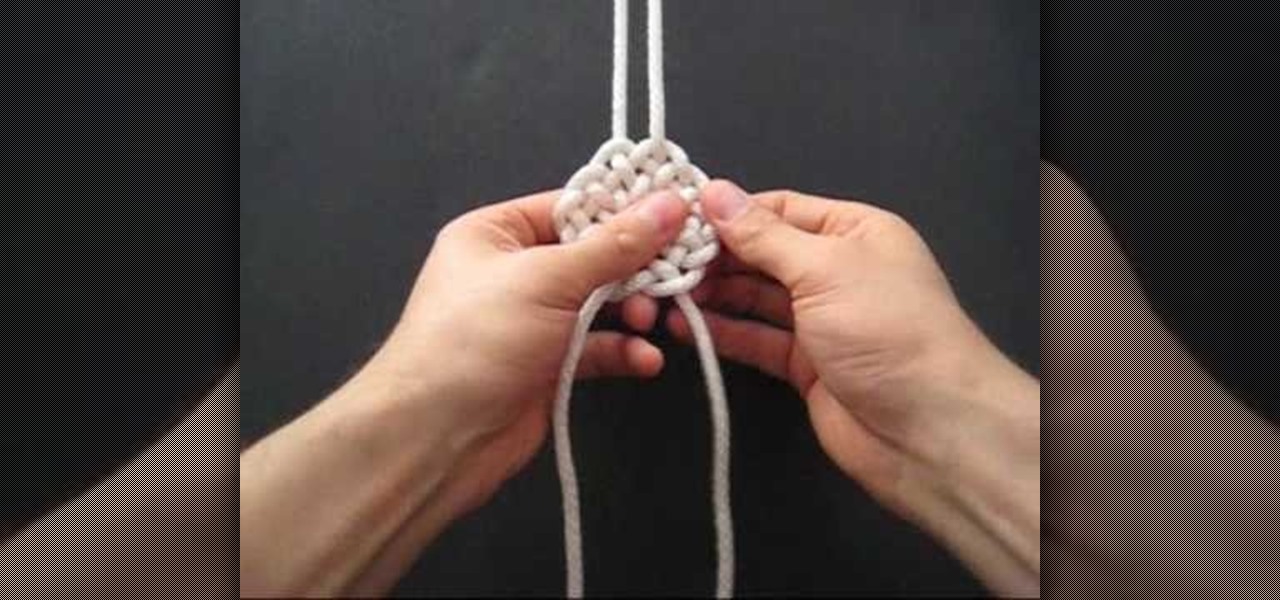
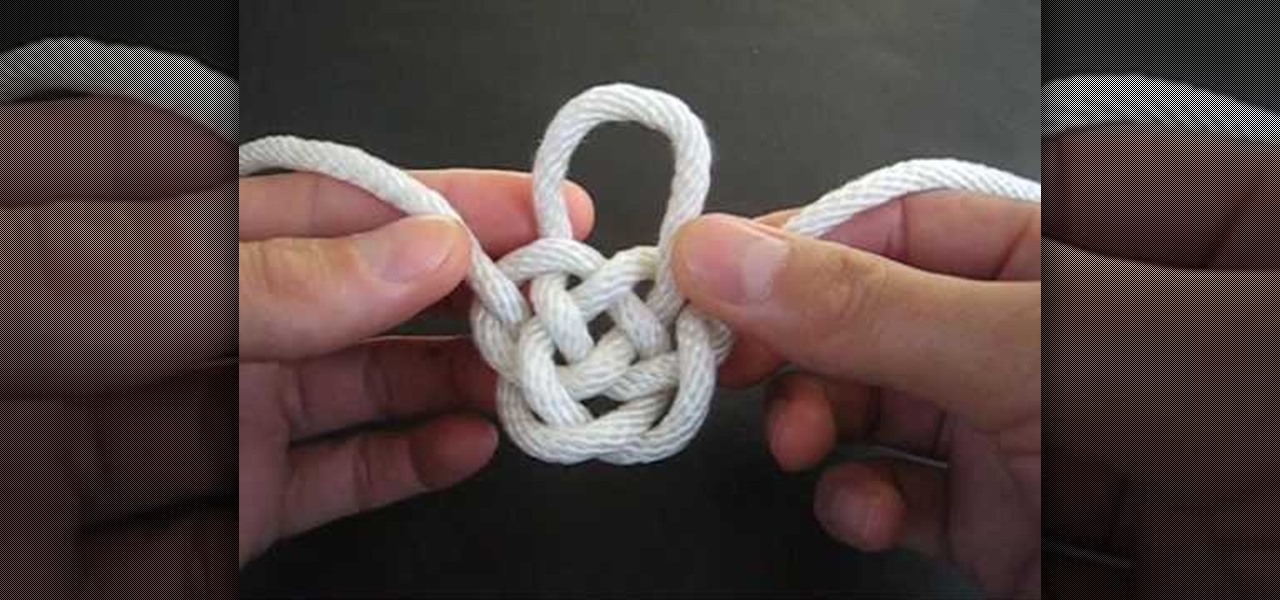
In this tutorial, we learn how to tie a compound double coin knot. First, take two strings and make a loop with the left one, then loop right right one into that. Tighten these together, then bring the end of the right working string over the loop and through the bottom of the shape, then continue to thread it through. Now, repeat this on the left side with the left string. Next, loop the right side of the string and push through the loop with the end of it. After this, tighten up the ends of...
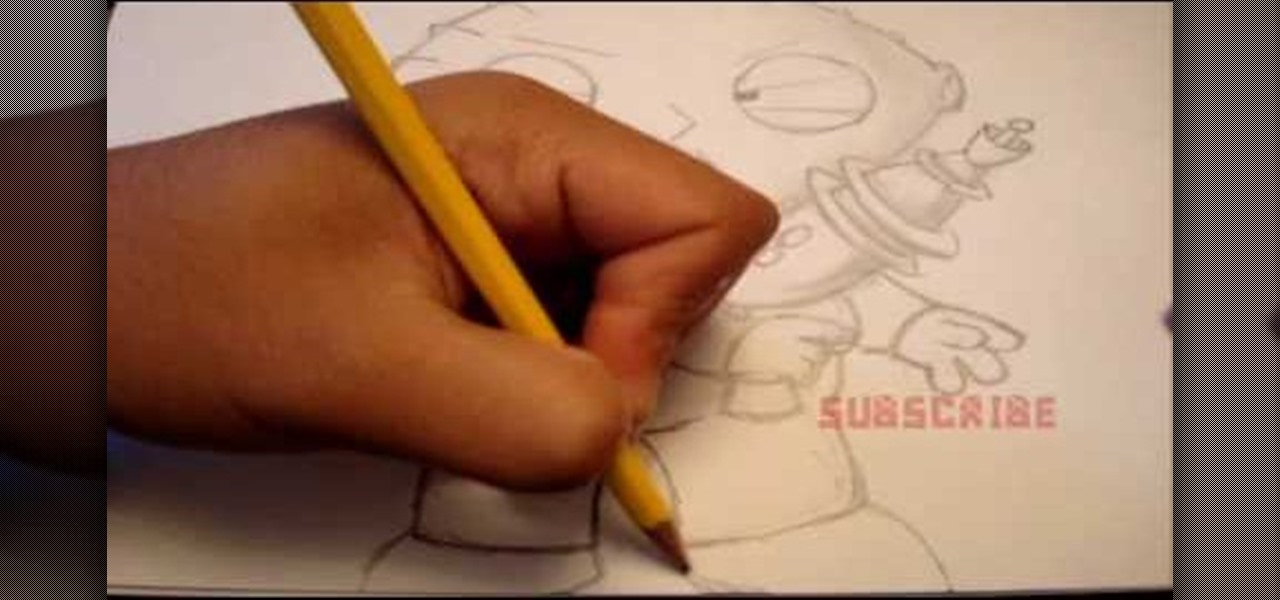
In this tutorial, we learn how to draw Stewie Griffin from Family Guy with a pencil. Start off by drawing the ears, then the football shaped head around the ears. next, draw the arms with the shirt on it, and make the hands. Also, draw a rocket with Stewie holding it. Keep drawing downwards, making the arms around the rocket and the body with pants and a bib on top. Draw in the details of the face, giving the character large eyes and a triangle shaped nose. Give the character narrow eyebrows ...
In this tutorial, we learn how to tie the Djinn bottle decorative knot. First, make a loop on the left side of the string, then bring the other side around it and pull the top up. After this, twist the two strings underneath the bottom of the knot and push the right string through the side of it. Then, push the left string into the left side of the knot through the back. Pull on the top, then twist it into a loop and push the left string through the back, making a loop, then pushing the right...
In this tutorial, we learn how to tie the rising sun decorative knot. First, loop your string on the left side, then pull the right side over the top. Now, bring the bottom of the right side over and place the end into the first loop going over the other string. Next, remove the string from the last loop it was in, then bring the right over to the right loop and push through to the bottom. Next, bring the right string over to the left side and thread through the left loop closest to it. Next,...
In this video, we learn how to tie a plafond knot. First, make a loop with your string, then make a smaller one directly underneath it. Make a larger loop underneath this, followed by another small one. After this, grab the bottom and lift it to the middle of the one on top of it. Next, bring the top down and push it into the middle of the bottom loop. Bring the left hand side of string through the top of the loop, followed by the right hand side through the right hand side middle. Now, pull ...
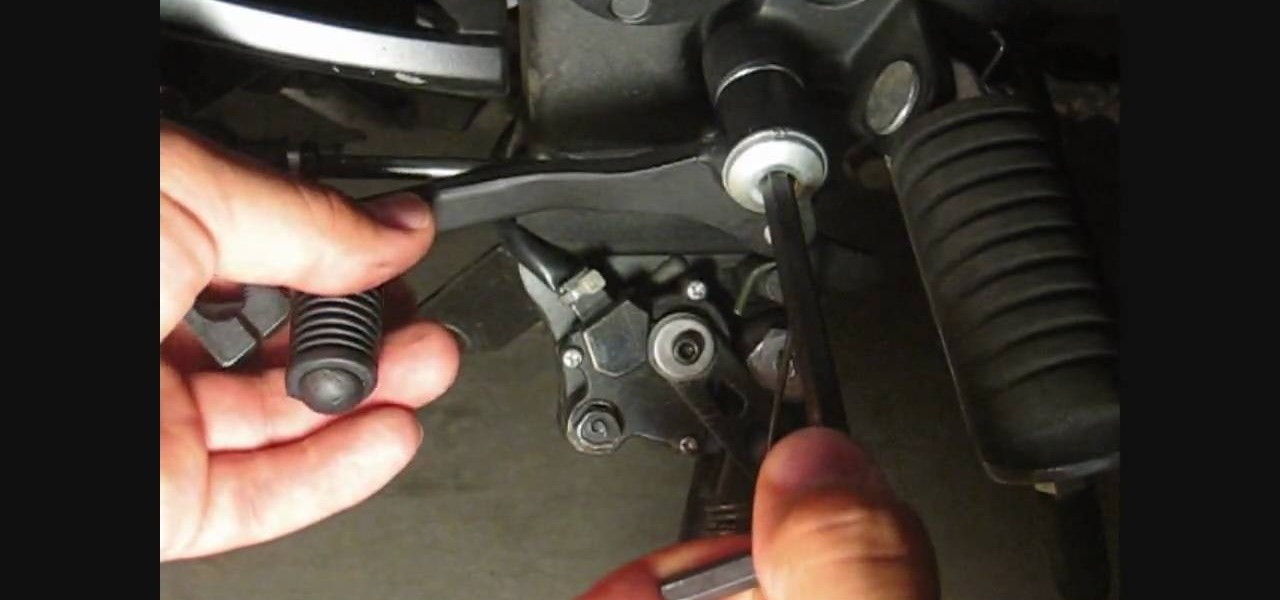
In this tutorial, we learn how to change your shifter lever and tie rod on a motorcycle. Remove your shifter level first, then you will see a washer on the end of it. You will also see the screw with another washer. Now, come around and loosen the bolt around the shifter lever so you can remove everything completely. Next, replace your shifter lever and then replace the washers and bolts around it. Tighten these up so they will not fall off of their spot. Place the bolt back on, then apply it...
In this video, we learn how to tie a cloud knot. Start by making a loop in the middle of the string on the left side, then wrapping the right side around it and pushing it through the middle. Next, do the under-over weaving technique by bringing the string over one loop and weaving it into another. Continue to do this several times until you have done about four or five weaves. After this, pull the sides of the string out on both sides and you will have your finished knot! Pull tighter to hav...
Husky and broad-shouldered as they are, cowboys occasionally get chilly while working the herd outdoors or casually saving a damsel in distress on his way to pick up a swankier cowboy hat in town.

Margie McCoy teaches us how to make flower corsages in this tutorial. Start by using three of your favorite flowers and take a wire and place it on the top of the flower until it reaches half way through. Then, take your floral take and tire it as tight as possible around the top of the stem until you reach the bottom, stretching as you go. Next, combine all the flowers together, and tie them together until you have the type of arrangement you want for the corsage. Now, add this on a ribbon s...

This video tutorial is in the Arts & Crafts category which will show you how to tie a decorative Door Knocker knot. Take a piece of rope and make a loop at the center with the left hand end of the rope over the right hand end. Now pass the right end above and through the loop to make a half knot. Twist the loop to make a figure of eight, pass the right hand end through the lower loop of the "8" and back through the upper loop. Repeat this once again. Now repeat these steps with the left hand ...

In this Arts & Crafts video tutorial you will learn how to tie a Padlock style decorative knot. Padlock knot is a clever way to achieve the look and function of a padlock without having to bother about the key. Take a piece of rope, bend it in the center and make two loops on either side of the rope. Ensure the working end is over the rope in the left side loop and under the rope in the right side loop. Now overlap both the loops so that the left side loop is over the other loop. Now pass the...

Whether you're doing it for decoration or just for fun, tying certain knots can be a difficult task for any person. It's a difficult hobby that most people could not stand to perform since it requires time and patience. Well if you're looking for help, this tutorial might be of some assistance. In the video, you'll find out how to take 450 nylon paracord and transform it into a lambda knot. Once complete it should look like a clover. So good luck and enjoy!
This trick works great in pretty much any bar or restaurant. All you need is a cloth napkin to achieve this funky trick. Bet someone that they will not be able to tie a napkin in a knot without crossing their arms or lifting their fingers. Those suckers will tie themselves in a pretzel before they are able to accomplish this and you can laugh and laugh because you know the secret!