If you're anything like us, then you try to take the easiest route possible when styling your hair in the morning before work. You know: Wake up, brush your teeth, and then wearily comb through your hair a few times with your eyes closed.
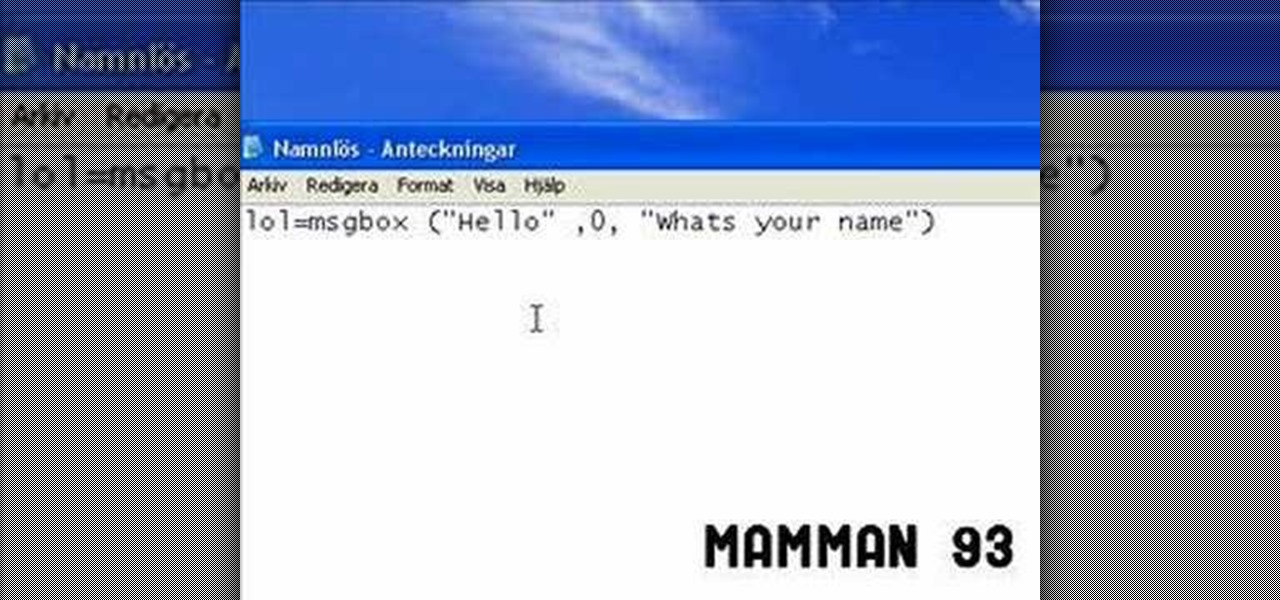
Whether you have a PC or a Mac, error message windows are a regular and infuriating part of your life. In this video, you will learn a cool way to harness them for your own amusement by creating fake error message windows to prank your friends and family members on their Windows computers.
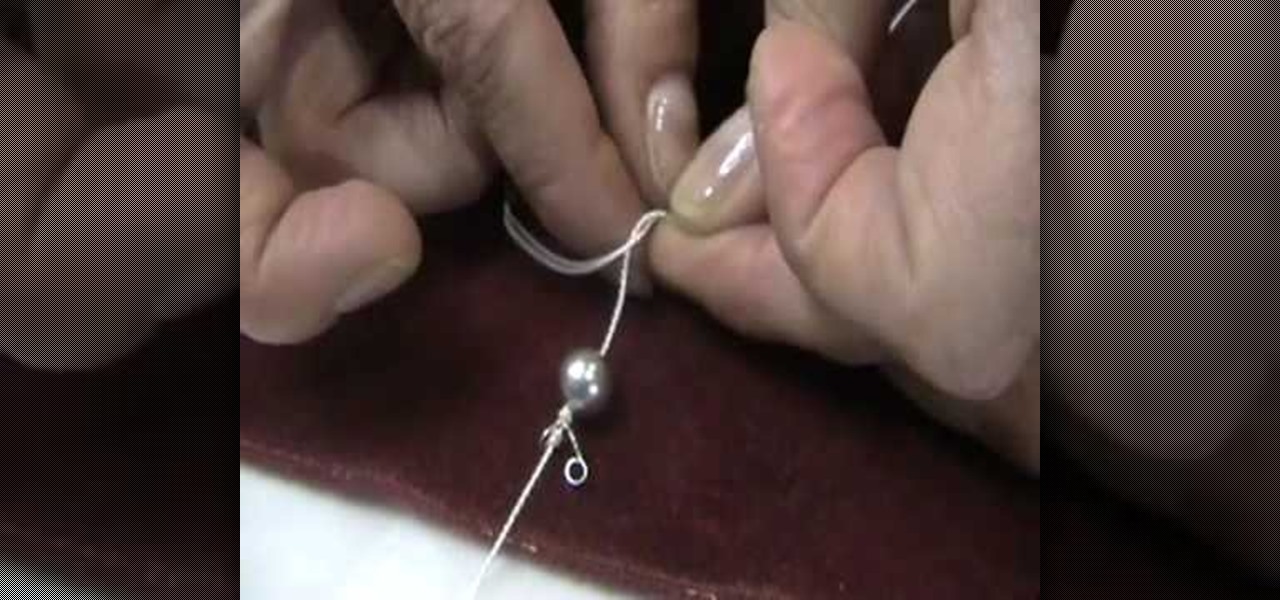
This video tutorial is in the Arts & Crafts category where you will learn how to knot pearl beads from Brenda. Pearl knotting is making a simple knot between each pearl on a strand. They not only give a professional look, they also keep the pearls in place and prevent them from rubbing against each other. After you have strung the clamp to the end of the string, tie a double over head knot and string your first pearl. Make a simple knot on the string behind the pearl. Grab the string with a t...
In this video, we learn how to make raw Brazil nuts and hemp cookie bars. First, mix together honey, coconut oil, hemp seed, and crushed Brazil nuts. Add in some fresh lemon zest, then mix everything together until it's well combined. When you're finished mixing, roll the dough out with a rolling pin until it's thick enough for a cookie. Place in the freezer after you have cut these into your preferred cookie shapes. Leave them in the freezer overnight, then take them out and you will have yo...
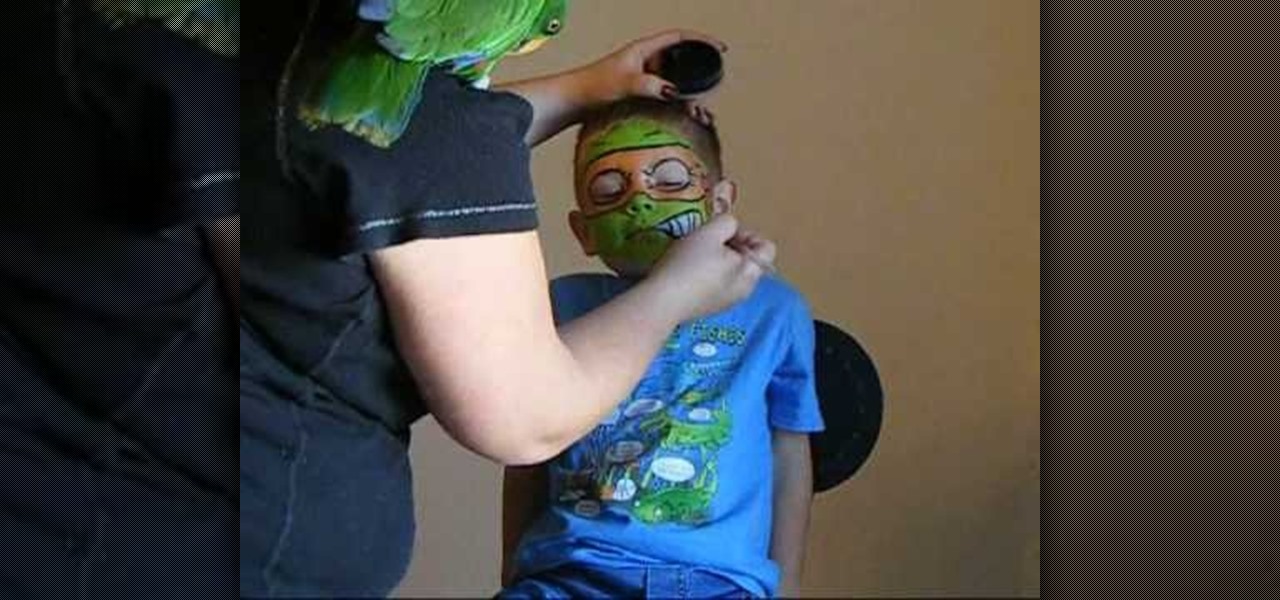
We are painting the ninja turtle-Michelangelo. Use orange metallic to cover over face. Put orange metallic around the eyes and ears. Use green metallic on forehead and across the nose, chin, mouth and cheeks. Use white close to the mouth for smile and teeth. Take black paint and give a bandit face. Outline the eyes, forehead. Place wrinkles around the eyes and make knots on the side of the face to make it look like a tie. Make the ninja turtle mouth smile.

If you want to prank a friend or family member, this next tutorial is one that is really easy to perform. This is called the exploding soda can prank.

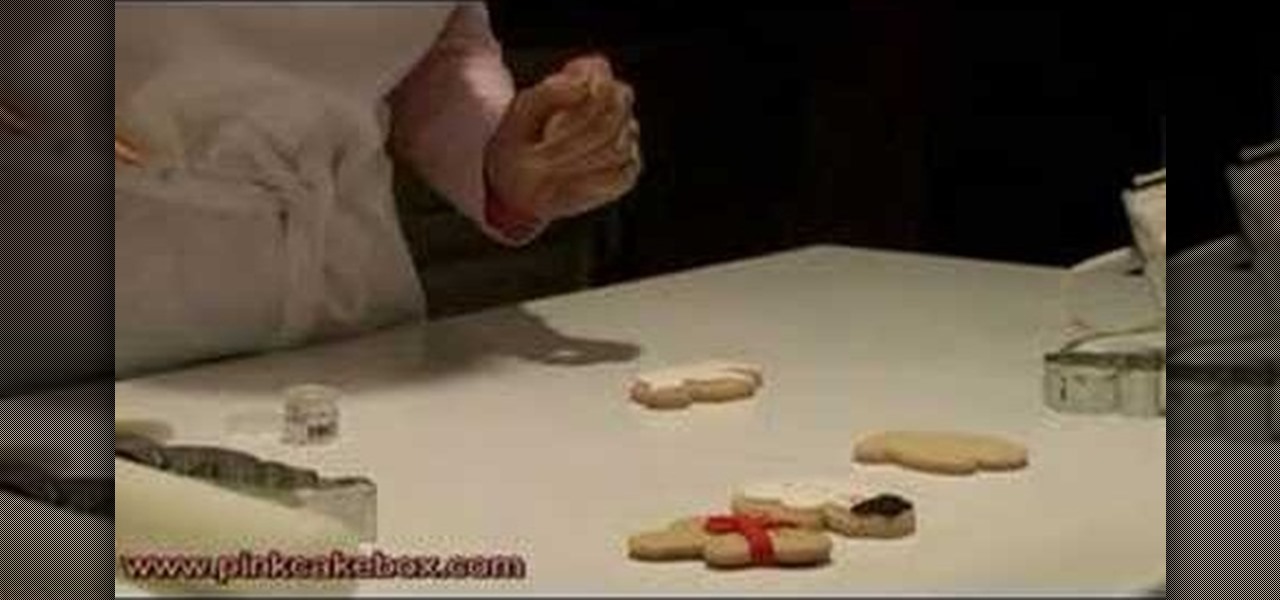
Dove cookies make such great treats to give to friends and family. Doves are traditionally representative of peace and healing, and so sharing doves (albeit in cookie form) with those you love shows that you care for their well being.
In this tutorial, we learn how to make mozzarella cheese. First, add sea salt to water, then add in cheese curd. Now you will need to work the cheese with gloves over your hands. Start to knead your cheese until you form it in ball shapes and it feels like it's elastic. After you do this, rub the cheese and get any bumps out that are still inside of it.To store this, stretch it onto a piece of plastic wrap, then tie a string around in small balls to cut out smaller pieces of the cheese. When ...
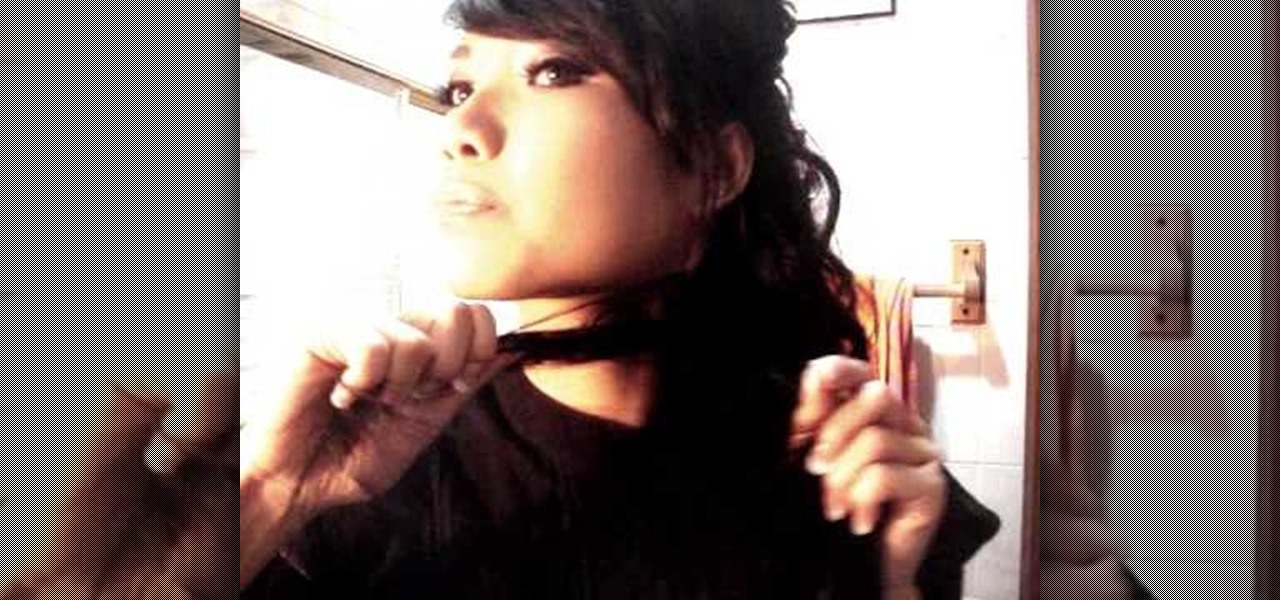
The great thing about braids is that they're so incredibly versatile. Spin a single braid through the crown of your hair and let the rest of your locks loose and you've got a pretty Lauren Conrad, girl next door look going on. Or add a few curls using a curling iron and tie your hair up into an updo to create an elegant look befitting of a formal affair.
Kameron Kay teaches us how to make a floating flower crystal toe ring in this tutorial. You will need: stretch cord, large crimp bead, flat nosed pliers, flat backed crystal flower, glue, and small scissors to make this. First, cut out your chord to the exact size that you need. After this, use glue to attack the ring into the middle of the string. Place a crimp bead on the bottom to help the bead stay in place, then glue these together as well. Next, tie this together and attach an end to th...
In this tutorial, we learn how to do a side headband braid with ribbon intertwined. First, grab a ribbon that is around 32 inches and any color you want. Now, take a chunk of hair on the side of your head, and place the middle of the ribbon underneath it. Now, separate your hair into three sections, then start to braid by connecting the ribbon in with the strands. Once you finish this, tie off at the end. Now, make a messy bun in the back of your hair with the braid on the side still. After t...
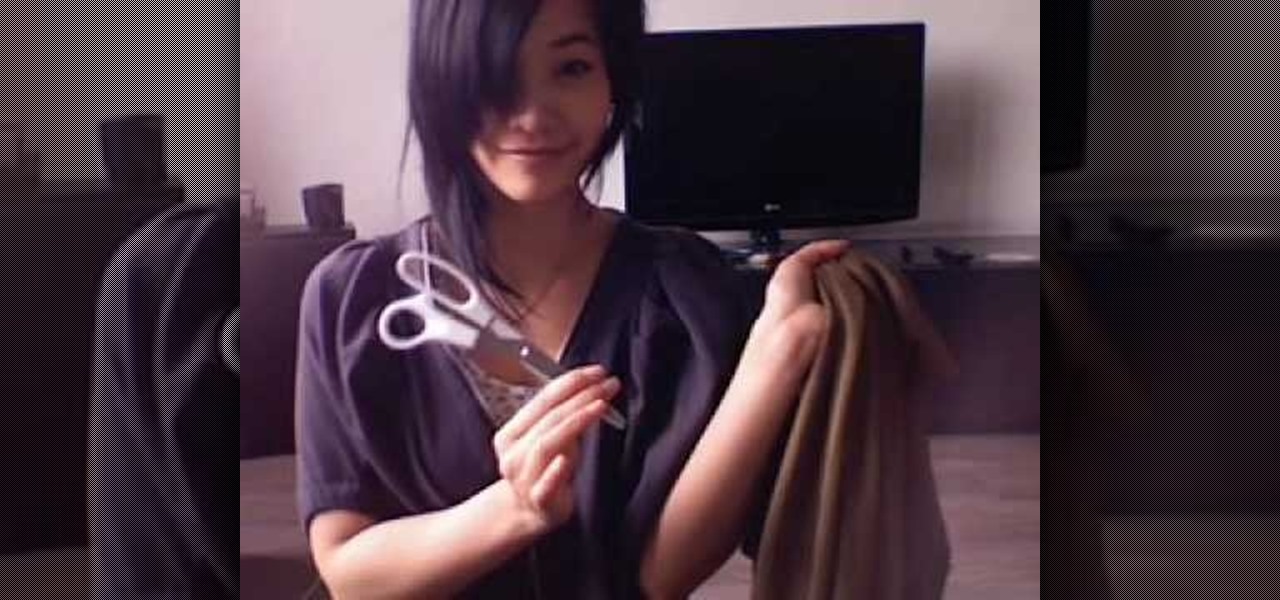
In this video, we learn how to easily cut your bangs. First, you will want to take a shower and have your hair went and brushed out. Next, part your hair so that your bangs are in the front and the rest of your hair is tied back behind you. After this, grab your scissors that are for hair cutting, and then level your hair out in front of you. Be sure to hold your head up straight and don't look too far down or up. Next, cut the bottom of your bangs where you want them to be at, then continue ...
In this video, we learn how to make a "puppy love" box for Valentine's Day. To key to creating this box is a thin strip of paper that has teeth (pointy spikes) at the end of this. Turn this into a heart shape, then tape it around the heart to make a perfect box. It will be easier to find your center and cold it in half, then place it on the box. Glue the heart onto a black card stock to situate it, then tie a cute ribbon along the edge of the heart. This is very cute and a great idea for Vale...
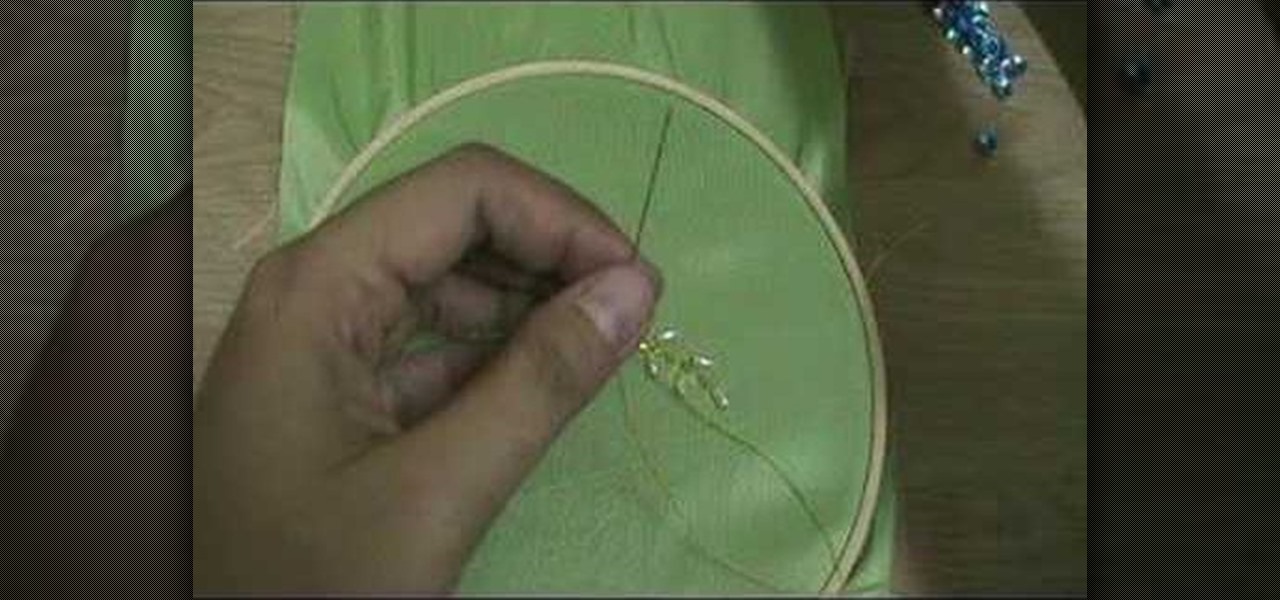
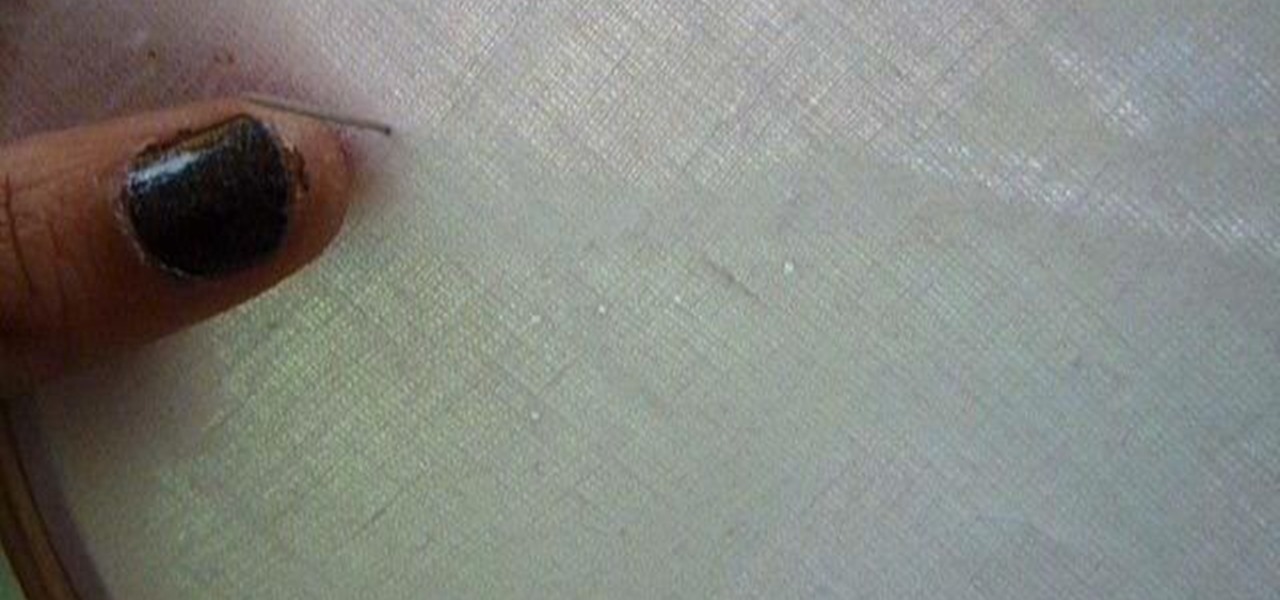
In this video, we learn how to embroider with beads and sequins. First, push the needle through the bottom of the cloth into the top where the sequin is at. After this, continue to thread in beads and more sequins. Make sure you are pulling through on the bottom so you attach the beads to the thread and they don't fall off. When you are done with this, you will push the needle through the top of the cloth, then tie it at the bottom and cut off the excess thread. When done, you will have a bea...
In this video, we learn how to make a gift Christmas jar with Stampin' Up! First, take any type of jar you want to collect money in. After this, rinse out the inside and remove the labels off of the bottle and measure them. Now, take a piece of card stock and cut it out to make the length of the label from the bottle. Now, decorate the bottle with different Christmas decorations and then tape it onto the jar or bottle. Next, add on different types of felt cut outs to the jar as well. To finis...
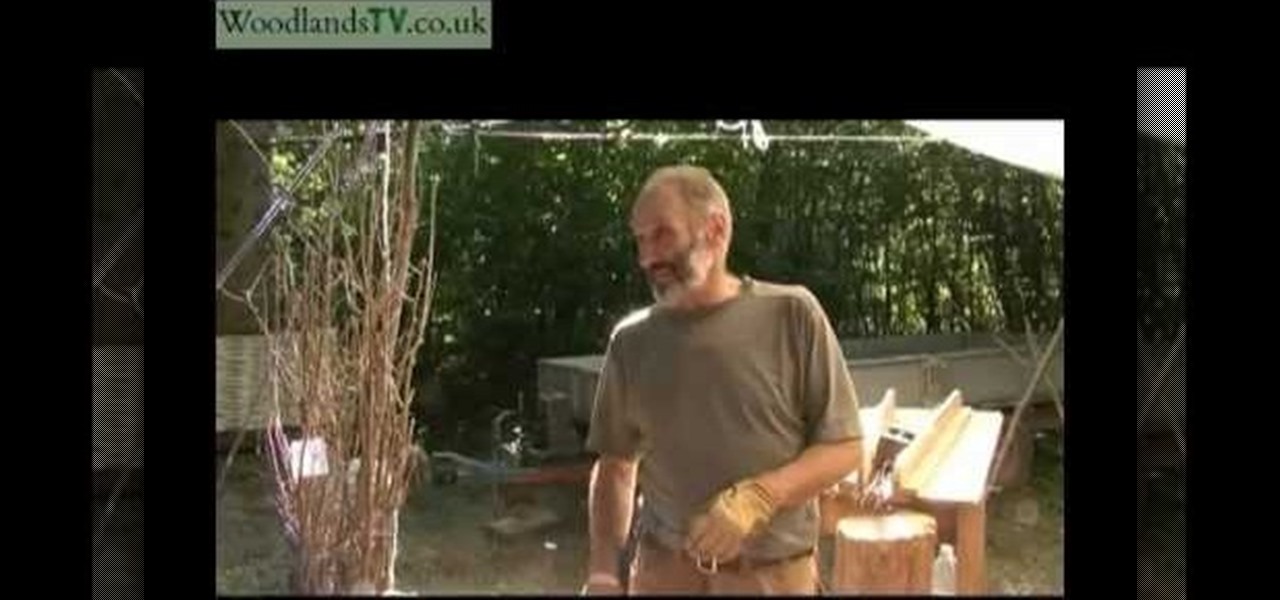
In this tutorial, we learn how to bundle kindling. First, gather up 25 pieces of kindling together and tie it together with a rope on two ends and in the middle. Before you do this, you will cut the tops off of the kindling so you are just left with the branches. The water will go through these and it will build the bank up, that is what these kindling bundles were created for. You can bundle kindling in larger groups or smaller groups, depending on what you need it for. These were once used ...
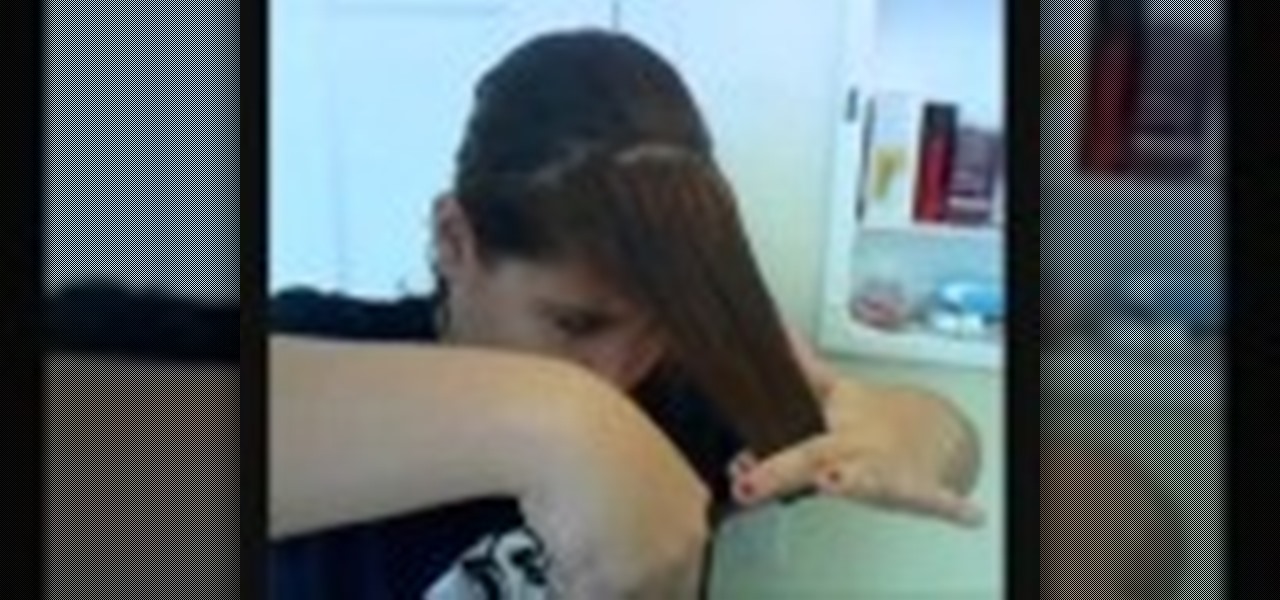
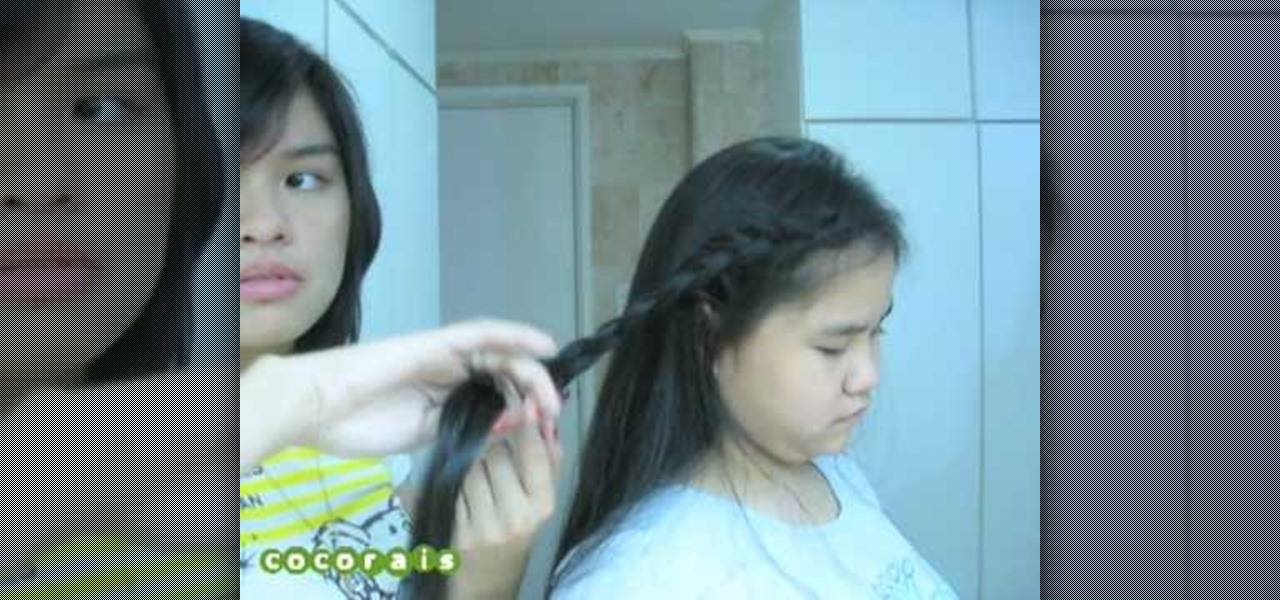
In this tutorial, we learn how to do an elegant french braid. Start off by grabbing the top section of your hair and splitting it up into three sections. After this, start to braid your hair by grabbing hair from each side and gathering it into the braid as you are going down. Once you reach the bottom of the hair, just do a normal braid and then tie it at the bottom. After you do this, you can hair spray your bangs back and tease them, or you can let them hang loose on the front of your face...
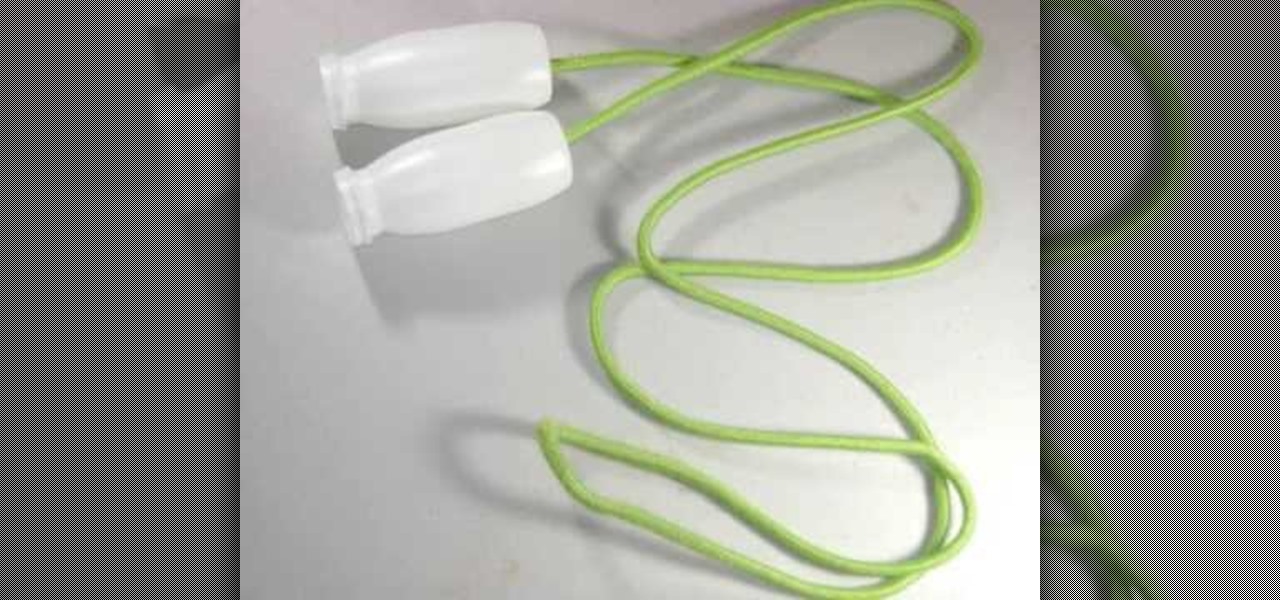
In this video, we learn how to craft a homemade jump rope with your kids. You will need: 2 think plastic containers, a heavy rope, and scissors. First, take your plastic containers and cut a hole in the bottom of each of them with the scissors. After this, place your rope through the inside of each one. Tie a knot at the end of each side of the rope so it's thick enough that it won't go through the hole you just made. After this pull the rope down and now you will be able to use it as a jump ...
Make homemade trading cards of your family! These won't look exactly like baseball cards, or even feel like them, but they're cute and somewhat artsy depictions of your favorite photographs. You only need a few items (listed below), but make sure you have a nice photograph to transfer over. It won't look exactly like the picture, but it will look roughly hand drawn, but not quite. Definitely an interesting paper craft. Try it out. Experiment.
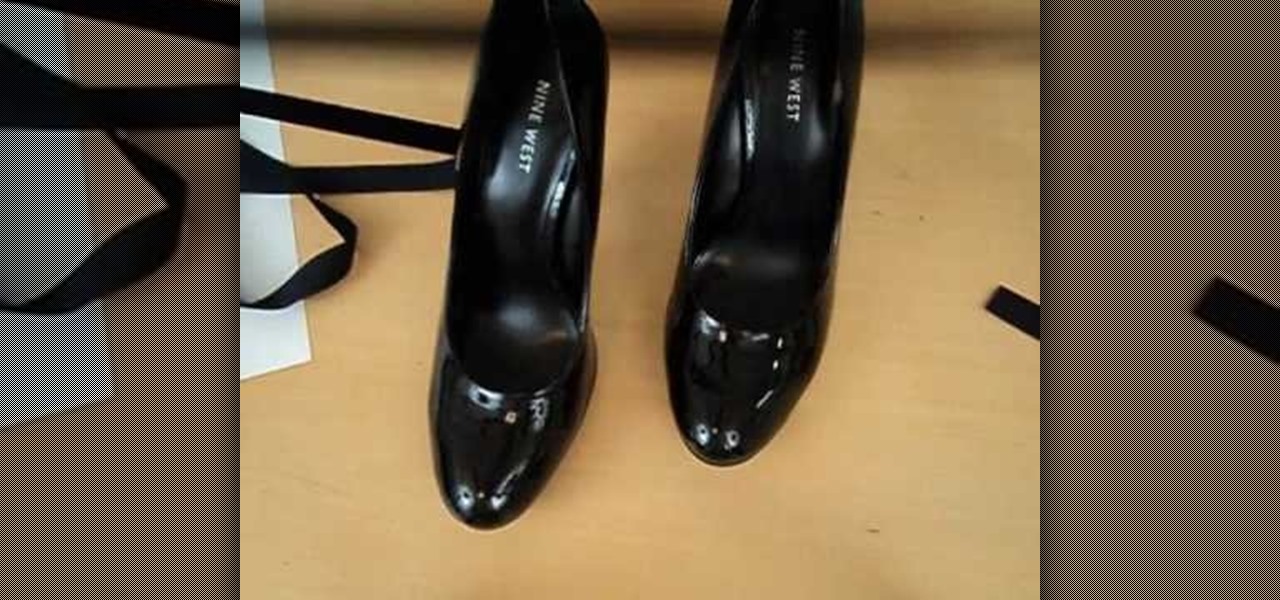
As kids, we had dreams of becoming a prima ballerina and dancing for the New York Ballet Company (while we loved dancing around our house in our skivies, we think it had more to do with the pretty tulle skirts and beribboned toe shoes). Dreams discarded, we are nevertheless still in love with any combination of ribbon and shoes.
In this tutorial, we learn how to do a messy fishtail braid. First separate your hair so the bottom layer is exposed, then place on volumizing mousse and hair spray to this layer. Now, expose the rest of the hair and add the mousse and hair spray to this layer. Next, curl your hair with a 3/4" to curl the hair away from your face. When finished, section your hair so the upper half is in the back of your head, then clip this securely. Next, start doing a fishtail braid by braiding the outer si...
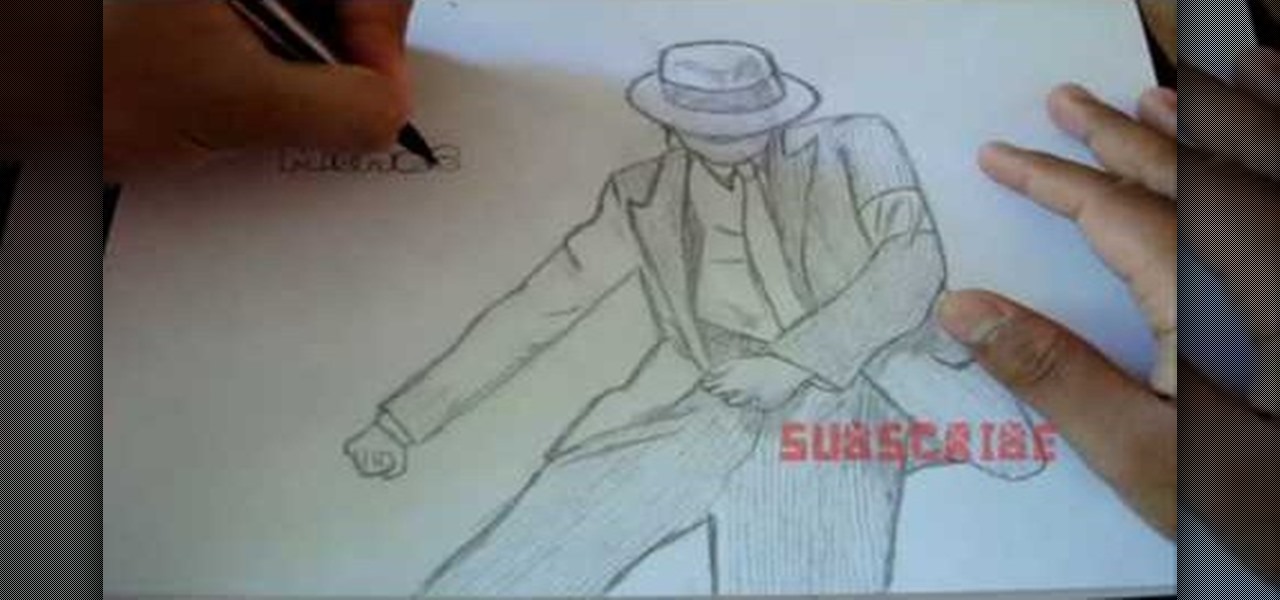
In this video, we learn how to draw Michael Jackson. Start out by drawing the body shape, outlining the clothes first. Draw details on the pants and shirt, then add a hat on top, shading the face. Now, draw hands onto the drawing, along with shoes on the bottom. Next, add details to the hat and a tie to the shirt with a collar. After this, draw on a belt and shading and lines to the jacket and pants. Add shading underneath the hat to make it look as though the face is underneath, then when fi...
In this video, we learn how to do a yukata inspired hairstyle. First, brush out the hair, then bring the top section of the hair and start to braid it. Continue to braid it until you read the end of the hair, then tie it at the end. Now, set the braid aside and put the rest of the hair up in a pony tail. Push the hair together in a bun, then pin it together with bobby pins. After this, take the braid and wrap it around the bun, then secure it with more bobby pins. To finish the look, add in a...
In this tutorial, we learn how to do an arrowhead stitch when embroidering. Start off by pushing the thread through, then pulling it under, then back through at a diagonal angle. After this, thread it back through, making the same angle on the opposite end. As you continue to do this, you will start to see arrows forming after two stitches. Place the arrows one in front of the last to make the stitch complete. When you are done, you will thread the needle through the bottom and tie it. After ...
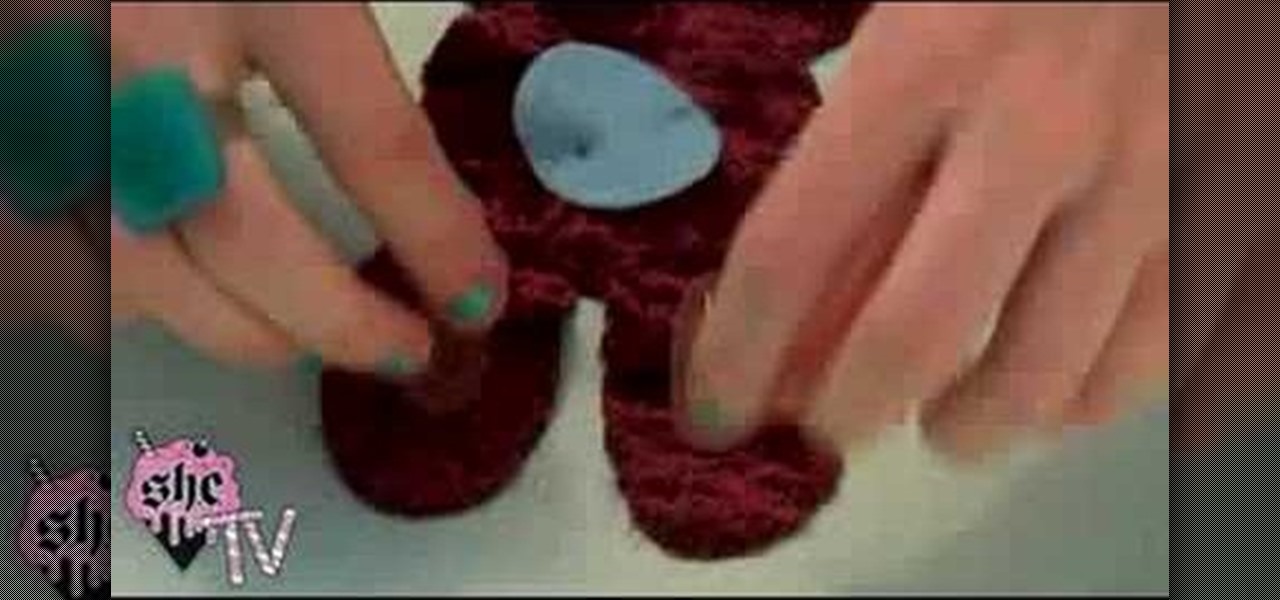
This video teaches us how to make a plush rabbit. Start off with a piece of fabric, then cut out the shape for the bunny out of this fabric to make two sides. After this, cut out the color for the eyes out of various other colored fabrics. When finished, sew the eyes onto the bunny and then sew both sides together. After this, fill the bunny with stuffing and then sew the entire thing together. When you are finished, you will have a small and cute plush rabbit that is not only made cheap but ...
In this tutorial, we learn how to make a rose from a turnip. To start, cut at an angle all the way around the outside of the turnip. After this cut, cut a thin layer around the turnip just around the inside of the cuts that were just made. Continue to do this process throughout the entire fruit until you get to the top. Make sure to alternate from the middle of the petal, so they aren't all line up the same. When you get to the top, you will be making smaller cuts, until you finish. When you'...
There's nothing that says "I'm a present" than something wrapped in a bow. Whether you're gifting someone a gift bag or boxed good, adding a bow on top always makes that gift extra special and also pretty.
In this tutorial, we learn how to thread a cord lock. First, tilt the cord lock up and find the two different wheels on the inside of it. Now, push your lift cord up through the two wheels that are on the inside of the lock. After this, pull the thread up through the top and then slide the thread through the smaller hole on the lock. Now, you will repeat this again for another piece of string, but thread it through the larger hole once you reach the top. After this, thread another cord throug...
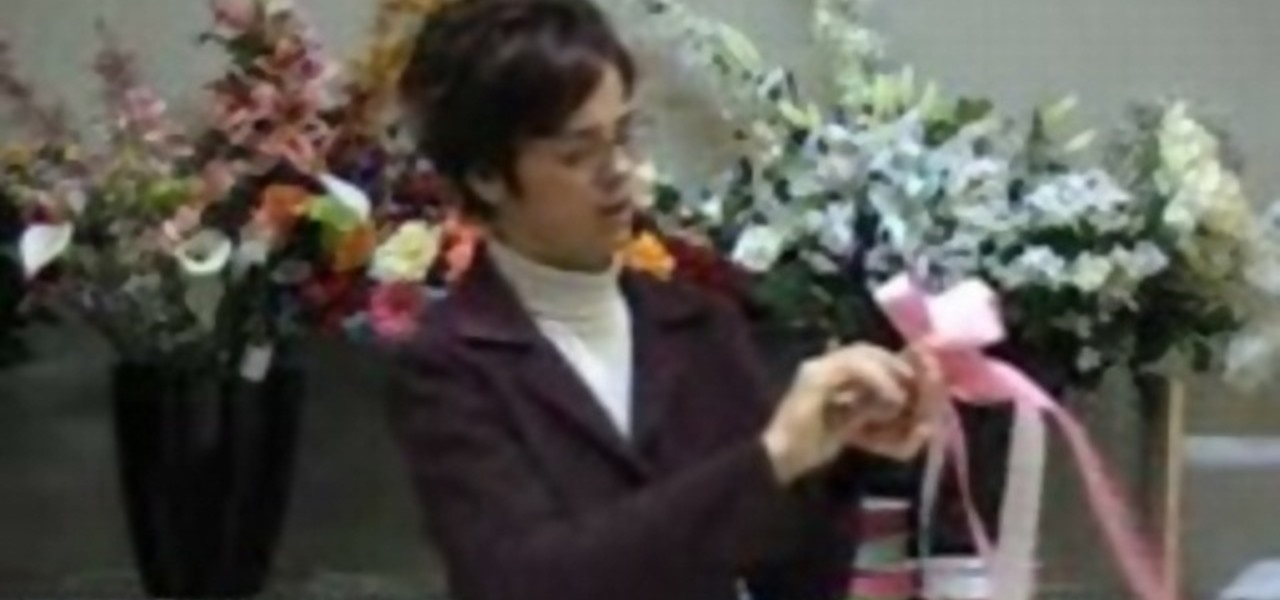
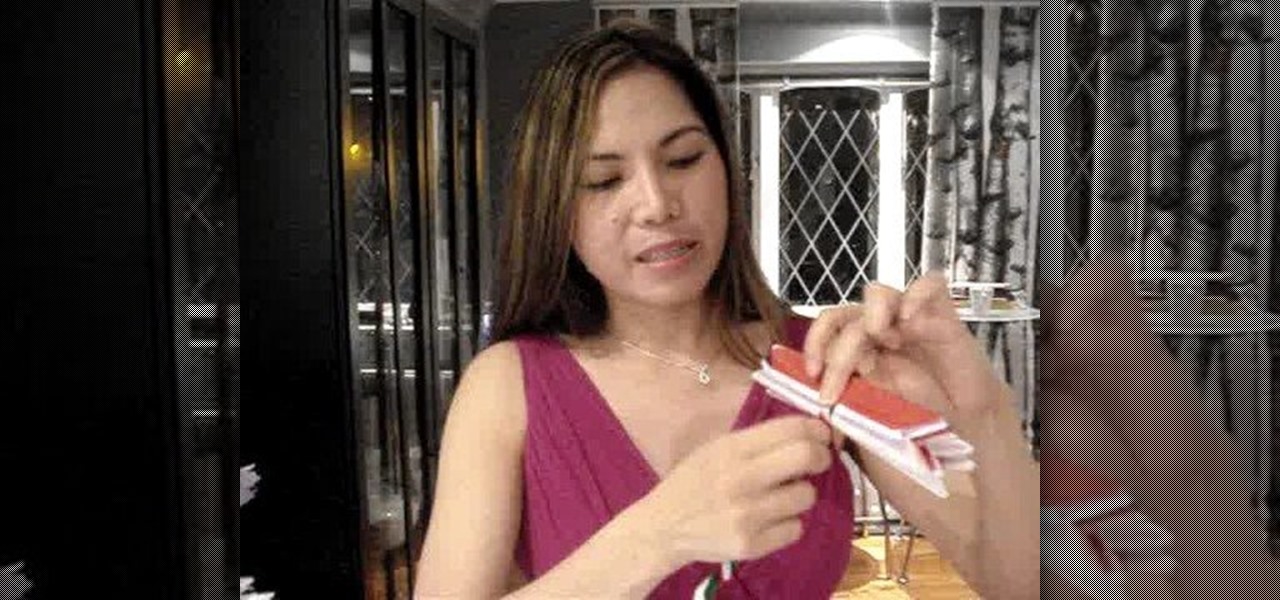
In this tutorial, we learn how to make a double bow with Sandy. First, take two satin ribbons of different colors and place one on top of the other. Leave a long tail, then make a large loop and scrunch it in. Make a loop on the top and a loop on the bottom. Each should get a half a twist and be opposite of the one you made before it. Practice with a single ribbon before you do this one. After you have six loops, create four more to make a bigger bow. When finished, you will have six large lo...
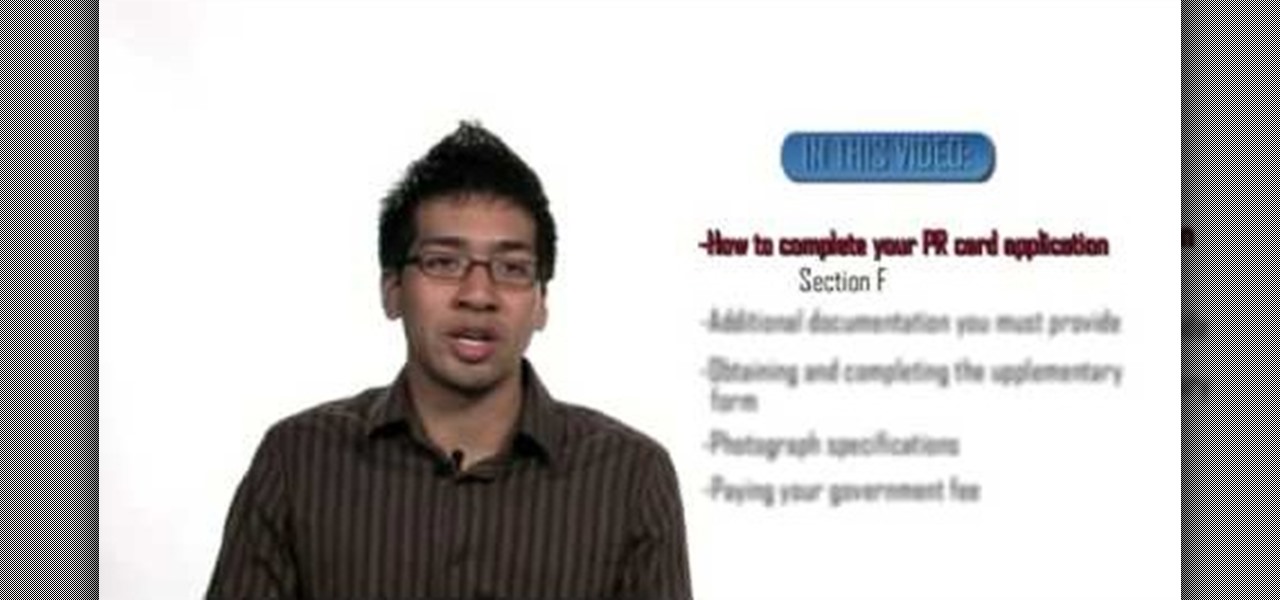
In this tutorial, we learn how to fill out a Canadian permanent resident application. Before you start, make sure you have all your personal information with you. After this, begin the application by filling out all the different sections. You must answer every question on this application or it will be deemed incomplete. You will be asked your address information, employment information, family information, and many other things. When you finish you application, you may be asked to provide a...
In this tutorial, we learn how to scrunch hair for the summer. First, wash your hair in the shower, then use a comb to separate the hair in the middle of the head. Now, take some hair mousse and run it into the hair from the top to the bottom until all the white is gone. Scrunch your hair while you are putting the mousse in, don't comb through it after this. Now, take hair gel and scrunch separate pieces of hair with your hair. After this, make several messy buns in your hair throughout the e...
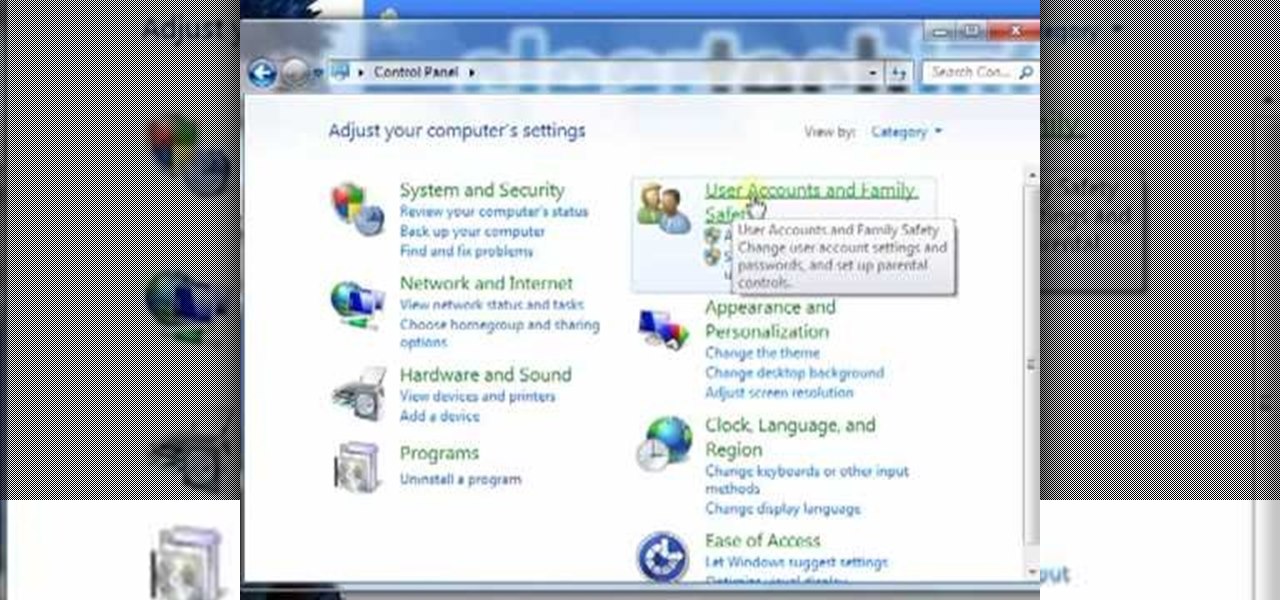
In this video tutorial, viewers learn how to disable the User Account Control in Windows Vista. Begin by clicking on the Start menu and select Control Panel. Then click on User Accounts and Family Safety. Now select "Add or remove user accounts". Then click on "Go to the main User Accounts page" under Additional things you can do. Now click on "Change User Account Control settings" and deselect the box. Finish by clicking OK and restart your computer. This video will benefit those viewers who...
In this tutorial, we learn how to do the veil style for your hair. First, you will section the front of your hair and bangs into three separate and equal sections tied with small rubber bangs. Next, section the layer of hair behind the front row and make four separate sections. Keep doing this until you reach the back of the hair, adding one section each time. After this, braid the hair as far back as it goes to combine with the next box. When you are finished braiding, you will have a veil s...
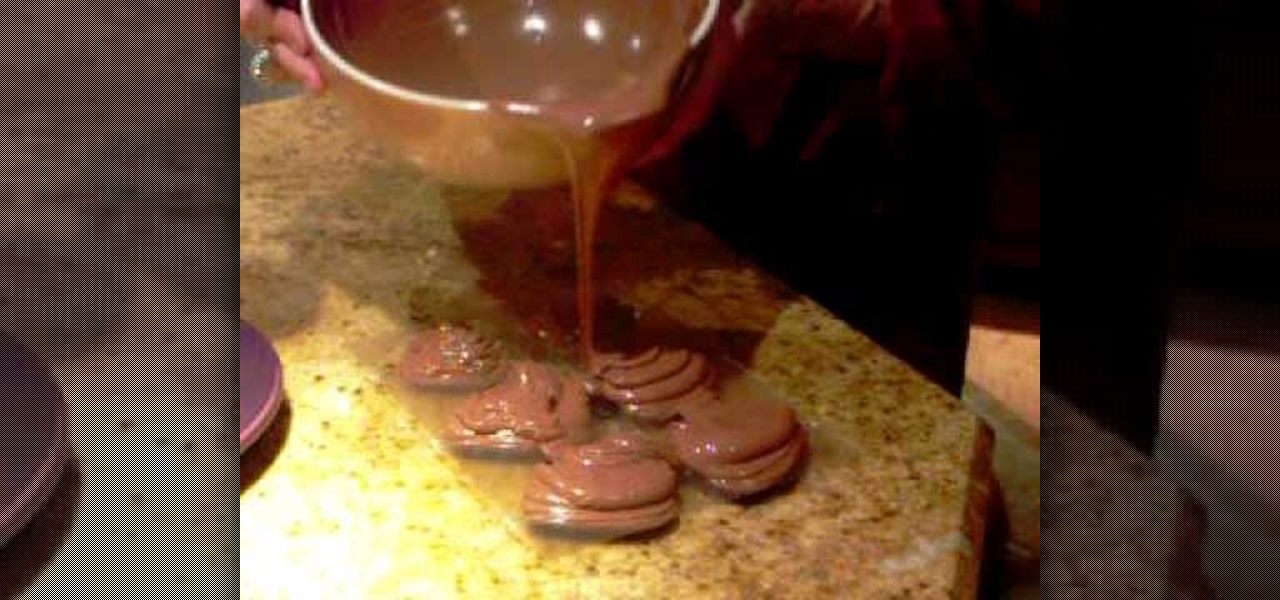
In this tutorial, we learn how to make chocolate hearts for Valentine's Day. You will need 1.5-2 lbs of chocolate and a mold with heart shapes in it and sucker inserts. You will also need sticks to insert into the chocolate. First, melt your chocolate in a large bowl with a spout. After this, pour the melted chocolate into the molds and then scrape excess chocolate back into the bowl. Next, insert the sticks into the molds and then place them in the fridge to let them sit overnight to get har...
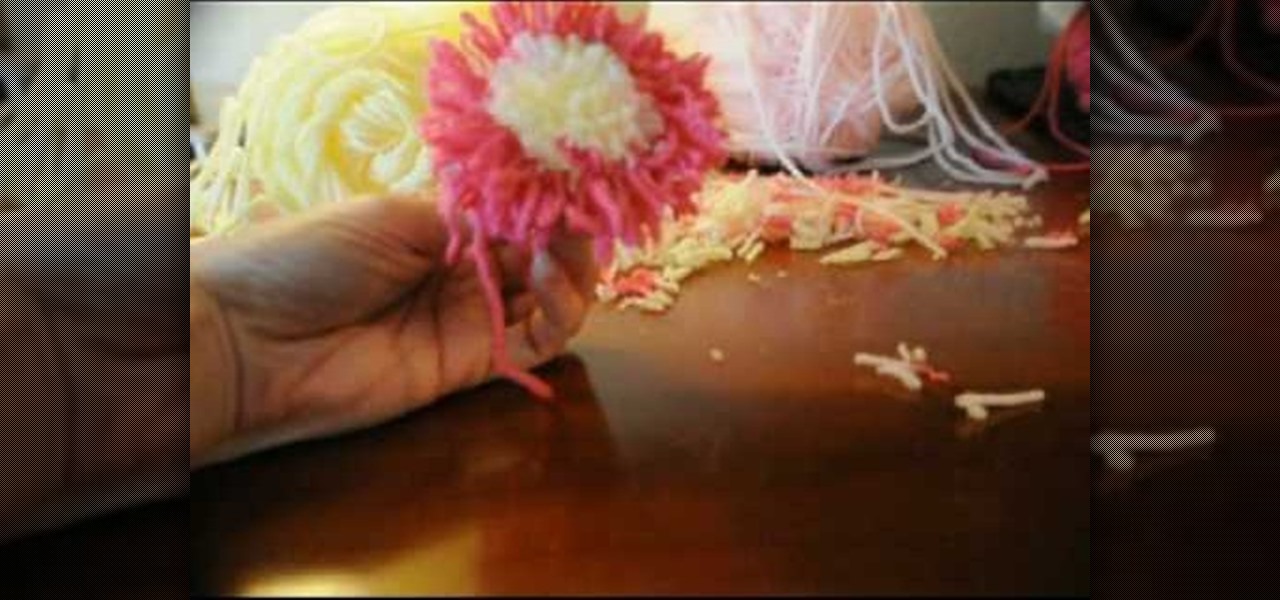
Tracey shows us how to crochet an easy pom pom flower in this tutorial. First, wrap your yarn around four fingers several times, and then wrap another color around as well. Last, wrap one last color on top of the middle color still wrapping around your fingers. Now pull the yarn off your fingers and tie a piece of yarn down the center of the wrapped yarn. Pull this as tight as you can and make as many knots as possible with this piece of yarn. Now cut your loops open with scissors through the...
In this video tutorial, viewers learn how to create a new standard user and administrator account. Begin by clicking on the Start menu and select Control Panel. Then click on User Accounts and Family Safety and click on User Accounts. Now select the "Manage another account" option and click on "Create a new account". Users are able to name the account and select the account type (Standard or Administrator). Finish by clicking on Create Account. Users are then able to make changes to the accou...
In this tutorial, we learn how to do a feather stitch while embroidering. To begin, you want to place your finger right next to where you are sewing so you are making a loop shape and helping guide your needle as you are doing this. You will want to chain the loops together, making the thread look like feathers as you continue. There should be no lines that are straight, all should be looped by placing the needle in between each circle and pulling it into the loop shape. When you are finished...
This video shows us how to make a DIY long vest out of a scarf in no time! You will need: a wide scarf, matching thread, other colored thread, safety pins, needles, and scissors. First, measure yourself shoulder to shoulder and add 15cm to that number. Next, measure 30cm on each side from the very middle of the scarf. Now, mark that spot with a safety pin and measure out another 30 cm on both sides, marking those spots as well. Now, bind the last two safety pins and sew from the bottom up to ...
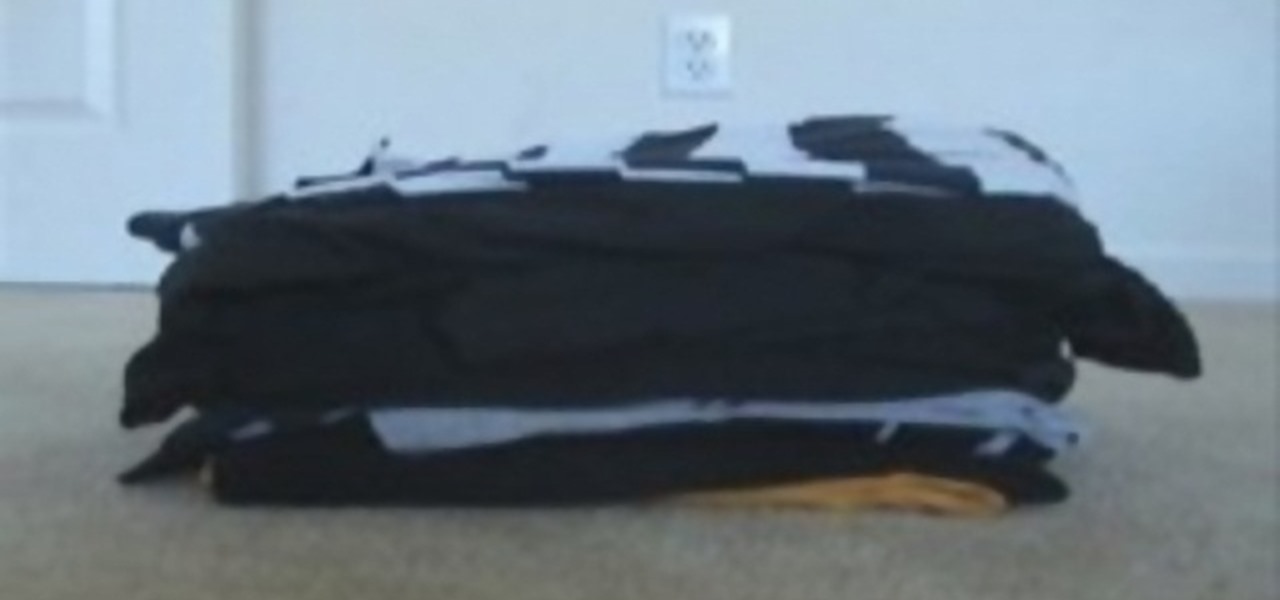
In this video, we learn how to save space while packing using 3 household items. You will need the following items: garbage bag, vacuum, and rubber band. First, fold your clothes and stack them on top of each other in a pile, then place a garbage bag around them. Now, take your rubber band and tie it around the bag, then stick the hose of the vacuum into the hole. Now, turn your vacuum on and let it suck the air out of the bag, and you will see the bag shrink within just a few minutes. Keep s...
In this tutorial, we learn how to make a tissue paper flower. You will need: pipe cleaners, scissors, and tissue paper (three different colors). First, twist three pipe cleaners together to make a stem. Next, cut your tissue papers all into the same size, mix colors to get a prettier flower. Now, layer the sheet and fold the papers as many times as possible. Cut the ends in a triangle shape, then spread the papers again and fold up again in the alternate direction. Now using your papers and p...