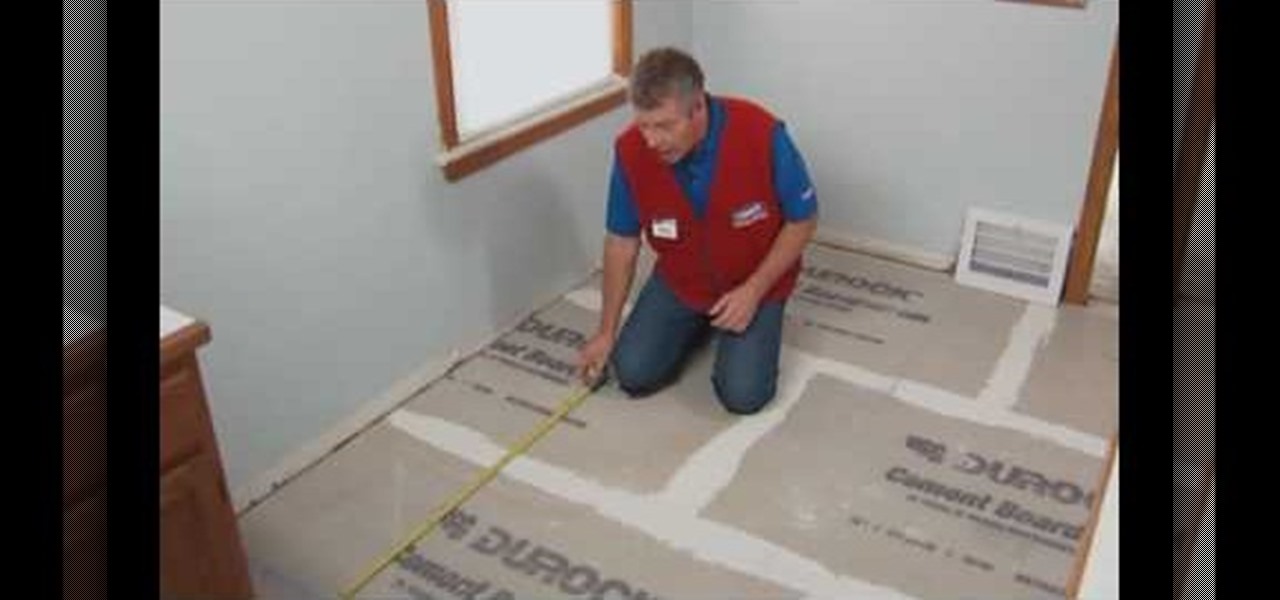
One way to update your living space is by installing new tiles. This video tutorial shows key strategies with tiling projects in your home. By planning material quantities you'll able to estimate the cost of your project. This instructional offers helpful tips on tile care, trimming and cutting, and how to safely use snap cutters and wet saws.
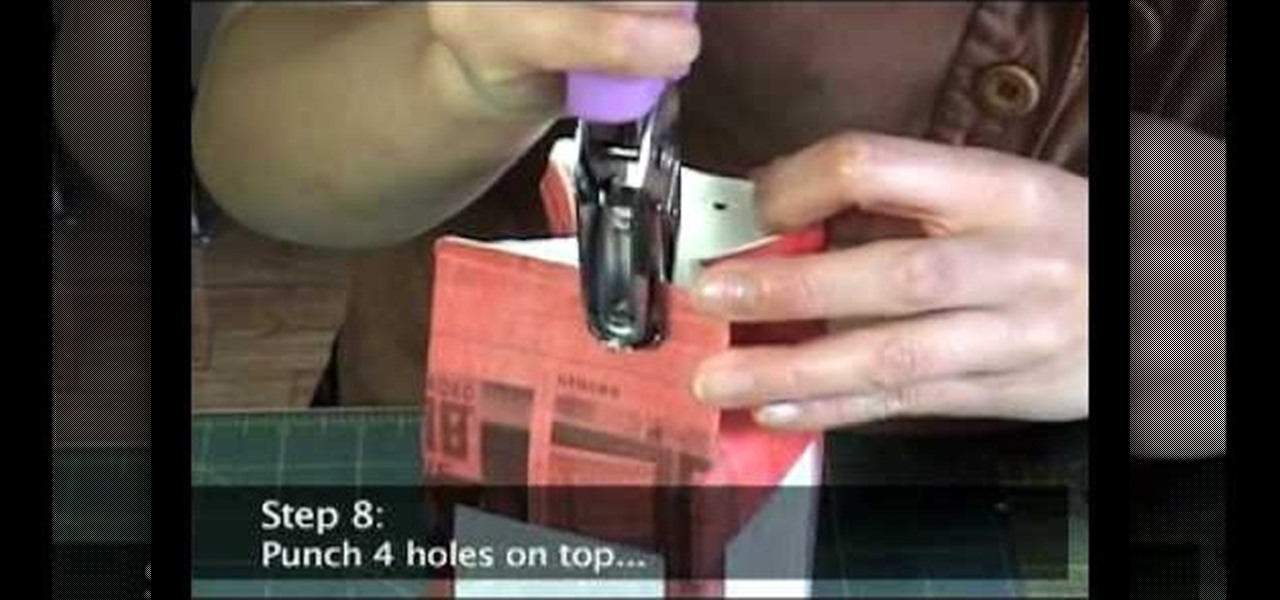
In this video tutorial, viewers will learn how to make a milk carton lantern. This lantern uses recycled items. The materials required for this lamp are: a milk carton, unryu paper, colored newspaper, raffia, ruler, glue gun, hole puncher, X-acto knife, glue stick and scissors. Flatten the milk carton. Draw a rectangle with each panel and measure about 1/2" form each of the sides. Measure about 3/4" from bottom and top. Cut out the rectangles with the X-acto knife. Glue the newspaper to the c...
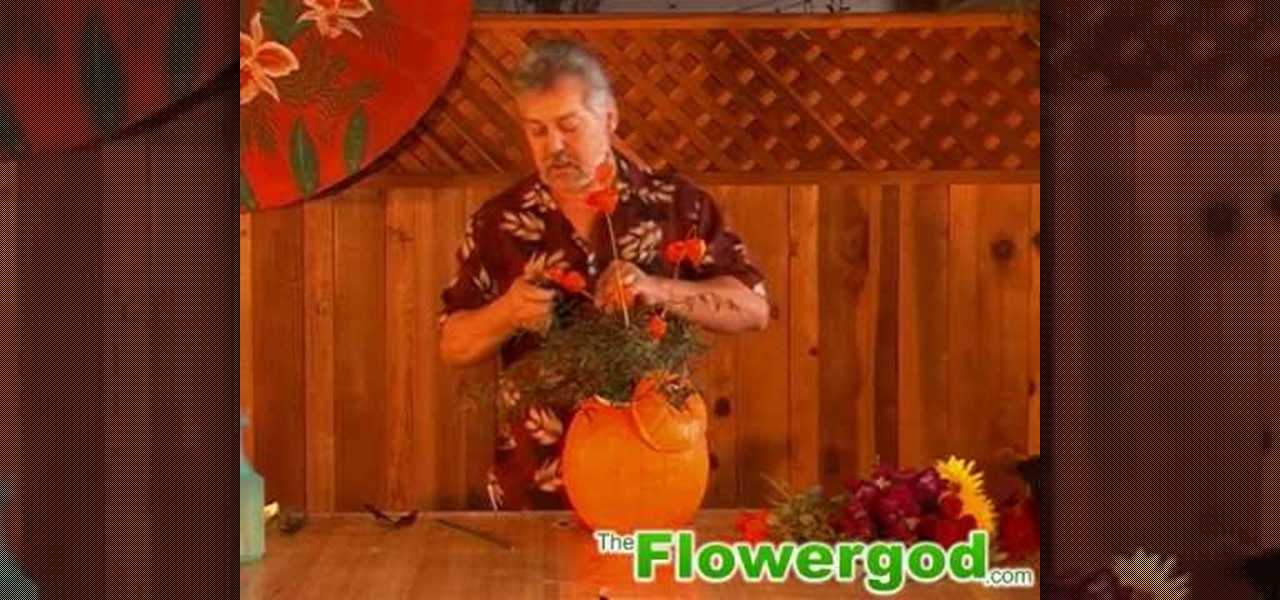
He starts with a pumpkin and some flowers from the supermarket, and some greens that he trimmed from a bush in his yard. He first cuts off the top of the pumpkin and cleans it out. He put newspaper in the bottom of the pumpkin, then puts a container with floral foam inside the pumpkin so the foam is sticking up a bit. He attaches the lid of the pumpkin to the foam with a piece of wire. He starts with the foliage and then begins adding flowers. He puts a tall stem of Japanese Lantern in the mi...

Are you looking for a simple floral design that will delight friends and family as a winter holiday centerpiece? Or perhaps you would like to do something a little more special with those dozen roses you bought as a romantic gesture? If so, look no further, because Jim Daniel, The Flower God, has a quick and easy floral arrangement to help make any occasion special! Useful tips such as including pine cones at the bottom of your vase to add more dimensions, as well as act as an anchor for the ...
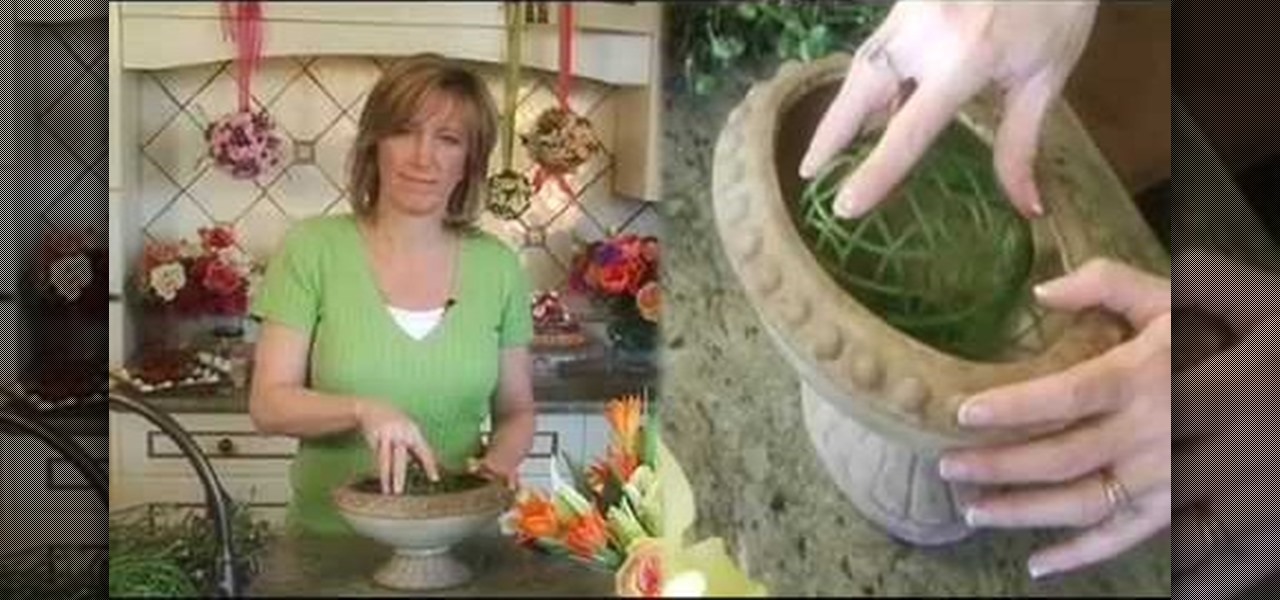
A wedding budget can quickly get out of hand as your planning progresses. Things like centerpieces are a major cause of skyrocketing wedding costs. If you have a little time and want to easily trim down the cost of your wedding, think about making your own floral centerpieces. You'll learn how to with this simple tutorial from EZ Bouquet. You'll soon see how easy it is to make a beautiful floral arrangement in an open container and how to secure the arrangement in the base of the container. A...
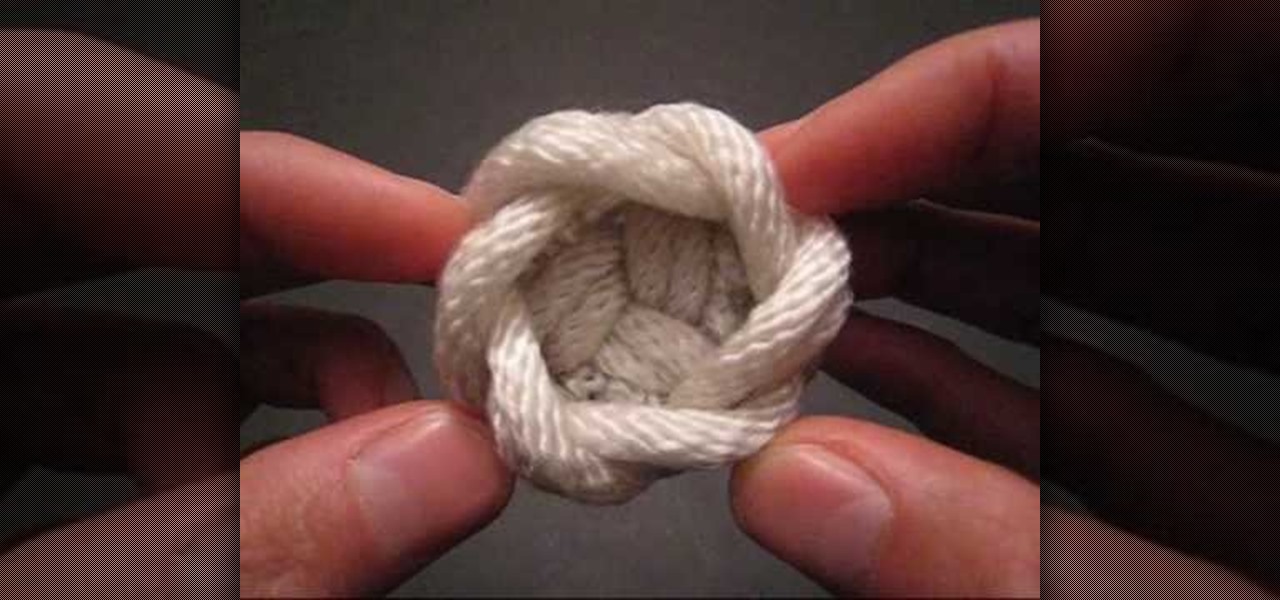
If you're into arts and crafts then you know that there is more that you can do with a long piece of string than just tie your shoes. On this TyingitAllTogether video you have the opportunity to tie the teacup decorative knot using one long piece of string folded in half. The author of the video first shows you what the end product will look like then methodically begins to walk you through setting up the string in Y-configuration to "crossing each bights crook" which involves overlapping and...

OceanMistFarms, teaches you how to bake or roast an artichoke in the oven. Baking an artichoke is as easy as baking a potato in foil. Preheat the oven to 425 degrees. Spread open the petals of each rinsed and trimmed artichoke. Between the petals add olive oil, vinegar and sea salt. Stuff mince garlic between the petals. Double wrap the artichoke in heavy duty foil. Place the artichoke in the oven and leave it there for an hour. If it's a large artichoke you should leave it a little longer, a...

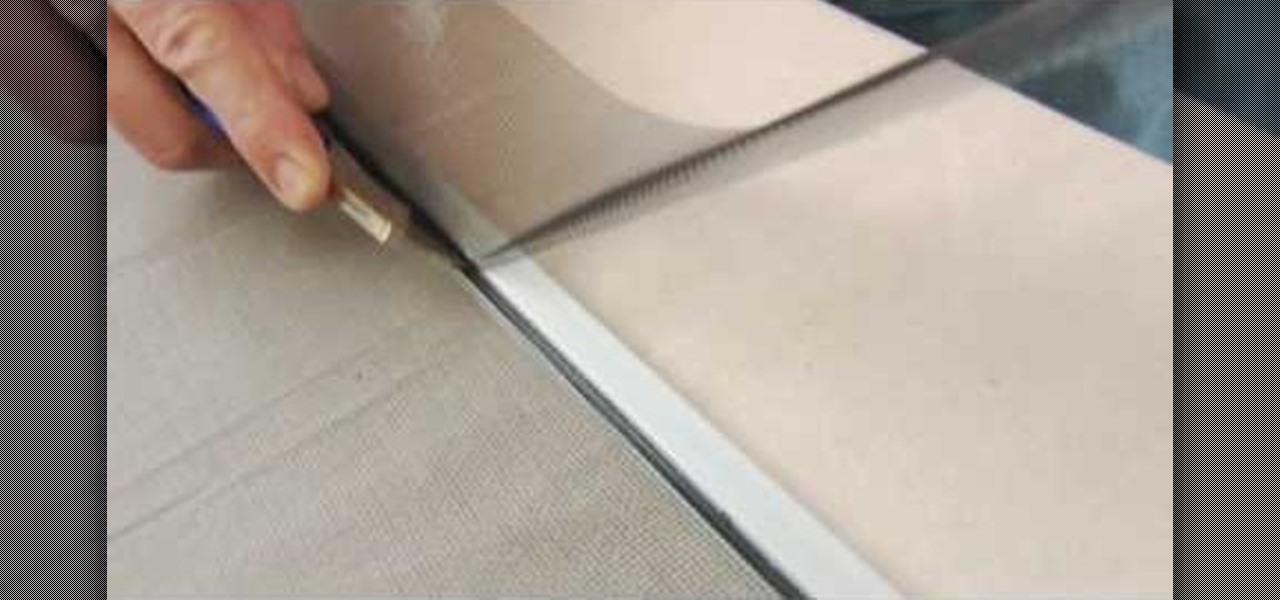
This how-to video from Lowe's demonstrates how to replace a damaged screen. The tools required are fiberglass screen, spline, tape measure, spline roller, screwdriver, and utility knife. He shows the different options in screen material, and suggests taking pieces of your old screen and spline along to match it. He removes the old spline and screen, lays the replacement screen over the frame and trims it. He uses a spline roller to roll the new spline into the groove and attach the screen. Th...

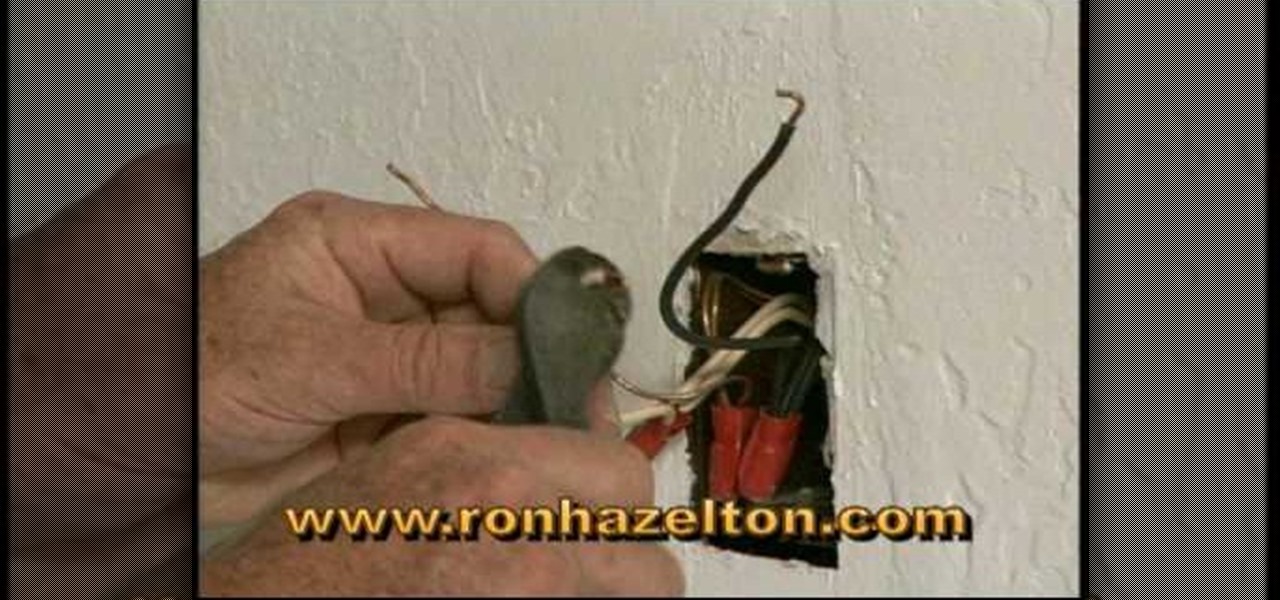
Ron Hazelton shows how to install a ground fault circuit interrupter (GFCI). First turn off the power to the electrical outlet at the circuit breaker or fuse box (check to make sure there's no power in the outlet!). Then remove the electric cover plate. Then gently remove the old outlet receptacle. Detach the wires from the old receptacle. Trim and re-strip the wires if necessary. Attach the wires to the GFCI receptacle per the instructions. Gently reassemble the receptacle and plate. Restore...

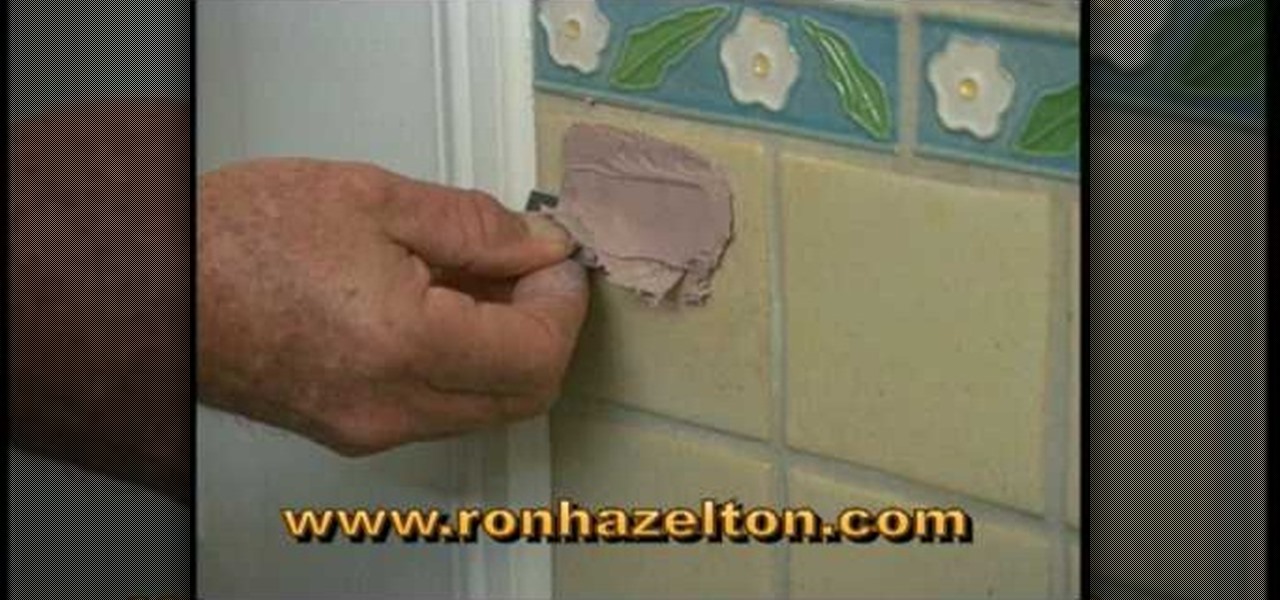
Fixing holes in glazed ceramic tile can be very tricky. This is a solution that may not be perfect but it will provide a big improvement to your situation. You will need some polyester resin, which is often used to repair car bodies. Mix up some of the resin and apply it to the holes in the tile making sure that you overfill the holes. As it dries but while it is still rubbery take a razor blade and trim off the excess resin. Take some 600 grit sandpaper and sand the resin smooth. Wet the san...

Going, going… gone! Say bye-bye to a big bum with these butt busters. You will need:

One day, your car may break down and you won't be able to afford to hire a mechanic, so what do you do... you look on the web for some how-to vehicle repair videos and become your own car mechanic, that's what. You don't need any advanced training to perform repairs and simple maintenance on your automobile, but you may need a few tools. Invest in the basic tools and you'll be prepared for just about any car malfunction you can think of. These tutorials will help get you on your way, as long ...

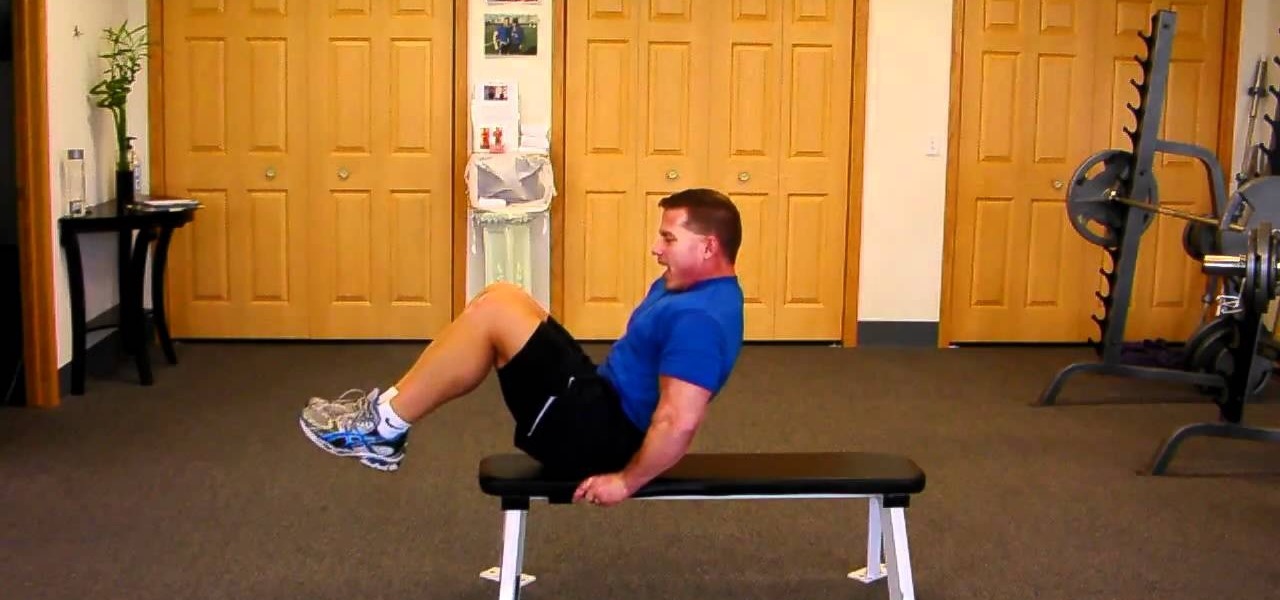
Trim and slim your stomach. Learn exercises and stretches for your workout routine in this fitness video. Take action: work the obliques, the sides of torso, using a mat for comfort, keep feet off floor and the body as straight as possible. Tom Clifford, the instructor of this how-to video, has a degree in physical education, fitness and health from Eastern Michigan University, where he ran track and cross-country. Tom has worked as a personal trainer for two years. He also has a separate bus...

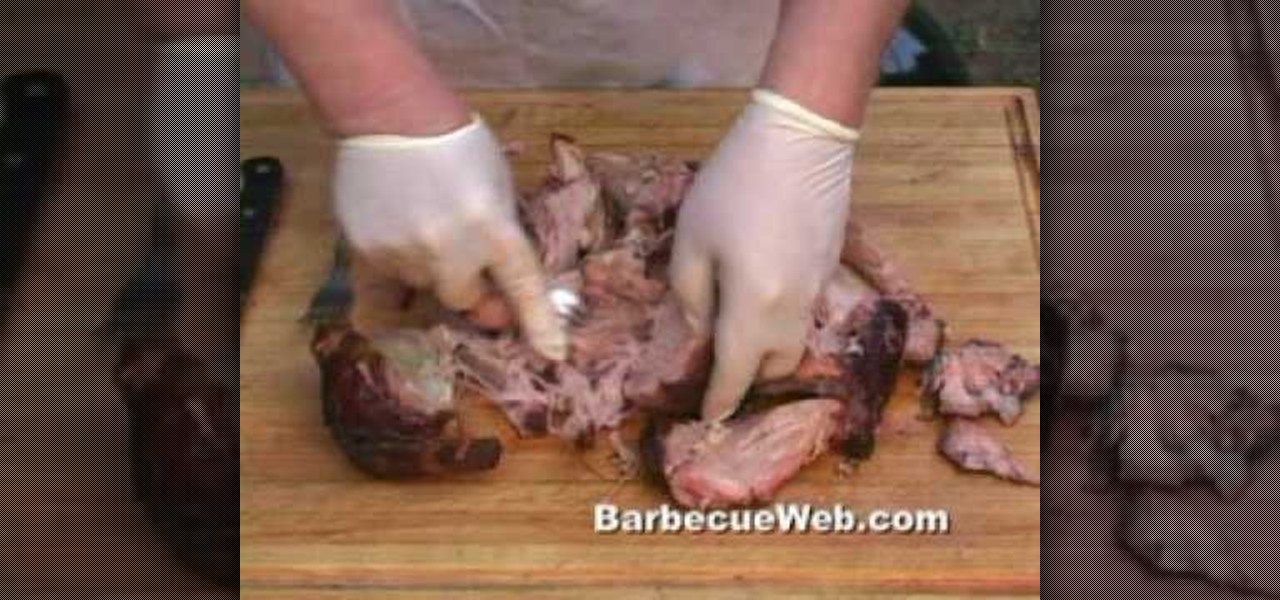
Pulled pork sandwiches anyone? Watch this how to video and try this easy to do recipe for real BBQ pulled pork, all done on a simple backyard BBQ smoker. All you need for this pulled pork barbecue is 8-10lbs. of Boston butt, also known as pork shoulder, and your favorite dry rub and barbecue sauce.

Watch this visual demonstration on how to fold the Mirage. The Mirage is an excellent paper airplane. I was amazed the first time this left my hands and sailed -- nay -- floated to a perfect landing. The large wing area makes this glider easy to trim and especially graceful in the air. The "landing gear" helps the aircraft stay graceful during landings and on the ground, but I've surprisingly noticed that it seems to fly better with the landing gear "down and dirty" than with those tabs tucke...

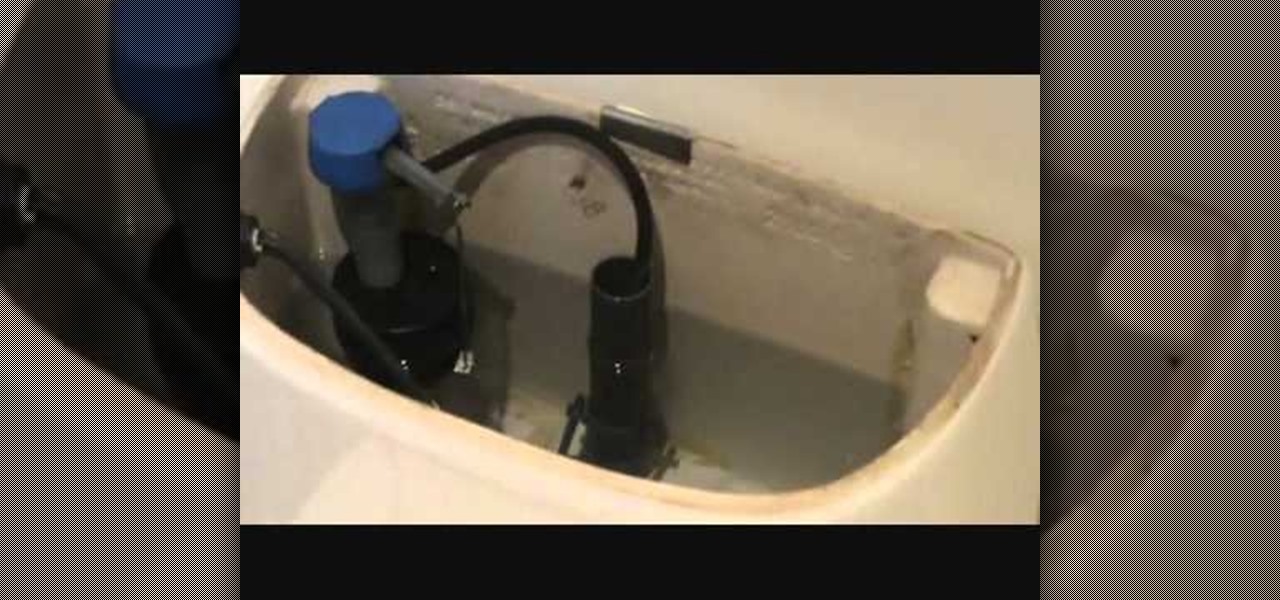
Trim down your water bill and do the planet a favor by adjusting the water height in your toilet tank. The Fluidmaster's float cup on the fill valve can easily be adjusted to set water height in the cistern, just by fine-tuning the water level adjustment clip. This process is very similar for regular fill valves, too, with float balls instead of float cups. All you need to do is hit the sweet spot—the lowest water height needed to properly flush the toilet.

In this tutorial, we learn how to repair the Vivitar 285's Flash Foot. First, remove the flash foot using a soldering iron. Melt the solder just enough, don't ruin the wires or the backing. Now, set the iron down and then short the wires out, you will see the flash go off when you do this. Trim of the exposed wire from the end, then wrap a small amount of electrical tape around the wires. After this, you will repair the metal around where the wires were connected. Then, solder the wires back ...

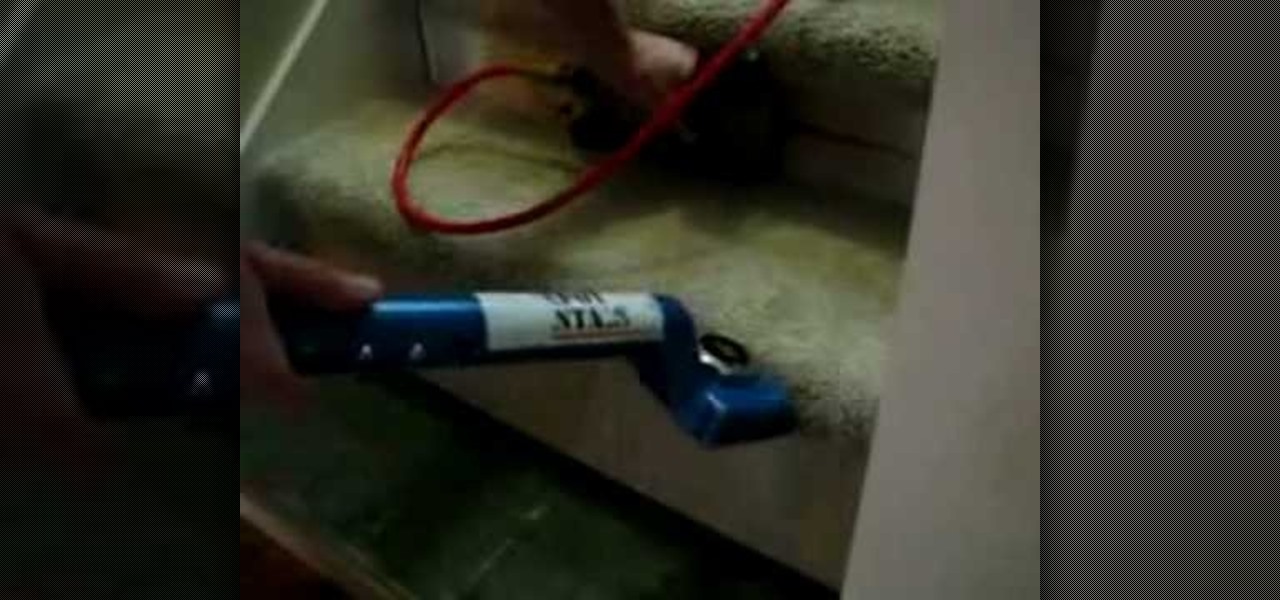
In this video, we learn how to install carpets on stairs. First, install a tack strip along the back edge with a distance between the riser and where you place it. Then, you will place the pad down on the stairs, and then you will place the carpet down. Use trim to cover up the backs of the stairs and the underside of the bull nose. Use a nail gun with staple brads to fasten the carpet to the stairs. This is the easy way to do it, and you must make sure you have the right measurements to fit ...

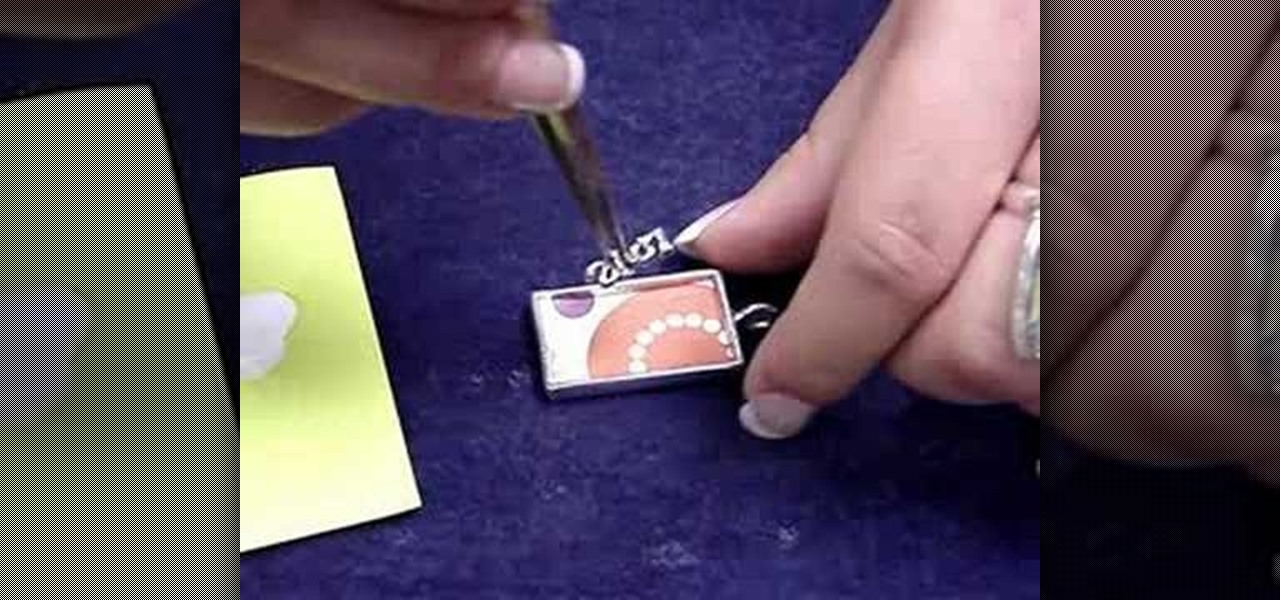
In this tutorial, we learn how to make a DG3 art gel collage jewelry pendant. After you have all your tools together, you will need to trim the scrapbooking paper to fit into the frame for your pendant. Once this fits inside, then grab a charm and glue it into the frame where you would like. Then, squirt the clear craft glue into this and let it set. Brush the paint brush over the pendant, then go over it again with the glue when it dries. To wear, attach a chain to your pendant when it's dry...

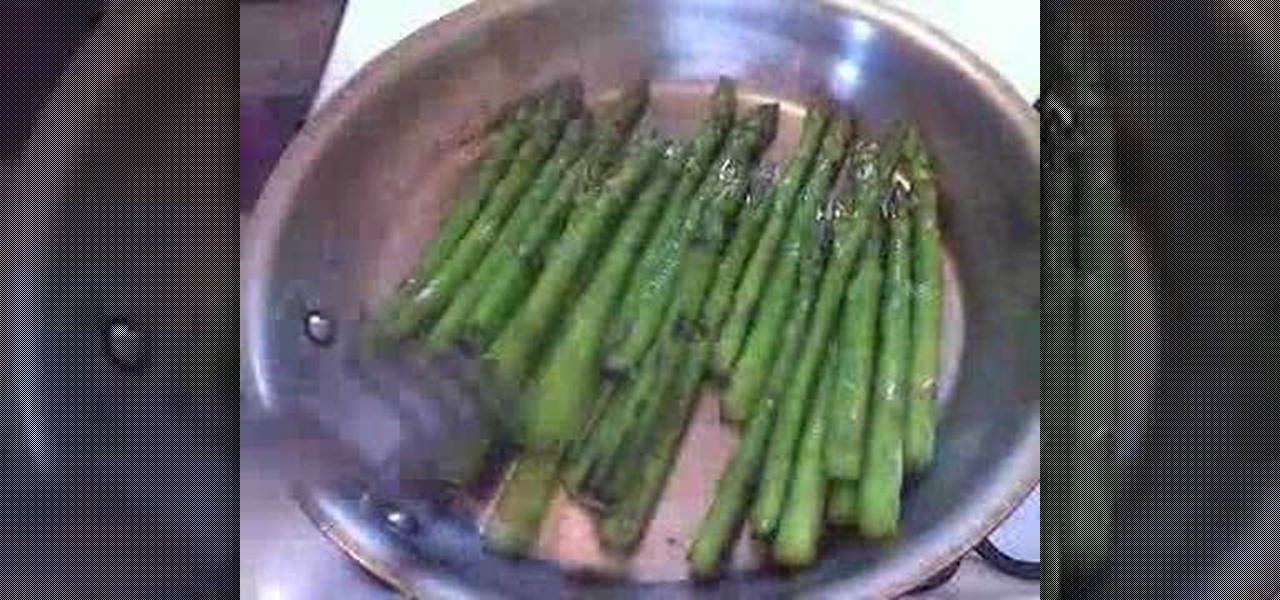
In this tutorial, we learn how to cook pan-seared asparagus with lemon and balsamic. First, trim the bottom of the asparagus, then sprinkle it with salt and olive oil. After this, push some foil down onto a casserole pan. After this, sear the asparagus but don't cook it all the way. Now, pour in vinegar, olive oil, lemon juice, salt, and pepper into the foil. Once the asparagus is seared, put it into the foil and wrap it up. Then, let this sit for five minutes and unwrap it. After a few minut...

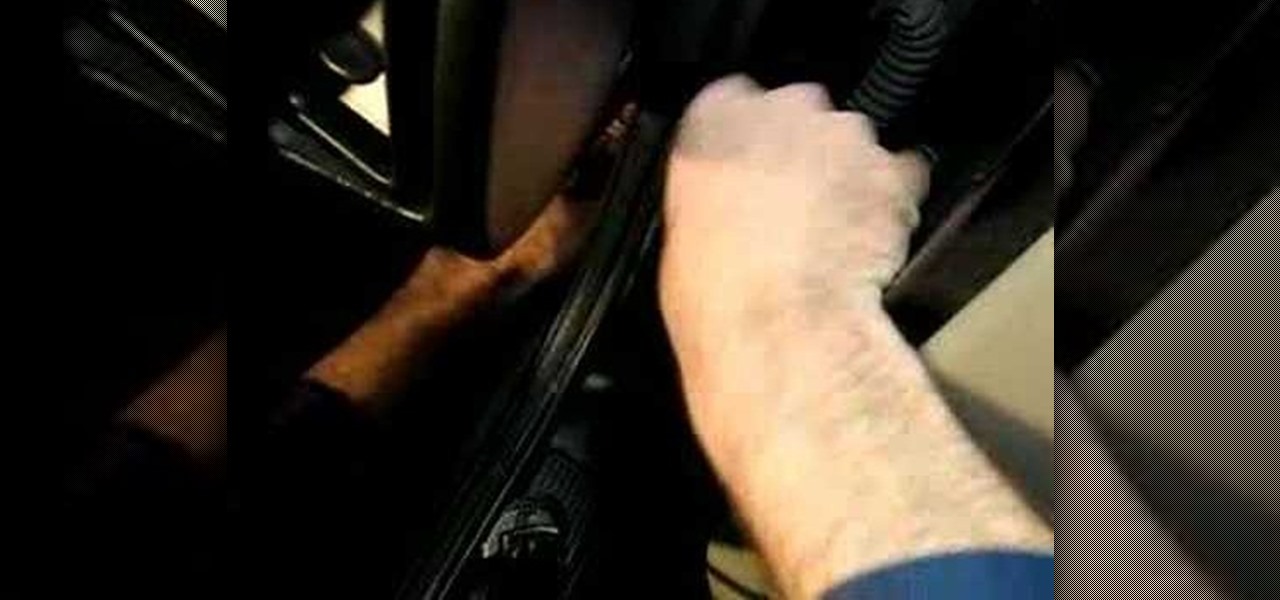
In this video, we learn how to remove an automobile headliner on a Saturn S-series. First, you need to remove the back cushion and then take the back rest on the seat, then lay it down. After this, remove the dome light and remove all the grab handles from the vehicle. Next, remove both visors and screws, then remove the mouth on the seat belt and bolts. After this, remove the cover on the back brake light, then the trim that runs along the side of the inside of the car on both sides. Once yo...

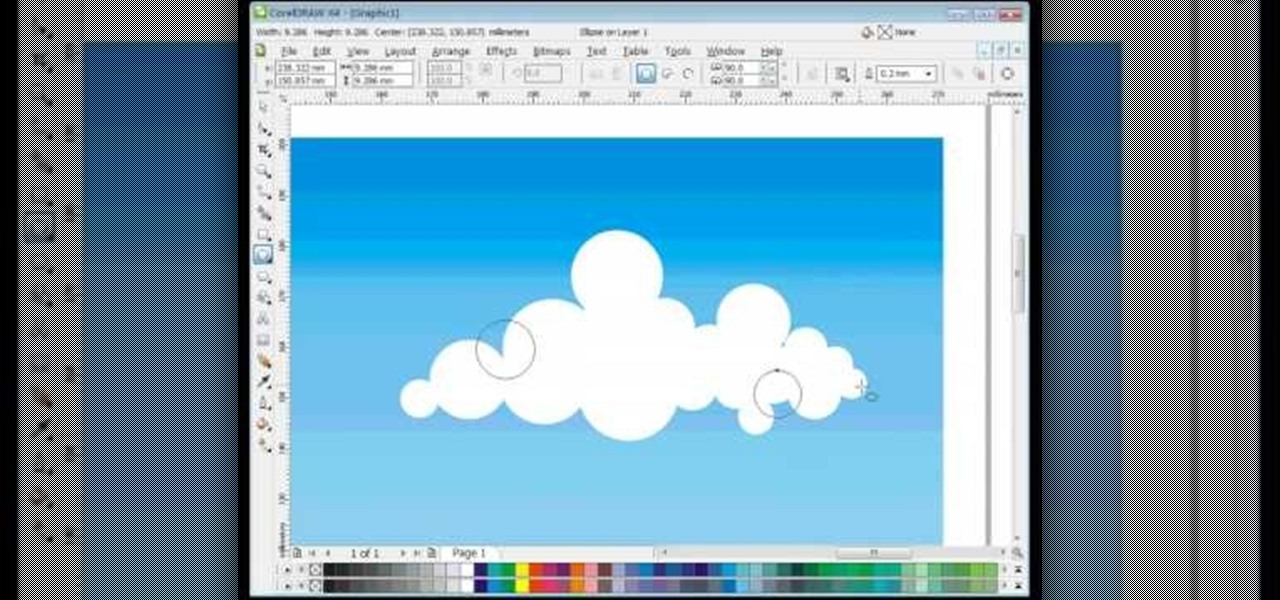
In this video, we learn how to draw vector clouds in CorelDraw X4. First, open the program and make a circle using "ctrl+shift". Make these circles touching and overlapping each other on the top of the page. After this, select all and then weld it. Next, press "ctrl+k" to break the curves apart, then erase the parts inside of the clouds. When this is done, select all, then copy and paste for additional clouds. Trim the bottom to make the clouds sit on a mountain or straight edge, then you are...

When it comes to building six pack abs, there's no better way to summarize the process than to say no pain, no gain. Sexiness requires work, guys and gals, but we promise the pain will be well worth it!

In this video, we learn how to use cones when jewelry making with Christina. First, take a half inch hard wire with a looped end and use a pair of pliers to open up the loop slightly. Next, take your strands of beads and place them onto the loop. After this, close the loop making sure it's secure and the beads won't fall off. Then, take the cone and insert the wire through the wide end and pull it through the narrow end. Using your fingers, bend the wire to a ninety degree angle, then trim of...

In this tutorial, we learn how to clean a coyote. Start out by cutting the legs and up to the inside of the rear end. Cut the skin around the feet and then peel the fur and skin upwards. Trim into the butt of the coyote, then cut around the tail into the middle. Keep pulling the skin up around the legs of the animal and around the thighs, using a sharp knife to loosen the skin. Remove the skin completely from around the legs, then cut the tail so only the bone is left and the skin is off. Aft...

In this tutorial, we learn how to install a ceramic tile floor. Before installing, you need to prepare a solid base. First, you want to take off the trim, then calculate the area of the room. Prepare the floor by inspecting low or high spots. You will want to apply mortar, then set the backer boards into place. Screw these into place, then finish covering the floor with seam tape. Apply mortar over these then let dry. Now, you can start laying your tile onto the top of this! Once you are fini...

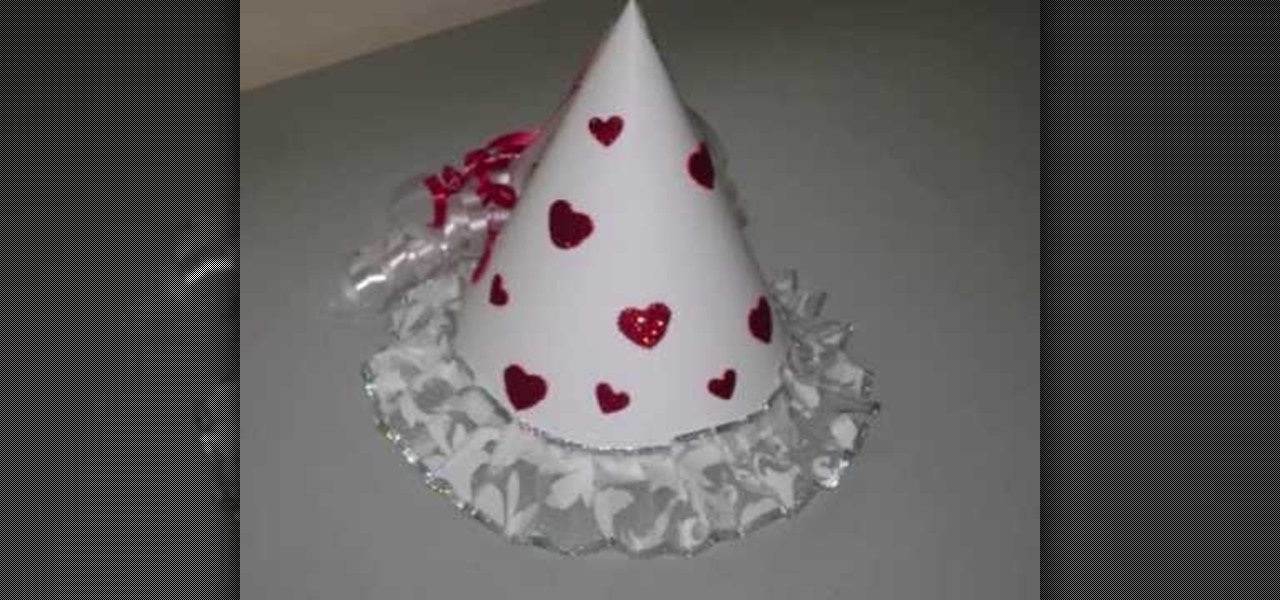
In this video tutorial, viewers learn how to make a fairy princess hat. The materials required for this project are: white cardboard/postcard, glitter stickers, glue, white lace/ribbon, red and white thin plastic ribbons and scissors. Begin by folding the white cardboard into a cone shape and glue it together. Trim the bottom of the cone. Then scrunch the lace ribbon to an accordion style fold and glue it to the bottom of the cone. Now decorate the cone with stickers or paint. Then glue the r...

In this video tutorial, viewers learn how to winterize their home. Users should begin by cleaning the gutters on the side of their house. Scoop out all the debris and seal it with caulk. Then change the batteries of the smoke detector and clean it. It must be replaced if it is over 10 years old. Prepare the lawn mower for the spring season by sharpening the blades, clean it and drain all the gas out. It is a good idea to trim off the shrubs and trees. This video will benefit those viewers who...

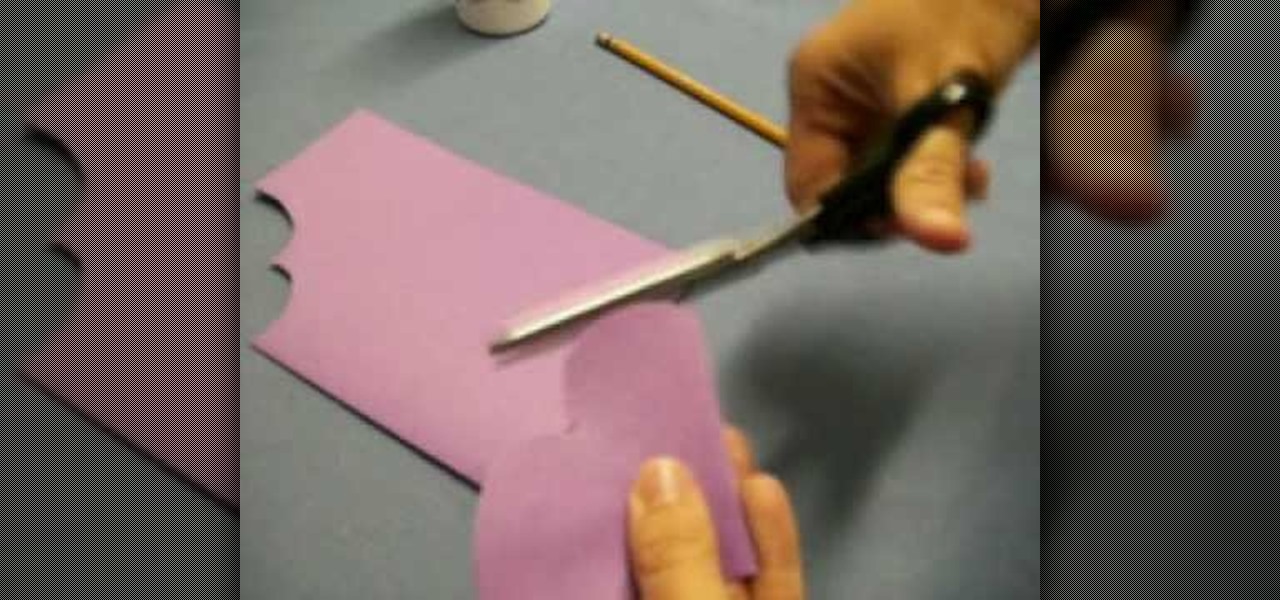
In this tutorial, we learn how to make a heart bookmark. First, take a sheet of paper and fold it in half, folding the crease. Now, take a pencil and draw two heart humps from one edge to the next. After this, cut them out, leaving the fold together. Trim any edges that aren't round, then add glue to the edge of the heart, and fold it over and let it dry. You can now decorate this will markers and ribbons. To use as a bookmark place your page in the center of the heart. This is a great craft ...

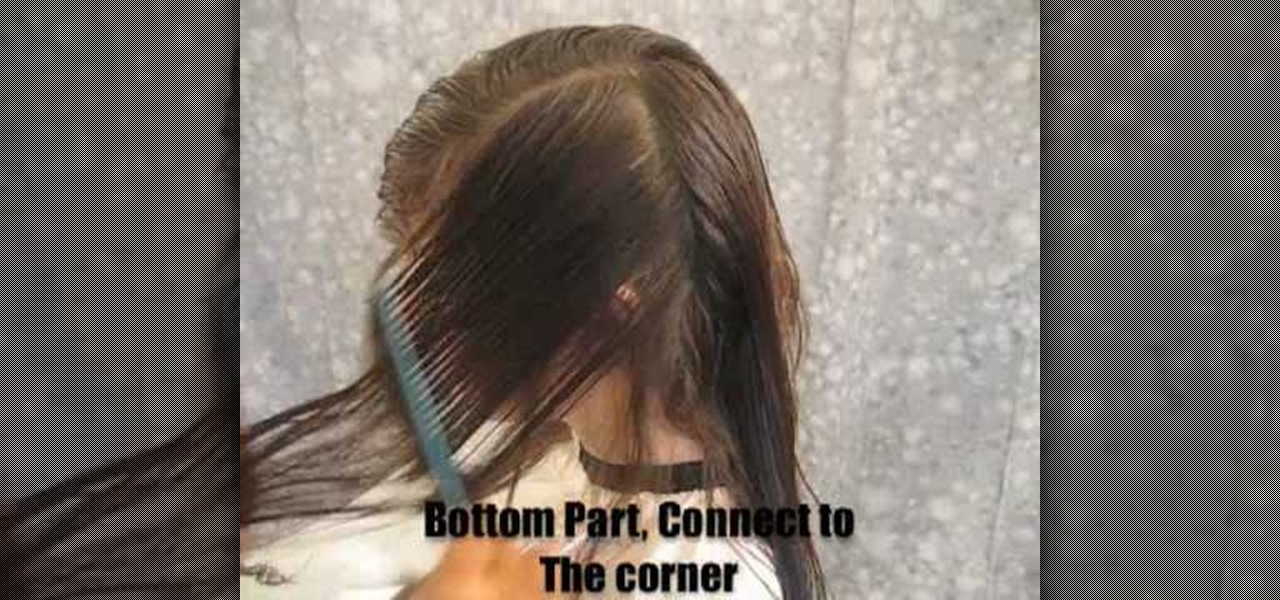
In order to cut a long layer haircut, you will need a good pair of scissors. You must stay in the exact same standing position the entire time. Bring all of the hair together on each side, in order to cut it.

In this tutorial, we learn how to prune trees and shrubs in your garden. If you want to have a natural looking appearance to your plants, make sure you prune them often! A lot of plants will grow out of shape quickly, so make sure you trim them often. Don't square them off on top so your plant doesn't look fake and un-natural. To begin, you will want to take your tallest branches off first, from the bottom of the tree. Keep doing this until the very tall branches have been removed and you are...

In this video, we learn how to groom men's eyebrows with Aaron Marino. You will need: high quality tweezers, small scissors, fine tooth comb, and a pencil. First, use the pencil and place along the inside and outside of your eye to know where your eyebrow should start and stop. Now, take your tweezers and pluck the middle of your eyebrows, as well as the outside and underneath of the eyebrow. Next, take the comb and brush against the grain. Trim the hairs that come up at the top, making sure ...

In order to make a Shaker card, you will need the following: a 2" square punch, scissors, card stock, clear plastic, paper, glitter, beads, decorative cutouts, and 2 sided tape.

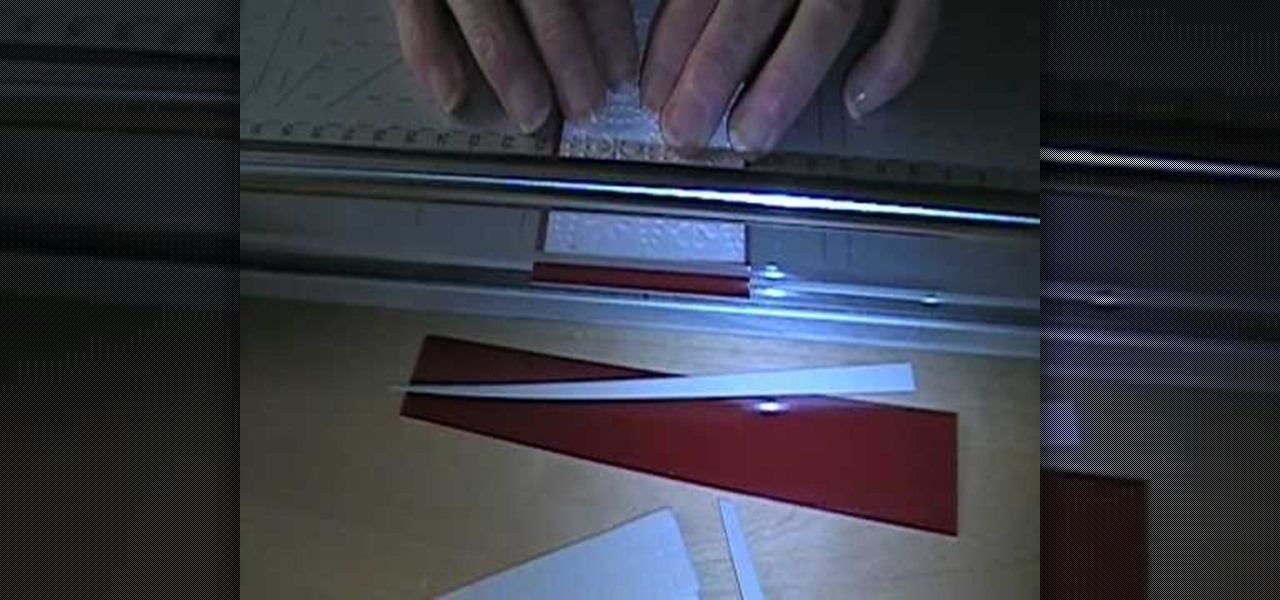
In order to make cuttlebug cards, you will need the following: cuttlebugs, ribbons, two sided tape, a trimmer, and cardstock.

Piping cones are indispensible when applying flowers, leaves, and frilly trims on cupcakes and cakes, and cones with particularly fine points can be used to apply henna in intricate patterns.

This is a video tutorial that is showing its audience how to make their own frosting plug for when you need to decorate cakes, cookies, pies, or cupcakes. The first step in making your own frosting plug is to put a piece of plastic wrap onto your counter. Spread it out so that it is in a square shape. Next put a dollop of frosting onto the piece of plastic and roll up your plastic. Next after the plastic is rolled into a tube you can get your plastic bag with your attached frosting plug and c...

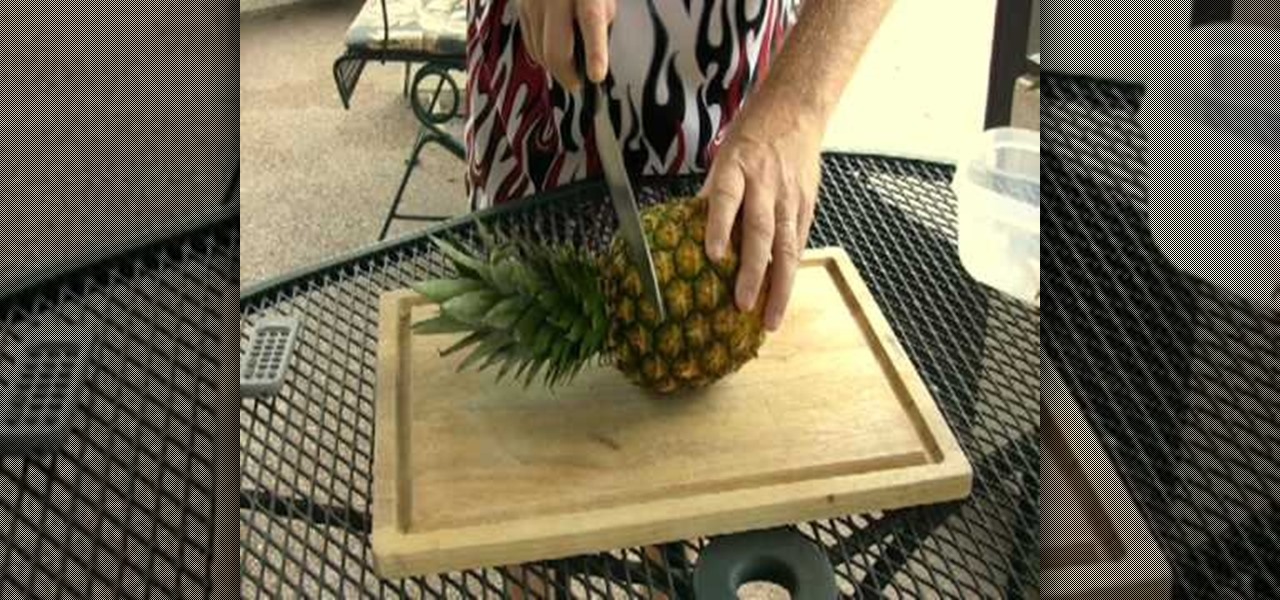
In this video Jack in the Net shows how to grow your own pineapple using just the crown. Find a nice firm, strong pineapple with no brown leaves. With a very sharp knife, cut straight through about an inch down from the crown. Then trim the flesh all the way around, leaving only the solid round core in the middle, being careful not to cut into the crown. The roots will grow off of the crown so all the fruit needs to be removed.

In this video, we learn how to take care of hibiscus plants. These can grow anywhere from 3-10 feet tall, so make sure to take care of these! Some extra steps to help are to: plant these in a well drained area and water it, let it drain and water it again. During the winter, mulch the flowers and it will survive. Make sure you pinch the flowers that are dead to keep your plant looking gorgeous and make sure you trim any dead branches that make the tree look dead. Doing these small steps will ...

You will use an old work glove to make the string. First cut the seems of the glove to the finger tips with scissors. Cut out the palm part of the clove. Remove the elastic off of the back with a knife. remove the hem with your scissors. Next, start cutting at the edge up around the shape of the glove. Keep going round until it starts turning into one long piece. Go back around the leather and trim up the rough edges and corners. He ends up with about seven foot of string. It's a cheep free w...

This video gives a demonstration of how to make a double bow for scrapbooking. First, cut a short piece of your ribbon off the end. Make this piece about 5 inches long. Next, after leaving a tail of ribbon bend a longer piece of the ribbon over and over, smoothly, until you have 2 loops on each side which creates the double bow. Cut off the end of the ribbon, leaving a tail. Pinch the middle of the double bow. Use the short piece which you cut earlier to tie around the middle of the bow. Adju...


