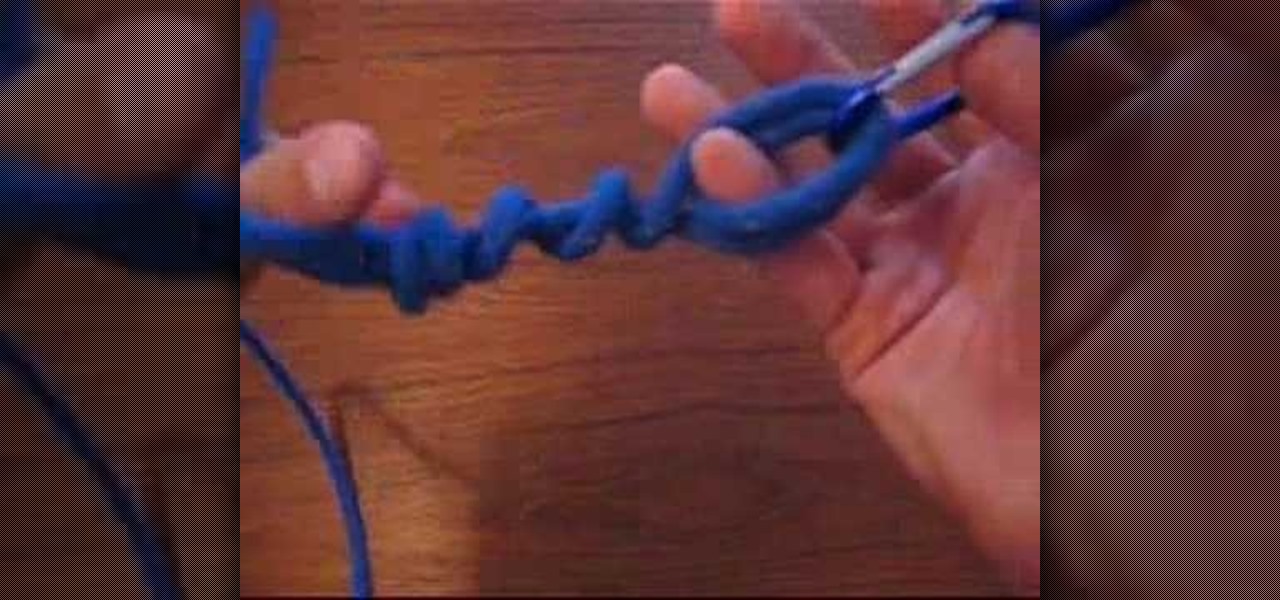
When hunting for trout, you will need to know how to set up your rod. Different types of fish require different set ups. In this tutorial you will learn to master the technique behind rigging a fly fishing line for trout.
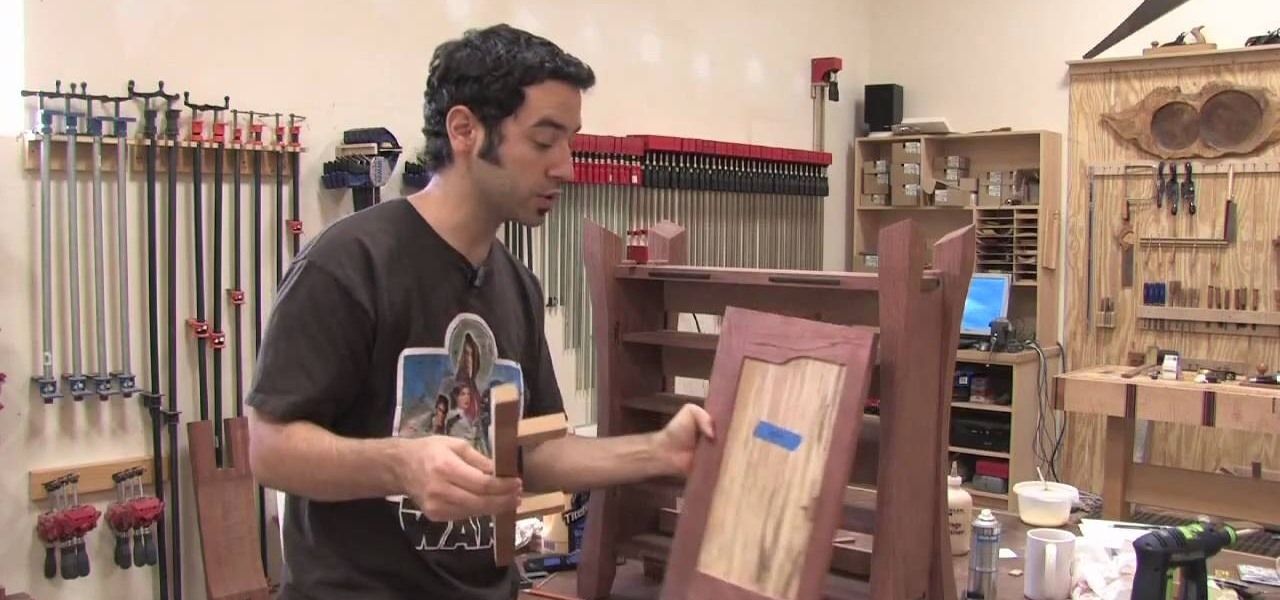
The Wood Whisperer demonstrates how we can install hinges on a cabinet without a tape measure, using relative dimensioning. In this example, we use center lines instead of marking the top and bottom of each piece that needs to line up. Using shims at the bottom and top of the door, we center the door on the cabinet to the desired spot. At this point, it's as simple as marking the center lines where you want your hinges to go on both the door and the cabinet frame. Now we can simply attach our...
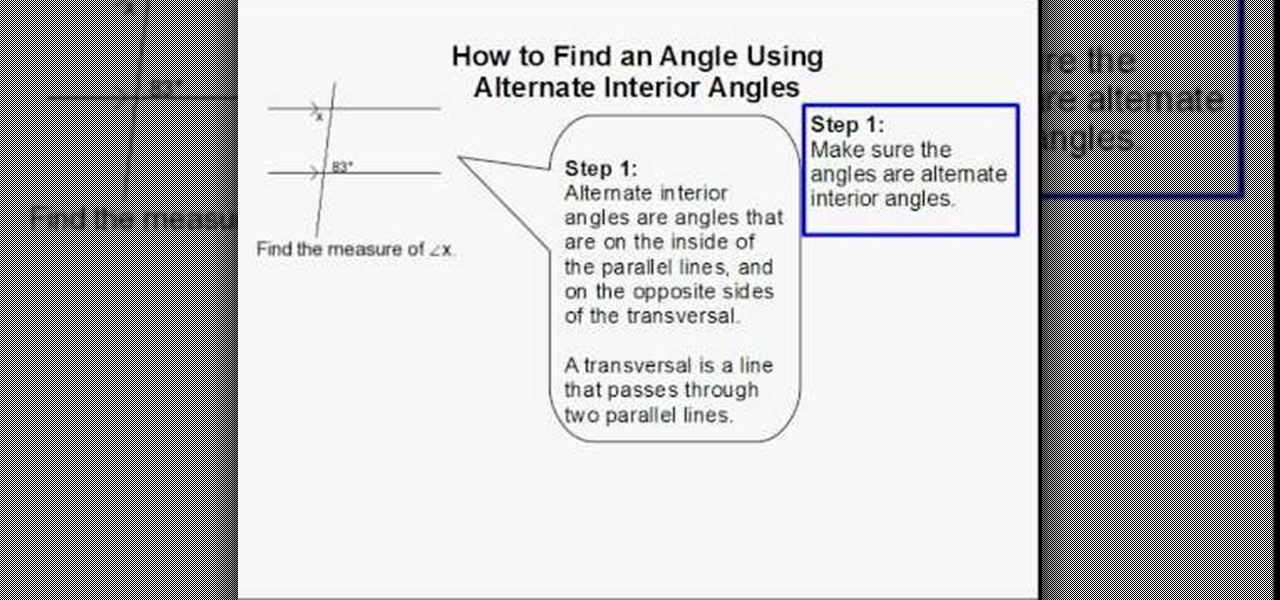
In this video tutorial, viewers learn how to find an angle using alternate interior angles. Make sure that the angles are alternate interior angles. Alternate interior angles are angles that are on the inside of the parallel lines, and on the opposite side of the transverse. The transverse is the line that passe through the two parallel lines. If both angles are inside the line and are opposite to the transverse, then they are alternated interior angles. If you know two angles are alternate i...
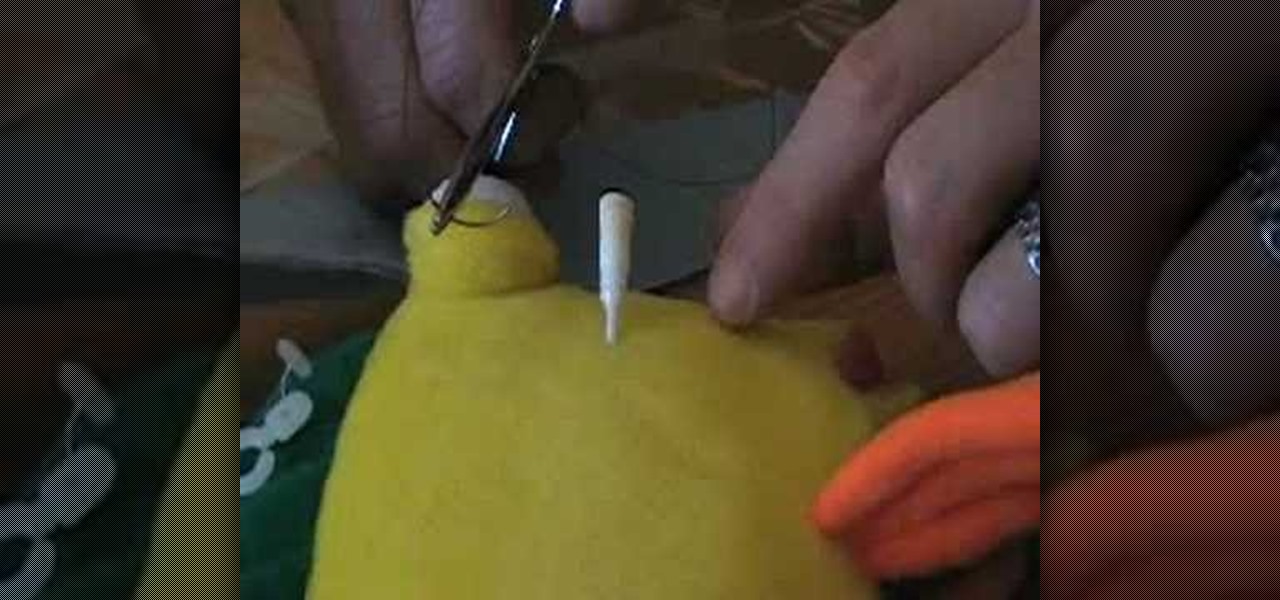
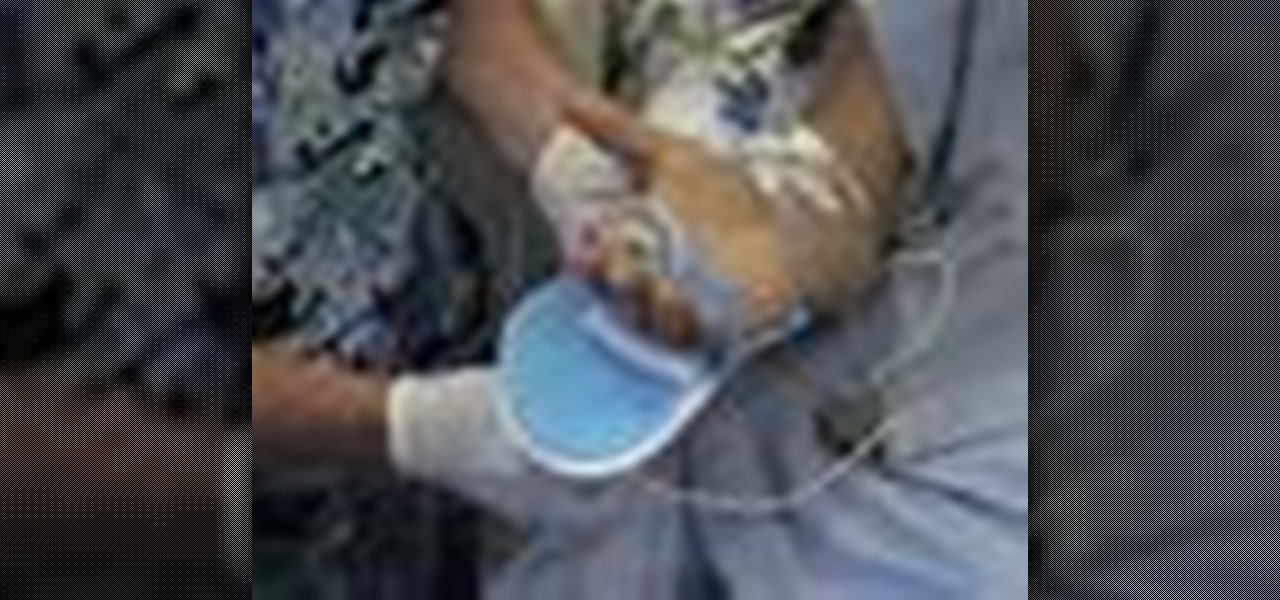
This video shows the method to suture arterial lines using a curved needle. We will use the new arterial line kit for our demonstration. We will use a curved needle as it is safer than the straight needle. Hold the suture with the hamostat at about sixty percent from the tip of the needle. Do the turn the key method to bring the needle out from the other side. Unclamp it and re-clamp it at the tip of the needle. Continue the turn the key method. Pull the suture up and through. Cut the suture ...
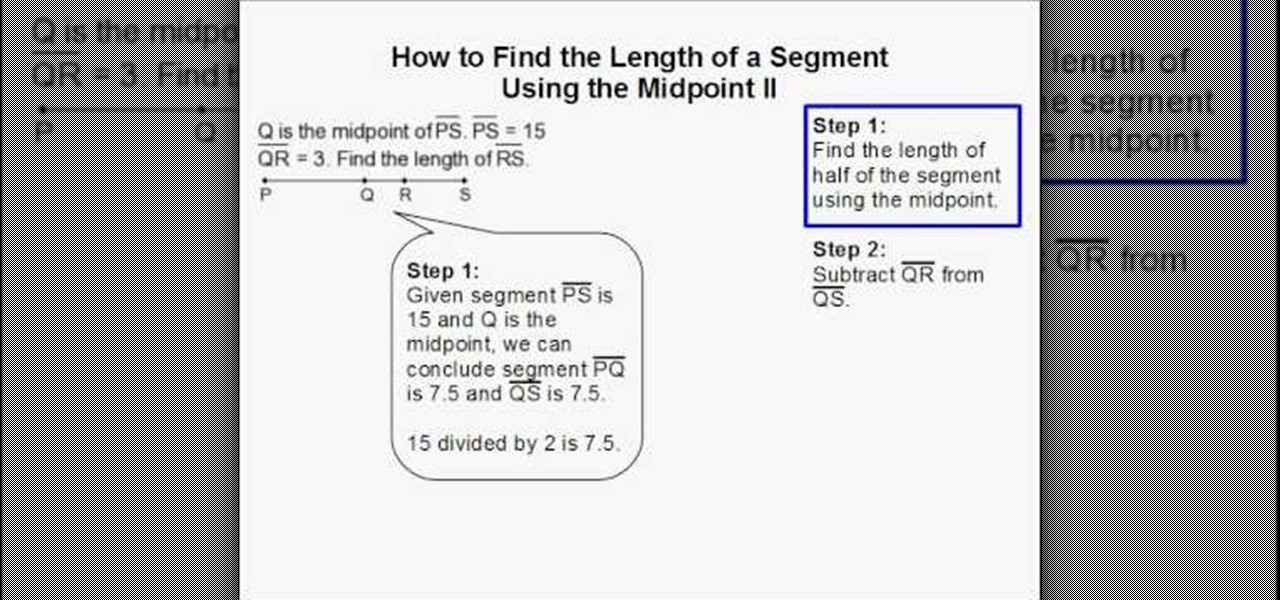
First of all in the given question you have to write down the values of the total length of the line segment, PS=15. The length of the line segment, QR =3. Now you have to find the value of line segment RS. Because you know that the Q is the midpoint of the line segments PQ and QS must be equal. Therefore you can find out the length of the half of the segment using the midpoint. Subtract the value of QR from QS. Given that segment PS=15 and Q is the midpoint, you can conclude segment PQ=7.5 a...
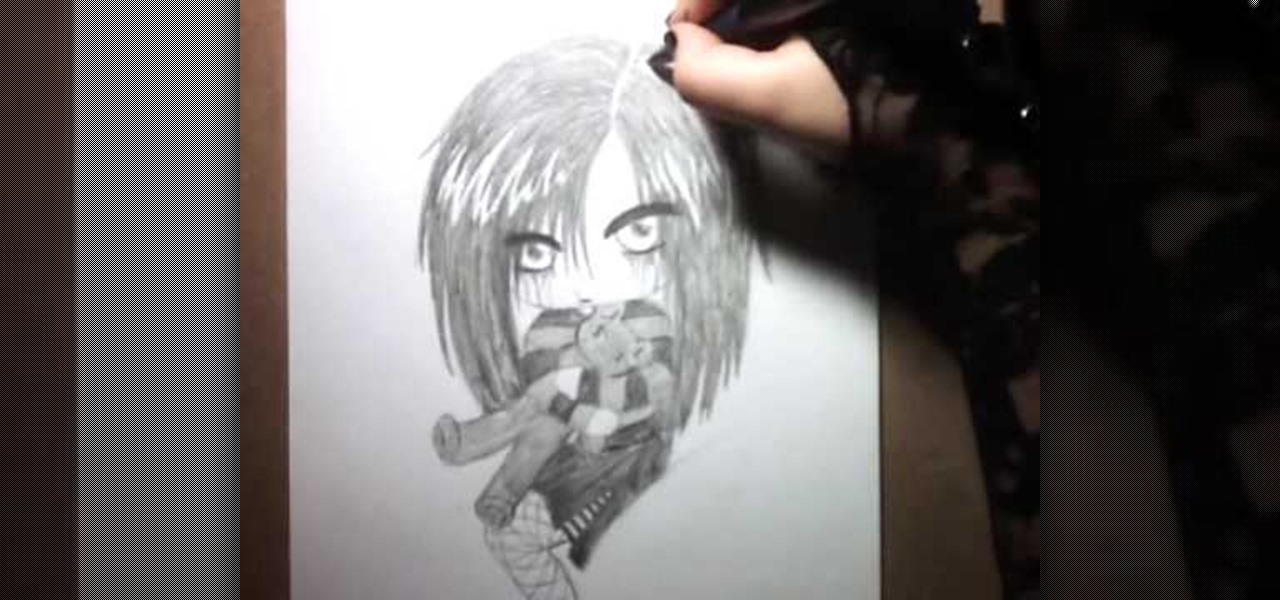
This video describes how to draw an emo-angel chibi. First draw eyebrows, make sure they are dark and thick, then draw half circles going down from them- these are the eyes. Then draw in the eyeballs centered in the middle of the eye. Next draw dark around the bottom of the eyes. Draw lines drooping coming from the darkness around the bottom of the eye, on both eyes. Next draw other dark lines coming down the forhead. Next draw a line coming down from both eyes, and curve them to make small c...

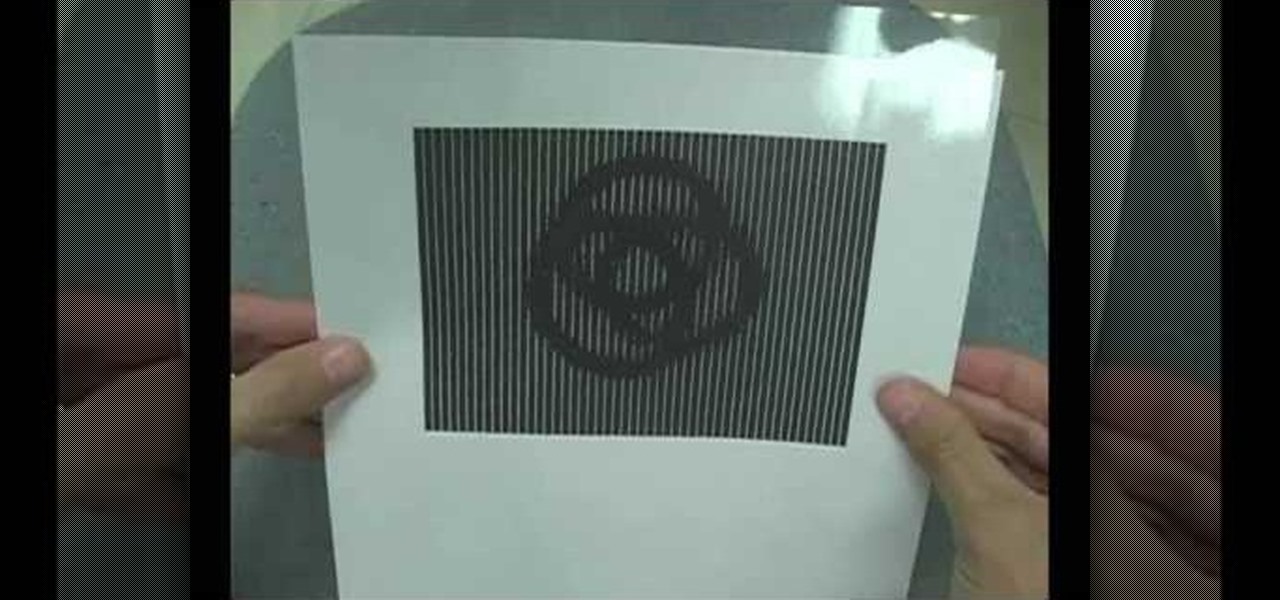
In this how-to video, you will learn how to make an animated optical illusion with paper. First, start off with one ball and copy it five more times so that it goes in a line to the corner. Make sure there are six balls in total. Next, create a striped pattern shown. There are black bars with small white lines in between. One white space equals one sixth of the black space. This is essential in making the illusion work. Once both patterns are printed out in separate pieces of paper, lay the p...

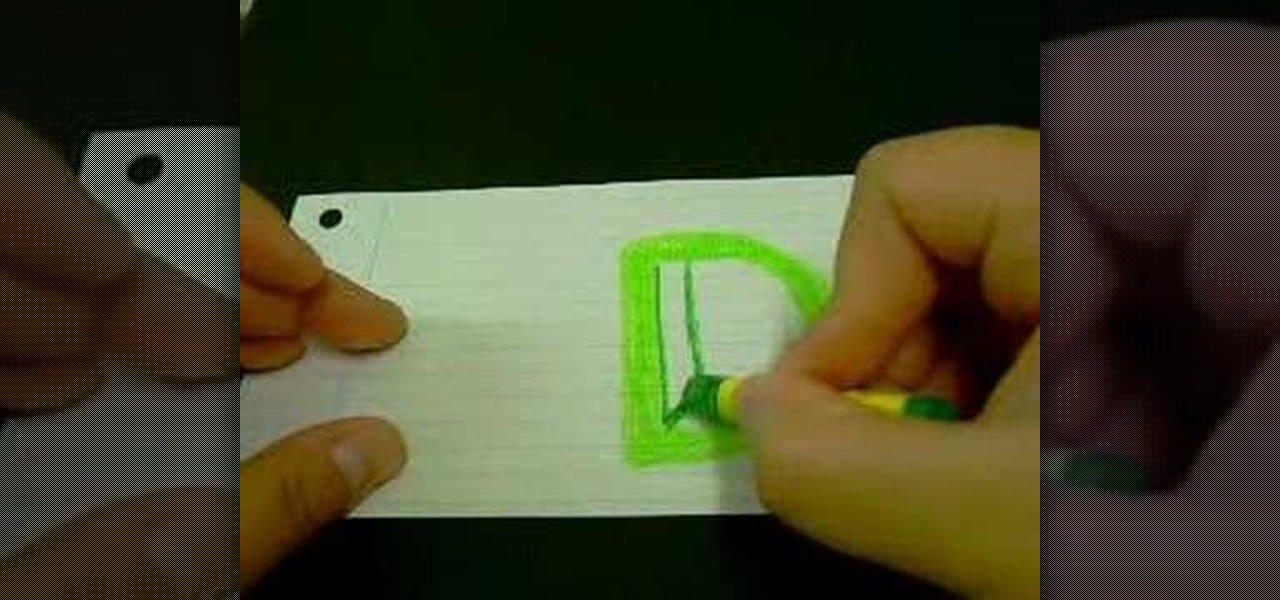
Drawing the letter D as a 3D block letter is easy and fun. To start simply draw the D like you normally would. Next, you need to draw another smaller D inside the first D. From there, draw another D on the outside of the first D. Color in the 3 stacked Ds with your first color. To continue, choose a darker version of your original color. In the bottom left hand internal corner of the D draw a short line that extends at about a 30 degree angle in reference to the bottom of the D. From the end ...

In this video, Mr. G demonstrates how to draw a wintery snowflake. You will need a plain pencil, or a blue and black colored pencil for this drawing. Start by writing your name and the date on a white sheet of paper. Then, begin lightly drawing the base of your snowflake. After you have drawn your base, Mr. G will show you how to make the lines darker to form the shape of your snowflake. Then, you will learn how to detail your snowflake by drawing small triangles inside the basic shape that y...

A live Beach Boys performance of Surfin' USA... according to my mother, this was a subliminal inspiration for me to surf.

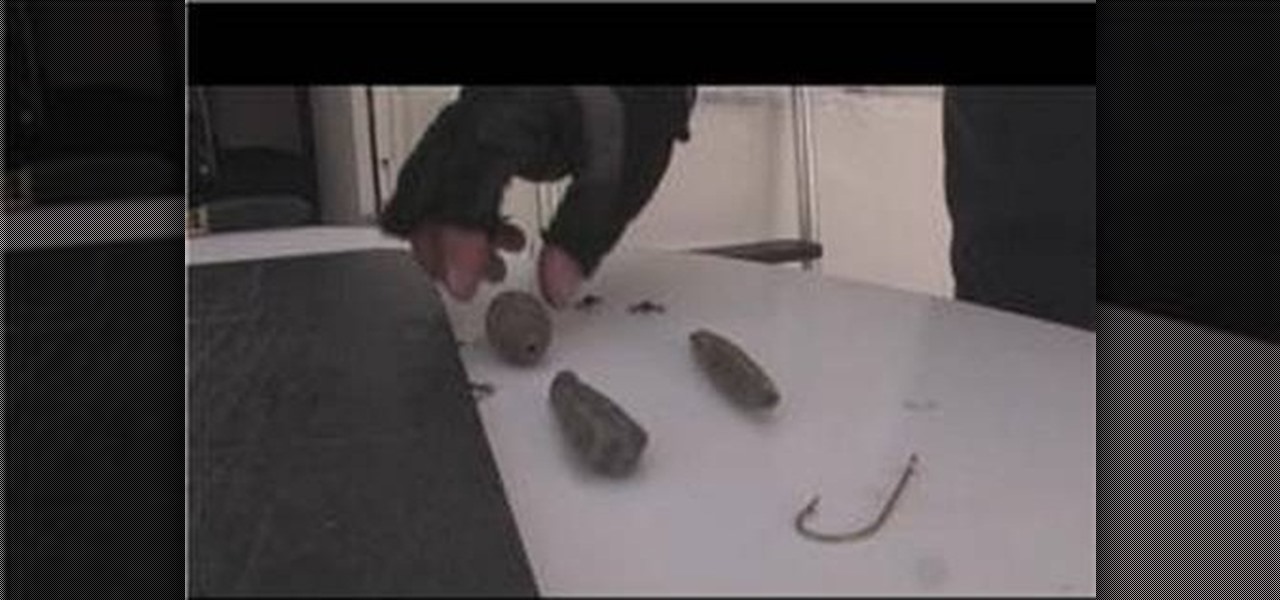
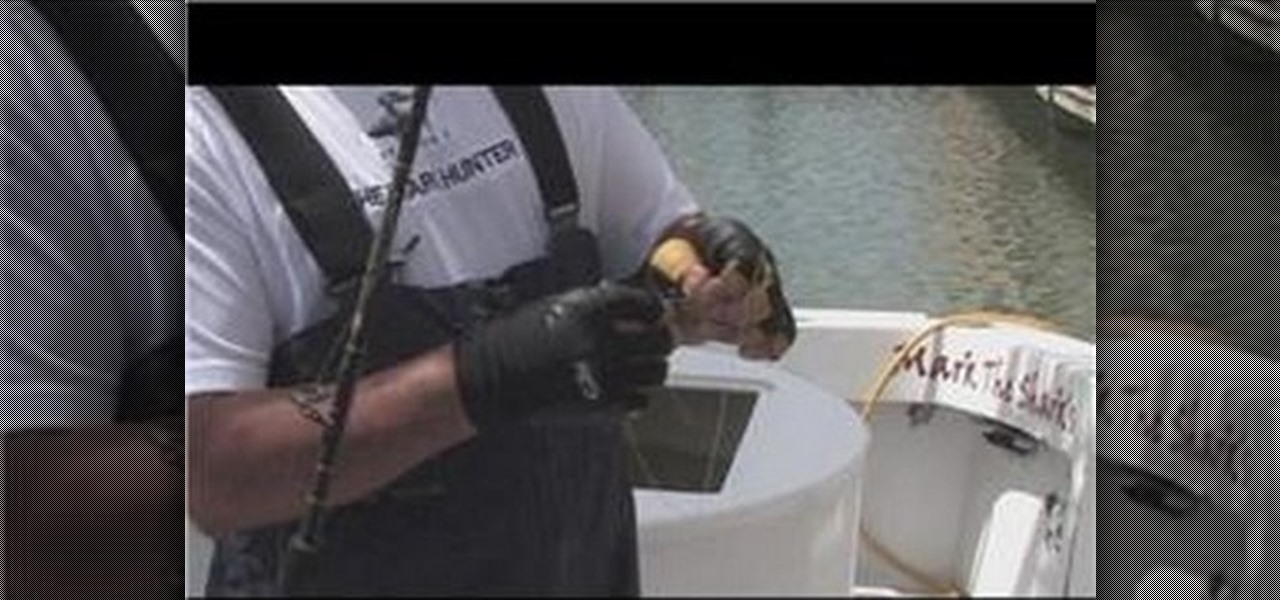
Mark the Shark demonstrates how to place sinkers when deep sea fishing. A trolling sinker is made for high speed trolling. A bank sinker is made for deep dropping. An egg sinker is made to slide on your line. To use the egg sinker, put it through the line, attach a swivel and tie a knot on the swivel. Next, attach the leader to the sinker and then attach your hook. You can catch a lot of bottom fish with this method. Attach the bank sinker to keep the weight on the bottom of your line. The ho...

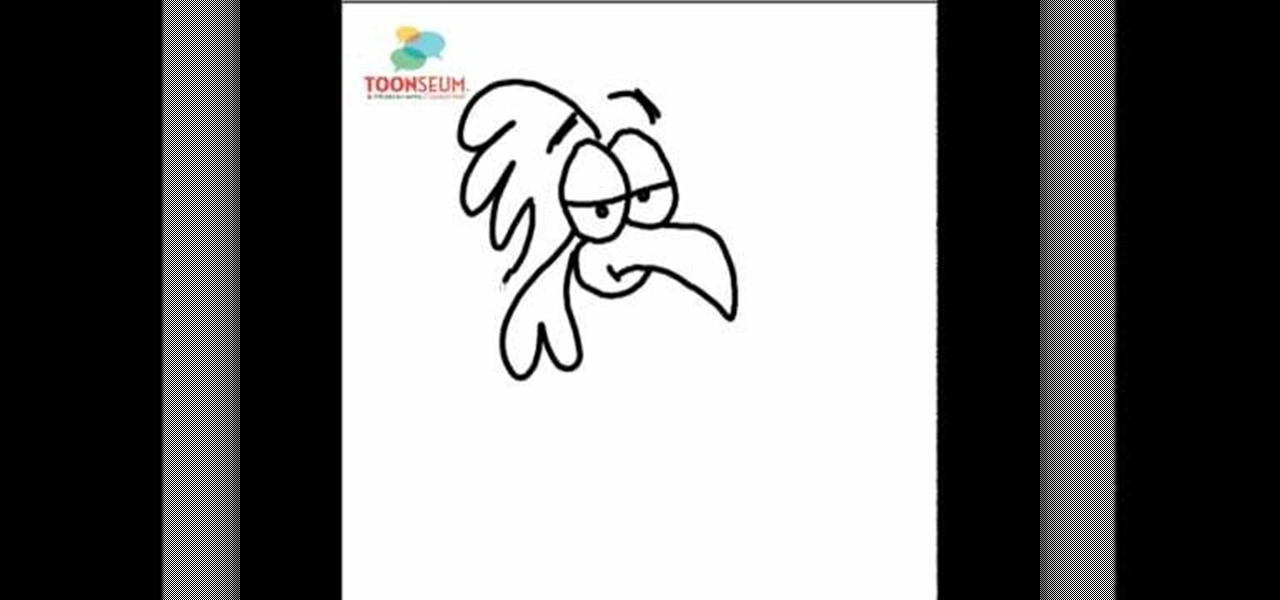
the video starts out with Joe talking you through the basic steps in how to draw or sketch a chicken. Starting with the eyes, shaped like to ovals, side-by-side, touching. Drawing a curved line all the way across each one to represent the eyelids and two small dots to form the eyes. Next draw a sharp curved line down from the eyes forming the beak, with a c like shape towards the back, connecting back to the eyes completing the formation of the beak. Draw an upside down, narrow heart at the b...

Watch this video to learn how to draw a rose in just seconds. • To draw a rose, you need a paper and three sketch pens of light green, dark green and red colors.

First of all pass the line through the eye of the hook and do it across seven or eight times. Run it through the loop again and then pass it through the main loop of the line. Make sure that your line is wet. Another different way is that you can tie a loop on the line and then make another loop and then pass it through the eye of the hook and then tie it and cut it off. Another way to make a knot for the live bait is first make a loop and then pass it across over three or four times. Now pul...

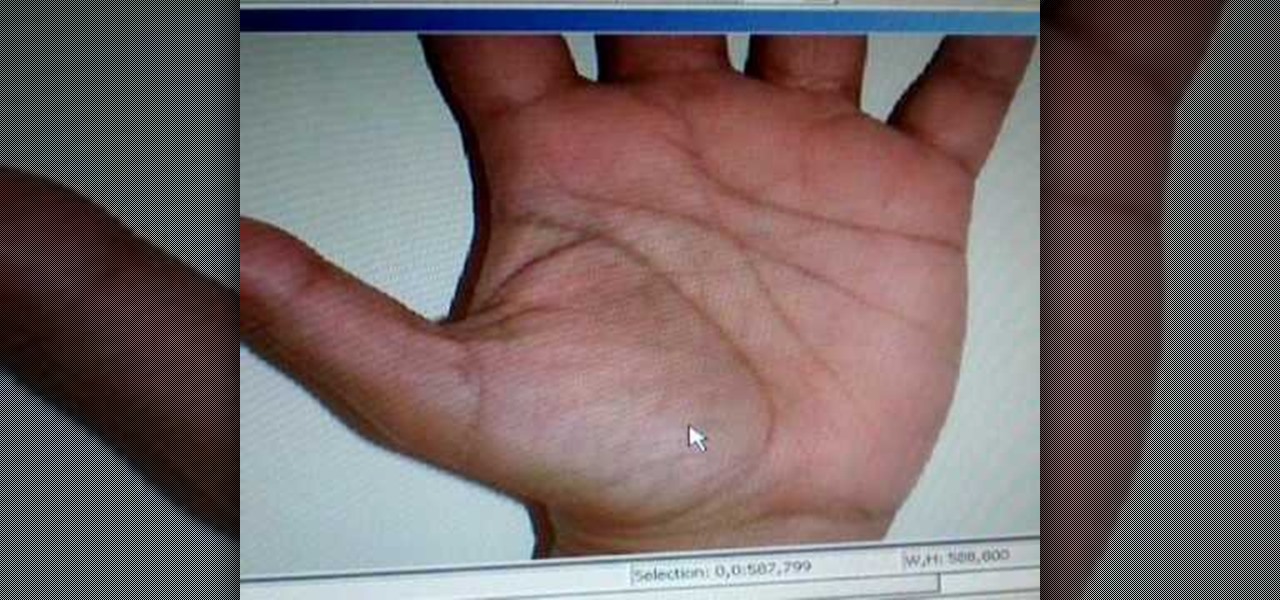
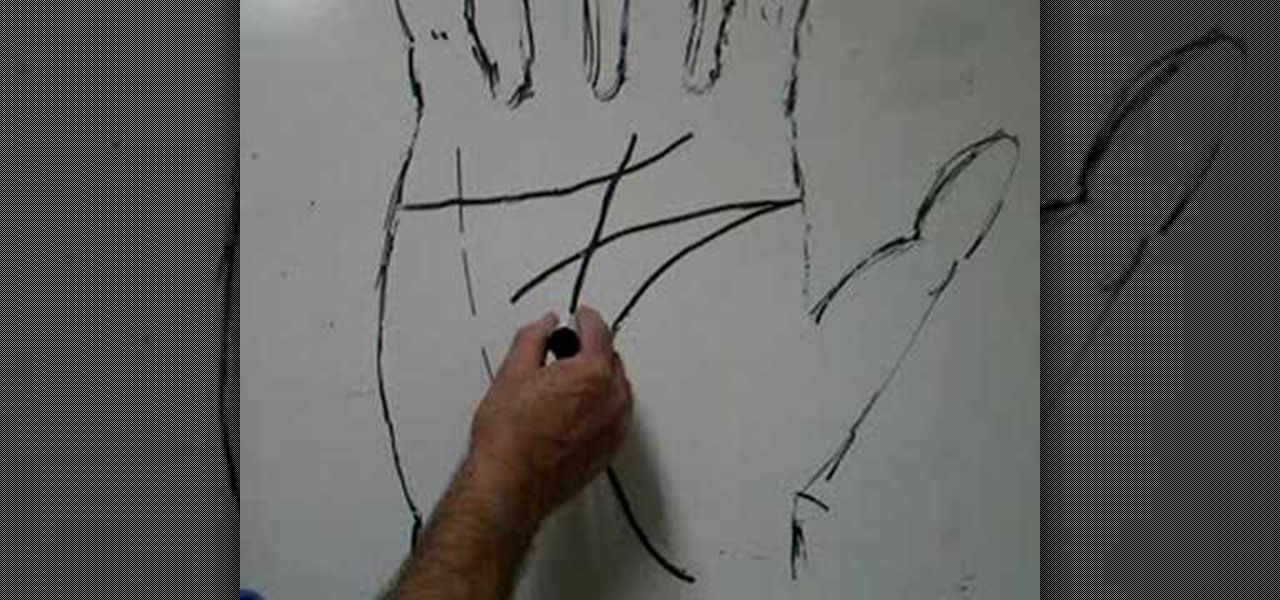
Sugarray844 teaches you how to read the left hand in palm reading. The left hand can tell you what that person inherits from his or her family. You look at the lines, the size of the fingers and the strength of the thumb. If the thumb is strong, this means that person has strong logic. The head line is separated from the life line, which means independence in the way of thinking. The hear line is curved, which shows a break in the beginning and a good emotional side to the person. This also m...

First, begin by drawing a big circle in the middle of the page. Then draw a smaller circle (about a third the size of the bigger one) above your first circle. This will be the head. Next draw two lines where you want the arms to be, and one leg on the right side. Next draw two big eyes and a big half circle mouth as well as a little curl (for the tail) on the left side, opposite the leg. In heavier ink trace over the head and face and begin to draw arms around the arm lines you drew earlier. ...

This is a mathematical instructional video on finding the point slope form of a line equation. This technique allows you to find the x and y intercepts of a line. The point slope form is (y-y1)=m(x-x1). The instructor tells you what each of the variables represents, and shows an example. He then shows you how to find the slope-intercept form from the point slope form. Finally, he shows you how to graph the line using both of the equations. He shows you how to find the equations with different...

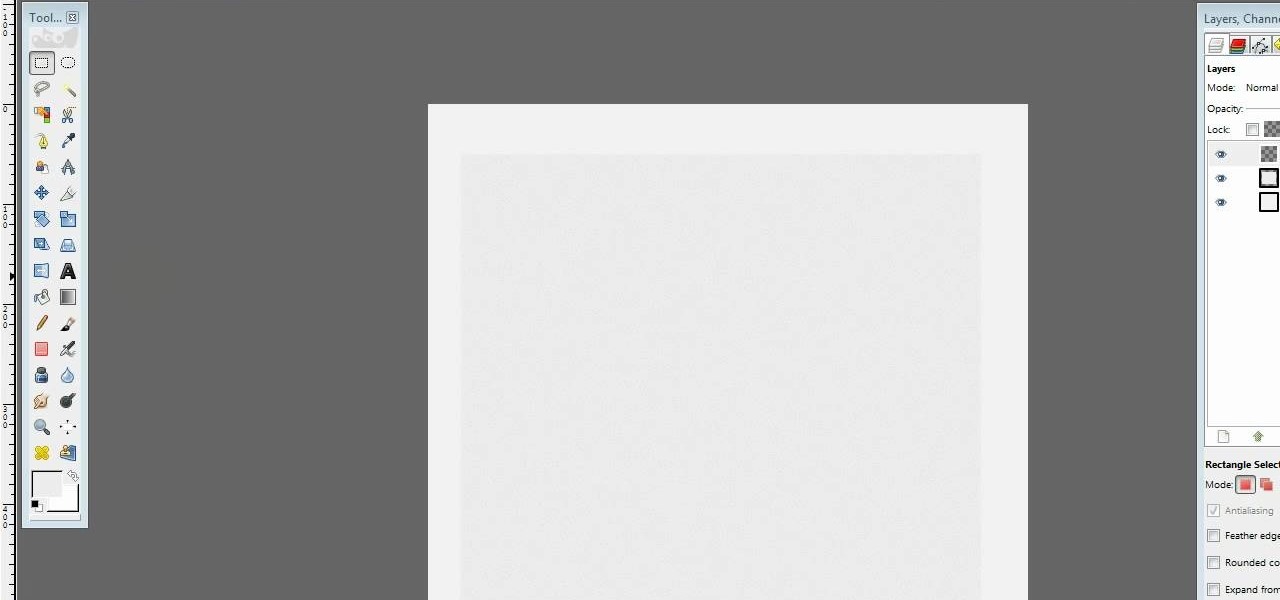
Hulldo teaches you how to draw lined paper in GIMP. First you create a new document and make it 600x600 pixels. Make the background a bluish grey. Create a rectangle in the middle of the document. Now you want to add a blue horizontal line. You will want to then duplicate that layer until you're at the bottom. You can add a stroke to the rectangle or use a shadow to make it look like it's on top of a regular piece of paper. You also have to leave some space at the top and bottom to mimic a re...

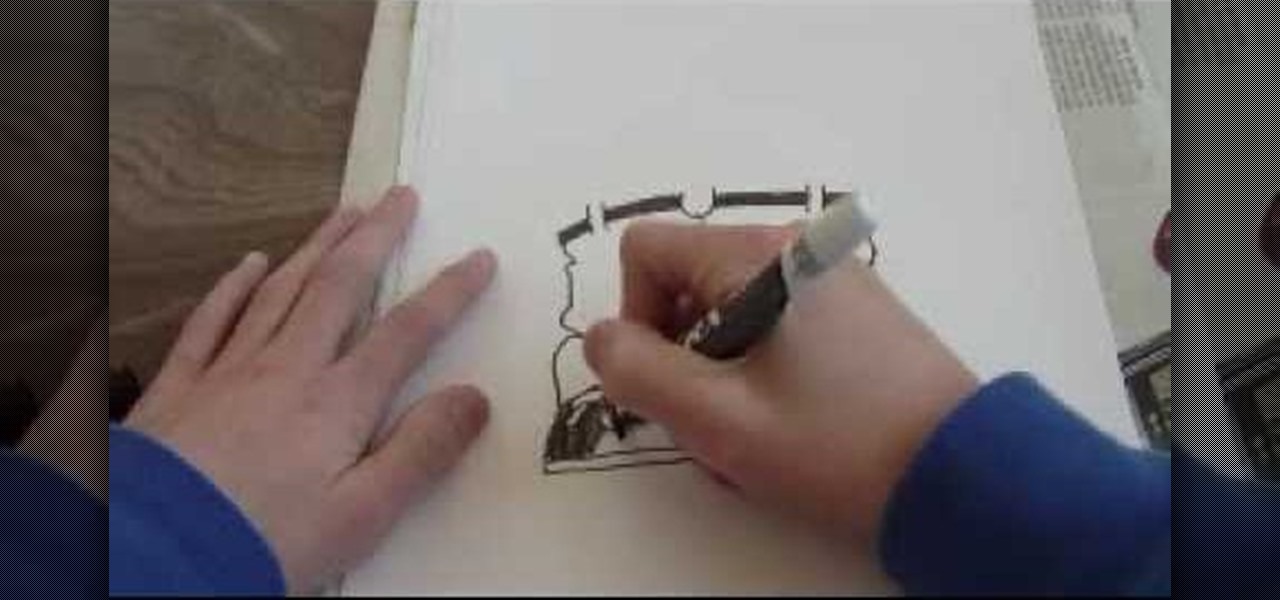
In this video tutorial from The Graff Tube, learn how to draw graffiti baggy pants. First, draw a u-shape. On each side of that draw two vertical lines. Connect these lines on each side to your u shape creating a box on each side that you will need to shade in and darken. This first portion of the drawing will be the belt and waistline of your pants. From the u shape, draw a wiggly line and then two additional wiggly lines on the outer side. This creates the pant legs. Draw shoes at the botto...

The first thing you do is apply your base. Then you apply mint green to the inner 1/4 of eye - the lid and underneath. You can use Beauty for the earth in apple green. You the apply the yellow to the 1/2 of the eye and under the lash line. You can use facefront cosmetics in bee incredible. You then apply the red to the outer corner of the eye and under the lash line and connect the two. You can use cupcake cult pigment in cherry. You can use tape to create a clean line. Apply a highlight colo...

QueenofBlendingMUA teaches us how to paint our nails purple black and add rhinestones. For the rhinestone nail you only need to add black nail polish two times and then add rhinestones individually. For the diagonal silver nail you use the Art Deco 3D silver to draw a diagonal line from the top on your nail. You then color it in using a silver nail polish called Chrome. You then use the black Art Deco to create a diagonal line on the clean line, in the opposite direction. For the purple tip n...

The Trilene knot is a multi-purpose knot that can be used in fishing to attach hooks, swivels and lures. This is a great knot because it resists slips and failures.

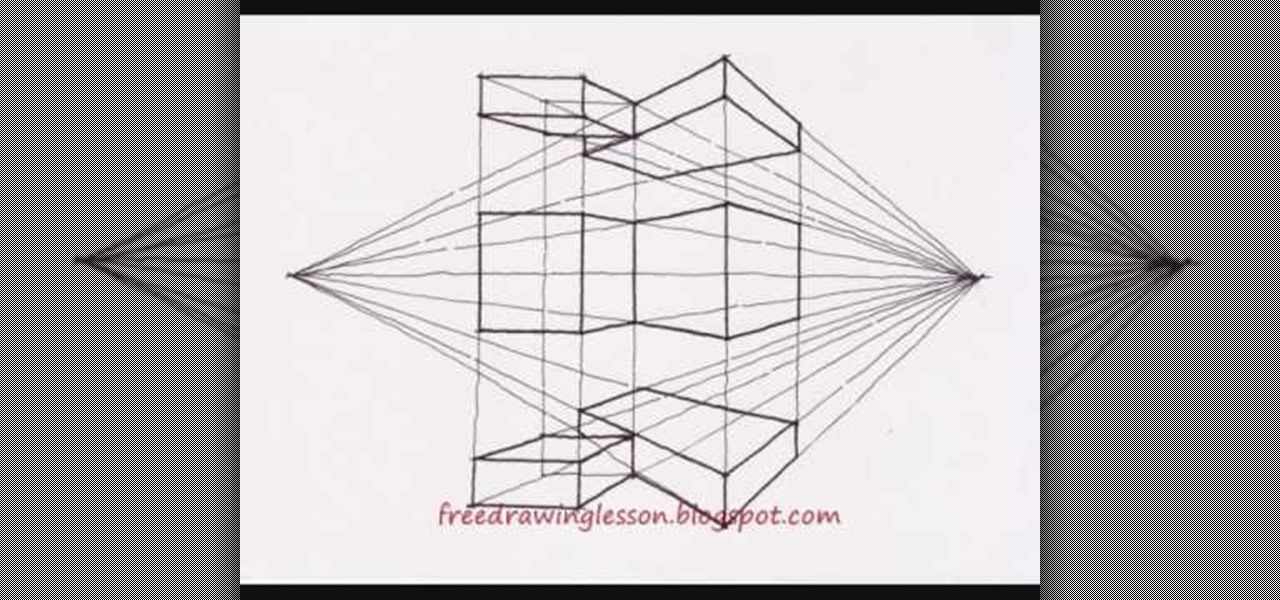
The video shows how to draw a multi- point perspective by drawing it in easy to view steps. It shows how to draw the subject in the simplest form possible to achieve the finishing results. It starts out with a single horizontal line then the line is divided in half with a vertical line and the remaining lines drawn are on an angle and rectangles which are worked in to the video to achieve the final results of a multi- point perspective.

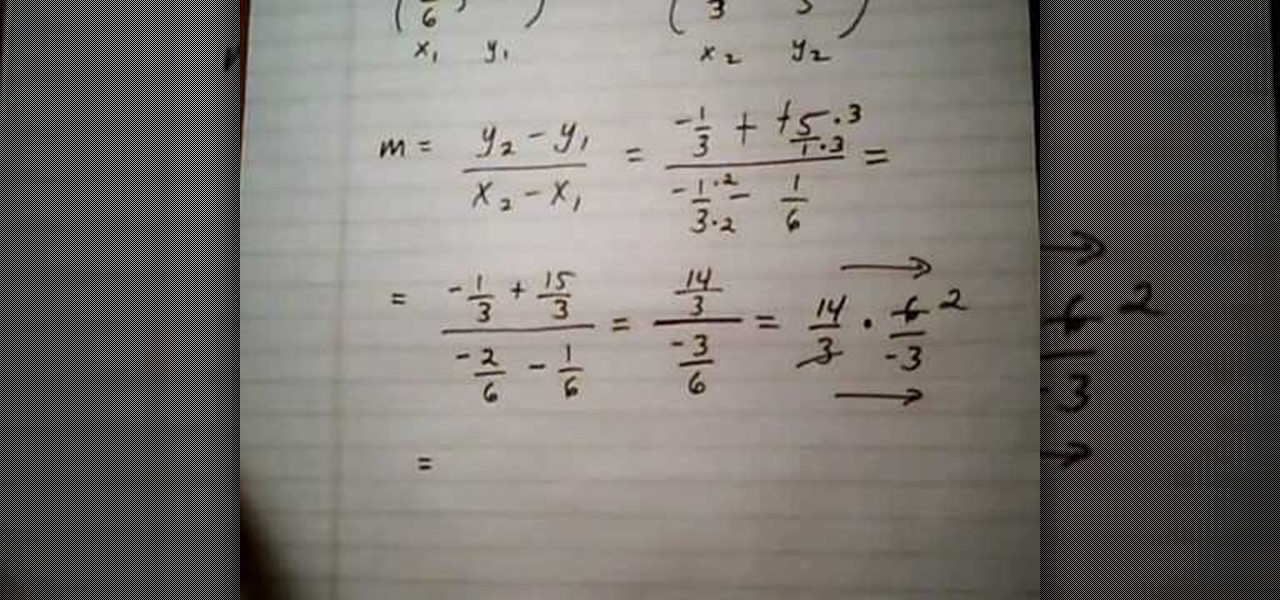
In this video tutorial the instructor shows how to find the slope of a line given two points with fractional values. To do this first name your two points as point 1 with coordinates as x1, y1 and point 2 with coordinates x2, y2. Then substitute the values in the equation of the slope which is slope m = (y2 - y1) / (x2 - x1). Now all you have to do is simply the fraction after substituting the point values. Be careful about the signs while substituting in the formula. Now finally after solvin...

In this video the instructor shows how to solve a system of equations by elimination method. First you need to know how many possible number of solutions you can get by solving a system of equations. There are three possibilities. In the first case there are two lines with different slopes, so they intersect at a point which is the solution to that system. In second case there can be two lines with same slope but are parallel to each other. In this case the system has no solution. In the thir...

Need a little help in understanding the number line and graphing an inequality? Great! Here you will learn a valuable lesson with this how to do video. A basic tutorial, it explains what kind of dot to use when you are graphing inequalities. Then it shows you how to place the dot on the line and where to draw the line in answer to the problem. If you are just beginning your pre-algebra, then this quick video will get you pointed in the right direction.

In this tutorial the author shows how to draw a rectangle with given base b and height h values. First she uses a ruler to draw a horizontal base line of b cm. Now she uses a protractor and marks a 90 degree angle at one end of the line, then draws a straight line of h cm which is the height of the rectangle. Now she finishes the remaining part of the rectangle by drawing similar lines of the other sides. This video clearly explains how to draw a rectangle given the values of its base and hei...

Easily learn how to graph a straight line using rise over run also known as slope.

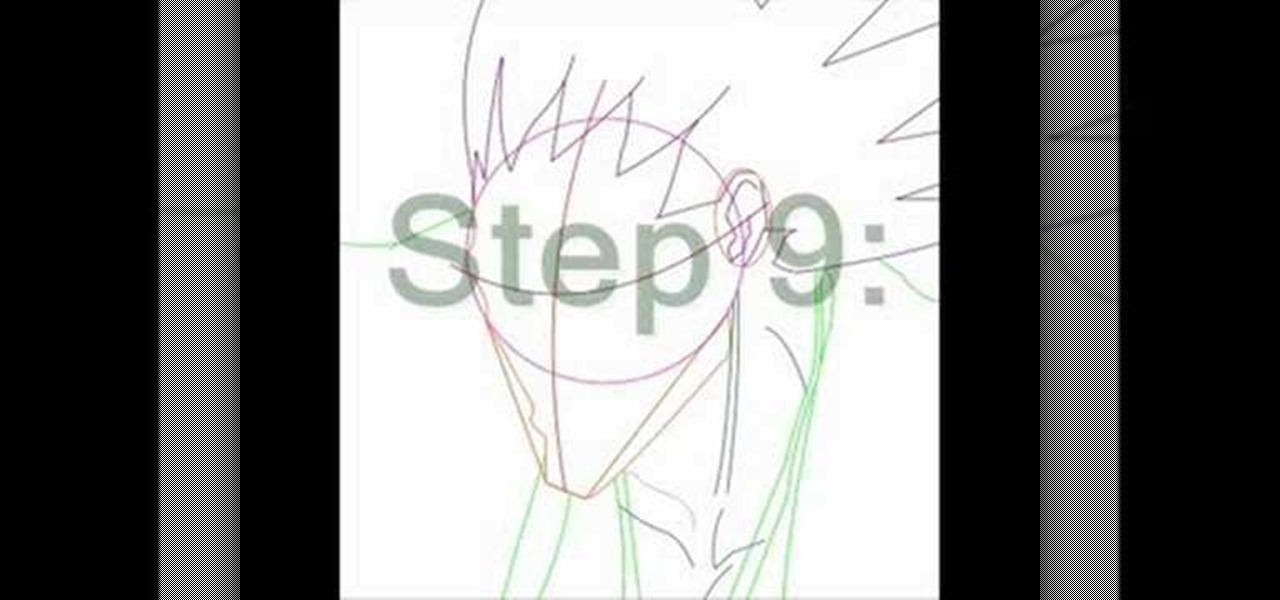
The artist demonstrates how to manga character Kenpachi Zaraki. Text appears on screen with each step in the drawing. It stars with a circle, then lines to indicate the center of the face and the placement of eyes. More lines indicate the neck and muscles, then an outline of the hair is added. Lines show the clothes and wrinkles in the clothes. Facial features and details are drawn in as the guide lines are erased. Following these instructions, you can draw the face of Kenpachi Zaraki.

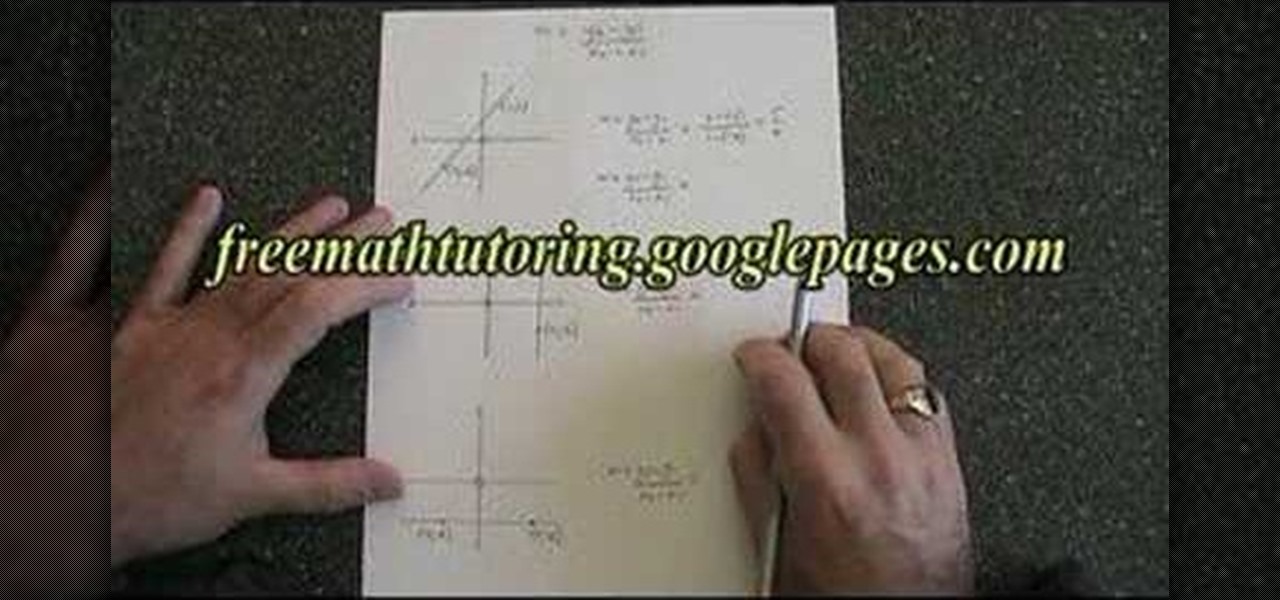
Doug Simms who runs a page at free math tutoring shows in this video a very broken down process that can help you understand how to graph a straight line from an algebraic equation and why it is that way. On a smart projecting board, in a slide show creating software, he explains at a steady pace how to break down a line into its individual line intercepts and an extra point thrown in for verification. After that, he takes the points and puts them on a graph to show you how to. You'll just ha...

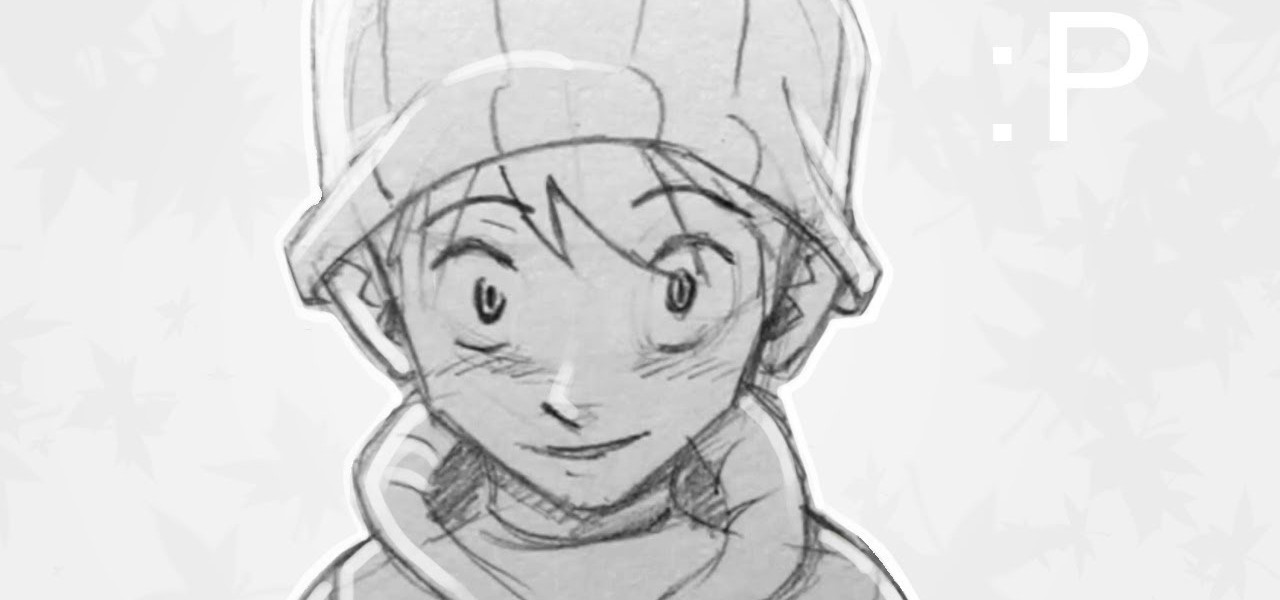
This video describes how to draw an anime face viewed from the front. Anime faces are enjoyed by everyone because they depict unique personalities. Anyone can draw an anime face using their imagination. These steps make it simple:

Reeling a fishing rod has small quirks that can be easily overcome with technique. You Will Need

Fishing is relaxing, but not if you hook yourself because you couldn’t cast a reel! You Will Need

Going to be a nurse? Then one of the procedures you are sure to encounter in the hospital is the removal of an arterial line. Follow along in this nursing how-to video to learn how to remove the arterial line from a patient. Remove of you a line is also known as discontinuing the line. In shorter terms many nurses also say DC the line. Follow along and learn the standard protocol for removing arterial lines.

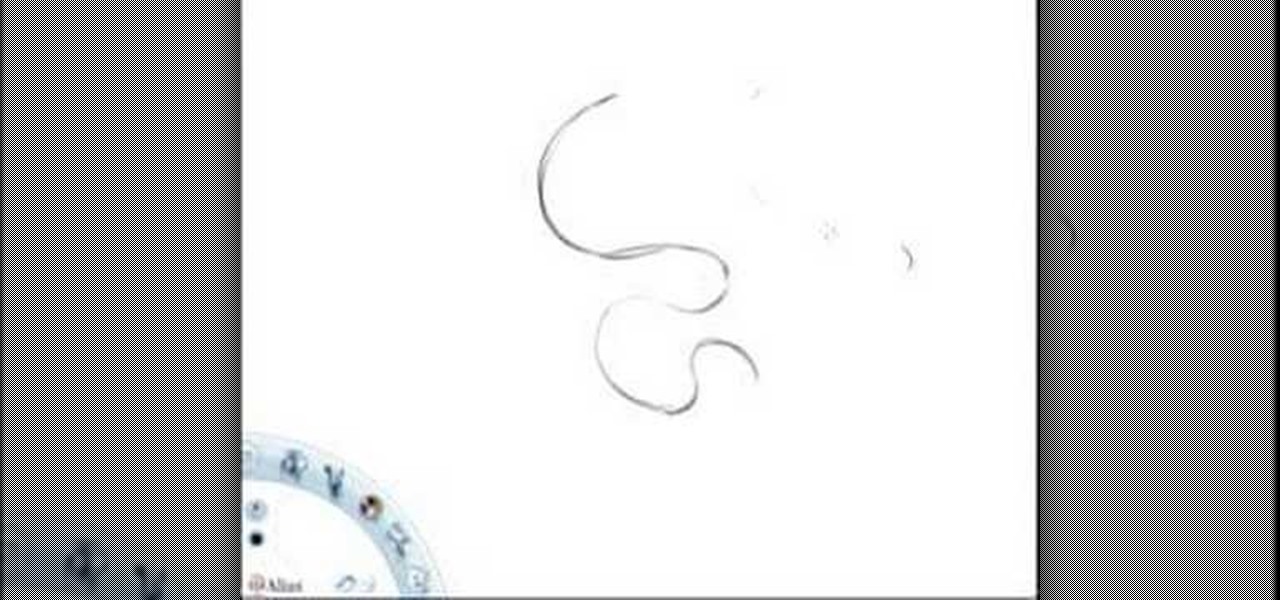
In this software tutorial you will learn how to digitally ink a manga/anime character in Corel Painter. Learn how to scan a drawing into Photoshop then import it into Corel Painter and ink the outline of the character for a more dramatic and artistic look. Usually, after inking the line art, you will go back over and digitally color the character. The tutorial assumes that you are using Corel Painter with a Wacom or Cintiq tablet and is more about the principles of inking than the Corel tools.

The Dropper loop is a classic loop knot which is often used on multi-hook fishing lines and bait rigs. The dropper loop is also often used by fly fishermen to attach an extra fly to the leader. The dropper loop can be created in the middle of a the fishing line and forms a loop which is off to the side of the line. Follow along with this outdoor recreation how to video to learn how to tie a dropper loop.

Palm reading can be complicated because chirognomy, the study of the mounts of the hand, sometimes contradicts chiromancy, the study of the lines of the hand. For that reason, it's best to do a reading as a whole. In this particular video palmistry tutorial, Peter John explains the significance of dots in the head, heart, and life line, highlighting the areas on a detailed map of the hand. Watch this instructional palm-reading video and learn how to interpret the meaning behind dots in the li...

Learn how to avoid sketchy and redundant lines as you are learning to draw. This instructional drawing video demonstrates how to draw using a point-to-point technique. If you decide ahead of time on the lines you will need, you can achieve a loose and efficient drawing style. Use this technique to try drawing squares, circles and replicating complex patterns. You will begin to convey yourself as a skilled artist when you draw with efficient lines.

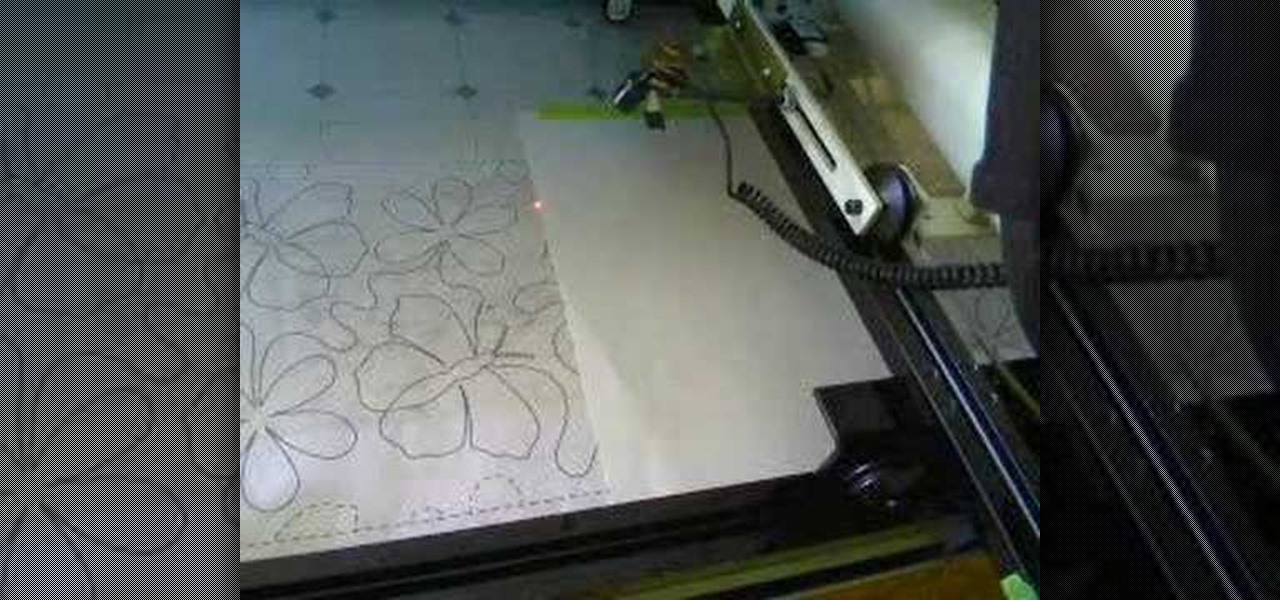
These four quilting how to videos demonstrate the proper way to line up a panto. Watch and learn how easy it is. In addition to getting tips for lining up pantos, our host also gives you more tips for quilting.

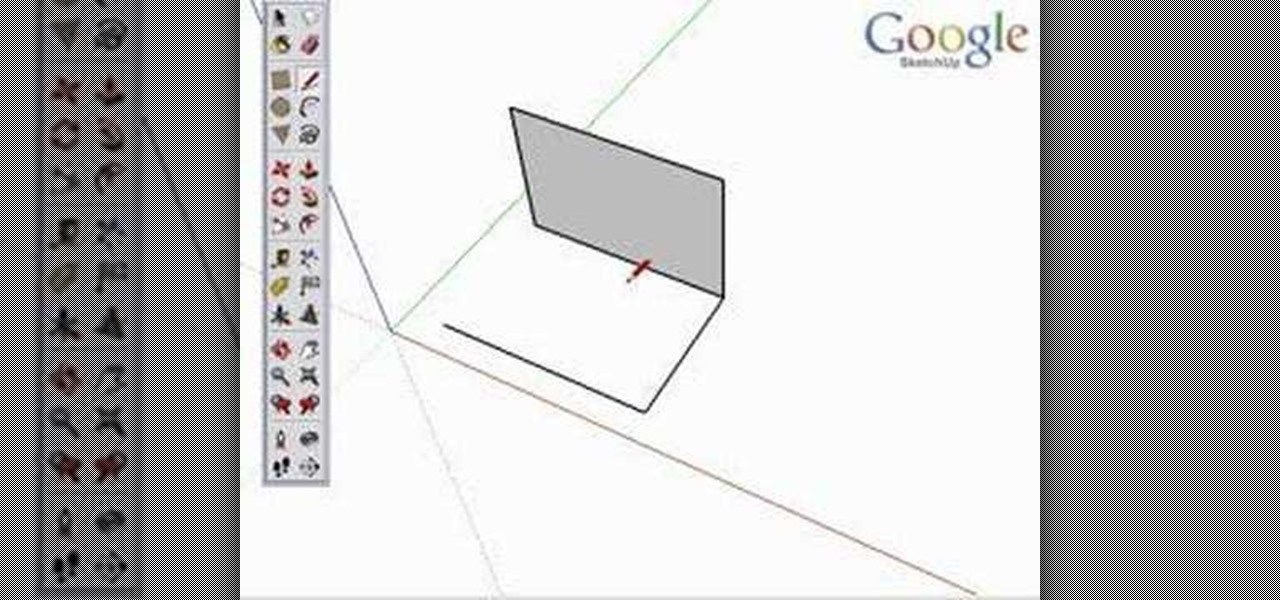
Take a look at this instructional video and learn how to use the line tool in Google SketchUp. There are two ways to draw edges with the line tool. The first method is to simply click your mouse at various points around the screen to draw connected edges in succession. The second way is by clicking and dragging the mouse button to draw an edge, and release the mouse button to create the edge. This tutorial covers the best practices for drawing lines or edges, how to draw accurately, and divid...


