Check out this video to learn appropriate attire for wilderness activities and how NOT to get lost in the first places. (Once lost) signal for assistance! Watch the get tips on how to build land markers to indicate direction, choose a location for shelter, build a shelter, find and purify water, and use basic land navigation (and direction determination)without a compass.
Don't get burned playing with fire——know how to play with it right, just like those crazy magicians do when it comes to magical fireballs that you can hold in your hand. You can juggle them, too, but you need to know the secret to making them safely.
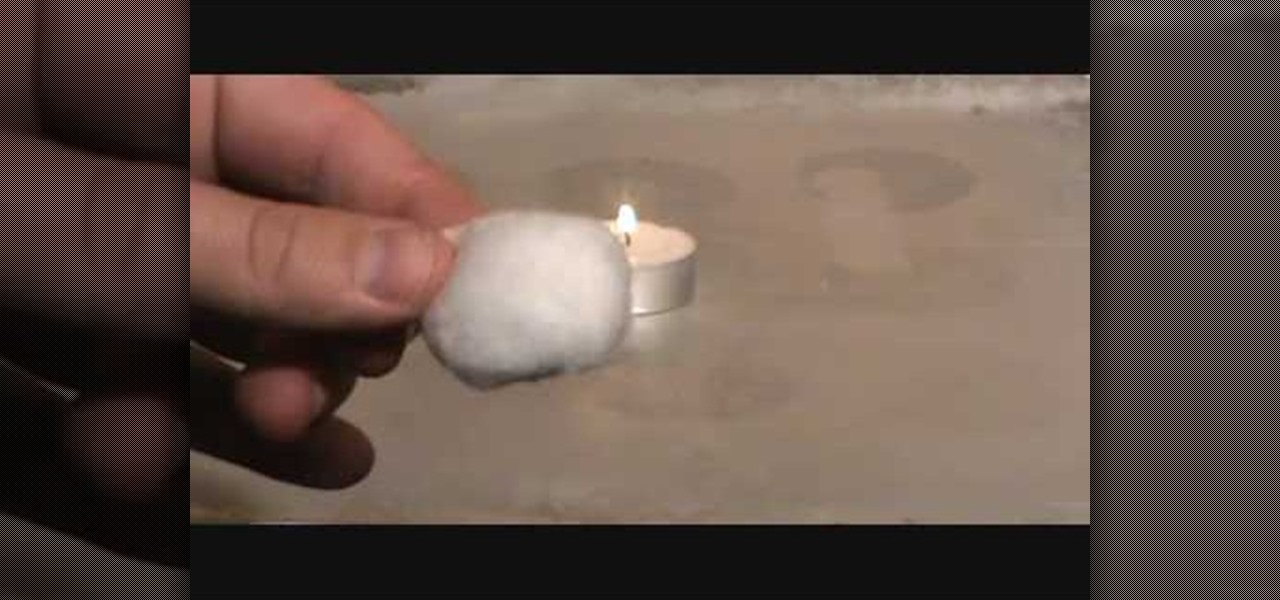
A fire is the second most important thing you need to have in most survival situations, so having a good fire starting kit in your wilderness survival gear is crucial. This video will show you a variety of great fire starting tools you can include in your survival gear and how to use them best. These include tea light candles, waterproof matches, cotton balls, and ingenious combinations thereof.

Cavities are an unfortunate sideeffect of our sugar-infused society, and getting them filled is time-consuming, expensive, and requires a trip to the dentist. Do you have some serious courage and want your dental work done on the cheap? Watch this video for an amazing guide to filling your own tooth cavity at home using simple and cheap ingredients. It's amazing what you can do with a little DIY know-how.
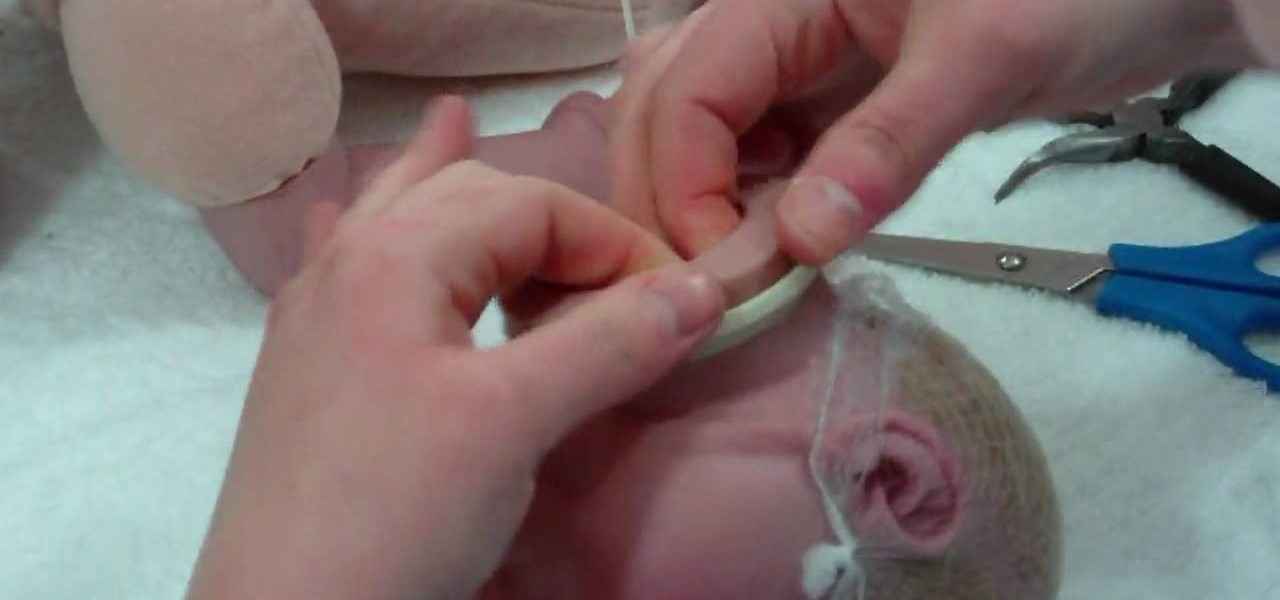
In this tutorial, we learn how to apply a neck ring and plug on a reborn baby doll. First, attack the neck ring to the doll head by pulling the vinyl onto the lip using your fingers. You will need to use your hands to push the inside of the neck through the ring. This will take a lot of pushing and pulling. After this, you will need to attach your plug. First, place it into the neck of the head to make sure it fits. After this, stuff it with cotton and then push it back in. Now you will be ab...
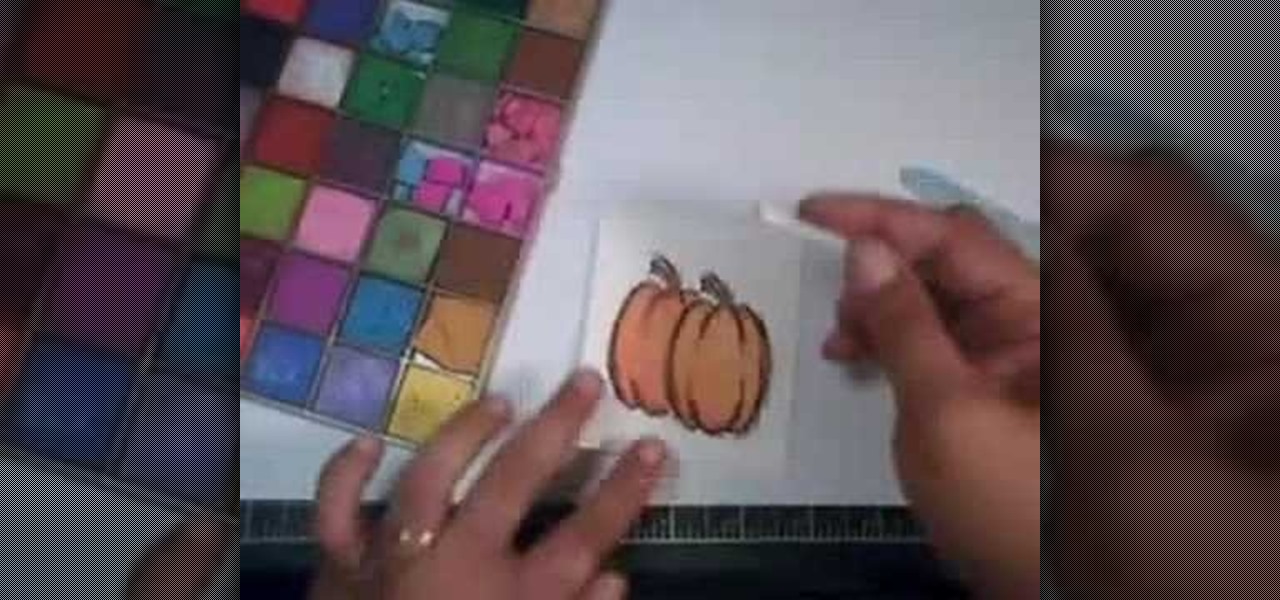
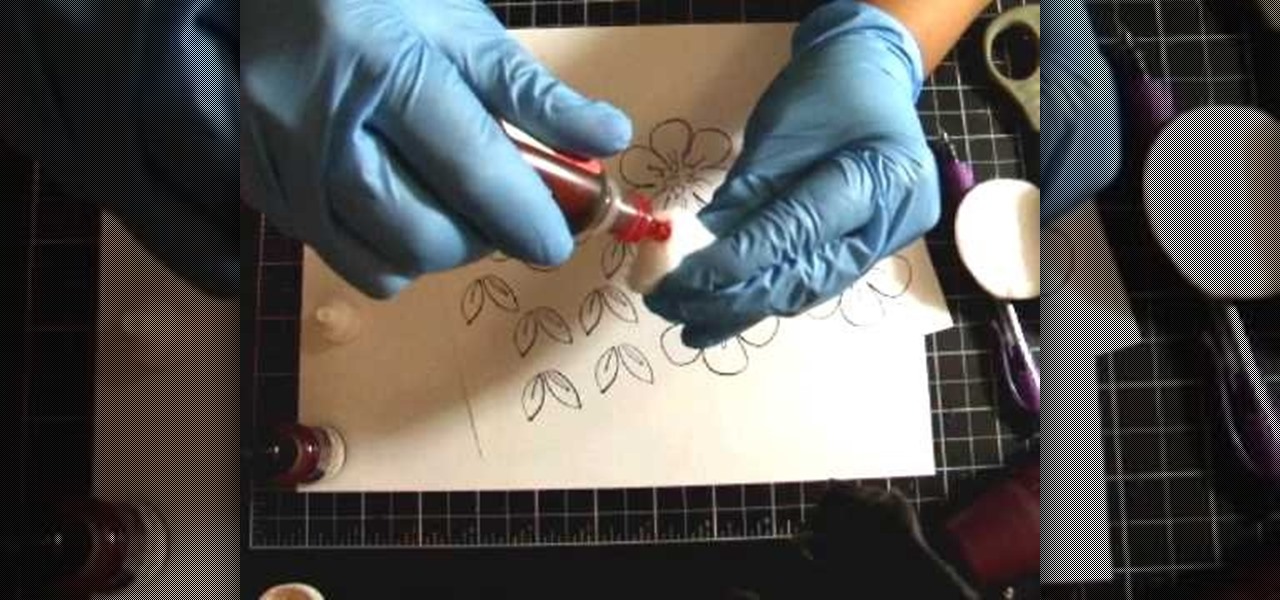
In order to create a watercolor effect with Stampin' Up markers, you will need the following: Stampin' Up markers, Stampin' Up pastels, stamps, color spritzer tool, a water resistant ink, cotton swabs, a blow dryer, aqua painter brush, and watercolor paper.

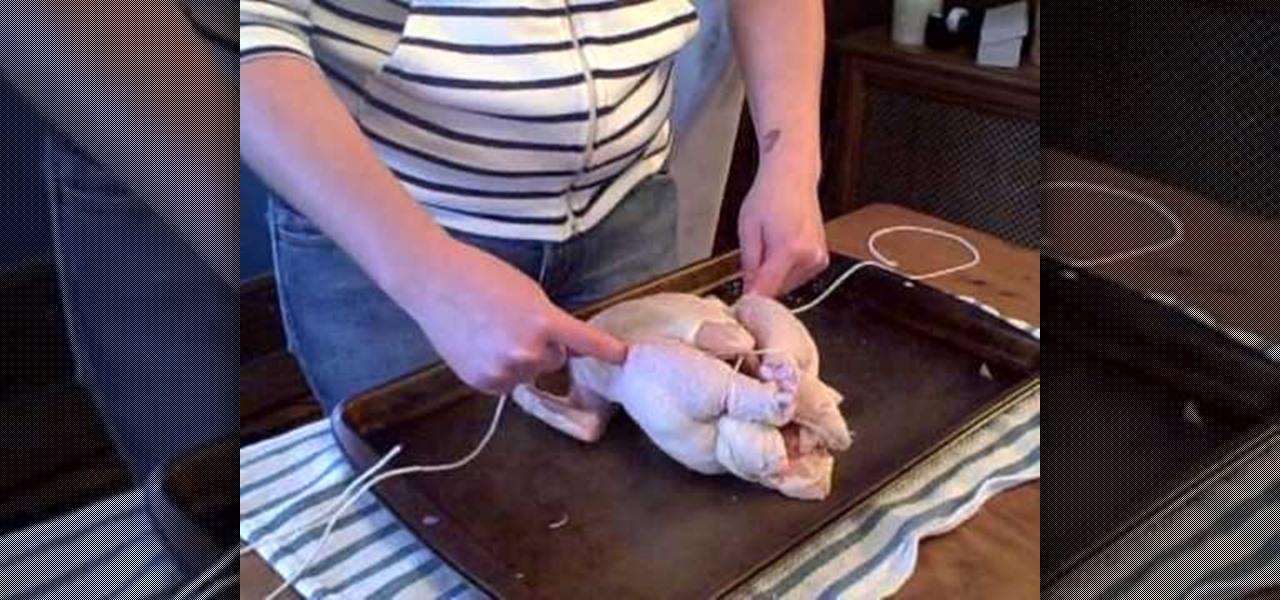
To truss a chicken start with a long piece of cotton twine. Place the chicken with the breast up and the legs pointing away from you. Run the twine under the butt of the chicken with equal amounts of twine on each side. Pull the twine between each leg and cross it over the middle. Then wrap the twine around the legs and cross it over again. Pull the twine over the thigh bones and hold it over each of the wings. Flip the chicken over and wrap a knot multiple times to hold the wings in tight. W...

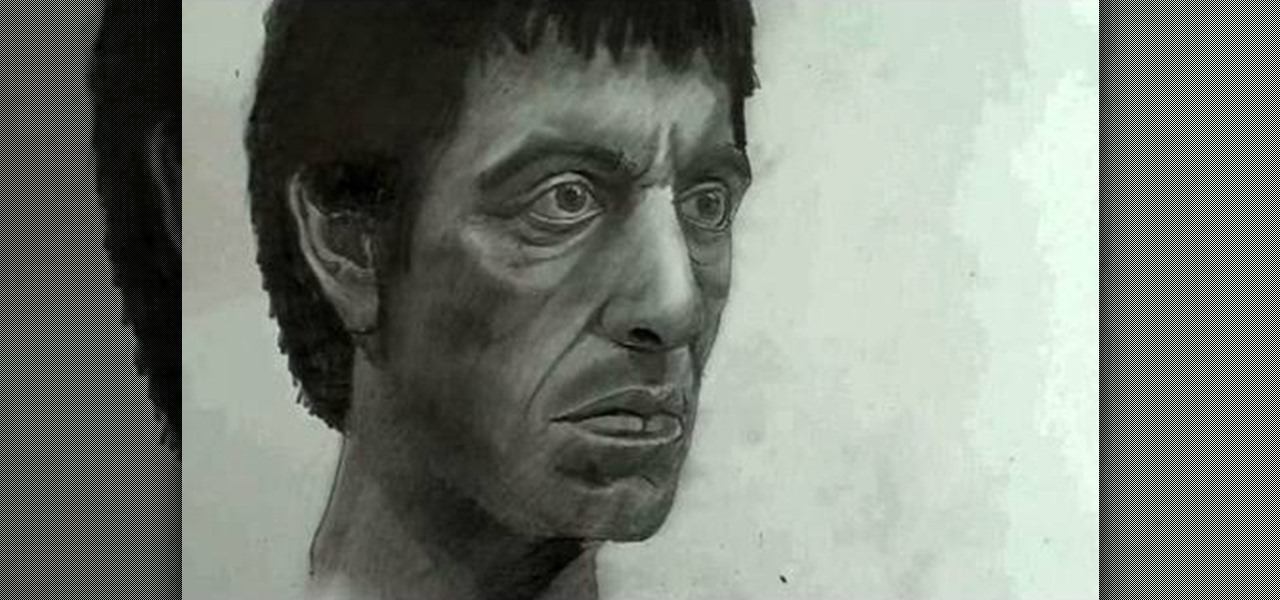
"Okay. You wanna play rough? Okay. Say hello to my little friend!" That's a famous quote from none other than Tony Montana, otherwise known as Scarface, played by Al Pacino, near the end of the film, when he starts blasting everyone away. If you by chance want to learn how to draw Mr. Scarface, it's fairly easy. This tutorial is full of pointers that makes it easy for beginners and experts alike.

Want the beautifying, bag-reducing benefits of green tea eye mask but, you know, without all the green tea? You're in luck! With prepared tea bags, you'll never have to taste a drop of delicious, salubrious tea ever again.

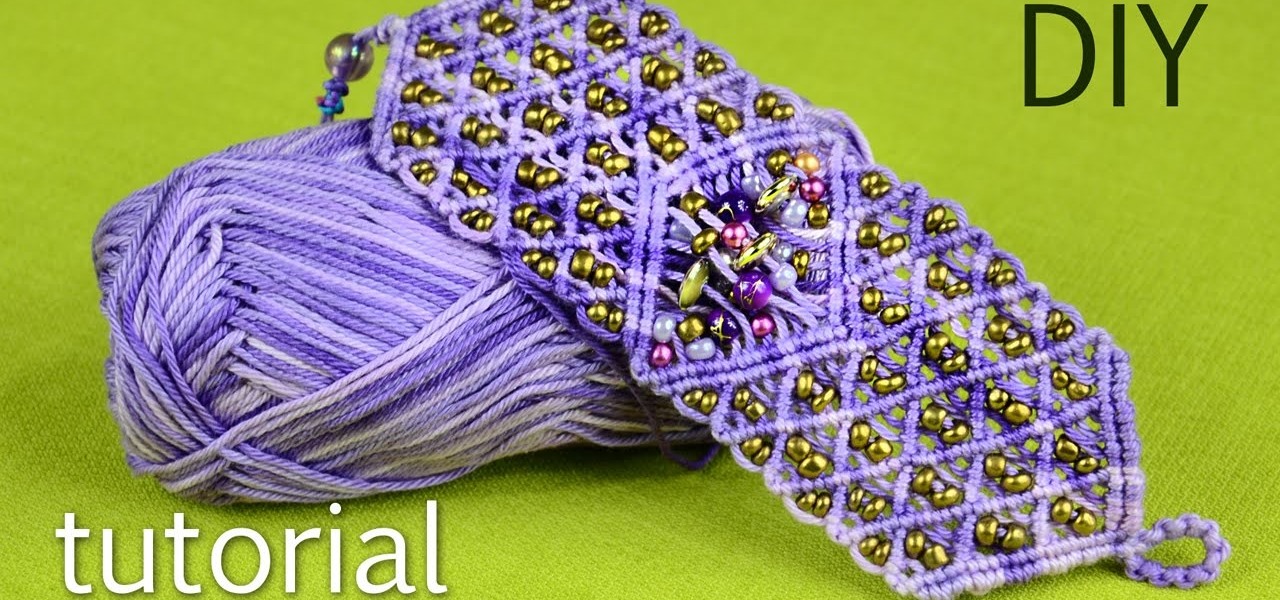
Very interesting bracelet and fun to wear! Here I used cotton yarn and seed beads. In the middle of the bracelet you can make your own firework with different beads :)

Here's a great video that will show you how to make a boo boo bunny ice pack using a wash cloth, elastic,marker,cotton ball and small pom pom for the nose. Very easy and quick to make.

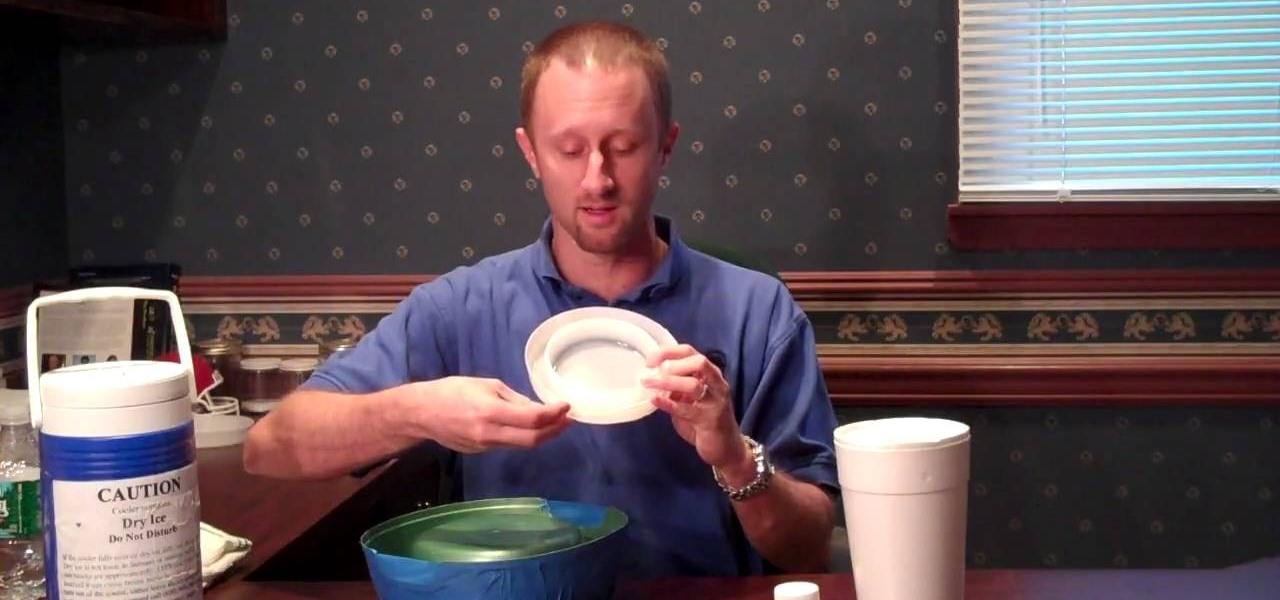
In order to kill bed bugs with a dry ice trap, you will need the following: a dog bowl, a towel, a cooler, a cotton ball, painter's tape, and talc powder.

WeaponCollector teaches viewers how to make a mini survival kit using an Altoid's tin. You can get an S.A.S. guide for exact instructions and further information on what you will need in an survival kit. First, you should make sure you have rubber bands around your tin to hold it shut. It is easier to get into it and it keeps it closed. You can also wrap the tin with a power cord. Elastic bands work better if you plan on using this everyday. Simply wrap 3 bands around the width and one around...

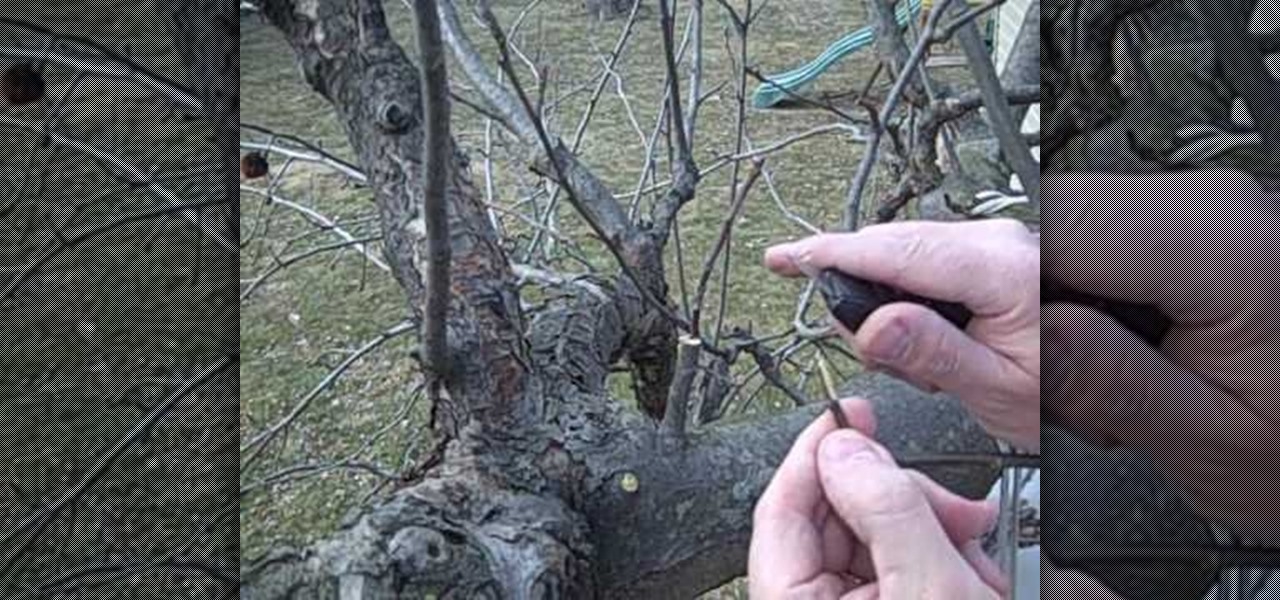
Cityslipper shows you how he uses the cleft grafting method to make a less appealing green apple tree produce better tasting red apples. 10-12 inches long scion wood is collected from the good apple tree while it is dormant. Care is taken not to let the twigs dry out. Selected scions should not have spurs rather they should have leaf buds that lay flat against the twig. A good host twig on a healthy-looking branch should be selected. A clean cut should be made with the fine teeth of a grafing...

This video explains how to get powder or cream make-up out of the plastic container that it comes in. You can condense your products to take up less space if you remove them from the pots and put them in palettes. The tools you need are a flat iron or other heat source, parchment paper to cover the plate of the flat iron, an X-acto knife, alcohol, cotton pads, make-up in pots, self-adhesive magnets and a palette. First use the X-acto knife to pull the plastic pot out of the container. Set the...

Ever wanted to know how to smell good naturally with natural elements? You can save the earth without offending those around you when you go au natural.

Looking to get rid of that cold sore once and for all? Blisters on your mouth can be embarrassing, but you can get rid of cold sores quickly with these remedies.

Make greasy, limp locks come to life with everyday ingredients. You Will Need

Dealing with oily skin is a challenge, but a few simple grooming tips can cut the shine and give you glow.

If you've got an oil slick on your head by noon most days, try these strategies to keep grease under control.

Fancy feet are a must for sandals and peep-toe shoes. Pamper yourself with a pedicure that’s easy and gets you back on your feet in no time.

Fix those little scratches before they become big rust marks. Learn how to fix a scratch on your car. Howcast prevents all the necessary steps for ridding your car of that ugly scratch.

Wearing vintage clothing is one of the best ways to reduce the environmental impact of your fashion choices—short of walking around naked.

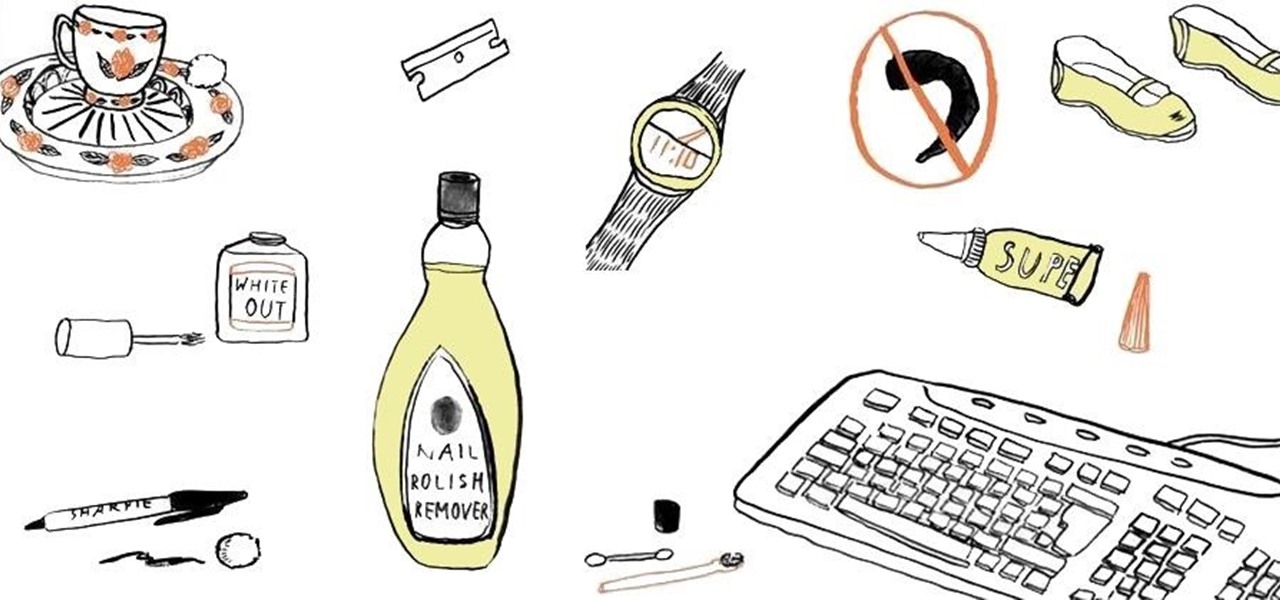
Acetone-based nail polish remover is great for removing nail polish, and it's also great for some DIY uses around the home. From eliminating scratches to fixing the consistency of correction fluid, its uses are varied but all effective. With nail polish remover, you can also clean your computer keyboard, get rid of ink stains, and even remove leeches from your skin. Talk about versatile!

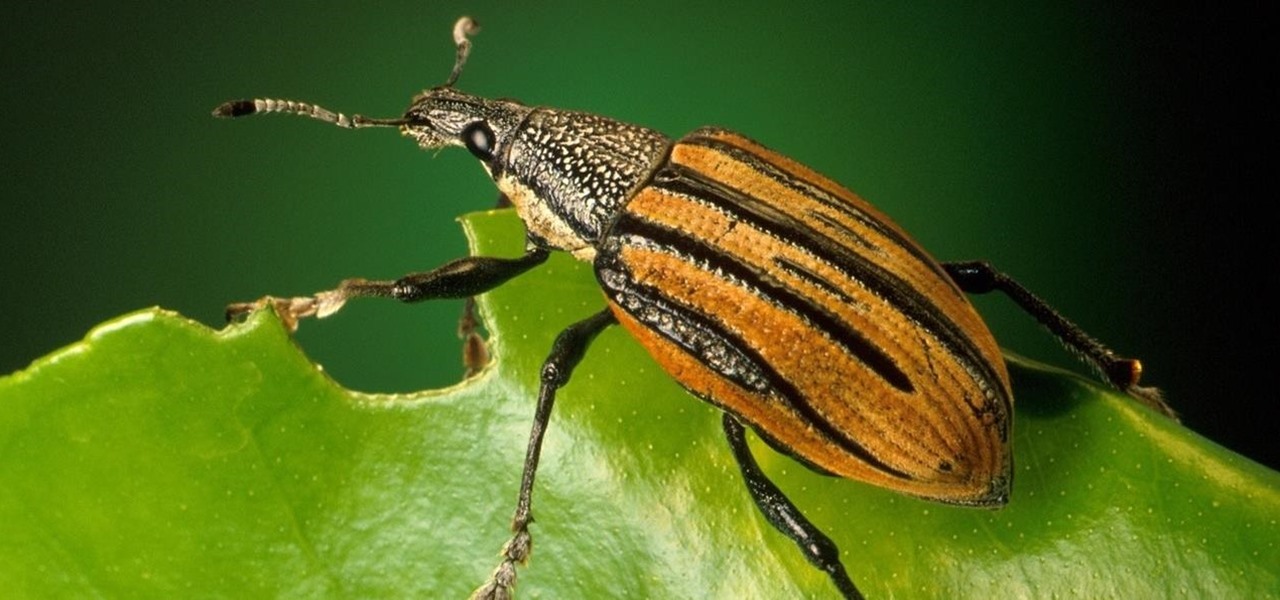
No one can dispute the evolutionary success of bugs. The oldest insect fossils were found encased in crystallized mineral silica in Scotland in 1926, and they're between 396 and 407 million years old.

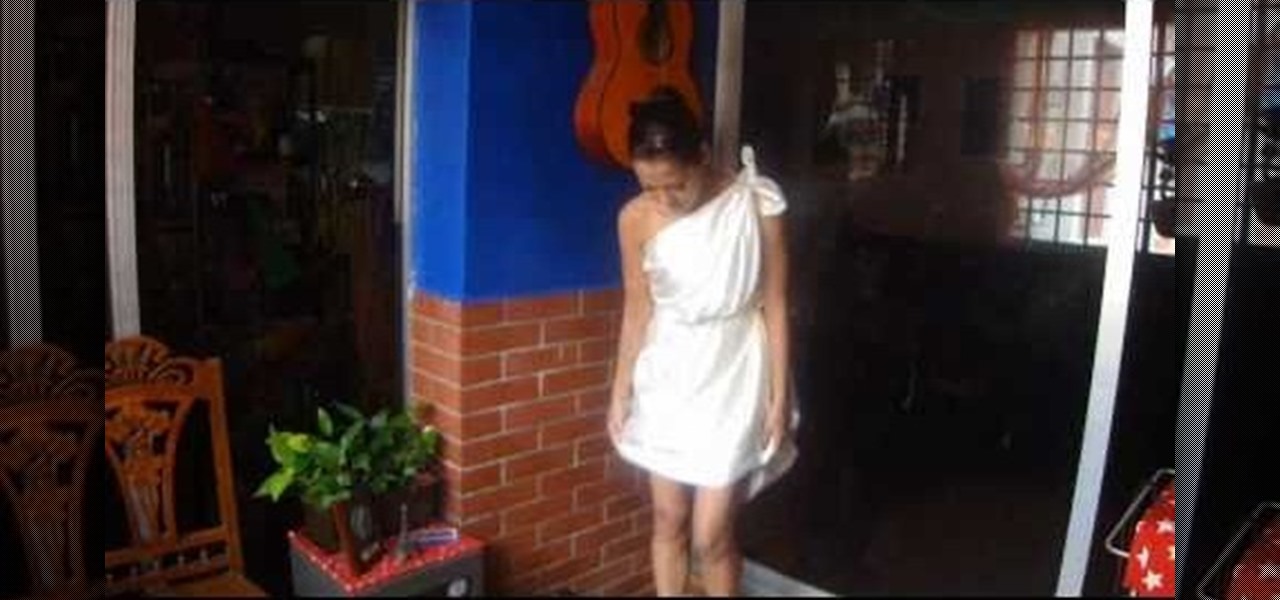
All hail Caesar, it's costume time! OK, if you're a woman, or a girl and you're looking to make a cool toga costume, look no further as this video will show you what you need. Basically you'll want some white fabric, either cotton or satin or whatever you have in your sewing box. You'll need some rope, twine or ribbon to make the belt. Follow the steps to wrap the fabric and tuck it into a tube top to hold it, then use your belt to complete the girl toga costume. Toga! Toga! Toga!

Wilderness survival requires smarts, know how and a well equiped emergecy kit to make sure you stay dry, warm and fed. This excellent video tells you what you need to know to put together the essential items of your personal emergency/survival kit. The items include:

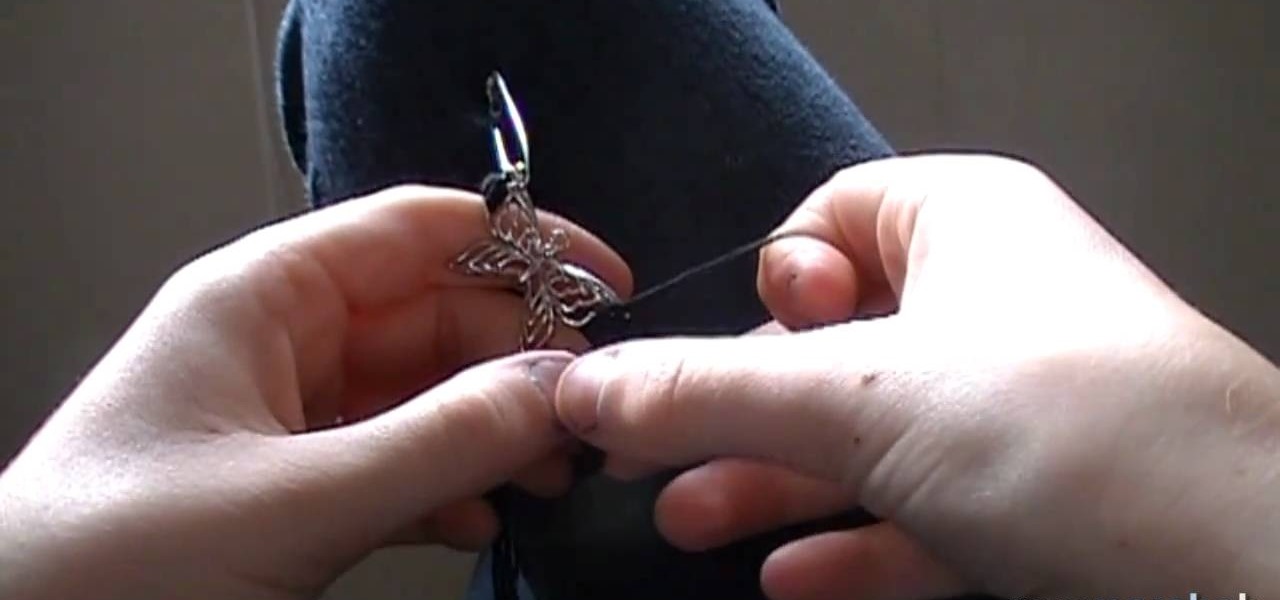
Bohemian ware is all the rage these days - from bohemian headbands to necklaces to hemp jewelry, the braided, slightly undone look is all the rage. Get in on the trend without dropping mad stacks at a store by creating this cute spiral braided bracelet.

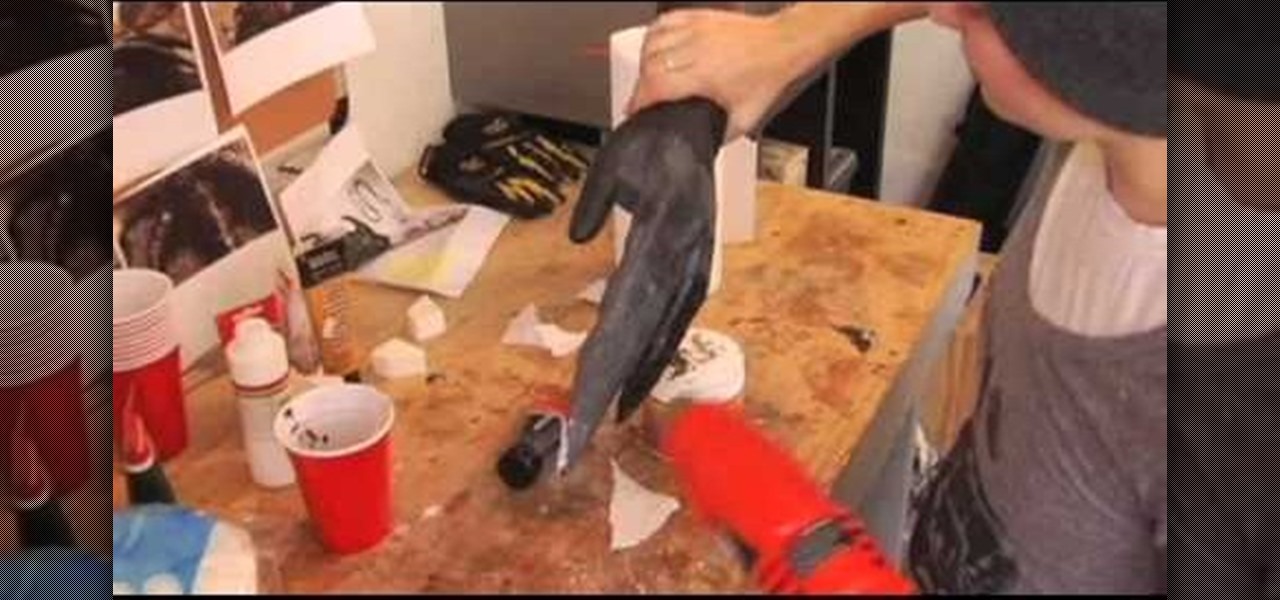
You will need: rubber glove, paper towels, liquid latex, paint, and newspaper. First, fill the glove with newspaper, then secure the fingers with electrical tape to make only 3 fingers. Then, mix up the liquid latex with black paint and apply it to the fingers. Then, place the paper towels over this in coats and shape them so they are pointy. Add in some texture using paper towel strips and cotton balls. Continue to paint over with the liquid latex/paint until you have made your desired textu...

Traveling often is super fun, but sitting through 13 hours on the flight from California to Bangkok is killer on your skin, especially since the airplane recycles air and therefore dries out your skin.

In this tutorial, we learn how to make a hedgehog plushy. First, choose a fabric to use, then cut out the shape of it. Once you have done this, cut it out again and pin the two pieces of fabric together. After this, use a sewing machine to sew all of the sides together, leaving a hole in the bottom. Now, turn the hedgehog inside out and then iron him flat. Place some stuffy cotton into the plushy until it is as full as you would like it. Then, sew the hole together so none of the stuffing can...

This crafty project is inexpensive, it's easy to do and it's really handy for attaching things like letters, photos and to-do lists. This isn't like a cork memo board, because you won't need any push pins or cork pins! Watch and learn how to make this French memo board. This is the pretty alternative to drab store-bought memo boards.

Tired of carrying that purse around while you are trying to have a conversation or dance the night away? How about a cute little handbag to swing around while you maintain your social life.

No money for a new dress? No problem! If you can afford a cheap pack of Hanes tee's from your local drugstore, then you can afford this look! And if you are on an even tighter budget, you can sneak into your boyfriend or brother's bedroom and "borrow" his!

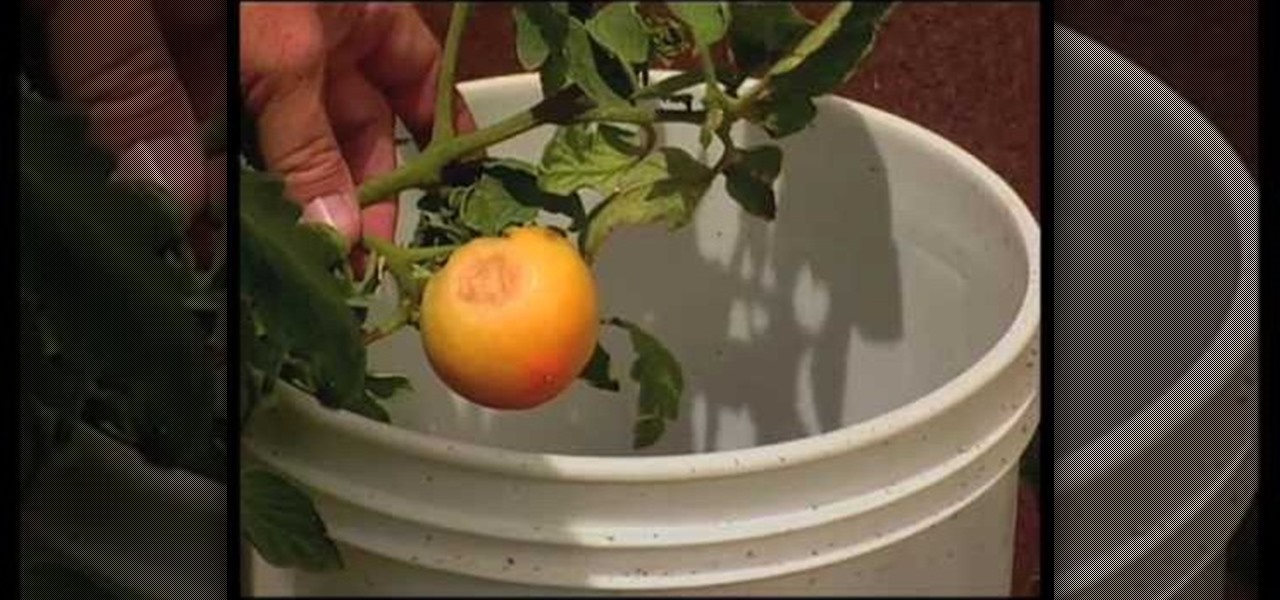
Weeping willows, globe willows, corkscrew willow, cotton wood are all prone to bores than other diseases. They grow in fertile soil with lots of moisture. Never treat tree chemical. Prune as necessary, take out dead diseased limbs, water and fertilize regular. This ensures the tree lasts longer and that the tree is less attractive to insects. Where tomatoes are concerned to avoid sunburn ensure that they are slightly covered with the folding of the plant. High salt level of water or chemicals...

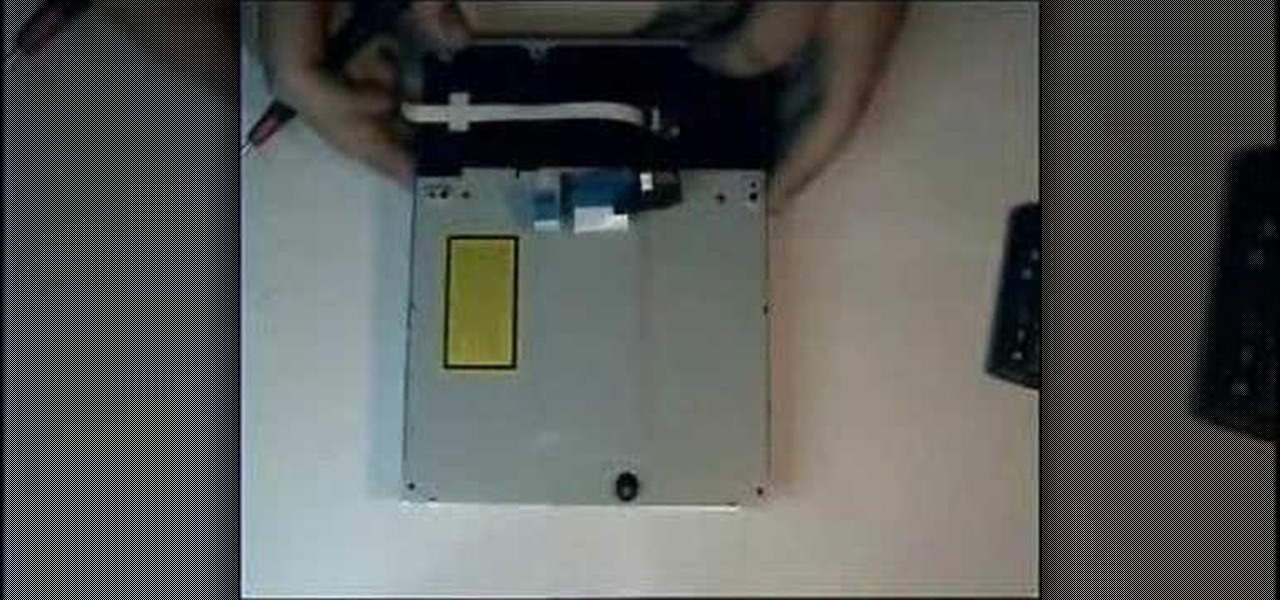
If your Blu-ray Discs aren't playing properly in your PlayStation 3, then the answer may be as simple as a dirty lens in the Blu-ray Disc drive. Anybody with a few screwdrivers can do this themselves, right at home, no repair costs. But it would void your PS3 warranty, so beware.

Did you know your fine furry friend can get Lyme disease too? Giving your dog a once-over tick check will not only protect him from infection, but can help keep you and your family safe too.

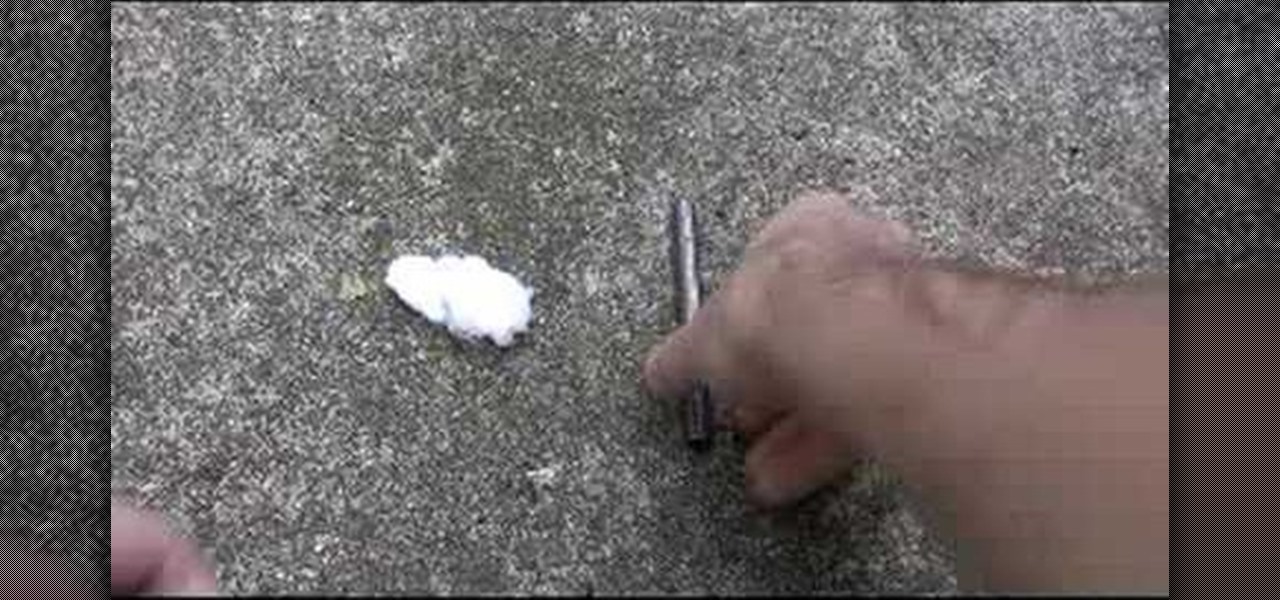
Learn to survive in the outdoors or in case of a disaster by watching this how-to video. This disaster prep video shows you how to use the firesteel and petroleum jelly cotton balls to start a fire. All you have to do is pull apart a pj ball, take the firesteel and scrape your knife along the steel to throw sparks into the fire ball. Follow along with these easy steps and start a simple survival fire.

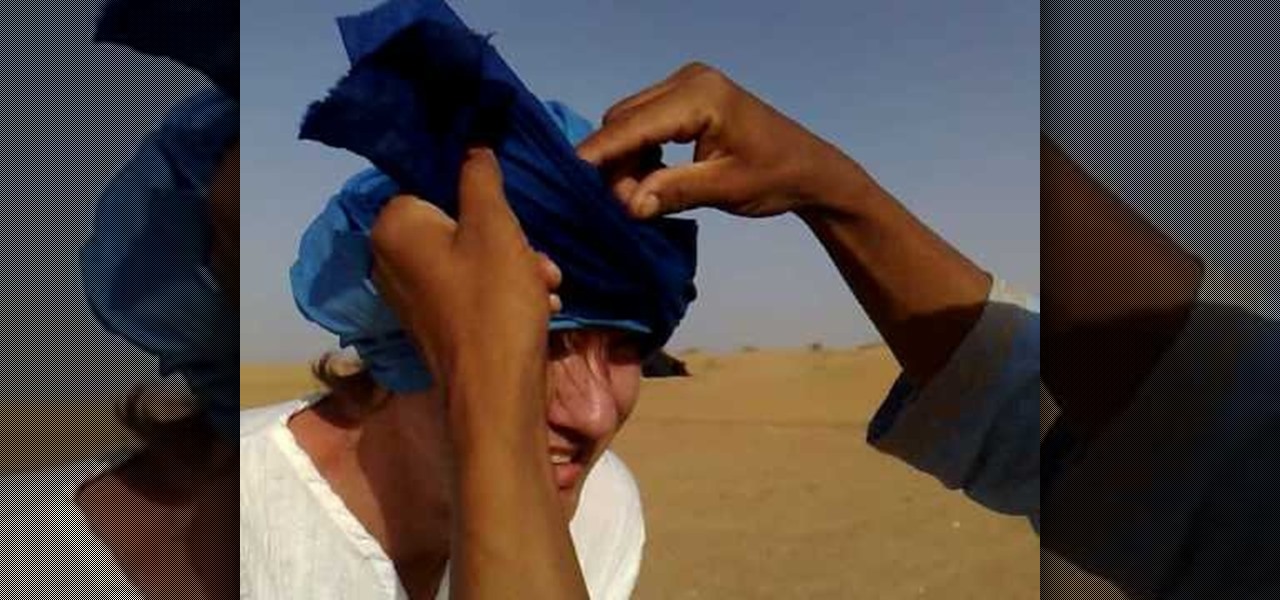
What's the best way to learn how to tie an efficient and sturdy pashmina/shemagh? Why, ask someone who ties one every day, of course. Take a gander at this helpful tutorial to learn how to tie one of these babies on your head quickly from your Middle Eastern instructor.

In this tutorial, we learn how to add texture to stamped images using rubbing alcohol. First, stamp on your image with a regular stamp to a piece of paper. After you do this, you will take a cotton ball and dip it into ink, then dab this on the images. From here, you will dip that into rubbing alcohol and then dab on top of the images as well. Allow this to dry and if you don't have time, blow dry it evenly. Then, use embossed ink to raise the images up from the page. When finished, you will ...


