NikonDifferent of Nikon shows you how to shoot zoo/ wild life photography (particularly with a Nikon d40 as an example with a zoom lens with Vibration Reduction), given the fact that animal enclosures are usually set up to give the animals space. You'll want to limit your visit to two or three types of animals (good photographs require time or patience). Animals playing/ fighting make good pictures, but you need to set a fast shutter speed (if you have low light, crank up your ISO). Try to an...
After beating Silitha, you'll have to return its heart. Watch this walkthrough of Darksiders on the Xbox 360. After Silitha's death, you'll find yourself in a cave two levels below where you originally fought her. Use the Crossblade to hit the crystal blade on the rock platform to make it rise and fall through the hole Silitha made. It will go up and down twice. Use the Abyssal Chain to ride it up to the middle level (one below the original) and here you'll find a Soul Chest and an Artifact. ...

You need to give the Griever's heart to Samuel in this level in the Xbox 360 game Darksiders, The Hollows - Griever. The Beholder door will lead you to a long tunnel where a massive creature called the Torture Coil likes to nab helpless souls who pass by with its giant tentacles. Push the subway car up the track in front of you and the creature will grab the car instead of you. This will clog its hole so you can safely pass by. Head through the hole in the wall at the end of the tunnel. Follo...
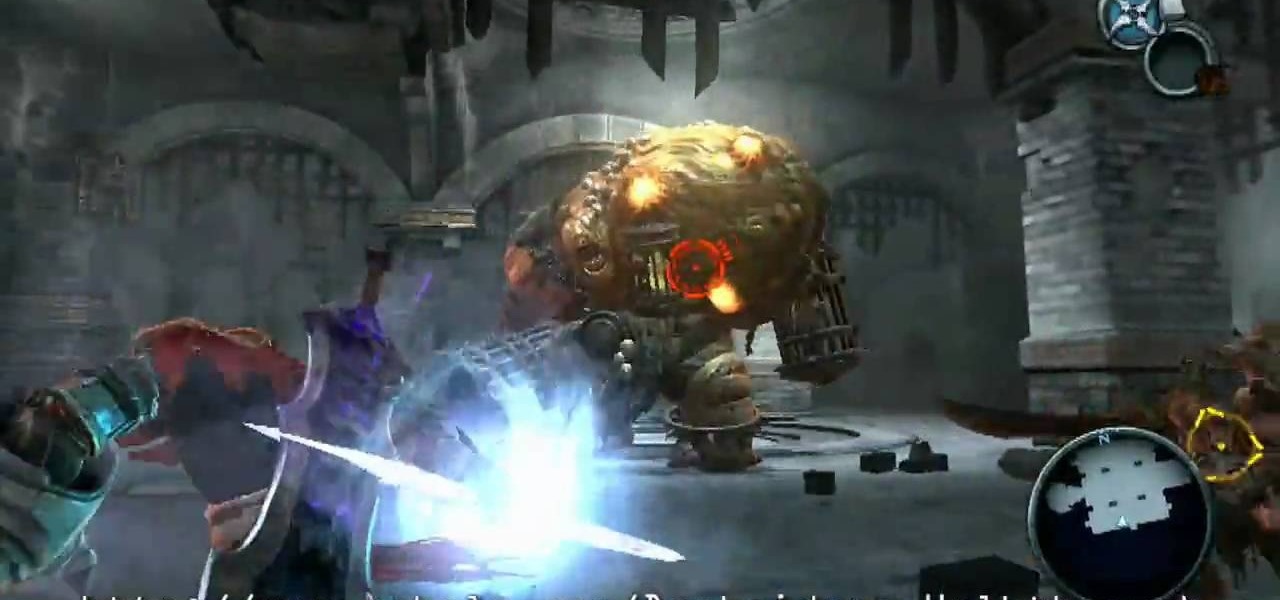
Keep your crossblade near for this level of the Xbox 360 game Darksiders, In the sub-boss fight in Twilight Cathedral - The Jailor, make sure to target the sores. This grotesque monstrosity towers over War. It is almost as wide as it is tall. You'll want to keep your distance from the Jailer as it has a powerful attack in which it slams the cage it carries onto the ground. You'll want to spend most of you time here with the monster targeted while you backpedal away from it. The biggest annoya...
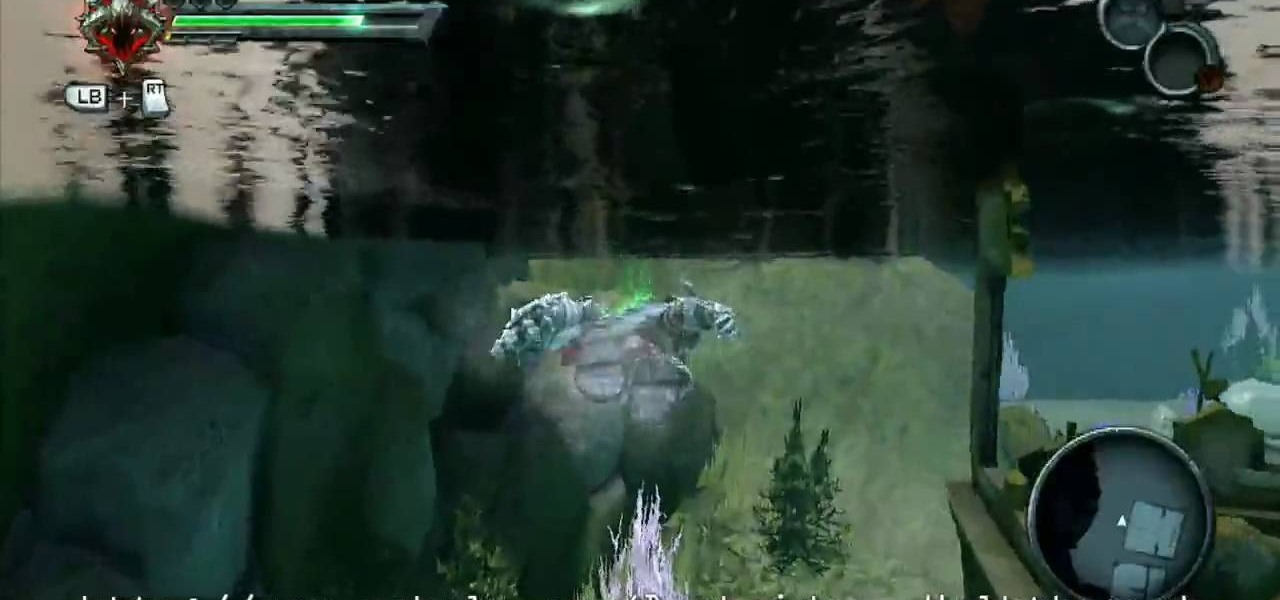
There's four shadow arena fights in this level of the Xbox 360 game Darksiders. In the Drowned Pass, there's the Counter Killer, Wrath of War, World of Pain, and Defender. The Drowned Pass features a deep lake in the middle of the area, a path that runs about the outer edge, and various hidden nooks and caves (some which can only be reached by swimming under water). Follow the path to the left. As you proceed along this path, keep an eye out for an opening along the right side. This will lead...
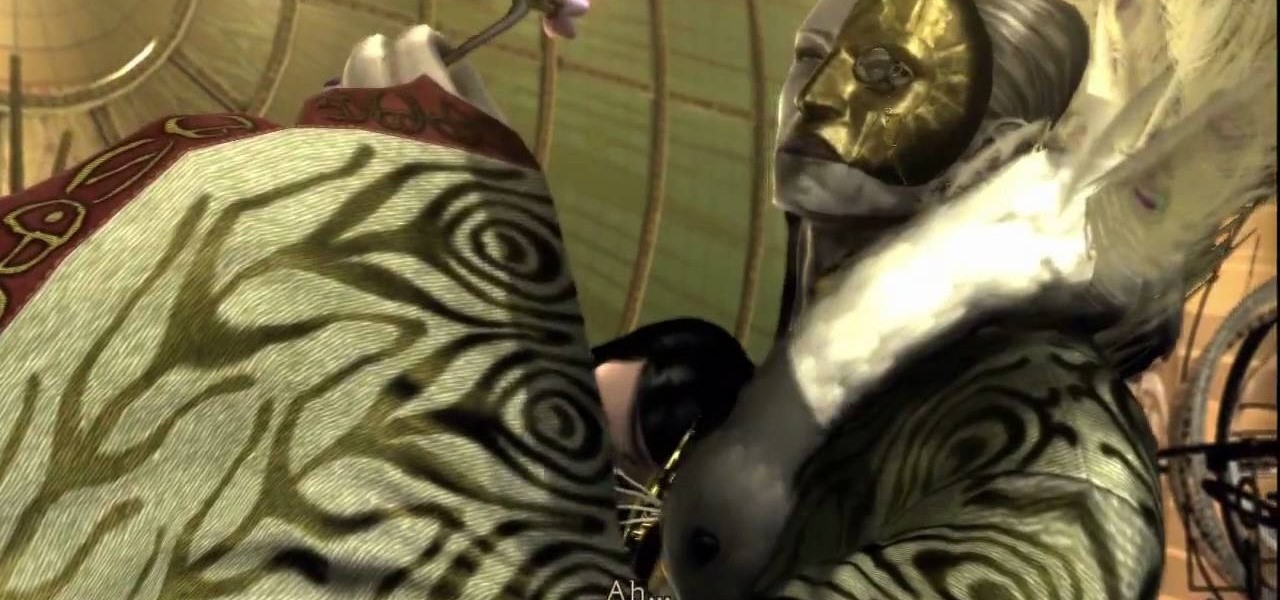
In this level on the Xbox 360 game Bayonetta, make sure the bullet enters Balder's head. In Chapter 16 - The Lumen Sage, keep that bullet in line. Father Balder doesn't do much damage, but he tends to stay out of range. When you do have him in range do as much damage as you can. Keep fighting until you get his health meter down to zero and can do a climax attack. For more info, watch the whole gameplay.

Defeat Iustitia in this installment for the Xbox 360 game Bayonetta. In Chapter 11 - The Cardinal Virtue of Justice, attack the tongue. The first part of this fight is against one Ardor and a bunch of smaller enemies. After defeating them you'll see another cinematic and face the boss named Iustitia.
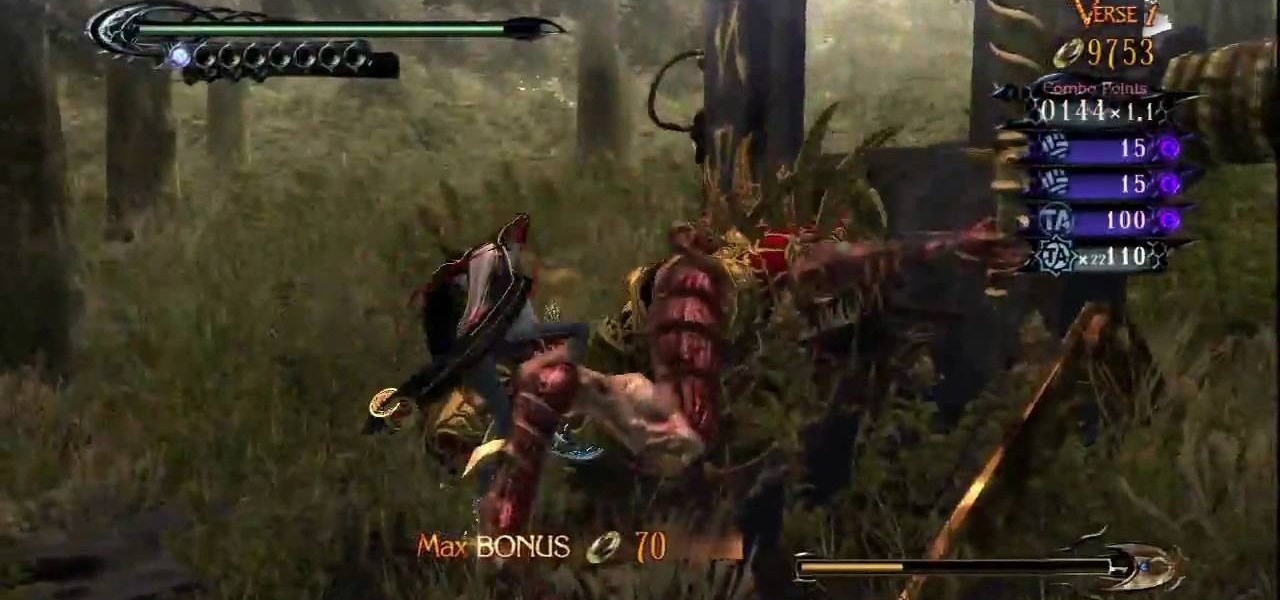
This level is jammed with eleven verses for the Xbox 360 game Bayonetta. In Chapter 10 - Paradiso - A Sea of Stars, get ready for the Gates of Hell. In verse one, defeat the minor enemies here and you'll find three walls you can combo. Each wall will give you one gear for the machine in the center of the area. When you get the third gear you will have to fight Grace and Glory. Kill them to end the verse. For more info, watch the whole gameplay.
Complete five verses in this level of the Xbox 360 game Bayonetta. In Chapter 8 - Route 666, prepare for some hard battles. The first verse fight takes place on the back of a moving truck. There are two enemies with health bars on the same truck where you start. On other nearby vehicles you'll find minor enemies with ranged weapons who will shoot at you. If you fall off the truck you'll be killed. For more info, watch the whole gameplay.
Not every enemy is critical in this mission in The Saboteur for the Xbox 360, just the ones with red markers over their heads. The third mission in Act 3: Déjà Boom is when Skylar is waiting for you in the northeast. When you land, grab the Tommy gun, the ammo, and then get in the flatbed nearby. Drive and just swerve around everything you can until you smash through the gate. For more info, watch the whole gameplay.
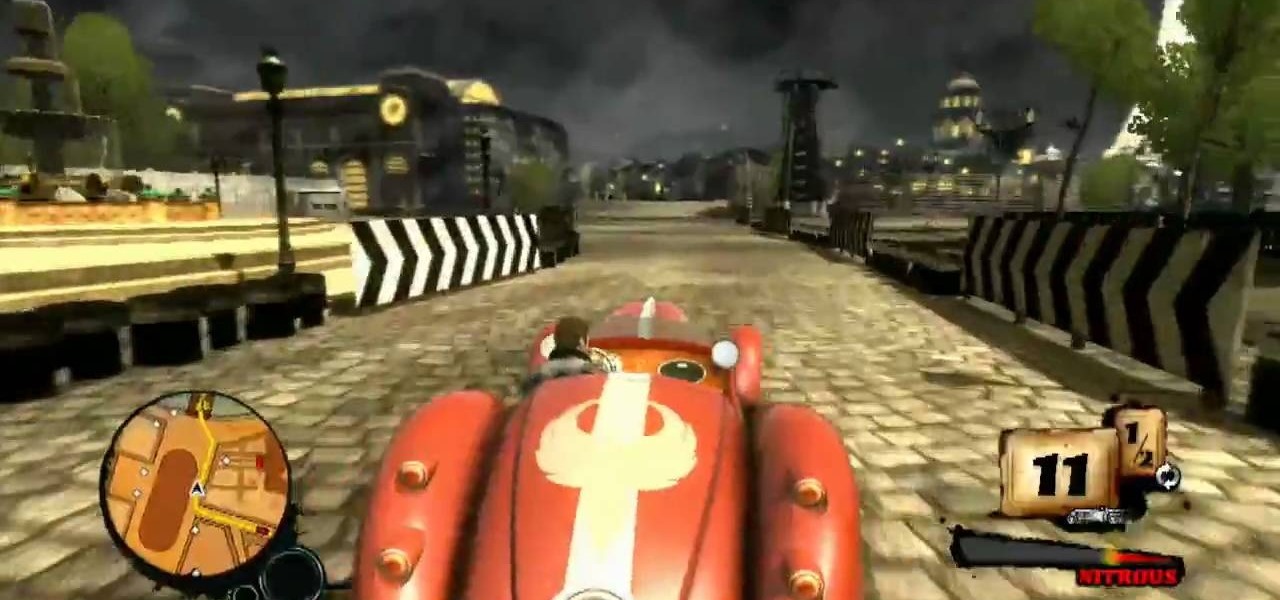
This is your last task in this section of The Saboteur for the Xbox 360. The twenty-fifth mission in Act 2: From the Ashes is is another race. There's typically a big gap between the top five and the rest of the pack, but once you close that, you're golden. You have nitros now, so use them in the straightaway. They charge fast, so you can be pretty liberal about using them. For more info, watch the whole gameplay.
Bryman saves the day in this mission in The Saboteur for the Xbox 360. The twenty-fourth mission in Act 2: Needs of the Few... or the One is Bryman hanging out in the sewer. Once you talk to him, don't take the ladder out, just follow the sewer out to the water. Approach on the east side. For more info, watch the whole gameplay.
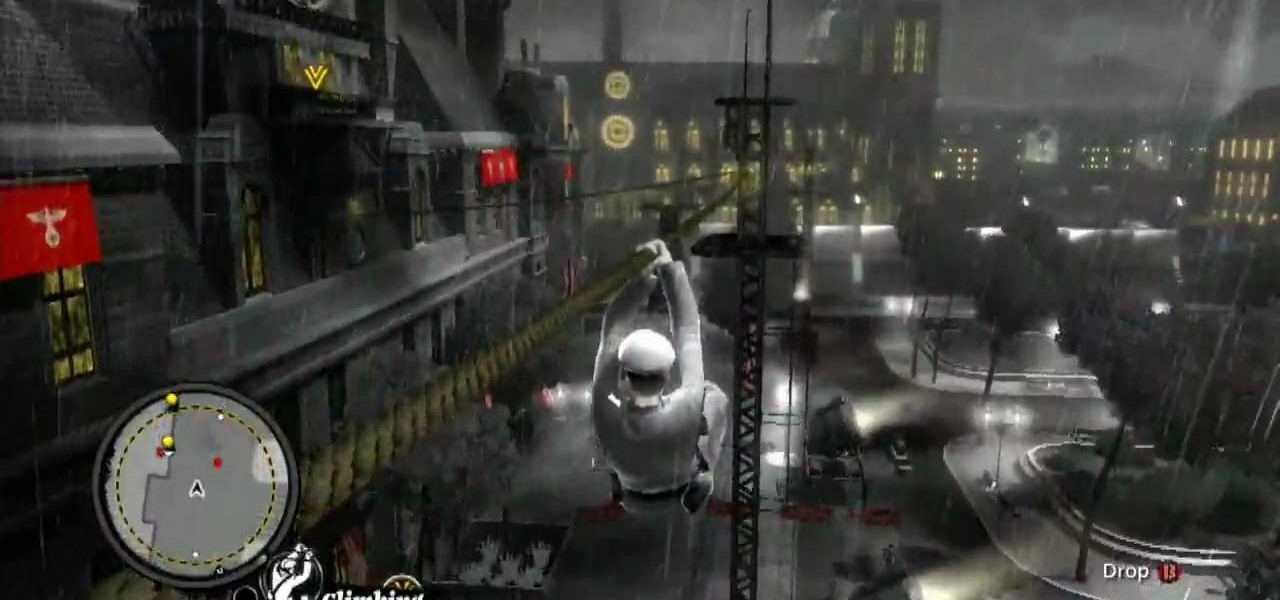
When you finish this mission in The Saboteur for the Xbox 360, you'll need to talk to Maria and take the elevator out. The twenty-first mission in Act 2: Boiling Point is when Bryman gives you this mission. He describes two possible way to complete it. We're going to recommend the quiet approach. Climb the building across the corner and slide along the phone wire to get to the building. When you reach the ledge, climb up and go in the window. For more info, watch the whole gameplay.
Make a mad escape at the end of the quest in The Saboteur for the Xbox 360. The twentieth mission in Act 2: Repo Man is where only an asshole gets killed over a car. Vittore gives you this story mission. Get into disguise before you get to your destination, because the place is crawling and doing once you get there is a pain. Carefully make your way toward the tank and hop over the wall. For more info, watch the whole gameplay.
Not much of a mission here, just a race in The Saboteur for the Xbox 360. The thirteenth mission in Act 2: Back in the Saddle is just a good exercise for keeping your speed and agility on the road in good condition. For more info, watch the whole gameplay.
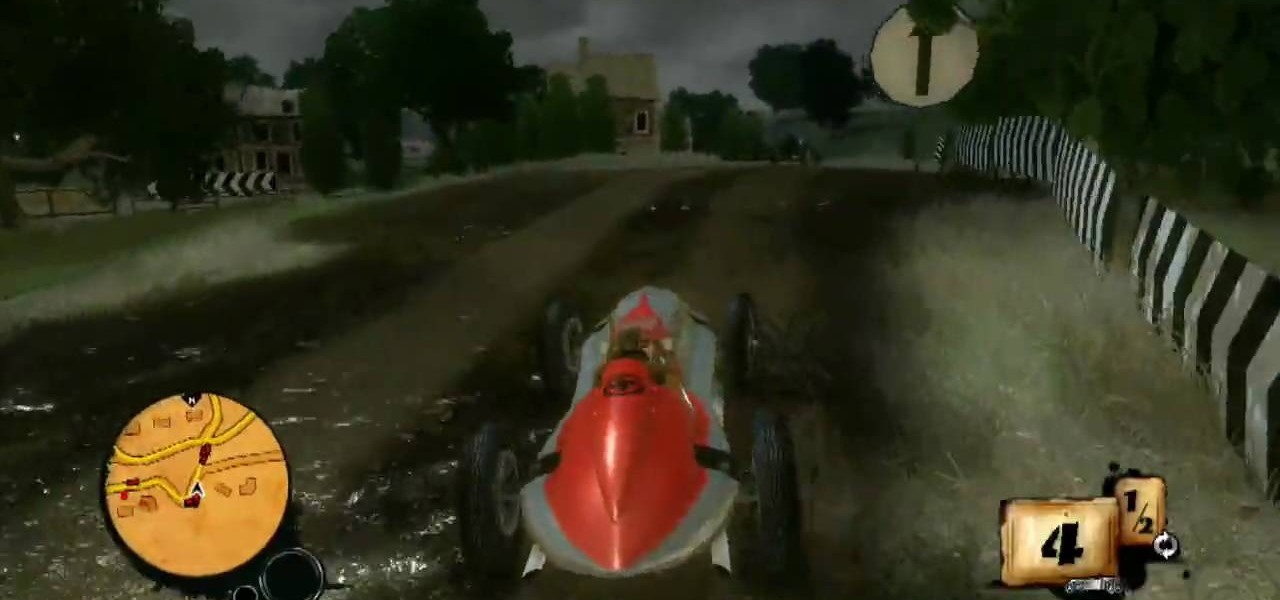
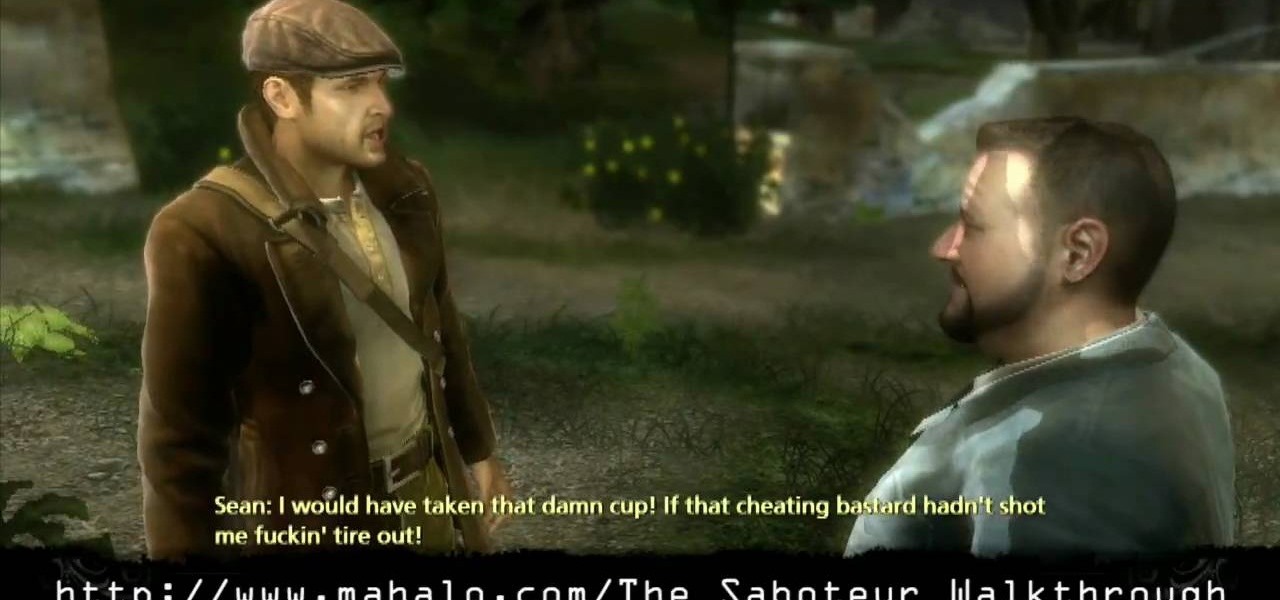
This is just a simple race in The Saboteur for the Xbox 360. The twelfth mission in Act 2: On Your Marks… Get Set... is where Horst is waiting with a good car right near Margot's base. This is a solo race mission to unlock the races throughout the rest of the game. The key to these is really just practicing the route. There aren't waypoints, so you can take some shortcuts, but the highlighted route is the most direct, so this won't amount to much more than corner cutting. For more info, watch...
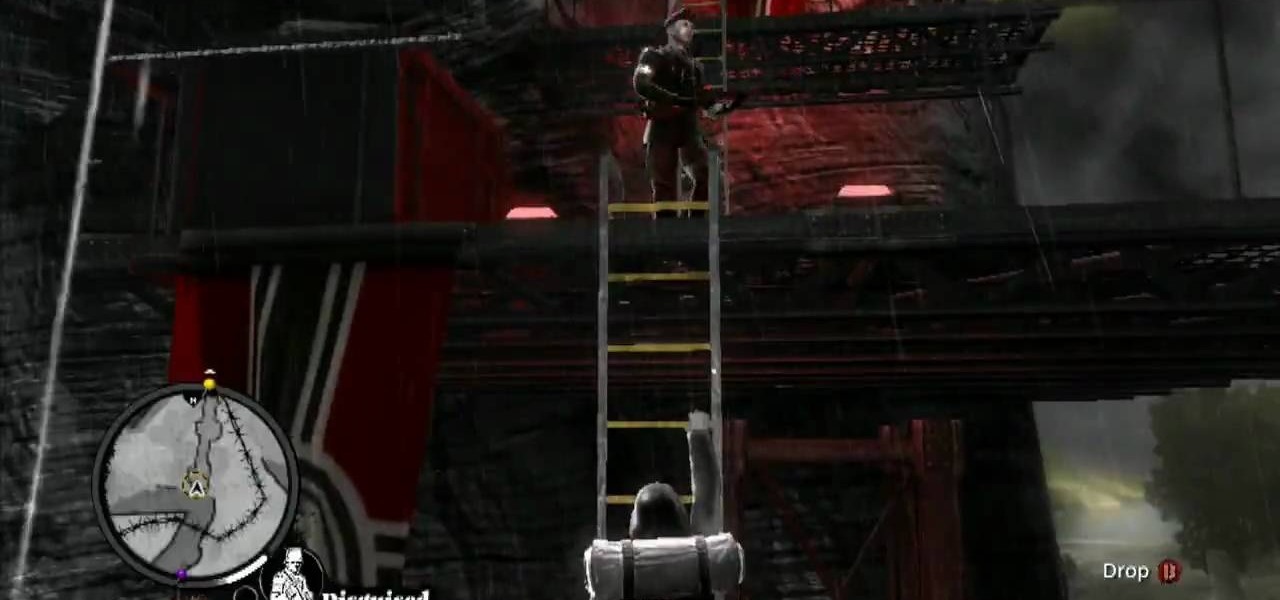
You'll need to head back to the prison car at the end of this mission in The Saboteur for the Xbox 360. The ninth mission in Act 2: Rolling Thunder is where you need to talk to Bishop, and then find Skylar near the Arc de Triomphe. This is a big mission. First, Skylar goes with you to sabotage a bridge. You need to find the four points (highlighted with red lights) to plant sabotage. You're not using dynamite this time. You'll see little ghosts of the sabotage at the exact points to plant the...
Victory is yours with a little dynamite in this mission in The Saboteur for the Xbox 360. The eighth mission in Act 2: The Big Gun is where you need to talk to Luc, and he'll send you to Bryman, who gives you this mission. Head down the alley. You can easily stealth the first guy and disguise yourself, which works well for the first leg of the mission. Things might get a little tricky, so if you're comfortable switching over to shooting at any time, that's fine, since we're going there anyway...
Enjoy your time with Margot on this mission in The Saboteur for the Xbox 360. The fifth mission in Act 2: Fahrenheit Four Fifty is easy. Now that Margot is on your side, you can do some side missions for her. This is a nice easy one. Travel to the Arc de Triomphe and get a disguise from one of the guards patrolling on the outside. Now slip in behind the tank and place some dynamite on the back Run off to the right and out of the way and you'll completely avoid detection. For more info, watch ...
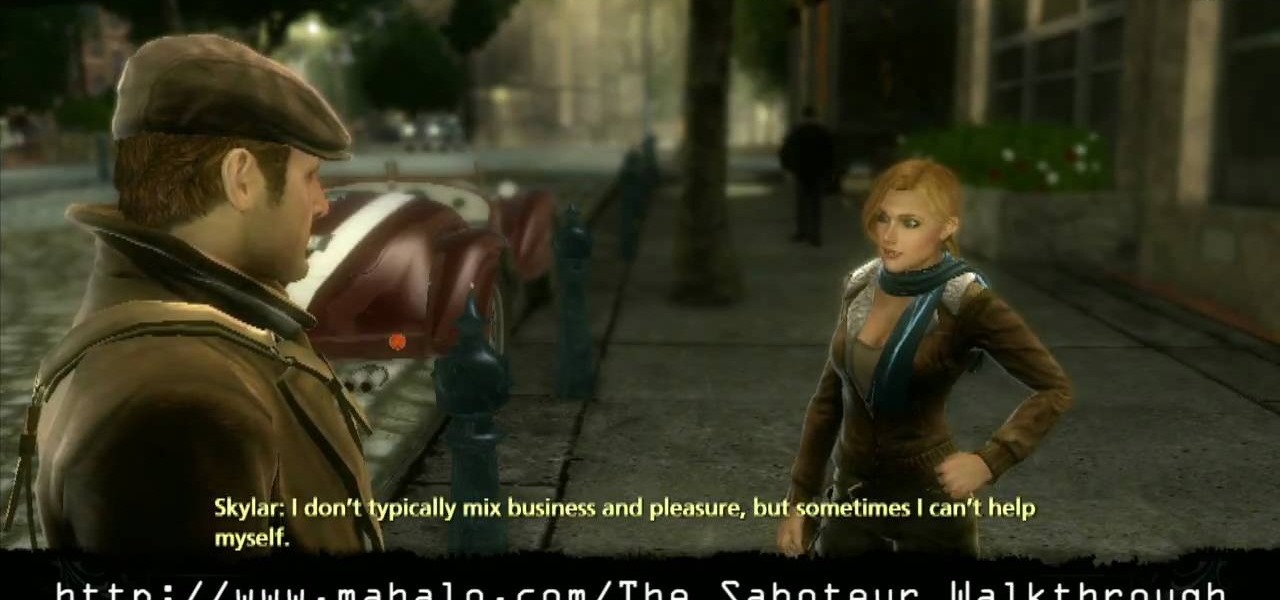
Check out this mission on The Saboteur for the Xbox 360. The third mission in Act 2: A Whisper or a Roar is where Santos is looking for help again. When you get to the convoy, Sean points out that there are two very different ways to complete this mission. You can get a disguise, sneak up close to the convoy, and plant some dynamite, which would be the conventional route.
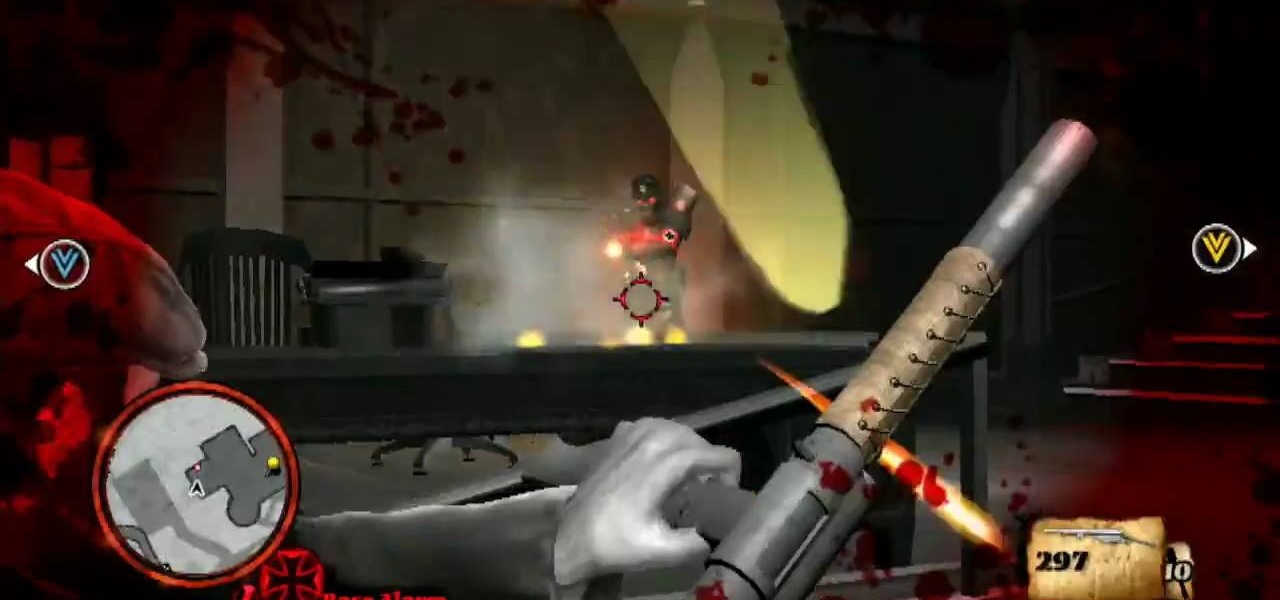
You may have to eventually abandon your stealthy approach in this mission on The Saboteur for the Xbox 360. The second mission in Act 2: Better Dying Through Chemistry is when you reach the entrance, there's a gunner behind sandbags by himself. If you take him out quickly and disguise yourself you can actually play this level pretty quietly. There are two basic kinds of targets, the smaller, thinner tanks, and the bigger, darker tanks. The big tanks you can blow with dynamite and as long as y...
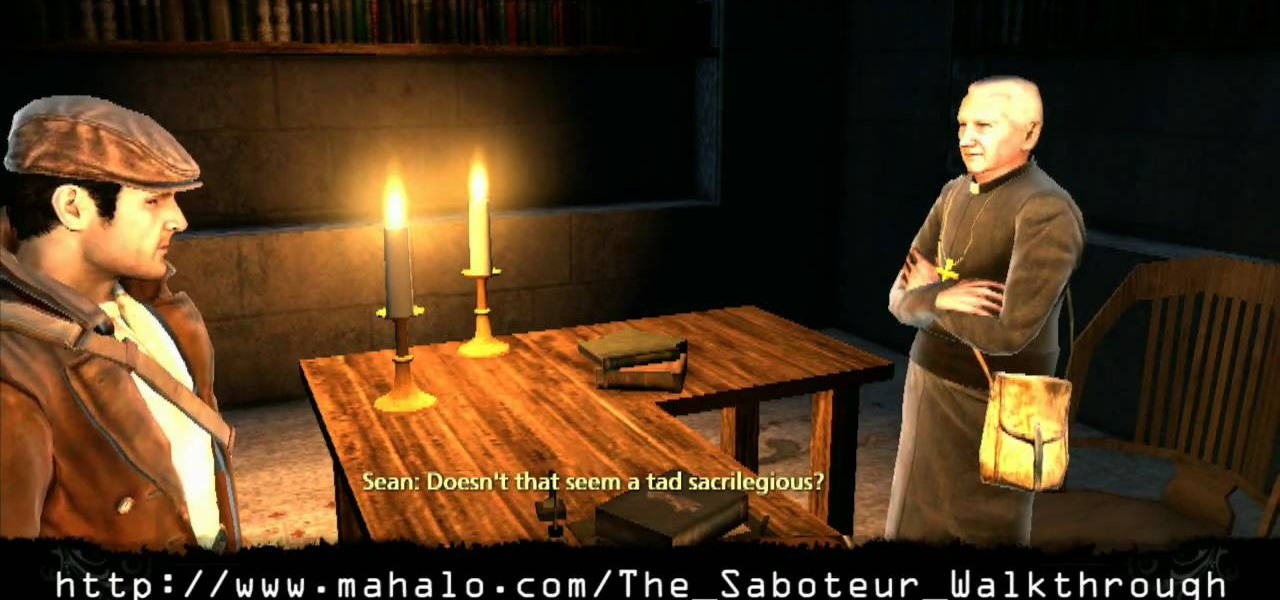
Think Indian Jones when you play this mission on The Saboteur for the Xbox 360. The sixteenth mission in Act 1: Viva Le Vengeance is when you need to head into the church to drop off the chest, which seems to contain the suitcase from Pulp Fiction. Time for the dramatic climax of Act 1.
At the end of this mission on The Saboteur for the Xbox 360, you need to make your escape. The fourteenth mission in Act 1: Buried Secrets is when Skylar is waiting way in the southeast, so you have a long drive from the last one. The mausoleum is right nearby. The easiest way in is the blunt approach. Grab some wheels, smash through the front gate and ride back to the mausoleum. For more info, watch the whole gameplay.
There will be blood at this wedding on The Saboteur for the Xbox 360. On the twelfth mission in Act 1: Red Wedding, pick off all the Nazis at the ceremony. Time to finish Father Denis' story. The wedding is way in the east. You'll have to park the car on the far side of the bridge and hoof it from there. Get into position at any of the hiding places. For more info, watch the whole gameplay.
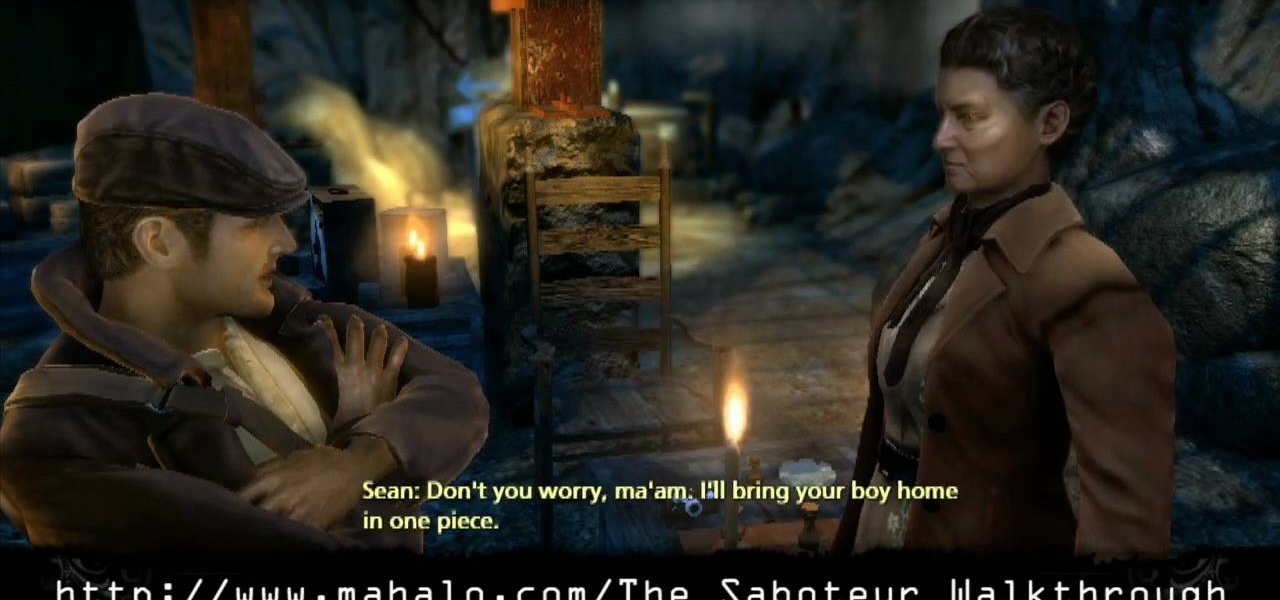
This is a great playthrough of The Saboteur for the Xbox 360. In the fourth mission in Act 2: Jailbreak, you will need to do the obvious… jailbreak. Once you acquire the papers to enter Area 2, you'll be able to start this mission by visiting the resistance in the Western District. They will charge you with freeing a man named Bryman from a Nazi prison. Grab a car and follow the GPS to the destination. Here you'll find a heavily occupied Nazi area. Bryman's cell is within the courtyard surrou...
Make your way through The Saboteur for the Xbox 360. In the eighth mission in Act 1: Doppelganger, the ambassador will rendezvous with a German official near the Place des Vosges. Security will be tight around the ground level, but you should be able to find a vantage point among the rooftops. For more info, watch the whole gameplay.
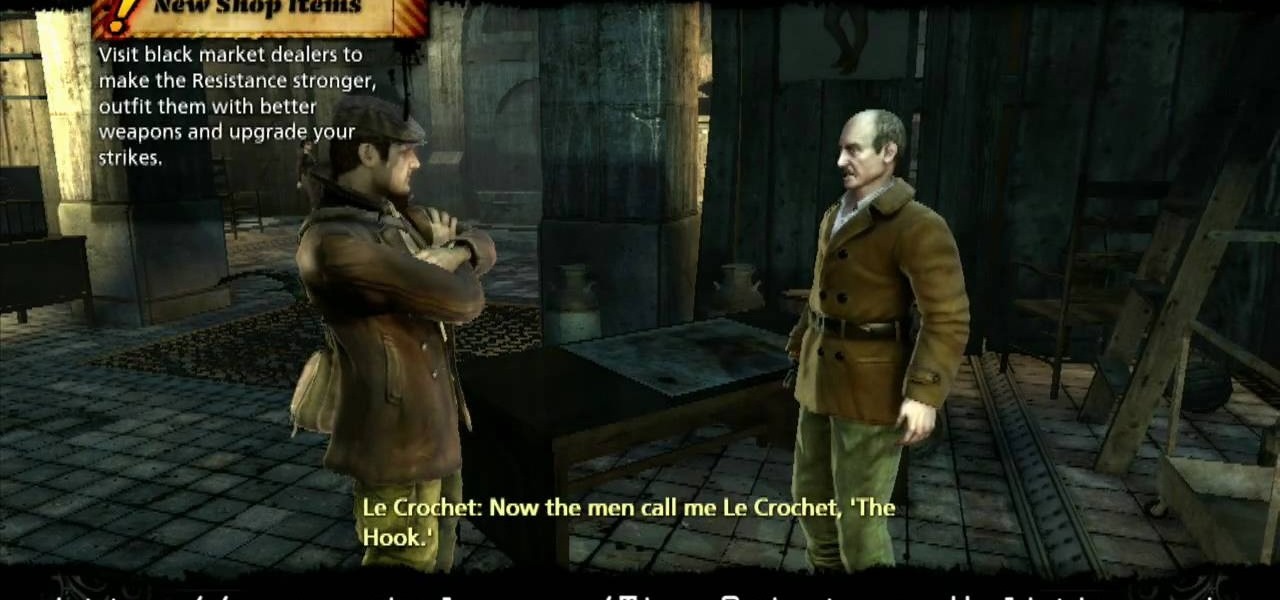
Here, you'll meet Luc and Crochet in The Saboteur for the Xbox 360. In the seventh mission in Act 1: Belly of the Beast, after speaking with Crochet, you'll need to go to the red light district. For more info, watch the whole gameplay.
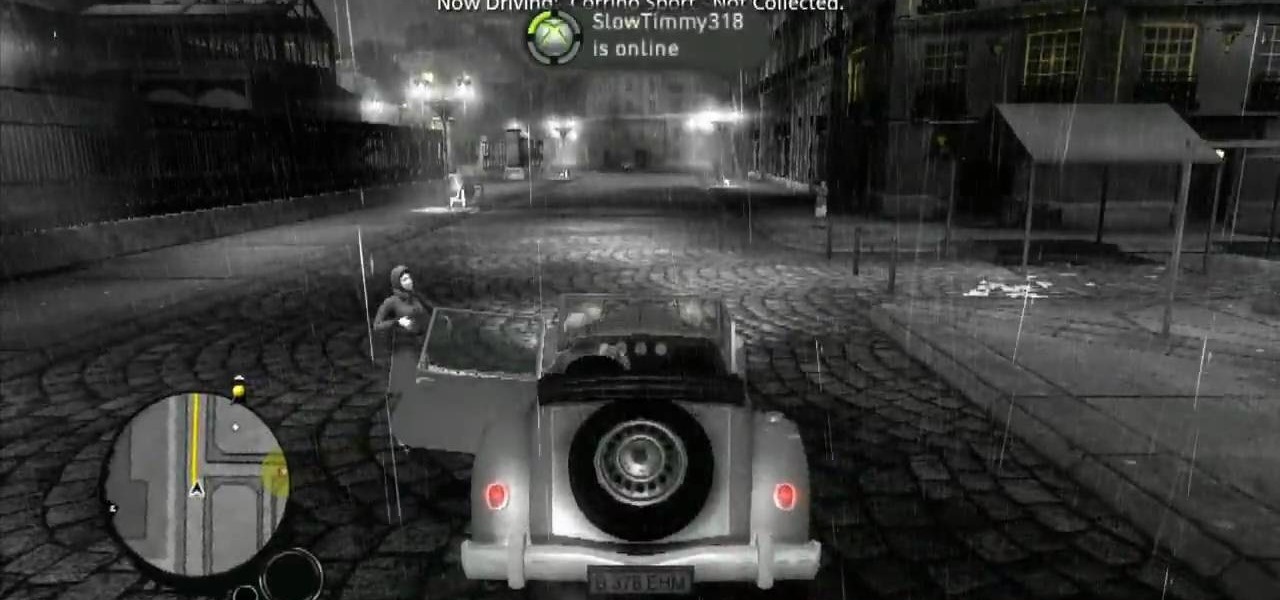
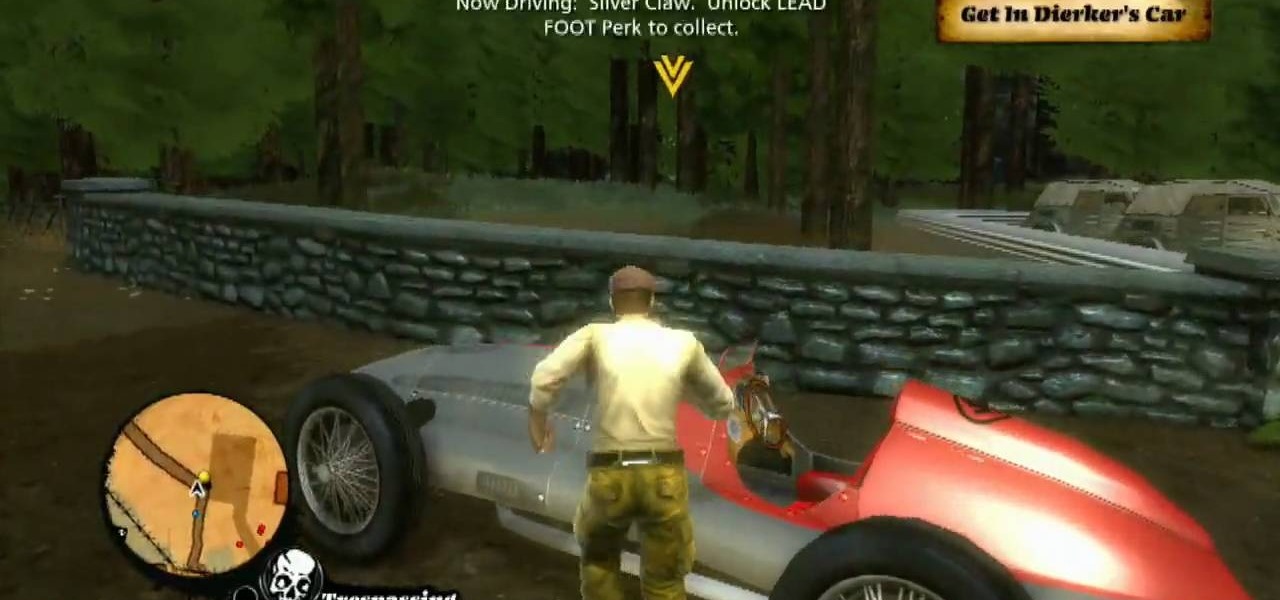
Drive your way to success on The Saboteur for the Xbox 360. You need to floor the pedal in order to follow Dierker in the sixth mission in the Prologue: A Sunday Drive. It's payback time. Hop into the car with Jules and follow Dierker. Don't get too close to him or his paranoia meter will rise. If it fills up you will be caught and fail the mission. Likewise, if you loose sight of Dierker for too long you will fail the mission. Follow Dierker, just don't follow him too closely. He will lead y...
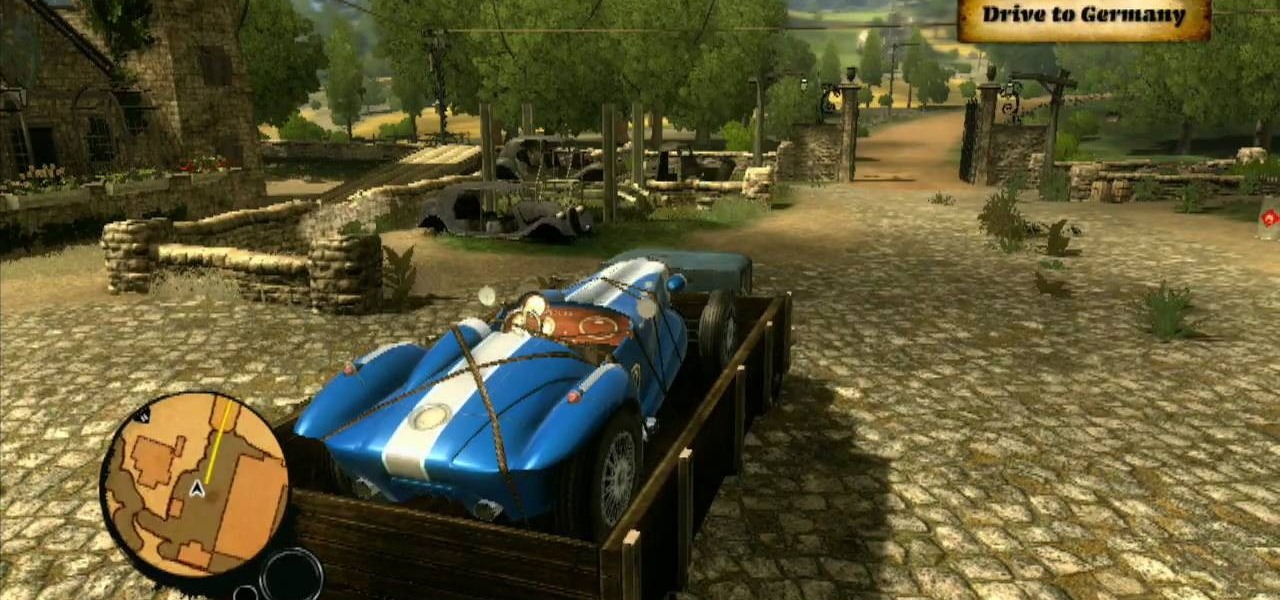
Prepare yourself for more info than you need for winning The Saboteur for the Xbox 360. See everything involving the second mission in the Prologue: Better Days. Sean will flashback to 3 months prior to the opening mission. After the cutscene introduces some new characters, hop into the truck with Jules. Follow the GPS through the country side while avoiding running into other cars on the road. You'll eventually reach the German border. Pull up to the gate and a Nazi will inspect your papers ...
In Mission 9 on the Sony PSP, you just need to recapture Maria. Chase after Maria and her captors. You will end up fighting off these soldiers. Once they've fallen to your sharp blade, Maria rejoins you, and you receive a new objective. For more info, watch the whole gameplay.
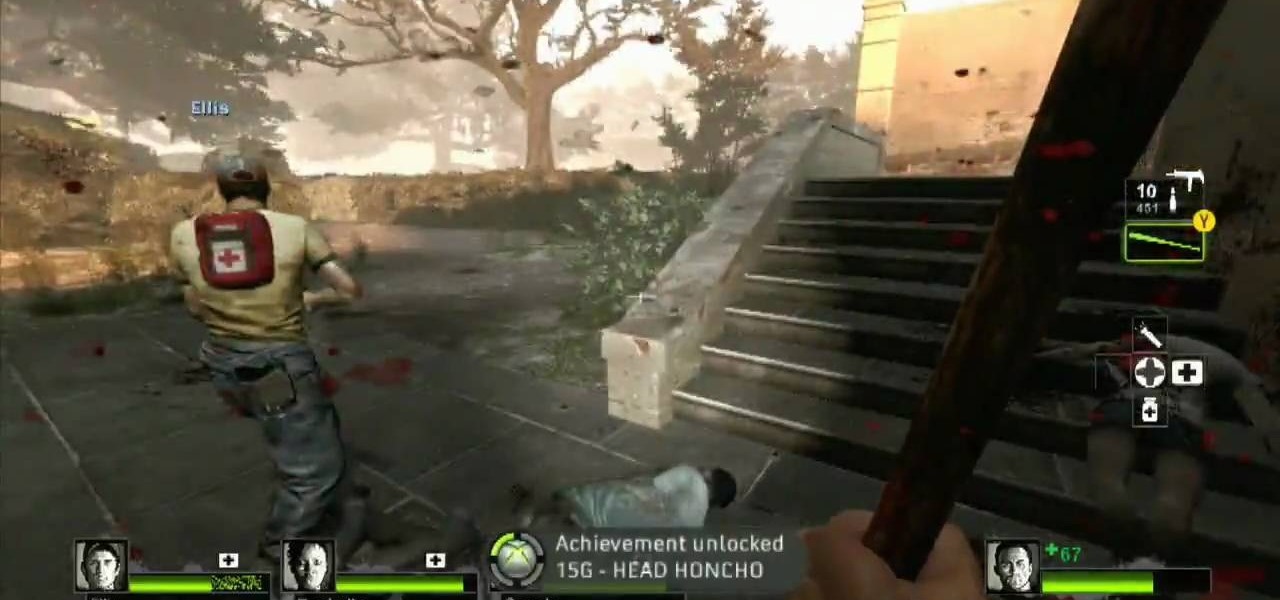
Check out this L4D2 walkthrough for some tips on Campaign 5: The Parish - Park. Stock up on items and exit via the door right next to the one you entered. Clear out any zombies and work your way up the large staircase into the park. Be prepared to deal with a likely Crescendo event in the plaza here. Pick a one of the staircases to climb up and enter the park. The restrooms near the entrance of the park usually contain a throwable item or two. For more info, watch the whole gameplay.
This last campaign is the hardest one. In the first part of campaign five, try not to drown and watch this L4D2 walkthrough for some tips on Campaign 5: The Parish - Waterfront. You are dropped off on the waterfront and told to make your way to the bridge. Pick up weapons and medpacks and head up the staircase. Go through the gate and clear a path to the Waterfront Market directly in front of you. There should be an open door for you to walk into. You may encounter a SWAT zombie at this point...
And just when you thought it was safe in town, you come back and find out it's like you were never there. Zombies everywhere. Watch this L4D2 walkthrough to play Campaign 4: Hard Rain - Return to Town. Gather any equipment and head out of the safehouse. The suburban neighborhood you travelled through last time is now flooded. You will want to spend as little time as possible wading through water. Try to look for rooftops or makeshift walkways to maximize your maneuverability. After dropping d...
Learn your way around the saccharine and bloody land of the sugar mill in L4D2. See the whole gameplay for Campaign 4: Hard Rain - Sugarmill. Stock up on weapons and head down the stairs to open the door of the safehouse. Clear out any zombies on the street and go across through the open window into the sugar mill. Once in the building, head to the left. There should be an open door leading back outside. For more info, watch the whole gameplay.
Make your way through the deadly plantation in L4D2. See the gameplay for Campaign 3: Swamp Fever - Plantation. Gear up and go outside of the safehouse. It will be light out. Mop up any zombies here and head straight ahead, bearing to the left. You will climb a small hill and see an opening in the fence. Check the sundries building on your left for items. Make your way through the rows of houses here towards the red two-story house at the end. Don't go inside the house, turn left right before...
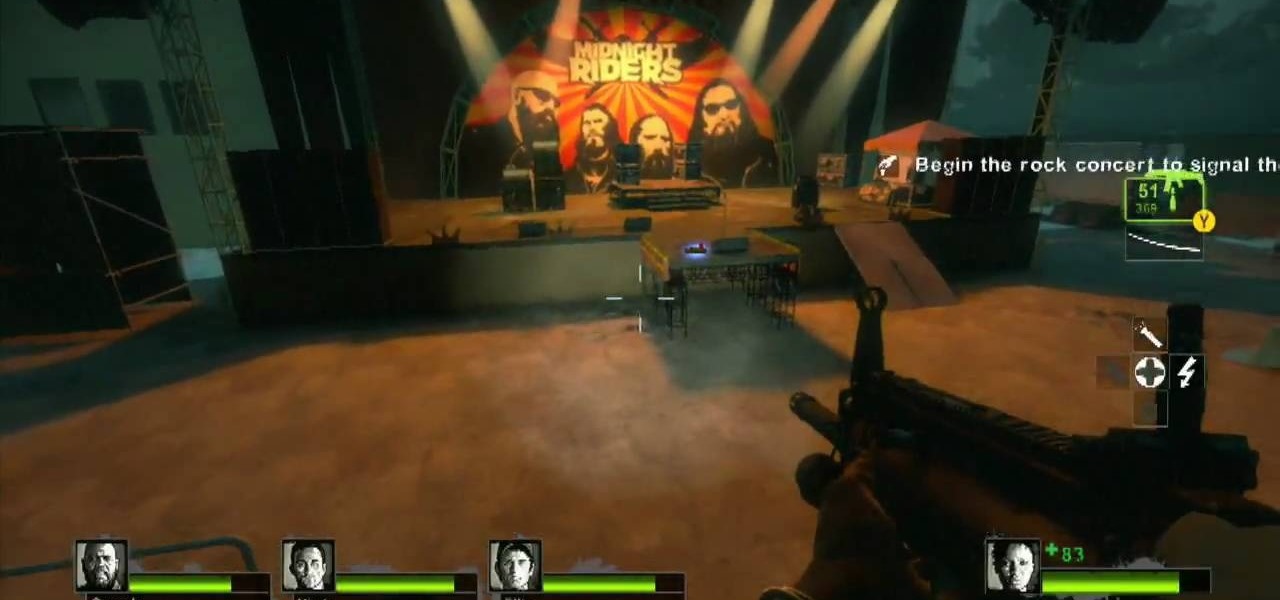
Don't let L4D2 get the best of you. Take control by checking out this video on Campaign 2: Dark Carnival - Concert. Grab your guns and go out the door. There is really only one path to follow, so move right around the venue until you reach the stage. Feel free to use up your ammo as there will be a refill when you reach the end. There are bathrooms to your right and left, but it isn't worth your time to search them. Clear out any zombies in the stage area. You must then flip the switch on the...
Having some trouble beating L4D2? No problem, watch this which shows you around and gives tips on Campaign 2: Dark Carnival - Coaster. Restock your gear and head out the door. If you have any pipe bombs or pick up any throughout the level, try and save them for the roller coaster chase sequence at the end. Climb up the stairs and continue forward until you reach the swans at the start of the ride. Turn right, and follow the water pathway forward. You can safely ignore most of the tiny backdro...
Prepare to delve into the world of L4D2 and check out the gameplay for Campaign 1: Dead Center - Streets. Stock up and open the safe house door. You should see a bunch of infected milling about here. Kill them and make your way straight up the hill past the port-o-potties. Turn right at the fence and take the street down. Watch out for zombie attacks from the walls to the left and right of you. They will drop down from above. Duck into the building on the right when you reach the fence at the...
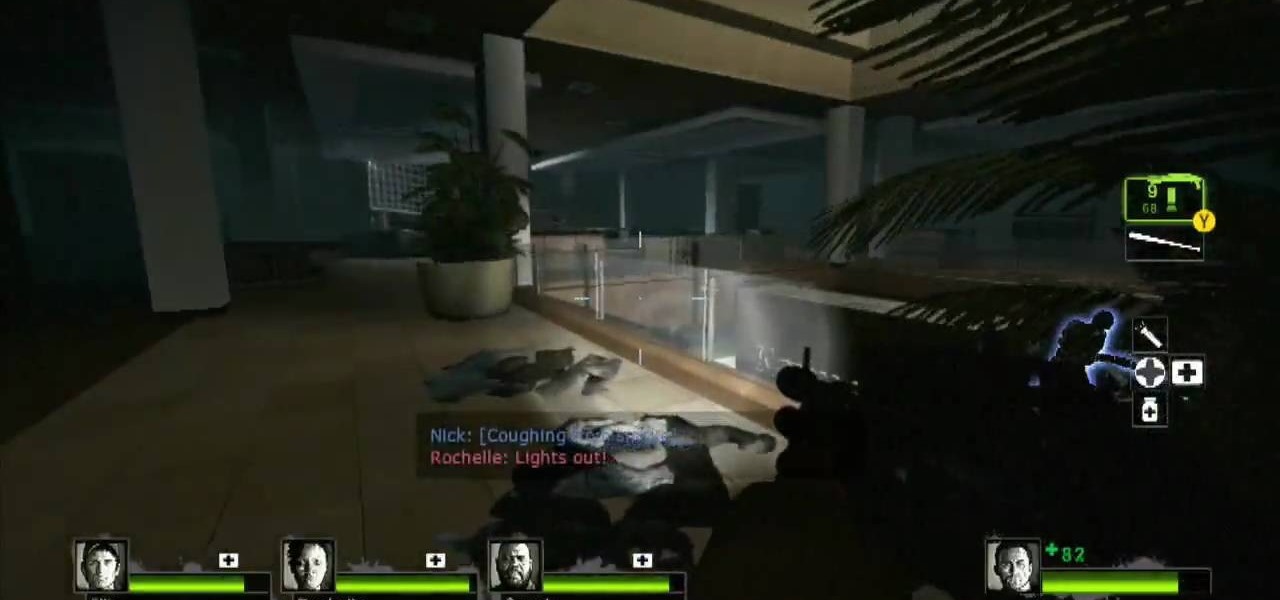
L4D2: One of the best horror video games of all time. Check out the tips and gameplay for Campaign 1: Dead Center - Mall. Restock on supplies and head out of the safehouse. Feel free to kill any zombies trying to reach in the door before you unlock it. Hang right and make your way up the giant escalator in the middle of the floor. Loop around and exit Kappel's department store. Go down the first escalator you see. Watch out for zombie attacks from the floor above. They will jump down and catc...
Learn about the L4D2 gameplay for Campaign 1: Dead Center - Atrium. Get the goodies and walk out of the safe house. Turn right and go down the hallway, making another right through the door at the end. You will find yourself back in the mall. Continue on the makeshift walkway, bearing left at the end until you reach an elevator. The blue door across from you is a dead end. For more info, watch the whole gameplay.