This video shows us how to burn files to a disc using Windows Vista. Insert the blank disc in your computer's recordable disk drive. Autoplay will automatically appear. Choose "Burn Files to disc using Windows". Click next when "Burn a disc" dialog box appears. Empty folder window appears. Choose files that you want to copy and drag them to the window. For example, if you want to copy a photo, click Start menu and open the Pictures folder. Select photos and drag them to the window. Photos are...
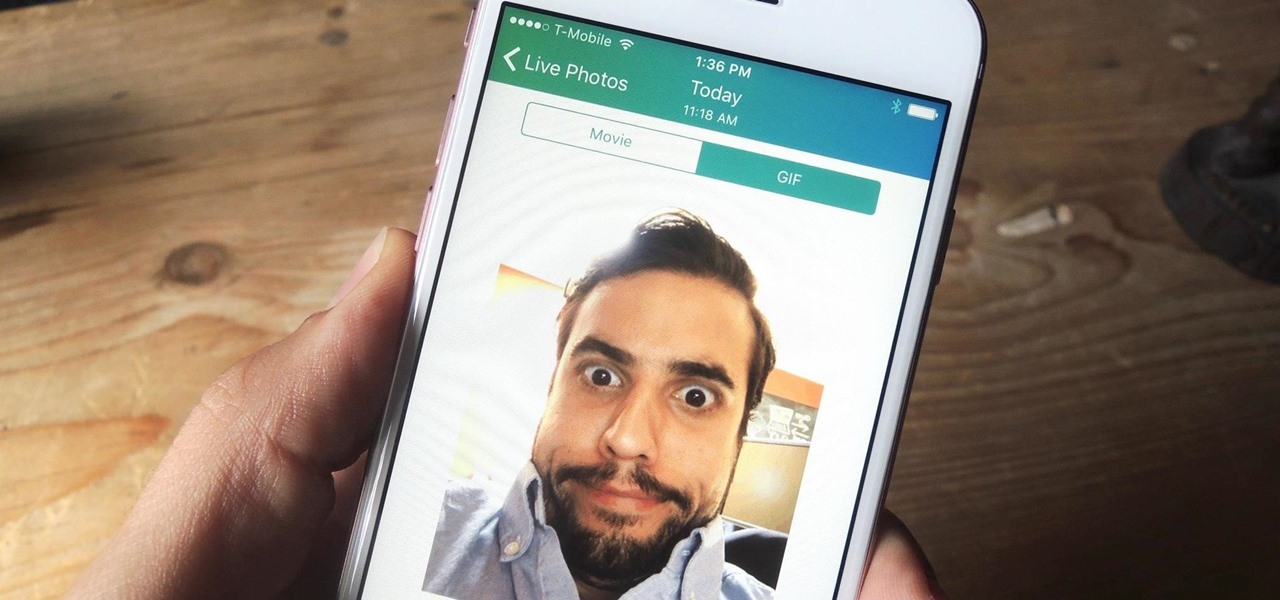
Live Photos is an interesting new feature introduced by Apple on the iPhone 6S and 6S Plus models that captures the moments immediately before and after you snap a picture in the Camera app, resulting in a GIF-like animation.
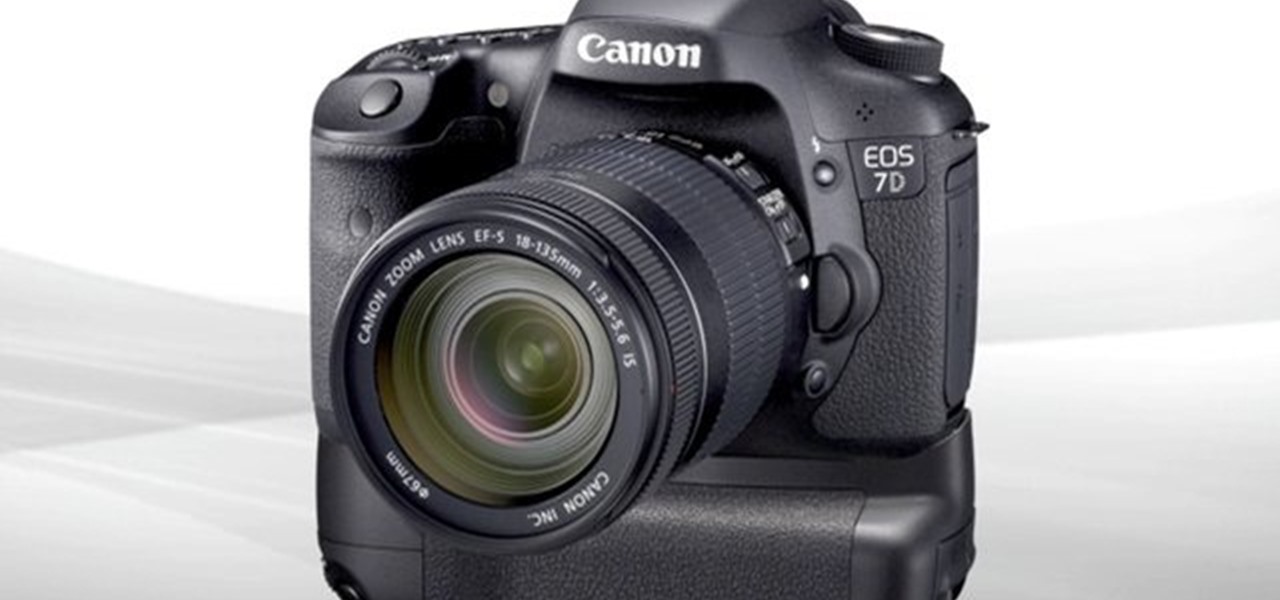
You can easily share and transport your photo and videos on the Canon EOS 7D by using the wireless file transmission option. See exactly how sharing and downloading your files to computers and other devices works in this video. When the digital SLR camera is combined with the WFT-E5A Wireless File Transmitter, transmitting is easy.
All you science and astronomy nuts out there, pay attention, this detailed video tutorial series will tell you everything you need to know about capturing digital photos with the Meade Deep Sky Imager. The universe is out there, and you can take a picture of it.
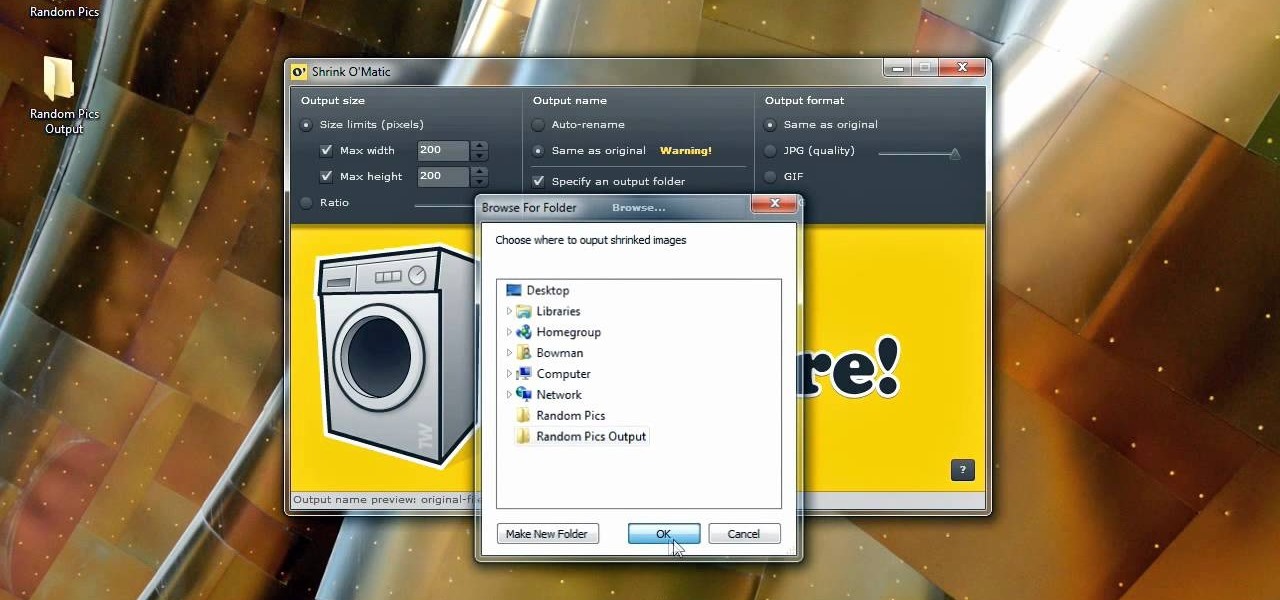
Bowman shows you how to resize your photos using Shrink O'Matic. Resize your pictures by doing the following: Open Shrink O'Matic and choose your settings, for example output size, pixels, ratio, etc. Highlight the pictures you wish to resize, and drop them into Shrink O'Matic. Open the Output Folder and you will be able to see the images in their new file size.

Here's a demo which shows a way to produce WAV sound files with TEXT using Photoshop or any photo editing software.

In most cases, when you create a movie project in iMovie for iPhone, you're starting with just a few media clips. There's no reason to select every photo or video at once, and that's likely a hard task anyway. Adding additional media footage to your movie project couldn't be any easier, especially when it comes to photos.
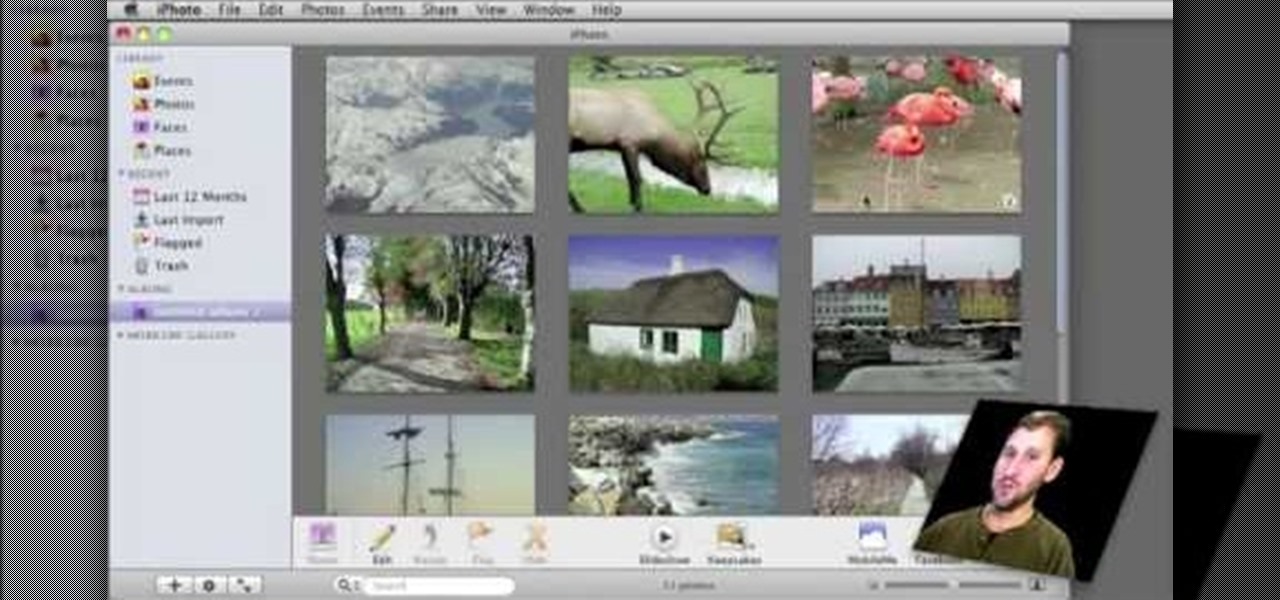
In this video, we learn how to use iPhoto Smart Albums. These are useful for organizing your photos to see what you have. First, create a smart album on the file menu, then name it and go through the drop down menus to choose how you want to categorize your pictures. Choose the type of camera model you used, then you can see what photos you have that are taken with the type of camera that you used. This is very easy if you have a lot of photos and want to go through them easily. It also separ...
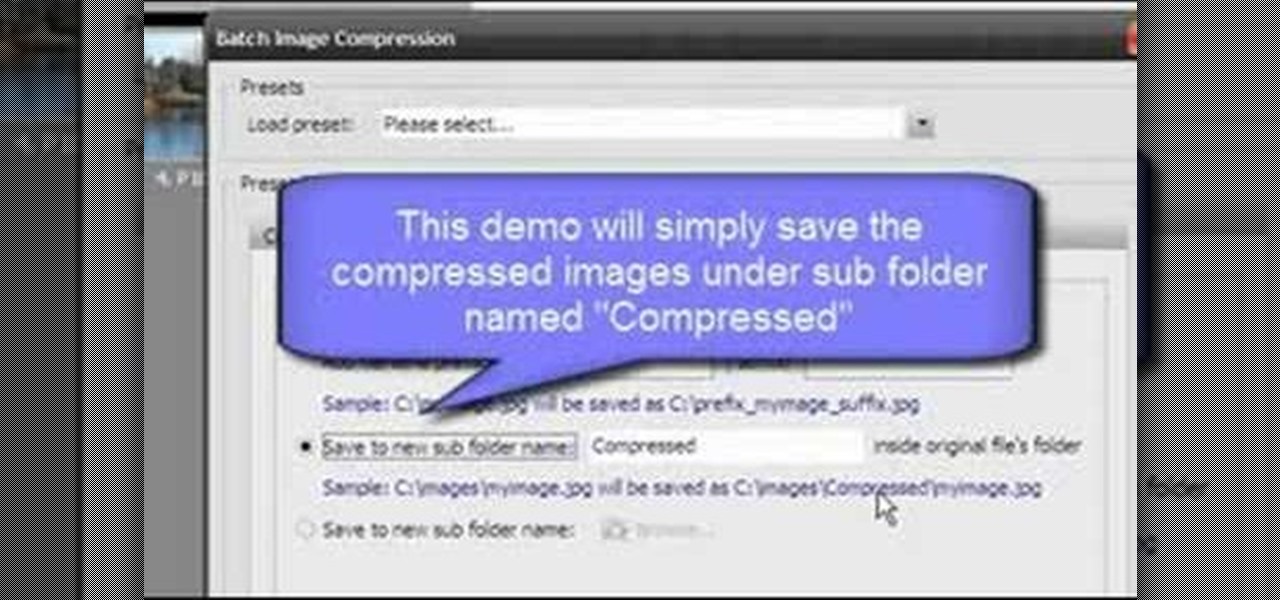
Open Image Compressor 2008 and go to the Image Tray. Pick the images you want with the image selector and click on them to add them to the Image Tray. If you want to add every photo in a certain folder, you just click on the Add All button. Once you have the photos you want, you can batch compress them. You can go to File>Batch Compress to start the process, or just click on the Batch Compress button in the toolbar. Then, pick the compression options you want, or edit the images. You can also...
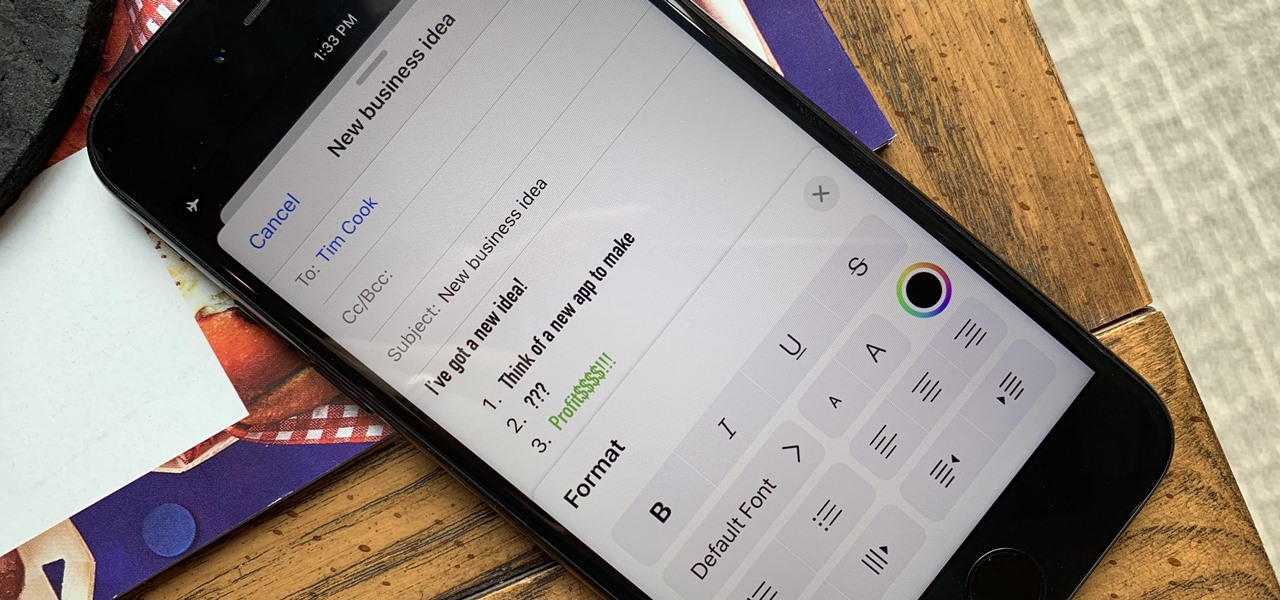
Let's face it: Most people, even our friends and family, find it pretty boring to open emails with huge photo files attached to them. They're bulky and take forever to load.
Learn how to get started in Photoshop Elements by importing digital photo files from your files and folders or off of CDs.
Although Mail didn't get a massive update in iOS 13, the new formatting and attachments toolbar makes it easier to stylize your messages and get quick access to files you'd like to send. It even includes the excellent document scanner built into iOS, so you can use your iPhone to turn a physical document into a PDF and attach it to your message — all from within the Mail app directly.
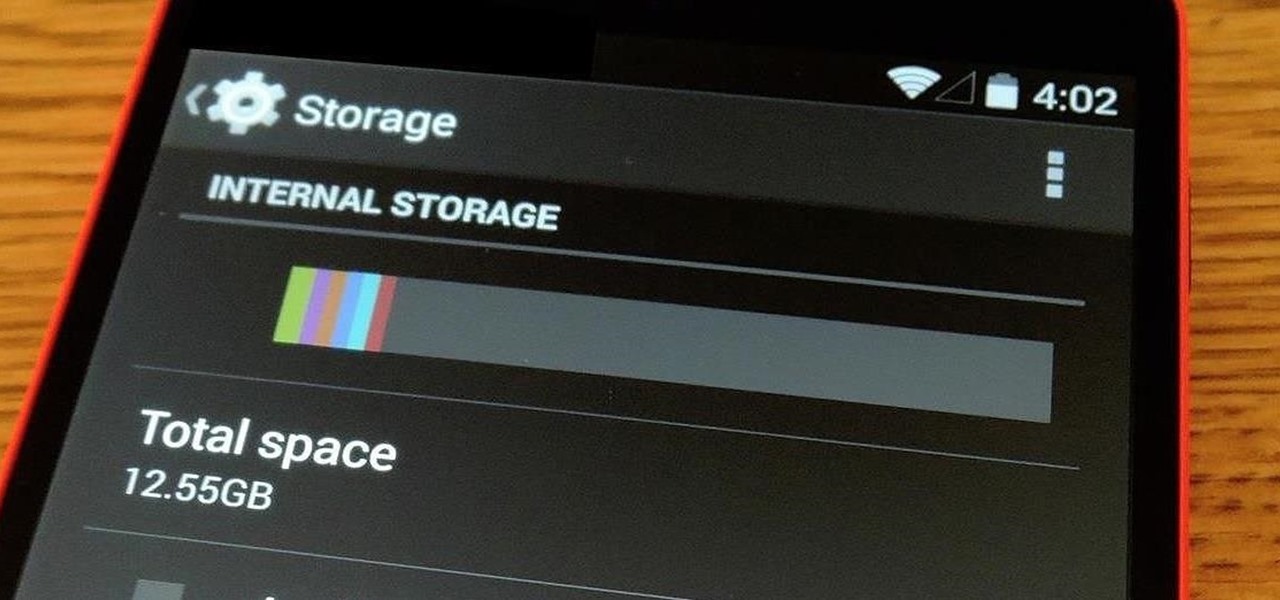
With apps and games getting bigger and more memory-hungry every year, storage space is at a premium. High-definition videos and photos of innumerable pixels certainly don't help the matter, either.
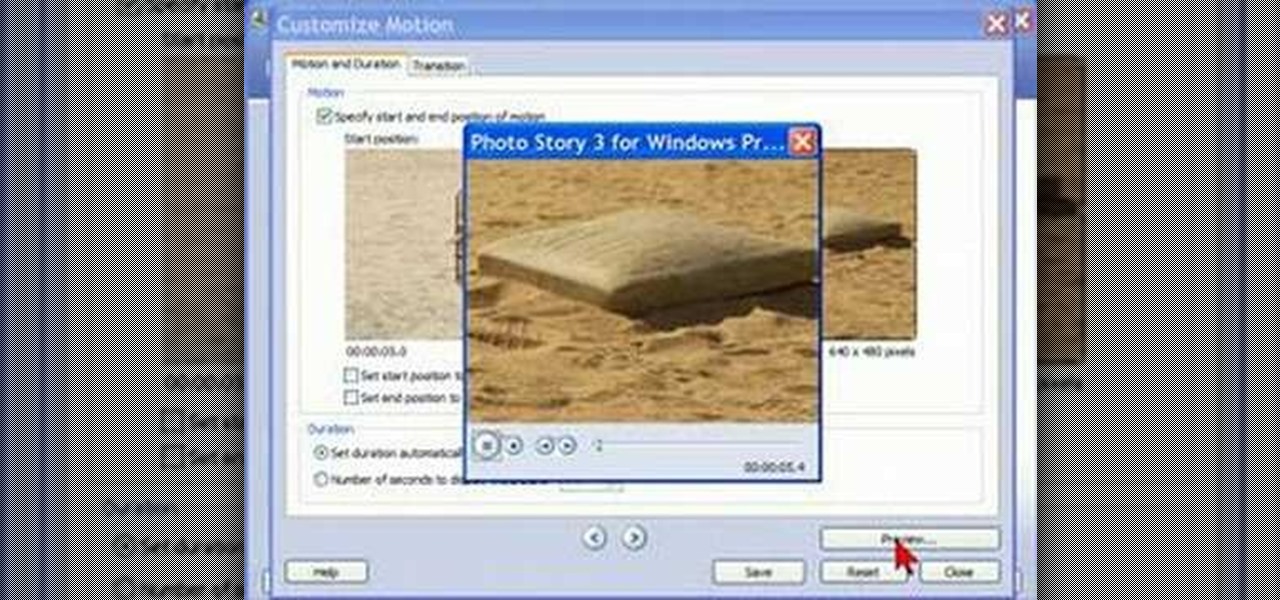
Bill Myers shows how to use Microsoft Photo Story 3 for Windows to quickly create videos from your photographs. Great for quick YouTube videos, viral videos, and more.
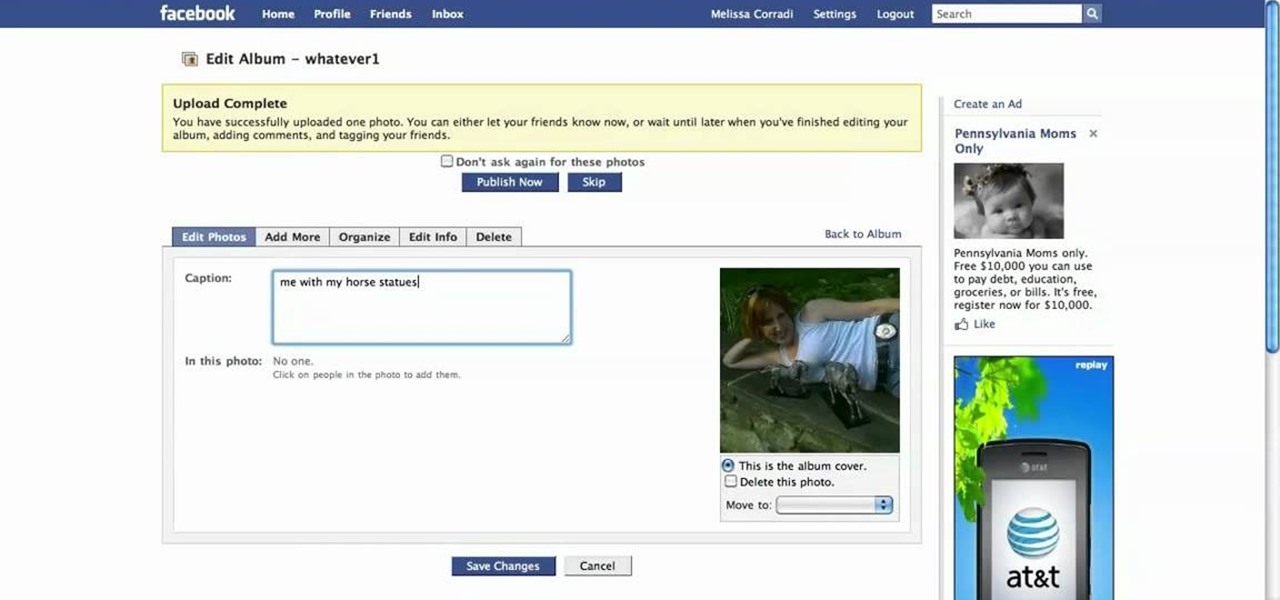
First log into your Facebook account and sign in. Then when you sign in click under your "profile". You will be redirected to another page. This will be your main page, with all of your information that you have put in and what not. Next click on 'Photos'. It will take you to another page. Once in your in there, you will click on 'create a photo album'. You need to name the new album and then create album. Next it will ask the location of the files. It will be located on your computer. Usuall...
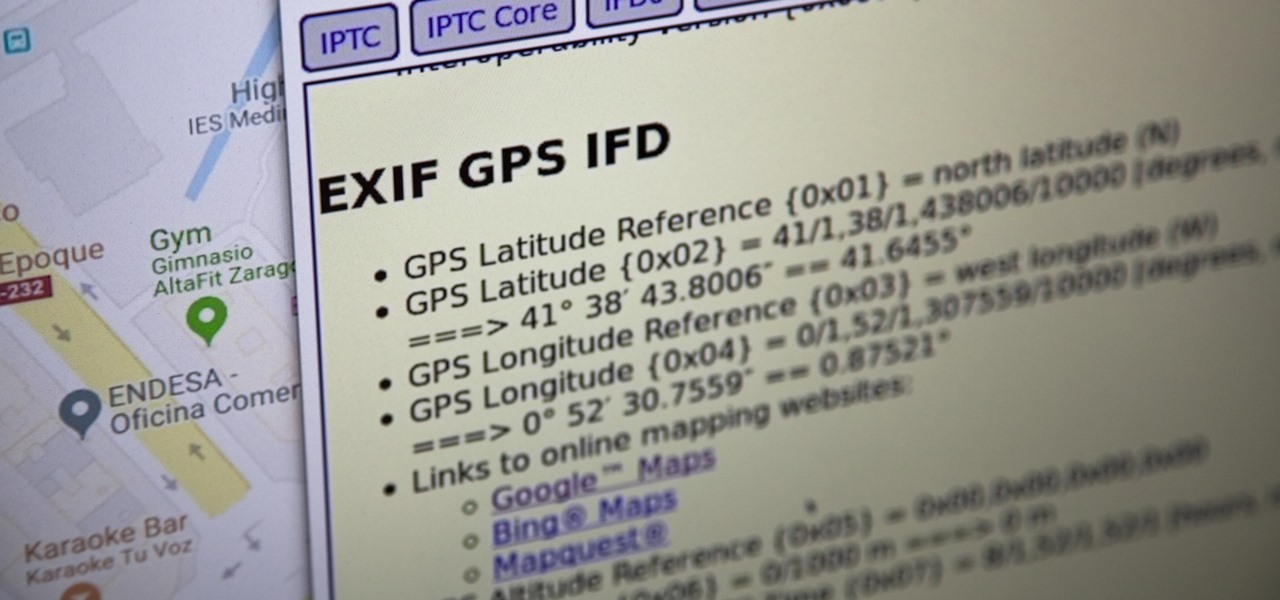
Metadata contained in images and other files can give away a lot more information than the average user might think. By tricking a target into sending a photo containing GPS coordinates and additional information, a hacker can learn where a mark lives or works simply by extracting the Exif data hidden inside the image file.
Remember the live fish wallpapers from iOS 9? They may be a fading memory at this point since Apple removed them all from the iPhone in iOS 11, but there is a way to get those fishies animated on your device again. They'll be live photos for your lock screen, which is as good as it will get until Apple lets us use all its live wallpapers, new and old, one day, which will probably never happen.
Connecting your devices with a cable is the fastest and most reliable way to transfer files between them. Now that most Android devices have either USB Type-C or a Micro-USB port that supports USB OTG, phones are capable of importing media files directly from a camera using a simple (and cheap) adapter.
Sharing files has always been one of Android's greatest strengths. A system of "share intents" allow apps to freely exchange data with each other, making it possible to take a picture with your favorite camera app, then send it over to your choice of photo-sharing apps, for instance.
Thanks to its dedicated ImageChip, the HTC One has one of the best cameras out of all the smartphones currently on the market. Their branded UltraPixel Camera can take full resolution photos while shooting video, has superior auto-focusing, and provides great overall quality for everything from low-light to action shots.
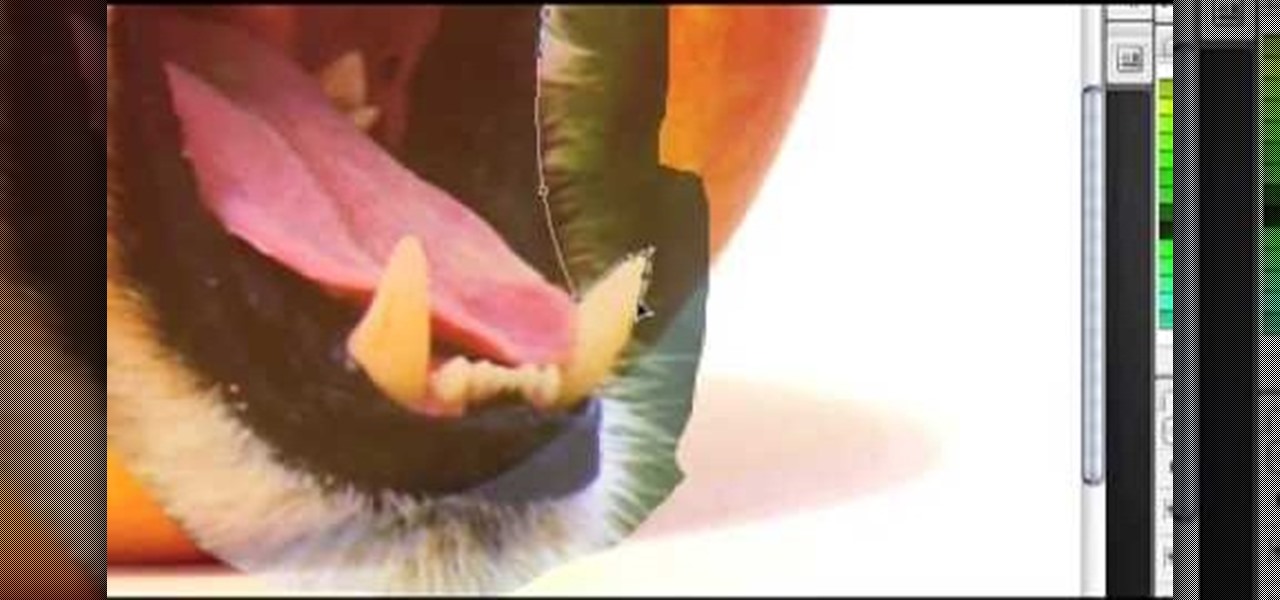
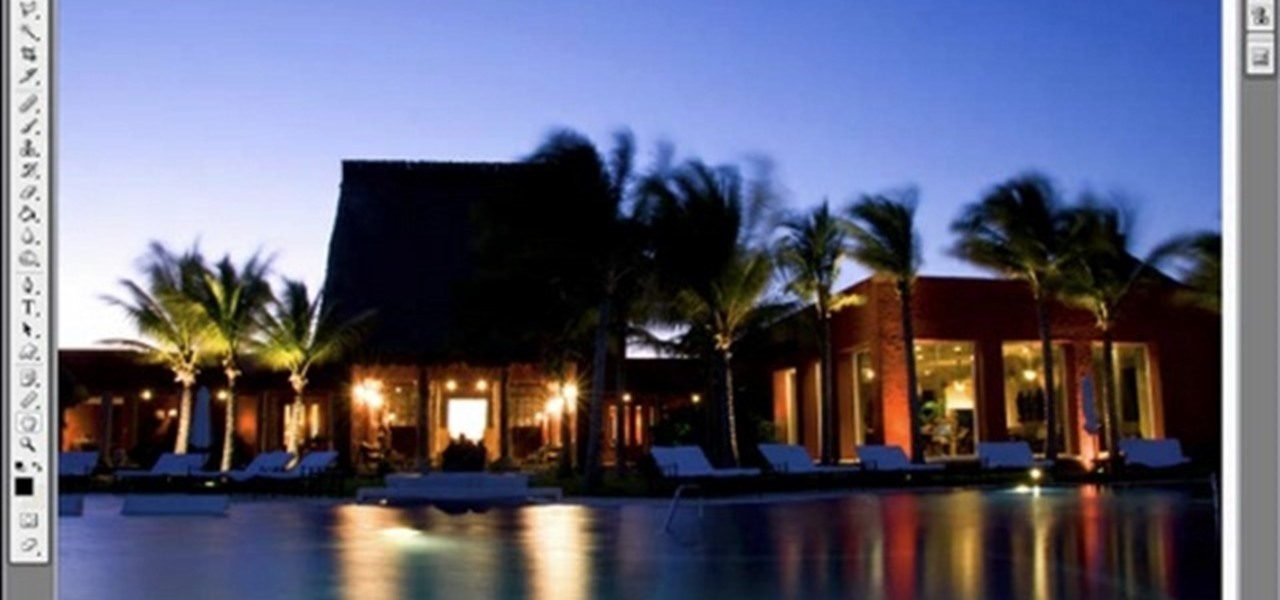
In this clip, learn how to take two totally unrelated images and manipulate them so that you get one crazy new picture. This is a relatively advanced Photoshop tutorial, so make sure you know what you're doing or you might find it a bit tricky. In this particular video you will be adding a lion's mouth to an apple and the files you are using are listed below.
To create a web photo gallery on Photoshop, first go to file show all menu items if you have then automate go to Web photo gallery then to changes the styles click on the style to see them the description on thee right then set up email address after Source images on (use) choose a folder, click all sub folders if you do not have any sub folders in Your folder. Go to options select one that you choose then click OK then in Photoshop it resizes all photos quickly after open up a web browser an...
Got a digital camera, but no idea how to share pictures with friends and family? Try the photo-sharing site Flickr.
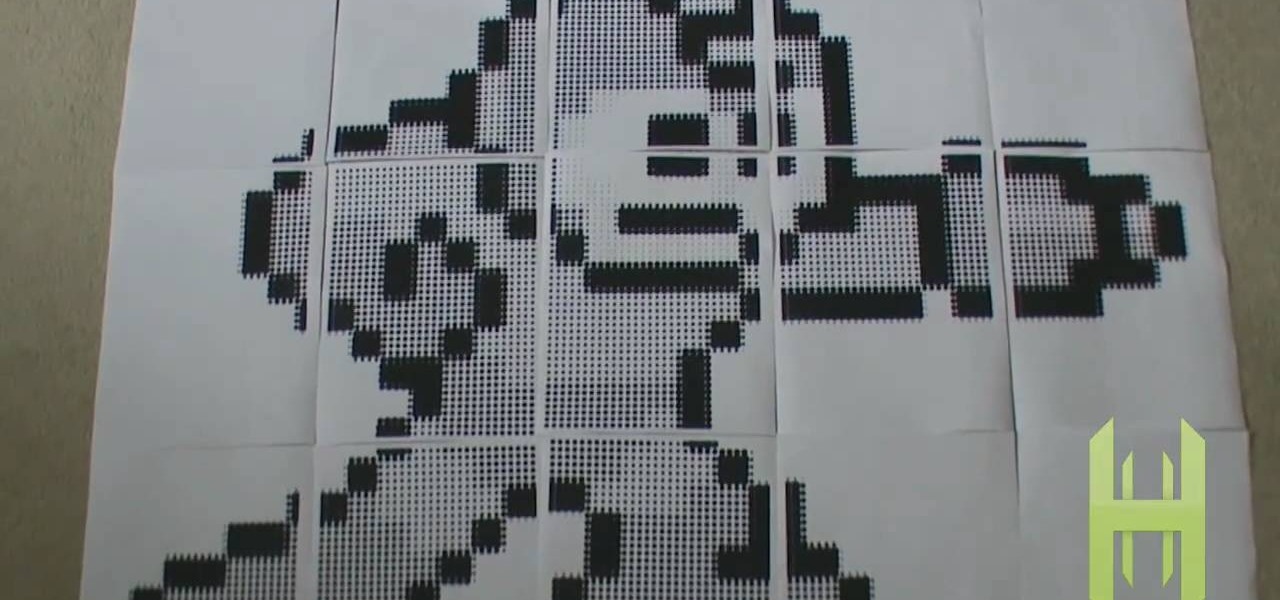
Empty walls? This is the perfect solution. The Rasterbator creates huge, rasterized images from any picture. Upload an image, print the resulting multi-page pdf file and assemble the pages into extremely cool looking poster up to 20 meters in size. Rasterbating is when you make a photo out of several photos.
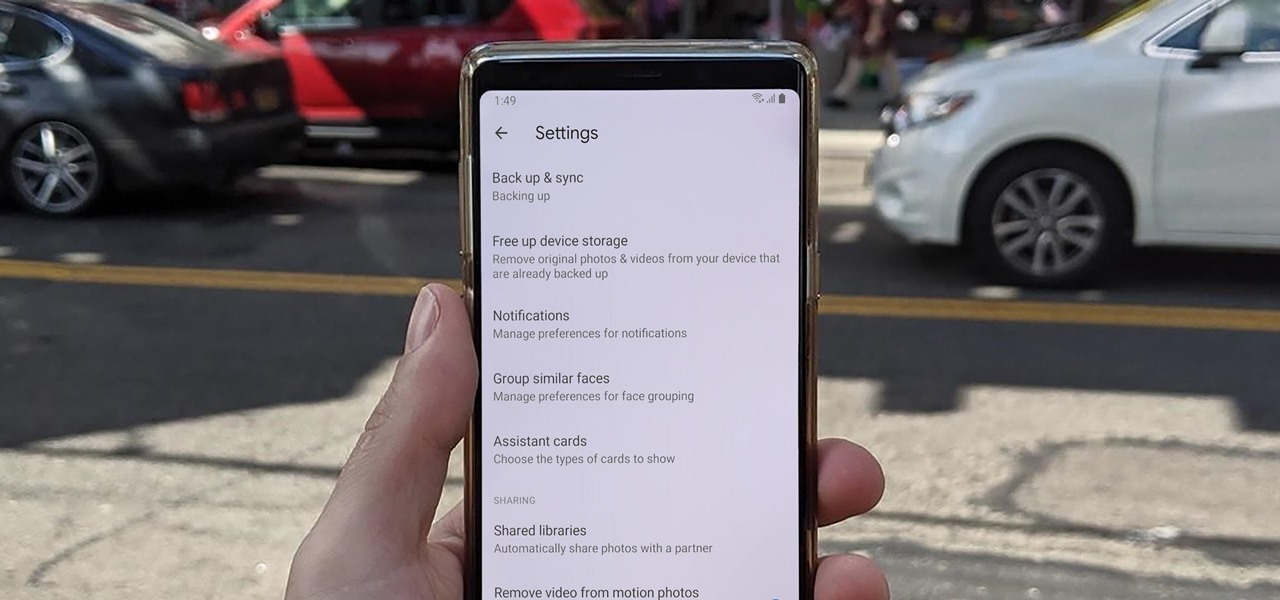
Sharing pictures from Google Photos by sending a link saves time because you don't have to download the image from Google, then reupload it somewhere else. But anyone who has your link can access your pictures, and baked into every file is metadata that you may not want prying eyes to know about.
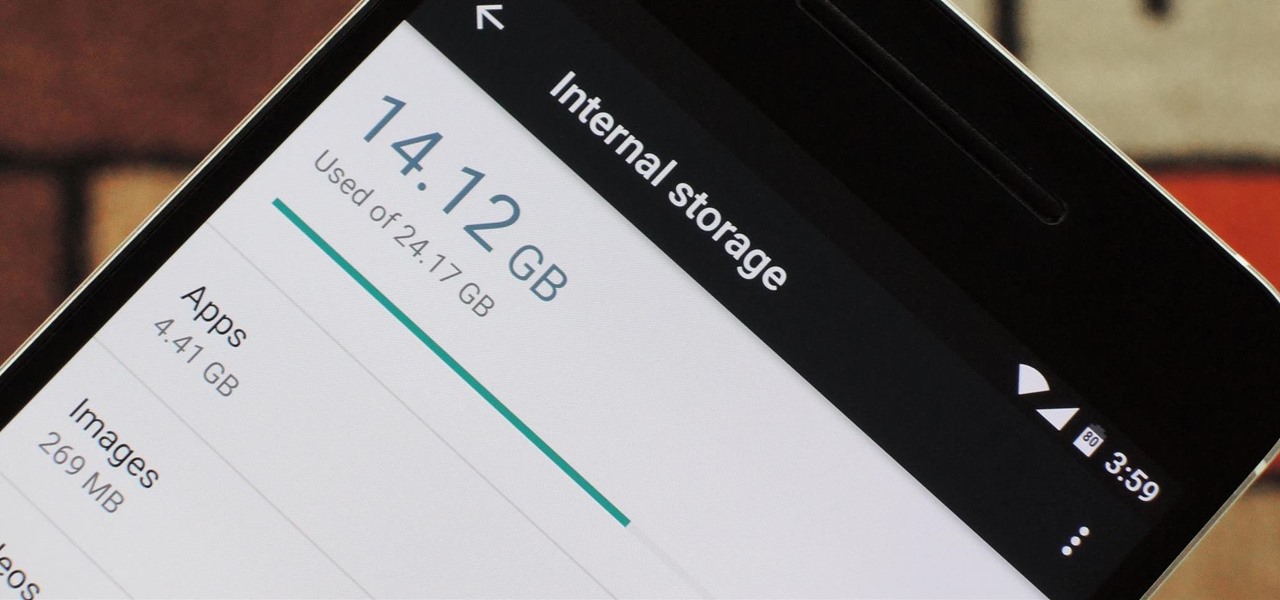
Fewer and fewer Android phones are being released with SD card slots, so it's always a struggle to make sure you have enough free storage space for your photos, videos, and music. Things like app data and cache slowly build up as you use your device, which means your available storage number gradually decreases over time.
In this video, we learn how to customize slideshows with titles using iMovie. First, find the photos that you want to add. Then, right click on one of the photos and then choose "show file". Now you will have a selection of all the photos that have the same search name. Drag these pictures into iMovie, then wait for the program to finish loading. When it's loaded, you will have the picture in a slideshow. You can add in any effect you would like to the pictures, or just leave them normal. Whe...
This Software video tutorial shows how to create scrapbooks in Photoshop. This video is presented by Ash Davies from PhotoGuides. This tutorial has 4 components including how to tear the paper, how to add sticky tape, how to hand draw and how to spill ink. To complete this tutorial you will need to download the Paper file and the Sticky Tape file from PhotoGuides. It is available to all members. Open up the paper fie in Photoshop. Open the photos you want in your scrapbook and drag them onto ...
Buying a digital camera doesn't mean your old prints, slides, or negatives are obsolete. You can easily convert them with a scanner to bring them into the 21st century. Watch this video to learn how to convert photos to digital.
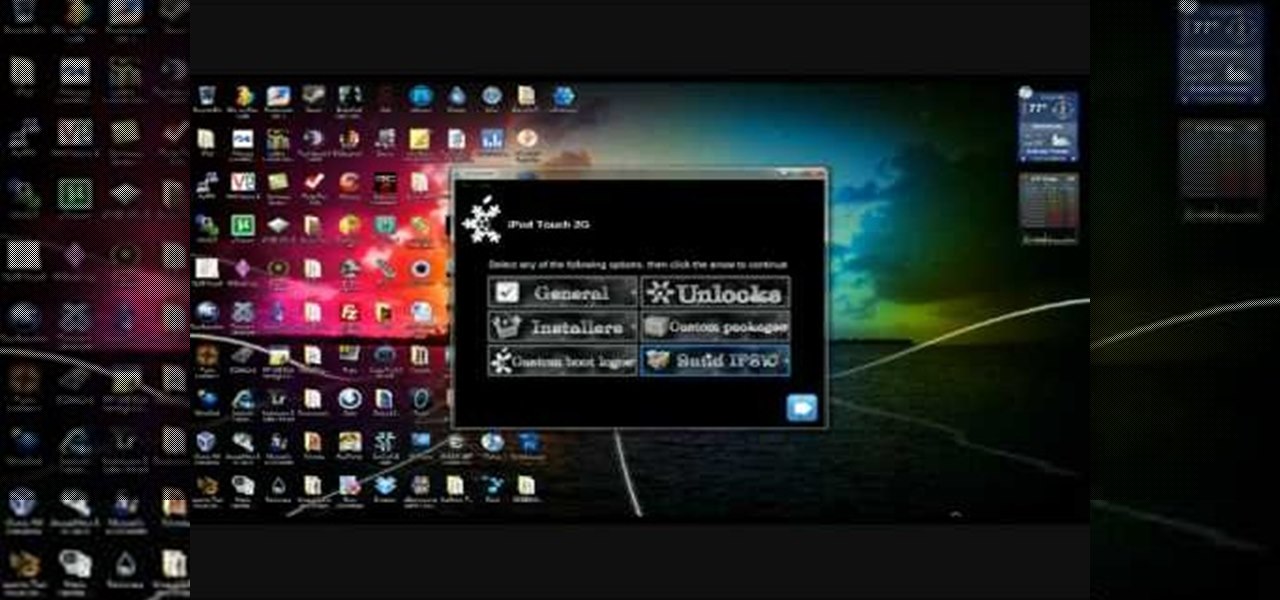
In this tutorial, learn how to jailbreak your new iOS 4 on your iPhone or iPod. This jailbreak will let you take advantage of cool new features including the huge app superstore: Cydia. Enjoy!
The rumors are flying everywhere about the Samsung Galaxy Note 2 getting updated to Jelly Bean 4.2, but as of now, we have no freakin' idea when. Among all of the features sported in the update, Photo Sphere is one of the more popular, allowing you to snap incredible and immersive 360 degree photographs. So, until that update comes, you're probably still marooned with Jelly Bean 4.1.2 on your Note 2, and that means no Photo Sphere camera.
Flickr is the most known and dependable photo sharing website to date, so if you haven't made an account yet, you better now, if you want to share your precious photos with family, friends, and even the whole world! Flickr allows you to store digital photographs online and share them with other people.
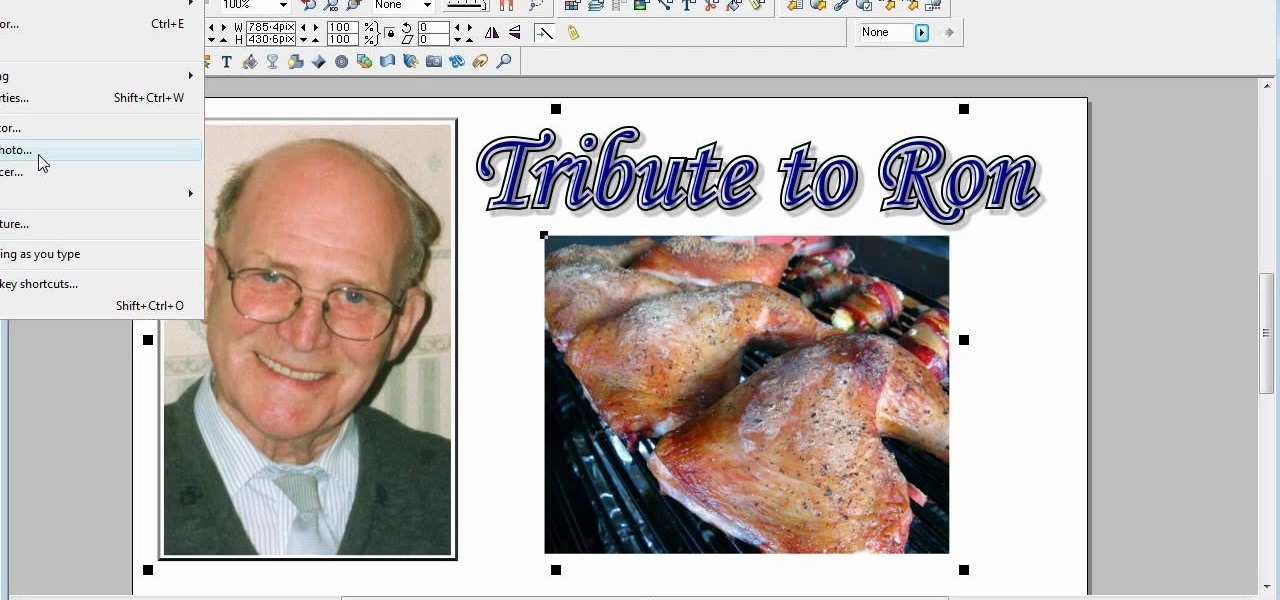
This is a video tutorial in the Software category where you are going to learn how to optimize photos in Xara Xtreme / Xara Web Designer. This is really very easy and simple to do and takes practically no time. Open up Xara Xtreme and go to the object gallery and select a photo that you want to work on. You can now resize the image by simply stretching or shrinking it in any direction. You can also drag and position the image at any part of the canvas that you desire. You can now go to file a...
This tutorial will focus on how to use the fit image function within Adobe Photoshop. You will utilize this function when you want the pixel width to match between different sized photos in portrait and landscape. First you will select all the photos (you must create a batch action in Photoshop). Next select the fit image option in the file menu under automate. You will need to put the same number into length and width to constrain the proportions of your landscape and portrait photos have th...
This video shows the method to recover deleted files in Ubuntu using Testdisk. The demonstration is done by deleting a set of pictures and recovering them later. The test disk is installed at first. Then we click on the terminal icon and go to the list options available. These include selecting the list of drives available, partition table type and the type of file system in the original photos. Then the system asks you to select the part to be analyze and destination folder. The tool then re...
Interested in animation? Let's animate some photos with Adobe ImageReady. First, put all pictures in a single folder. Open ImageReady and import the folder with the pictures. The photos will be arranged in the timeline but they play too fast. You can adjust the timing of each picture which has an icon under it. To save it as a gift file, click Internet Explorer on the toolbar. Then right-click it to "save picture as" and save it. It will help you in making slideshows/presentations.
Ever hear of SmillaEnlarger? It's a small graphical tool (based on QT) to resize, especially magnify bitmaps in high quality. Check out this video tutorial on how to back up and restore data easily on Ubuntu Linux.
Here’s a video on how to process your panos in Lightroom. Learn how to take those raw files and process them with a panorama in mind (it’s really a lot like processing a regular photo with just a small change at the end). We’ll process them in Lightroom and then take it through the Photomerge feature in Photoshop to finish things off.
Over the last few years, Apple has significantly improved and scaled up your iPhone's ability to edit photos. Using the Markup feature, which was introduced back in iOS 10, you can add doodles, highlights, important text, your signature, and arrows and other objects onto pictures and screenshots. One of the lesser-known tools in Markup lets you zoom into essential details without cropping.
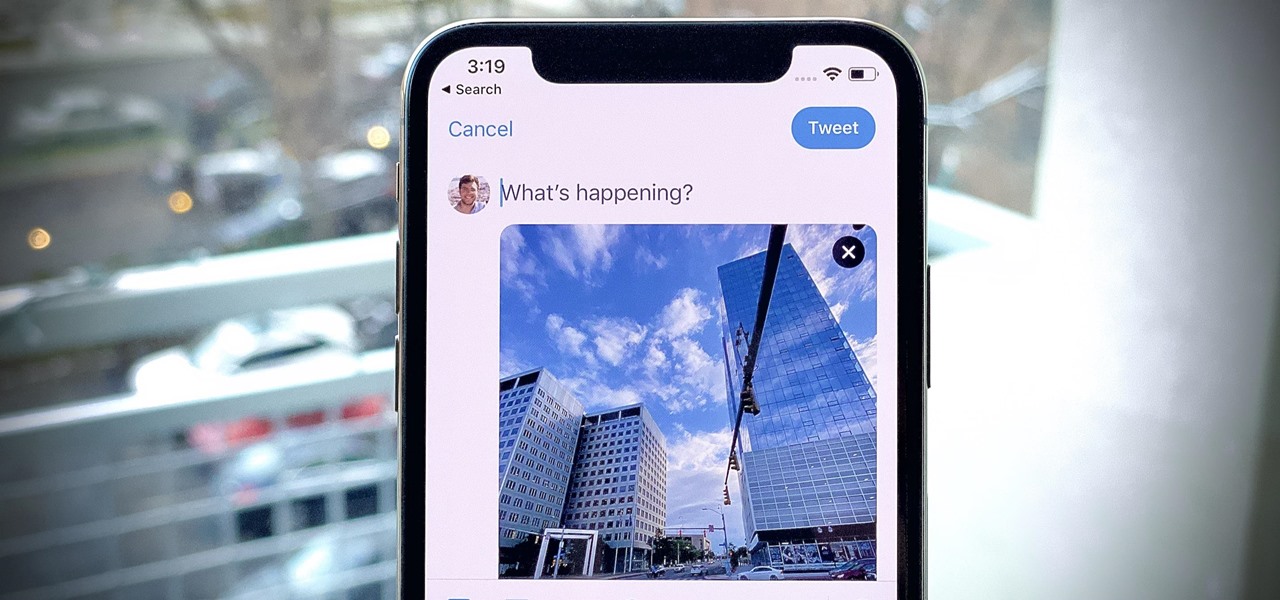
While Apple's Live Photos feature was introduced back on the iPhone 6S, the rest of the world hasn't entirely caught up. Many apps don't accept the feature, making it difficult to share your fun memories with friends, family, or followers. You can strike Twitter off that list, though, as the app now completely supports Live Photo sharing.