When you receive a photo or video from a contact in WhatsApp, after you load it, it's automatically saved to your phone's local storage. That means all received content from WhatsApp is visible to anyone who gains access to your default photo gallery. Luckily, there's a new feature available for the Android version of the app that can prevent this from happening.
Personal data is a hot topic right now, and for good reason. Never before has the public been so on edge about how companies use their information. Services like Facebook and Google now allow you to download all of the data each has on file. Soon, you'll be able to see exactly the same for Apple as well.
Samsung has kept us busy with their Android 8.0 Oreo beta testing program for the Galaxy S8, and most recently, the Galaxy Note 8. As the beta continues to receive new updates, stability has improved continuously, and new features keep on creeping in for both devices.
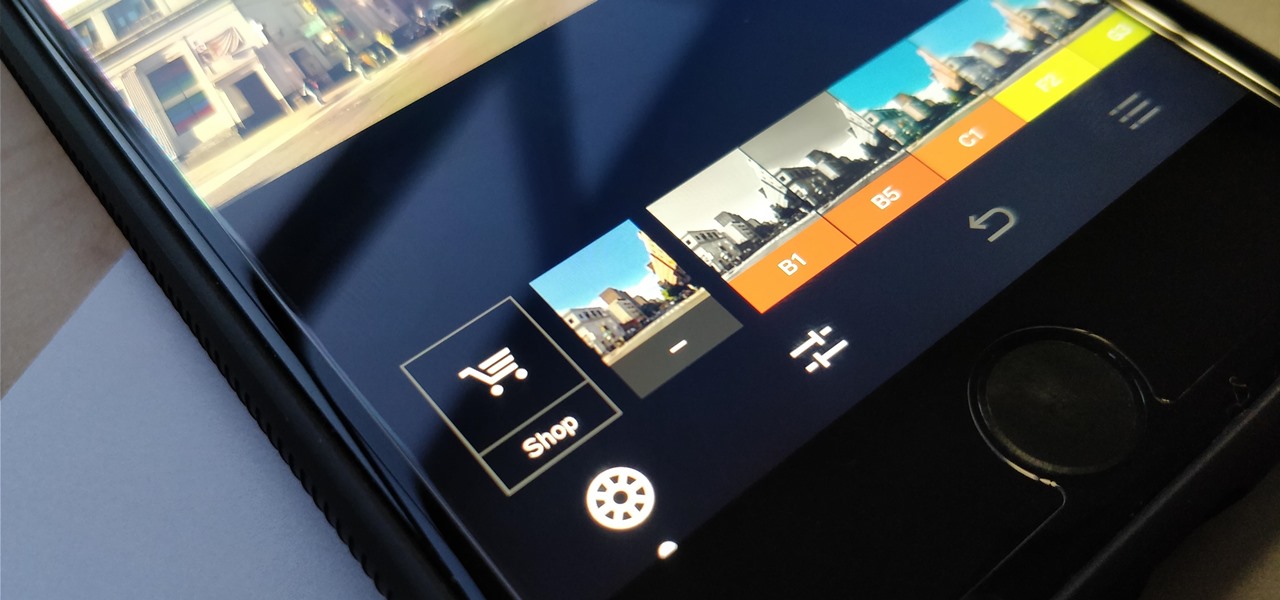
One of the best features VSCO has to offer is its presets, also known as filters — they reduce the labor it takes to make your images look better by applying unique preset edits to each. Presets can make your photo look like it came from a professional studio or a black and white camera from the '70s. Sounds great, right? So, how do you get started?
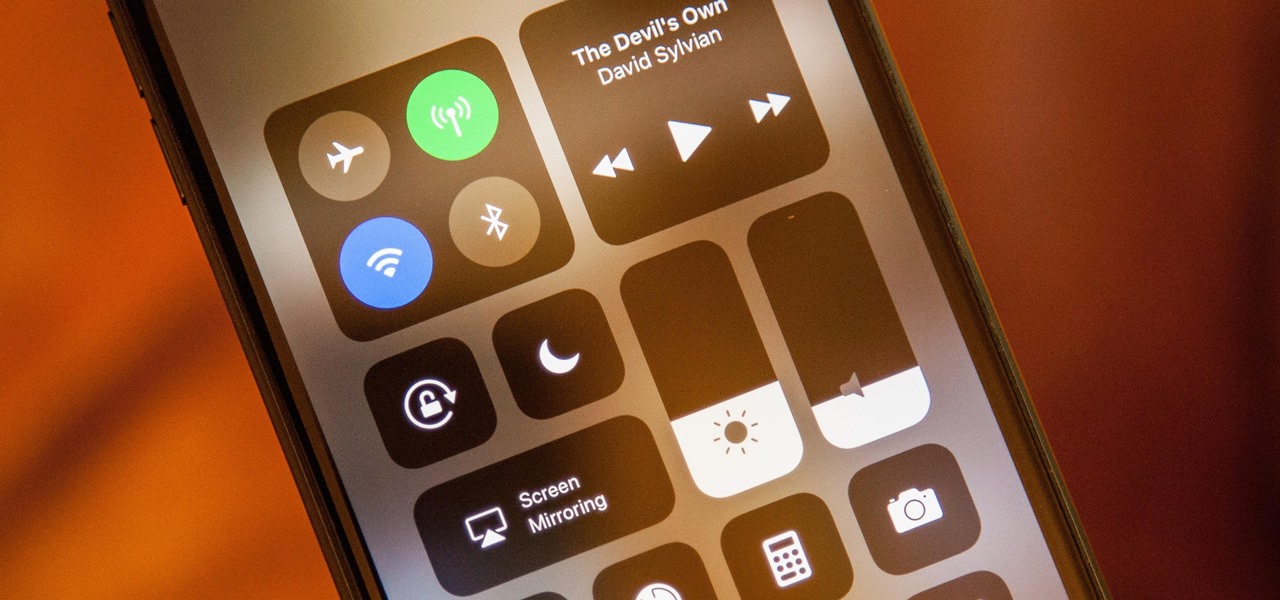
Apple's iOS 11 is finally here, and while they showed off several of the new features it brings to your iPhone, iPad, and iPod touch back at WWDC 2017, they've only just touched the surface of what iOS 11 has to offer. There are a lot of cool new (and sometimes secret) features to explore, so we've collected them all here for you.

While the iMovie application for Mac has a few more bells and whistles, Apple's mobile version of its video-editing program is jam-packed full of features and more intuitive than its big brother. Still, before you dive right in to become a movie editor on your iPhone, it's good to know the basics first.

One interesting feature hiding inside Apple's stock Camera app is a level that helps you take photos of documents and nicely plated food from a top-down perspective. Unfortunately, you'd never know it was there since it's not enabled by default and there is no obvious setting for it.

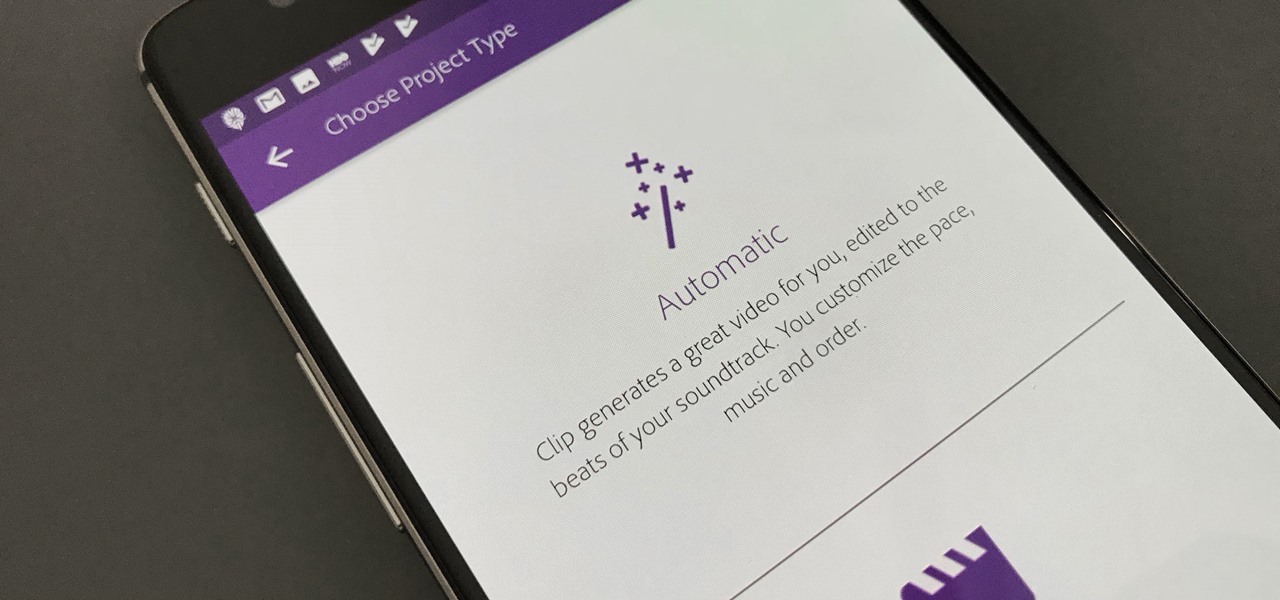
Are you interested in video editing, but have no background in it? Are you looking to put together a short from some clips you've shot, but don't know where to start? You could use iMovie, an application that comes free with every iPhone, but then what would you do on Android? There must be a universal solution that works across both iOS and Android to let you work however and wherever you like.

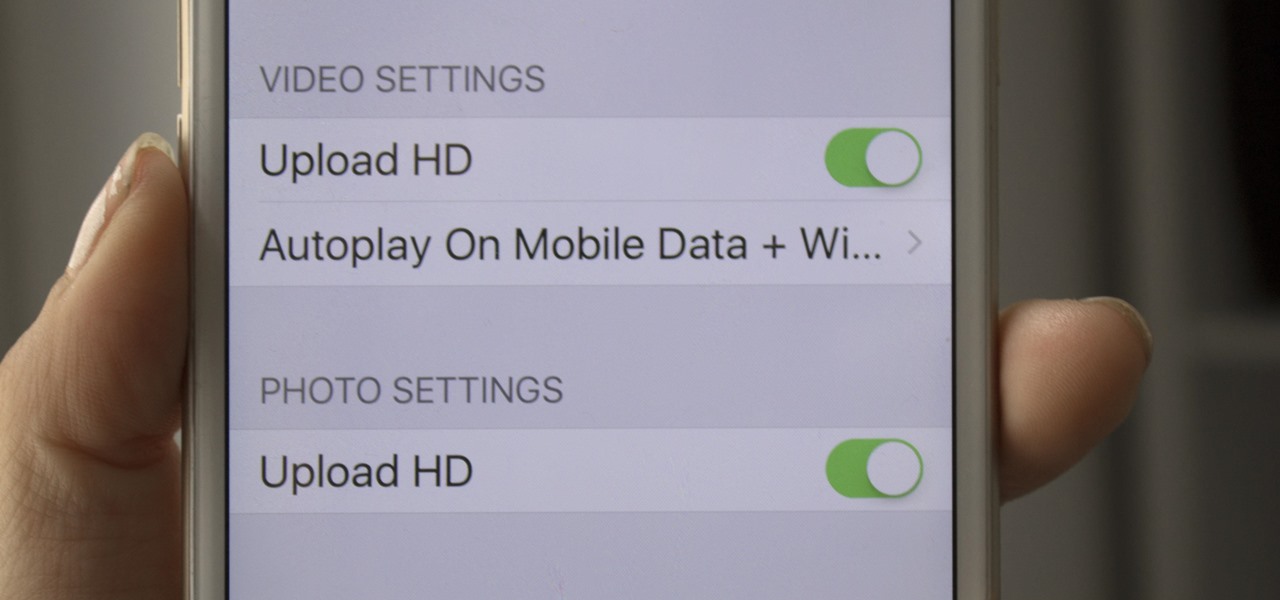
If you are a frequent poster on Facebook, then uploading your photos and videos in HD is essential for your viewers. There's nothing worse than realizing that the Boomerang you just uploaded is grainy and probably won't get any views.

The newest version of Snapseed features three awesome new tools for you photo-editing enthusiasts. The 2.17 update for the editing app was rolled out on Tuesday, March 21, and its new additions are something to behold.

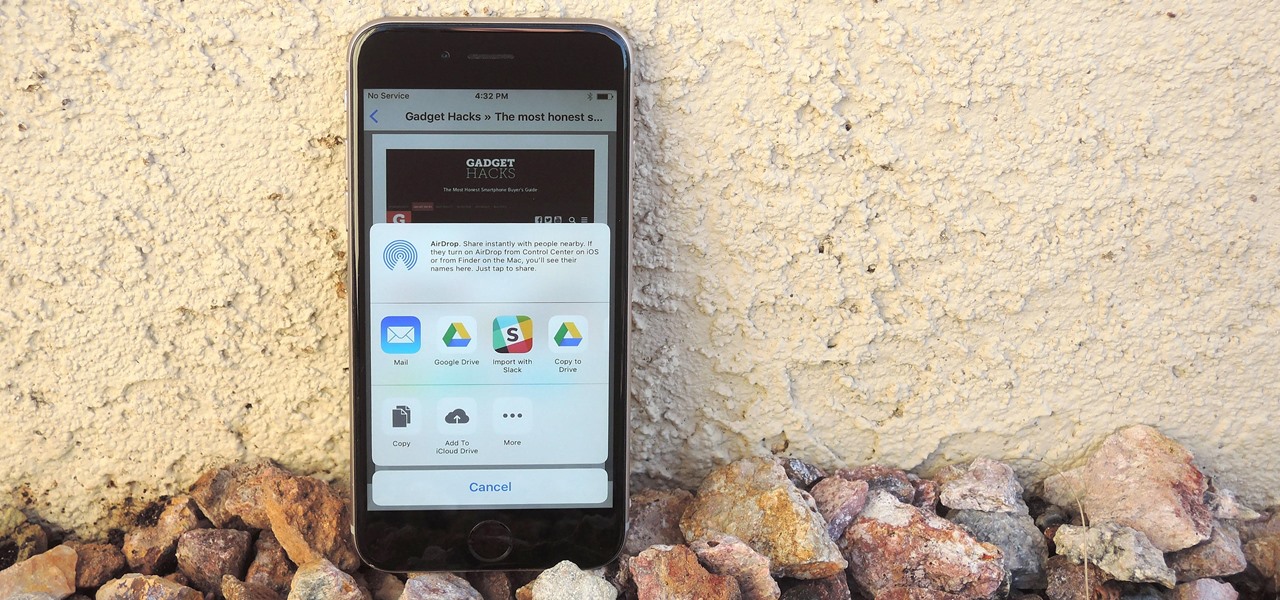
Apple lets you save webpages as PDF files in iOS 10, but the only obvious way to do this is by using iBooks. The thing is, most people would probably rather save their PDFs to a service like Google Drive or Dropbox to make sharing a bit easier. Plus, iBooks isn't officially available for Windows or Android, so there are some cross-platform problems there, too.

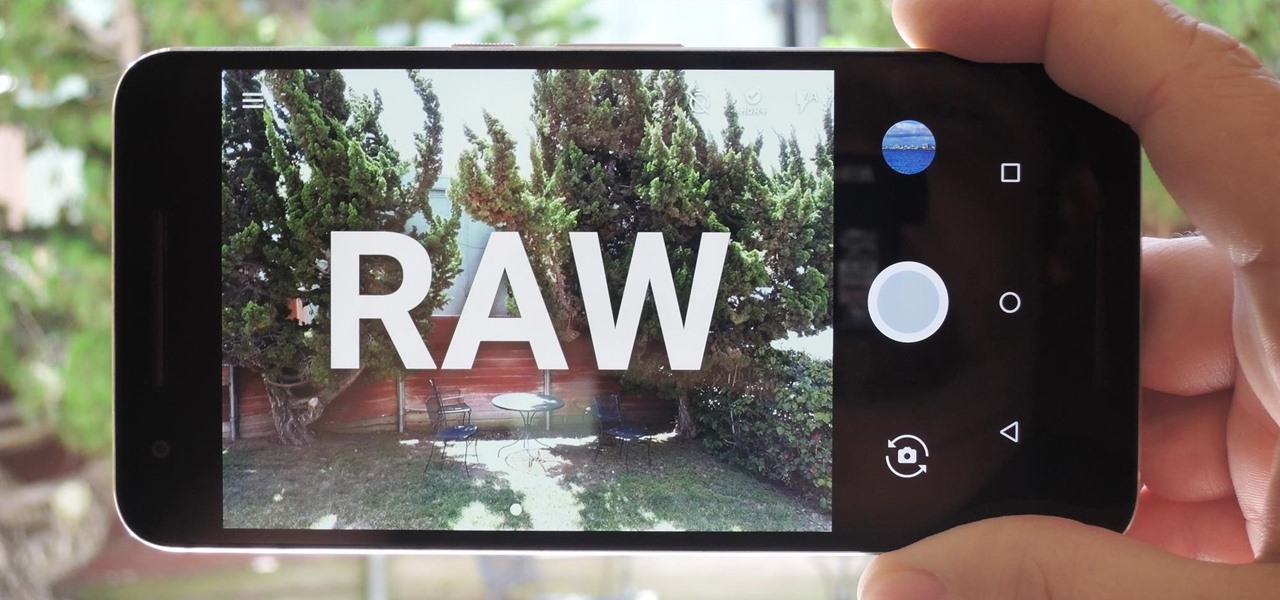
Google Camera, the default shooting app on Nexus devices, is finally getting a feature we've been anticipating for years. As evidenced by a recent APK teardown done by Android Police, the beginnings of a new RAW capture mode have already been baked into the latest version of the app, which indicates that Google Camera will soon have the ability to store an unprocessed copy of the exact image your camera sensor captures.

Accidentally deleting important files can happen as easily as swiping left on something and watching it disappear into the ether. Of course, Apple allows automatic backups through iCloud, which ensures that your data is always stored safely in the cloud in case of emergency.

Microsoft has invested years and countless man-hours in an effort to get their cloud storage service on par with competitors like Dropbox and Google Drive, who have long resided at the top of this market. Their hard work has definitely paid off, as OneDrive (formerly SkyDrive) has finally reached a point in its development where it can stand toe to toe with any comparable service in almost any measurable regard.

It has been a long while since I last came here to write an article. Graduate school keeps you busy. After I looked over what I had written previously, I decided that I should introduce another fun topic from cryptography. In this case, steganography.

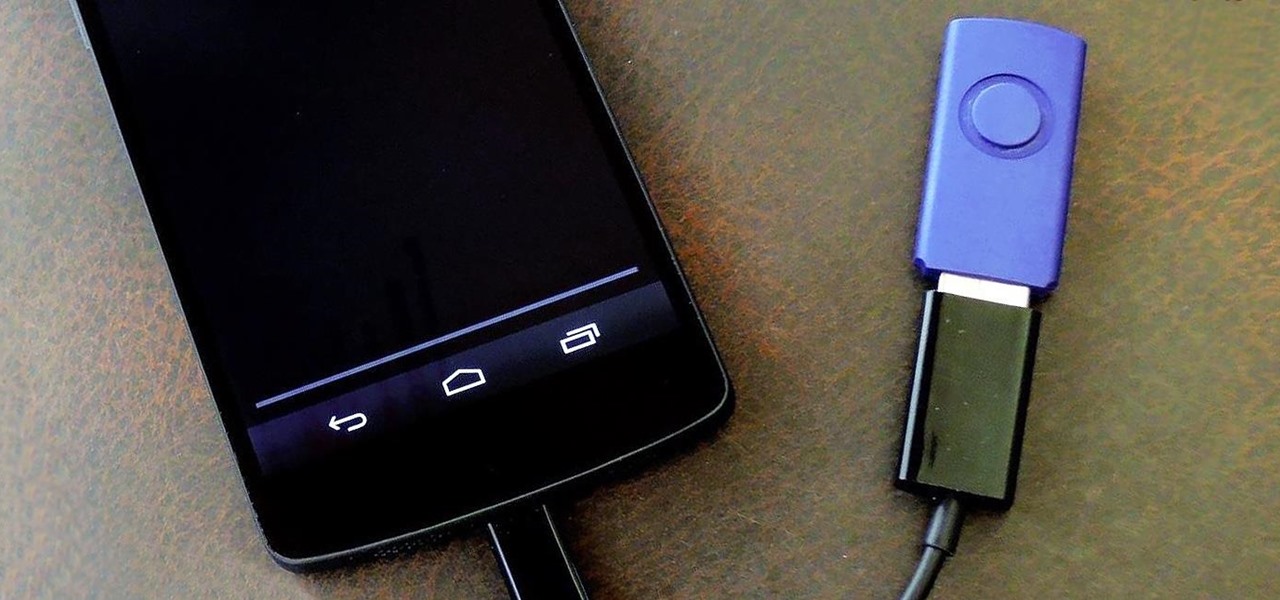
One of the most common complaints about the Nexus line of devices is that they don't have expandable memory.

Update: May 7, 2014: Google's Camera has seen its first update, with a small yet important addition baked into the app—the ability to take pictures while recording a video. Now, when in video mode, simply tap on the screen to take a picture, while your recording continues as normal. The update to version 2.1.042 is set to hit today, but if you haven't yet received it, apply it manually by downloading the apk here.

The ability to see the world around you and instantly share that "vision" is something that makes Google Glass great for everyday use. No reason to pull out your phone to show off the amazing sushi plate you were just served—look at it, give a couple of quick taps and voice commands, and boom, your social network is salivating in jealousy.

Welcome back, my eager hackers! In recent blogs, I've demonstrated how to grab password hashes remotely using Metasploit's meterpreter and pwdump. Once we have the Windows passwords from the SAM file, we can then crack these hashes using tools such as Cain and Abel.

You've probably already figured out that your Nexus 7 doesn't have a rear camera, but that doesn't mean you can't do some awesome things with your tablet's front camera!

Got a Samsung Galaxy Note 2 phablet? Sure, it has its problems like any other mobile device, but it's still one of the hottest phablets on the market right now, because, well... it's awesome, right?

I hate having my picture taken. It's awkward, and I almost always end up thinking, "Is that what I look like all the time?" Most of us think we look awful in photos, probably because we all subconsciously act and carry ourselves a little differently when we know there's a camera on us.

It's been a rough week for Instagram. First they came out with a new terms of service that suggested the right to let companies use people's photos for advertisements without the user's permission. Then everyone started freaking out and debating whether or not to leave the online photo-sharing and social networking service. Now, they've changed the controversial wording saying that the selling of user photos "is not true and it is our mistake that this language is confusing".

Last week, Instagram stopped supporting media Cards on Twitter, meaning that in order to view a full photo shared in a tweet, you have to click through to Instagram rather than seeing it on your Twitter feed. Otherwise, the photo will appear to be cropped.

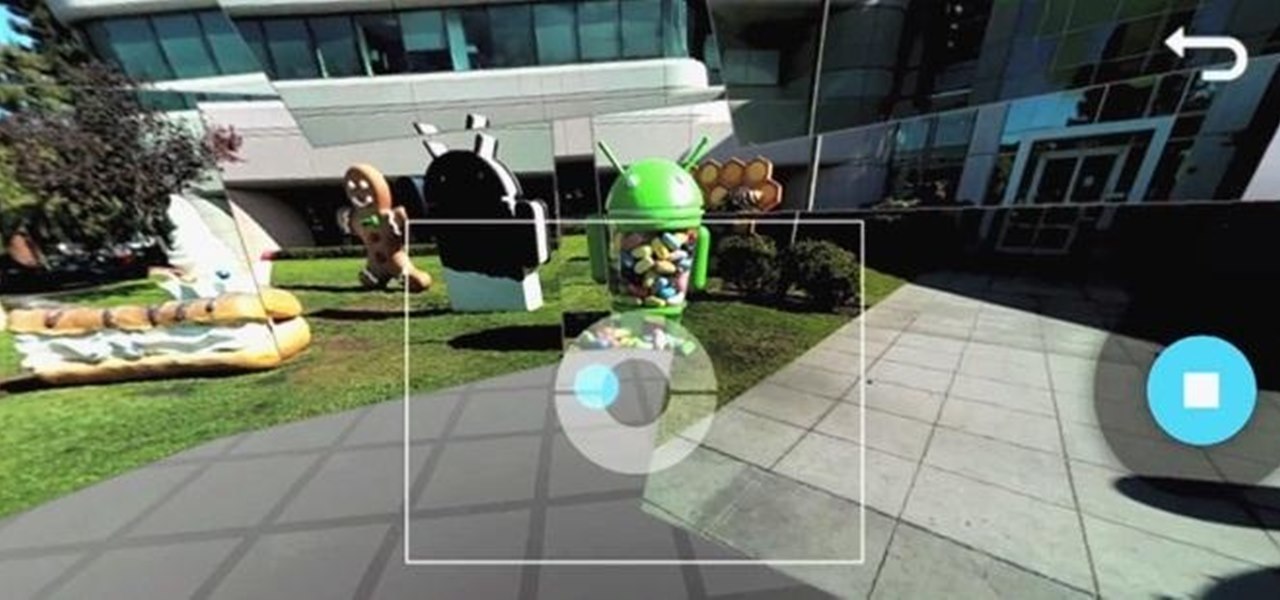
With some Samsung Galaxy S III owners still waiting for the Android Jelly Bean 4.1 update to hit their device, Google has wasted no time in releasing information on their next operating system update—Android Jelly Bean 4.2, which will come stock with the newer Nexus 7 and 10 tablets, and the all-new Nexus 4 smartphone. While the two Android updates are fairly similar, one of the big features in Jelly Bean 4.2 that sets the two apart is the new camera application, which has a feature called Ph...

This crafty project is inexpensive, it's easy to do and it's really handy for attaching things like letters, photos and to-do lists. This isn't like a cork memo board, because you won't need any push pins or cork pins! Watch and learn how to make this French memo board. This is the pretty alternative to drab store-bought memo boards.

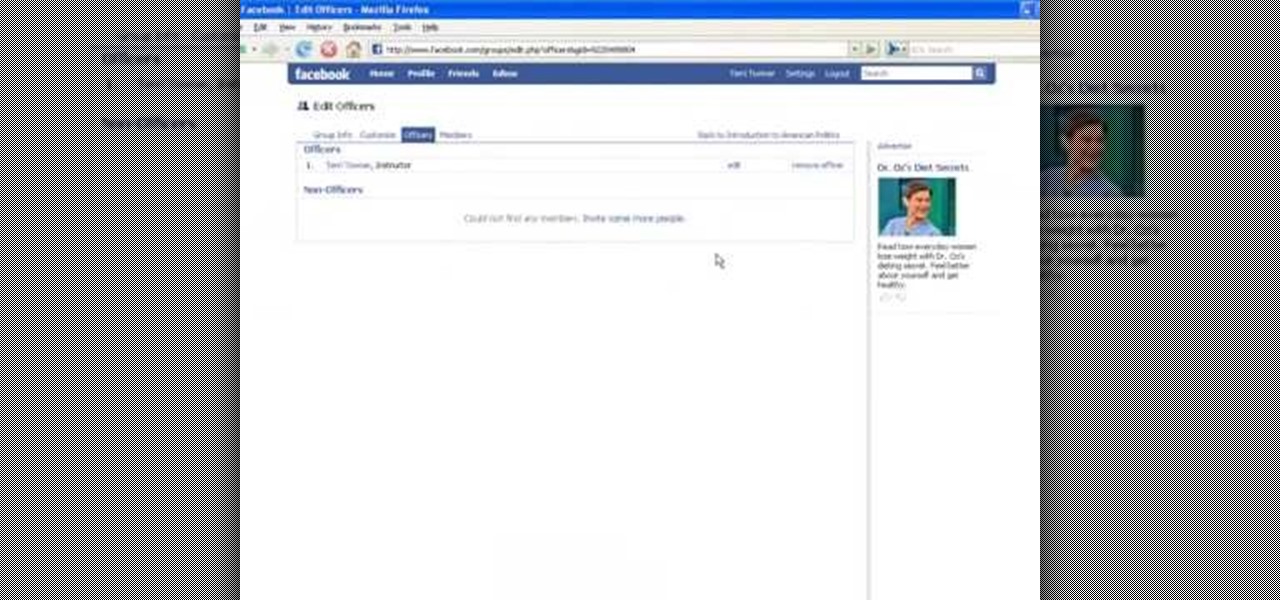
In this tutorial, we learn how to set up a group on Facebook. First, log into your Facebook, then click on "groups", then click "create a new group". Now, give your group a name, description, news, email address, and contact information. When finished, click on "create group". Now you will be able to customized your group by adding images. Once you do this, you can add a website and change your different options. Allow only instructors to upload photos, because students may decide to upload i...

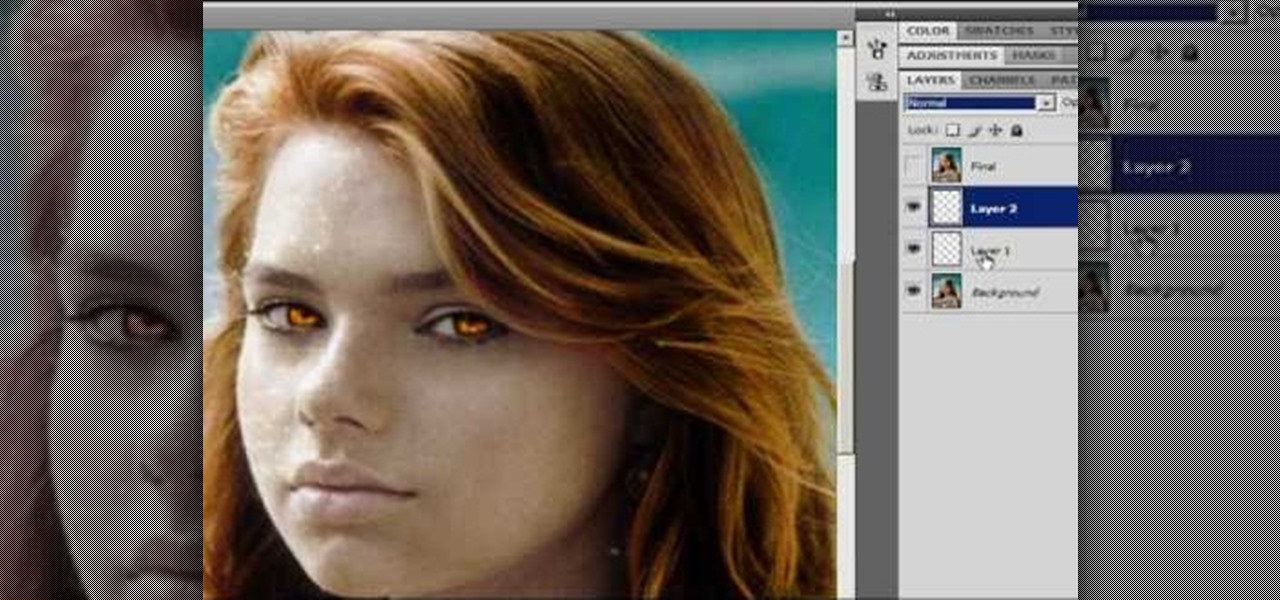
In the Twilight Saga by Stephenie Meyer, vampires don't melt away in the sunlight. Instead, they sparkle like a beautiful piece of crystal. In this clip, learn how to take a photo of anyone at all and turn them into a sparkling daytime vegetarian vampire like the Cullen family. If you are dying to know what you would look like as a vamp, check out this clip and celebrate the release of Eclipse with a sparkling photo of yourself.

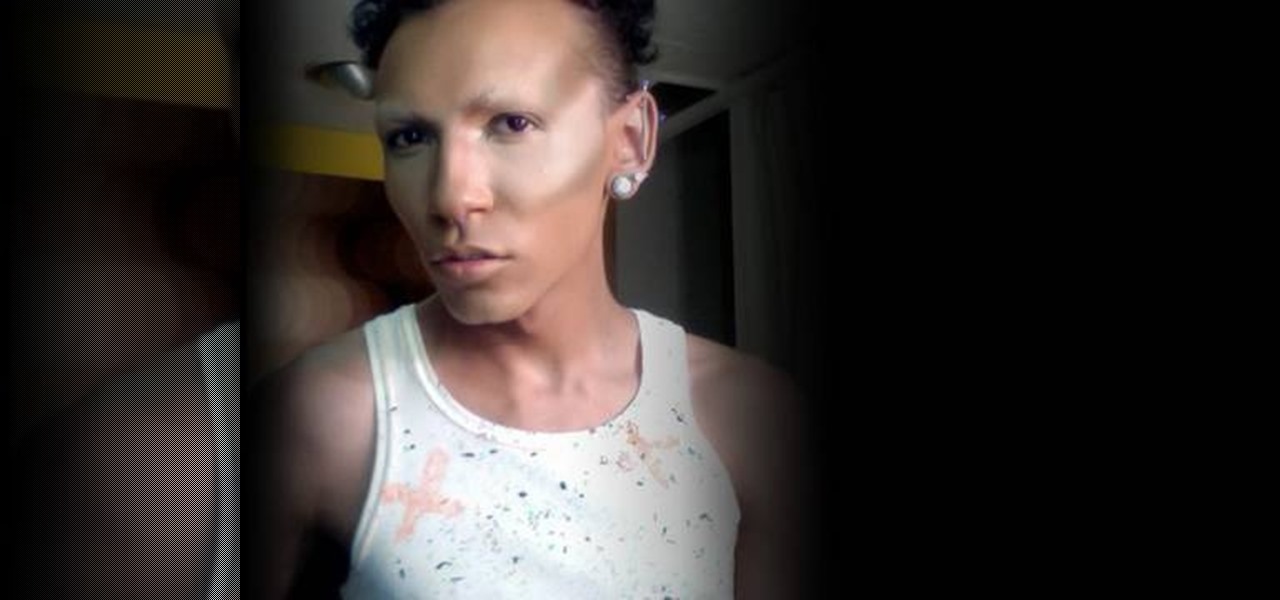
Celebrities look amazing in photos, on the red carpet, and really just in general, but they can attribute their awesome beauty to more than just their heavenly descent to earth.

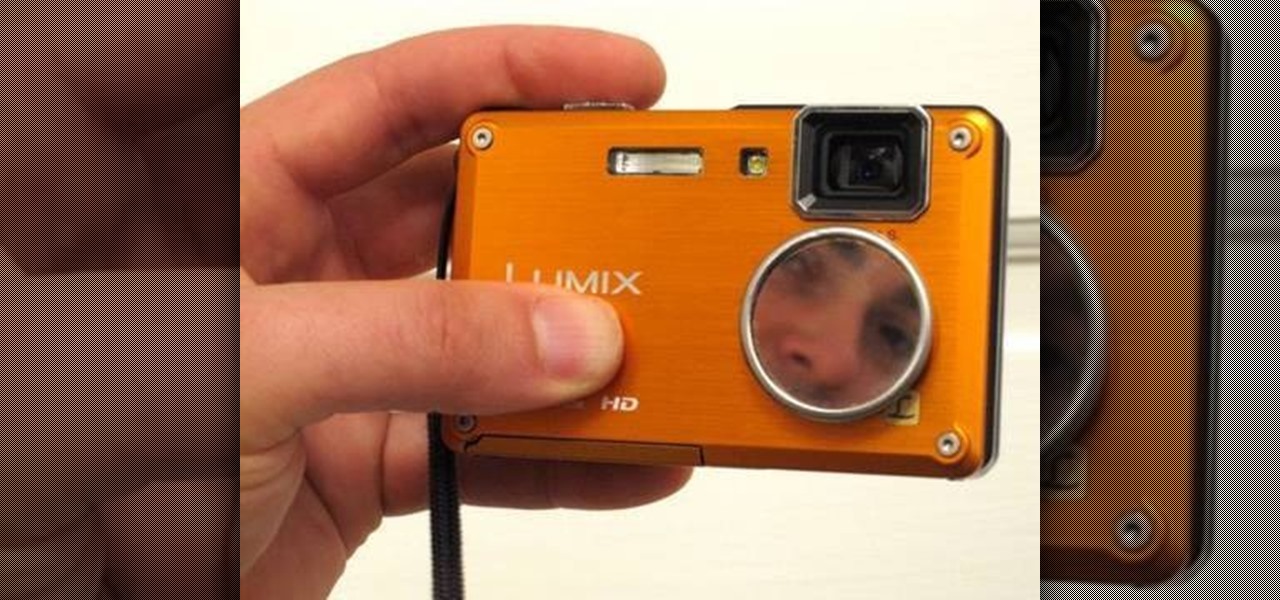
If you are out with friends and don't have anyone to take your photo for you, you will need to take a self portrait. Instead of fumbling with a self timer, most people hold the camera themselves and take a snap. Unfortunately, these photos are hard to center and you often cut people off and lose what could have been a great shot.

Did you know that your copy of Photoshop is already equipped to help you design a web gallery? If you are thinking of publishing your images online, have a look at this tutorial. In it, you will be guided through a quick and easy way to create a web photo gallery in Photoshop using 20 different templates.

The man in the video says there are three major things to be aware of when obtaining and using a fake ID card. The first thing and most important thing is to actually look at the fake ID before you are buying. A regular ID should have a name, date of birth and a photo. Make sure your fake ID has all those before using it. The second thing is to act confident when using it. Don't give out any clues from your expression or body language. Look at the bouncer in the eye, say hi and be polite to h...

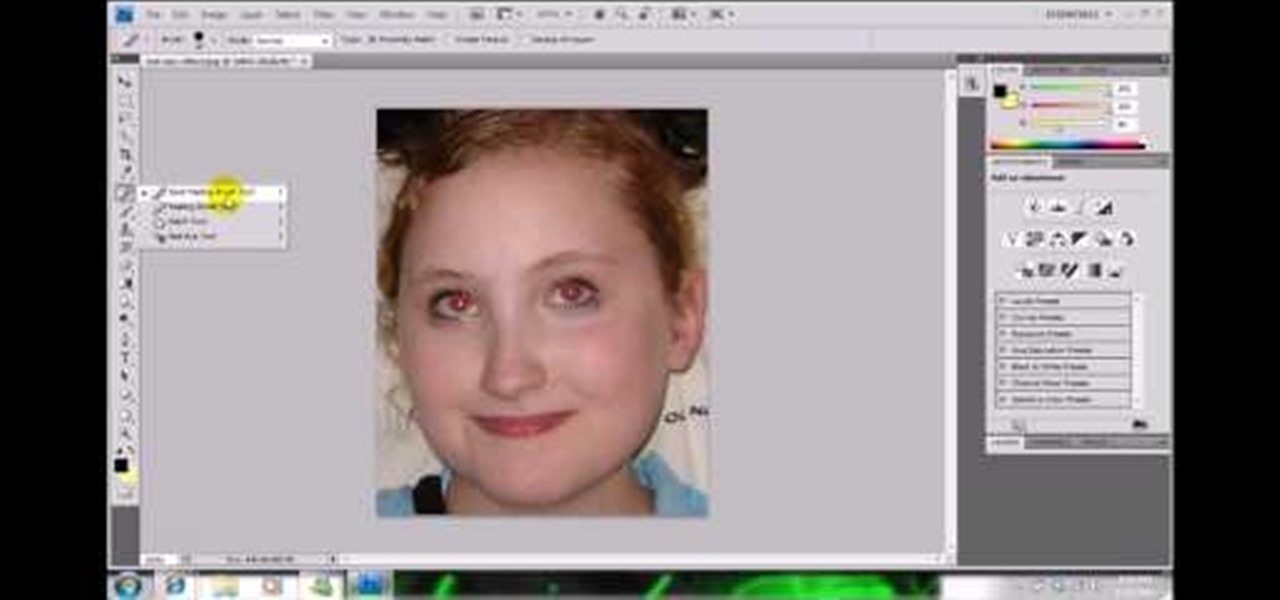
In this video, we learn how to get rid of red eyes while using Photoshop. Make sure you have Photoshop open with your picture up and you're ready to go. First, on the left hand side you will find a "healing brush" tool (which is 7 tools down from the top), click on that and then click "red eye tool". Next, you will click on each of the red eyes in your photo. After this, it will change the color of your red eye to the normal color. If the photo needs changed, you can also change the contrast ...

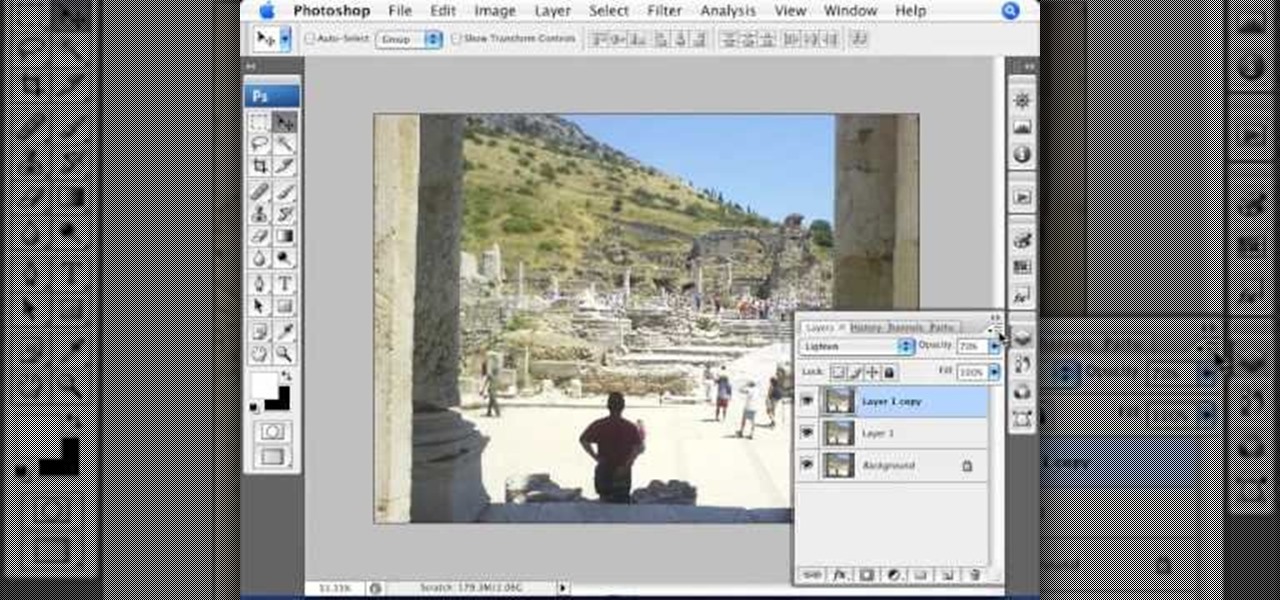
This video by photoshopuniverse shows you how to make any photo seem as it was taken in a studio. Take the working photo and add a new layer over it and fill it in black as shown. Add a newer layer over that and add the filter> render> clouds effect. Increase the opacity of the cloud layer and merge it with the black layer as shown. Add the splatter effect and the sprayed stoke effect as shown onto the merged layer and add a hue and saturation adjustment layer and colorize it as desired. Go t...

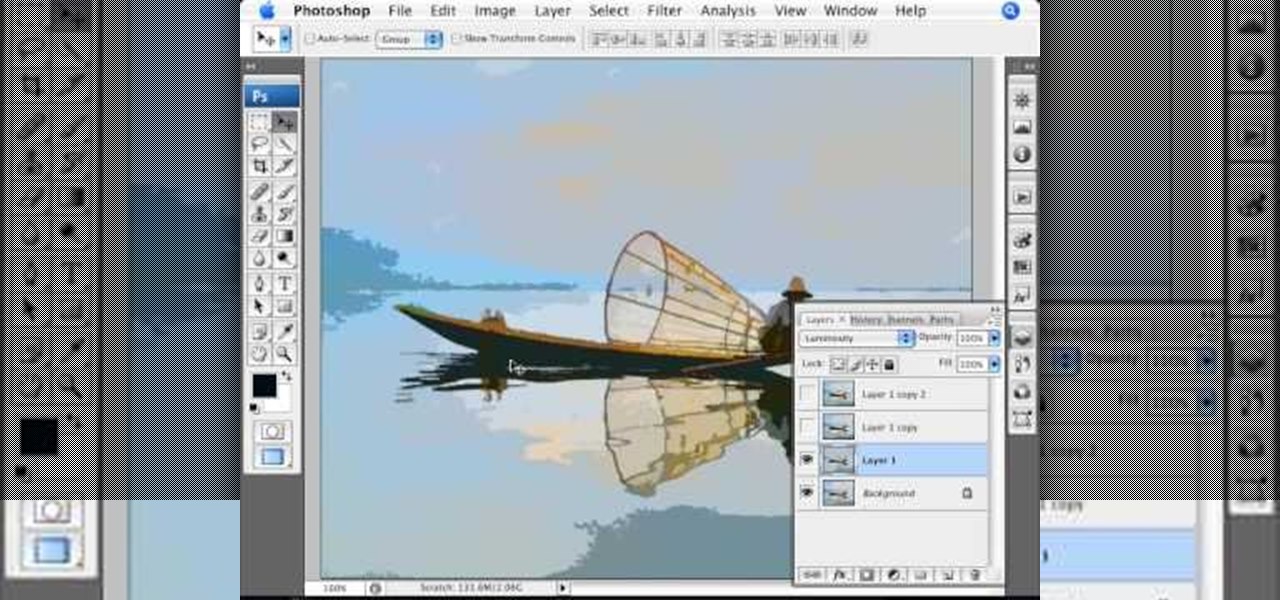
Photoshopuniverse shows you how to simulate a watercolor painting on Photoshop. With this you can take any photo and make it look like it was a water color painting. Take any photo and then duplicate the layer 3 times including original. Focus on the first layer go to cut out. You want a high edge fidelity, and add the number of levels no more than 5. Add some simplicity and the change mode too luminosity. Go to the second copy layer do a dry brush increase size to maximum. add just a little ...

This how-to video produced by Photoshop Universe gives step-by-step instructions on how to batch automate a process in Adobe Photoshop. With this tutorial you'll be able to learn to correct white balance, enhance colors, resize, and save for the web whole folders' worth of images in one go. The first step to doing this is to open up one of the images in your folder and correct the white balance, enhance the colors, resize the photo and save. The next thing you want to do is to record all of t...

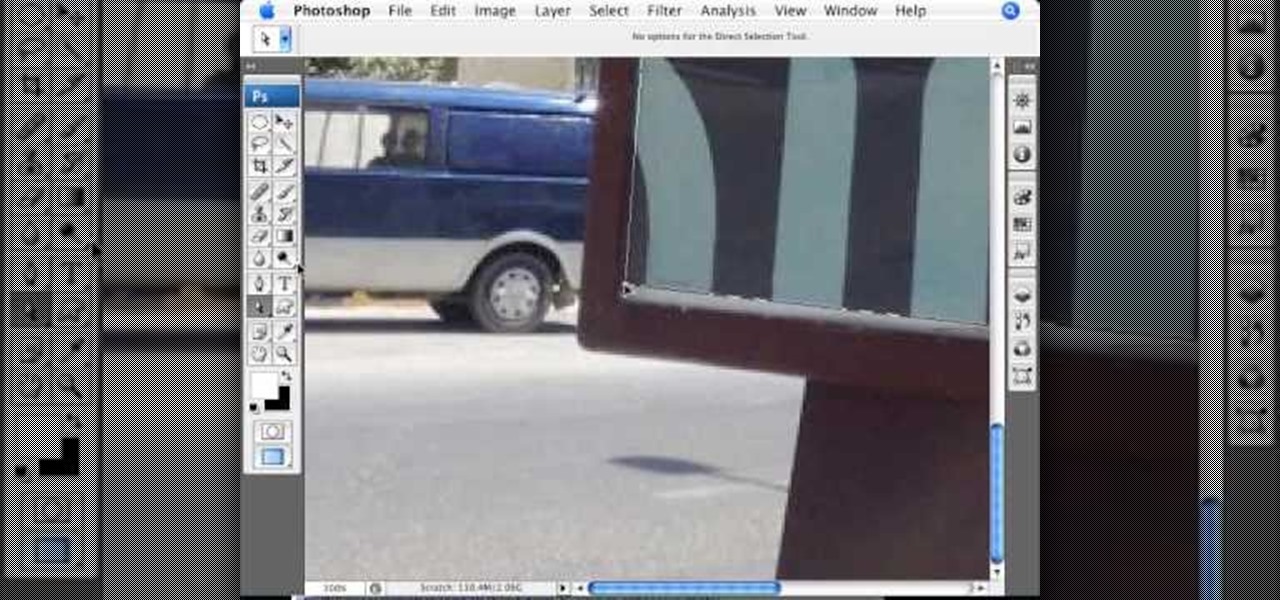
This video teaches about adding any of your photos to a billboard. Now copy into the computer memory back into the original billboard image to create another layer this is the layer place in our image. We can do this correctly, respective into this filter which is called vanishing point. Clicking at the four edges make this little bit bigger in image area. Now we can paste in that image control and change the promotional image. It fits sign of the billboard area and resize after the slight li...

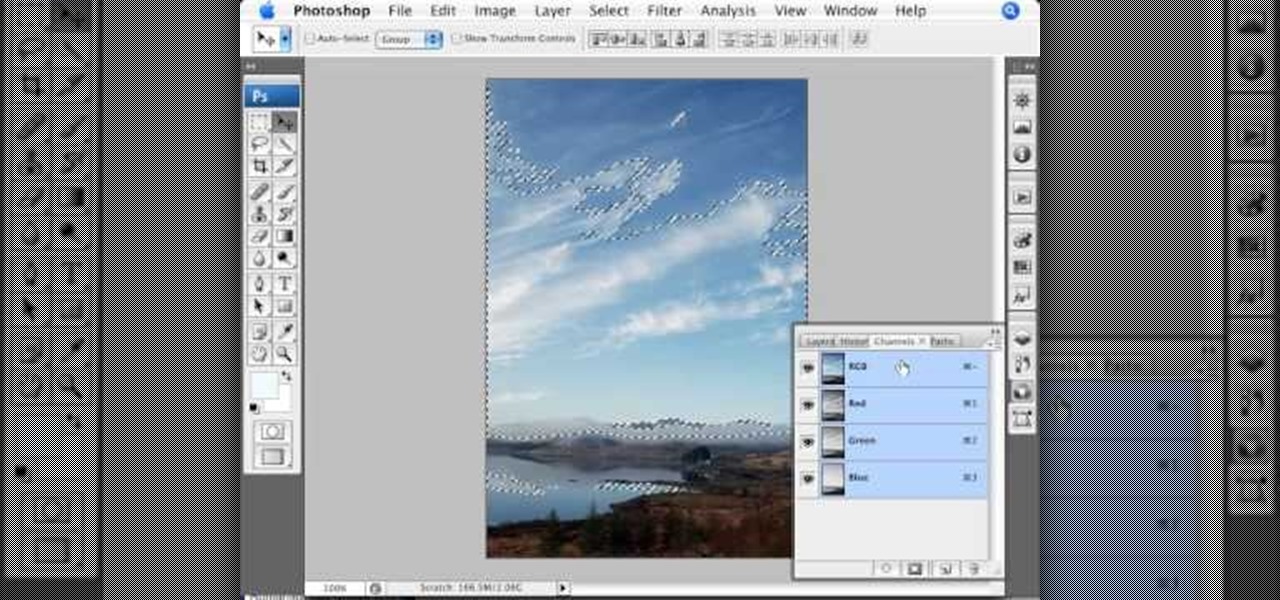
This video is about using a luminosity mask in Photoshop. The luminosity mask is used to enhance the color and contrast in photos that lack each of these. The color is enhanced or punched up. Choose the manipulation tool: channel and RGB. To choose RGB, touch control and then select RGB. Select the 100 % white or light parts of the photo, it will not select the darker or black images. Copy the light parts of the image by using control J. Choose to copy the lightest parts by selecting overlay ...

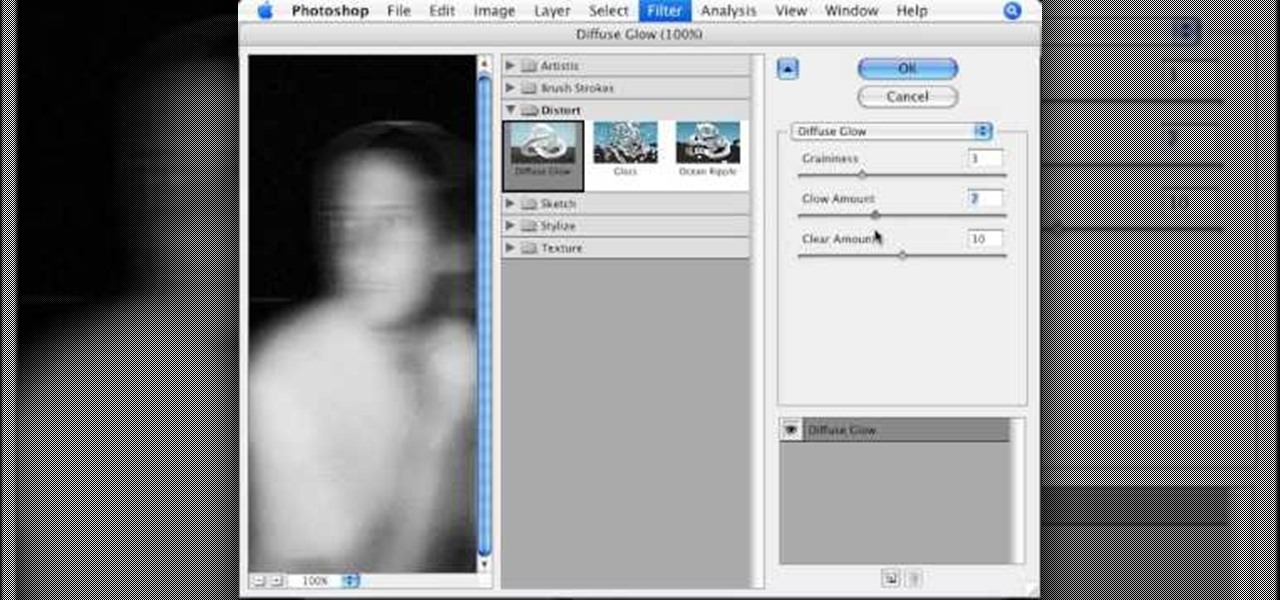
To manipulate photos and turn someone in a photo into a ghost, there are several filters that can be used in Photoshop. This video takes us through the steps of how to take an ordinary picture and turn the subject into a supernatural being using the motion blur technique and the diffuse glow filters among others to alter an image. The best types of pictures to use are ones where the background is relatively dark. By following these simple steps in Photoshop, you can turn anyone in an ordinary...

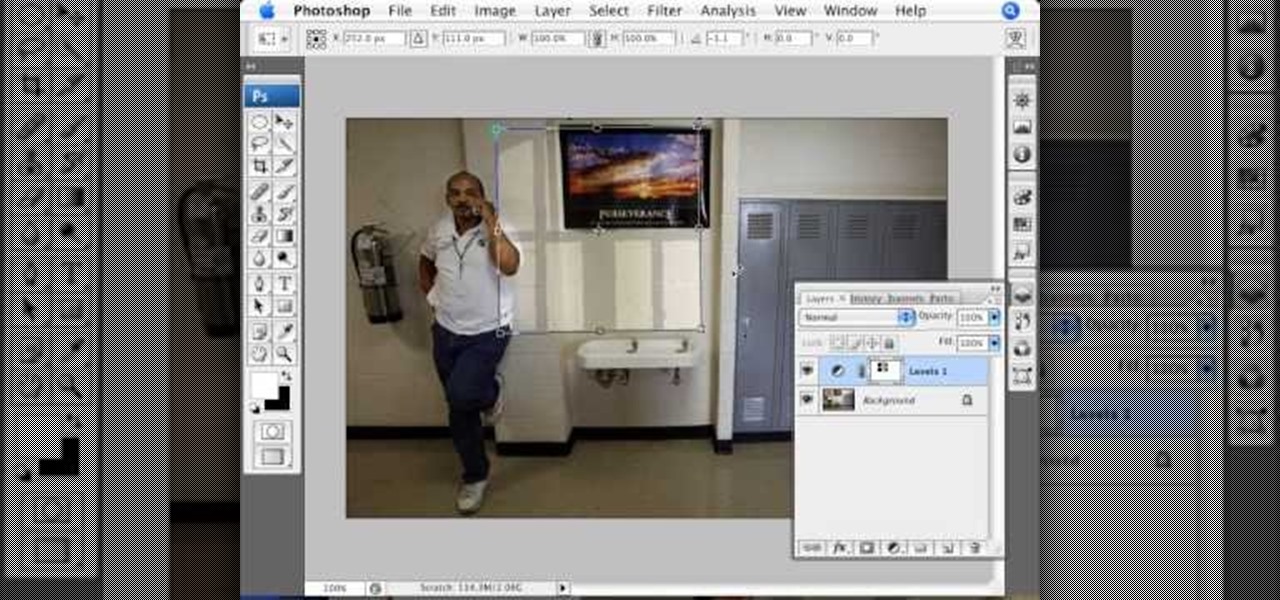
In this video we are going to light cast a window so we can add more focus to the photos. First take unremarkable photo, then find a window image to transfer and select all Ctrl+a. After that copy it to the previous image. Click layer 1, then select the white space in the window that allows the sun light to pass by using magic tool quick select the part of the window. Delete the layer, after that go to adjustment layer, select levels. Adjust the level so that the color of the window is darker...


