

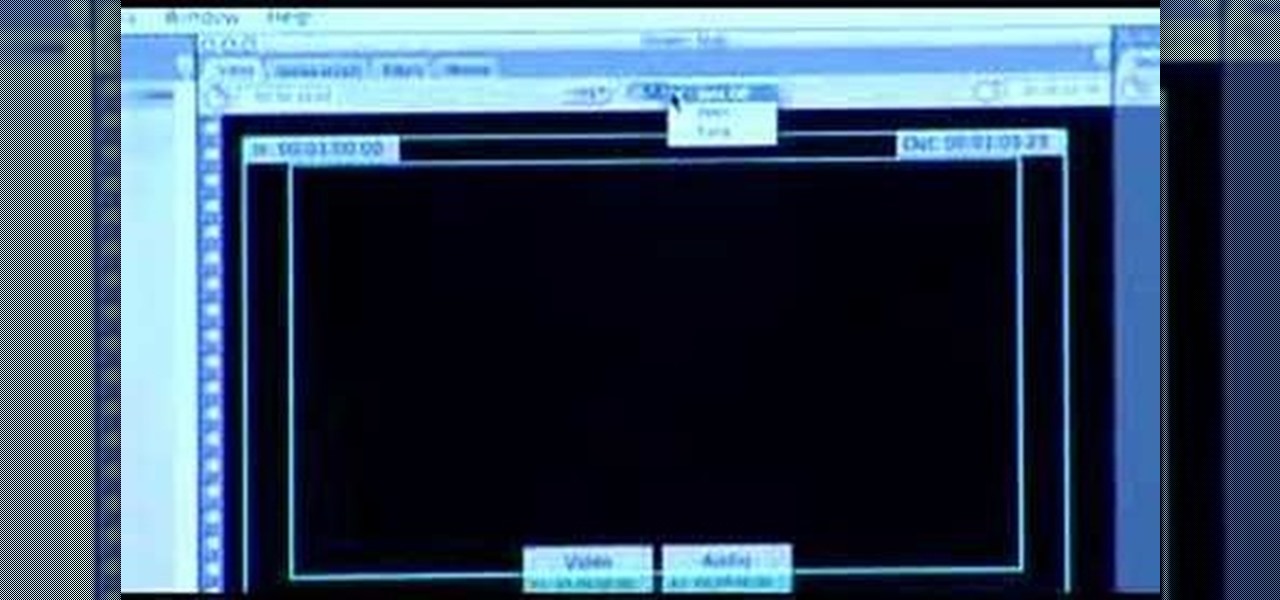
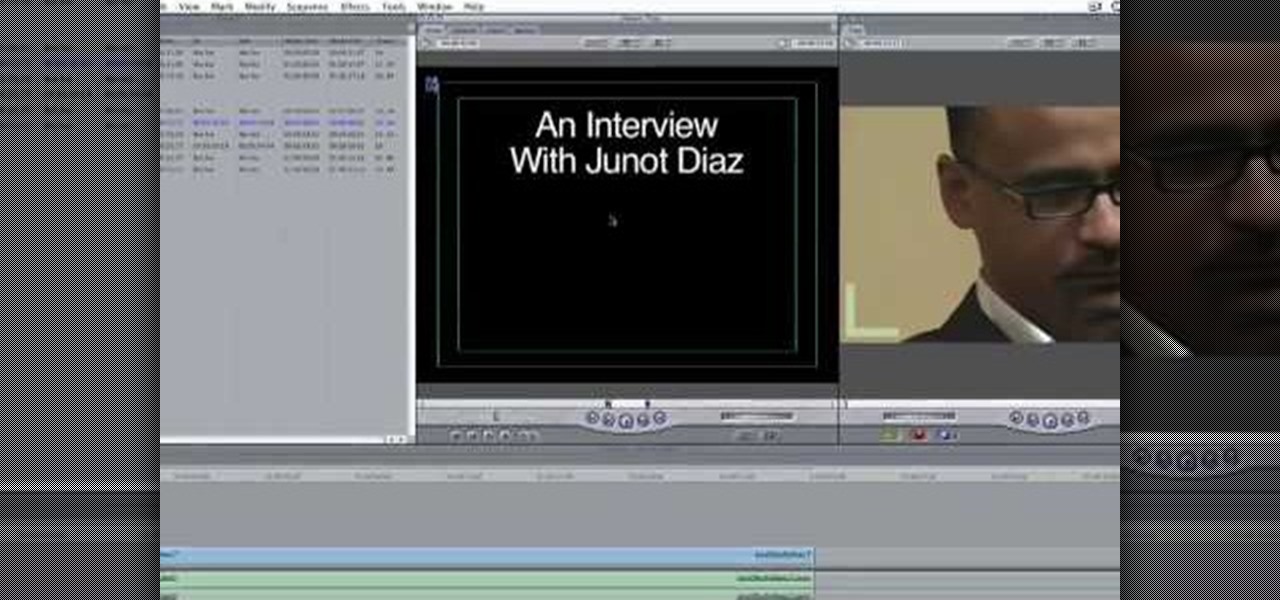
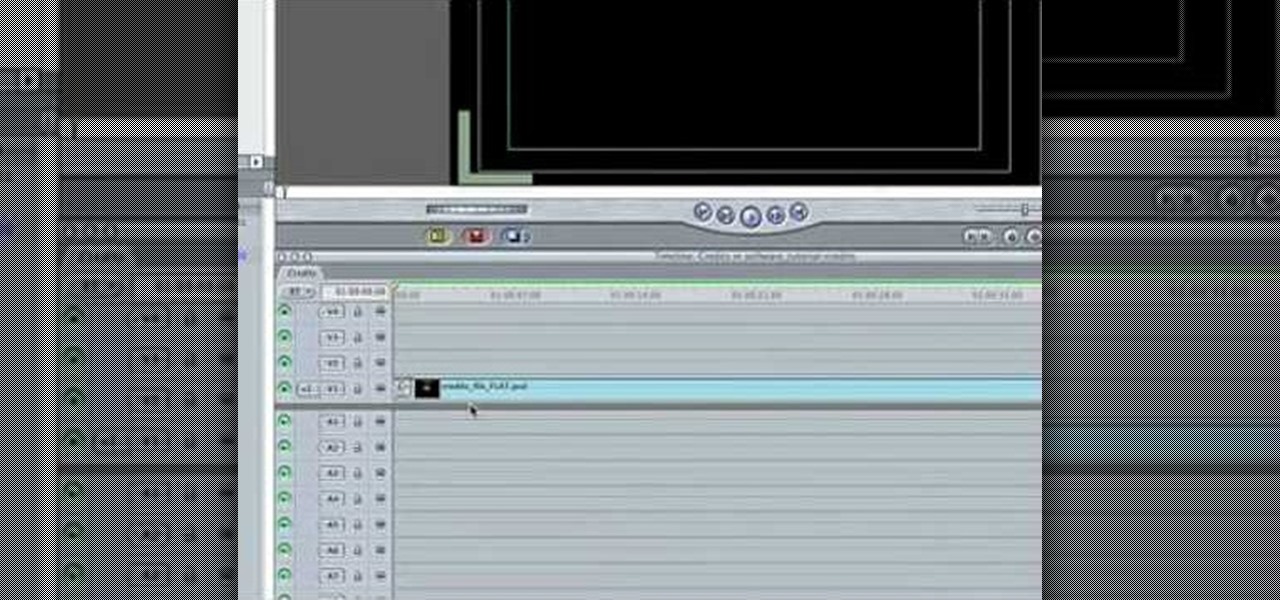
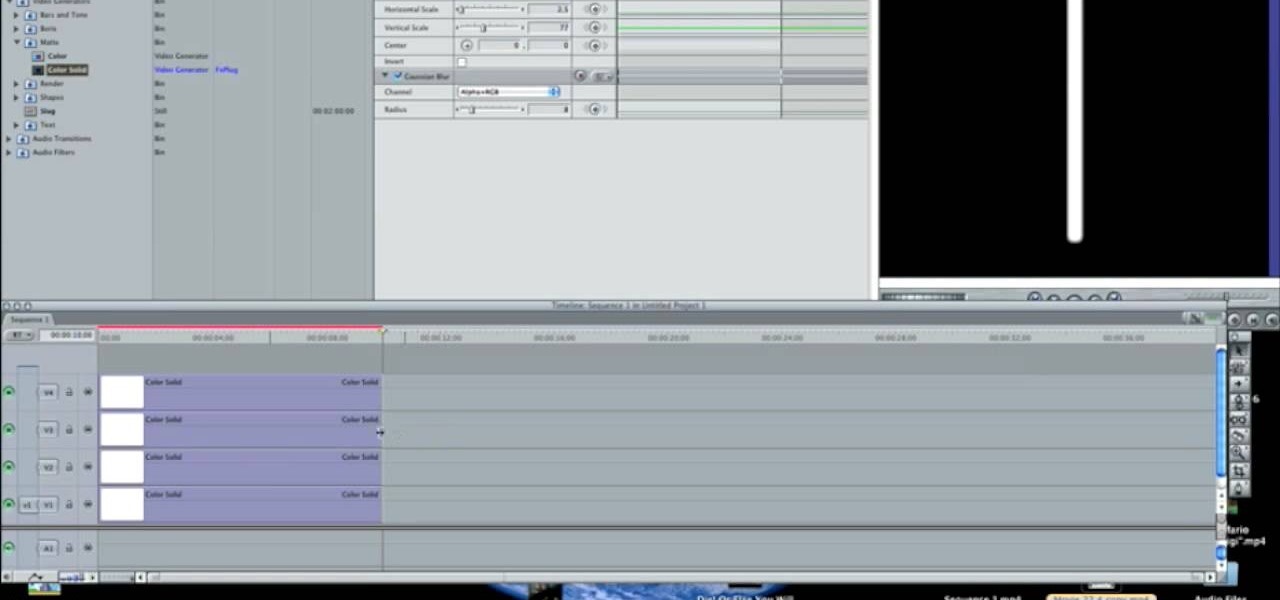
How To: Blur out images in Final Cut Pro so you won't get sued
Andy Coon made this tutorial so users of Final Cut Pro can learn how to blur out images so they won't get sued.

Andy Coon made this tutorial so users of Final Cut Pro can learn how to blur out images so they won't get sued.
Learn how to add music to your project using Final Cut Pro and incorporate it smoothly.

Learn how to add titles, credits, and other text to your project using Final Cut Pro.
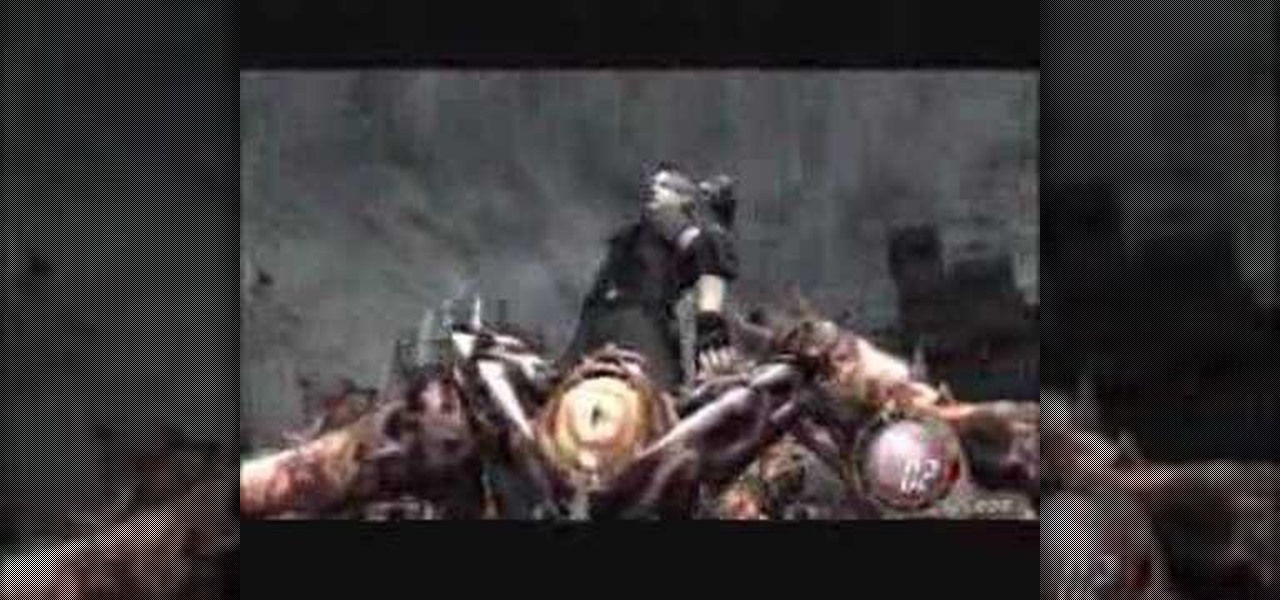
See how to defeat the final boss (chapter 6) of Resident Evil 4 for the Playstation 2 (PS2). Part 1 of 2 - How to Beat the final boss on Resident Evil 4.
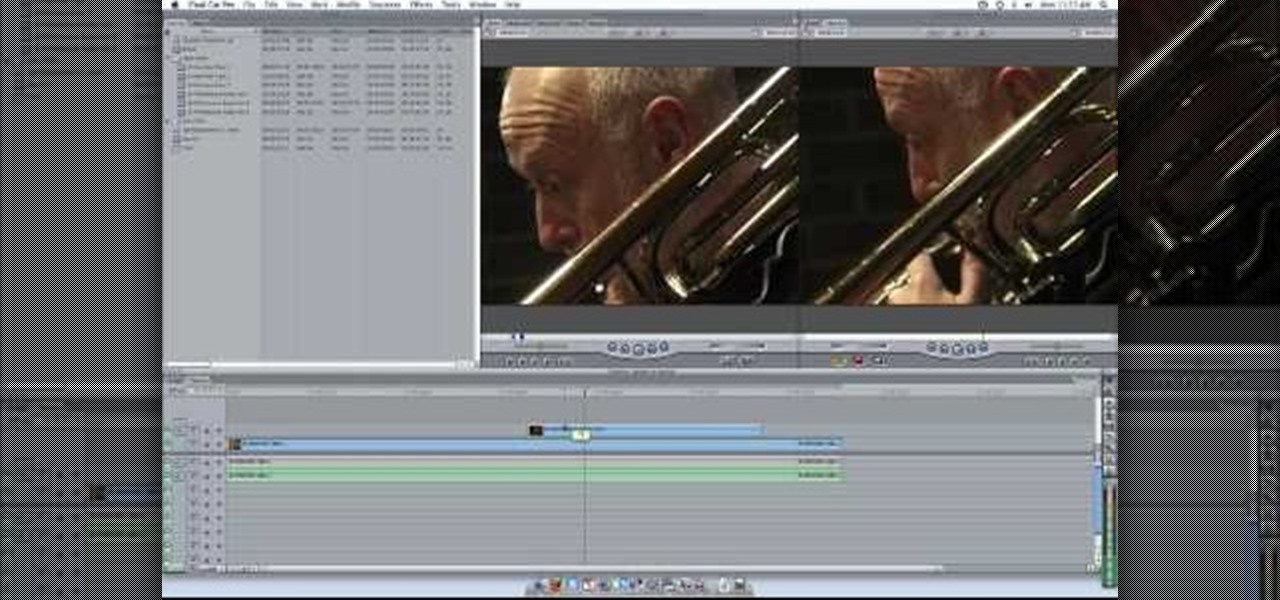
Matt, the Shirtless Apprentice, follows up his last segment on syncing timecode for a multi-camera shoot with a quick explanation on how to utilize this technique in the edit. Learn how quick and easy multi-camera editing can be when using the multicam function in Final Cut Pro.

In this video tutorial you will learn to create dissolves in Final Cut Pro. There are many different ways to dissolve between one clip to the next. These transitions are recommended by Dvplace.
Larry Jordan explains the advantages and trade-offs of various external drive solutions, compares data rates or FireWire drives vs. SATA drives, what solutions work the best and how to avoid clogging your Final Cut Pro workflow.

Don Schechter demonstrates how to capture your footage from your camera to your computer and log it for easy access later on for Final Cut Pro. Logging clips allows you to organize your footage without having to waste hard drive space.

In this video tutorial, viewers learn how to import, manage and export 16:9 footage in Adobe Final Cut Pro. Begin by opening the Log and Capture.Then configure the Logging, Clip Settings and Control Settings. For the Control Settings, set the Device Control as Fire Wire NTSC and the Capture/Input as DV NTSC 48 kHz Anamorphic. Then scroll through the sequence setting of the footage and check Anamorphic. To export, click on File and select Export. Click in Options set the the size to Compressor...

In this how to video, you will learn how to layer videos in Final Cut Pro. First, open Final Cut Pro. Get your original clip and then put the clip that you want in the clip and drag it in over the top in the time line. Change it to image and wire frame. Grab the corner of the image and drag it down to the size you want. You can also move it around. Next, go to sequence and render it. Once that is done, change the selection back to image. Once you play the file, both clips will be playing. If ...
One of the best features of Apple's Final Cut Studio is the disc designing feature DVD Studio Pro. With its ability to create high-end DVD masters, you can easily make discs for your indie film, or maybe even a professional movie. DVD Studio Pro is tightly integrated with Final Cut Pro and Motion, rendering the projects into DVD format without encoding to intermediary formats.
One of the best extensions for Apple's Final Cut Studio is the visual effects and digital compositing application Shake. Shake is an image compositing package used for post-production, and it enables complex image processing sequences to be designed through the connection of effects "nodes" in a graphical workflow interface.

One of the best features of Apple's Final Cut Studio is the graphics interface feature Motion. With its ability to create and edit motion graphics, you can easily create title sequences for your indie film, or maybe even a professional movie, with 2D or 3D visual effects compositing.
Plangere Culture Lab demonstrates how to use the opacity feature in Final Cut Pro. The opacity feature is a beneficial tool to use when working with layers. Opacity is an attribute which relates to how much you can see through a clip. To layer clips, create a new video track on the timeline. Make sure that the source tab is in the right position. The track on the top of the stack is the dominant track and will be shown. Select the volume and opacity overlay button. Click on the line over the ...

Ever needed to fix a clip where an unwanted or unexpected object appears in the scene? A car is suddenly passing across or a stage hand got in the shot by accident? And re-shooting is expensive or impossible? You would be facing hours of tedious frame-by-frame rotoscoping to get rid of the pesky element in your video...
Most Final Fantasy VII players don't even know about this mod. So watch and learn how to install the 9999 Limit Beaker mod for Final Fantasy 7 PC. With this mod, you can go above and beyond the 9999 HP, MP and Damage Limit, by a lot.
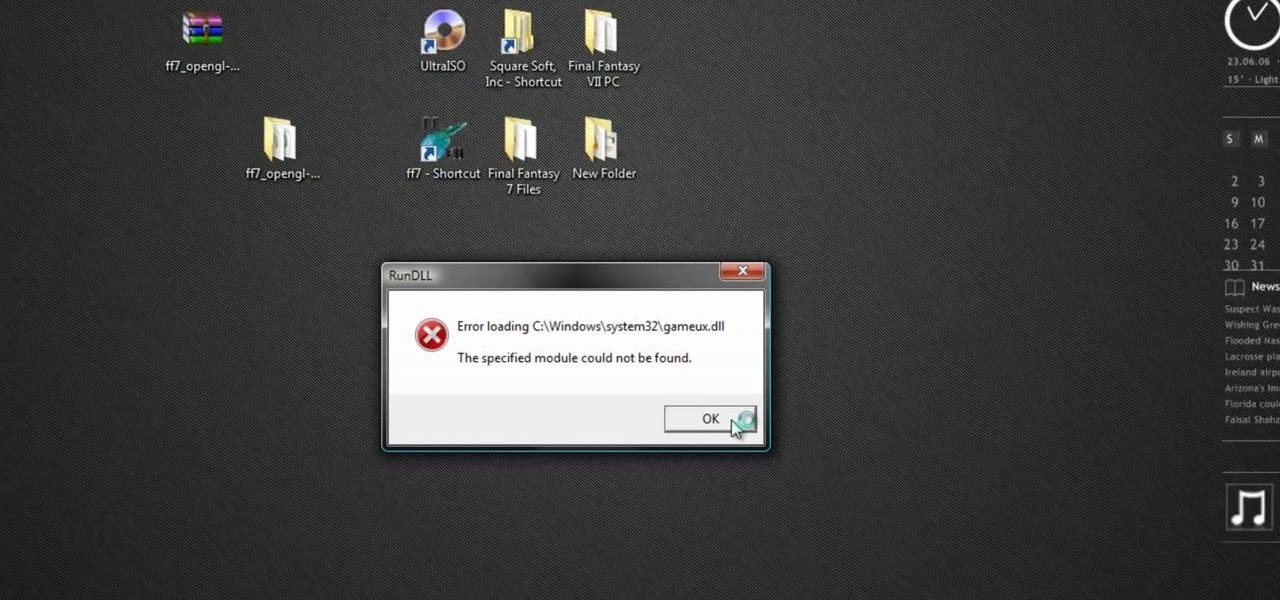
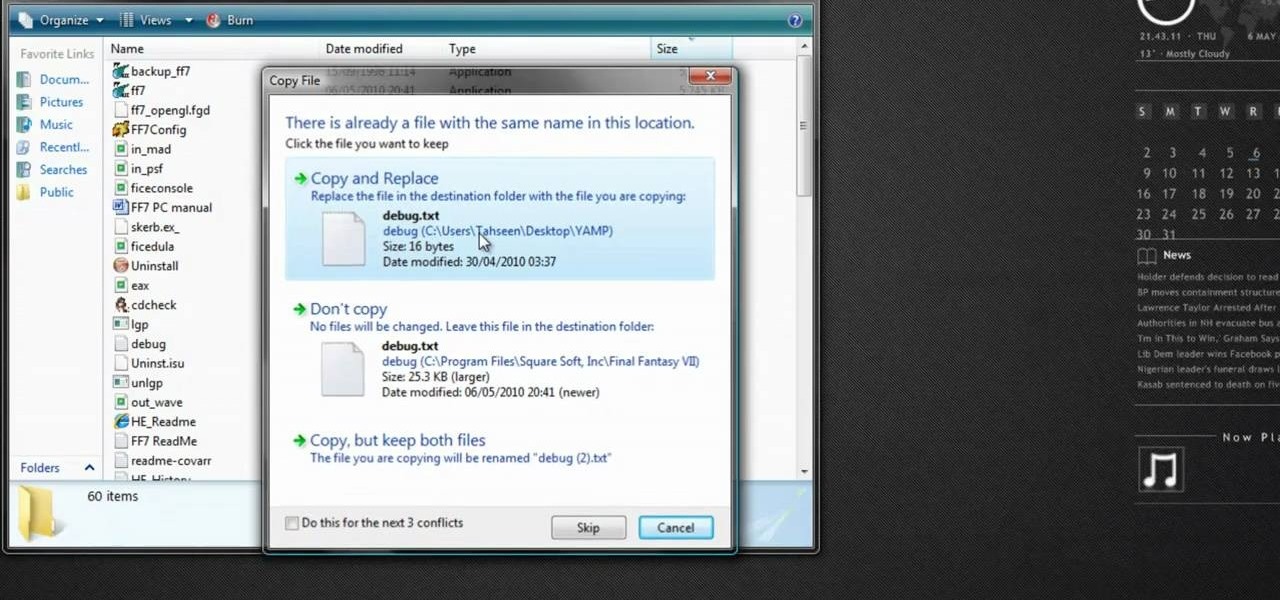
If you're a Final Fantasy VII fan, this video will excite you. Learn how to install a custom graphic driver to play Final Fantasy 7 PC. This is an improvement for the game that makes it playing more enjoyable on your display. It fixes some bugs and glitches and allows you to change the resolution of the game. It also lets you play in windowed mode.
In this video software tutorial, you'll learn how to navigate and use the graphical user interface or GUI in Apple Motion. Whether you're new to Apple's Final Cut Pro video editing suite or just want to better acquaint yourself with the Final Cut Studio workflow, you're sure to benefit from this free video tutorial. For specifics, watch this Final Cut Studio lesson.
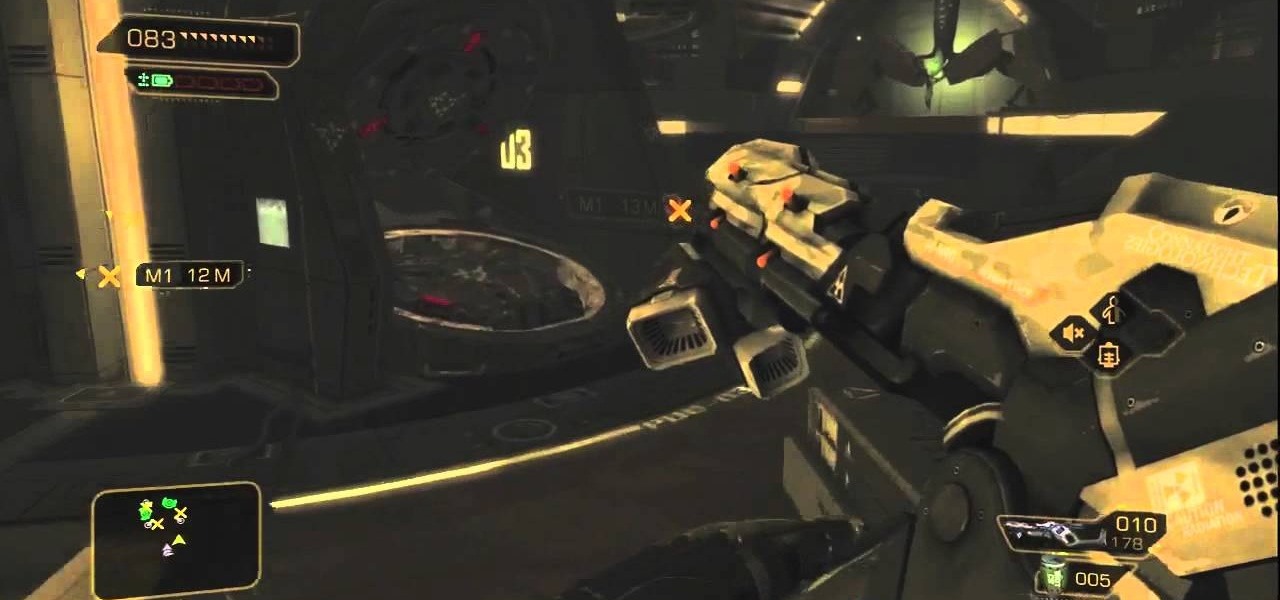
While the final boss in Deus Ex: Human Revolution might be easier than the rest, it's not saying much given the difficulty of the bosses throughout the rest of the game. If you're looking for some tips on how to easily beat the Hyron Project boss fight in Deus Ex, take a look at this tutorial from Giant Bomb.

The Princess isn't far now! You've solved all the puzzle worlds, and now you can access the final level, in the attic of the game. In this world, time runs completely backwards. Here's how you can complete this level and finish the game!

The greenscreen has allowed filmmakers to take us to worlds they never could have otherwise, but they can ruin a movie when used poorly. Watch this video for a guide to picking a screen, lighting it, and getting a good key for it using Final Cut Pro or After Effects.
The final boss of Castlevania: Lords of Shadow is Satan himself, quite literally the Lord of Shadow, King of the Underworld, there's more, but that I think you get the picture. He's a tough guy to beat, but there's a strategy! In this video you will get a tutorial on how to crush Satan himself and beat Castlevania: Lords of Shadow!
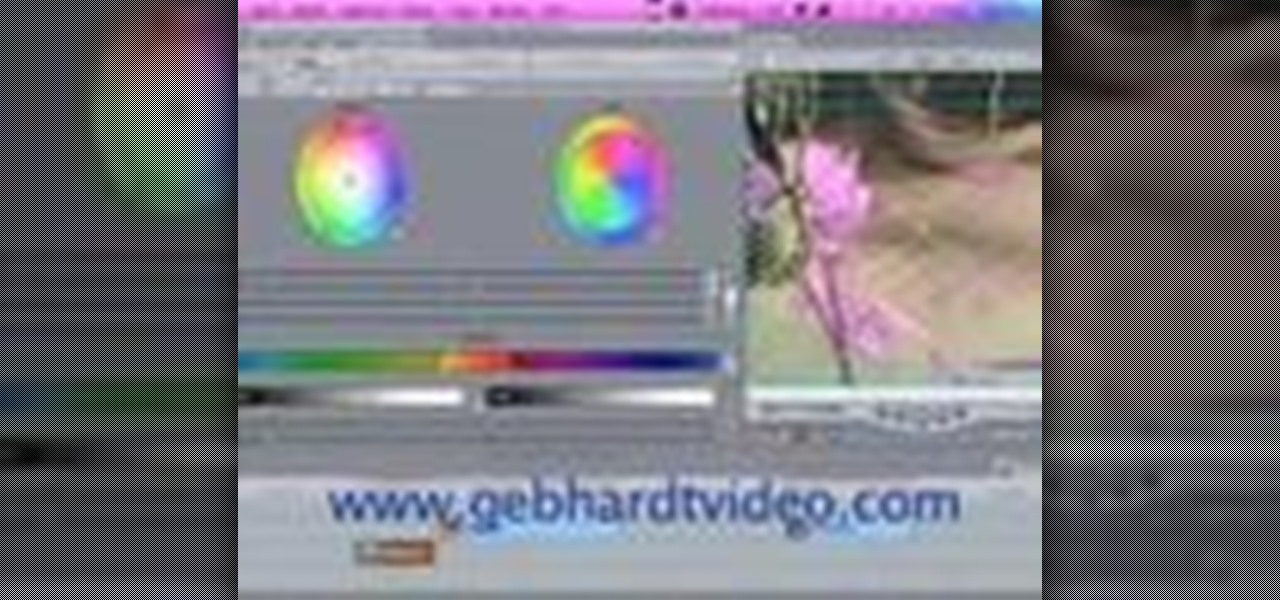
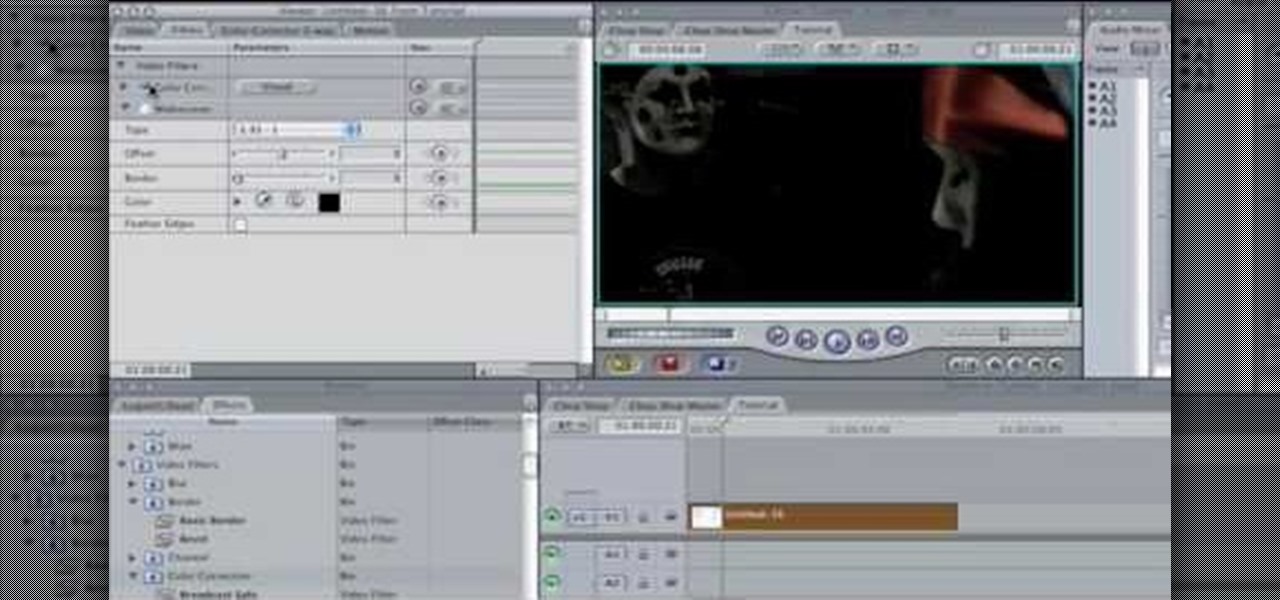
This video tutorial is in the Software category which will show you how to color balance in Final Cut Pro. Open a video clip in which you want to do color balance. Double click on it, click effects > video filters > color correction > color corrector 3-way. Click the "color corrector 3-way' tab and find something in the video that is supposed to be white. In the color tray you will see 'whites' written. Now click the eye dropper tool and just click the white object, and you have done the colo...

In this Software video tutorial you will learn how to use tool shortcuts in Final Cut Pro. To change opacity and the volume limit, click the little mountain button on the bottom and you will have two lines in the clip representing audio lines of two mono tracks. And you also have opacity located above the audio lines. With the help of the slide bar you can set the opacity. To get the pen tool press 'P'. To get out of any tool, press 'A'. To delete the entire audio track, select it, lock, dele...
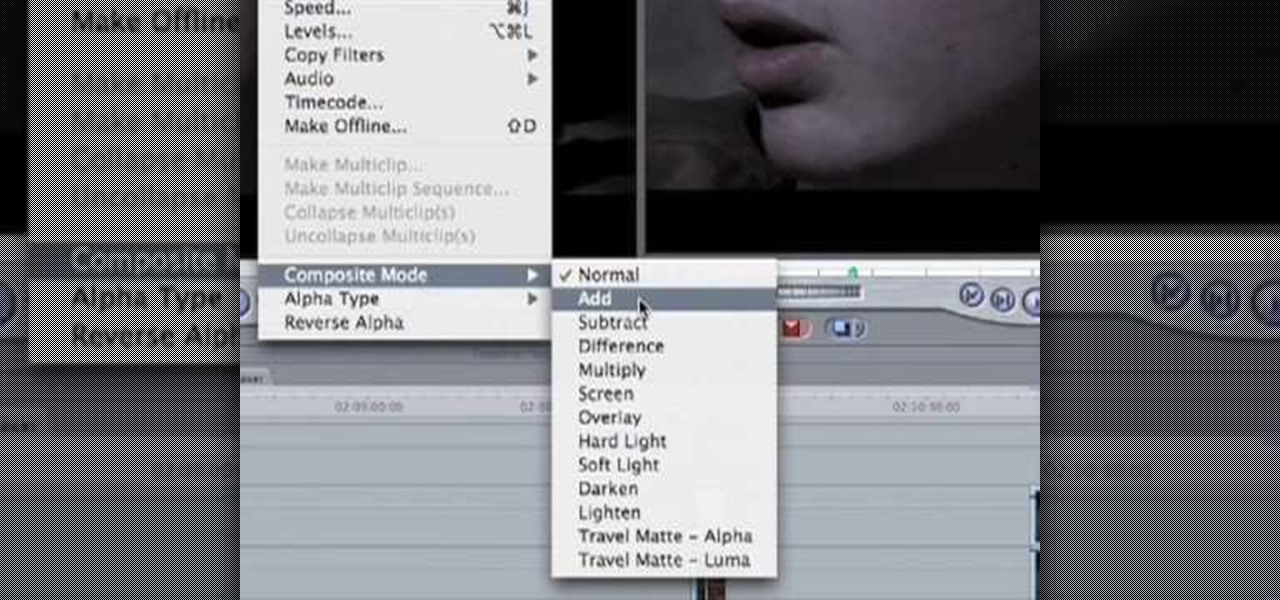
In this how to video, you will learn how to create a film look to your videos in Final Cut Pro. This effect will create a light and warm tone to the clip. First, take the original clip and copy and paste it. Grab it and place it on top of the original clip. Next, make sure that the top clip is selected and click modify, composite mode, and add. This will bring up the highlights in the video. Go to effects, video filters, and Gaussian blur. Go to the settings increase the radius of the blur. Y...
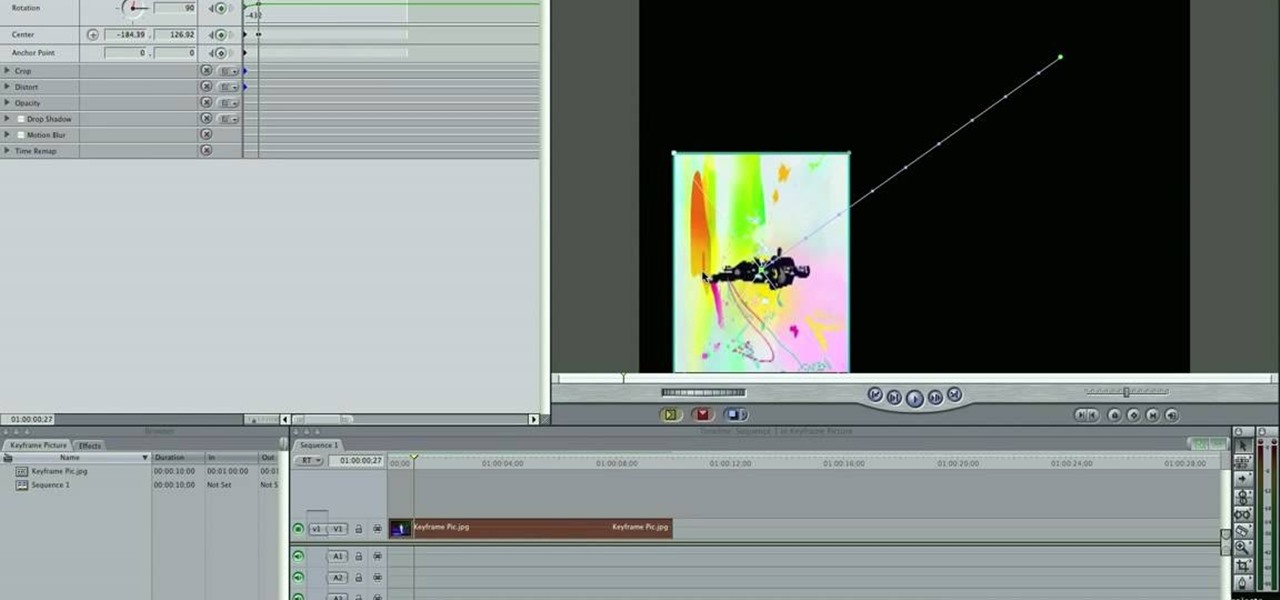
This video tutorial teaches you the basics of Keyframing using Final Cut Pro. A picture is used in this tutorial. You can also use video or picture for this example. The video shows the keyframe button and the different keyframing tools. The video then teaches a basic keyframing concept of how to add a motion to the clip using keyframing. You can also add rotation effect in the keyframe. When you add a keyframe and move the clip from one place to another, it adds a path along which the clip o...
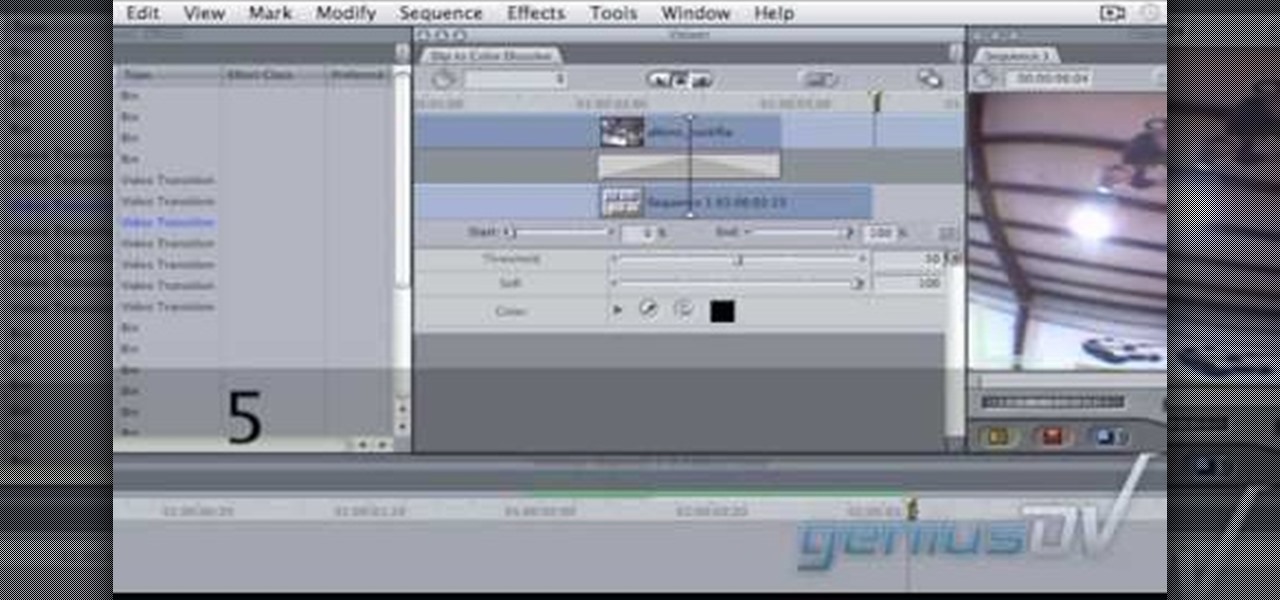
In this video tutorial, viewers learn how to create a freeze-frame effect in Adobe Final Cut Pro. Begin by placing the time line indicator to where you would like to place your freeze-frame. Press Shift and N to create the freeze-frame. The default user preference is 10 seconds. To change it, change the time and click on the insert button to splice the new freeze-frame time into the time line. Now click on the Effects tab and select the Dip to Color Dissolve under Video Transitions and Dissol...
In this Software video tutorial you will learn how to apply the Film Look effect in Final Cut Pro. This is an advanced technique. This essentially takes a video and makes it look like a film. Select the video clip that you want to work with. Then select the ‘color corrector 3 way’ filter. This is under the ‘Effects’ tab. The key to any color correction is to crush the blacks. So, decrease the blacks with the slider. Then increase the whites as films have higher white level. Depending on the s...

IShowU and Shiny White Box demonstrate how to create still image effects in Final Cut Express. First, place your scroll bar in the front of the timeline and click on the clip so that it is selected. Then, click on the motion tab in the preview window. Hit the keyframe button in the scale option. Create a keyframe also where you'd like the effect to stop on the clip. Adjust the line. When you now play the clip, the image's size will be adjusted as you have designated. You can use the same tech...

Learn how to create a green screen effect using Boris Continuum Complete's Chroma Key filter in Apple Final Cut Studio. BCC Chroma Key is used for compositing camera footage shot using a blue, green, or orange screen as a backdrop over a new background video or a still image from a separate file. BCC Chroma Key is also included as part of Boris FX 9.2 and Boris RED 4.3. If you have access to this powerful plug-in for Final Cut Pro, watch and learn how to use it for precise chroma keying.
After entering the UK's version of bankruptcy last month, Blippar's assets are up for sale, and bidding ended today.

While it may be impolite to play around on a smartphone at dinner, having it consume my attention while I'm on a deadline or trying to study can prove disastrous. With Netflix and social media just a tap away, it's a dangerous game of wills, one that the phone usually wins.
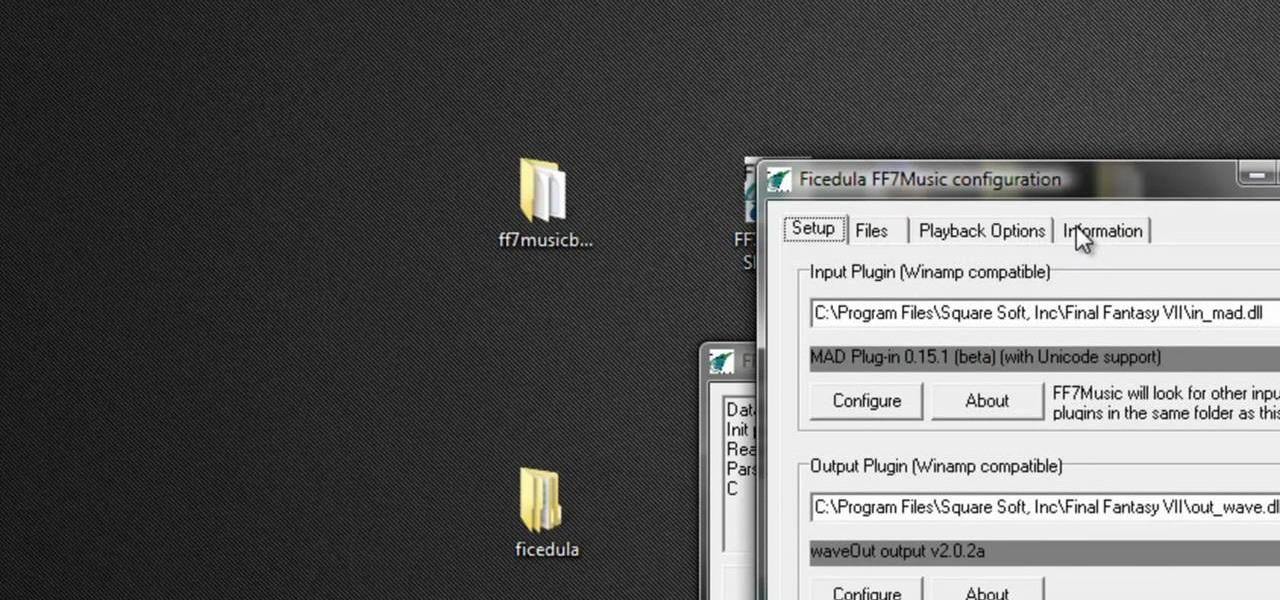
Did you know you could play external music files in Final Fantasy VII with a simple mod? If that interests you, watch and learn how to install the FF7 Music Patch for Final Fantasy 7 PC. If you want an improvement in music, this is the patch you need.
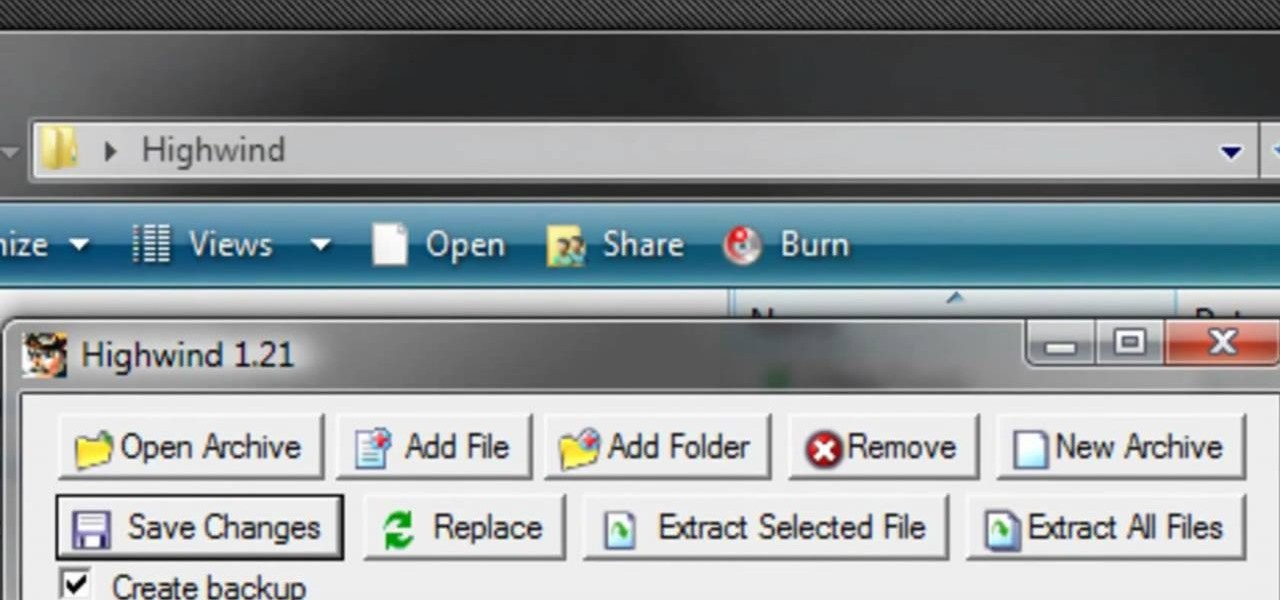
Any hardcore Final Fantasy VII fan will appreciate this mod. Watch and learn how to install the APZ Cloud Battle Model mod for Final Fantasy 7 PC. This mod is a huge improvement on the original Cloud Battle Model, so make sure and try it out.
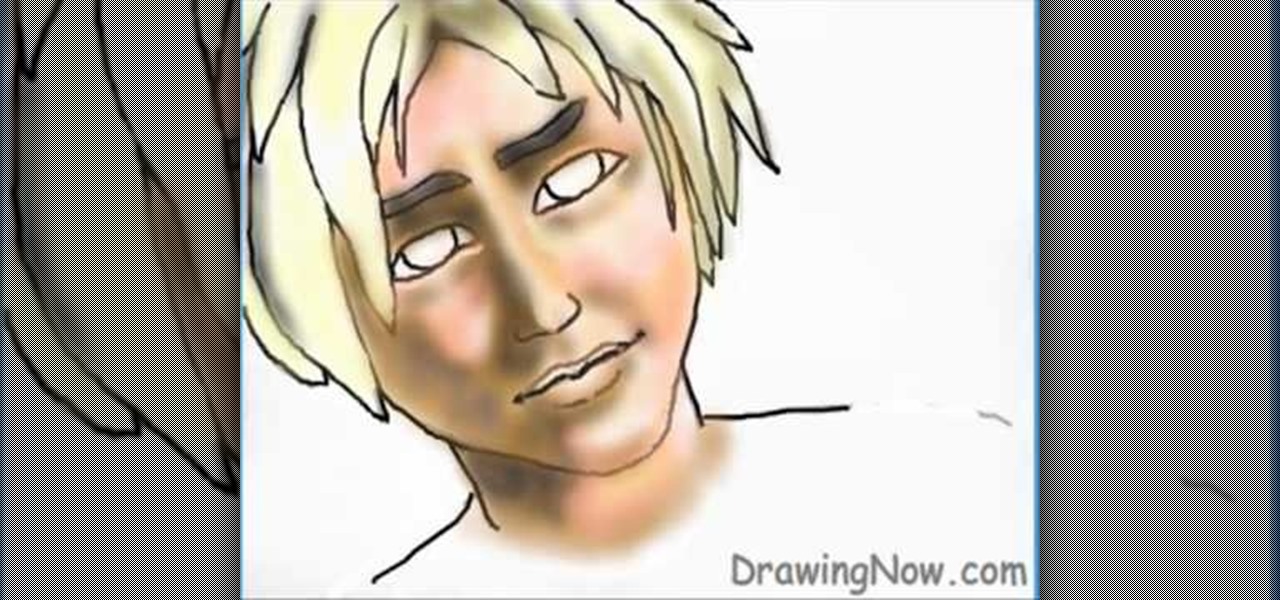
Big fan of hugely popular video game Final Fantasy? You're definitely not alone. In this drawing tutorial, learn how to draw main character Tidus from Final Fantasy with help from Drawing Now. Search WonderHowTo for more videos from Drawing Now to learn how to draw a variety of characters and cartoons!
In this how-to video, you will learn how to add text and titles to videos using Final Cut Pro. First, place a time line play head where you want the text to appear. Move the mouse to the lower right corner of the viewer window and click the add text pop up menu. Select text and the viewer will change to a black box with Sample Text in the middle. Click on the tab labeled Controls. You can edit the text in this new window. You can move the text by selecting Image and Wire Frame. This will allo...
In this video you will learn how to build scrolling credits in Final Cut and Photoshop CS3. He begins by showing you how to do it on Photoshop CS3. He does this by having his own finished credits and the steps you need to take to set up your own. Then, he moves on to Final Cut and drags his Photoshop credits into Final Cut. He explains how it may be off a little in size, but you can readjust everything for accuracy. This is all done through his computer and with vocals.

Here is the final video in the CNC Stomp Pad Tutorial Video Series. In this video, we go over the final assembly of the stomp pad. Then we watch as we used double sided... More» tape to adhere it to the snowboard. Finally we take a look at some final photos of the CNC Stomp Pad on the Snowboard. One Final Note: The Stomp Pad works perfectly. I love the fact you can customize your life with CNC.
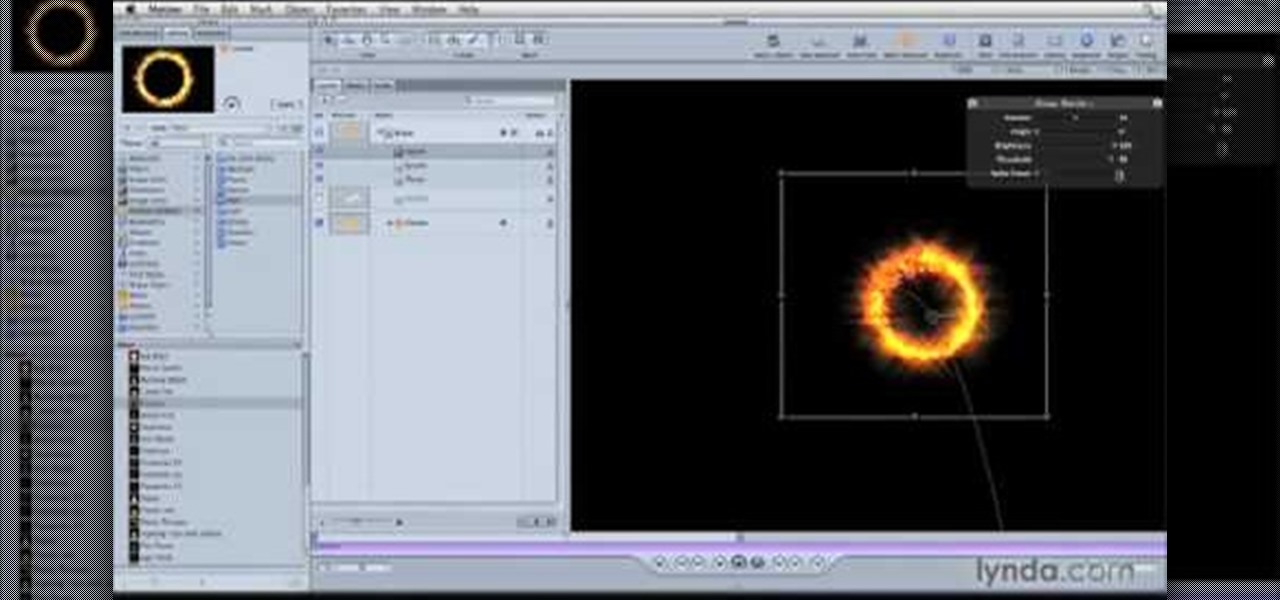
In this how-to video, you will learn how to make a light saber or similar image in the Final Cut Express program. First, go to the effects tab and go to video generators and select color solid. Drag this to the viewer. Go to the control tab and select the blue color. Now drag it to the time line. Double effect the color solid and go to mask shape. Select filters and change the effects settings to 2.5 horizontal scale. For the vertical scale, select 75 to 85. Go to the effects, video effects, ...

Final Fantasy XV, the latest release in the long-running Final Fantasy franchise, has been a massive success, shipping around 6 million copies worldwide in less than two months. Final Fantasy XV: A New Empire is a mobile game based off this popular console iteration, and has surfaced in New Zealand for download.