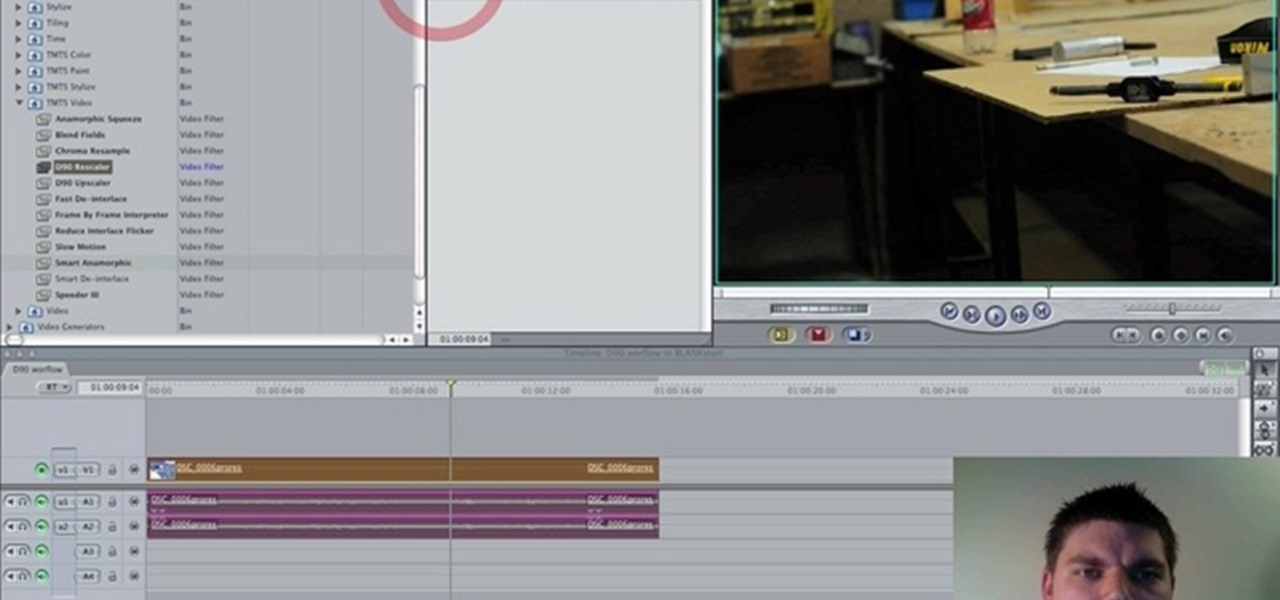
This is a workflow tutorial for people who use the Nikon D90 camera and do most of the post production in Adobe After Effects. Convert, cut and export your video easily, and even fix the stair-stepping problem that might crop up.

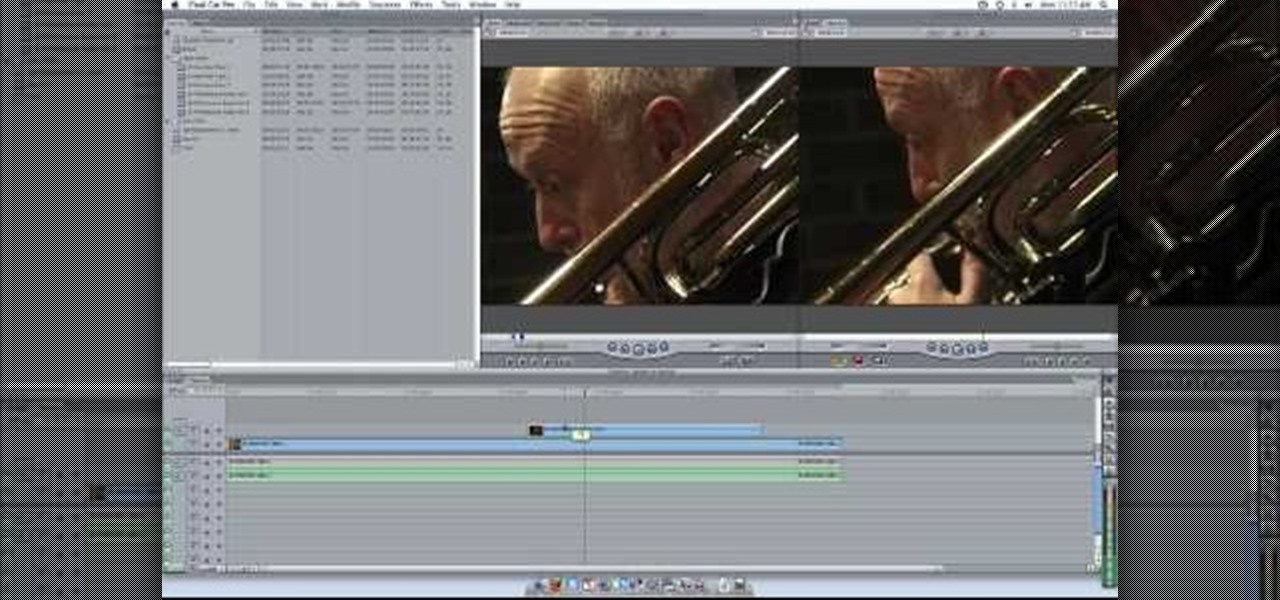
In this how to video, you will learn how to layer videos in Final Cut Pro. First, open Final Cut Pro. Get your original clip and then put the clip that you want in the clip and drag it in over the top in the time line. Change it to image and wire frame. Grab the corner of the image and drag it down to the size you want. You can also move it around. Next, go to sequence and render it. Once that is done, change the selection back to image. Once you play the file, both clips will be playing. If ...

Playing around with plastic lightsabers is juvenile; playing around with digitally generated, realistic-looking lightsabers is gangsta.

Unless you happen to be the real life version of Hayden Christensen's character from the movie "Jumper," who has the magical gift of teleportation, traveling from one place to another simply by will is a power restrained to science fiction novels and movies.

In this video tutorial, viewers learn how to import, manage and export 16:9 footage in Adobe Final Cut Pro. Begin by opening the Log and Capture.Then configure the Logging, Clip Settings and Control Settings. For the Control Settings, set the Device Control as Fire Wire NTSC and the Capture/Input as DV NTSC 48 kHz Anamorphic. Then scroll through the sequence setting of the footage and check Anamorphic. To export, click on File and select Export. Click in Options set the the size to Compressor...

One of the best features of Apple's Final Cut Studio is the disc designing feature DVD Studio Pro. With its ability to create high-end DVD masters, you can easily make discs for your indie film, or maybe even a professional movie. DVD Studio Pro is tightly integrated with Final Cut Pro and Motion, rendering the projects into DVD format without encoding to intermediary formats.

One of the best extensions for Apple's Final Cut Studio is the visual effects and digital compositing application Shake. Shake is an image compositing package used for post-production, and it enables complex image processing sequences to be designed through the connection of effects "nodes" in a graphical workflow interface.

One of the best features of Apple's Final Cut Studio is the graphics interface feature Motion. With its ability to create and edit motion graphics, you can easily create title sequences for your indie film, or maybe even a professional movie, with 2D or 3D visual effects compositing.

Andy Coon made this tutorial so users of Final Cut Pro can learn how to blur out images so they won't get sued.

Learn how to add music to your project using Final Cut Pro and incorporate it smoothly.

Learn how to add titles, credits, and other text to your project using Final Cut Pro.

Matt, the Shirtless Apprentice, follows up his last segment on syncing timecode for a multi-camera shoot with a quick explanation on how to utilize this technique in the edit. Learn how quick and easy multi-camera editing can be when using the multicam function in Final Cut Pro.

In this video tutorial you will learn to create dissolves in Final Cut Pro. There are many different ways to dissolve between one clip to the next. These transitions are recommended by Dvplace.

Larry Jordan explains the advantages and trade-offs of various external drive solutions, compares data rates or FireWire drives vs. SATA drives, what solutions work the best and how to avoid clogging your Final Cut Pro workflow.

Don Schechter demonstrates how to capture your footage from your camera to your computer and log it for easy access later on for Final Cut Pro. Logging clips allows you to organize your footage without having to waste hard drive space.

Why recreate your lower 3rds or bumpers over and over for different clients, when you can create some templates in Motion 3 you can easily change and customize in Final Cut Pro. This podcast shows you how to create master templates in Motion 3 and use them in FCP 6. Create Motion 3 master templates in Final Cut Pro.

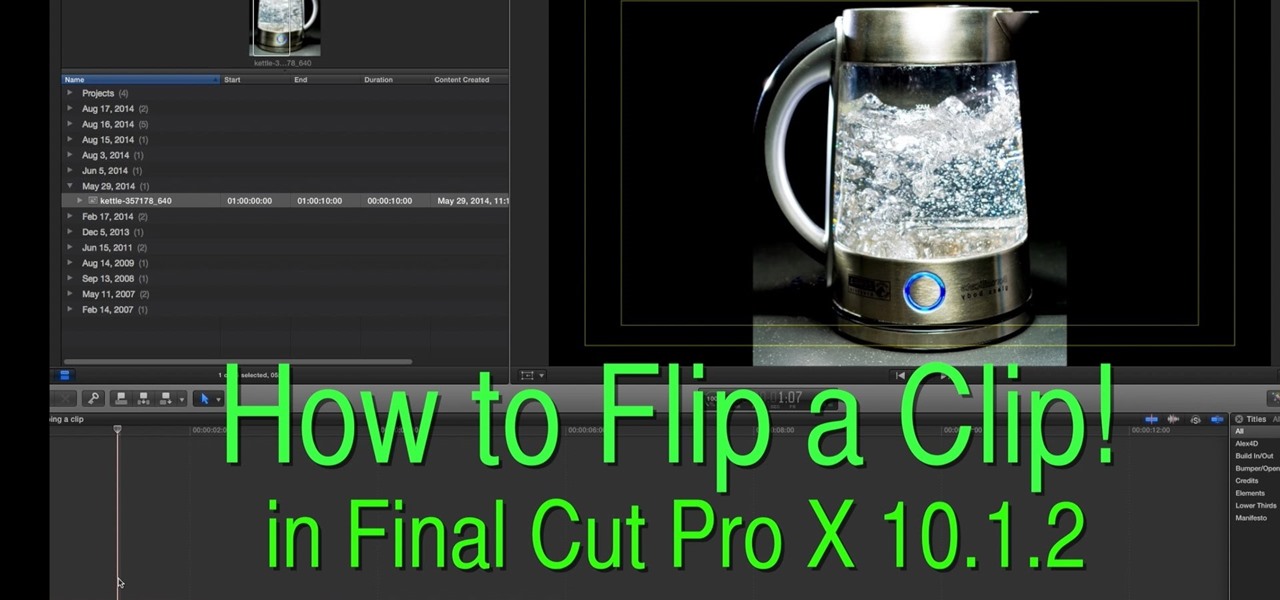
This is a great how to for all users in Final Cut Pro X 10.1.2 Video: .

Walter Biscardi demonstrates the basics of travel mattes in this Apple Final Cut Pro Video Tutorial. Learn what travel mattes are and the difference between alpha mattes and luma mattes. In part two we'll learn some simple animation and drop shadows. In part three Walter will show a real world application for using travel mattes - one of his favorite uses to enhance an interview. Use travel mattes in Final Cut Pro - Part 1 of 3.

In this two part video tutorial series, you'll see what it takes to composite with Colorista and Primatte Keyer in Final Cut Pro Studio. Whether you're new to Adobe's popular motion graphics and compositing software or a seasoned video professional just looking to better acquaint yourself with the program and its various features and filters, you're sure to be well served by this video tutorial. For more information, including detailed, step-by-step instructions, watch this free video guide. ...

In this episode of Final Cut Help, Richard Harrington takes a look at keyframing the three way color corrector in FCP. As details change in a movie clip you can have the filter adjust its values over time. This example uses a video of a bird starting in a bright sky and ending in water which is darker, the contrast transition is controlled by keyframing the saturation and color correction.

In this Final Cut Pro tutorial, Richard Harrington take a look at the elgato turbo.264. This is a USB add on device that accelereates the h.264 encoding you can do on your Mac. The turbo.264 comes with its own compression software with presets for iPod, iPhone, Sony PSP, AppleTV and YouTube.

In this Final Cut Pro tutorial, Richard Harrington takes a look at the gradient wipe transition. The gradient wipe transition is a highly customizable transition using greyscale patterns to create your own custom wipes.

In this Final Cut Pro video tutorial you will learn about using the 3-way color corrector with skin tones and how the color corrector behaves when adjusting the color of two subjects in identical scenes.

Native P2 Editing in Final Cut Pro with MXF4mac. Creative Cow is a support community for digital video, video editing, and media production professionals in broadcasting, motion graphics, special FX and film. Creative Cow hosts tutorials in a variety of softwares including Adobe programs (After Effects, Dreamweaver, Flash, Illustrator, InDesign, Photoshop, Premiere), Apple programs, Autodesk, AVID, Cinema 4D, Sony Vegas, Zaxwerks, and much more.

In this clip, award-winning director Philip Bloom walks you through the process of color grading his film "Return to Dungeness" in Final Cut Pro using Magic Bullet Looks. Whether you're new to Apple's Final Cut Pro non-linear video editor, new to Magic Bullet Looks or just want to better acquaint yourself with either program, you're sure to benefit from this video tutorial. For more information, watch this FCP lesson. Color grade with Magic Bullet Looks in Final Cut Pro.

Plangere Culture Lab demonstrates how to use the opacity feature in Final Cut Pro. The opacity feature is a beneficial tool to use when working with layers. Opacity is an attribute which relates to how much you can see through a clip. To layer clips, create a new video track on the timeline. Make sure that the source tab is in the right position. The track on the top of the stack is the dominant track and will be shown. Select the volume and opacity overlay button. Click on the line over the ...

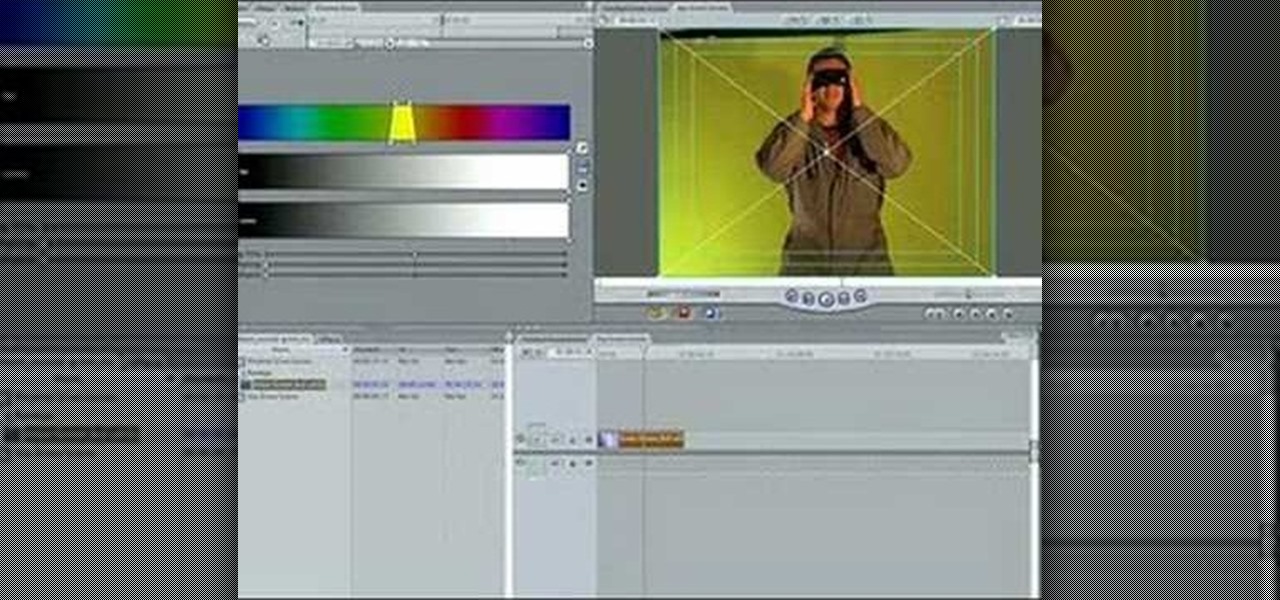
Let FiveSprockets help you get rid of the green screen effect in your videos and add great backgrounds to your movies at home! By using the Final Cut Pro program, follow along as you set your green screen clip in the display. From there you select the Effects, then Video Filter and follow it down into the Key menu. Grab the eyedropper and select the green color and make it fade away with just a few simple clicks. You can crop out any areas that didn't fade away, or use the softening tool to f...

Forgot to take a few production stills on set? No problem, work with what you have... the actual video footage. See how to get photos from video with iMovie or Final Cut Pro 6.

Ever needed to fix a clip where an unwanted or unexpected object appears in the scene? A car is suddenly passing across or a stage hand got in the shot by accident? And re-shooting is expensive or impossible? You would be facing hours of tedious frame-by-frame rotoscoping to get rid of the pesky element in your video...

Ted from Red Digital, and Michael from PlasterCITY, shows how to take a 4k source file, edit in real time, and make dailies in Final Cut Pro.

This tutorial goes over how to use some of the editing techniques available in Final Cut Pro. These aren't the most used (override and insert are), but replace, fit to fill and superimpose are also available and this video will show you all of them. You never know which technique is best for the job, unless you know them all! Replace fill editing in Final Cut Pro.

Creating that 'bad TV' look has never been easier with Final Cut Pro. Stephen Smith will show you how to create this spectacular effect using tools already provided by FCP. Learn how to make your video transition in from noise, animate a TV roll, and duplicate the "turning off the TV" look. Create that 'bad TV' look with Final Cut Pro.

In this tutorial, Larry Jordan demonstrates how to get optimal quality when compressing video for DVD in Apple Final Cut Pro. Scroll down and click the "watch video" link to start the movie. Compress video for DVD in Final Cut Pro.

Whether you are creating a podcast or QuickTime for the Web or CD-ROM, this tutorial shows how to add chapter markers (using Final Cut Pro) so the viewer can jump ahead to the information they need. Create chapter markers for QuickTimes in Final Cut Pro.

There will be plenty of times that your movie footage, or video clips or images will need color adjustments. Watch and learn how to do color correction (especially for balancing white) using Final Cut Pro. Learn about indoor vs outdoor color temperatures. Do color correction in Final Cut Pro.

Three point editing is a shortcut move that Final Cut Pro uses. It allows you to set the duration with only three, instead of four points. Watch and see how to use this editing technique. Use three point editing in Final Cut Pro.

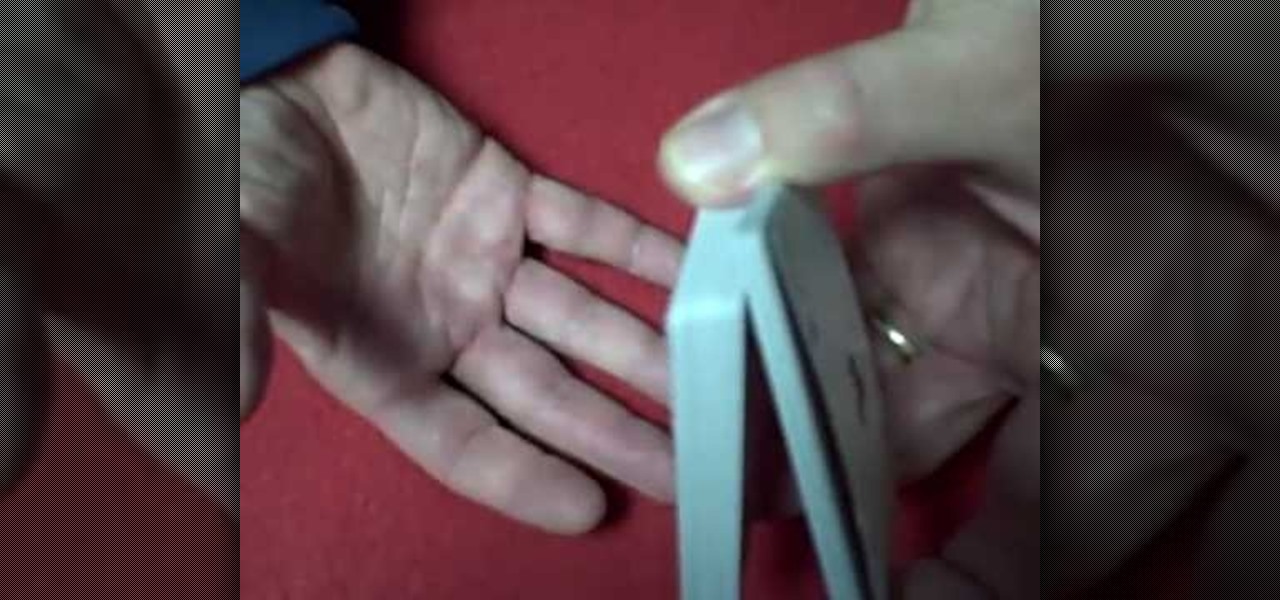
In this video tutorial, viewers learn how to do the swing false cut card trick. This cut makes it seem like the magician actually shuffled the deck. Hold the deck with one hand and cut a portion of it. Then lock the packet with your other hand's thumb and cut another portion of the decking, forming 3 packets. Put the top pack at the bottom as you pull out the center pack. Then swivel the packet on top to the other hand and drop the final pack on top. This video will benefit those viewers who ...

In this three part tutorial, Ben Scott shows you how to create a TV screen look, with effects, motion properties and key framing. Part two goes over adding motion paths, window layouts and the Quickview tool. Part three covers more on keyframes with opacity and noise. The final effect isn't that great looking but the techniques and processes you'll learn are well worth it. Create a TV screen look in Final Cut Pro - Part 1 of 3.

This video tutorial is in the Software category which will show you how to color balance in Final Cut Pro. Open a video clip in which you want to do color balance. Double click on it, click effects > video filters > color correction > color corrector 3-way. Click the "color corrector 3-way' tab and find something in the video that is supposed to be white. In the color tray you will see 'whites' written. Now click the eye dropper tool and just click the white object, and you have done the colo...

In this Software video tutorial you will learn how to use tool shortcuts in Final Cut Pro. To change opacity and the volume limit, click the little mountain button on the bottom and you will have two lines in the clip representing audio lines of two mono tracks. And you also have opacity located above the audio lines. With the help of the slide bar you can set the opacity. To get the pen tool press 'P'. To get out of any tool, press 'A'. To delete the entire audio track, select it, lock, dele...
