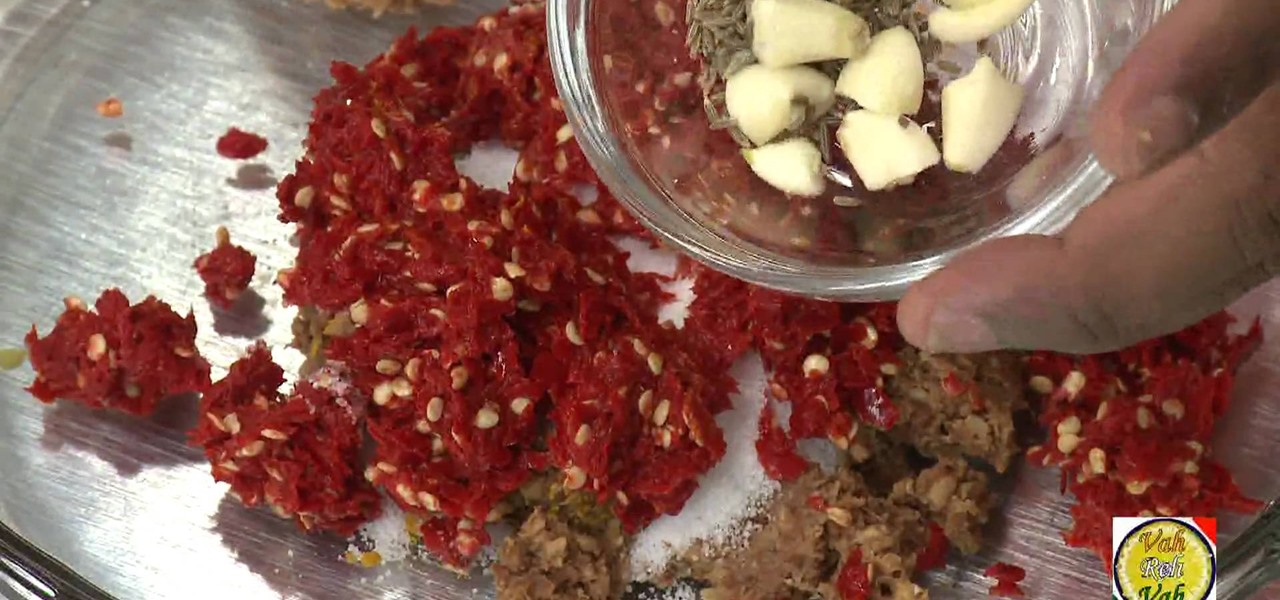
In this tutorial, we learn how to make tamarind red chili pickles. This is made by grinding up ripe red chilies with tamarind. After you do this, you will make sure the combination is well combined by stirring again with a spoon. When this is finished, heat up a skillet with oil and then sprinkle spices into the oil, allowing them to simmer for several minutes. Then, spoon the mixture into the oil and brown on both sides until it is finished. Serve when it's done cooking, then pair it with yo...
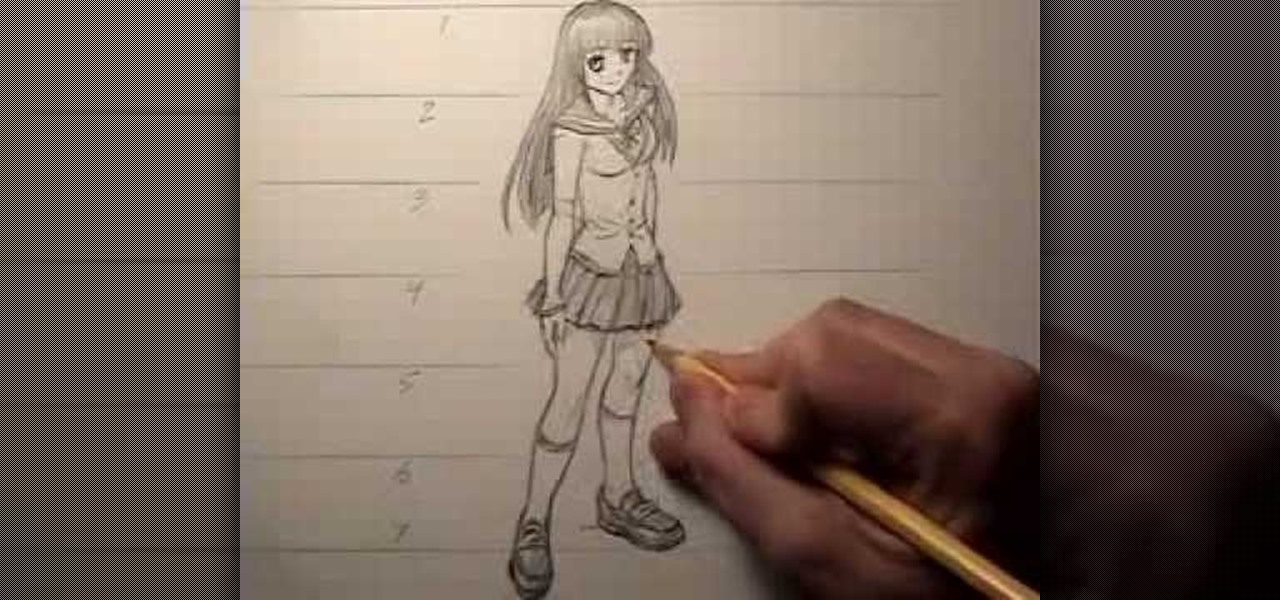
In this tutorial, we learn how to draw female body proportions in the manga style. First, you will need to mark your paper evenly with lines to see where you want the head to be at. After this, draw down the rest of the body, looking at the lines as you continue to draw. Use these lines as measurement tools to make the body look proportionate. For example, the head should start at one and the fingers should end at the fifth line. The waist should come at line 3 or 4, then you can finish off t...
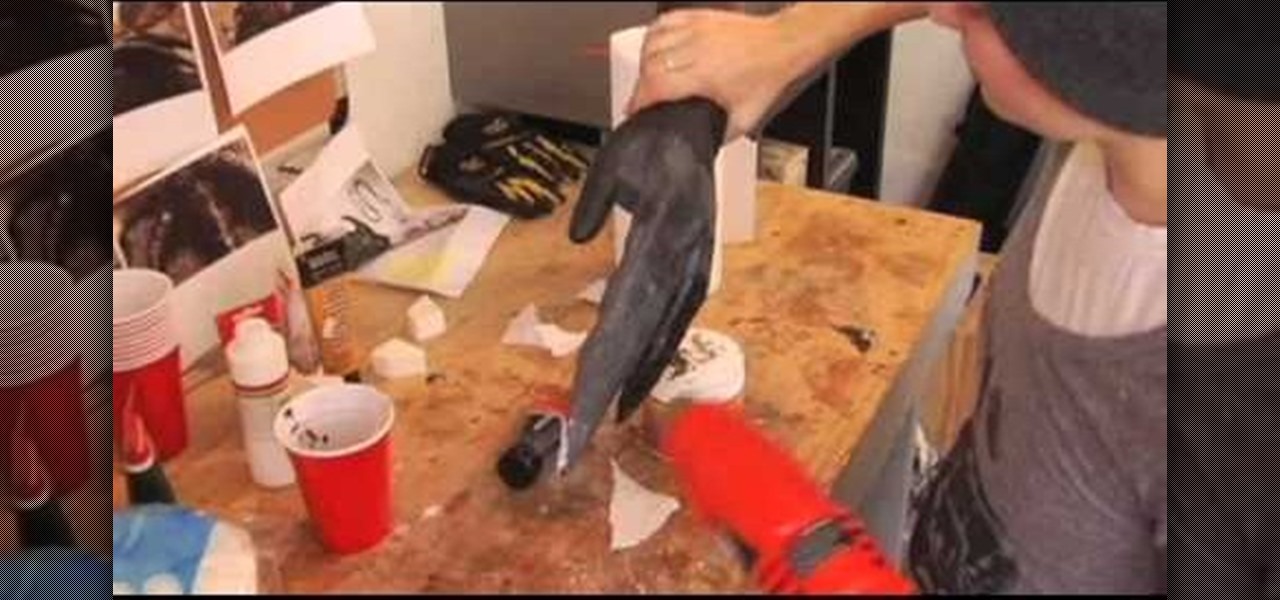
You will need: rubber glove, paper towels, liquid latex, paint, and newspaper. First, fill the glove with newspaper, then secure the fingers with electrical tape to make only 3 fingers. Then, mix up the liquid latex with black paint and apply it to the fingers. Then, place the paper towels over this in coats and shape them so they are pointy. Add in some texture using paper towel strips and cotton balls. Continue to paint over with the liquid latex/paint until you have made your desired textu...
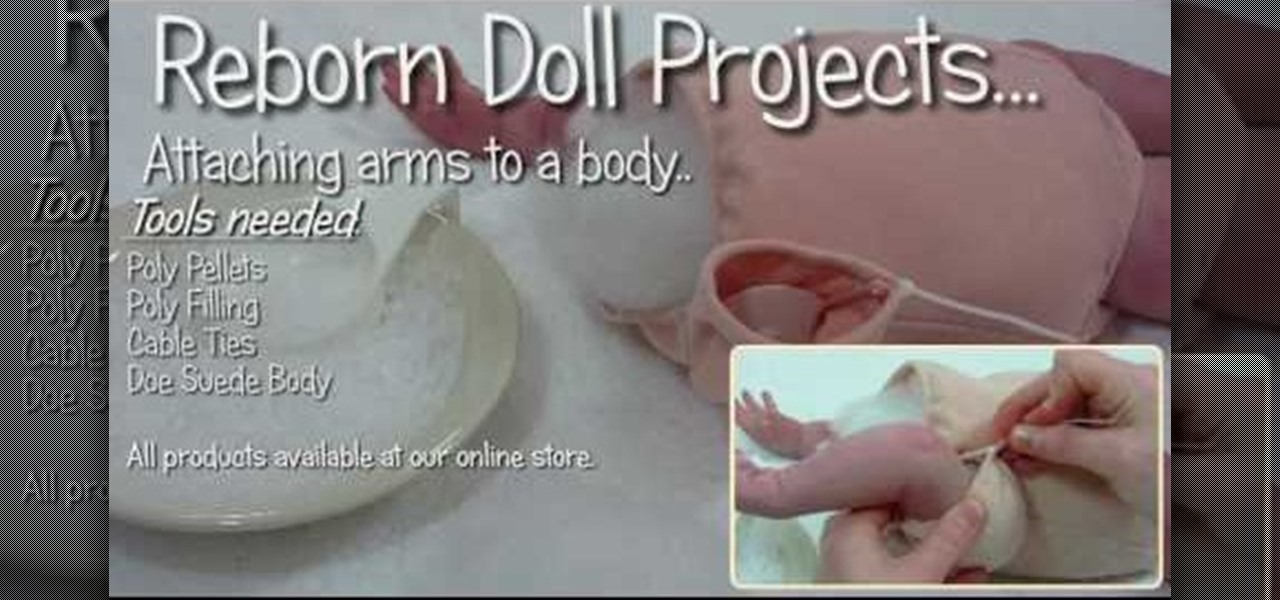
In this tutorial, we learn how to weigh the shoulder and attach the arm on a reborn doll. First, gather all of your tools and then start to fill the shoulder of the doll. Do this by filling 1/3 of the top of the shoulder joint with poly fill. Next, fill the middle with poly pellets and leave room for more poly fill fiber. Once you have done this, place small amount of poly fiber fill over the pellets. Don't over-fill the arm. Then, attach the arms to the boxy and tighten it up with the fluff ...
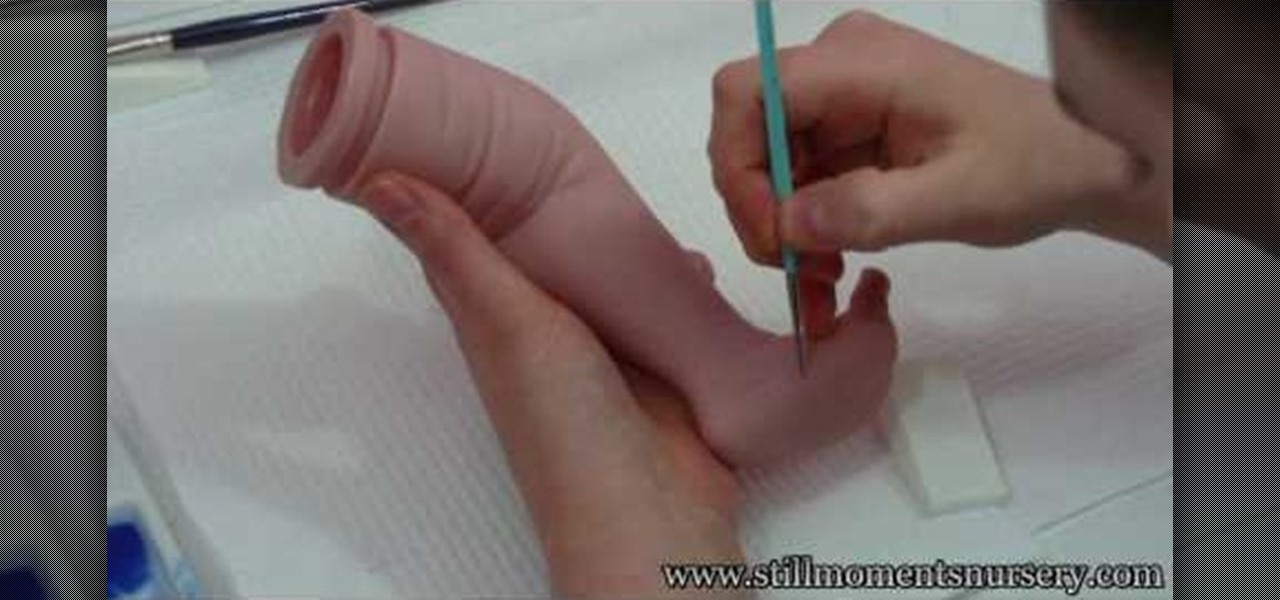
In this tutorial, we learn how to apply veins to a reborn baby doll. Gather up all your materials, then mix the proper paint for the veins. After you're finished mixing, use a very fine tip brush to add the veins onto the baby's chest and stomach. Use a sponge to dab onto the paint after you have painted the veins onto them. When finished with the chest area, start to apply the veins to the limbs of the baby. Continue to do this until you have painted realistic veins on all the appropriate pa...
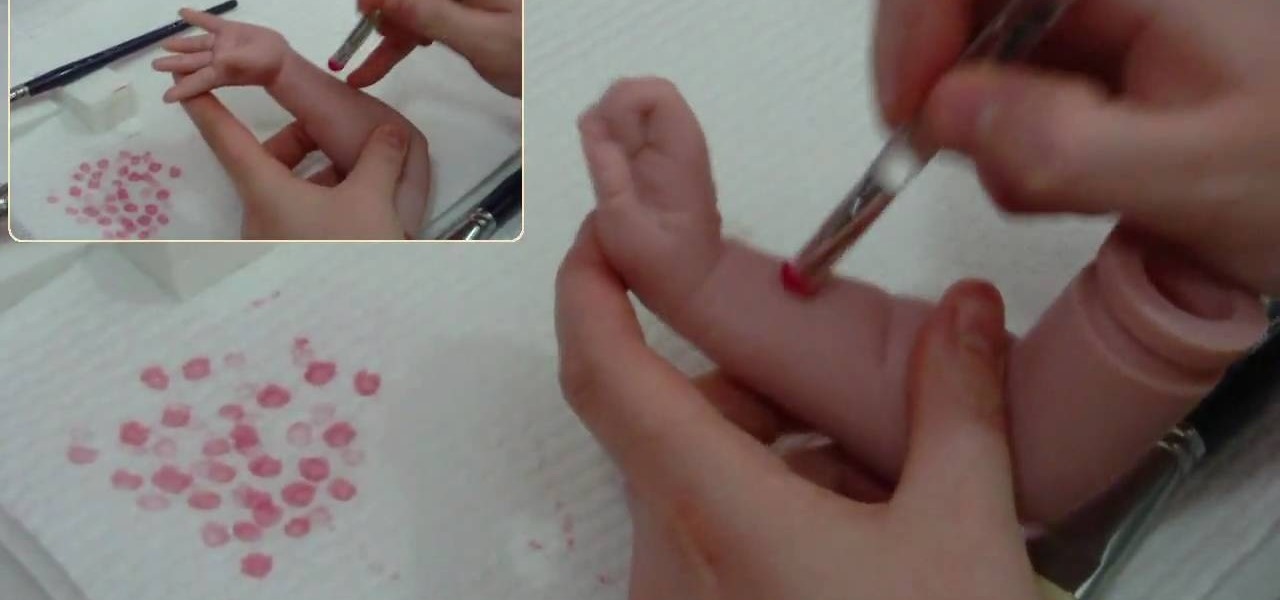
In this video, we learn how to mottle with a berry maker brush on a reborn baby doll. First you will need to gather all of the materials you need, then mix up your correct paint colors. Next, you will use a small dabbing brush to dab the color onto the stomach of the baby. Once you have finished this, work your way up to the chest. Be sure to dip your brush inside the paint every time you run out of some. Once you're done, do this same process for all of the limbs, avoiding the soles of the f...

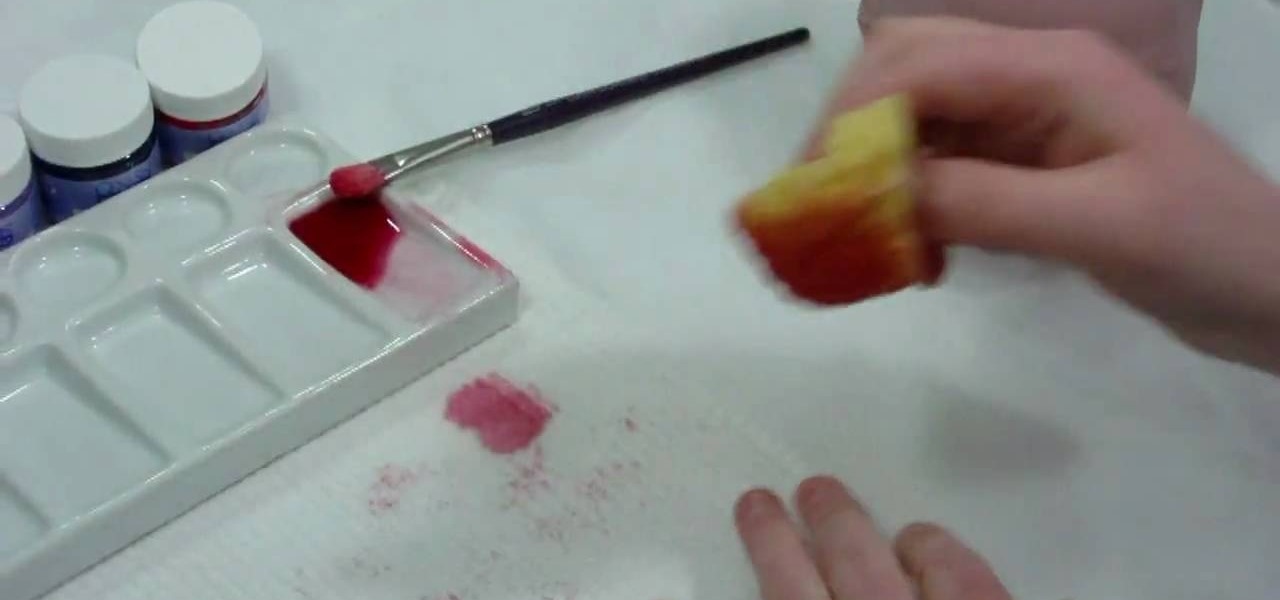
In this video, we learn how to mottle with a sea sponge on a reborn baby doll. Start out with gathering all the tools that you need, then mix up your paint to the correct red tint. After this, apply some of the paint to the sea sponge using a paint brush. After this, grab the limbs of the baby doll and start to push the paint onto them, avoiding the soles of the feet. Continue to do this throughout all of the different limbs, then the chest and stomach of the doll. When finished, you will hav...

We don't crave steak often, but every now and then we have this huge hankering for a nice, juicy slab of rib eye. For those nights when only steak will fit your tummy bill, spice things up a little bit by making this Tuscan grilled rosemary steak.

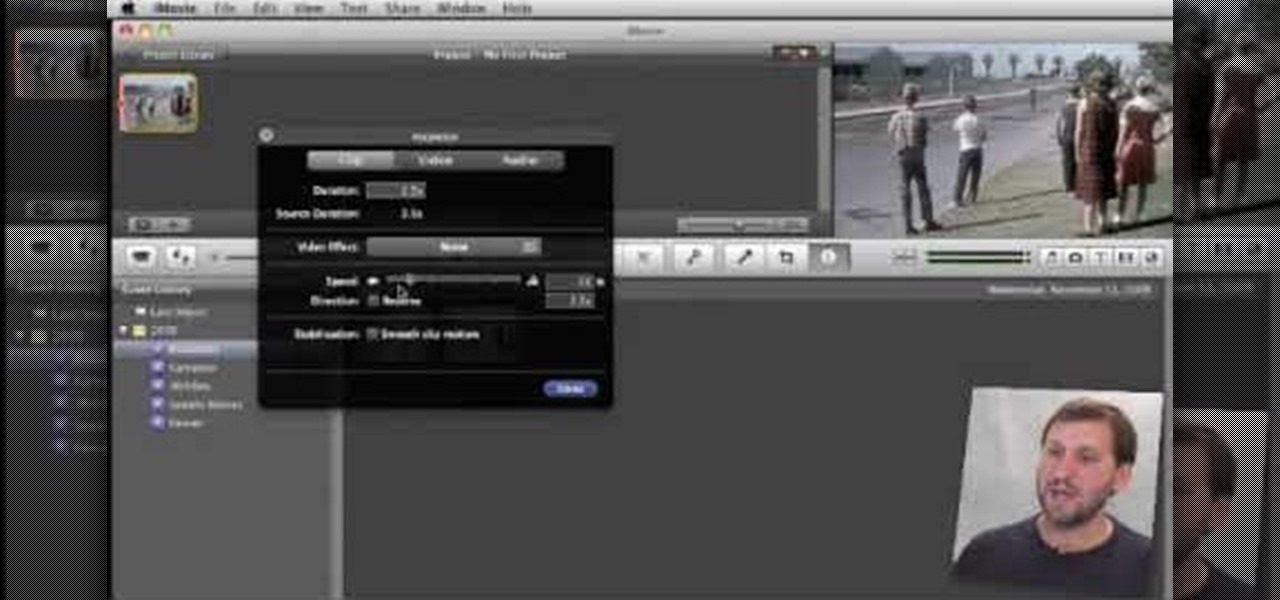
In this tutorial, Gary teaches us how to speed up and slow down in reverse in iMovie 09. First, open up iMovie on your computer and set your preferences so the advanced tools are turned on. Now, open up your project and play it back at normal speed. Next, go to the information for this clip by selecting the "i" button. Click on the speed and then click "convert entire clip" so you can control the speed of the clip. After this, you can move the lever on the gauge to make it faster or slower. W...

In this video, we learn how to crochet a headband for winter. You will need yarn and a size 10 crochet hook to do this. To start, make a slipknot, then hook your needle into it. Start making a simple chain stitch, after you finish this row, stick your needle into the first stitch and make a single crochet all the way down. Continue to do this for several rows, until the headband is thick enough to go around your head the way you want it to fit. When finished, tie it off with a knot at the end...

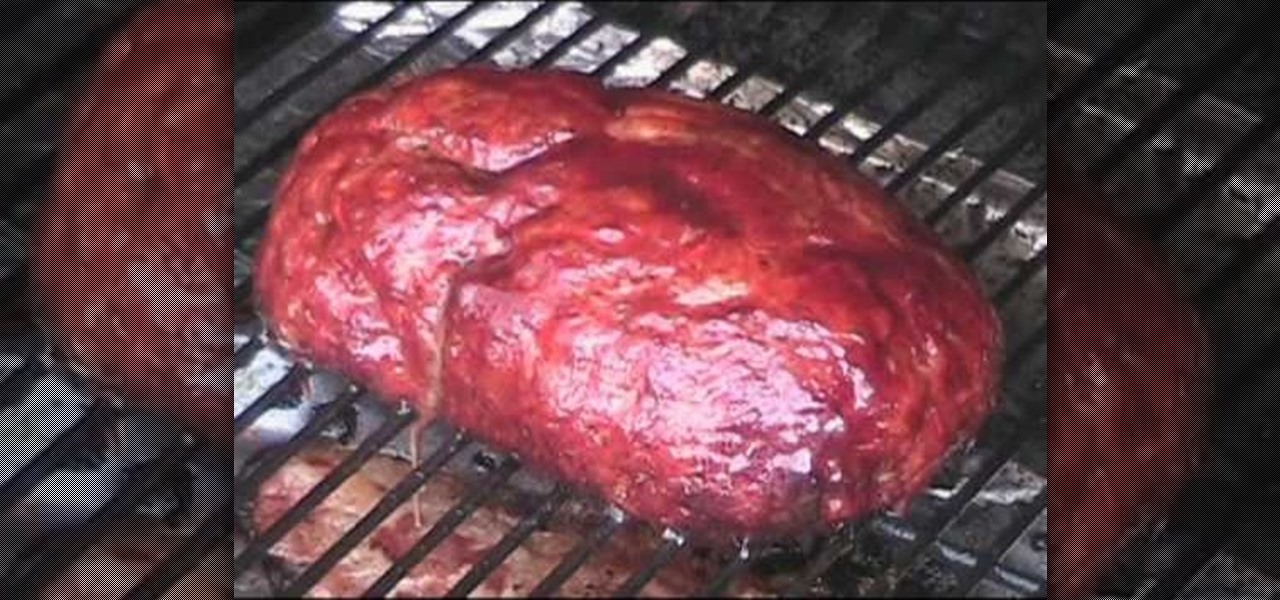
In this video, we learn how to make a meatloaf using your barbecue. First, take a pound of ground beef and a pound of ground pork and place in a bowl. Add in 1 grated carrot and 1 finely chopped roasted red pepper. Now add in one egg, 1 tsp salt, 1 tsp pepper, 1 tbsp oregano, 1/2 c Italian breadcrumbs, barbecue sauce, and 1/3 c milk. Combine these together with your hands and form a large loaf when finished combining. Next, place the loaf into a pan with foil underneath it, then place in the ...

In this video, we learn how to make a shadowbox. First, you will need to have a frame that is thick and pops out from the wall. After this, layer hot glue down on the inside of the frame where you are going to put what goes on the inside. Decorate it how you like, a good idea is to use fake moss, wood chips, and stones on the inside. Decorate this as unique as you would like to, let your imagination go wild! After you have decorated the frame as you would like it, grab a piece of paper that y...

In this video, we learn how to create a Fergie "Meet Me Halfway" hairstyle. First, clip the top of your hair up and curl the bottom of your hair with a curling iron. When it comes out of the curl, place our hair in a bobby pin into the curl, while wrapping it up into the head. Continue to do this throughout your entire head of hair. When finished, hair spray your hair and then take the pins out and set them down on the counter. When all the pins are out, style your hair how you prefer it and ...

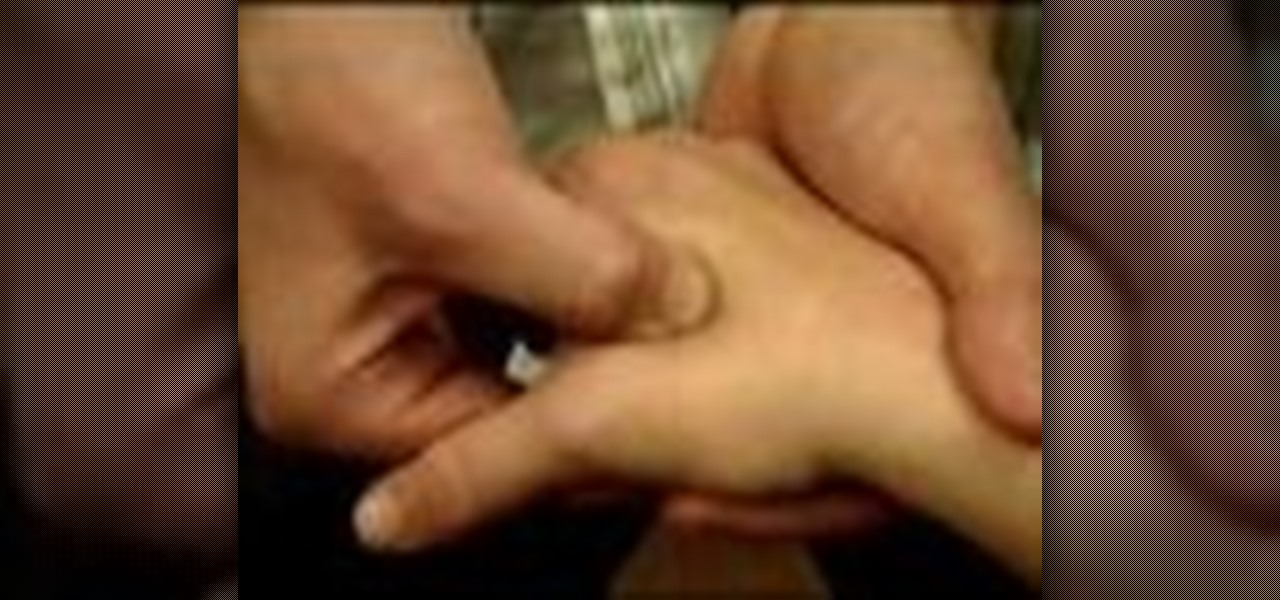
In this video, we learn how to give a professional hand massage. First, spread oil onto the hand with your hands, which will prevent you from sticking together. After this, open the hand up and interlock your fingers with theirs and start to massage the inside of the hand. Open the hand up and work your fingers into the sensitive muscle areas. Go slowly, but apply enough pressure around the hands to make a difference. After this, work the tendons on the front and work your hands around each o...

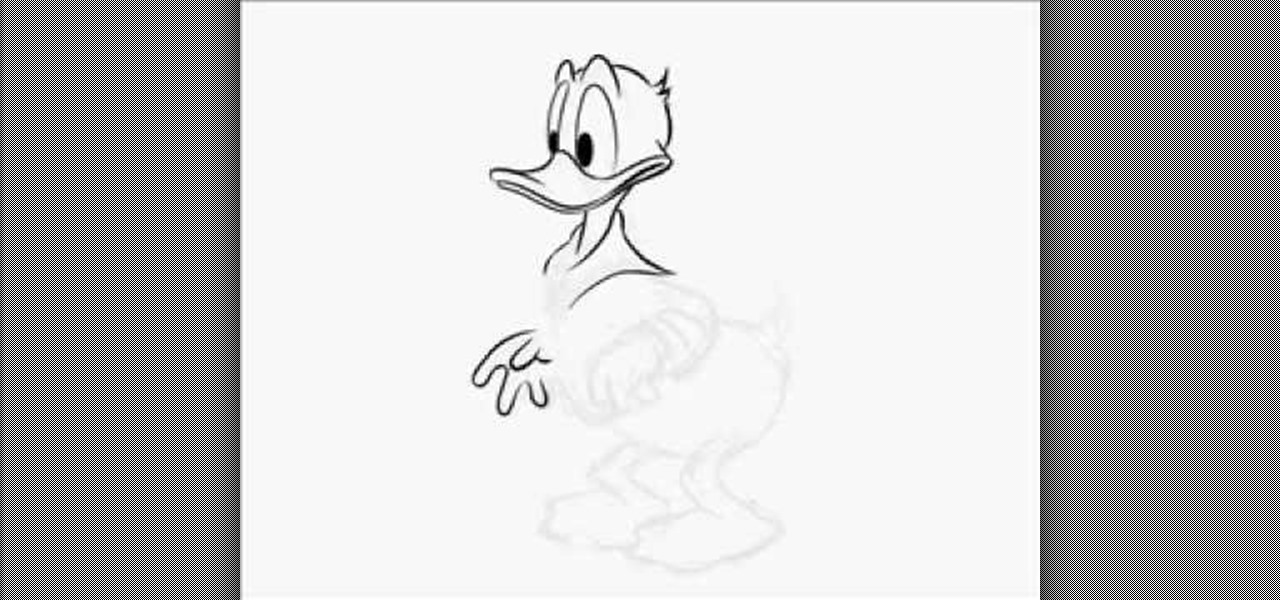
In this video, we learn how to draw a full body Donald Duck. First, start by drawing circles for the eyes and body. The body circle should be larger and more round than the head. After this, start drawing lines to connect these two circles and make the neck and body with a t-shirt on. After this, draw the tail on him and then start to draw the beak. Next, add in legs to the body and then add in the eyes. Use a darker pencil to outline the body, then make lines for the hair on the head and on ...

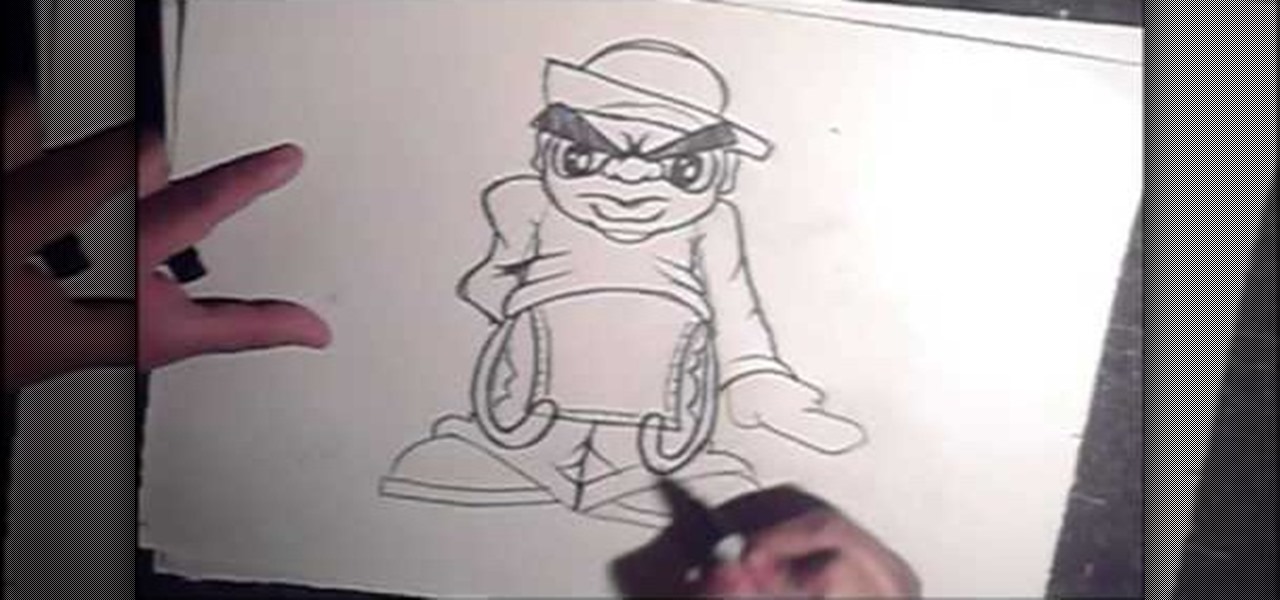
In this tutorial, we learn how to draw a graffiti style hip hop cartoon character. First, make a circle, then draw long triangles for eyes and a mouth plus a rectangular shaped body with very large feet. Then, draw in the arms with large hands and draw a hat on the top of the head. Then, fill in the color for eyebrows and fill in the pupils. After this, outline the character with a darker pencil or a black marker and fill in details for the outfit, like pants and a long sleeved shirt. To fini...

In this video, we learn how to treat sunburned and irritated skin. Milk and water compresses are the best treatment. To make these, pour equal parts of milk and water into a bowl, then place a clean cloth into it. Ring it out when finished, then lay on the skin for around 10 minutes. Make sure to use skim milk, which will work much better than whole milk will. Continue this for several minutes, and your skin should feel soothed when you are finished. Use this treatment whenever you feel sore ...

In this tutorial, we learn how to make French baguettes using a bread machine. To make this, you will need: 2 c water, 5 c bread flour, 2 tbsp white sugar, 2 tsp salt, 1 tbsp rapid rise years, and 1 egg yolk whisked with 1 tbsp water. Place all of your ingredients except for the yolk and water into the bread machine and let it knead the dough. When finished, sprinkle corn meal onto a hard flat surface, then shape it into baguette shapes. When finished, brush the egg yolk and water mixture ove...

In this tutorial, we learn how to set up a group on Facebook. First, log into your Facebook, then click on "groups", then click "create a new group". Now, give your group a name, description, news, email address, and contact information. When finished, click on "create group". Now you will be able to customized your group by adding images. Once you do this, you can add a website and change your different options. Allow only instructors to upload photos, because students may decide to upload i...

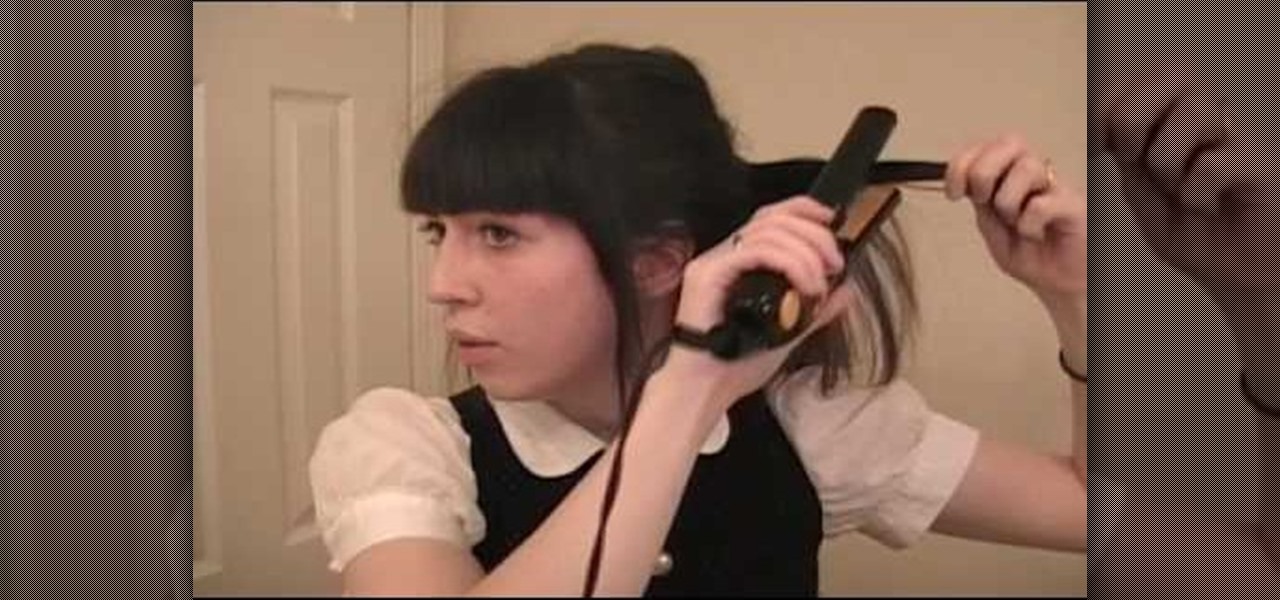
In this tutorial, we learn how to do a messy hair bump pony tail. To begin, you will need to straighten your hair all the way through with a straightener. Next, you will push your hair back and tie into a pony tail in the back. As you are gathering your hair for the pony tail, comb the top and sides so it's smooth and bring your bangs out on the sides. Now, take your straightening iron and curl the back of your pony tail in different one inch strands. Don't worry about making this look perfec...

In this tutorial, we learn how to recycle plastic grocery bags into a dog leash. To begin, you will cut the plastic bags in half, then cut off the handles of the bags. Next, apply glue to the entire bag, then roll up into a straight line. Continue to do this for several different bags, depending on how long you want your dog leash to be. When you finish this and the glue is dried, tie several bags together end to end, and have three rows of these. Now, take the bags and tie them in a knot aro...

In this tutorial, we learn how to do a hairstyle wave like the one in "The Notebook". First, start out by curling your entire head of hair. Now, grab your bangs and brush them up, then spray them with hair spray and let them dry while standing up. Then brush the bangs down to the side and spray the ends with hair spray and mold the hair with the hair spray. Clip the hair in place, and then spray hair spray over it once more. Once the hairspray is dry, take the clips out and brush the hair out...

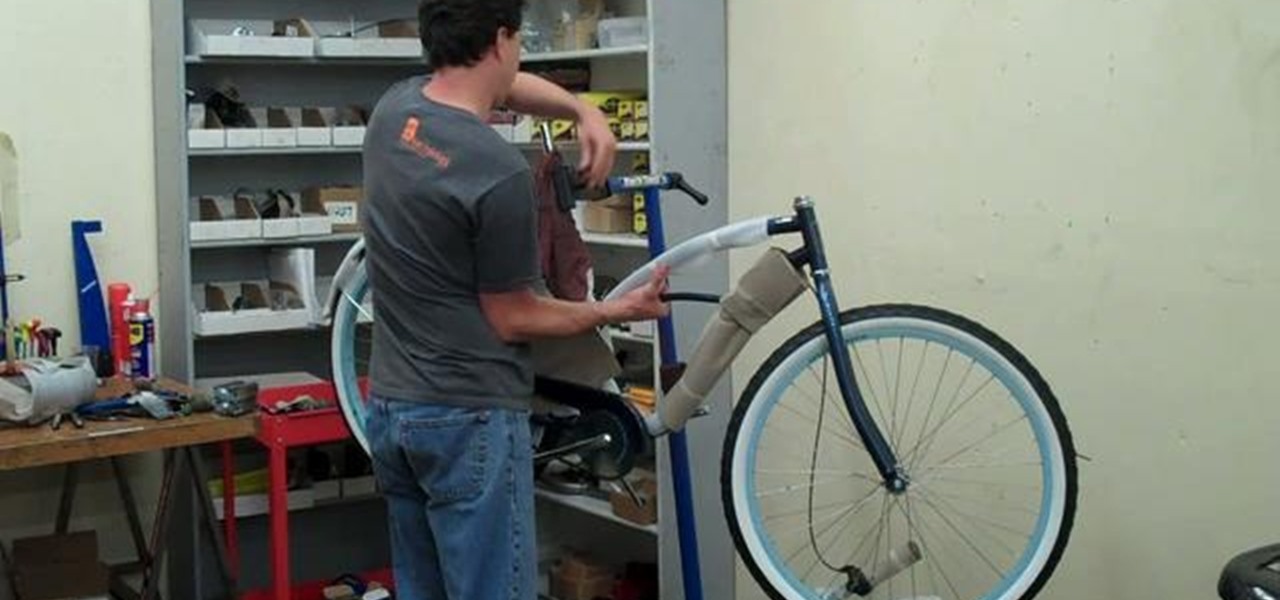
If you have recently ordered a new bike online, or purchased it at a store where it is not fully assembled, check out this clip.

Instructions for building wall panels and posts using Alan Block materials. This is How-to Sheet #190, for the Courtyard Collection. Combine walls and posts in a three step process: build a post, build one wall off the post, then build a second wall off the first. Corner blocks help make perfect corners, and have one long and one short side. Offset the vertical seems by alternating. Blocks used for the wall include Dublin center-split, Dublin end-split, and York center-split. You will need to...

Joico Spiker takes the time to show us how to style a mans hair so it is spiky and textured. It's very easy to get the gist of it even though the video is in a language other than english, . He recommends his hair styling product for this. He uses 3 separate stages of applying the hair gel, all three stages use about a nickel size dollop of gel. For the first stage you apply it over as much of an area as possible, setting a base for the second two stages. Next, you apply the second dollop of ...

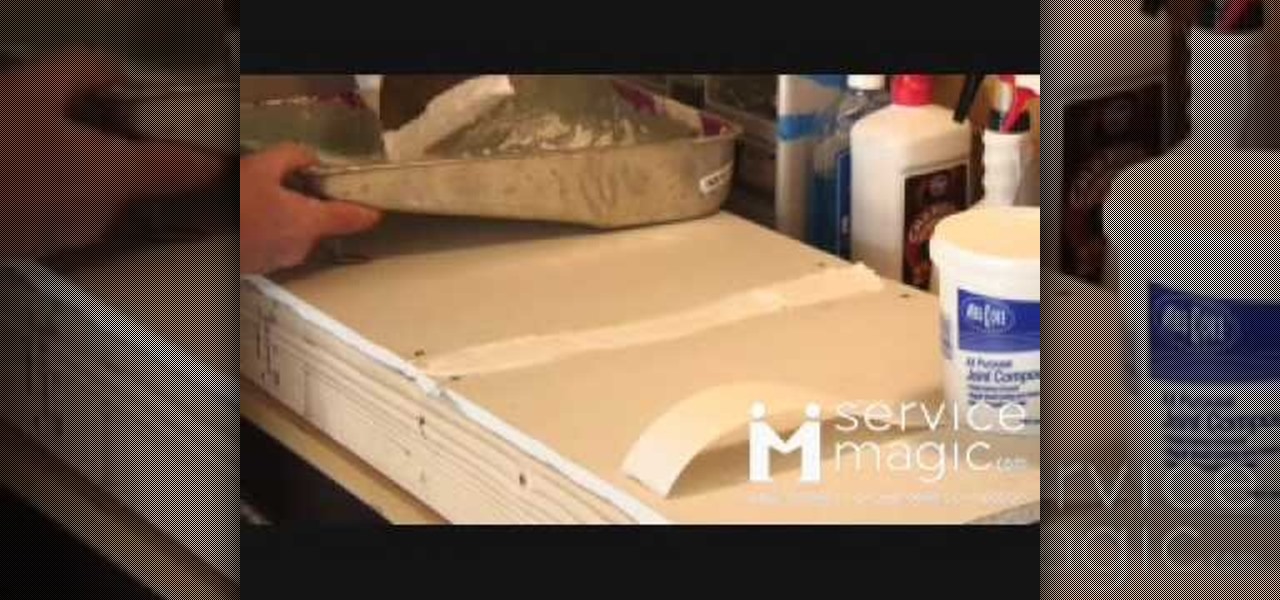
How to tape and finish drywall

This how-to video is a vibrant and animated tutorial on how to paint children’s furniture: in particular, a little girl’s tea table and chairs. It’s fast paced yet easy to follow. The video couple takes you from the taping and preparation of the table and chairs to the completed and professional quality finished product, which would thrill any little girl. Their method of communicating the most important steps is to race to the camera and speak to the audience, in an amusing sort of wink, whi...

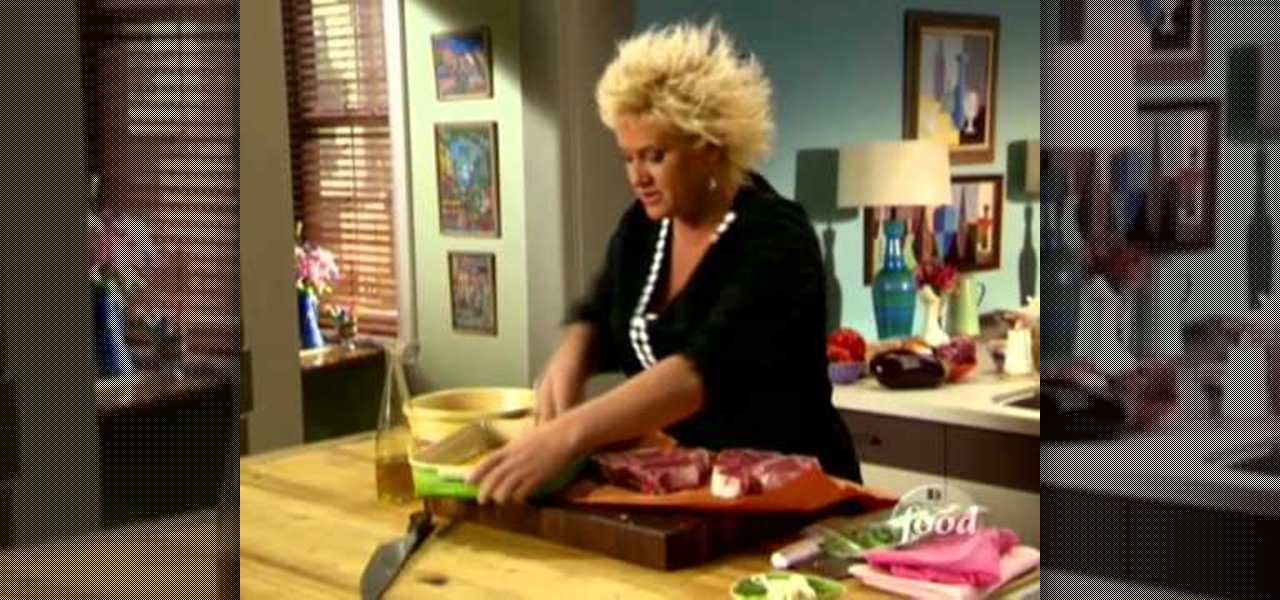
The steak should be at room temperature so it will cook quickly and evenly. He heats some oil in the pan until it just starts to smoke and then puts in the steak. Steak should be turned only once during cooking. The Chef demonstrates how to test for rareness by touching the meat and then comparing with spots on the inside of the hand.

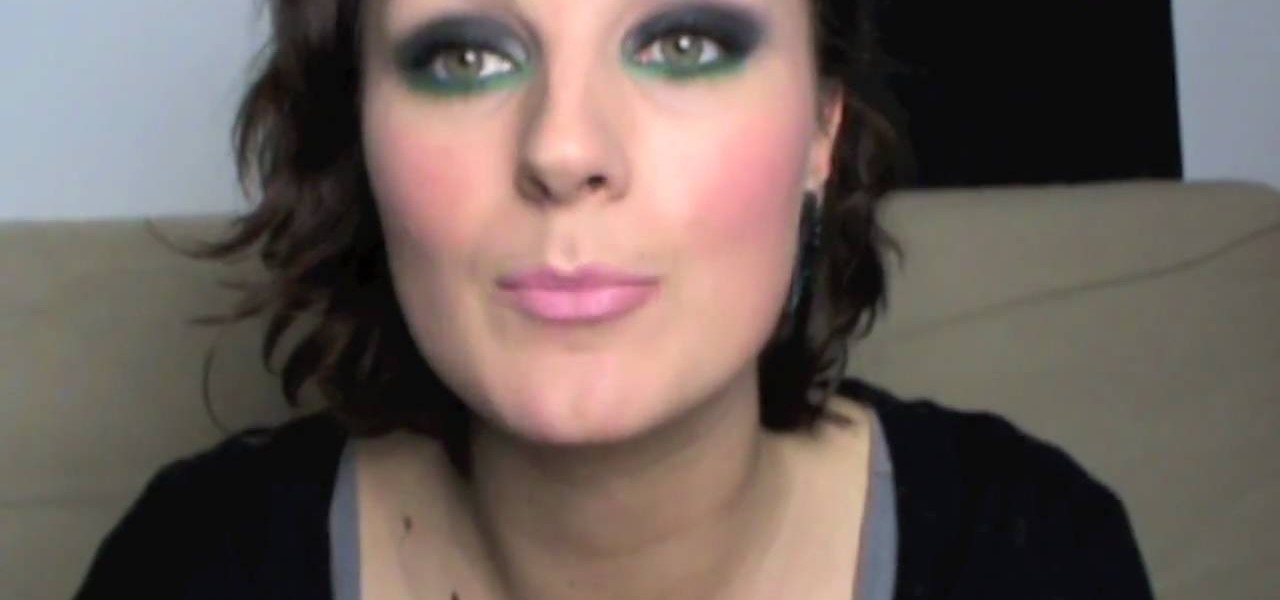
Fashion Face brings you a video that teaches how to create smoky eyes with a twist of green, and then shows you how to finish up your whole face.

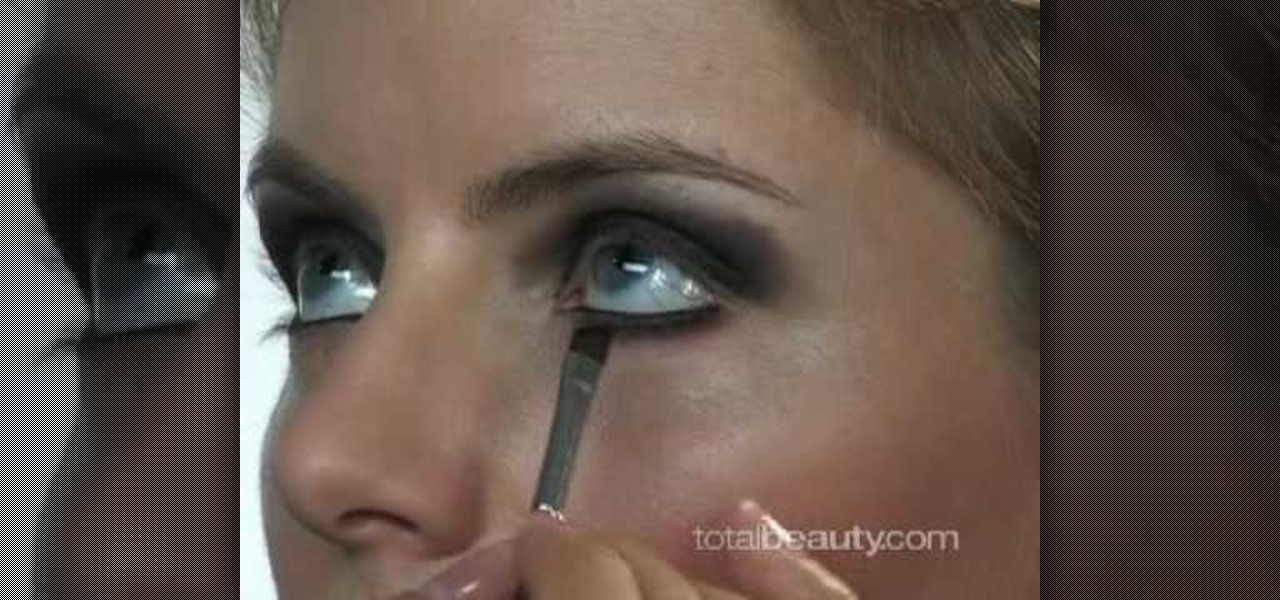
This tutorial explains how to create a classic smoky eye. First prime the eye lid with black cream all over the lid using a flat brush. Apply black eye shadow in the crease area. Apply the eye liner on the top and bottom of the eyes. To give it a more dramatic effect, take your angled brush and put more eye shadow on the bottom. Curl the eyelashes using an eyelash curler. Finish the look by applying mascara and then you're finished.

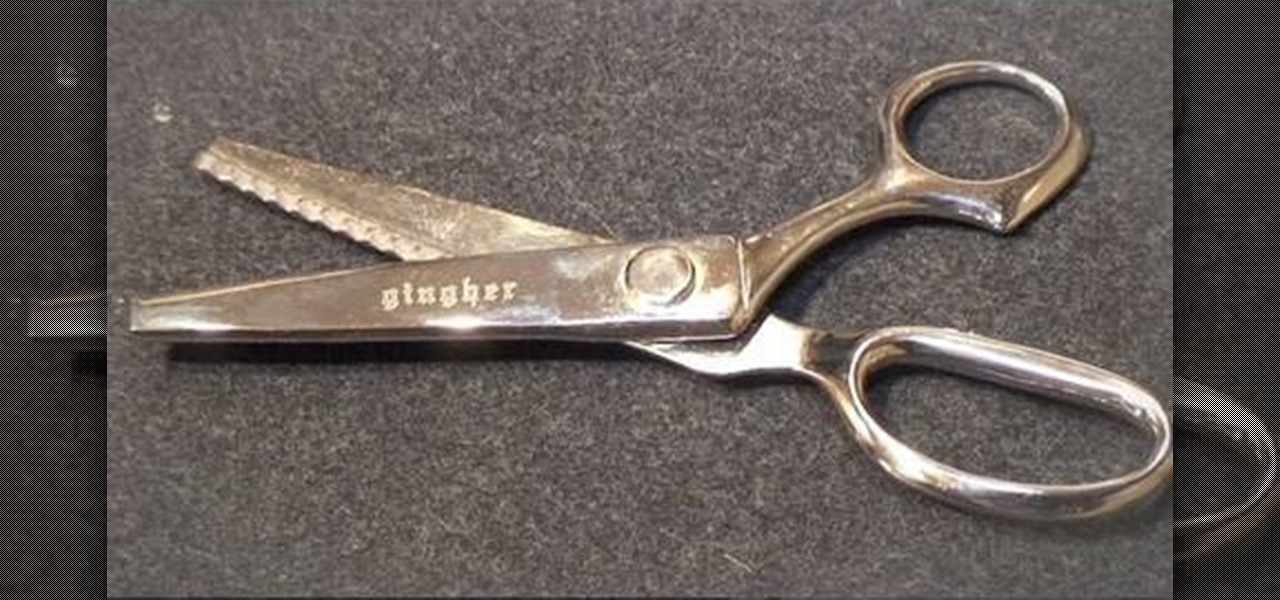
Pinking shears are scissors with an blade that is spiked instead of straight across like a regular pair. Pinking sheers are used to finish off fabric that does not necessarily need a strong hem. They can be used for any type of material that will not unravel - such as silk or charmeuse. This tutorial from Threadbanger will show you how to finish off your fabric by pinking, which is actually incredibly simple to do.

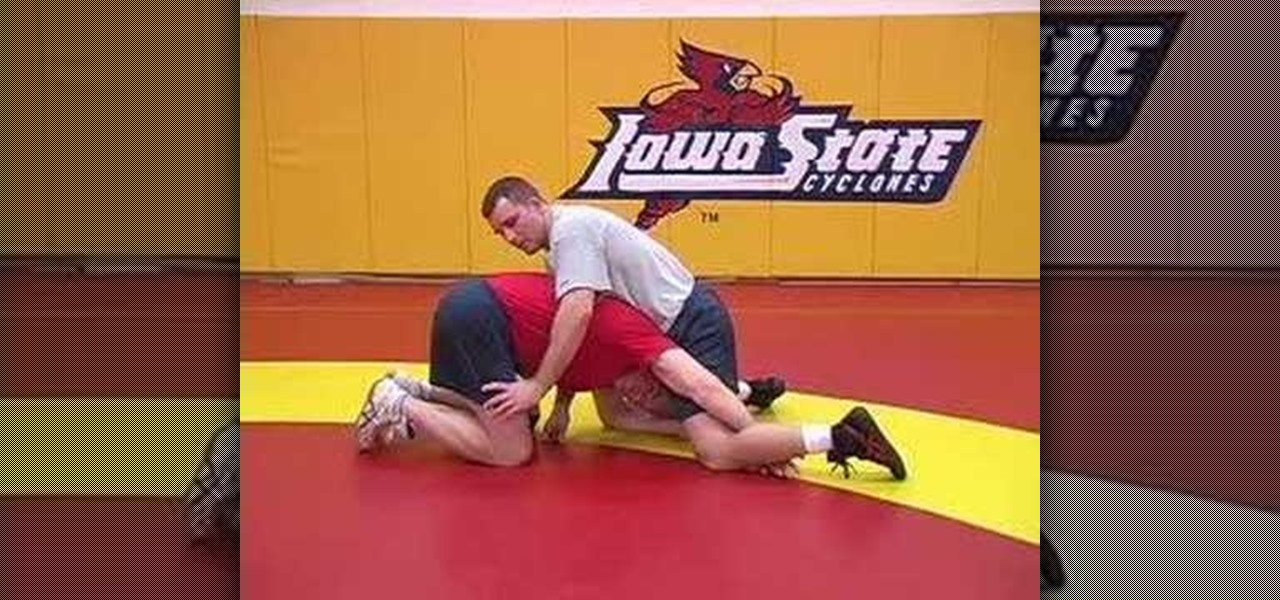
Cael Sanderson showing wrestling technique for Iowa state University Wrestling Camps. In this wrestling technique video Iowa State Head Coach Cael Sanderson Shows how to finish a shot when the opponent sprawls. You are trying to hook the ankle and increase your leverage.

We've all seen the breathtaking, colorful photos of the Eagle, Egg and Cat's Eye Nebulae. You may not recognize them by name, but you've seen them, whether in astronomy textbooks, magazines, websites, album covers, or tee shirts. They are some of the most striking photographs ever taken from the Hubble Space Telescope (HST).

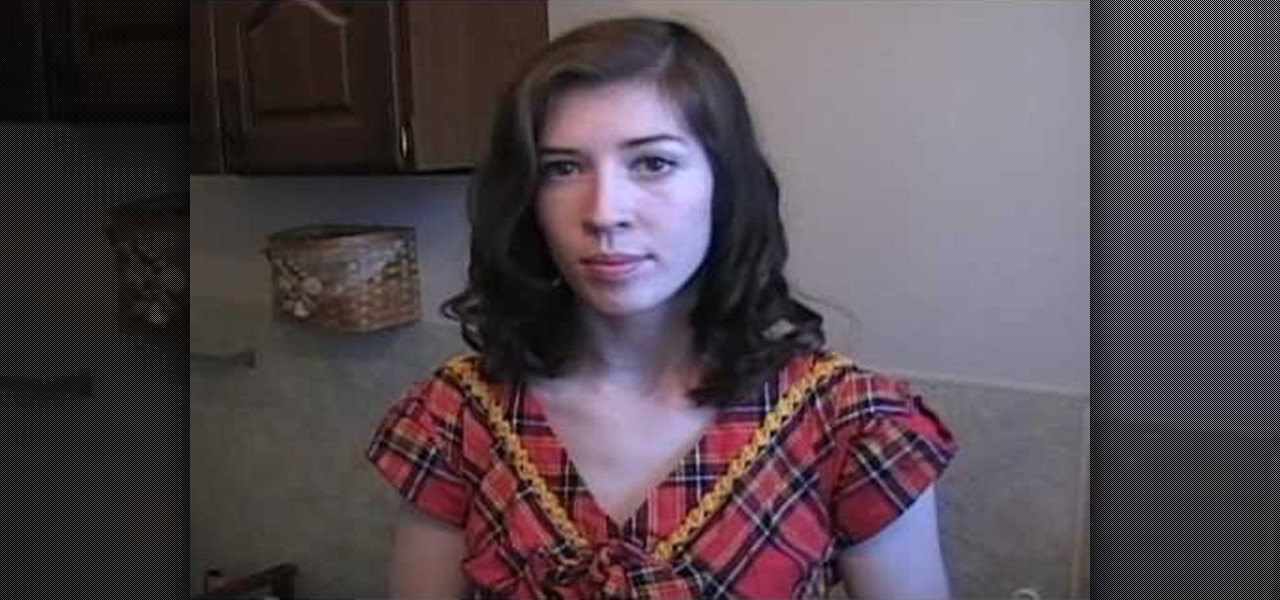
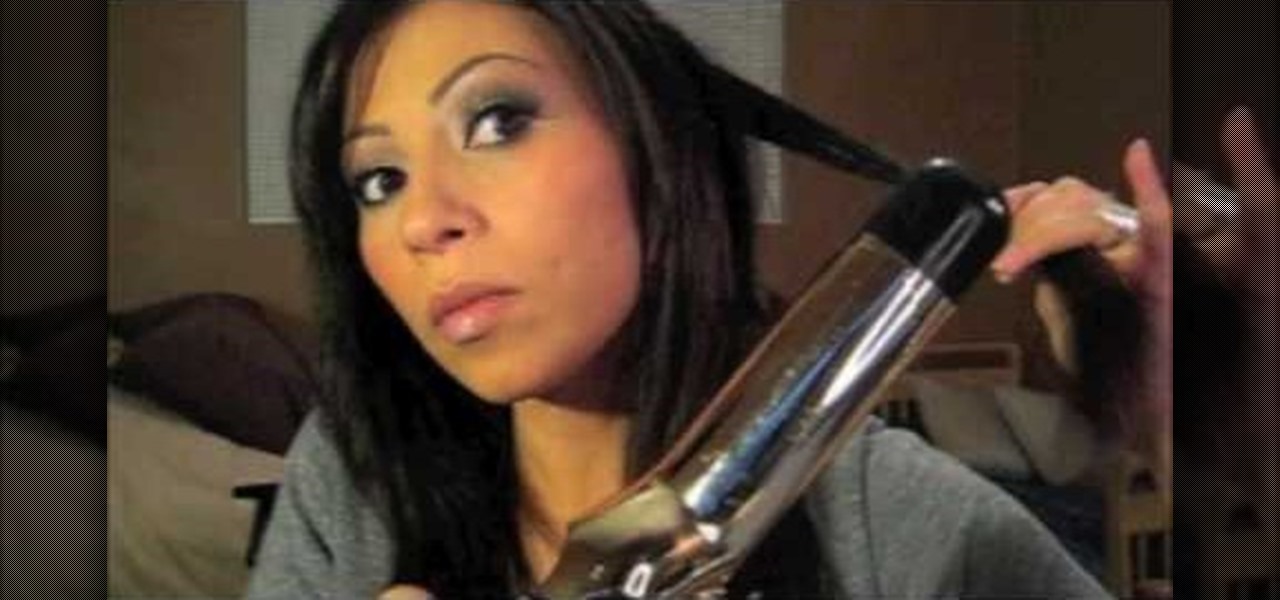
In this tutorial, we learn how to get deep waves like Kim Kardashian. Start off with clean and straight hair. Spray heat protectant onto the hair when you are finished. Next, grab a 1.5" curling iron, and start curling your hair, using medium sized pieces. Continue to do this until you finish with your entire head of hair. After you are done, style your hair with your fingers, then spray in your favorite hair spray. To have more of a hold, apply mousse gently into the hair with your fingers a...

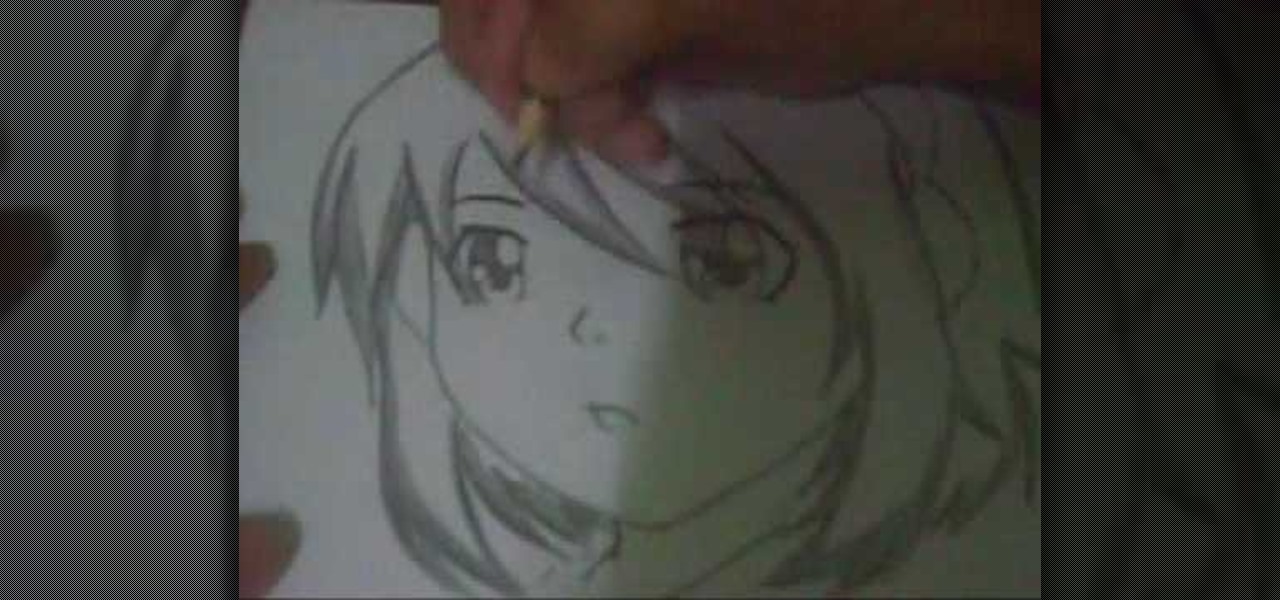
This is a sped up video on how to draw a female anime face. The artist begins by drawing the cheeks and jaw line. Then the neck is made. Next the artist makes long side-bangs that cover a portion of her face. A lot of his time and detail is spent on making the hair at this point. It is very choppy with defined pieces at the ends. During the hair process, an ear and a headband are drawn. When the hair is finished, the artist begins working on the eyebrows, nose, and eyes. The eyes seem to requ...

For a more authentic look for model trains, brand spanking new train cars can be weathered to create the effect of having been in use for ages. When was the last time you saw a brand new train in real life, anyway? Watch this hobby how-to video and learn how to give brand new model train coal hoppers a distressed finish.

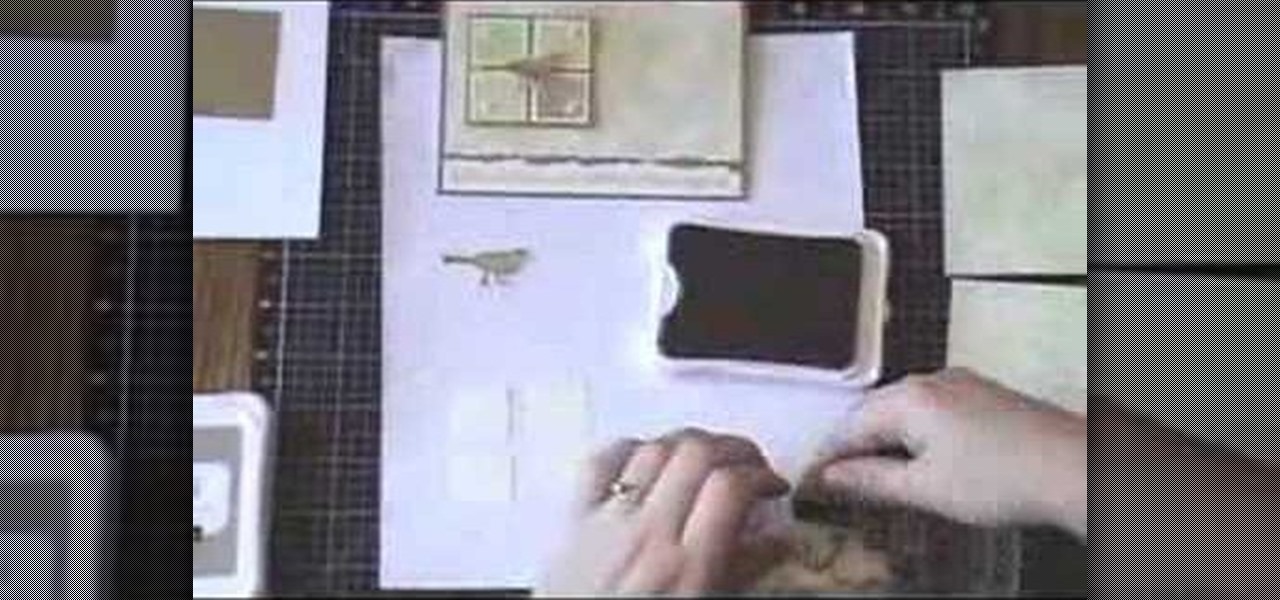
Glossy cardstock and an acetate sheet protector are great material to use for doing a fossilized stone technique on paper. This effect makes an unusual finish you'll find yourself using over and over in greeting cards. Watch this video card making tutorial and learn how to create a fossilized stone technique on glossy cardstock, and how to make an all occasion greeting card using the stone finish paper.

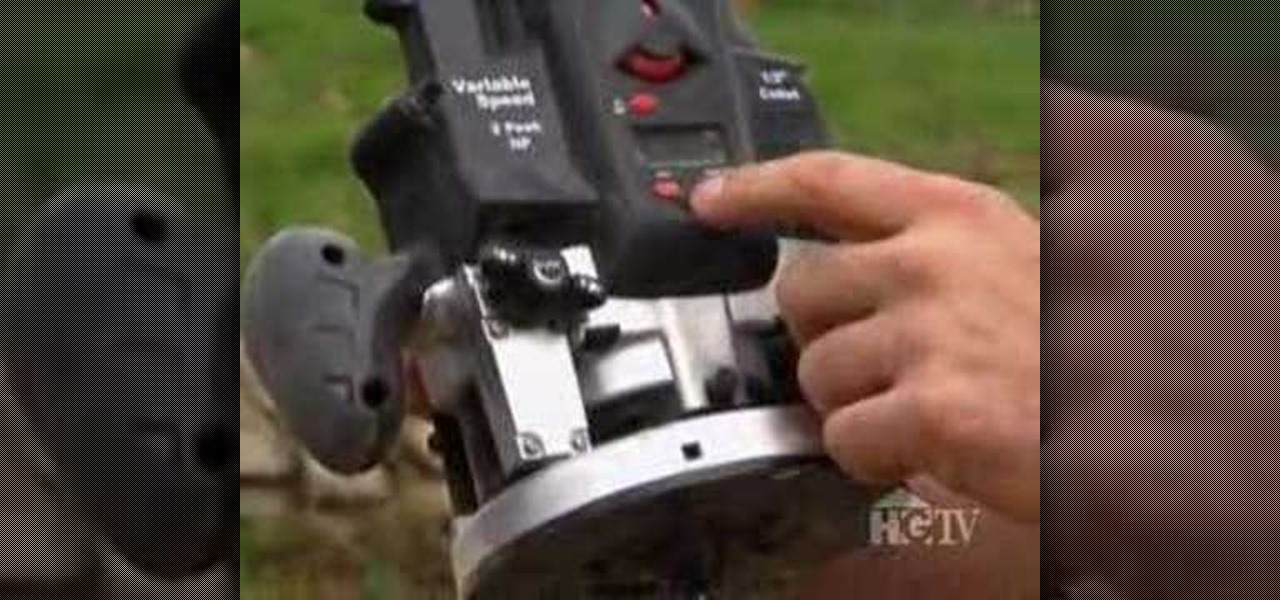
A router makes a great tool to have when working on fine finish work. This Home & Garden how to video demonstrates the proper operation and use of the router for finishing work on cabinets. Remodeling your home doesn't have to be such a daunting task. Create beautifully rounded edges and trims with a router.

Outdoor finishes can be one of the trickiest types of wood finishes to master. Why? Because there is never a one size fits all solution. As woodworkers, we are used to dealing with the seasonal wood movement of our interior pieces. But when one of our creations is destined to live outside, there is much more to consider. Depending on your region's climate, your project could experience anything from snow and ice to hot desert sand storms. How the heck do we prepare for that?!?! Well, it is st...

In this video golf lesson golf instructor Steve Bishop discusses some key ideas and tips about the finish. This will help you identify some of the errors you may have made during your golf swing.


