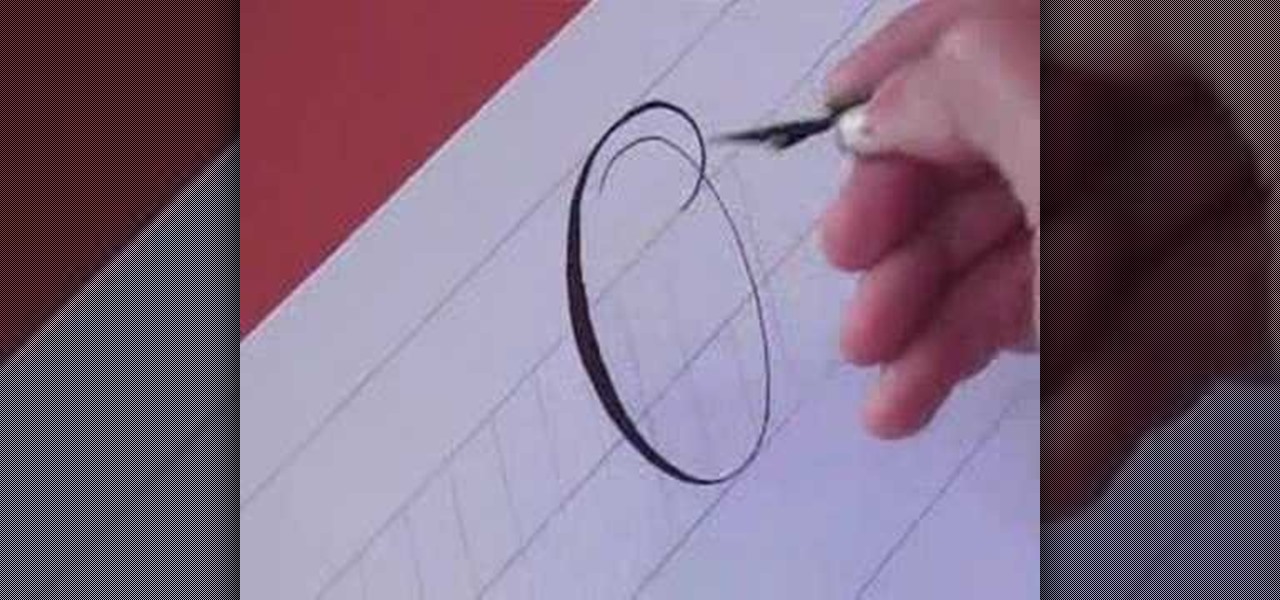
In this video, we learn how to write the letter O in calligraphy copperplate. Take your calligraphy pen and make a medium thick half loop at the top, dragging it down into a thicker line on the left side of the word. Then, continue onto the other side of the O with a lighter touch of the pen making a very thin line, finishing with a loop in the middle. Make the smaller O just like normal, making the thick line on the side and finishing with a small loop bending out to the right at the end. Wh...

In this tutorial, we learn how to do a hamstring workout at home. First, you will need to have a workout bench and a dumbbell, then lay on the bench and grab the dumbbell with your feet. Then, lift up the dumbbell with your feet and bring back down, pointing your toes and moving slowly. Make sure the dumbbell stays straight up and down when you do this. Use slow form with no jerking, then when you are finished, release the weight. The next exercise you can do is hang from a bar, then lift the...

In this tutorial, we learn how to create a vampire look for Halloween with your hair. First, curl your entire head of hair, then put half your hair in a high pony tail. Now, add in more curls on the pony tail and pin your bangs off to the side, using gel to give it a sleek look. When curling the hair, leave some hair on the bottom and only curl the top and middle. When curling the bottom of the hair, only curl the bottom half of the strands, not the entire thing. Next, add some lace to the si...

In this video, we learn how to make photo magnets. First, clean your glass with vinegar, make sure it's small enough for the magnet. After this, cut your preferred image to fit in the glass, then apply adhesive to the image. Apply the glass with the texture side down, then push it around to work out all the bubbles. Clean the glass off with a damp towel before it dries. Next, apply Diamond Glaze to the back of the magnet and then allow it to dry completely. When finished, attach a magnet to t...

In this video, we learn how to write the letter "S" in calligraphy copperplate. First, dab your calligraphy into ink, then start to writ on a your paper. Make a large half bowl shaped curved line, then make a loop and go down, creating a curved line with a dot at the end. To make the lowercase letter, make a thin line, followed by a thick outer line that curves into the large line making a lower case s. When you are finished with both of these, you will have beautiful letters that look great ...
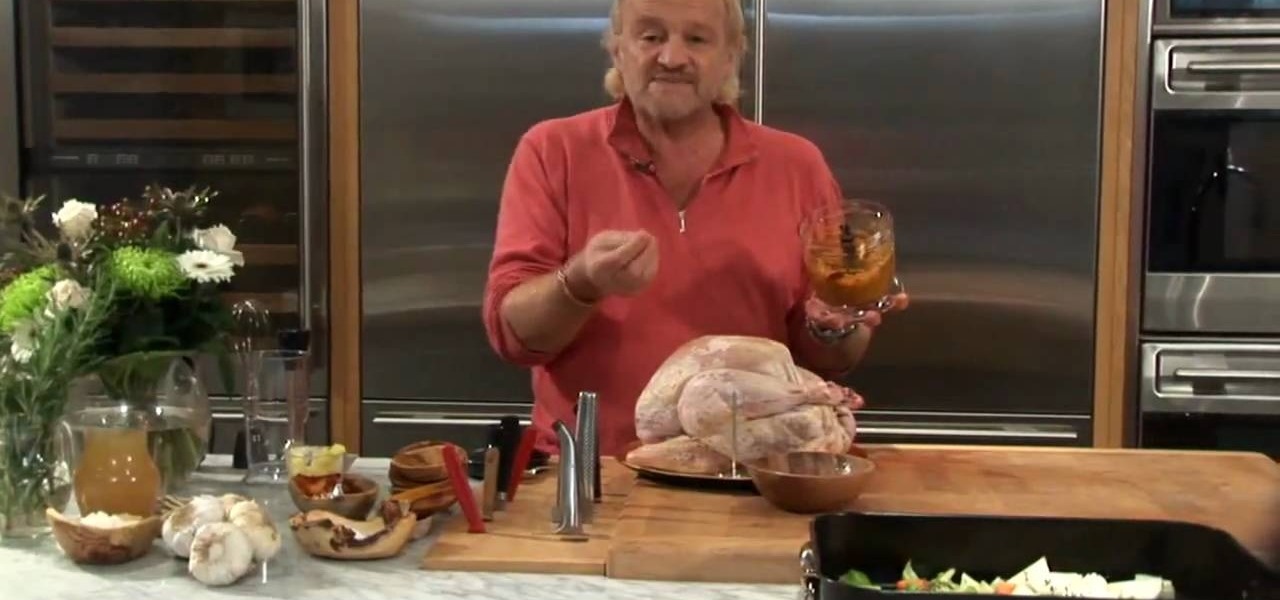
In this tutorial, we learn how to roast a turkey with a modern twist. Use spices and herbs on your turkey and prepare it before you cook it!. First, make sure you find a fresh and free range turkey, these tend to taste the best and are the best for you. You can also use roasted garlic with other spices as a dry rub on your turkey before you place it into the oven. While it is cooking, make sure you apply more spices while it's cooking so there will be delicious spices throughout the turkey wh...

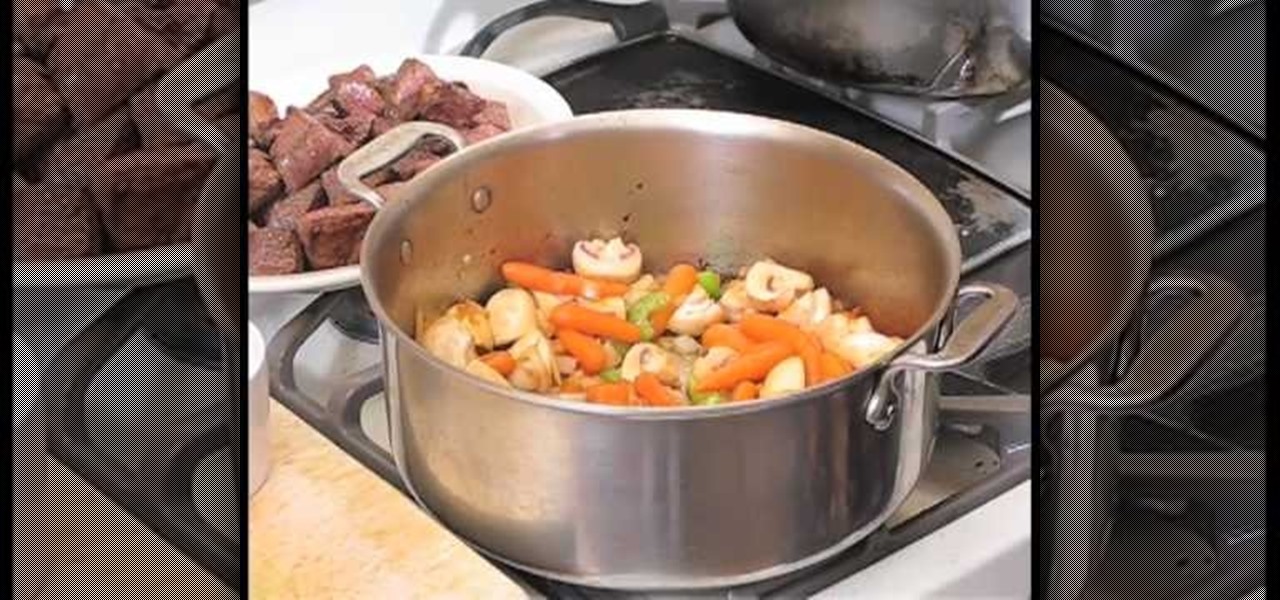
In this tutorial, Heather Johnston teaches us how to make beef stew in two hours. First, you will need to brown your meat in a skillet after cutting them into 1 inch pieces. After these are browned, add in onions, celery, carrots, mushrooms, and any other vegetables you prefer in a separate pot. Now, sprinkle flour and salt over the vegetables to thicken it up, then stir while it browns. Now, add your meat back into the pot with any juices and mix together. Now, you can add in 1 tbsp fresh th...

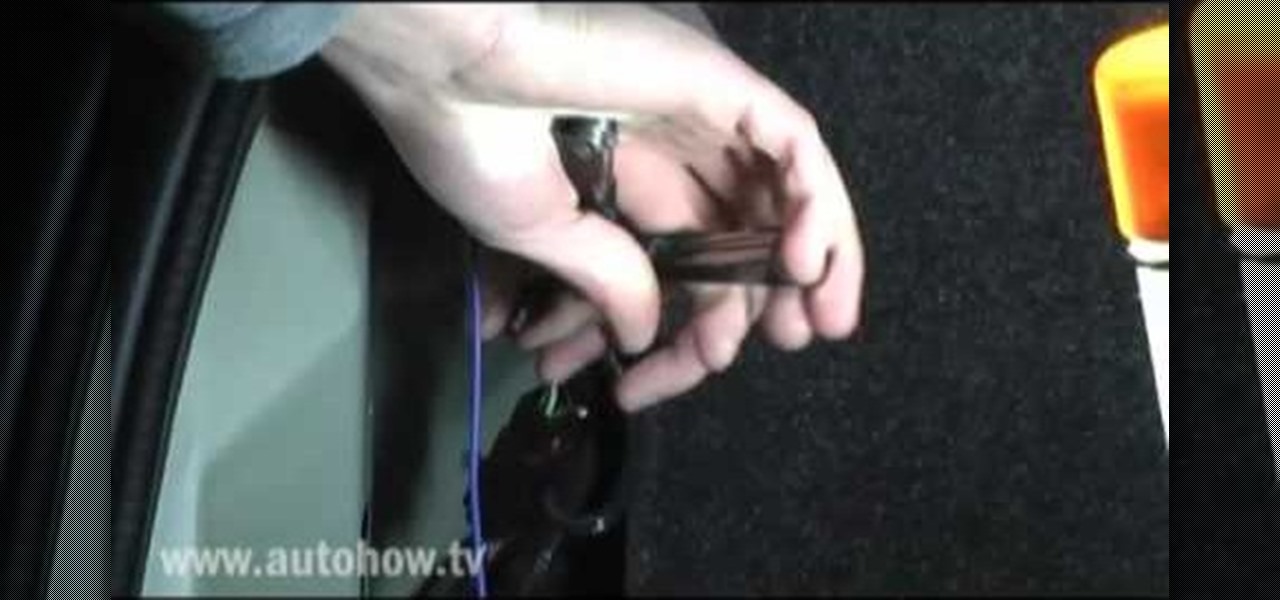
In this video, we learn how to install chase tail lights on a Mustang. First, you need to remove the rear trunk panel and trim piece. Next, prepare your tail light kit by following the directions that are given to you with the package. Next, cut the tail light wire. Now, put on your turn signal and take note of which light it still blinking, then mark it with electrical tape. Now, swap that light into the in board position and run the new wires by rewiring the new lights into the tail light. ...

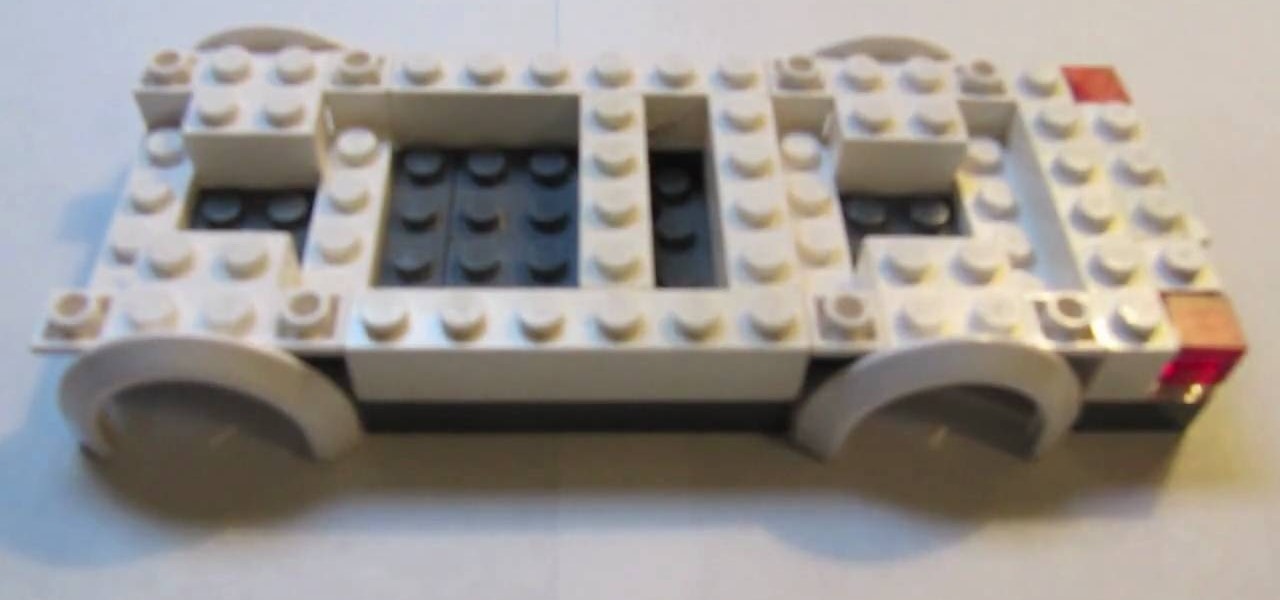
In this video, we learn how to build a LEGO pickup truck. First, you will need to lay out all the parts that you need to build the truck. This includes small and large parts that are in gray and white colors, as well as wheels. Start off by building the middle of the car, making room for the wheels to fit in. After this, start to add on the blocks that go on the back and the front to make the headlights and different features on the truck. Add on the block for the windshield, then add on the ...

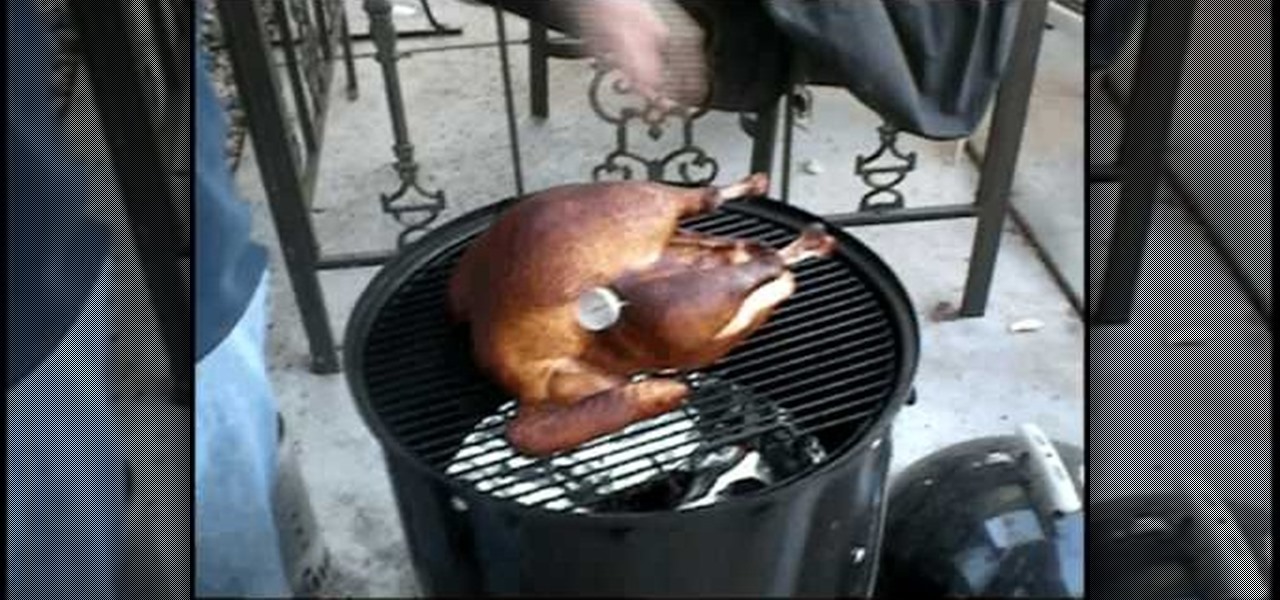
In this tutorial, we learn how to smoke a turkey. First, you want to gather all the different types of wood for your smoker and then prepare the water pan with the tin foil to catch drippings. Place the smoker together, then season your turkey with a dry rub and olive oil. After this, place the turkey onto the rack inside of the smoker. Make sure you are wearing heavy duty gloves so you don't burn yourself while doing this. Place the top back onto the smoker and let the turkey cook with the v...

In this video, we learn how to use a text box in Excel 2007. To do this, you will go to the insert tab and then go to the text box and select text box. Now, draw yourself a text box then highlight and copy the text you want, then paste it in. now you will have a paragraph of text written on top of your cells. You don't have to copy and paste, you can type it in as well. If you want to format the text, right click in the box and then change the preferences you want to change to format the text...

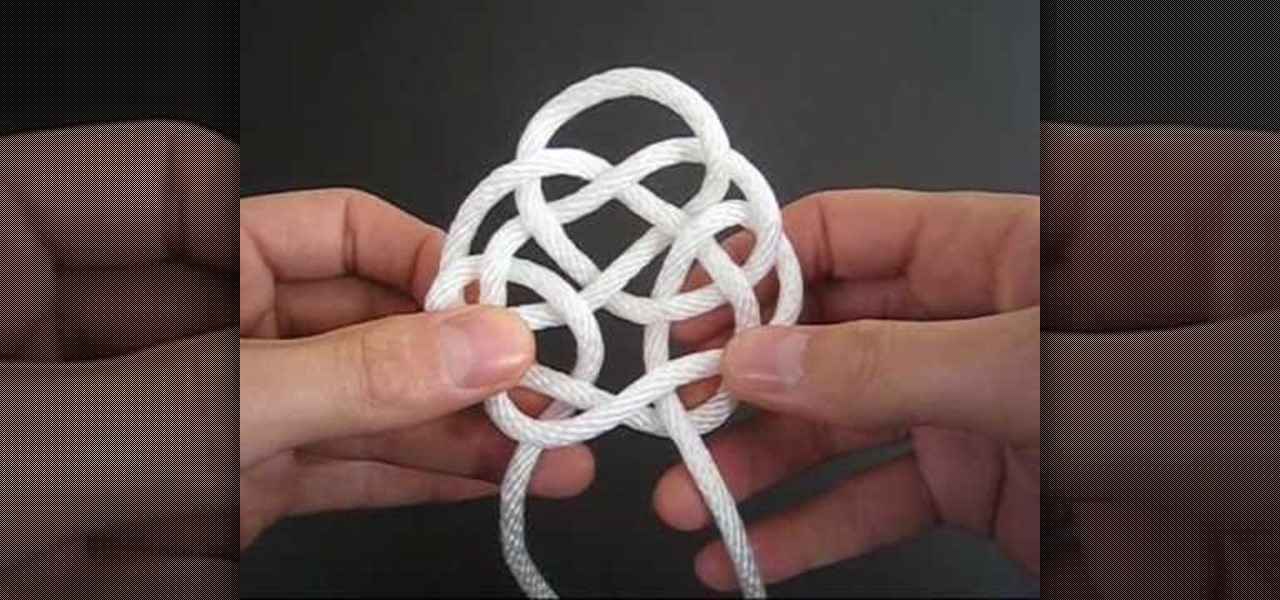
In this video, we learn how to tie a triskelion knot. First, create the knots base by tying a knot at the end of the ropes. After this, weave the knot by pushing a side loop into the side loop next to the end pieces. Once you push these through the middle, push the ends through the loops and then pull the sides tight until you have a "y" shape. After this, your knot will be finished and you can use this however you would like. You can turn it around the see the best design on the rope and enjoy!

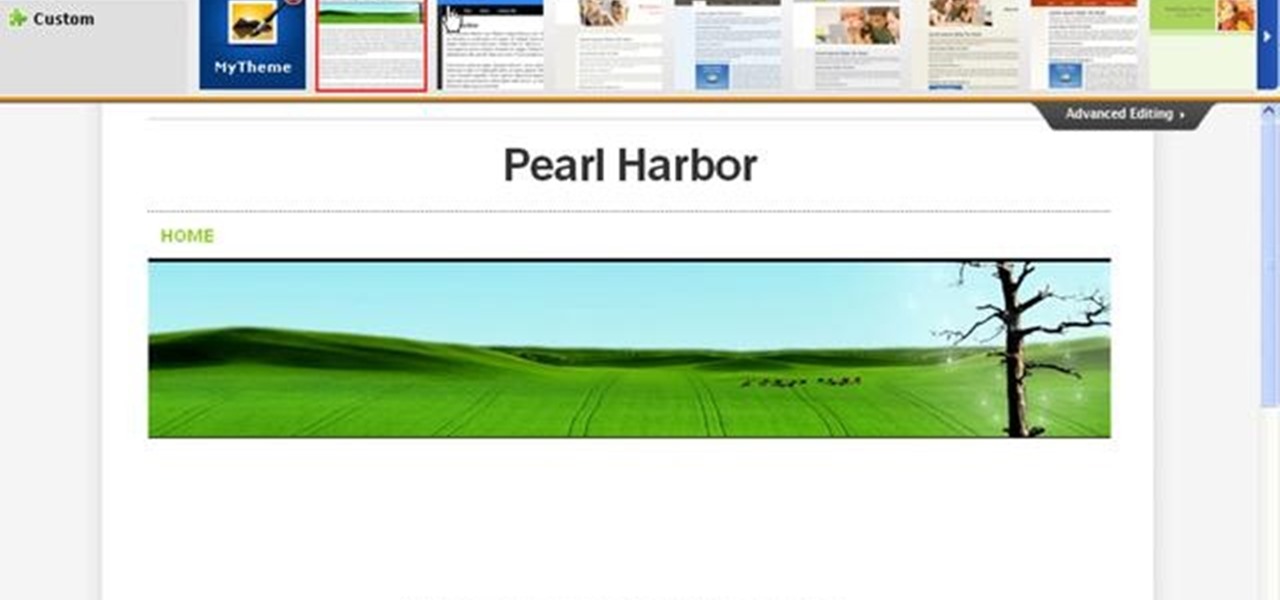
In this video, we learn how to create a free Weebly website. First, type a title in that you want for your website. After this, you will be brought to a new page where you can change the elements and designs. The design can easily be changed until you find one that works for you. After this, you can start to customize the template that you have chose and add in new paragraphs, columns, pictures, and more. Next, you can change the pages and add in links and more information. Adjust the setting...

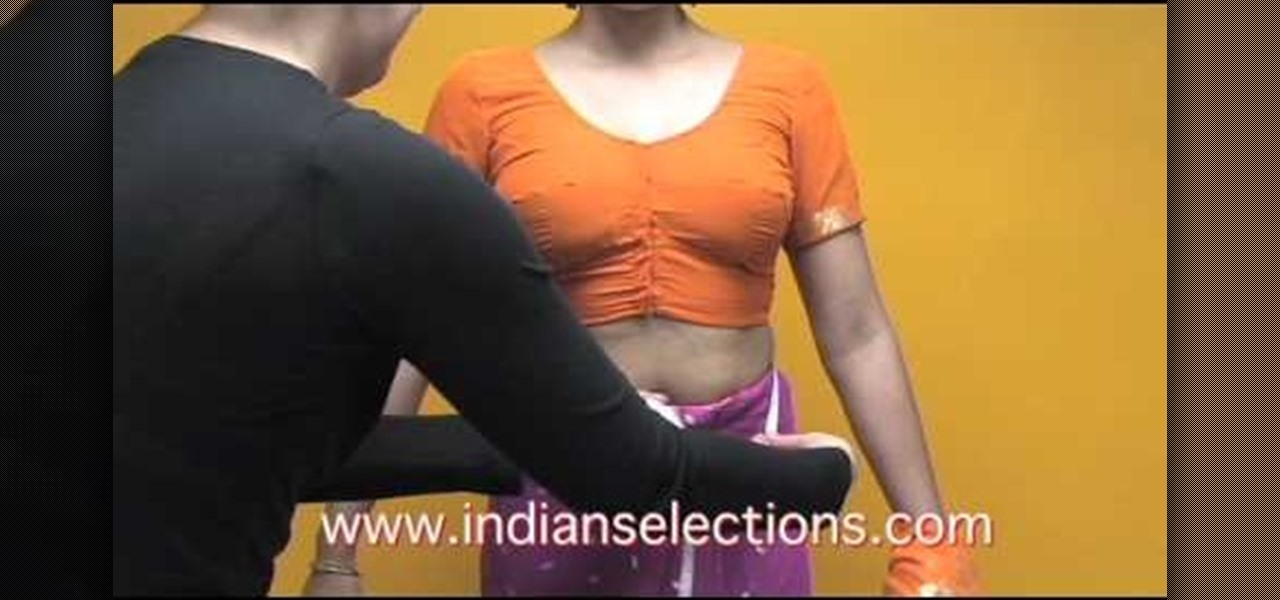
In this tutorial, we learn how to measure your petticoat size for a sari. First, measure around the waist with a measuring tape. This will be a simple measurement of your natural waistline. Next, you will need to measure the length of the petticoat. Measure from the waist down to the ankle. After this, measure out the hip area. The hip is roughly 9" lower than your waist is. After this, you will have all the measurements you need to make the petticoat the right size for your sari. Use your fa...

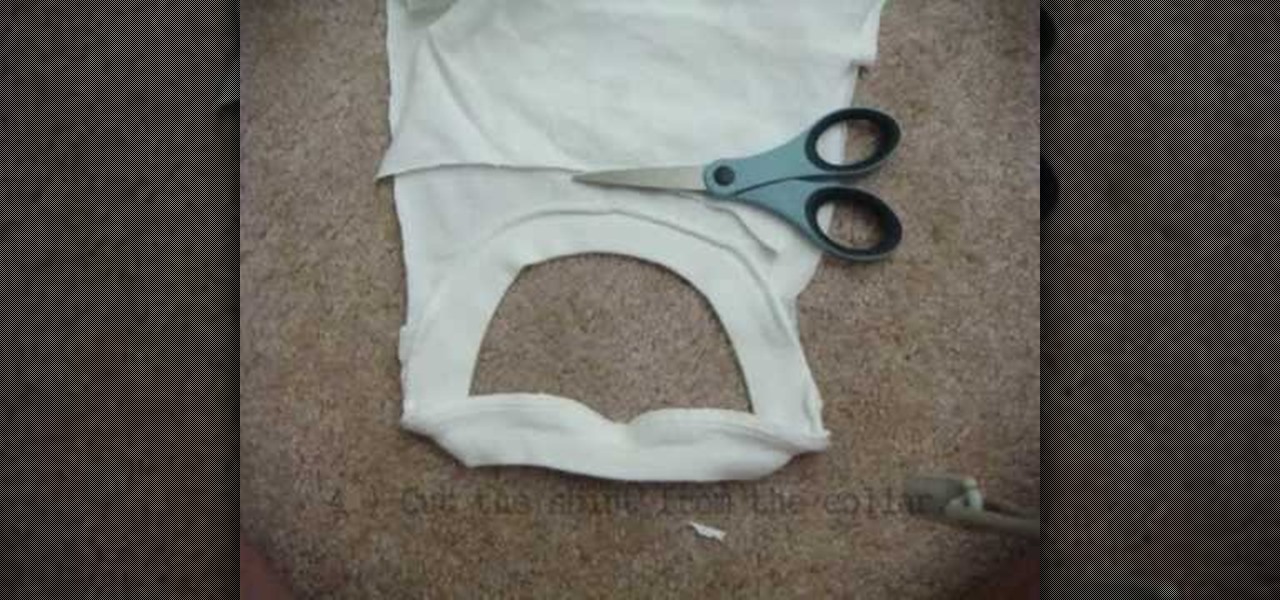
In this video, we learn how to create a knotted tank top. First, you will need to take a shirt that is too large, the cut off the sides of the two sleeves down to the bottom. Next, cut the shirt from the collar and make strips out of the excess fabric. Tie the strips on the back of the shirt going to the front of the shirt and tie it. You can also make a chain shape to make this look more unique. When you are finished with this, you will wear a tank top underneath it, then you can wear this c...

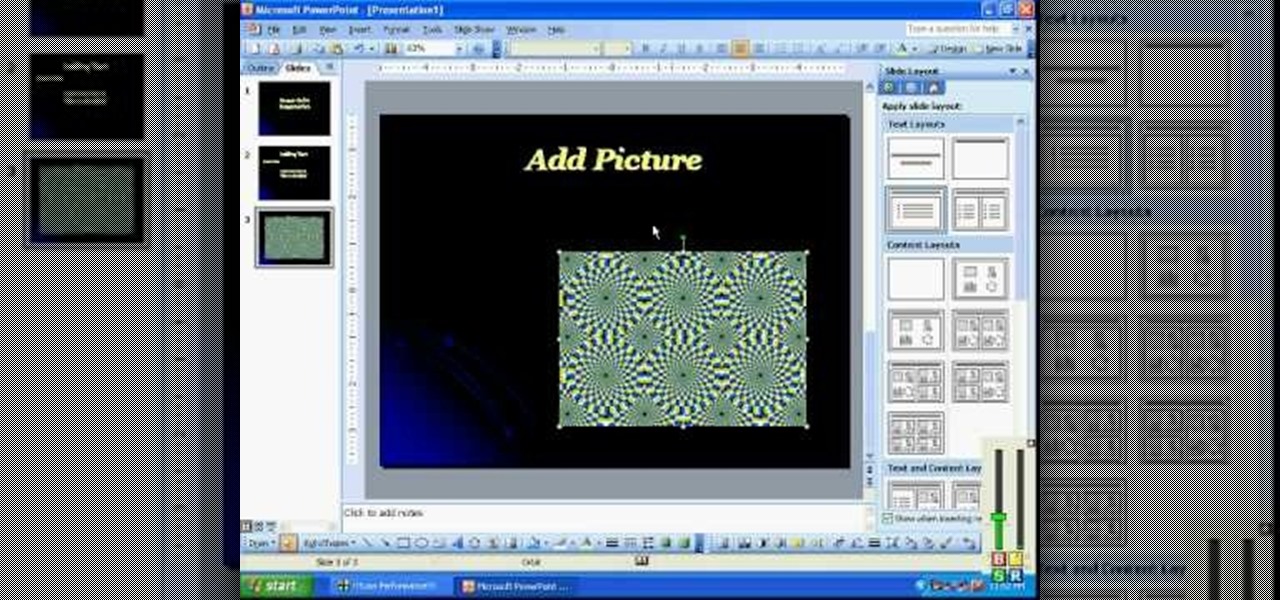
In this video, we learn how to create a PowerPoint presentation. Start off by adding in the title and subtitle of the project. After you do this, you can start to change the fonts and colors, as well as add pictures to the background and add transitions to the next page. When you're done with this, go onto your next page and start to add in all the information you need to on the following pages. When you are finished, you will be able to save your project and then use it for a presentation. T...

In this tutorial, we learn how to create and edit tasks in MS Project 2007. Before you begin, you need to set the start date by going into project information and changing the start date and end date. After this, type in your first task name, then enter in the information that goes with it. After you have entered this, press the check mark to set it up. After this, enter in the other task names that you need to specify in your project. When you are finished, you will need to save this onto yo...

In this tutorial, we learn how to make spaghetti pasta sauce from homegrown tomatoes. First, pick out your favorite tomatoes from your garden. next, you need to wash them and they remove the skins by first boiling the water. After this, cut your tomatoes into small chunks, then chop up garlic and onions. Now, place olive oil into a pot on low heat and add in the garlic and onions. SautŽ these, then add in the cut up tomatoes and stir. Let these cook on medium heat, then chop up any other vege...

In this video, we learn how to make a ceramic slab plate. First, roll out the ceramic. After this, place the clay on butcher or newspaper and smooth it out with a plastic card. Repeat this on the other side. Next, use a paper template to help cut your design or use a circular object. Cut slits to help remove the surrounding clay. Use the excess clay to build support pieces then curve the edges of the plate up and place the support pieces underneath. Use a piece of leather to smooth the edges....

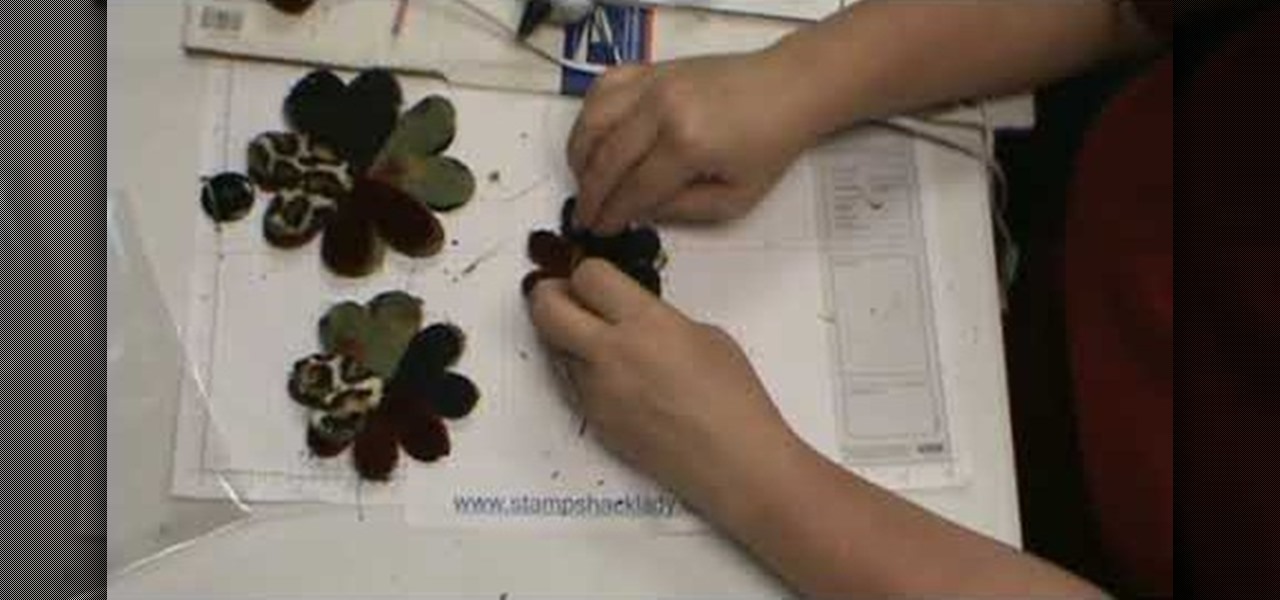
In this video, we learn how to assemble a flower-fold die-cut with a glue gun. First, cut out different fabrics in the flower shape. Put them all into different piles according to their sizes. After this, put hot glue into the middle of the fabric and fold the flowers in half. When finished, put the pieces together with hot glue going in a circle. Continue to do this with all the different sizes. When you are done, all the colors of fabrics should show, then place a button in the middle with ...

In this video, we learn how to learn keyboard shortcuts in MS Excel 2007. First, hit the "alt" key and then you will see numbers and letters at the top of the screen. Now you will see all of the pages of the keyboard shortcuts. Go to the page layout tab and hit "p". Now, you will get the keyboard shortcuts for everything on the page layout tab. Continue to do this on all the different tabs for this and you will be able to memorize the ones you use most, so you can more easily navigate MS Exce...

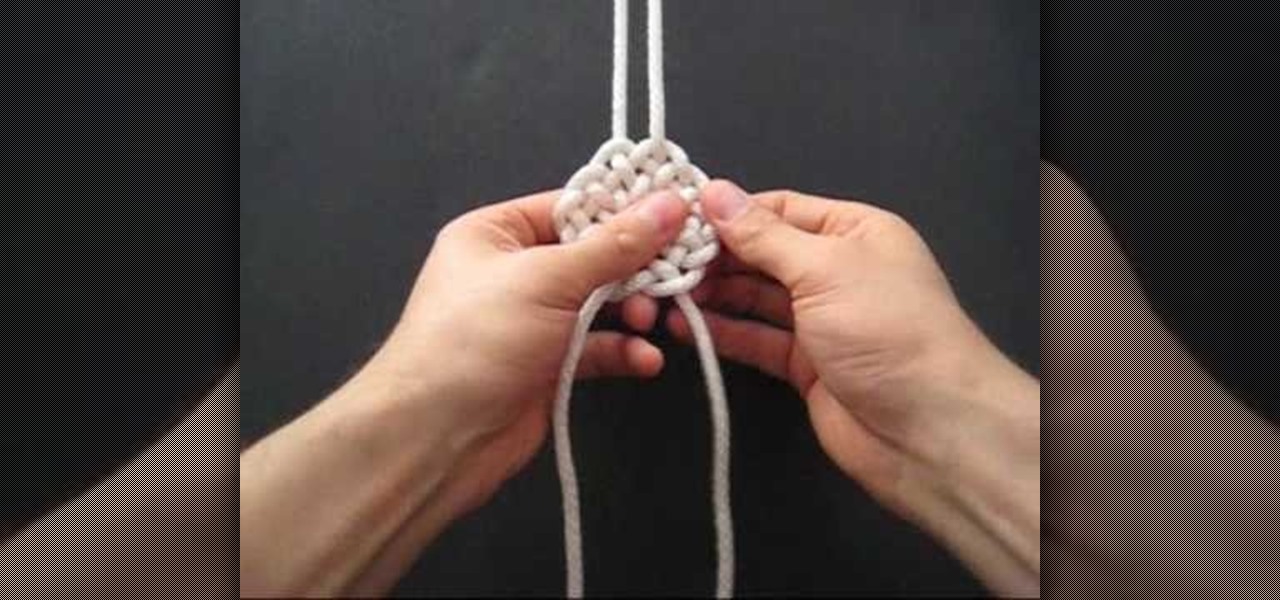
In this tutorial, we learn how to tie a compound double coin knot. First, take two strings and make a loop with the left one, then loop right right one into that. Tighten these together, then bring the end of the right working string over the loop and through the bottom of the shape, then continue to thread it through. Now, repeat this on the left side with the left string. Next, loop the right side of the string and push through the loop with the end of it. After this, tighten up the ends of...

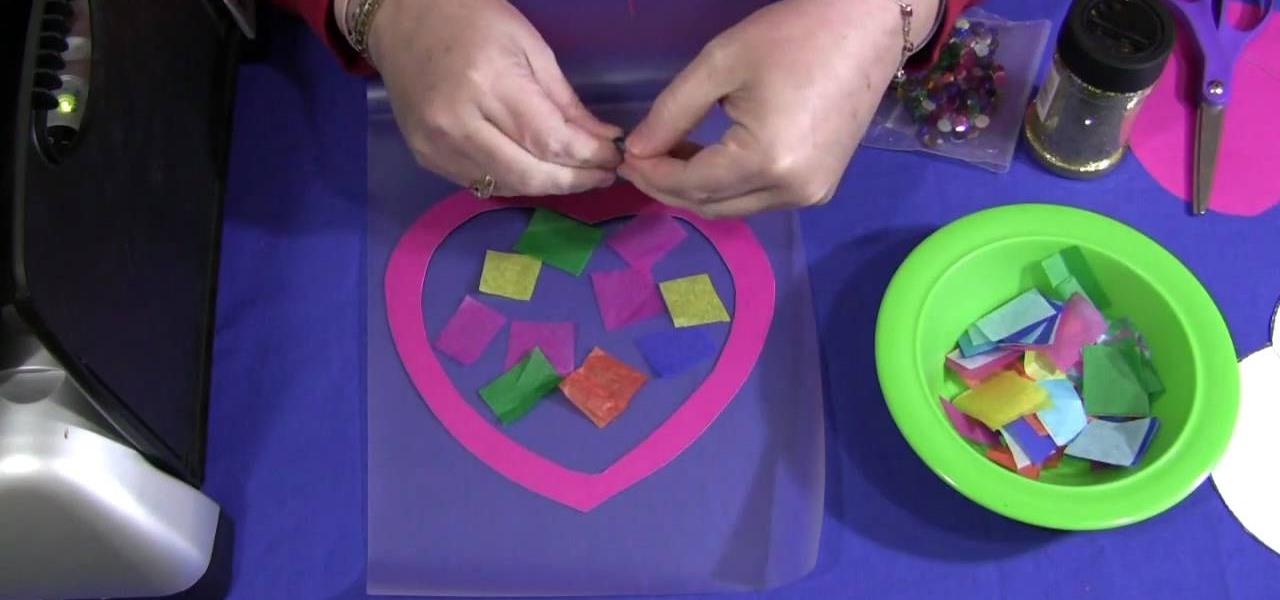
In this video, we learn how to make a sun catcher with your kids. First, you need laminating paper, two paper hearts, and scissors. First, cut the center of one heart out by sticking your scissors in and making your way around the heart. Next, place the outline of the heart inside of the laminating pouch, then decorate the inside of it how you prefer. You can use whatever you want to decorate the inside, including: glitter, crayon shavings, tissue paper, etc. Next, place the paper inside of a...

In this video, we learn how to apply and blend eyeshadow. First, you want to start by adding a primer to your eyelids. Now, use a large brush to brush a light shadow onto your entire eyelid. After this, use a smaller brush to brush a lighter shadow onto the inner crease of your eye and underneath the eyebrow. After this, use a brush to apply a dark shadow to the outer crease of the eye, then blend with the lighter shade. Next, paint a darker color on the outer v of the eye and continue to ble...

In this video, we learn how to make January thank you notes with Stampin' Up. First, you want to choose what you want your notes to say. You can use a small card stock that is 3" x 3". Then, use a border hole punch and apply it on in different colors you prefer. After this, you will want to stamp on a message that says thank you in black on the front of the card. Next, you can lay a heart punch out on top of the card to give it more personality. You can also place the heart on first and let t...

In this tutorial, we learn how to style a cute and curly retro hairstyle. Start off by sectioning your hair off and starting on the underneath area of your side. Now, take your hair into sections and curl them into curlers. While these are sitting, take the top back portion of your hair and curl the hair, then place them into curlers as well. Continue to do this for all of the sections in your hair, pinning with bobby pins to keep them secure. Allow these to sit in your hair for around an hou...

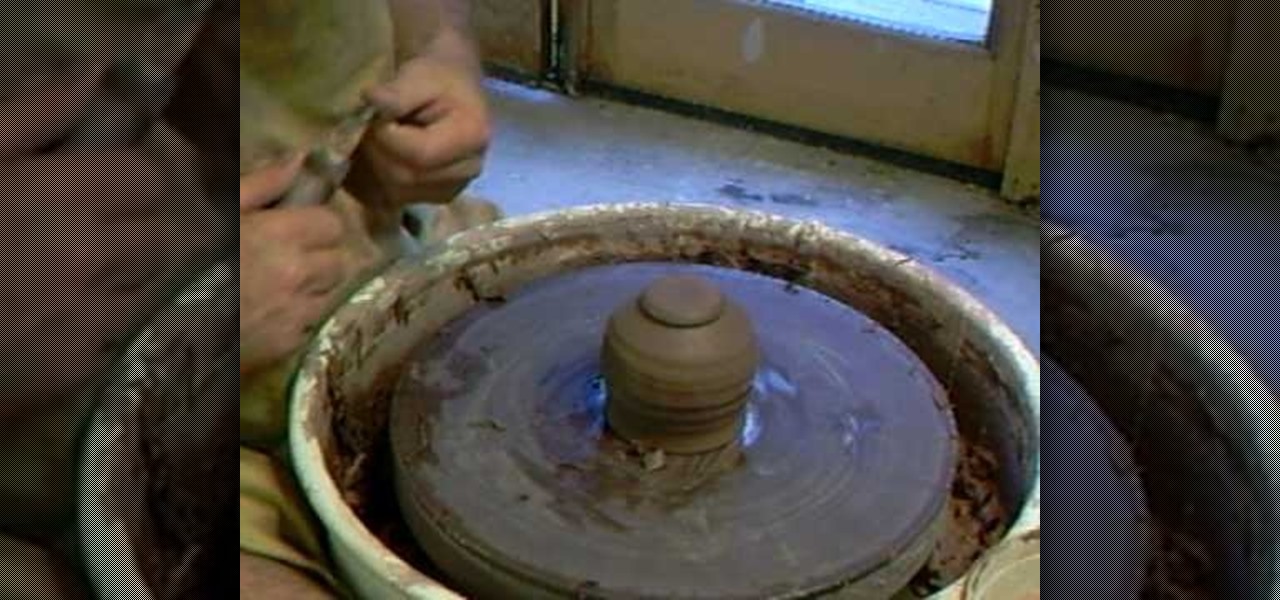
Even the best potters don't always get a perfectly finished vase, pot, or jar immediately after throwing. In fact, it's actually quite common for a potter to go back over his work and trim off or reshape the uneven parts to achieve a balanced finish. This is precisely what master potter Simon Leach does in this pottery video.

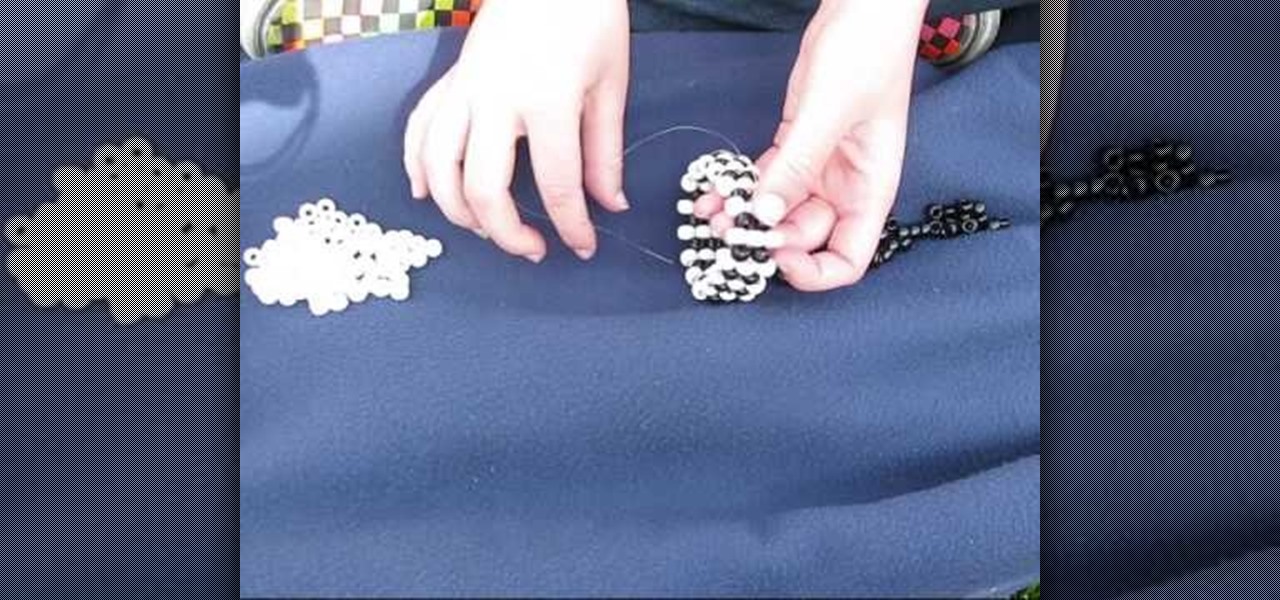
In this video, we learn how to make a vertical striped bracelet cuff out of beads. Start with a long piece of string and string on your beads until you have a length that fits well around your wrist. After this, tie the ends together and cut the tails off the excess string on the short side. now, start to thread through new beads around the entire bracelet. At the end of every few rows, tie it to keep it tight at the end. When you are finished, tie the string and make a knot, then cut off any...

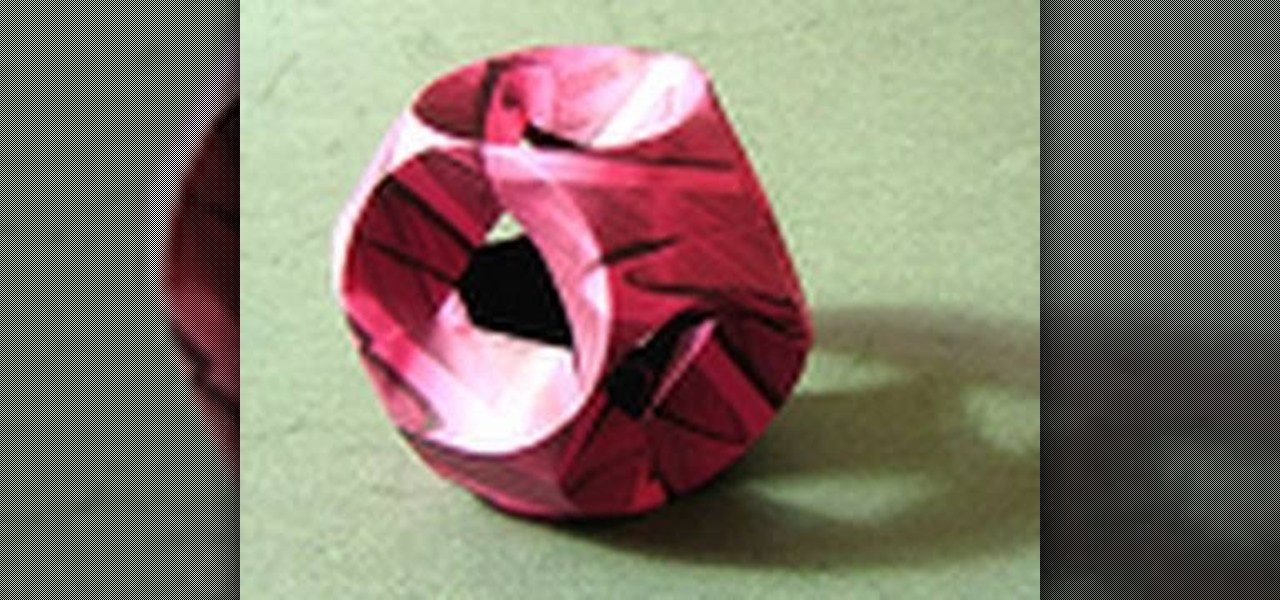
The core principle of origami is folding something from a single sheet of paper. The idea is to challenge your mind to create something fabulous out of very limited material. And while this is quite the poetic journey, as you'll see with modular origami and this origami tutorial, sometimes more than one sheet is necessary to get the job done.

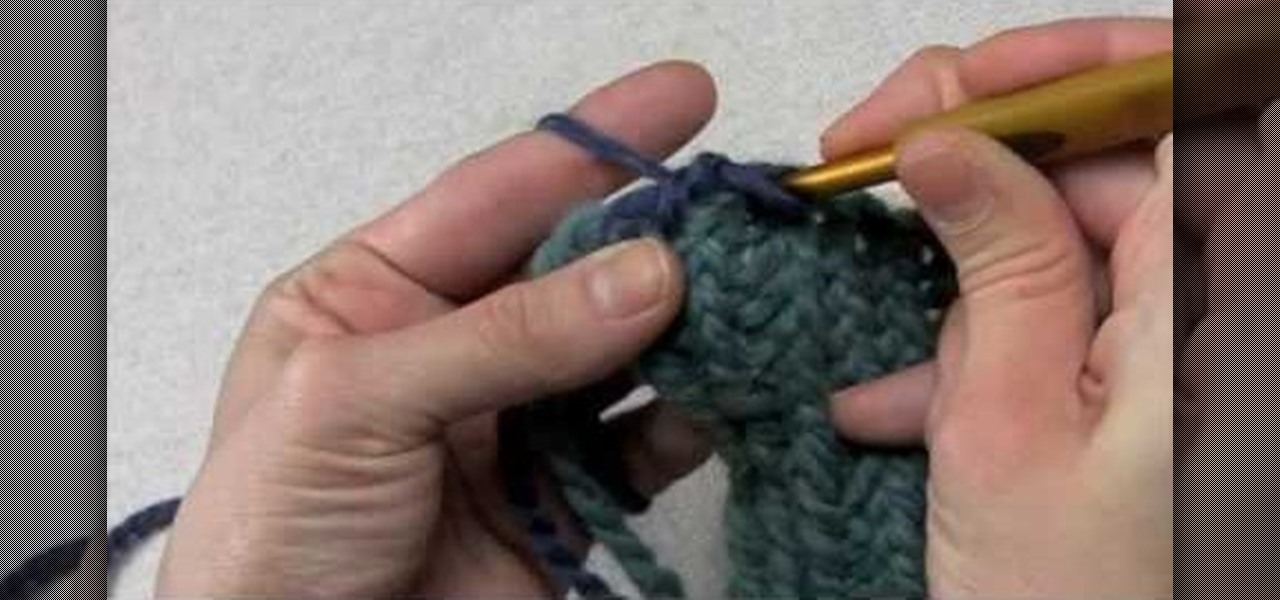
In this video, we learn how to edge a knitted piece with a crab stitch. First, attach your yarn to the left edge of your work. After this, work one chain stitch, then go backwards with the hook. Insert it into the fabric and grab the yarn and pull it through the loop. Go around the yarn again and pull it through again. Keep going backwards and grabbing more yarn as you go in reverse. You are working with one loop on the needle while going into the fabric. Make sure you're consistent with the ...

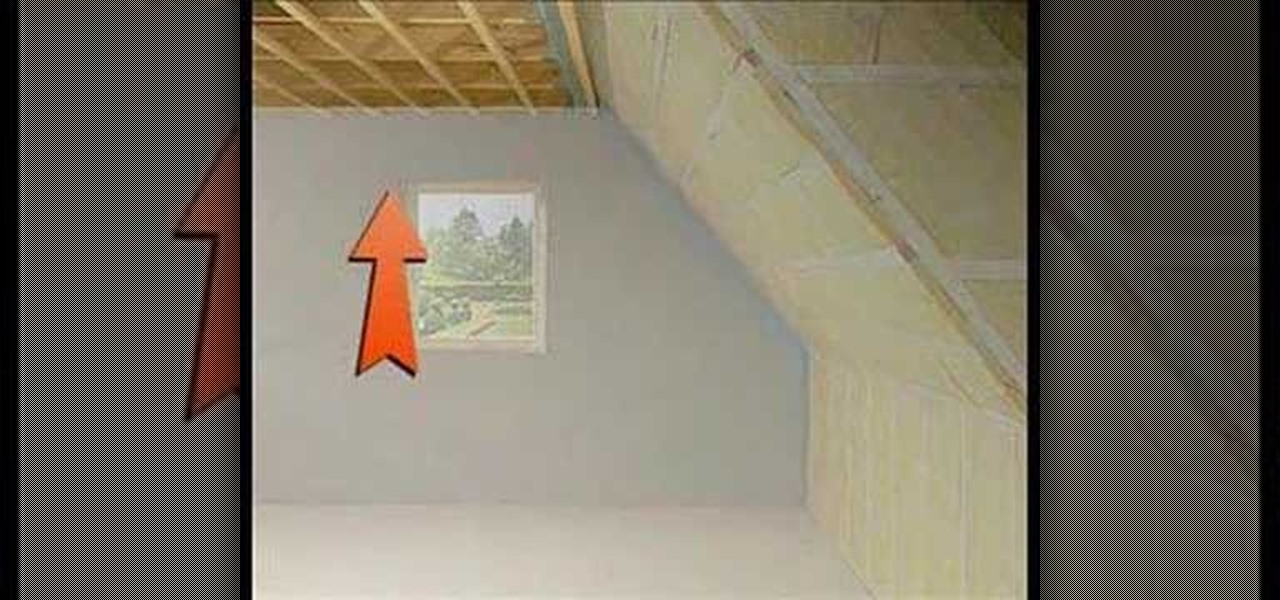
In this tutorial, we learn how to drywall your attic & loft with Fermacell. First, you need to consider the nature of your build and how much you will need to drywall. It is recommended that you install a film to ensure air tightness. You can place this down with a staple gun and tape it down as well. Large holes should be properly sealed as well, to enforce building regulations. Once you do this, you can add the boards on top of what has already been installed. Insulation will be now place o...

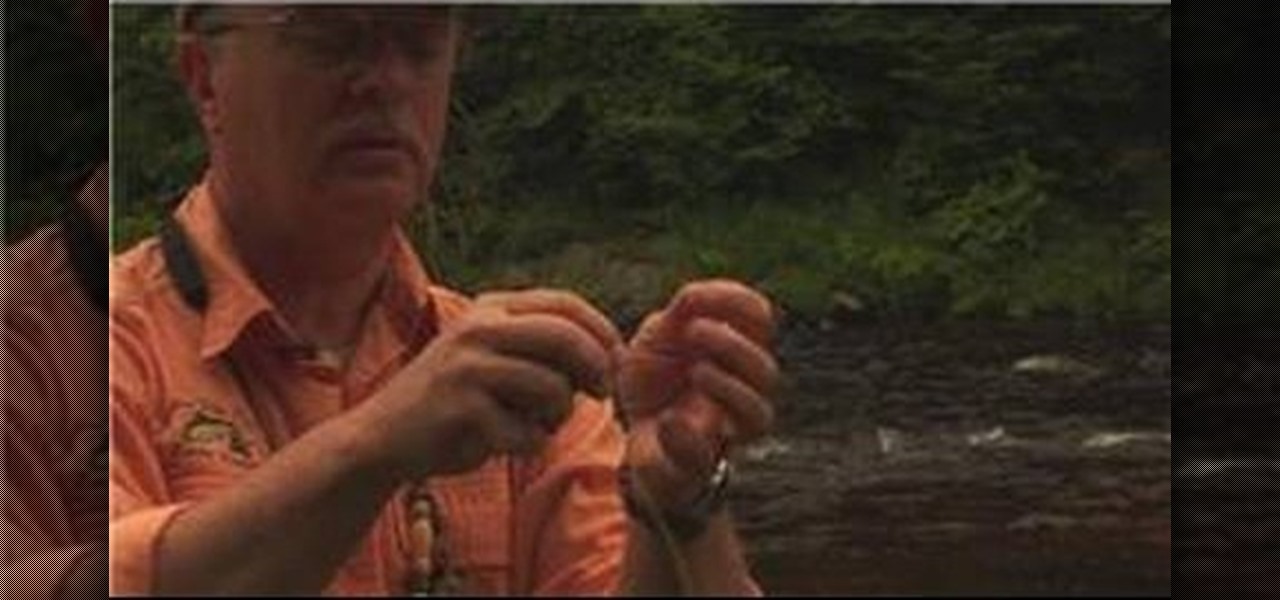
In this tutorial we learn how to rig a fly line. Start by preparing the floating line or sinking line to accept the fly. Carefully unwind your leader, then fasten it over the perfection loop and thread it through the fly line perfection loop. This should make a nice tight knot so you have a nice tight fly. When finished, you can remove the leader then coil it back up and make three loops and save for use later on. It's also smart to carry a pack of weighters in your vest so you can throw them...

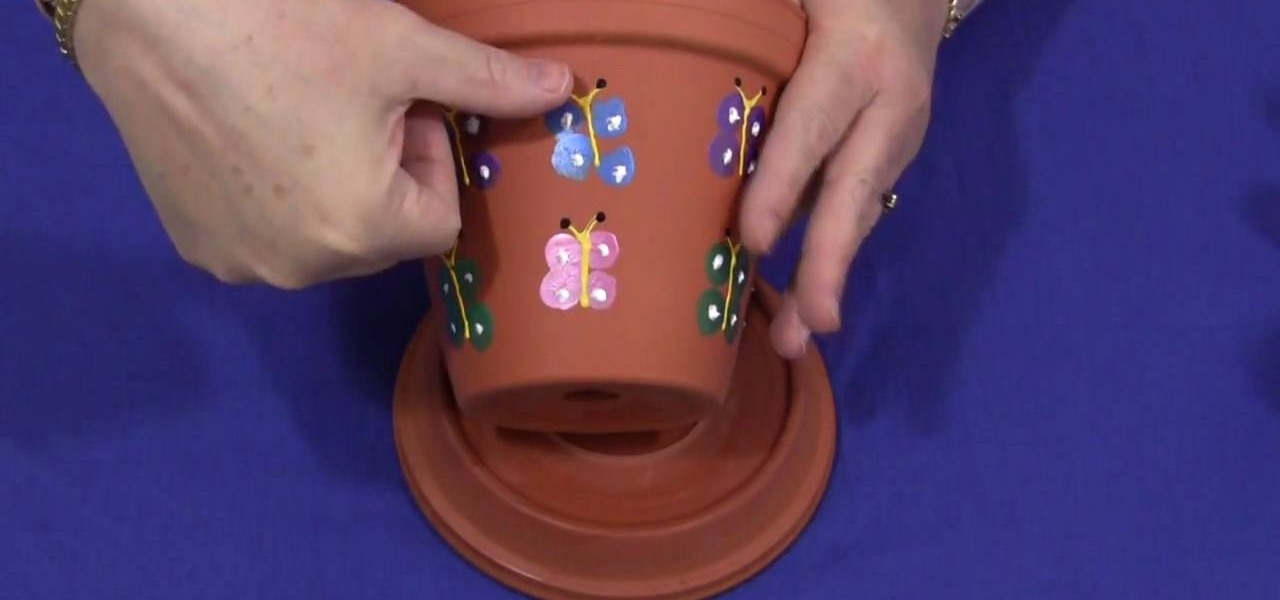
Shelley Lovett teaches us how to make a thumbprint butterfly clay pot in this tutorial. First, start off with a medium sized clay pot and several different colored paints. To make the butterflies, have your kids dip their thumbprint into paint and make a butterfly. Make two thumbprints on each side of the butterfly body. Use a paintbrush to paint in the body and head of the butterfly. When finished, use a sealer to secure the paint on the pot, then let dry completely. You can now use these po...

In this tutorial, we learn how to make a pig out of punches. First, you will need to have white paper, pink paper, and black paper. You will also need punches that are in star shapes, different circle sizes, oblong shapes, and a flower shape. TO put this together, first glue a small heart shape to the bottom of the oblong shape and set to dry. Next, take a large pink circle and place two white dots and black dots on top to make the face. Next, draw two black circles onto a smaller pink circle...

In this tutorial, we learn how to tie the rising sun decorative knot. First, loop your string on the left side, then pull the right side over the top. Now, bring the bottom of the right side over and place the end into the first loop going over the other string. Next, remove the string from the last loop it was in, then bring the right over to the right loop and push through to the bottom. Next, bring the right string over to the left side and thread through the left loop closest to it. Next,...

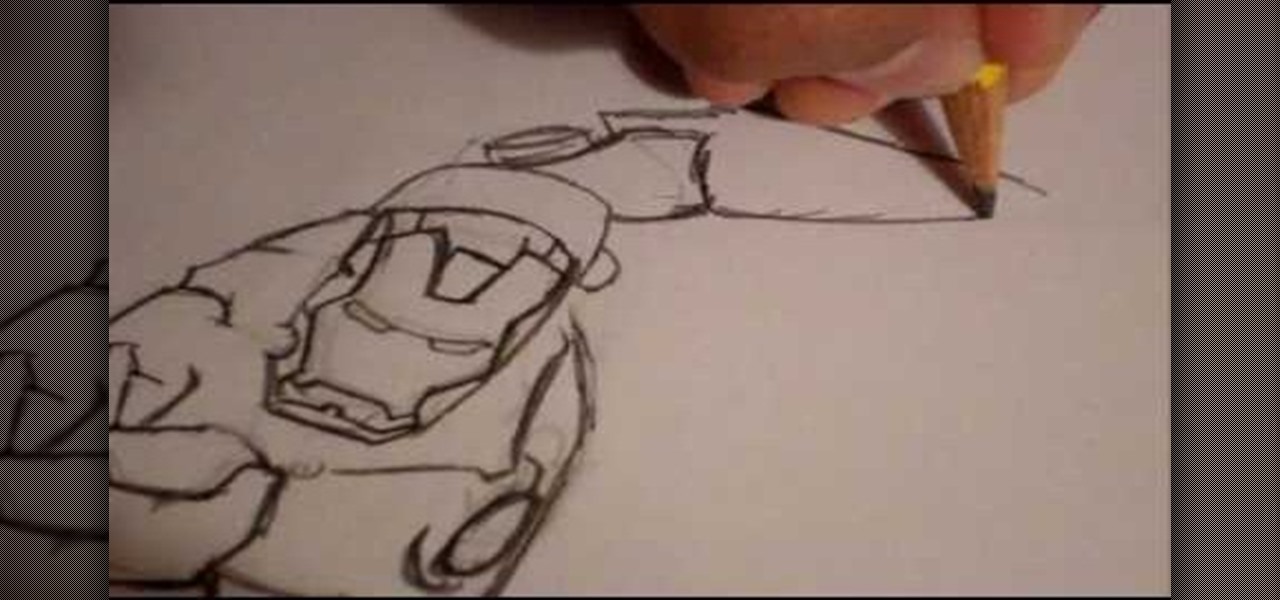
In this tutorial, we learn how to draw Ironman. Start off by drawing the feet to Ironman, making sure to pay close attention to the detail that is on the outside suit. Make sure to include bolts and screws to make the picture more lifelike. Use shading on the outside of the sides to make it darker and more realistic. Continue working your way up on Ironman until you reach the torso and the rest of the upper body. Then, draw the head onto the top followed by the large mechanical arm and the he...

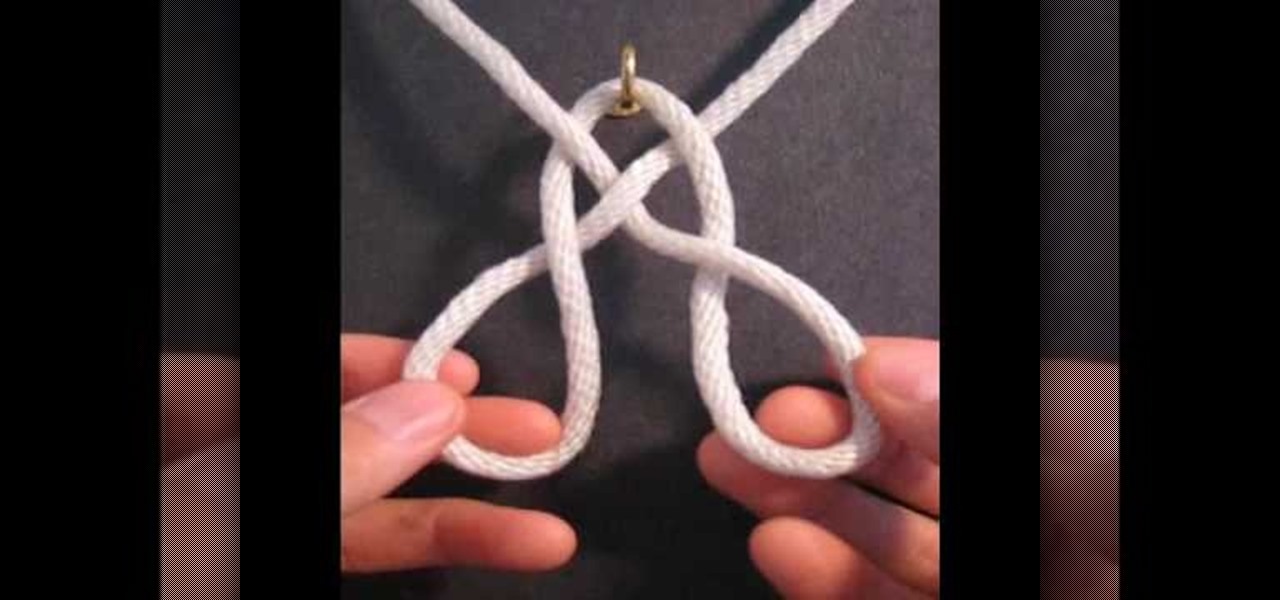
In this tutorial, we learn how to tie the Basket Weave decorative knot. First, hook your string to a hook, then tie a loop that is wide. After this, bring the strings to the top and make a heart shape. Now, twist the two loops on the side and twist them around each other. Now, bring the right string through the right loop and up through the left. Do this for the left string except using the opposite loops. When you are finished, pull on this tightly and release the string from the hook. Make ...

In this tutorial, we learn how to create your own wallpapers. First, go to the website http://wallpapers.x3studios.com/. Once you are on this website, you will be able to change the background then add on graphics that are loaded in their library already. You can also add in text if you prefer to. You simply just drag and drop all the different things into the background until you have what you want. Once you are finished, save to the gallery and then you will be provided with a link where yo...

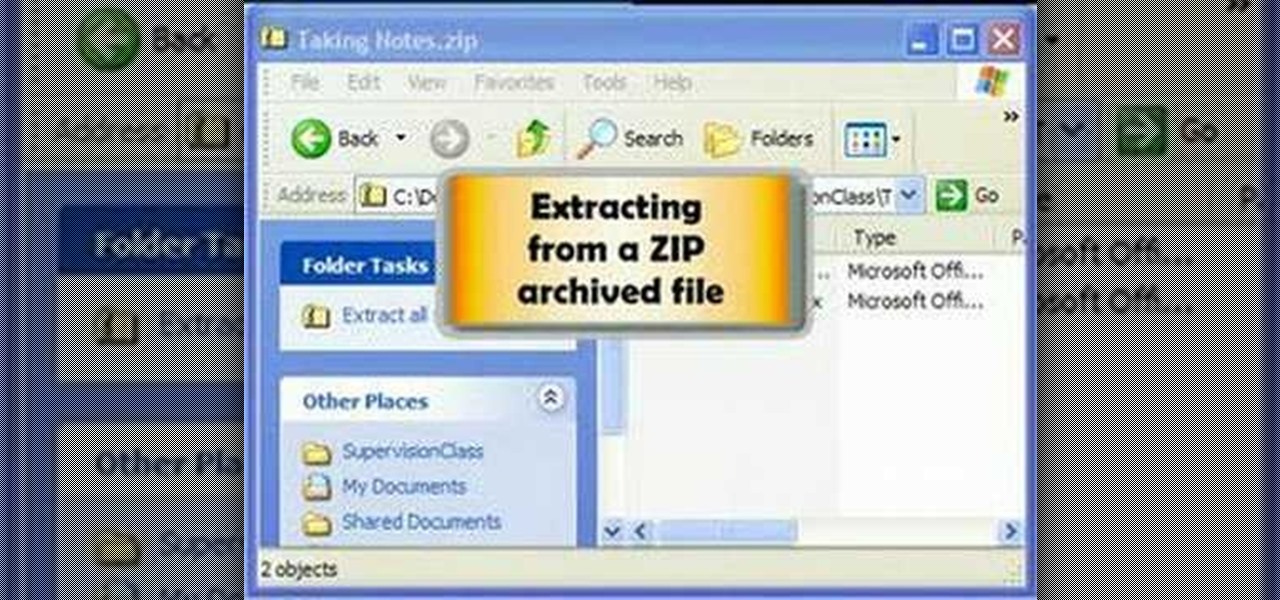
In this tutorial, we learn how to zip and unzip files in Windows XP. First, find the files you want to compress, then highlight them by dragging the mouse. Next, go into the file menu and click "send to", then "compress zip folder". Now, your folder will be created and you can double click it to see the folder viewer of the compressed folder. To open these up from the zip archive, first find the file folder that has been zipped. After this, go to the file menu, then click "extract all" and yo...

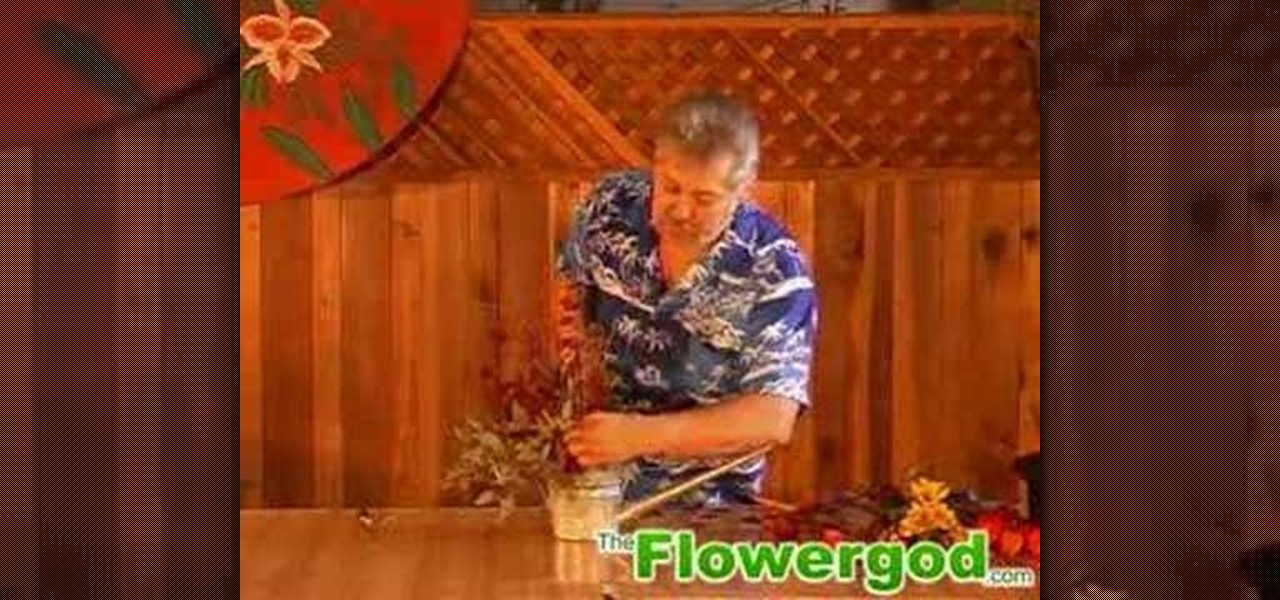
In this tutorial, we learn how to design a fall centerpiece in a watering can for a home. Start off by cutting branches off of a willow and placing it into a watering can. Next, arrange Japanese lanterns around. After this, cut alstromeria and seeded eucalyptus and place them around the can where you feel they fit best. The best part of this arrangement is that you can arrange it however you want! You can add different types of fall flowers and add more or less of flowers you prefer. When fin...


