In this how to video, you will learn how to make a croissant. You will need 130 grams of sugar, 100 grams of butter, 250 grams of butter, 200 grams of flour, 500 grams of milk, 20 grams of salt, 3 eggs, 1 kilogram of plain flour, 50 grams of yeast, and 1 vanilla pod. First, melt 100 grams of butter for about 15 seconds in the microwave. Add the melted butter into the mixer. Add the 3 eggs, sugar, vanilla, and salt. Mix everything together. Next, add the yeast and then continue to mix. Add mil...
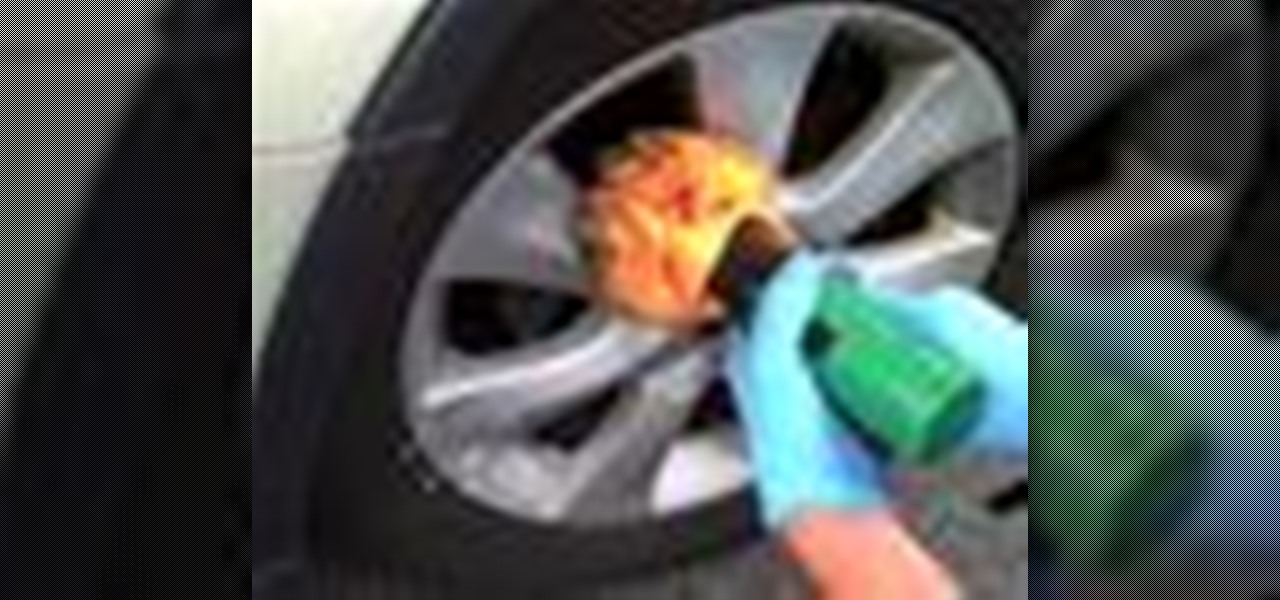
Watch this video tutorial from the Polish Guy to see how to polish aluminum alloy car rims with Simichrome and a buff ball. In this demonstration we use Simichrome Polish and a Flitz Buff Ball to clean and polish a Subaru wheel rim. The tutorial includes detailed work instructions and best practices.
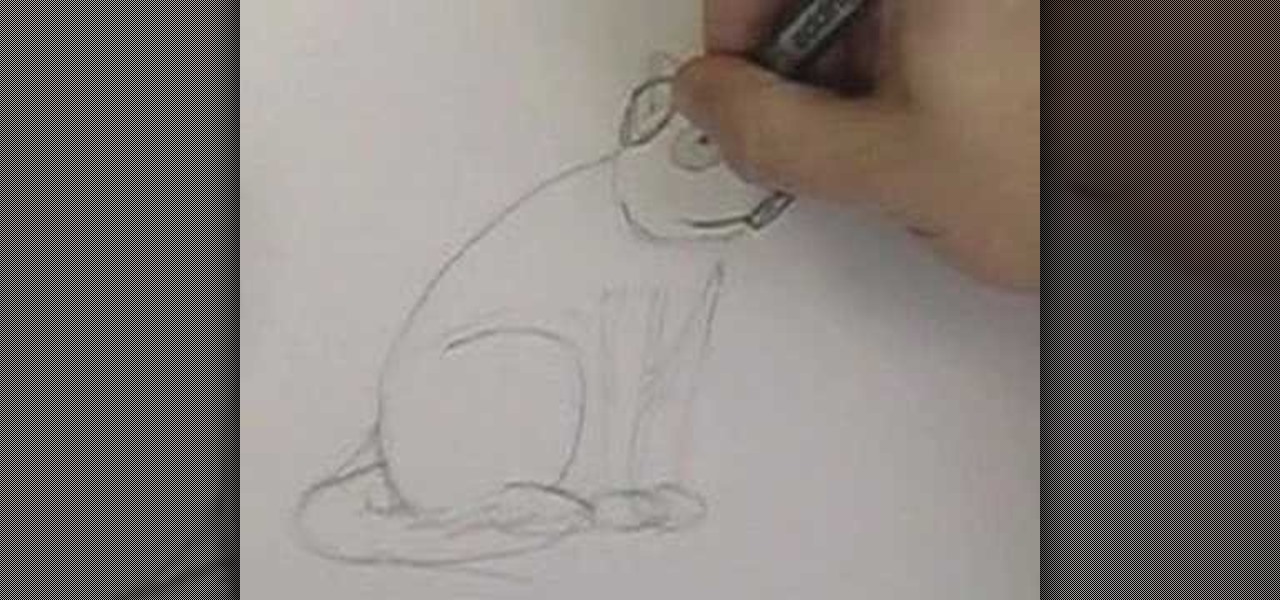
When you first begin to drawing dogs, it can be difficult to know where to start. Usually, there are tricks that can get you started with ease, and the same is true in regards to drawing dogs. You don't have to be an expert artist to learn how to draw a dog; it's as simple as beginning with a 'cheat', or a few specific lines, and building a style from there. To draw a dog, you should begin by drawing the number 'six', followed by three lines, fairly close together. This will create the dog's ...

In this video, Bud Brown explains that it's useful to learn to say "I am about to (do something)" or "I just finished (doing something)" in another language. The Vietnamese word for "about to" is "sap" pronounced "sup". To say "I'm about to go out" in Vietnamese is "Toi sap di choi." "I'm about to eat" is "Toi sap di an com." To indicate that you just finished doing something, use the Vietnamese word "vua" pronounced "vuh". "I just finished eating" is "Toi vua an com." "I just finished workin...
In this tutorial, we learn how to burn .iso image files to a CD in Windows XP. To start, you will need to first burn the image with Image Burn 2.1. Decide if you are going to use a CD, DVD, or multiple CDS. If you don't already have Image Burn 2.1, you can download it from this site: download.imgburn.com/SetupImgBurn_2.4.1.Â0.exe. Once it's installed, you can make a copy of your image and then verify it when it's finished. It will go through the burning process, which will take from 2 minute...
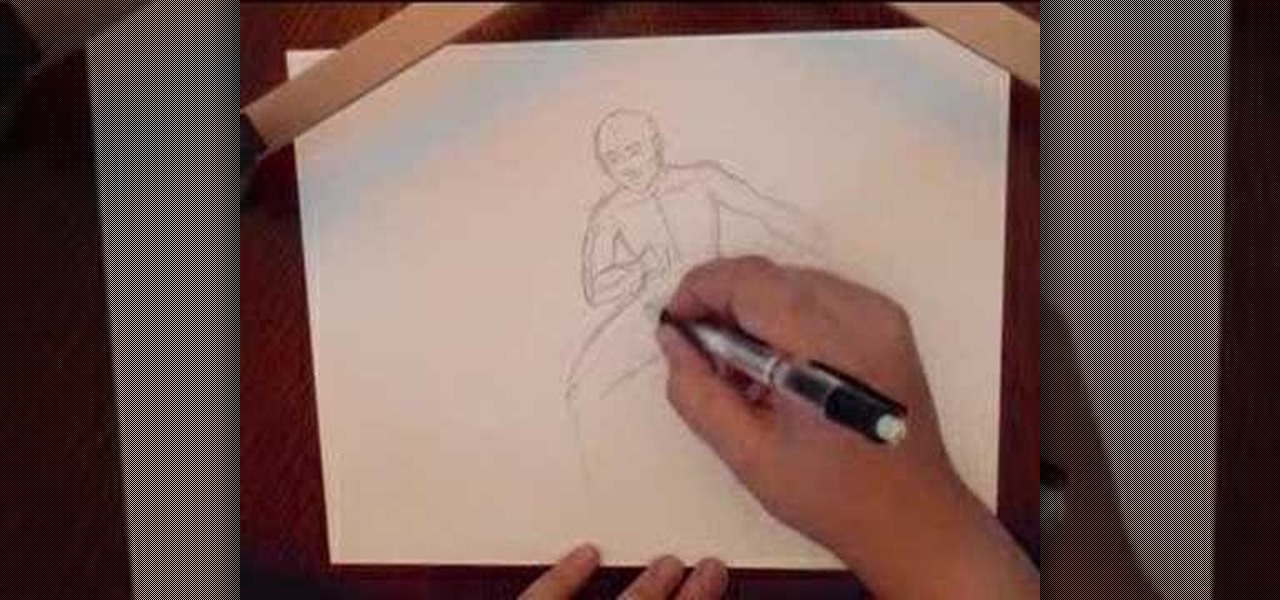
In this video, we learn how to draw a basic human figure. Start with a circle first as the head, then draw cross hairs over the circle to indicate the tilt and direction the head is facing. Then, add in the chin, shoulders, then circles where the joints are. Draw in the rib cage and spine, then the hip bones. After this, draw the legs and continue down until you reach the feet. When you finished with this outline, use a darker line to draw more details and shading in on the face and body. Whe...

In this tutorial, Mat Weber teaches us how to install a basement floor. Start with an insulated subfloor system, top it with cork panels, and then top it with easy to install carpet squares. First, you will install OSB subfloor panels, these will protect against moisture extreme and can be applied directly over concrete. When you have finished installing these, apply cork panels to the top of the subfloor and press down so these don't come up and are packed down hard. When finished with this,...

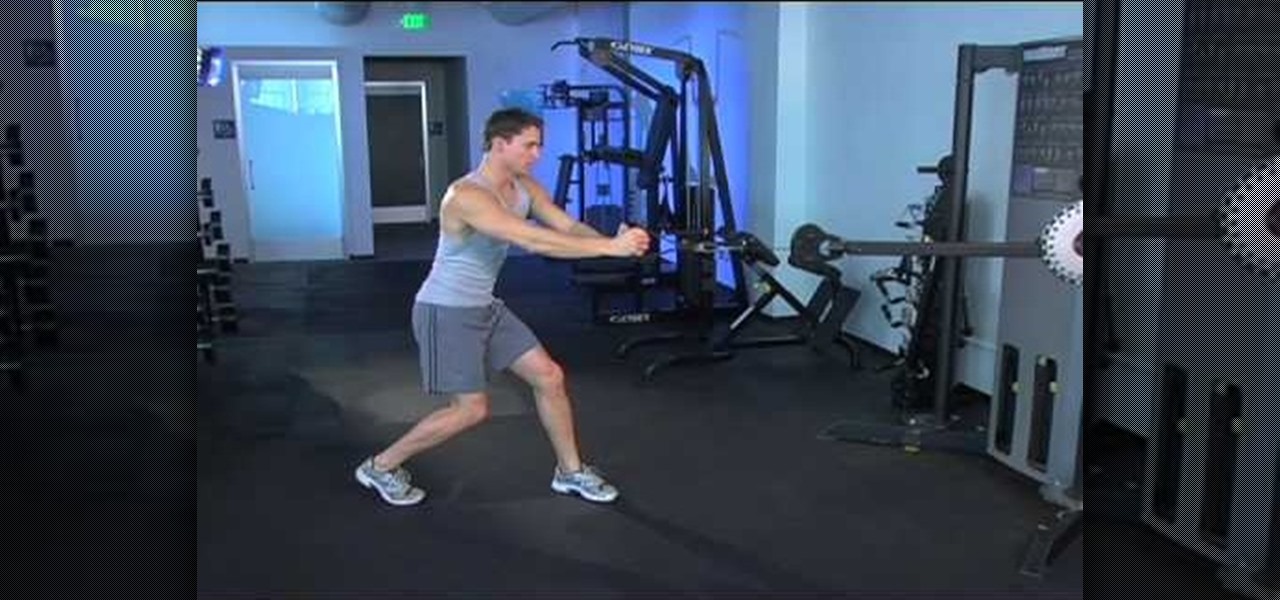
Learn how to do diagonal down, side and diagonal up cable chops. Presented by Real Jock Gay Fitness Health & Life.

In this tutorial, we learn how to change your own oil on a 2005 Ford Explorer. First, find the oil drain underneath the vehicle and remove it. Once you remove it, let the oil drain into an oil pan underneath the car. Let the oil drain completely out, then when it's finished replace the plug. Now, go to the hood of the car and remove the cap from the oil can. Place a funnel inside and then pour your new oil into the can. When finished, replace the cap and start the car. Now go back and check t...

In this tutorial, we learn how to replace the spark plugs on a 2008 Kawasaki Ninja 250. First look underneath your bike to find out exactly where the spark plugs are at. Next, use wrenches and ratchets to loosen the parts around the spark plugs, then remove the spark plugs completely. After you have pulled them out, replace them with the new one and secure them into place. When finished, replace all the casing around the plugs and make sure you secure them tightly. Add on all bolts when you a...

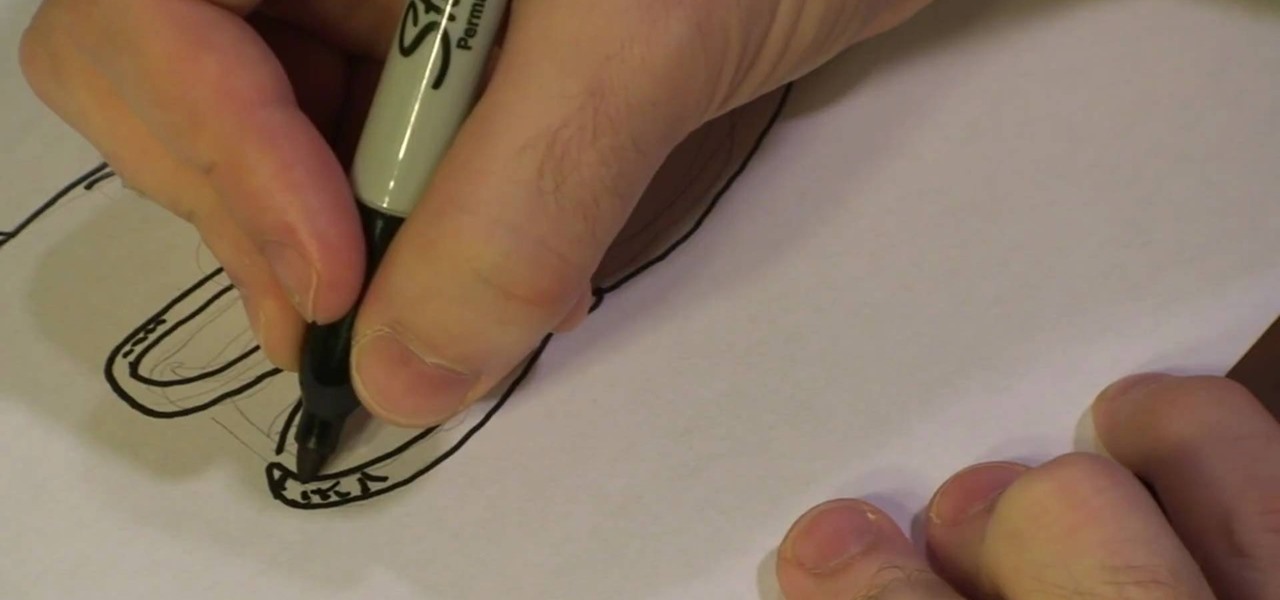
In this tutorial, we learn how to draw a sports logo. You will need: paper and a writing utensil to do this. Do a rough draft of the logo with a light pencil before beginning. When finished, draw a basic helmet shape with a Sharpie marker. Trace around the lines that you made and make sure to draw the face guard when you are finished with the helmet outline. Next, add on a grille to the mask and then add more detail to the helmet as it would look in real life. When you are finished, add color...

In this tutorial, we learn how to make Japanese tofu flan. First, make caramel sauce by heating up 30g of sugar with 2 tbsp water in a saucepan. When finished, grind your tofu up then add with 2 oz of water and place into the blender. When finished, pour into a bowl and set aside. In a separate bowl, beat 2 whole eggs then add in 50 grams of sugar, and 45 cc of fresh cream. Stir this slowly avoiding any bubbles being added to the mixture. Now, combine all ingredients except the caramel, and s...

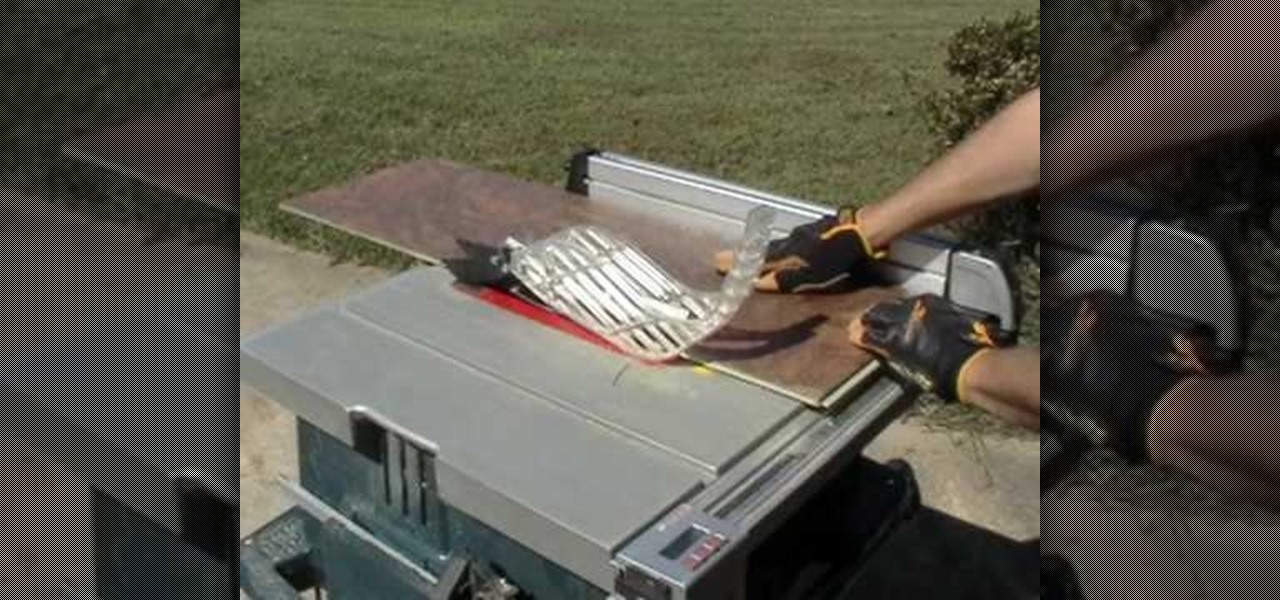
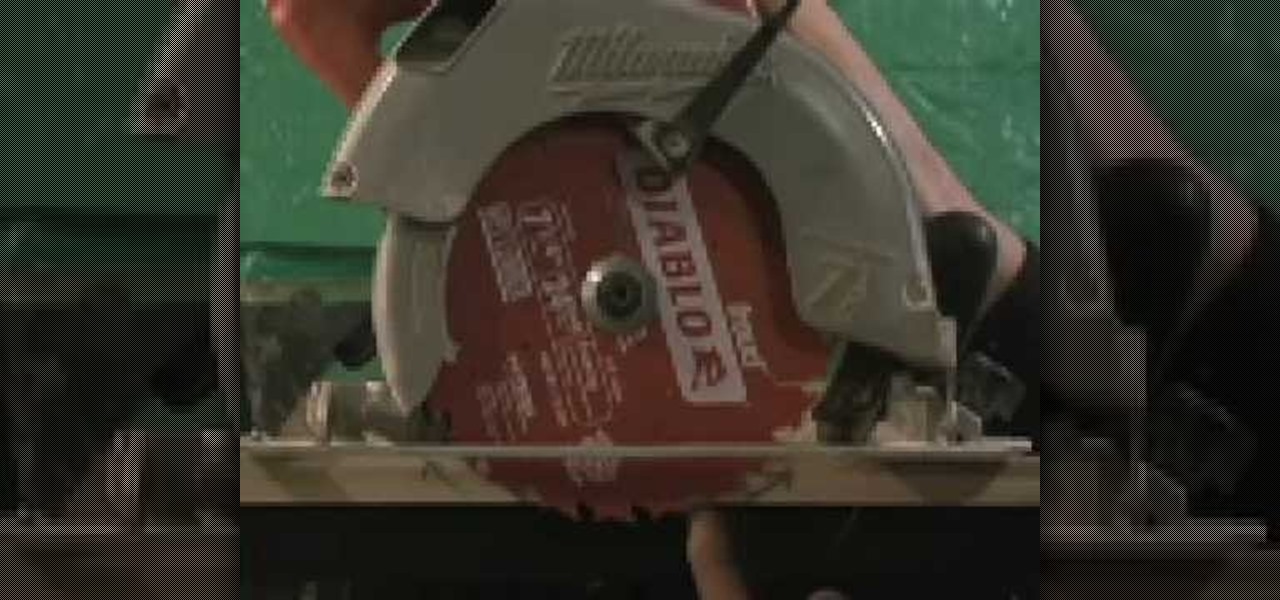
This short video tutorial Bob Schmidt will show you how to make clean cuts in wood. The blade rotation of any pretty much dictates the best way to run your material through. To get the cleanest cut possible remember these tips: Whenever you run wood through a Table saw, always make sure that your finished side is up. Do the exact opposite when you are using your Power saw. The finished side of your wood must be at the bottom. When you use a Mitre saw, make sure the finished side of the wood i...

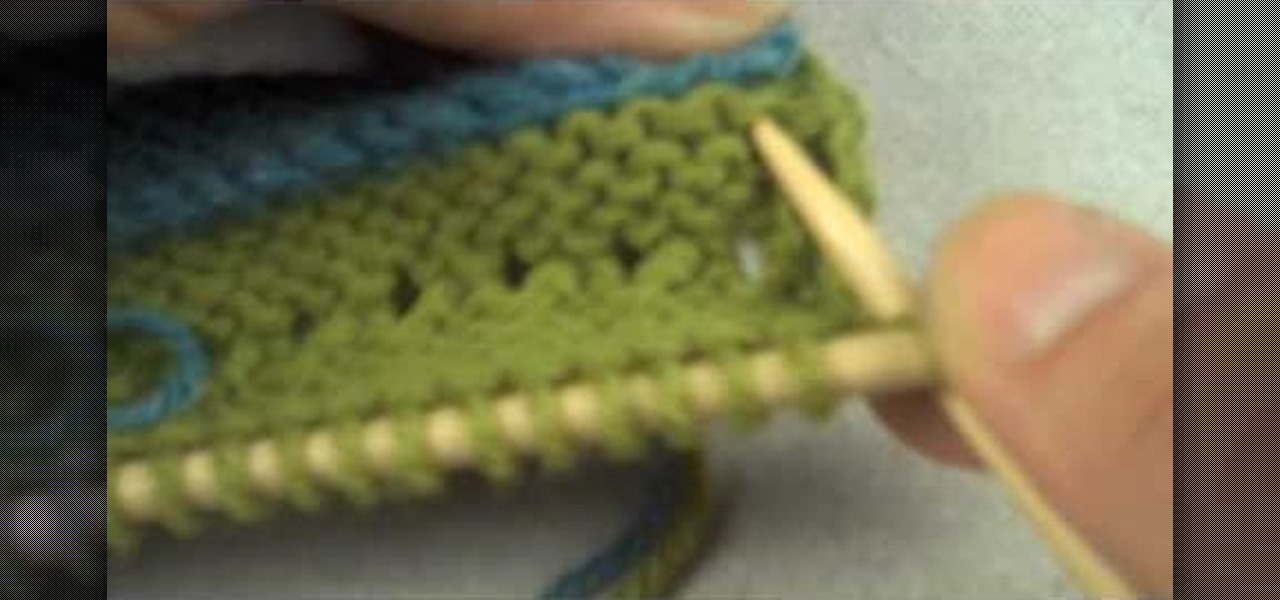
This video begins with examples of different finished welt techniques being shown. A piece of finished cloth is then folded over twice and then held in place before stitching. The first knit is started on the left side of the cloth and continued until reaching the opposite side of the fabric. A wooden needle is then used to weave from right to left until the wooden needle is pushed all the way across the fabric for support. This step is repeated three times until the welt is visible and stabl...

In this tutorial, we learn how to make lemon drizzle cakes. You will need: 120 g butter, 170 g flour, 1 tsp baking powder, 170 g sugar, 60 ml milk, zest of two lemons, and 2 medium eggs. For the drizzle you will need: 100 g icing sugar, juice from 1/2 lemon, and 10 ml gin. Start out by creaming the butter and the sugar together. Then, mix in the rest of the ingredients in with this until you have a batter. When finished, pour these into a baking pan with small loaves and bake until cooked all...

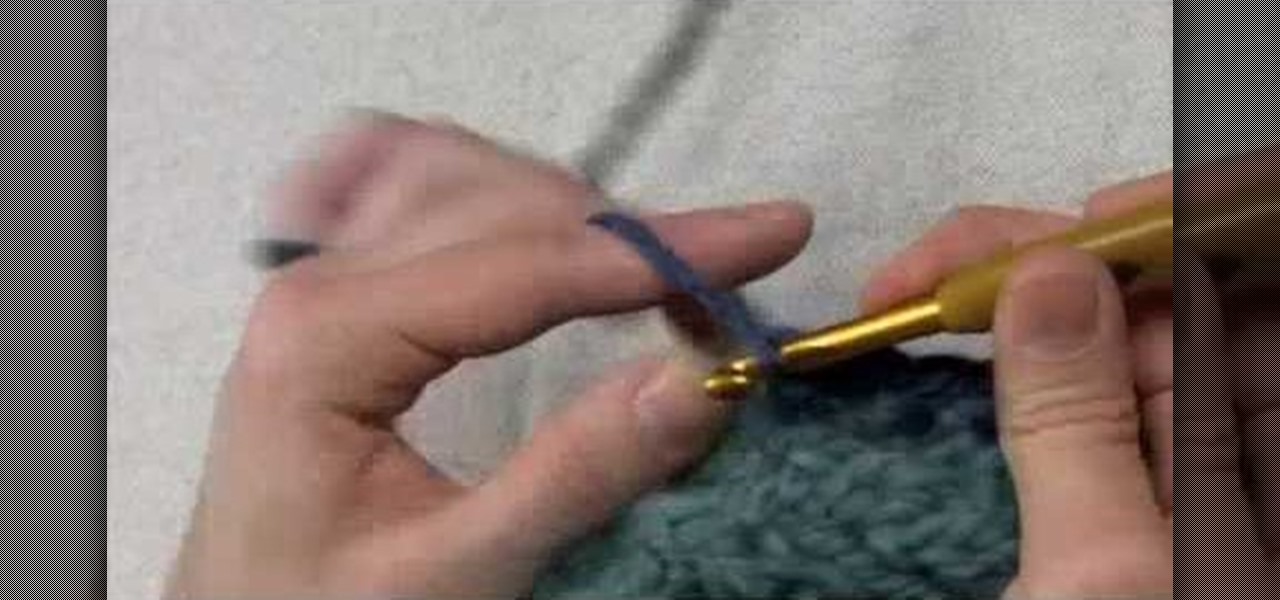
In this tutorial we learn how to edge a knitted piece with a single crochet. Start to attach the yarn to the right side, working in a forward direction. Now, work a slip stitch at the edge. From here, stick the hook in the fabric and pull through one loop. The, yarn over again and pull through both loops with the hook. After you do this, do it over again! You will repeat this process until you reach the end of the row. Once you're finished with the row, you will be finished with the edge and ...

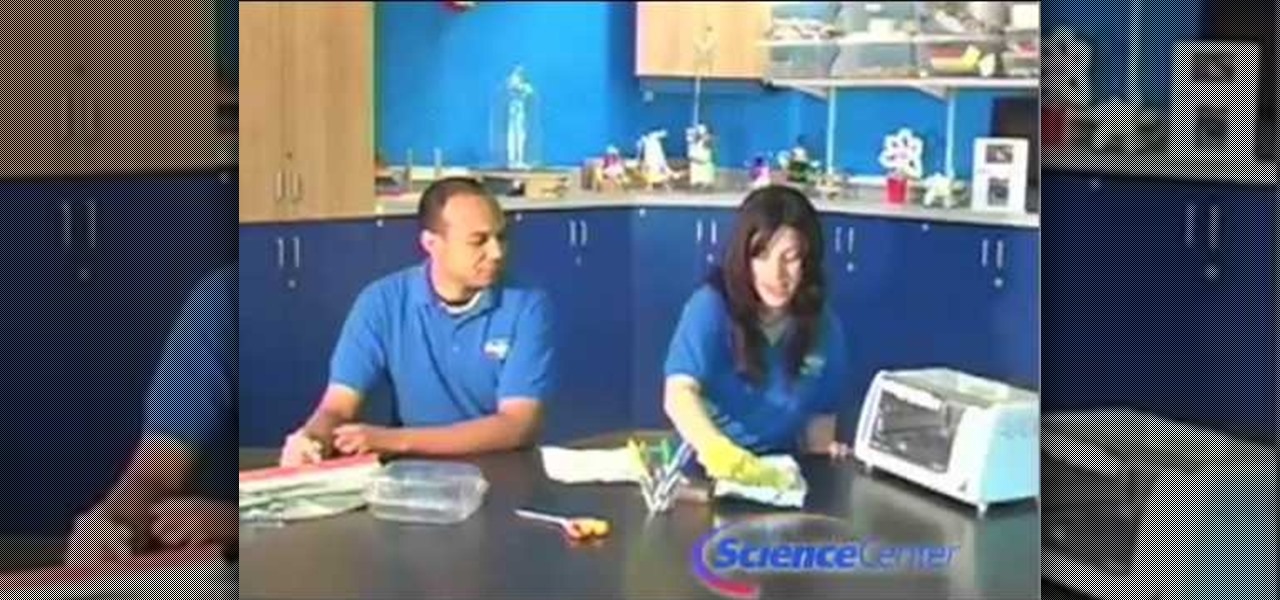
In this video, we learn how to shrink plastic with household materials. You will need: tin foil, plastic container, scissors, glove, and colored markers. To start, you will preheat the oven to 325 degrees. Then, cut a piece of the plastic out in a square shape. Next, draw whatever you want onto your piece of plastic. Make it as colorful as you would like to! When finished, put this in the oven using a glove. Make sure it's on the foil when you put it in. Then, leave it in for less than a minu...

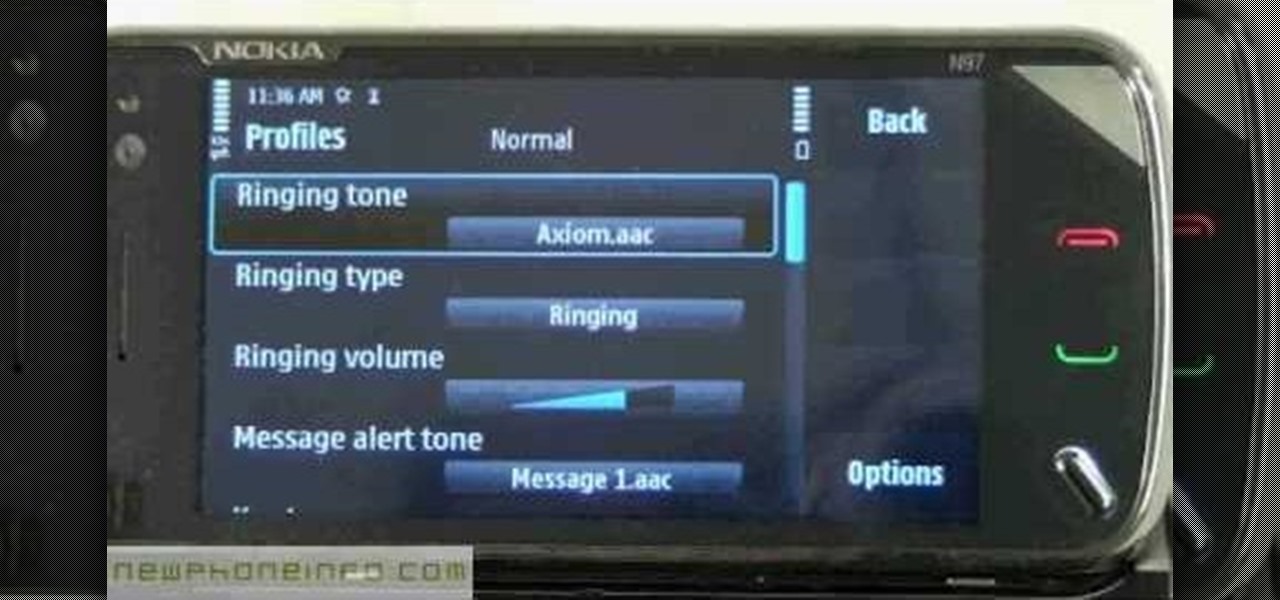
In this tutorial, we learn how to change ringtones on the Nokia N97. From the main menu, you will first tap the menu key. After this, scroll down the menu list and tap on the settings menu. From here, tap on profiles and then tap normal. After this, tap on 'customize' and then tap on the ringing tone option. From here, you can choose which tone you want to play when someone calls your phone. Once finished, select the song and then return back to the ringtone menu. If you're finished, go back ...

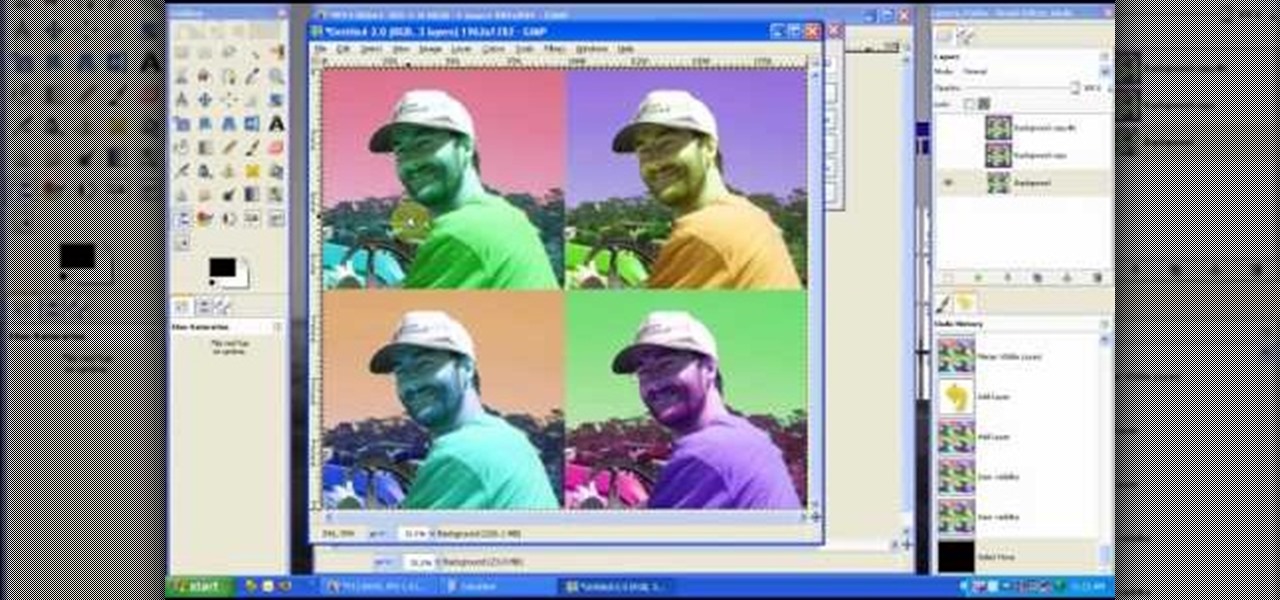
In this tutorial, we learn how to create a Warhol effect in GIMP. First, you will need to take your image and open it up in GIMP. After this, you will need to resize this so that four of these fit into one square next to each other. From here, create a new layer and then layer it to size. After this, change the hue and saturation of the photos. Then, change the lightness and make it any color you like. Then, do the same for the other photos in different layers. Save this when finished, then y...

In this video, we learn how to practice balancing chemical equations. First, take a look at the first and second part of the equation. Write out how many atoms each of the elements has in it. Compare each of the sides to see what the difference is between them. Then, find the multiple of each of the elements until they are equal to each other. After you find this, continue to do this for all of the different elements in the equation. This will give you a balanced chemical equation when you ar...

Do you love delicious and decadent coffee cake in the morning? Chef Patrick Barclay shows how to make it in this video. Start out by combining 2 c flour, 1 tbsp baking powder, 1/4 tsp salt, 1 c sugar, 1 c butter, 1 egg, and 1 c sour cream. Mix this all together well with a wooden spoon or smooth spatula. Once mixed, spread this into a pan so all of it is even inside, then bake it at 350 degrees for around 25 minutes. Once finished, sprinkle with the delicious topping. The topping is made of 1...

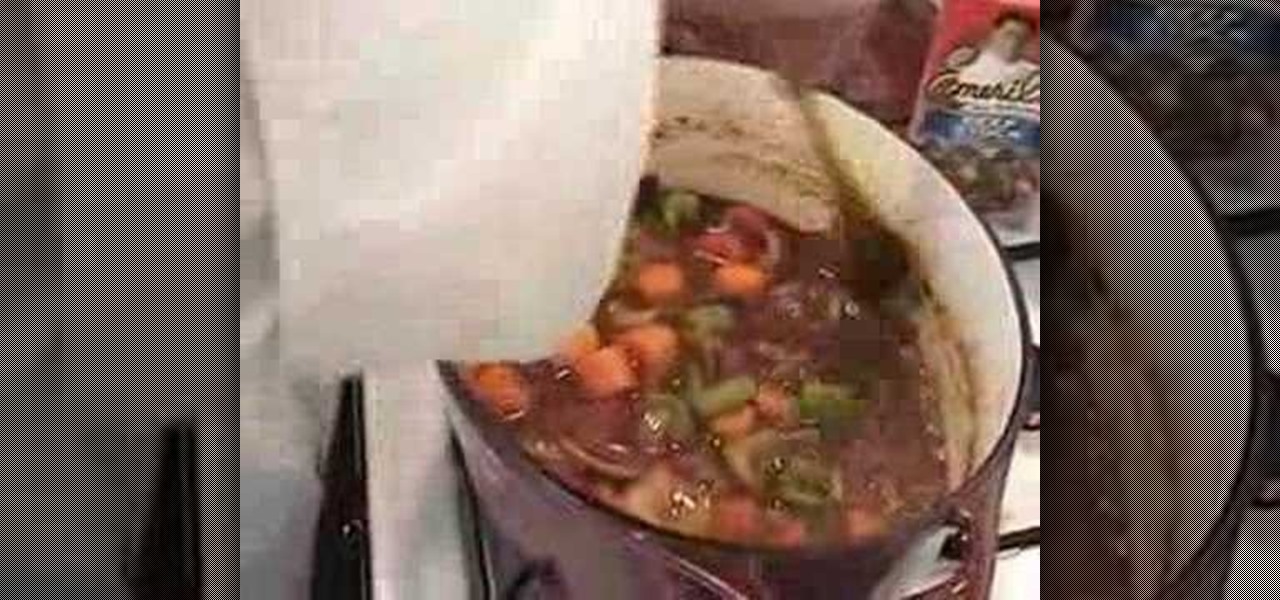
In this video, we learn how to cook succulent roast beef with gravy. First, grab some back and your roast. Poke holes into the roast and stuff them with pieces of bacon. Now, place the meat in a plastic bag and cover with red wine. Seal this and let it sit overnight in the fridge. From here, grind white pepper and chop celery and carrots. Chop up an onion, then take out your meat from the plastic. Place the meat into a large pan, then braise the meat on both sides. When finished, place this i...

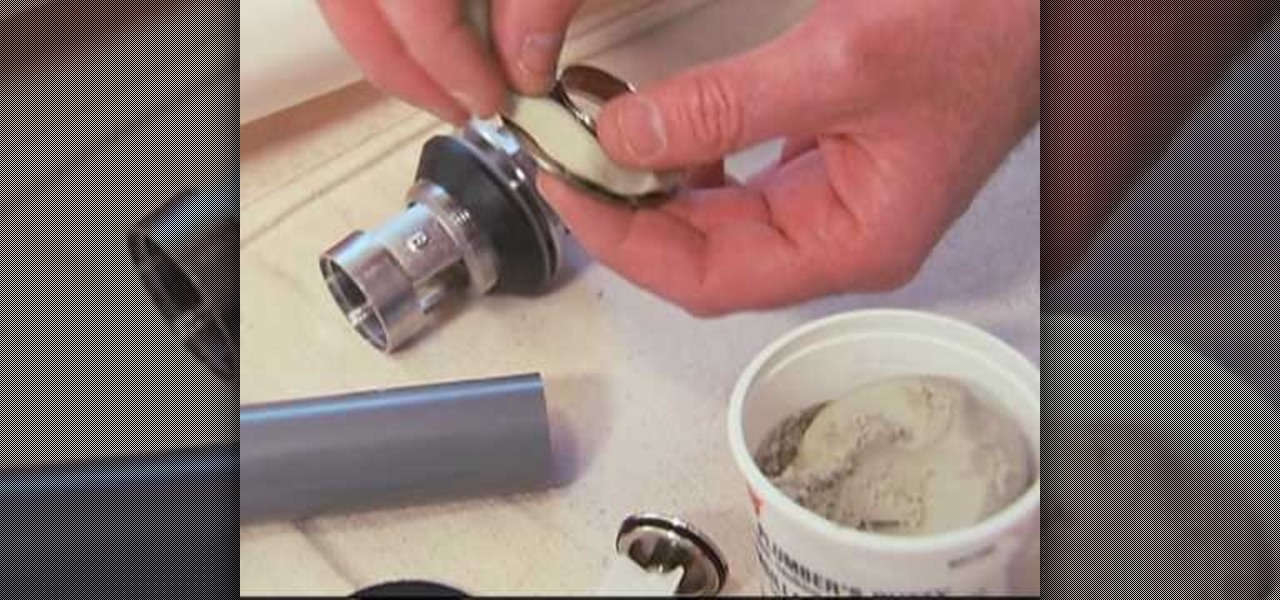
In this video, we learn how to install a vanity and sink with Lowe's. A great way to give your bathroom a makeover is to give it a new vanity and sink. First, turn off the water from the water line, then take down the pipes from under the sink. Use a bucket to catch extra water that's falling out. Next, separate the top from the base and then remove the old vanity. Remove the old base unit from the bathroom and then install the new vanity. Measure out the area to make sure it will fit. Place ...

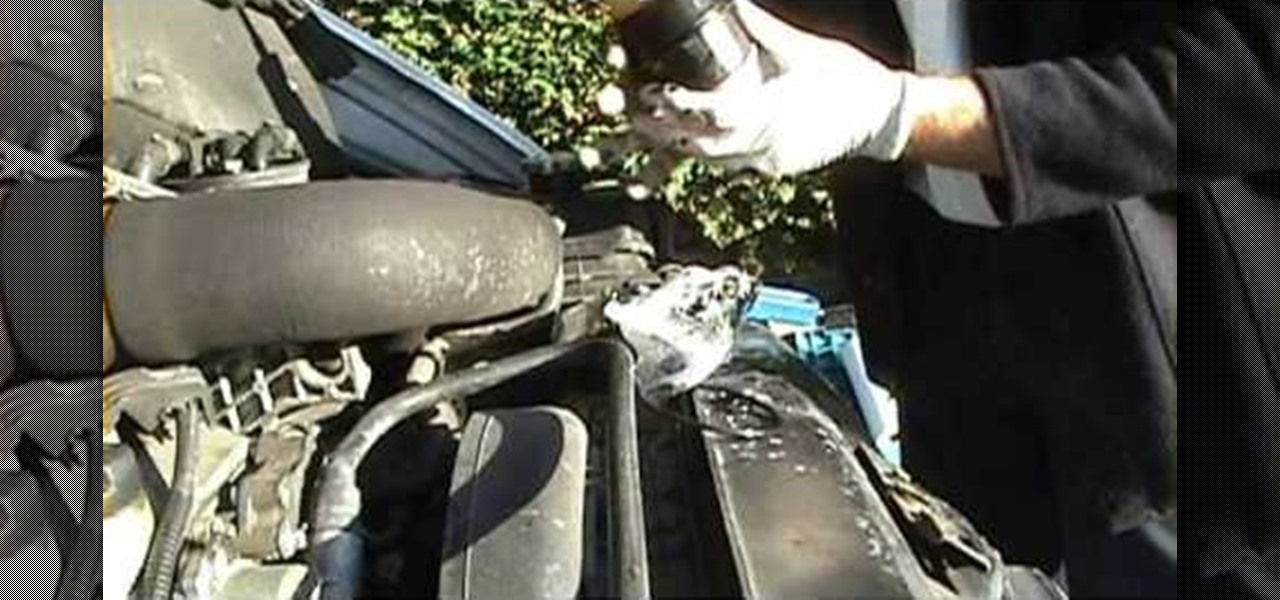
In this tutorial, we learn how to change the engine and oil filter on a Mercedes car. First, find the oil drain plug underneath the car. Remove this, then let it drain into a pan until it's finished leaking out. From here, you will place the drain plug back on, then fill up the vehicle with the correct type of oil from the hood of the car. Then, find where the oil filter is and remove it from the car. Place in the new filter, then tighten all bolts you removed. Check the level in the car to m...

In this tutorial, we learn how to splatter blood & make a muzzle flash in film. First, you will need to grab a starter pistol for anywhere on the internet. Then, take a shot of your shooting the gun and someone else pretending like they are taking the bullet. Then, load this clip into the software you use and place a light coming from the end of the gun to make it look realistic. When you are finished fixing the lighting with this, you can edit and then you will have a finished product! Save ...

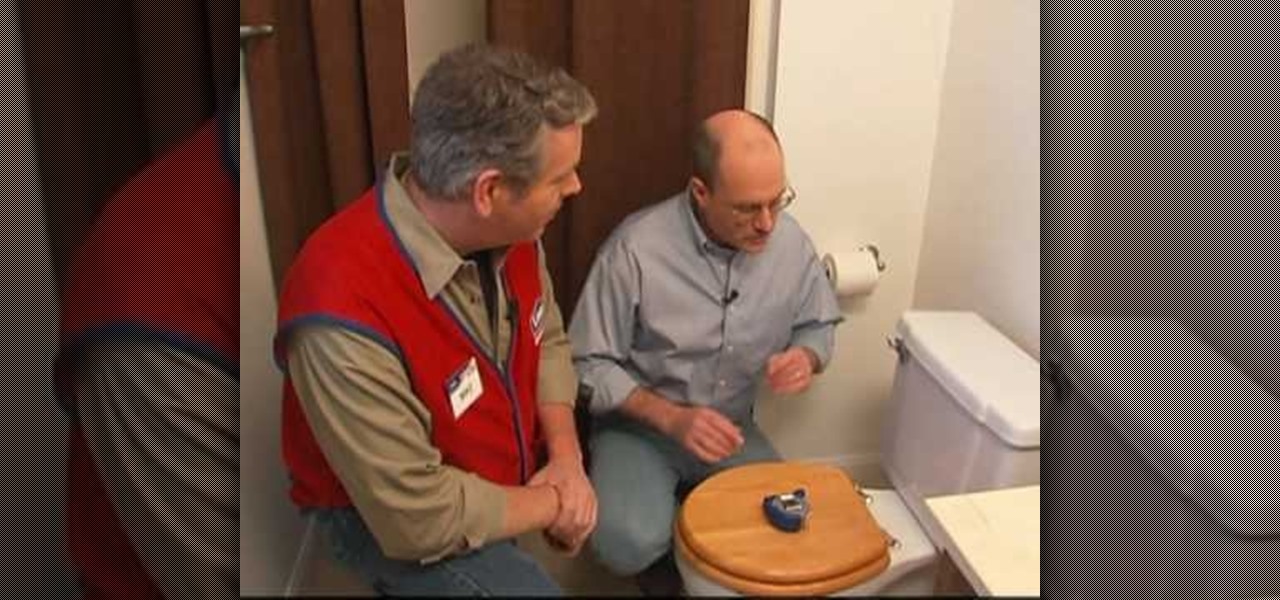
In this tutorial, we learn how to replace and install a toilet with Lowe's. To get started, you will first need to turn off the water to your home, then take measurements around the toilet. Next, remove the top of the tank, then flush the toilet and remove excess water. After this, remove the water from the bowl using a sponge or towel. When finished, disconnected the water supply line and drain the water into a bucket. Now, leave the tank connected to the bowl and remove the bowl caps. Loose...

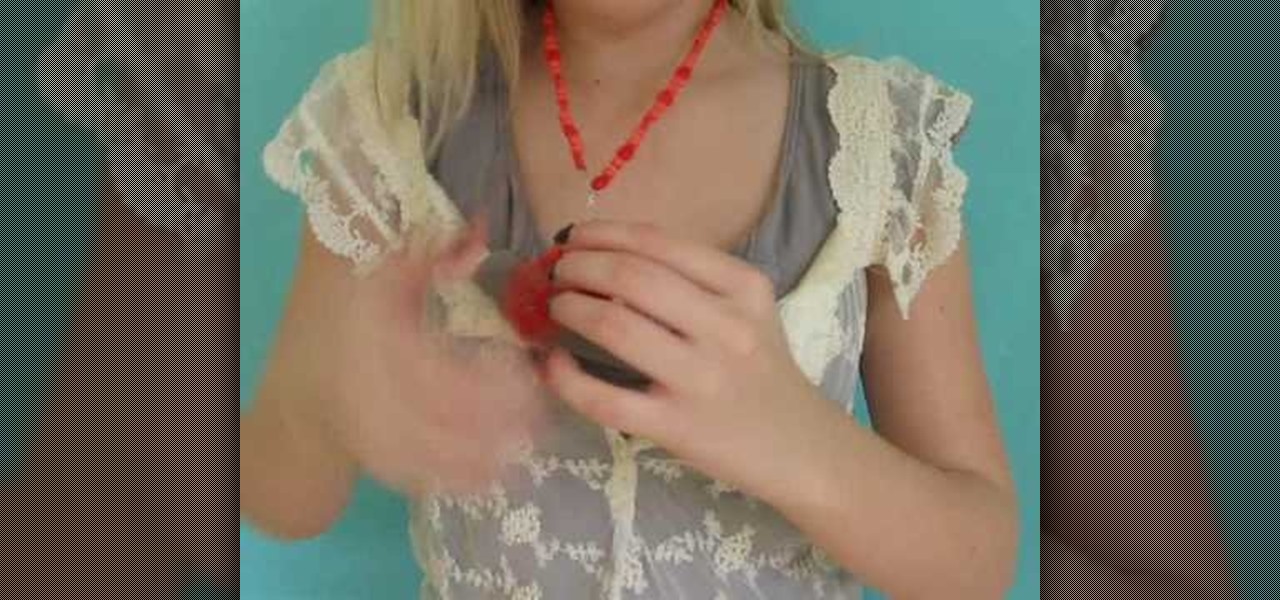
In this video, we learn how to make a lariat necklace. First, cut your wire so it's 20" long. Then, make a loop at one of the ends and attach a small chain to it. After this, put on the crimp bead and make a loop through the bead. Once finished, take your pliers and clamp it down. Now attach your chosen beads to the wire until you reach the end where the chain is. After this, cut out three pieces of wire and attach them together in a slight v shape. After this, apply beads to them, then tie t...

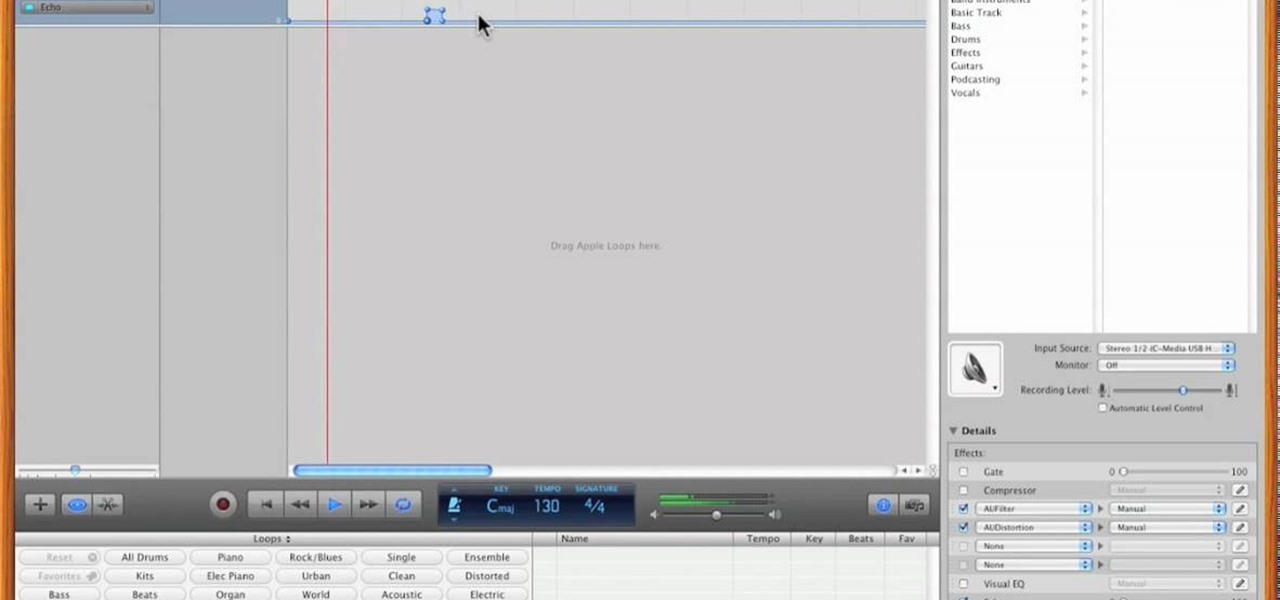
In this video, Nick teaches us how to use effects automation in Garageband. Any effects you use on your track will allow you to change the effects over time if you change how you want it. First, load up your track and loop it up by clicking on the loop button. Once finished, load up effects so you can automate them later. Hit the "i" button, then go to the details tab on the bottom. Now, change the effects you would like for automation. For the first one, go with the "au" filter, then for the...

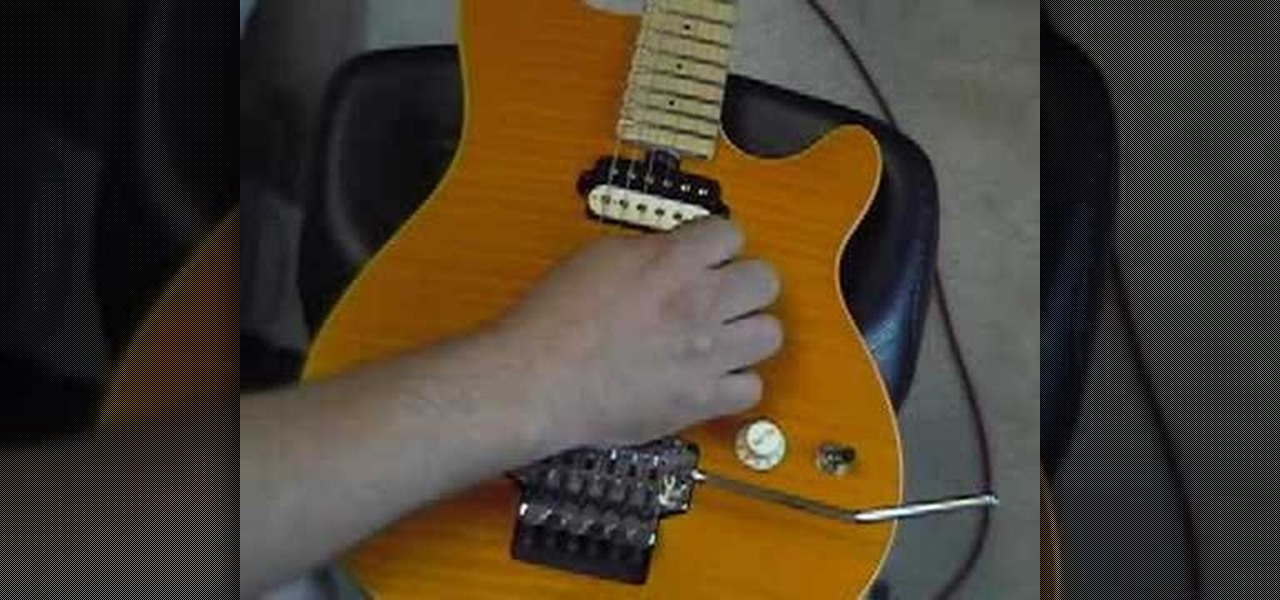
In this video, we learn how to adjust the spring tension on a Tremolo. First, find the strings in the back that are parallel to the body of the guitar. Then, unlock the nut and set the fine tuners so you have maximum range of adjustment. Start to twist the tuners at the bottom of the guitar until the tension on the strings is enough for you to play correctly. Then, go to the back of the guitar and adjust the crimp screws that are along it. When finished with tightening your guitar, test it ou...

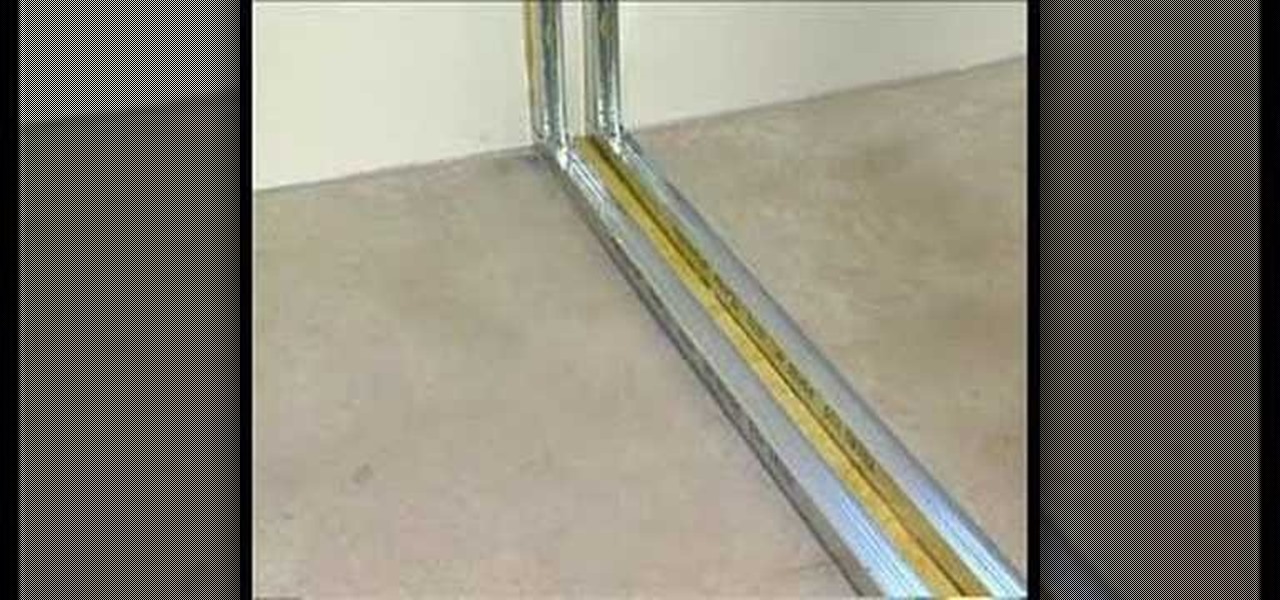
In this tutorial, we learn how to drywall partition with Fermacell. This is a great alternative to plasterboard and is environmentally friendly with no plastering required. First, measure out the floor and mark it using chalk. After this, make sure the walls are level, then measure them out. Mark out doorways and any other special requirements after this. Now, layer a resilient layer between the slats. Then, these are placed into the floors using drills and nails. The rest of the studs will b...

In this video, we learn how to do the invisible board & super jump glitches in THAW. First, turn low gravity on then get onto the roof of a building. From here, jump onto the ramp then jump into the grass down on the bottom. After this, find the invisible wall and jump up it. After this, climb to the top of the mountain right next to it. Then, run down the street and slap the wall while jumping up it until you reach the top of the hill. Then, run down and jump to the bottom on the street. Now...

In this video, we learn how to play "I Don't Love You" by My Chemical Romance. The basic chords of this song are: C, C suspended, C7, A minor, G suspended, and many others. Once you learn how to do the basic chords in each of the different verses of the song, you will be able to star to play in one fluid song. The fret of the song is tricky to play, so this may take some getting used to. Once you have these figured out, start to add in the lyrics as you go between the different verses. When f...

In this video, we learn how to create an engraved text effect in Photoshop. First, start a new document in Photoshop and make it as large as you want it. Now, select the foreground color as a dark gray. Next, grab the rectangle tool and draw a shaped layer, making the color whatever you want it to be. Now, go to "layer", then "layer style", and "gradient overlay". Go to the gradient bar and mix light and dark grays or black to make a metal or chrome look as you prefer. After this, write in yo...

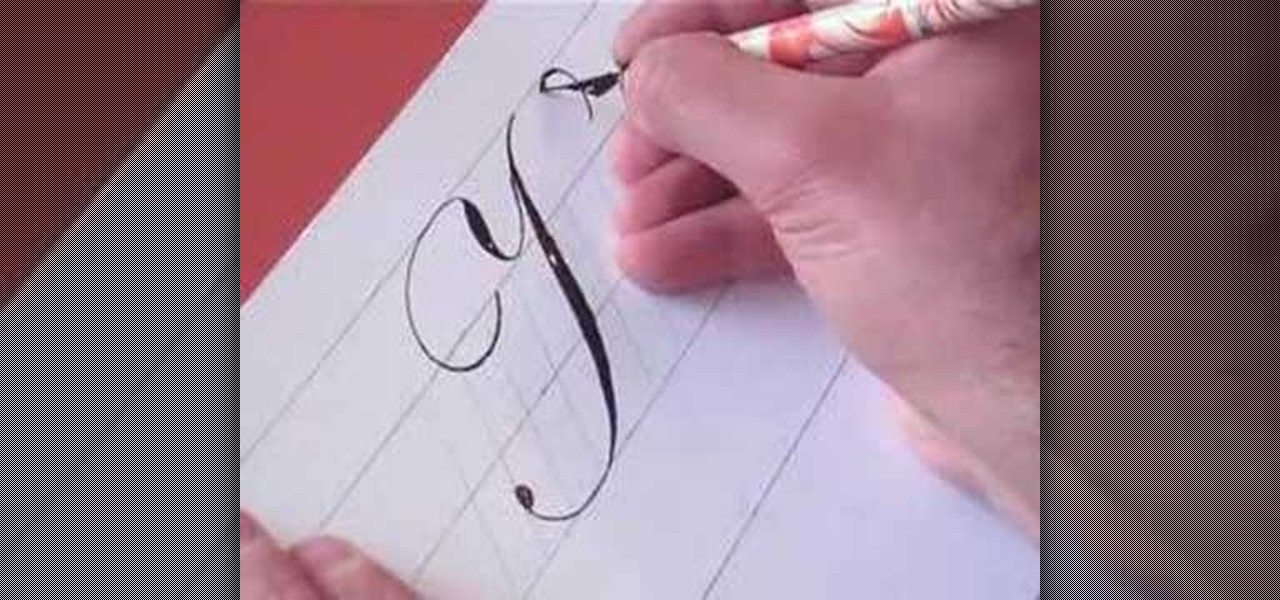
In this video, we learn how to write the letter K in calligraphy copperplate. Start by running your calligraphy pen on the paper going from a thin line to a thick, making a line curved to the left ending with a dot at the end of a small loop. Next, make a loop to drag out across the top on the right hand side and curve it down to make the K letter. Do the same to make the lower case letter, except making a loop for the top of the letter instead. When finished, let the ink dry and you've got y...

In this video, we learn how to apply eyeshadow and eyeliner in Adobe Photoshop. First, load your picture in and zoom in on the eye. After you do this, you will need to click on layer one and then click on the color picker. Next, choose the color you want for the eye and paint it onto the lids using a small brush and zooming in on the eye even further. After you brush the color onto the entire eye, you can choose black for the eyeliner and use a smaller brush. Paint the liner onto the bottom a...

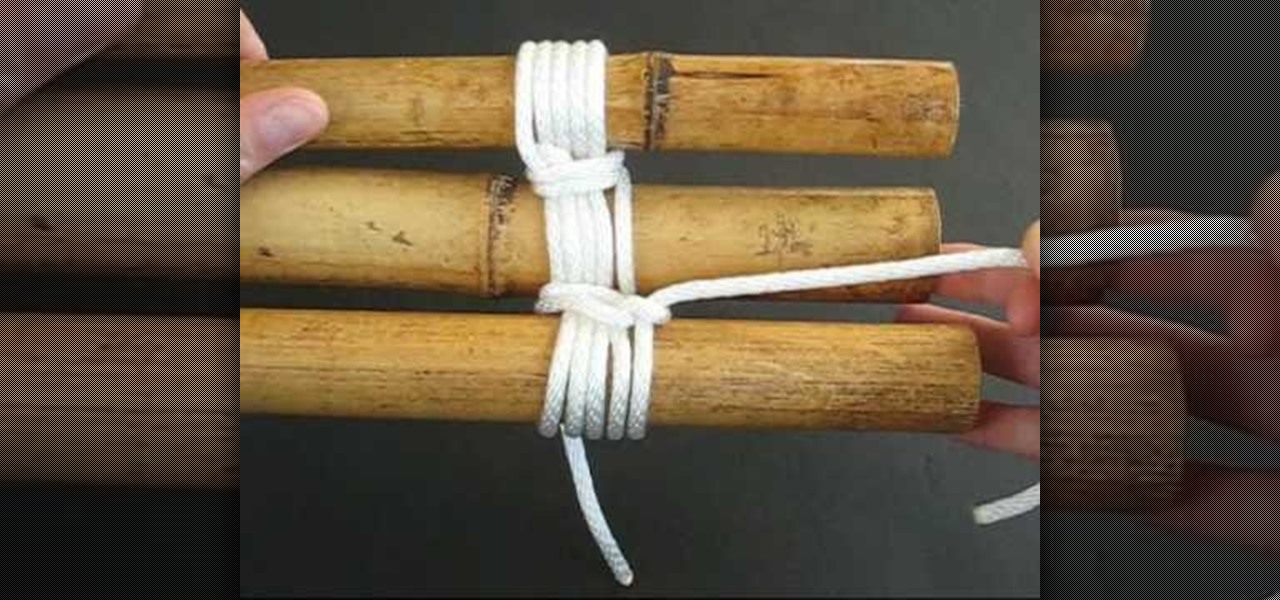
In this tutorial, we learn how to lash a bamboo tripod. First, you will tie a clove hitch by taking one piece of bamboo and wrapping the rope around it, then crossing the two sides of the string together to make a hitch. Next, you will secure the clove hitch around the third piece of bamboo. Now, you will rap all the pieces of bamboo together with the rope. Continue to do this until all the pieces feel secure together. Wrap the rope several times around each of the pieces, then wrap it in the...

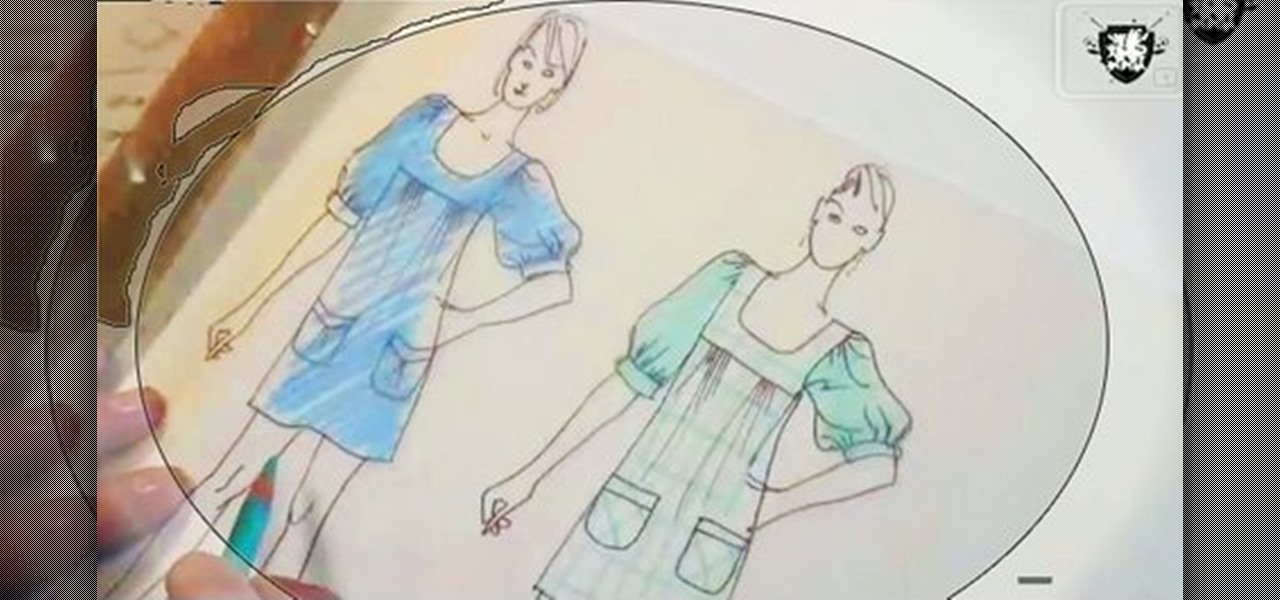
In this video, we learn how to draw a fashion sketch. Start off by using a fine pen and drawing the silhouette of a woman. Draw on the outfit to the woman, adding in all the fine details. Draw in ruffles of the clothing as well as the prints of clothing you are going to use. Use a colored pencil to color in the picture so you know what colors you want the clothes to come out like. Shadow the model slightly to make it look more realistic, then finish up the details of the image. When finished,...

In this tutorial, we learn how to create links between tasks in MS Project 2007. First, select the task you want to link, then click on the link task button on the toolbar. You will now see a finished task link between these tasks. In the entry table, you will see the predecessor, which is task two. You can also type the numbers in the predecessor column and enter the information in. You may want to create a link that is different, so you don't confuse two things that will start at the same t...

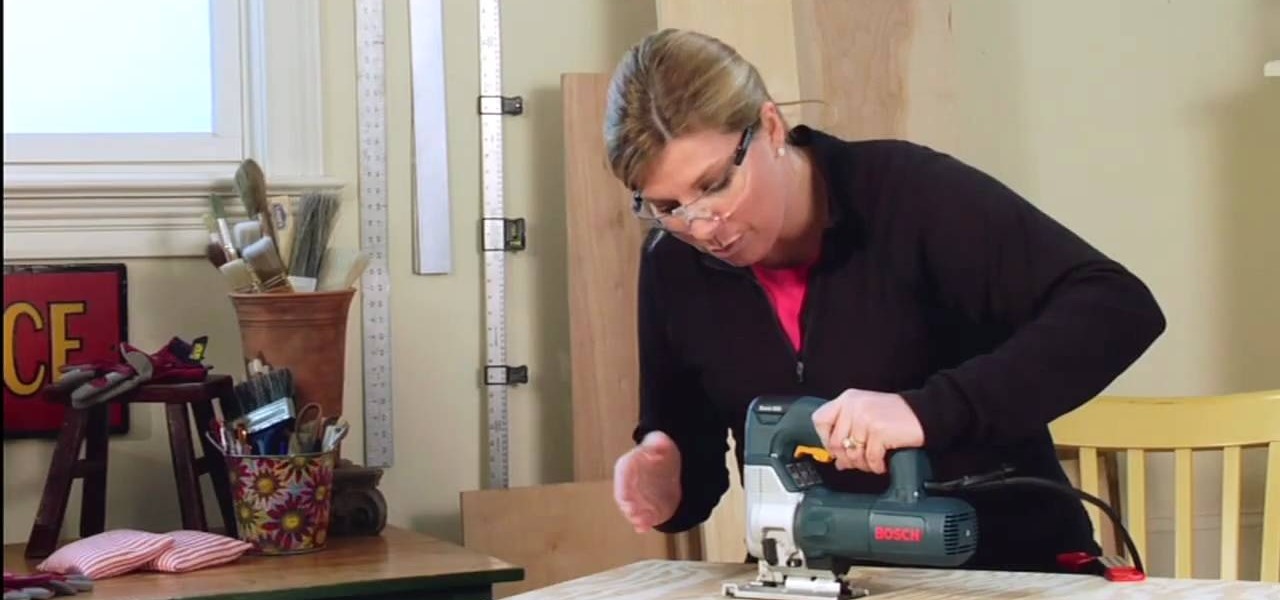
In this tutorial, we learn how to use a jigsaw. First, measure and mark the size of the circle you need to cut. You can use a compass or trace around a round object. Now, place your wood off of a table and clamp it into a place. Now, drill a starter hold inside the circle and put on your protective glasses. Now, place the saw in the starter hole and saw half way up, or to where you feel comfortable. After this, reposition yourself, then continue on. Make sure you don't force the saw, just let...

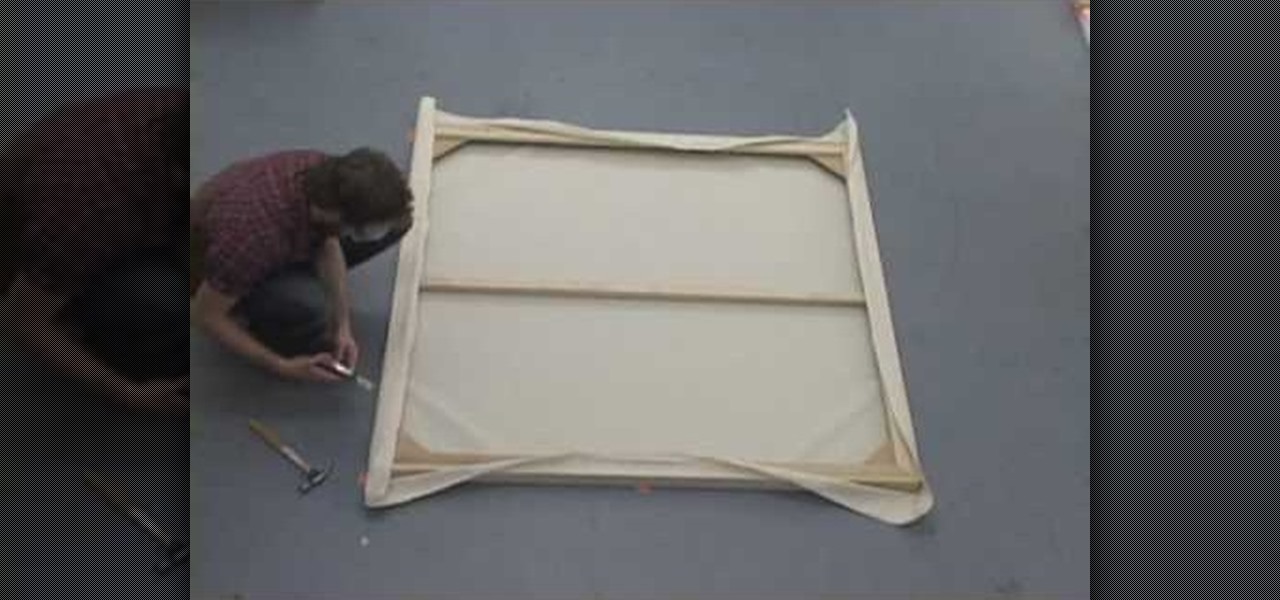
In this tutorial, we learn how to stretch the perfect canvas. First, measure the canvas. After this, center the canvas and make sure there are no wrinkles. Then cut the canvas and staple it to the frame. This will take several minutes, and you will work your way from the inside to the outer corners. After you are finished stapling hide the folds on all of the corners with the stapler gun. When you are finished with this step, you will be done and ready to paint on your new canvas! These steps...


