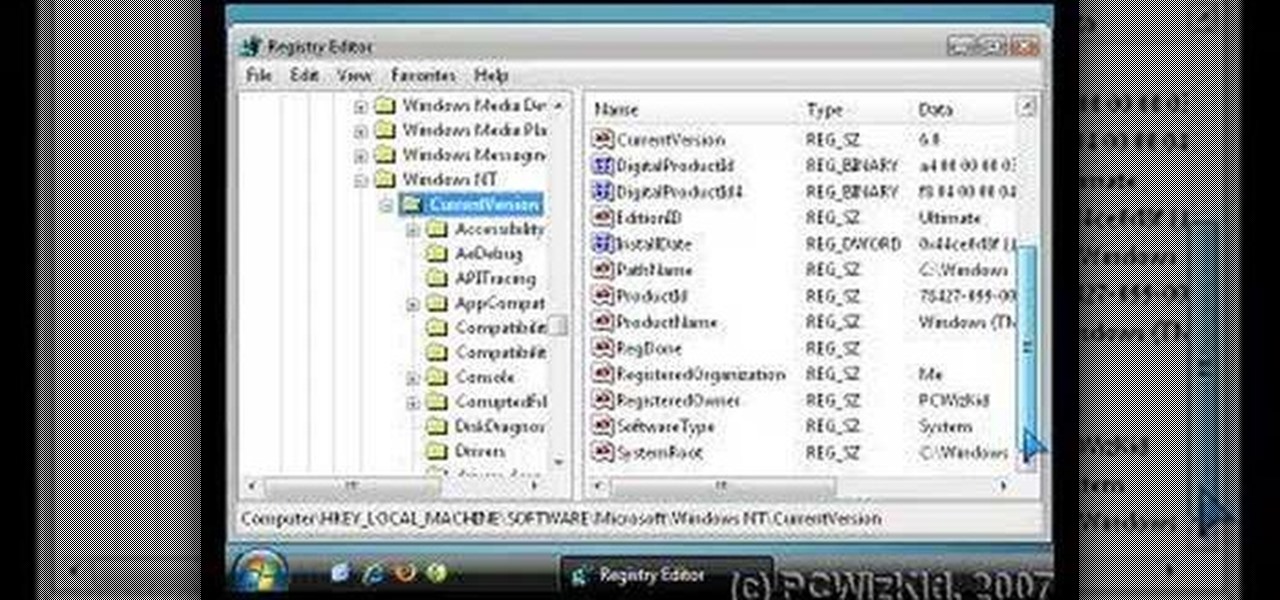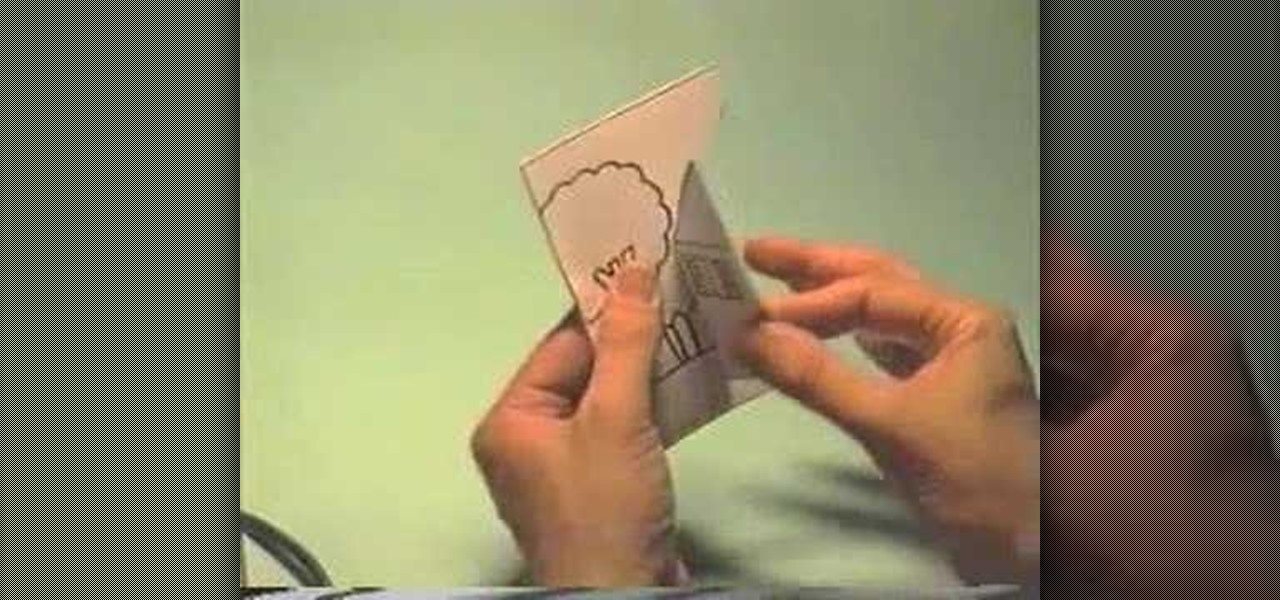
In this tutorial, we learn how to make a little house pop-up card. First, draw a cute little house on a flat plain with trees around it, then decorate the house! After this, fold it in half so the house shows on the outside and cut the paper along the roof and on the bottom, not on the sides. After this, bend that flap on both sides and then open up the card. Now, fold the card in so the little house pops out when you open it up! From here, put into your card and then color the entire thing t...
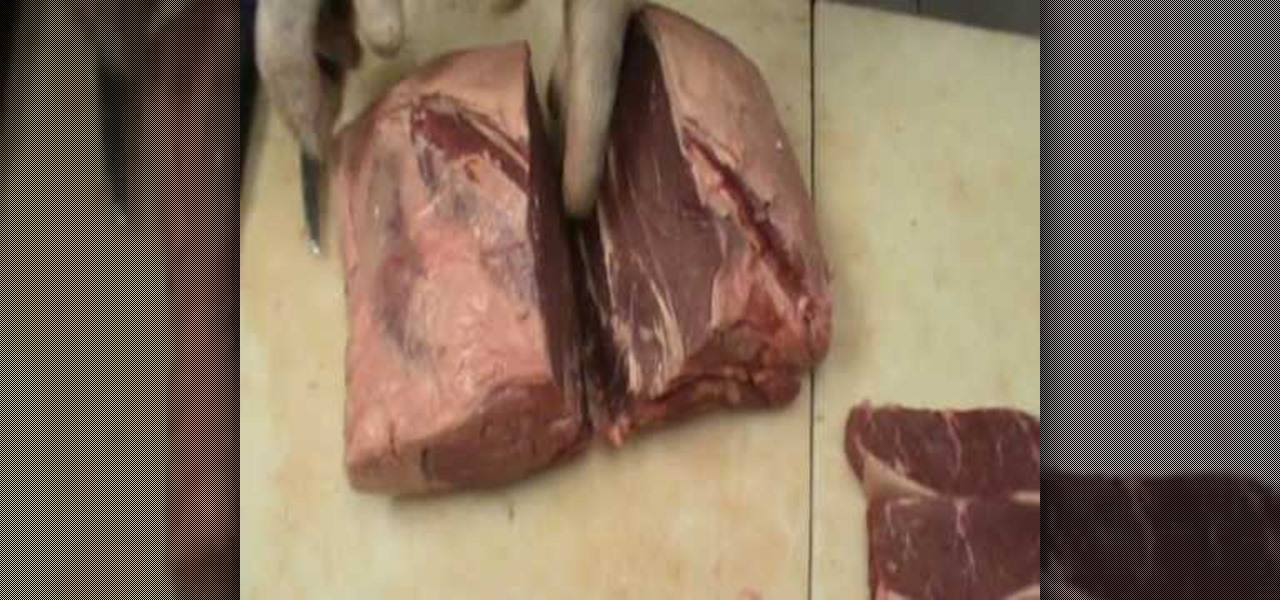
In this video, we learn how to cut a sirloin into steaks. Find the two ends to the sirloin and these are the sides you will cut into. The top is the New York cut, which tends to be more tender. Cut off the bone skin with a sharp knife from the very top of the meat. After this is out of the way, flip it to the other end and find the piece that is the flat part of the rump roast. Start by taking this off of the meat by going into the seam that opens up. After this, you will have cut pieces of s...
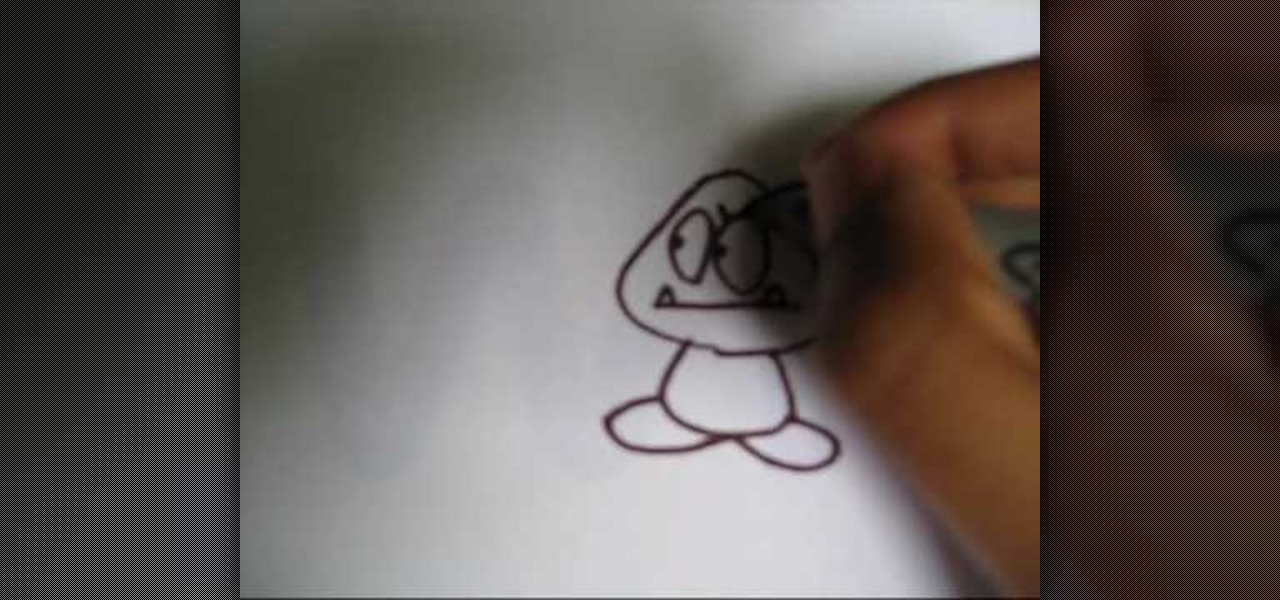
In this tutorial, we learn how to draw a Goomba from Super Mario. First, draw the softened triangle shape of the top of the head, then draw the body and the oval feet at the bottom. After this, draw on the oval eyes and then a flat mouth with two triangle teeth on both sides. From here, draw on the eyebrows to Goomba in thick lines. To draw another type of Goomba, draw the same basic shape, but then make the eyes squished into small lines and then draw the mouth with crunched teeth on the ins...

How you work out your abs determines how they'll appear in the long run. Not only are the type of ab exercises you do important, but also the frequency with which you do them.
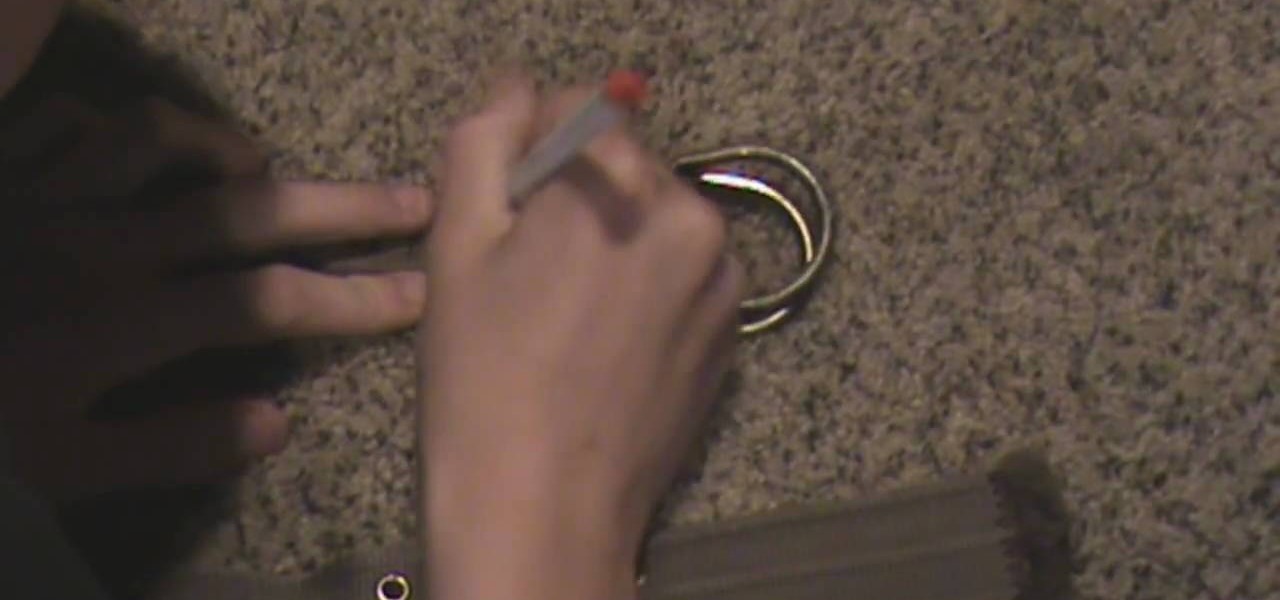
In this video we learn how to cheat on any test by wearing a fake bandage. To do this, you will need a dark belt and a pen. First, you will lay your belt down on a flat surface and then use your pen to write out the information you need onto it. Write the notes out small and use phrases that you will remember when writing down the information. Once finished, wear this with your outfit, just put a big shirt over it. When you are taking your test, you will simply just need to look at your belt ...

In this tutorial, we learn how to do a big anime inspired hairstyle for cute pictures. First, part your hair slightly to the side of your choice. Next, tease your hair in the back and then straighten your bangs with a flat iron. After this, comb your hair so it flares out on the bottom and hair spray it. Then, tease it more on the higher side so you have a very messy and volumized side. Then, slick the other side of the hair back. When finished, you will have a big anime hair style ready to g...

In this tutorial, we learn how to make a kazoo out of a clothespin. This musical instrument can be made at home with just a few minutes. You will need: 2 rubber bands, a clothes pin, and tape. First, take the clothes pin apart and then take one side and wrap both ends with tape. Throw the metal part away, you won't need this anymore. Next, you will take this side and wrap a rubber band across it. Then, put the two flat sides together on top of the pin. Wrap a rubber band around the entire thi...

In this tutorial, we learn how to recycle an old t-shirt into a no-sew head scarf. First, lay your shirt out flat on a table and download the paper pattern from the video. From here, measure sixteen inches from side to side on the t-shirt that you are using. After this, follow the paper pattern on the shirt and cut out the pattern with scissors. Once you have finished this, use a fabric bonding agent to make the edges less frayed and fold them into each other. This is great for the environmen...

In this video, we learn how to create a marbleized water look with icing. This is a colorful and eye catching way to put icing on a cake to make a memorable piece! First, spoon your icing into a small bowl and then make a rice cereal treat and shape it into a circle. To start to decorate this, you will pipe on green icing to the sides and front of the ball to make it look like a fish. Then, pipe some of the icing onto a flat surface with red confectioner's sugar. Once this is covered and hard...

In this video, we learn how to straighten American Girl Doll Julie's braid. First, you will need to take the hair out of the braid and then separate that area. From here, cover the doll with a towel and brush her hair out. Wet down the area by dipping the comb into the water and brushing it in the hair. From here, you will bring the doll over to a flat surface. Then, lay some really heavy books down on top of the strand that needs to be straightened. Do this four nights in a row, then the hai...

In this video, we learn how to build a nest box and ladder for a chicken coop. Start off by creating the box with several pieces of 2x4's. Measure each piece individually, then screw them into place. Make sure it's the size that you want it and that it's secure and lays flat on the ground. Once finished, you will bend some metal and place it on the sides of the coup and then fasten the hinges so they are free swinging. Then, pull in a few more piece and you will have created the nest box insi...

In this video, we learn how to make the farthest flying paper airplane. First, you will lay the paper flat and fold in two sides on the top. Then, fold it in half and keep folding the plane in. After this, you will see the wings become smaller and smaller. Once you fold this up until you cannot fold it in anymore, you will be able to throw this and make it fly! This will be really thin so it will go further and further. This will fly across the room easily and make everyone jealous they don't...

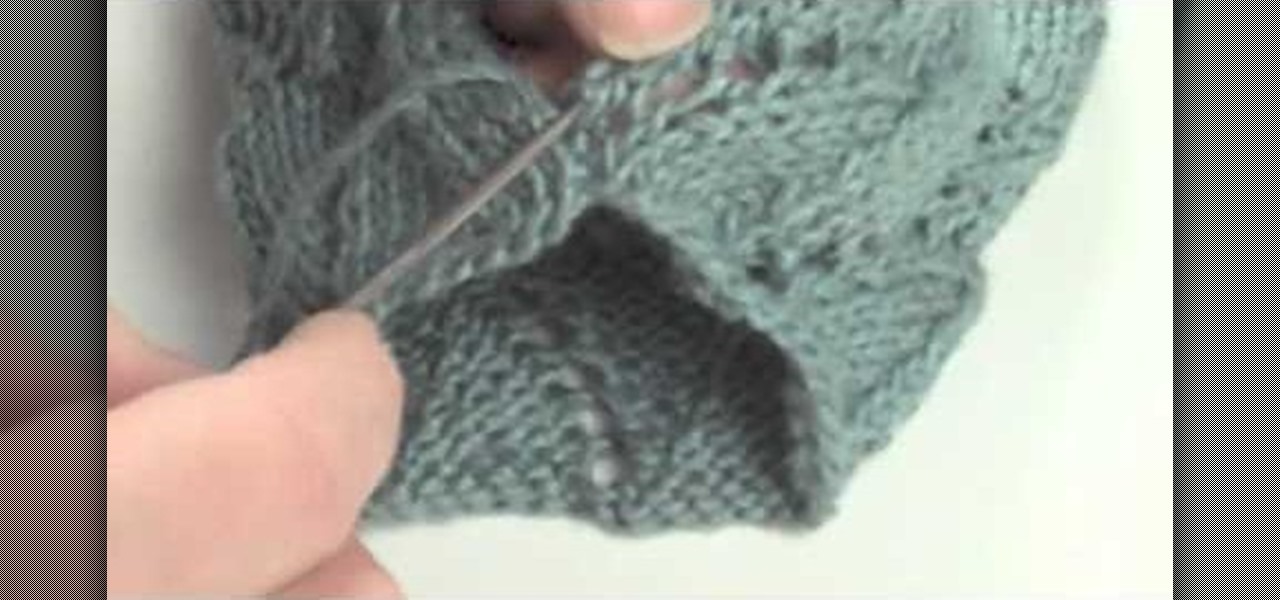
In this tutorial, we learn how to do the mattress stitch. First, lay the pieces flat and thread yarn tail onto the needle. Next, you will anchor the yarn to the bottom edge of the opposite piece. Then, go back through the side and find the tunnel of horizontal bars, one stitch in from the edge. Continue to do this around the stitches to combine them together. Keep alternating sides and just do one bar at a time to get the best results. You can do two bars at a time if you are comfortable with...

Do you have a beanie and just can't figure out how to wear it? Then this video is the right one for you! With this, we learn how to wear a beanie 18 different ways! The first way is to wear it flat on your head. Or you can wear it as a fedora. A girl can wear it with her bangs hanging out, then you can wear it with the cap sticking out for a "robin hood" look. You can pull up the sides of it to create a half hat or you can wear it to the side. Any way you choose to wear the hat, just let it w...

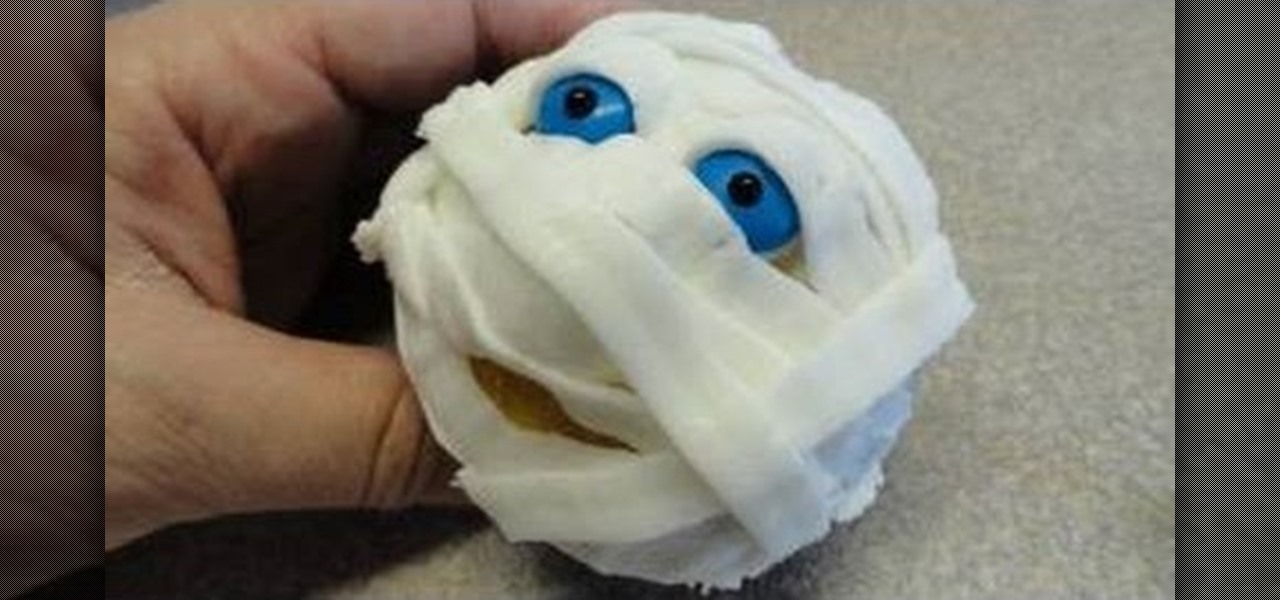
This mummy-shaped cupcake will be a ka-razy big hit on your Halloween buffet table. Flat, noodle-like layers of icing create a bandaged mummy effect, while an assortment of blue and red candies mimic the mummy's creepy eyes and mouth.

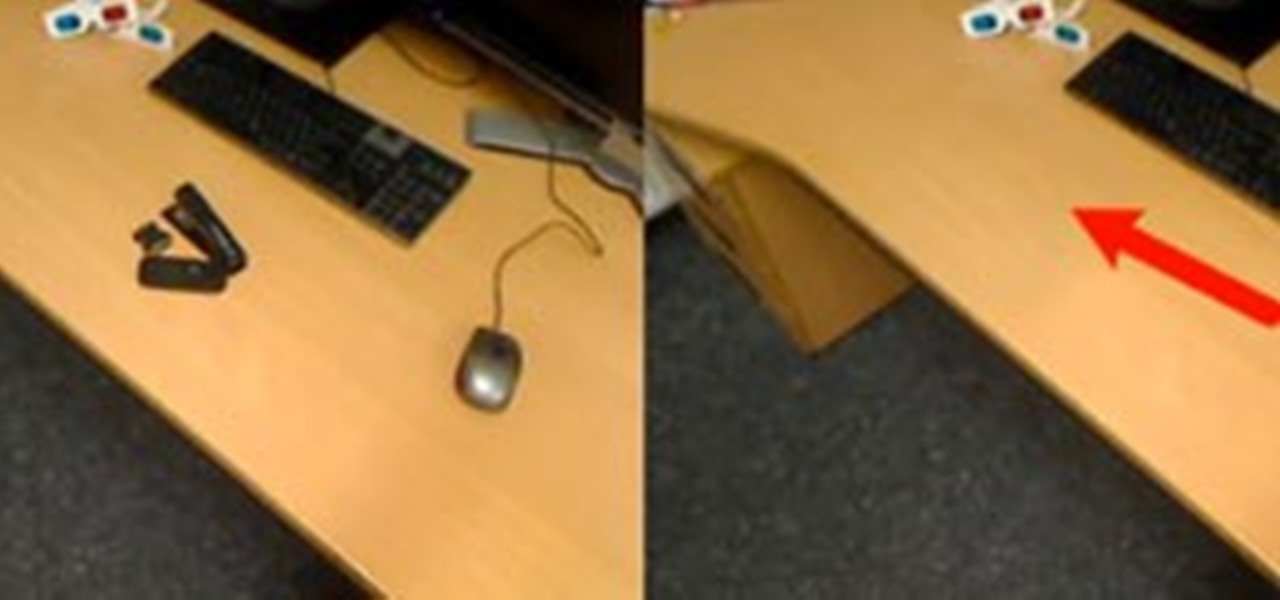
Coming soon to an Android device near you: Diminished Reality! What's Diminished Reality? A lot like Augmented Reality, really, but with one big difference: Where AR giveth, insinuating virtual elements into a live representation of the real world, Diminished Reality taketh away, hiding actually-existing objects within a live feed.

In this tutorial, we learn how to make and arrange a painting palette. First, you will need to buy a large palette that can handle a lot of different colors on it. Now, use the sides to add in the different colors that you are going to use. Use the middle of the palette to mix up colors while you are painting or doing different crafts. You can also use a large paper plate to make a paint palette if you don't have a palette nearby. Anything that is flat with a lot of room on it will work, so g...

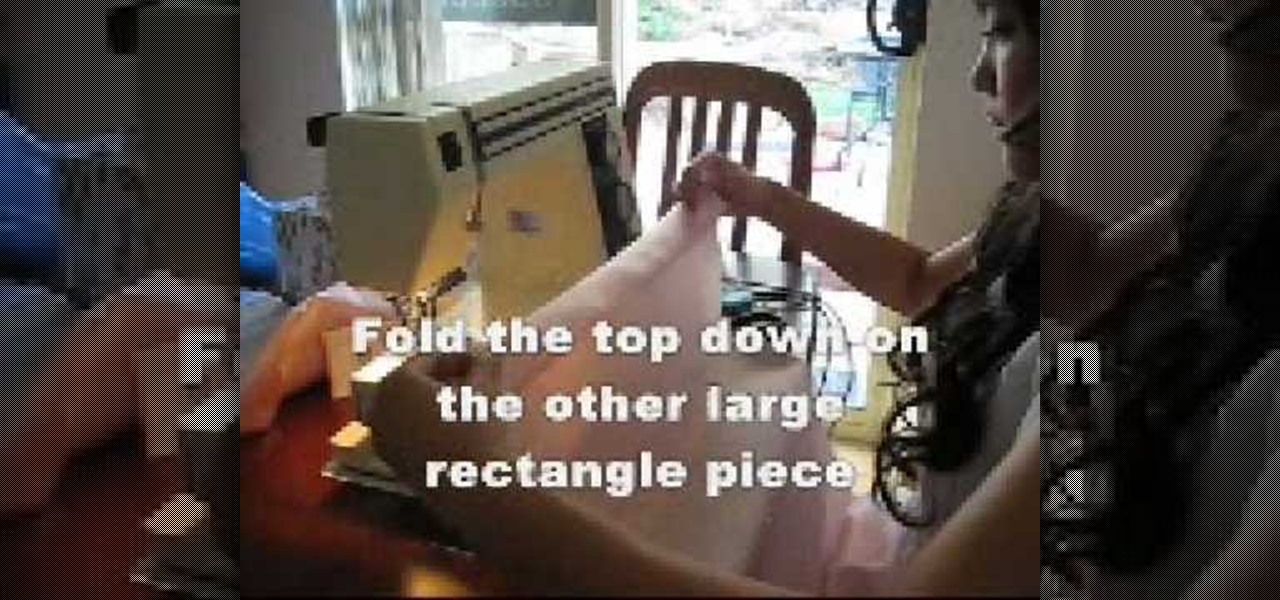
In this tutorial, we learn how to make a basic princess pillow case. First, you will need to have a large piece of pink silk fabric. Lay this out flat, then cut out a 45x75 cm rectangle. Once finished, separate the two pieces of the fabric, then cut a new piece 45x20 cm. Then, lay the fabric facing up and lay some lace on top with the frills facing inward. Sew together the fabric and lace all the way around the entire pillow case. Fold the top down on the other large rectangle piece, then rep...

In this video, we learn how to make a duct tape wallet with a change pocket. First, grab your favorite color of duct tape and then place some down on a flat surface with the sticky side up. Overlap these until you have the desire size you want, then fold the edges over. After this, apply the sticky side down to this and you will have a nice little wallet that is made between them connecting to each other. Make the change pocket by doing the same process, just use a smaller piece and connect w...

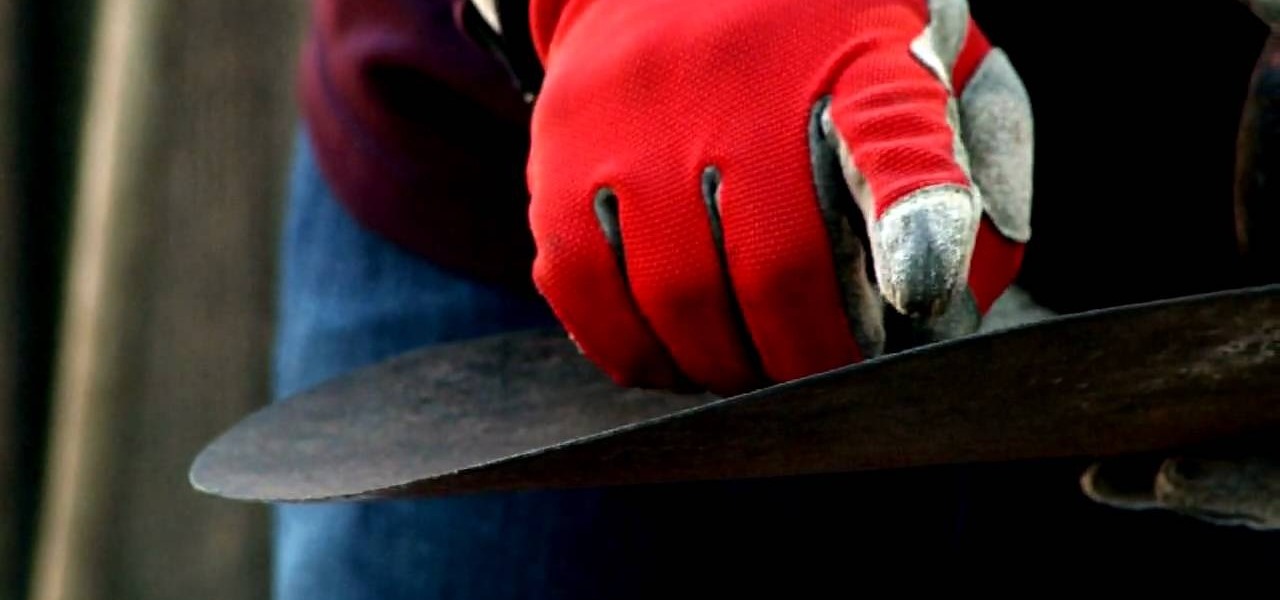
In this tutorial, we learn how to maintain your tools for extended usage. First, get a good sturdy brush to clean off all the crusted on dirt from your tool. The dirt will promote rust and deteriorate your tools. Once it's cleaned, also make sure it's dried off from anything that is wet. Also set the tool on a flat surface or table to remove rust off of the tool. You can also sharpen the sides of the tools or shovels so you are pulling out any kinks and making it sharp and more useful. Once f...

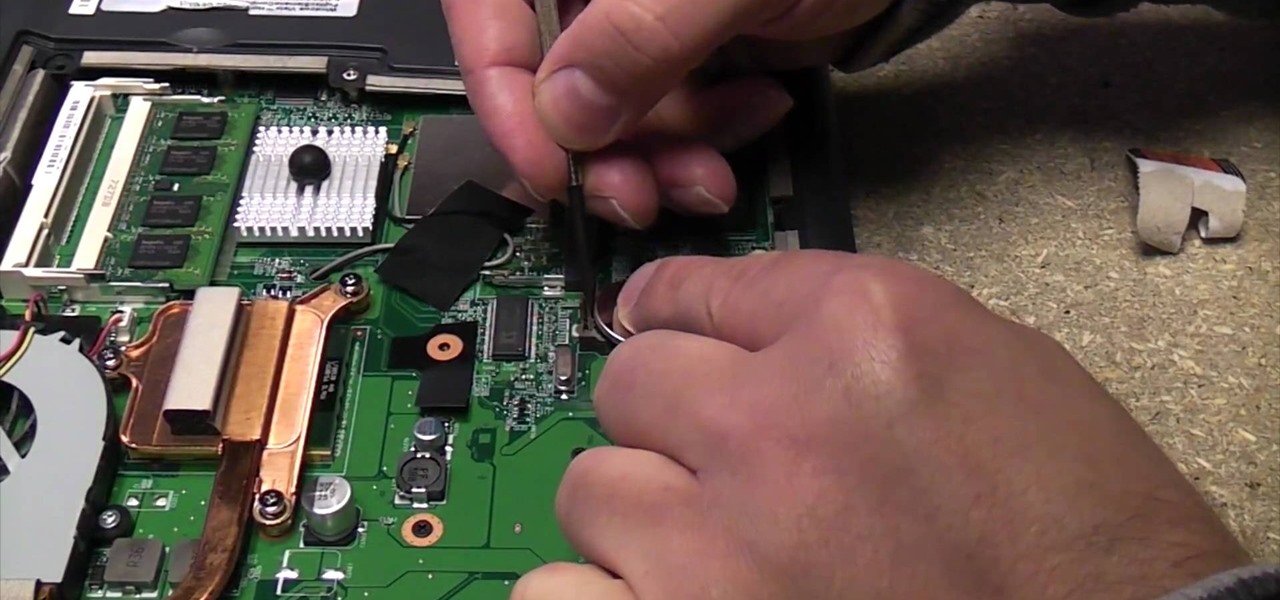
In this video, we learn how to replace a laptop CMOS battery. First, turn the laptop upside down and remove the screws around the panel you need inside. Set these aside and then pry the top up with a flat screwdriver. Now you will see the CMOS battery, remove this with the tab that is on top of it. Remove the battery from the area it's at and then replace it with the new one. Make sure you place it in just how it was before. After this, replace the panel on the top and screw the screws back i...

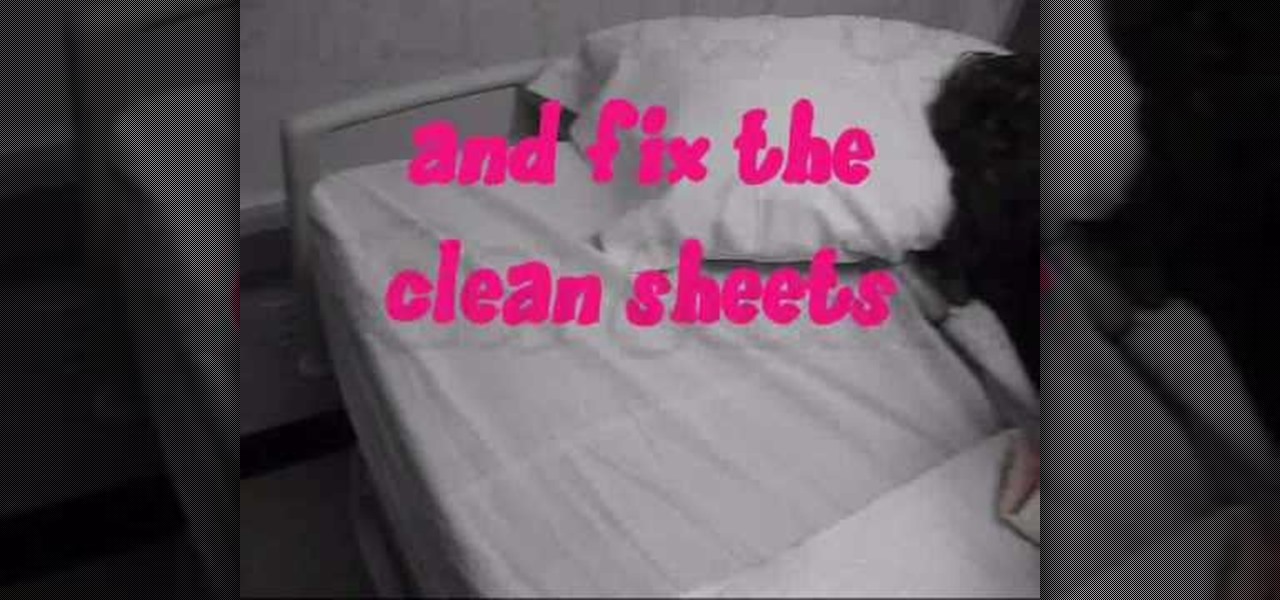
In this tutorial, we learn how to make an occupied bed. First, gather the supplies from the linen closet. After you have all the sheets and blankets, put gloves on and walk into the room. Now, cover the patient with a bath blanket. After this, remove the top sheets, then roll the patient to the side of the bed. Next, tuck dirty linens close to the patient and then roll clean linens under the dirty ones. Then, fix the clean sheets up and roll the patient towards you and repeat the same as you ...

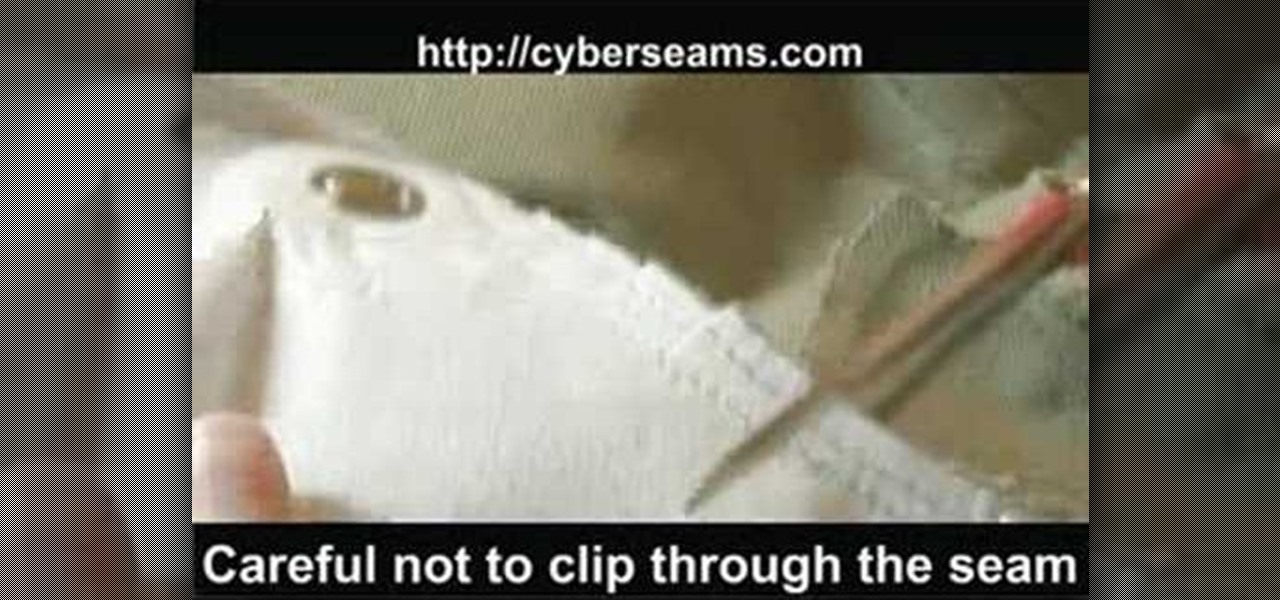
In this tutorial, we learn how to clip curves when sewing with rounded seams or edges. First, you will take your piece of clothing, then grab your scissors. Put the edge of the clothing (with the seam) and lay it flat. Then, put the scissors onto the seams with the very back of the scissors over the fabric. Clip close to the seam, but do not clip through the seam as you are cutting. Once you are finished, you will be able to sew in curves and will be able to easily get around the seams withou...

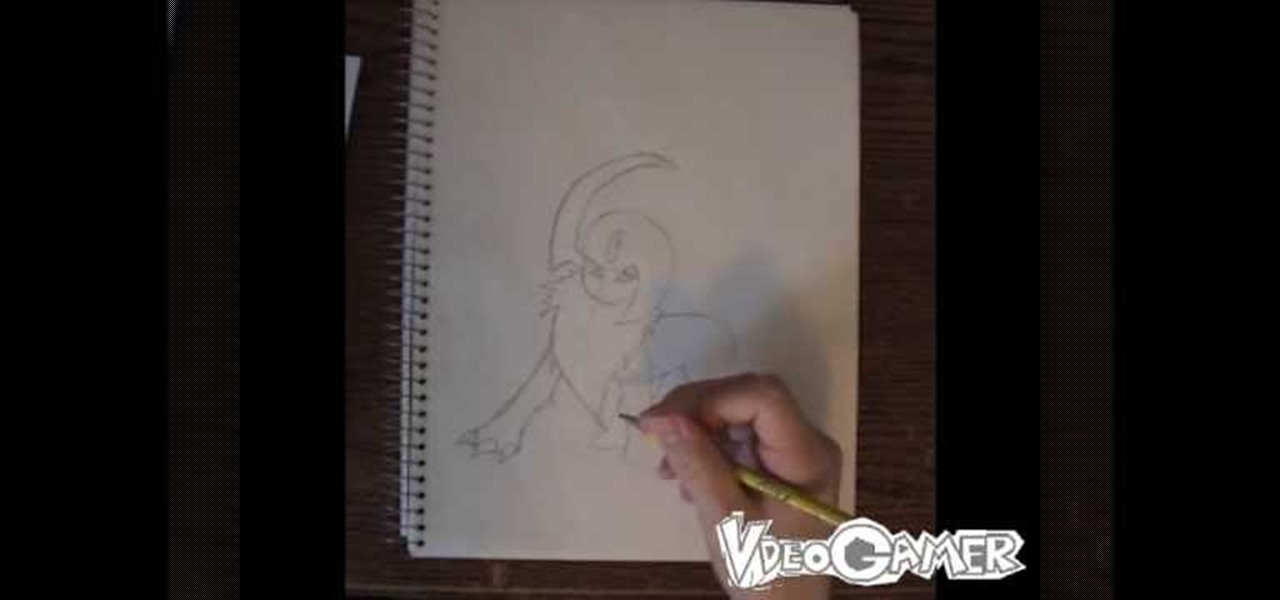
In this tutorial, we learn how to draw Absol. Start out by drawling the outline of the character, starting with the head. After this, draw on the details of the body, including the claws that are on the feet. Next, you will draw on lines for the fur that are on the main part of the upper body. Draw on the tail towards the read, then draw a large wing on the upper and lower body. You will also want to draw on a flat background to show that Absol is standing up. Add in details and shading to th...

In this video, we learn how to make a tutu for Halloween. First, take your pink fabric and lay it out flat. Next, use your scissors to cut down a folded edge on the top of the fabric. Now you will have two pieces. Next you will roll the fabric down until you reach the end, then you will cut strips out of the fabric. Now, take your elastic piece and tie the strips of fabric onto it. You can use any colors you would like to make this. You can use pinks, oranges, blacks, whites, and any other co...

In this tutorial, we learn how to release point in basketball with Tom. If you hesitate or hang, you will lose power in your legs and your ball will go short and flat. When you reach the top of your jump you will want to release your ball to get the most height out of it. When shooting the jump shot, pay attention to what it feels like when you are going to shoot. You want to feel powered up not effortless or underpowered when you are shooting. Time your release and make sure you have a high ...

Summer hair is synonymous with carefree hair. After all, when the weather is warm and the beach sizzlin' with hotties there are more important things to worry about than how your hair and hairspray is holding up.

Running on natural terrain - we're talking forests, hills, etc. - is nothing at all like running on flat, paved concrete. But despite this fact many runners who switch from concrete to a natural trail don't change their running technique to adapt to the new terrain. This is not a good idea because it can cause serious injury.

Running uphill is way harder than tumbling downhill or running on a flat surface due to the incline. And when you're running on natural terrain, like a hill, the incline can change quickly and can also be clouded by rocks, plants, and other things that get in the way.

Mistakes can happen, and in Windows Vista, you can fix them without stress. What if you bought a PC with Windows Vista installed? The registered user name (owner/admin) would not be your name. So, how do you change it to reflect your name? This video will show you how to change the registered owner name in Vista, with just a few quick steps. This is also handy if your owner name is misspelled or just flat out wrong!

In this tutorial, we learn how to build your own lunar city model. You will need: toilet paper tube, bottle caps, CDs, sheets, and scissors. Now, cover your table area with the bed sheet so it's completely covered. Now, star tot arrange your lunar city model. Place the CDs on the table and stack them, placing bottle caps in between. After this, cut the toilet paper rolls in half and lay them flat on the ground. After this, place cups lid down on the table and then add CDs on top of them. Now ...

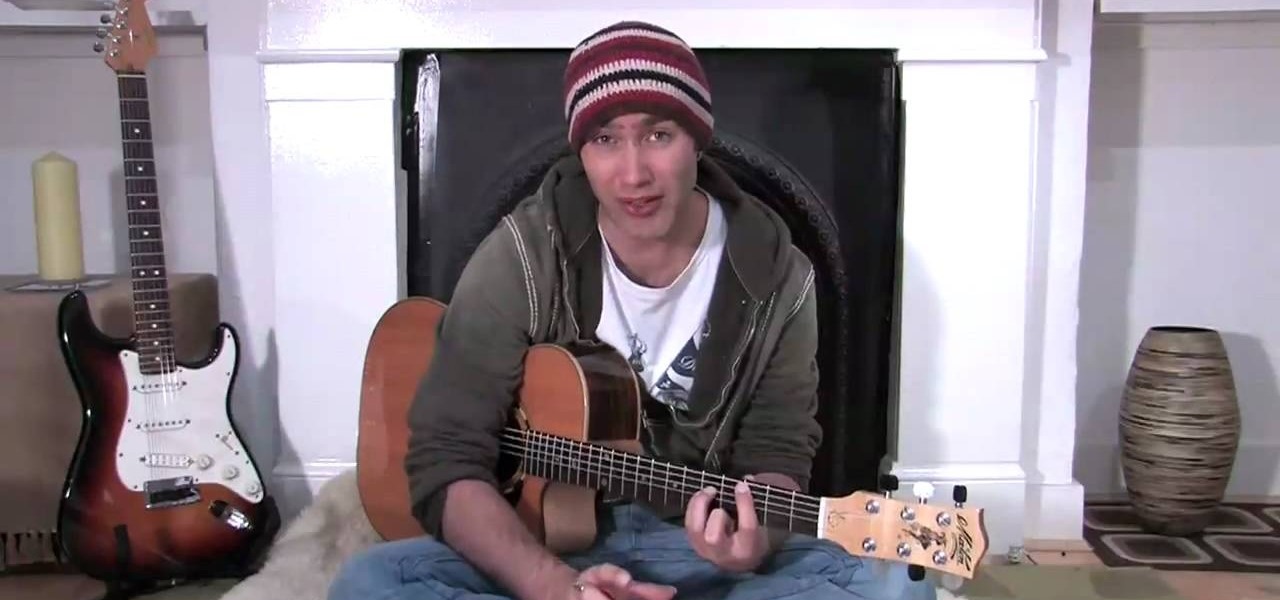
Justin Sandercoe teaches us how to play power chords with a 5th string root note in this tutorial. Start out by placing your first finger on the root note and your third and fourth finger underneath. The tip of your fourth finger should be touching the sixth string. Push the tip of it up until you've trained it to always touch the sixth string, without this the song will sound terrible. Once you have the chord shape down, you will need to start to play some riffs. Move the fifth string root a...

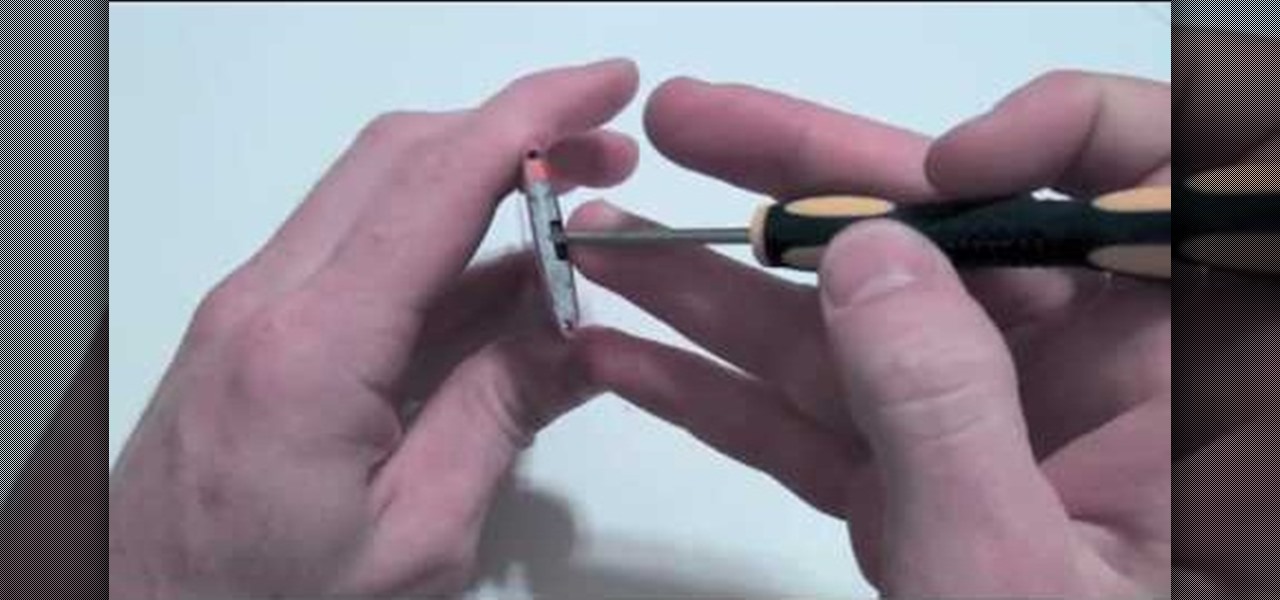
In this tutorial, we learn how to repair an iPod Nano 4th Generation. First, remove the top and the bottom bezel from the device using a small and flat tool. When these are removed, switches will fall out, make sure to set these aside in a safe area. Now, remove the Philips screws that are in the top and the bottom of the device and set them aside. You will be able to take apart the top from the bottom now. The dock connector will be inside where the motherboard and circuits are at. Repair th...

In this video, we learn the basics of breastfeeding and how to do it. Breastfeeding is natural and it helps connect the mom to her baby and give proper nutrition to the baby during the most critical months of their life. You will first need to start a technique of hot to breastfeed the baby and what works best for you. You may need to have a midwife help guide you or a counselor to help you learn how to breastfeed properly. You want to position your baby so their head properly hits the right ...

You can easily set up your devices in studio one. Run the studio one. You should now on the start page of the studio one. There you can see the recent files, news feed etc. Now studio one automatically select an audio device

In order to create sexy sleek straight hair, you will need the following: clips/hair ties, heat protective spray, shine spray, a flat iron, and wax or hair balm.

In this video, we learn how to play "Through the Glass" by Stonesour on guitar. You will need to tune your guitar with E flat tuning to play this song correctly. The intro will be the chords: e, B, G, D, A and E, then repeat once more. Once you finish the intro, move onto the verse, which is: e, B, G, D, A, and E. These are the basic chords that you will use throughout the entire song as you play. You will need to change the chords to play higher or lower depending on the part of the song you...

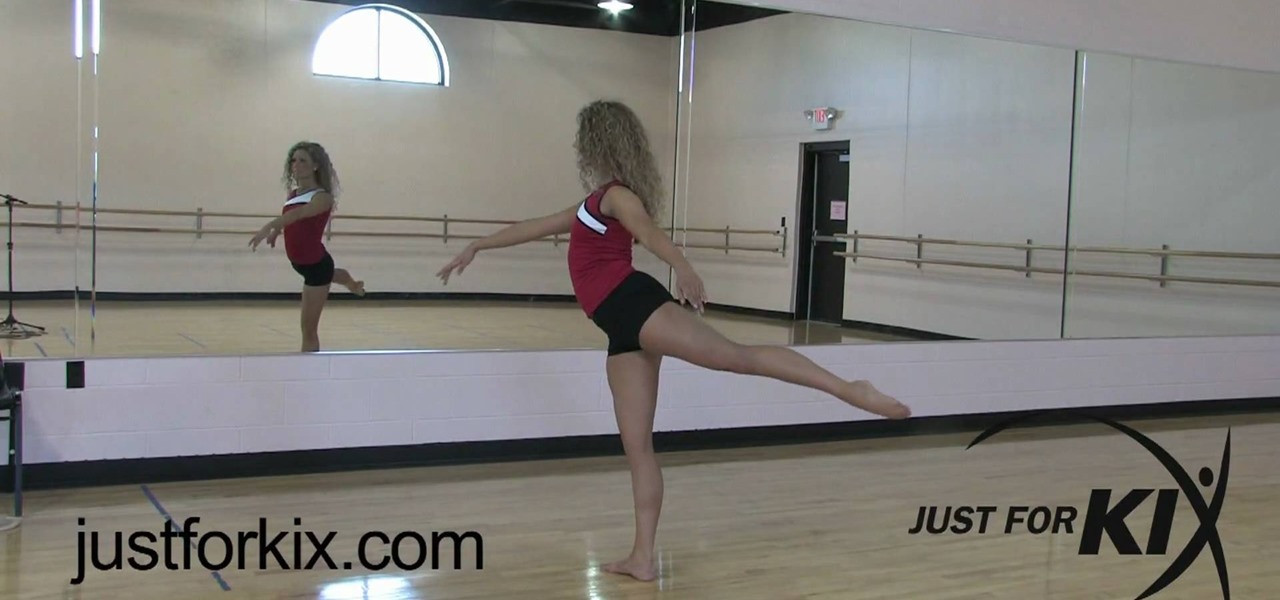
In this video, we learn how to do an arabesque. First, step on the right foot stepping from the right leg, then stand flat. As soon as the left leg leaves the ground, the toe points and the leg straightens. You will lift the back leg as high as you can before the chest moves forward. Make sure the back leg stays turned out and the arm doesn't go over the head in the air. You should not see the leg next to your hips, it should be right behind you. Doing this in front of a mirror will work best...

In this video, we learn how to style a pin-up rockabilly hairdo. First, brush all your hair back except for your bangs, then curl your bangs so they sit on your face across your forehead. Now, wrap a handkerchief around our head, then pull the bottom flap up to the top. After this, tease your hair that's inside to give it shape and thickness. After this, position the hair into the handkerchief so it lays down and looks flat. Hair spray if you need to, then curl your bangs once more so they ar...

An EZ-Crimp is a very useful tool in jewelry making; with a rounded loop on one end and a flat rectangulr space equipped with a hole on the other, it allows for the attachment of a piece of wire (inserted through the hole) and can be used to close a necklace.


