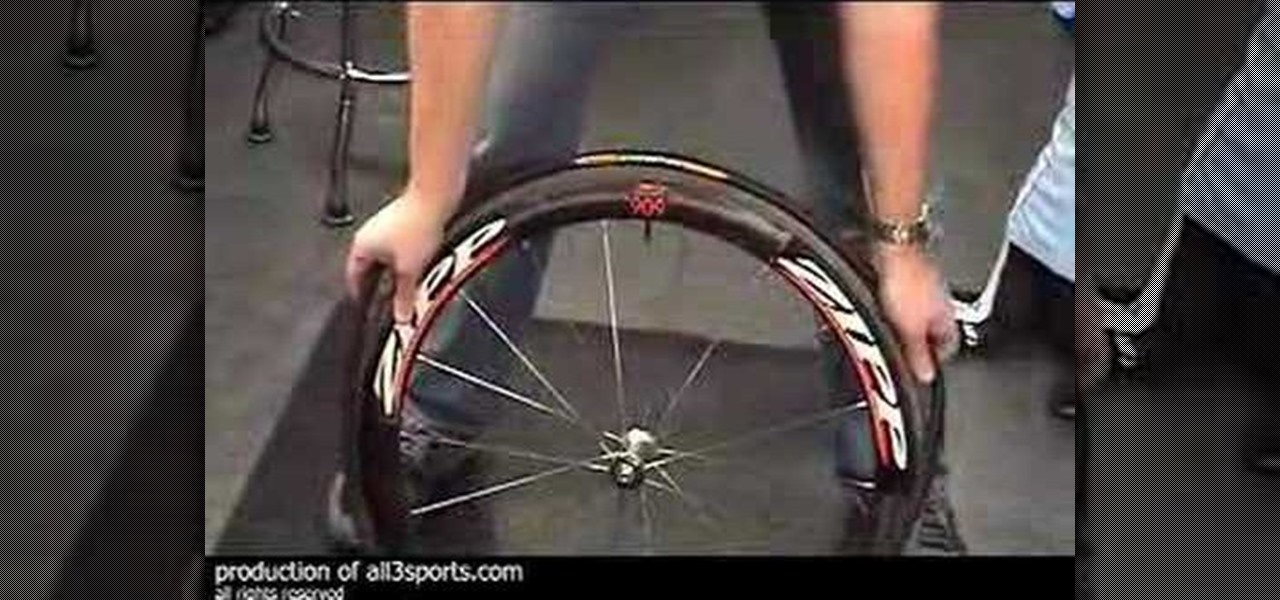
In this tutorial we learn how to change a flat tubular tire. First, grab your tools and remove the tire from the wheel. Do this by locating the stem and finding the spot across the other side from it. Once you have take this off entirely, you can move onto the next step. Once finished, replace the new tire back onto the wheel. Start with the same area and make sure to push the stem through the hole. Use your body weight to stretch the tire around. To finish this process, you will simply need ...

In this video tutorial, viewers learn how to make a paper rose with a napkin, Begin by orienting the napkin lengthwise. Then pinch the napkin corner with your right index and middle fingers. Now wrap it around the fingers. With your left hand, squeeze to create the size of the rose flower. Then hold the flower with your left hand and twist the stem. Now hold the end of the stem twist and pull the corner upward to create a rose leaf. Pinch the leaf into place and pull the excess napkin downwar...
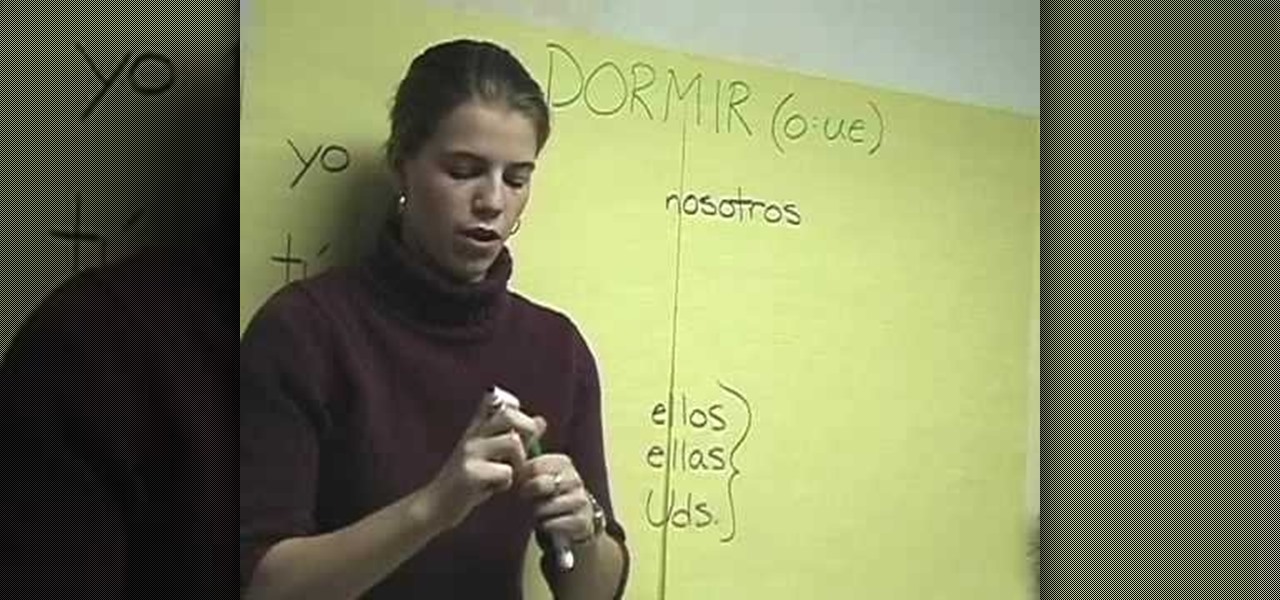
If you are confused in Spanish class, give this tutorial a try. In it, you will learn how to conjugate stem changing verbs in Spanish, using the verb "querer" as an example. Stem changes can be confusing for a first time Spanish learner, but this video can help.
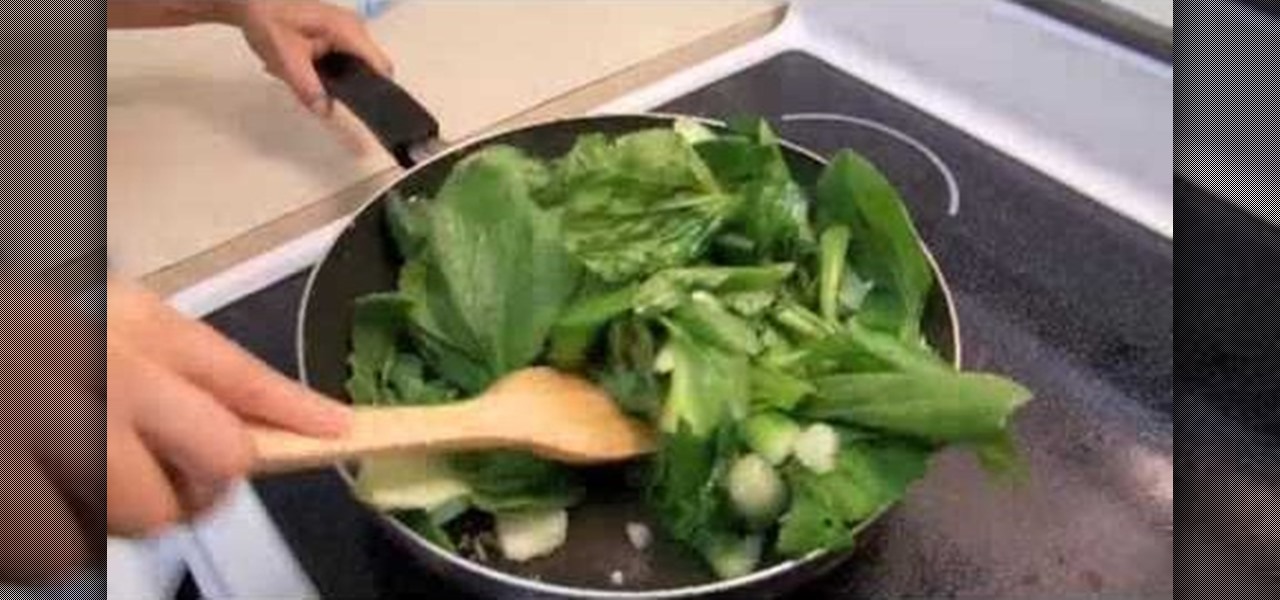
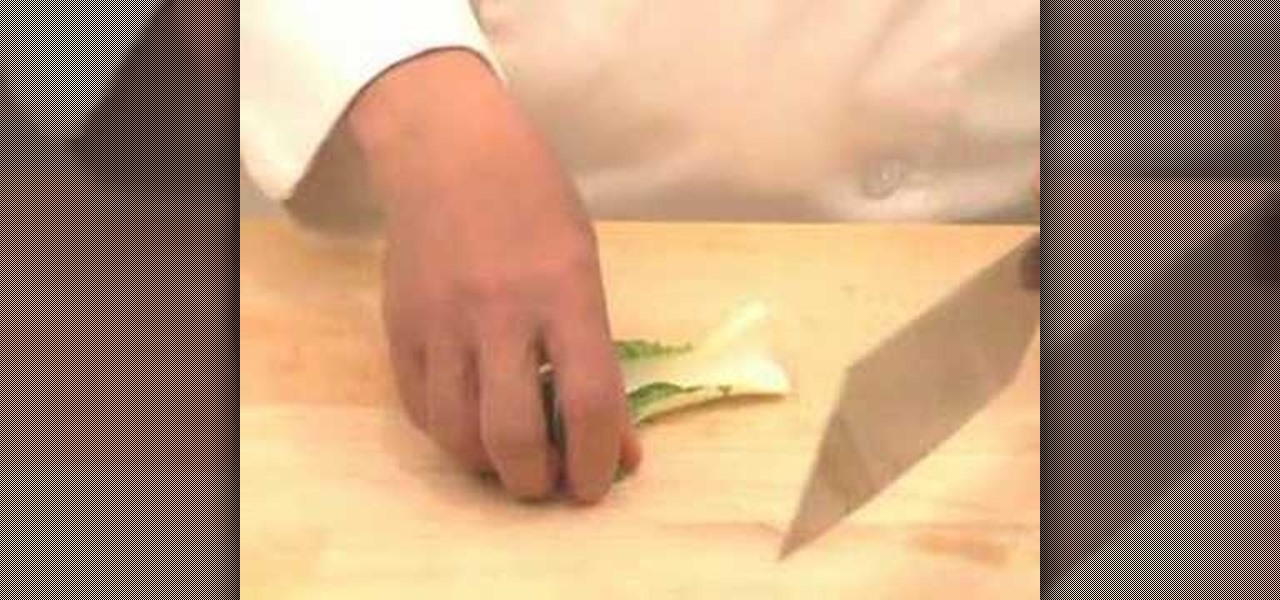
Bok choy is to be properly washed and drained. If the stem is too large it is to be cut off and cooked separate. Cooking Oil is heated in a frying pan within which chopped garlic is placed to fry. The stem is then put in to fry first. The bok choy is added to the stems and is flipped and stirred many times on high heat, with a spatula until softening and cooking begins. Salt is added to this when it is 3/4 cooked to enhance the taste and cooking ends shortly after. Do not add soya sauce as th...

Learn how to make a unique rose from clay that can be given as a gift to your special someone. 1. Make about 20 tear-drop shapes out of the clay. 2. Flatten each of these to form petals. 3. Roll one of the petals up to form the center. 4. Curl each of the other petals around this center. 5. Stretch the base of the flower downward to form the stem. Add clay as needed to make the stem the desired length. 6. Form leaves with the remaining "petals" by creasing them and attaching them to the stem.
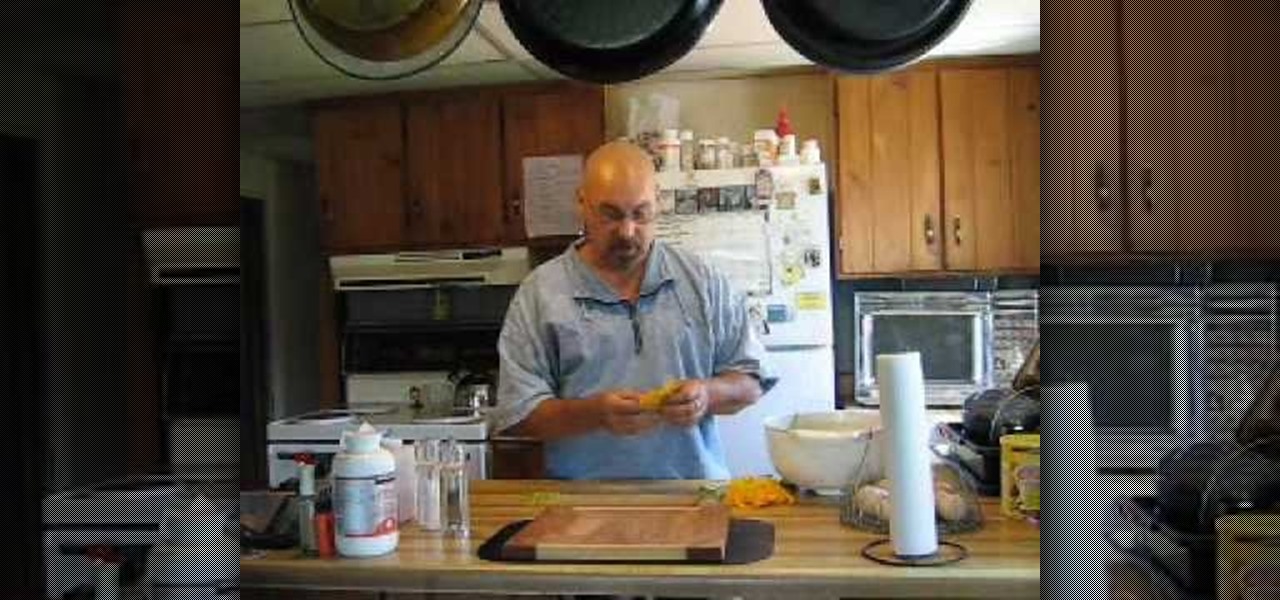
To cook pumpkin flowers you need some pumpkin flowers and some of the smaller more tender leaves from the pumpkin patch. First thing is to take off the little spiny things from the base of the flower. Then you want to pop the top of the flower off at base of the stem. Remember to save the stems, open up the flower gently and pluck out the thing in the middle. You want to pick off the spinets on the back of leaves, wash them rubbing them to soften the leaves up. Then you would take the stem an...

Make your own birdbath and spend hours enjoying the antics of birds in your yard. You Will Need

In order to chop an onion without crying, you will need the following: a spoon, a cutting board, and an extremely sharp knife.

To start off making your bouquet, you must start by crossing the stems instead of going straight up and down. The crossing action will give you a round bouquet. Choose the size of the bouquet to match the bride and to match the dress. If it's a big dress with lots of action, you don't want to hide it with a big bouquet. Always hold your bouquet down. Use wax string to hold your bouquet together. This won't slip. Tie the not twice to ensure it stays together. Cut the stems off and then proceed...

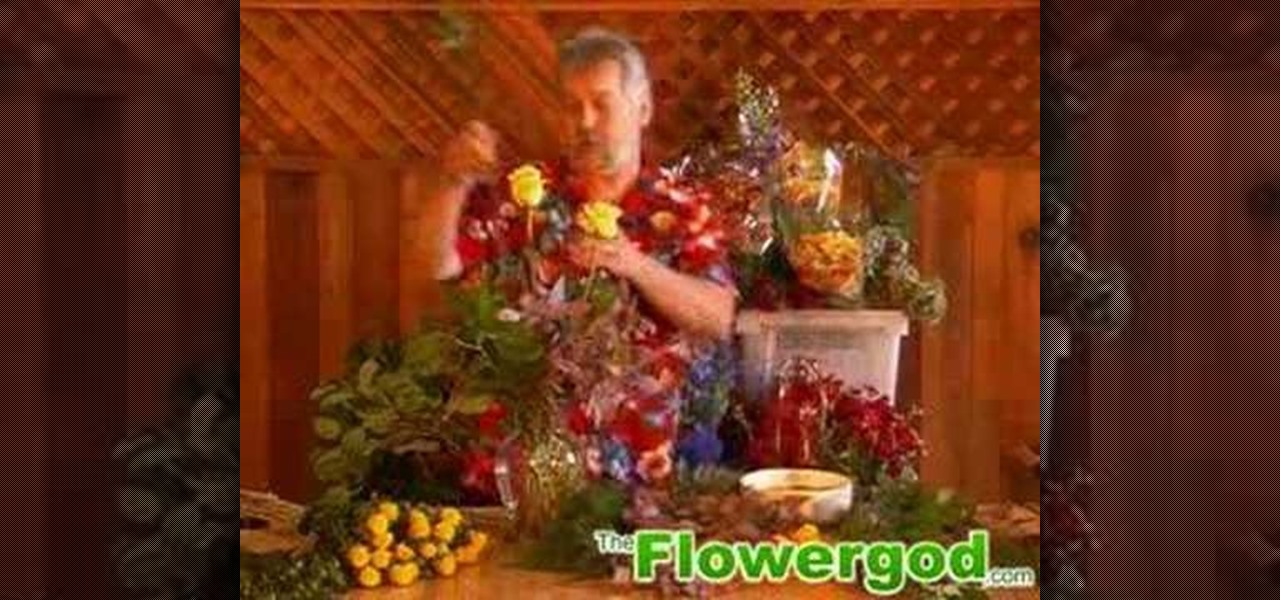
The flower god demonstrates how to arrange a beautiful rose arrangement for your fall table. A dozen yellow roses, greenery and safflower are used to construct this masterpiece. To begin you need a vase filled with fresh clean water. The flower god shows how to lace the stems of the greenery in and out of one another. The laced stems are then placed in vase and eucalyptus is placed throughout vase giving a cascading effect. Next it is time to prepare the roses. Thorns need to be removed off t...

To make a daisy chain beaded necklace you must get three different bead colors, two that are size eleven and one that is size four. The size eleven beads are for the stems and the outer part of the flower, while the size four beads are for the inside of the flowers. You will also need nylon thread and a clasp, such as a magnetic clasp. First slide the clasp on first and connect it to the thread. Next follow the following pattern for the beads, 8 for the stem (size 11), 6 for the outer petals ...

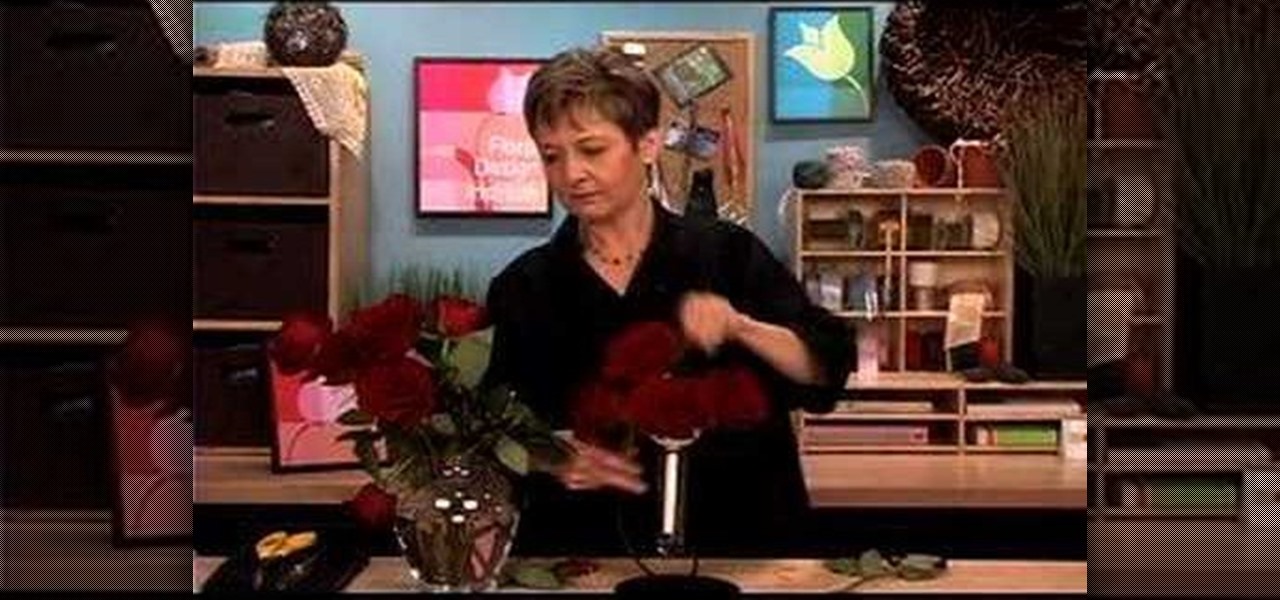
Weddings are very expensive and one way to say a little is to make or have you maid of honor make the wedding bouquet and the bridesmaids’ bouquets. You need a straight handle bridal bouquet holder and a stand to hold the bouquet holder in place while you work on it. You will need 12 roses fully hydrated and open.

The video shows you how to make three simple flowers. First, draw a circle. Draw petals around it. Remember to make a little big petals. Then make a stem. Draw a leaf on it. Color the petals with red and the inner circle with orange. Color the leaf using a dark green color. First style flower is ready.

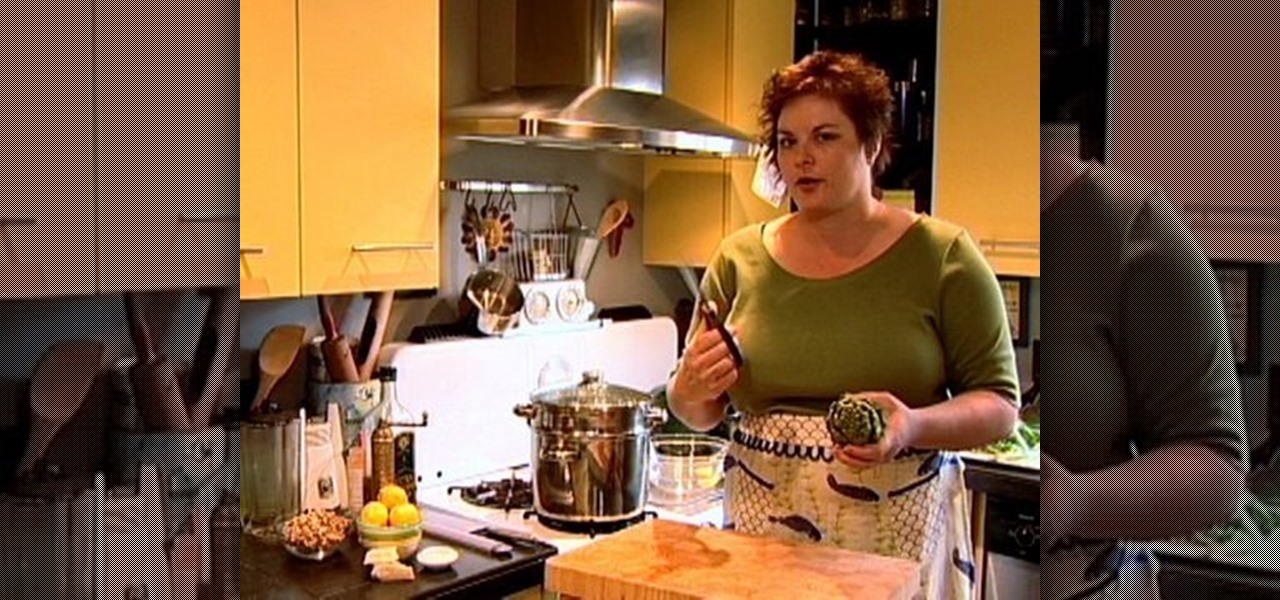
Michele Knaus, from EatLikeAChef, shows how to prep an artichoke. 1. Remove thorny pieces on the ends with kitchen shears. 2. Remove out-most layer of artichoke leaves. 3. Prep the stem by peeling with a peeler. Peel like a carrot. It is good to leave the stem on because it has a nice taste and it is a good way to tell if an artichoke is done. The stem will bend when tender. 4. To get inside of the artichoke, take the entire top off. Use a large, sharp knife to do this. 5. Gently slide open w...

If you've ever gone Christmas tree shopping before at a Christmas tree lot, then you're probably more than familiar with Noble Firs, Douglas Firs, Grand Firs, and maybe even Blue Spruce and boxwood (used for wreaths). But have you ever considered using other varieties of evergreens in your decorating?

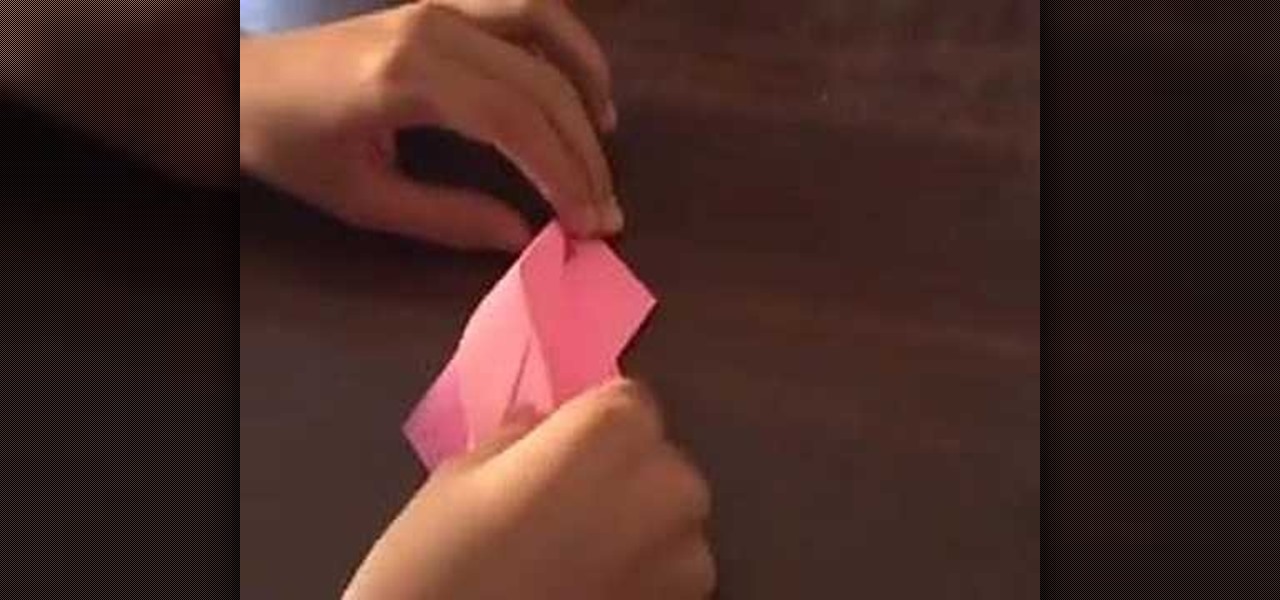
Origami flowers, whether they're roses or hyacinths, are gorgeous on their own, but even more realistic when a stem and leaves are added. Unfortunately, the art of leaf folding in origami circles is usually othered in favor of folding the actual pretty flower.

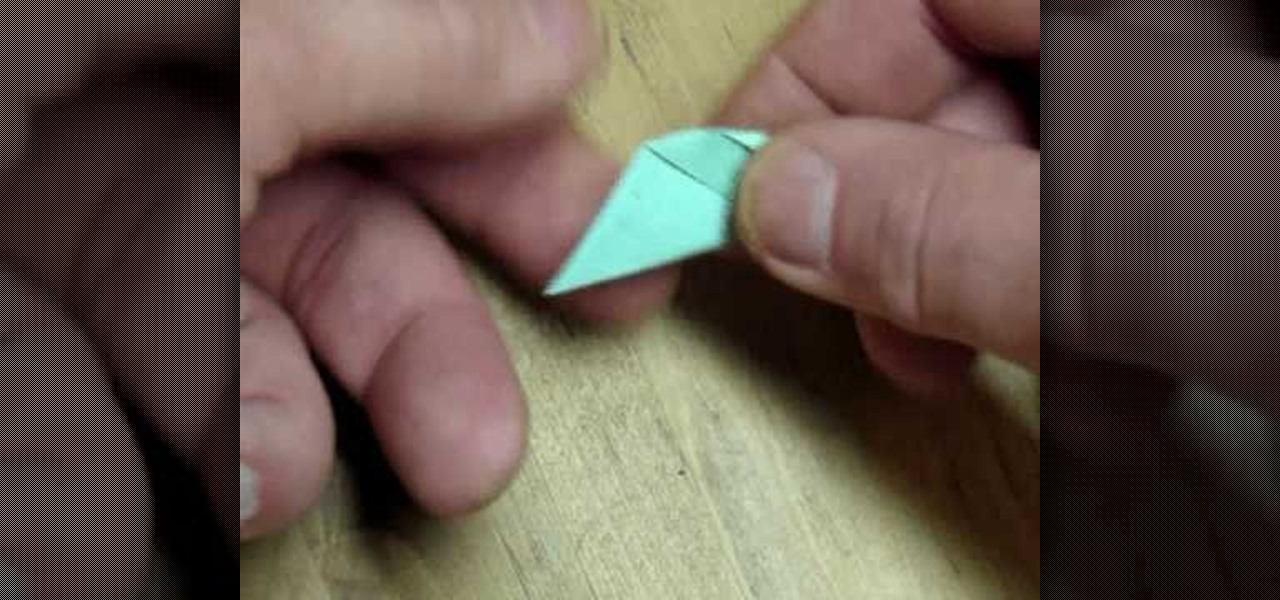
This origami lily fits perfectly atop several models of origami stems. The origami lily is a fairly complex origami endeavor, but these visual guidelines will allow you to complete come of the more difficult folds. Watch this video origami tutorial and learn how to use the Japanese art of paper folding to make a paper lily.

Make a bouquet of origami flowers with an explanation of how to fold a stem that is made of paper.

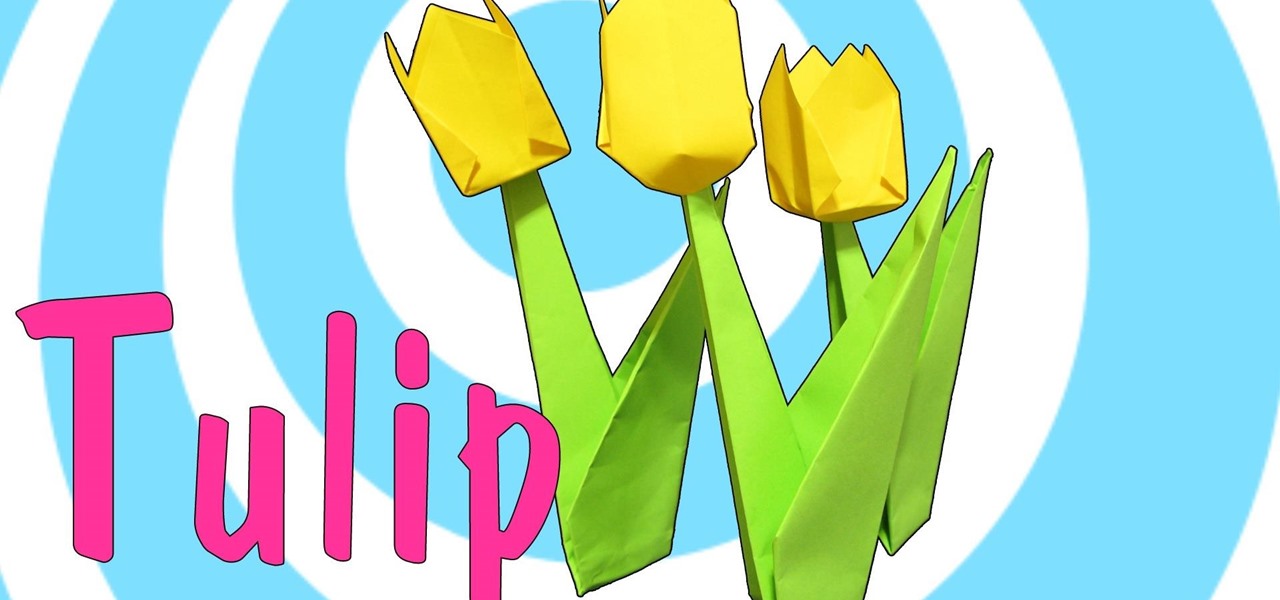
Fold an origami tulip with a stem with the design by Joost Langeveld.

Learn about creating an air twist stem on a goblet with Corning Museum of Glass experts.

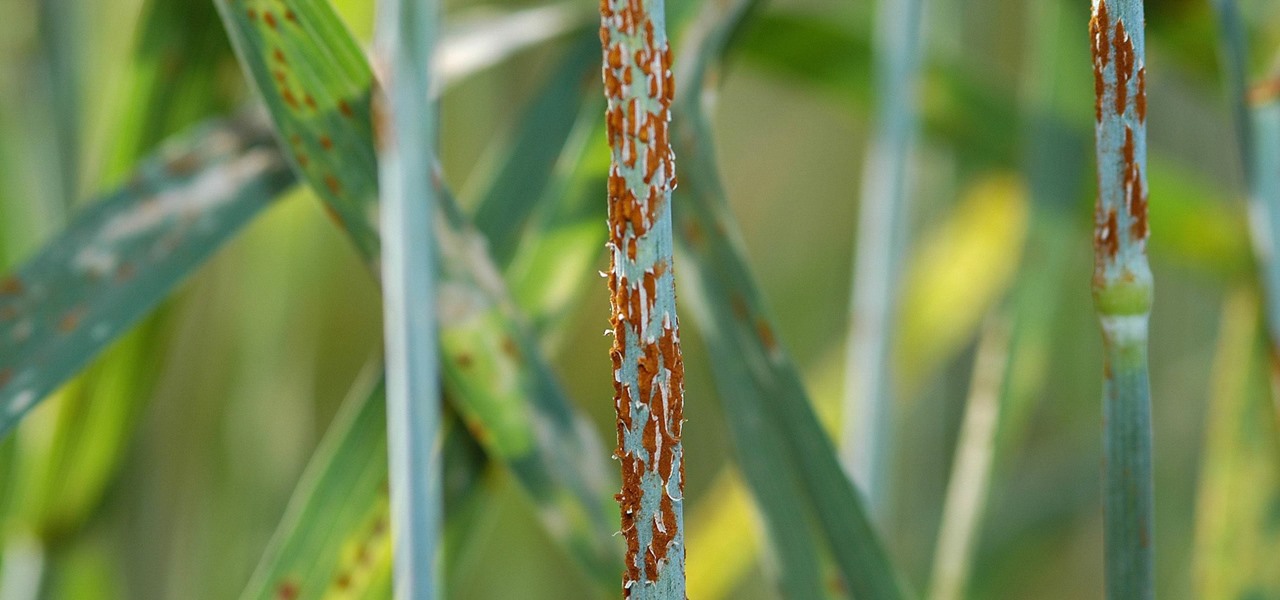
We may not fully appreciate all the important roles wheat plays in our lives until it's gone—or at least, when it's in very short supply. What would a world be like without bread, cakes, cereal, pasta, or wheat beer? If the dire warnings about an impending stem rust fungus come to pass, we may know all too soon.

Surprise your loved ones by giving them hand made an origami bouquet of paper tulips. WHAT YOU NEED:

Is the water dripping or running in your bathtub shower? This video will show you how to remove and replace the shower valve stem and also how to replace the seal that on it. Usually the seal deteriorated over time causing your shower to leak.

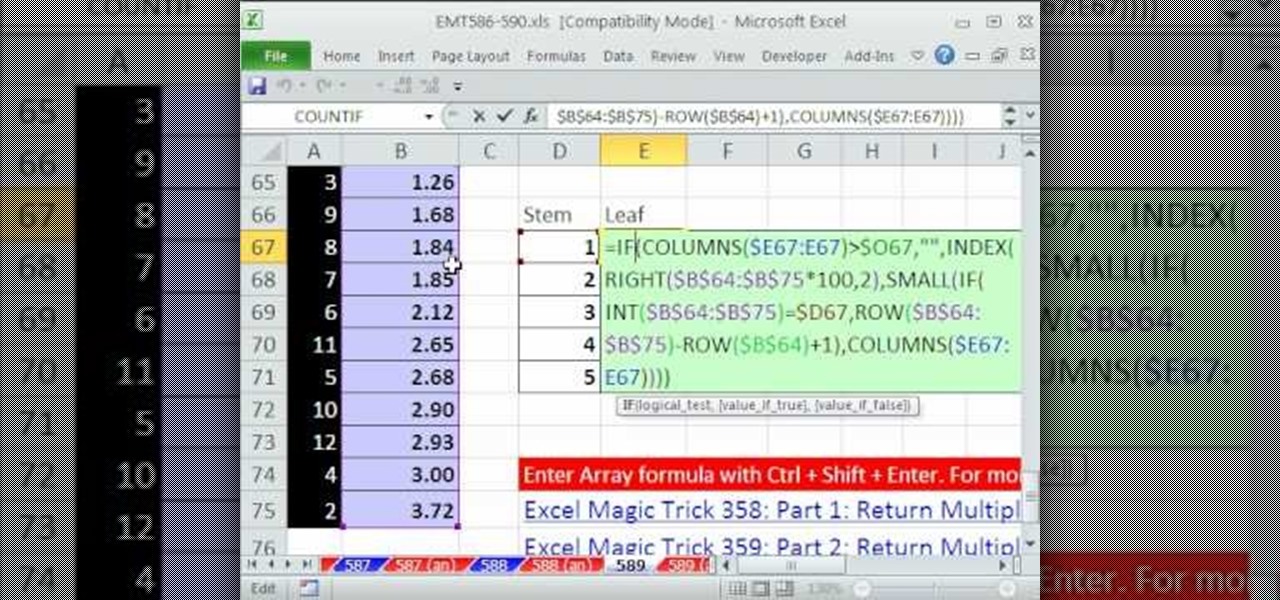
New to Microsoft Excel? Looking for a tip? How about a tip so mind-blowingly useful as to qualify as a magic trick? You're in luck. In this MS Excel tutorial from ExcelIsFun, the 589th installment in their series of digital spreadsheet magic tricks, you'll learn how to create an array formula for a stem and leaf chart for decimal numbers using the IF, COLUMNS, SUMPRODUCT, INDEX, INT, RIGHT, SMALL, ROW and TEXT functions.

How to prepare bok choy for Chinese food

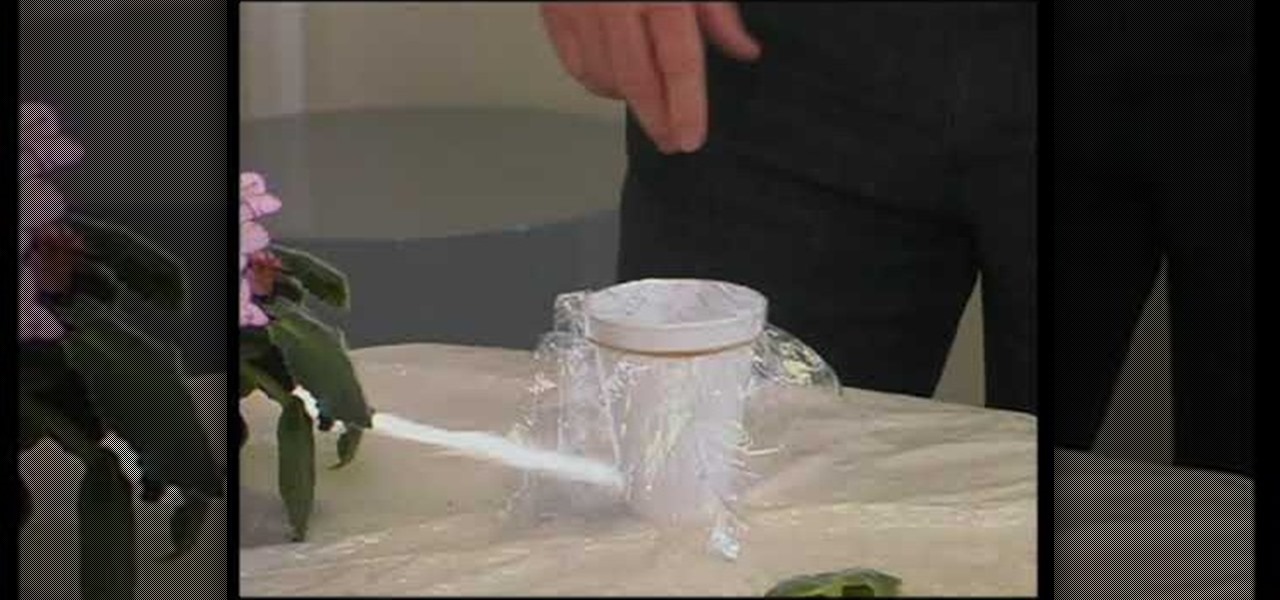
to transfer ice plants, take a Styrofoam cup with holes in bottom and sides for drainage. fill cup with potting soil. place cuttings of ice plants into pot, about 2-3 cuttings per cup. keep moist. for African violets, snap off an entire leaf including the stem. fill a Styrofoam cup with water. cover with saran wrap with a rubber band around the edge to keep it tight. cover completely with aluminum foil to keep inside of cup dark. place hole in center of plastic/aluminum foil with a pencil. pl...

In this video, we learn how to arrange a flower wedding corsage. First, grab a white flower and cut the stem off of it, then wrap floral tape around it. From here, grab a pink flower and do the same process. Next, grab baby's breath and other small leaves and add them to the pink flower and the rose. Use floral tape to wrap these all together until they are all stuck together. When finished, cut off any excess stems to the flowers and you can wear as a corsage! Use pins inside the stems and o...

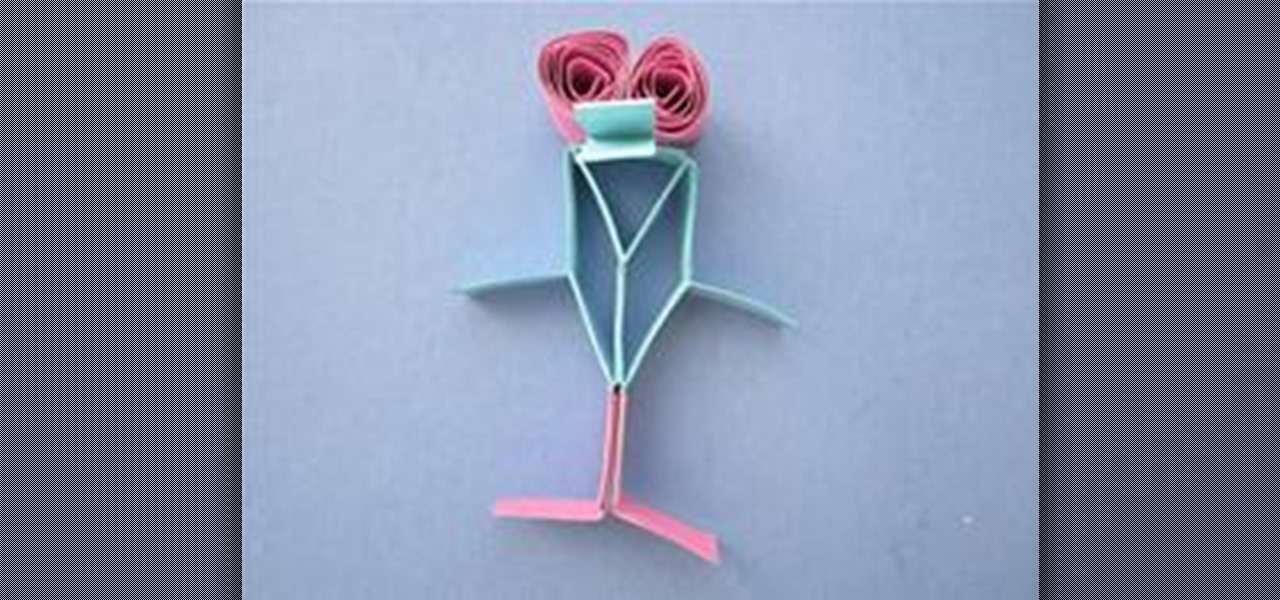
Use geometry to make an adorable and fun heel klickin' friend using McCormick vertex elements! You will need:

Mac OS X has convinced many traditional PC users to switch platforms. While Windows 7 may do something to stem that tide, a lot of you PC users reading this have probably thought about switching right? If you have, watch this video. It will give you a PC-user centric rundown of OS X and allow you to make a more informed decision about what operating system is best for you.

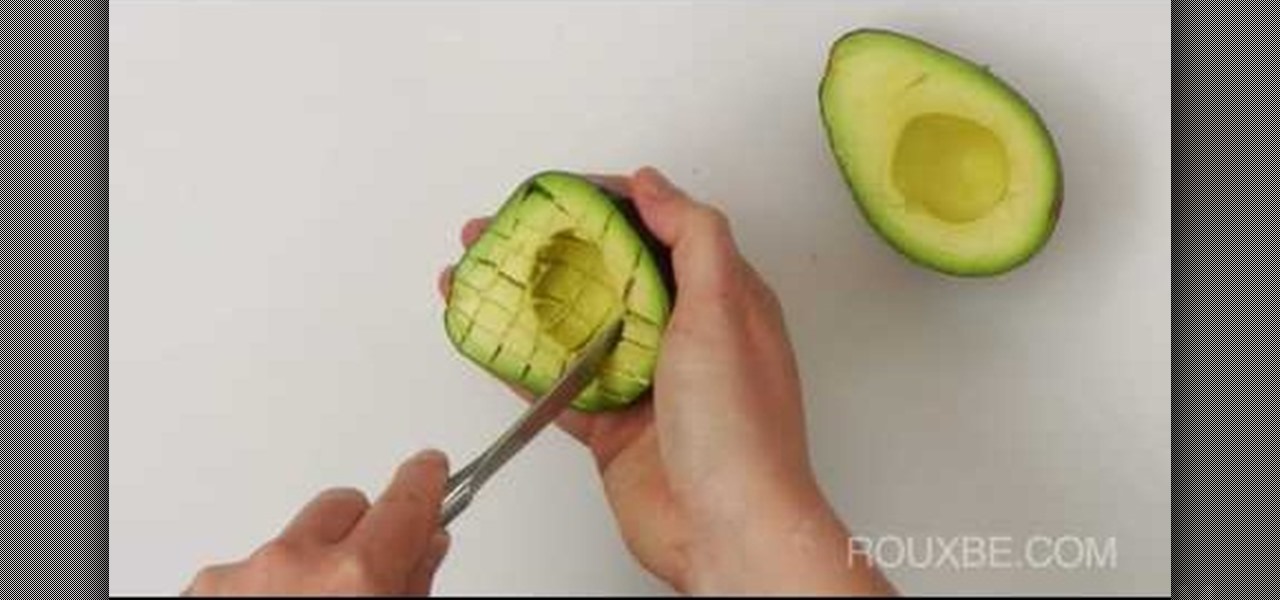
Check out this short video tutorial from Rouxbe on how to pit and dice an avocado. This video will support your cooking experience and will provide you with additional relevant information during your culinary time pitting and dicing avocados.

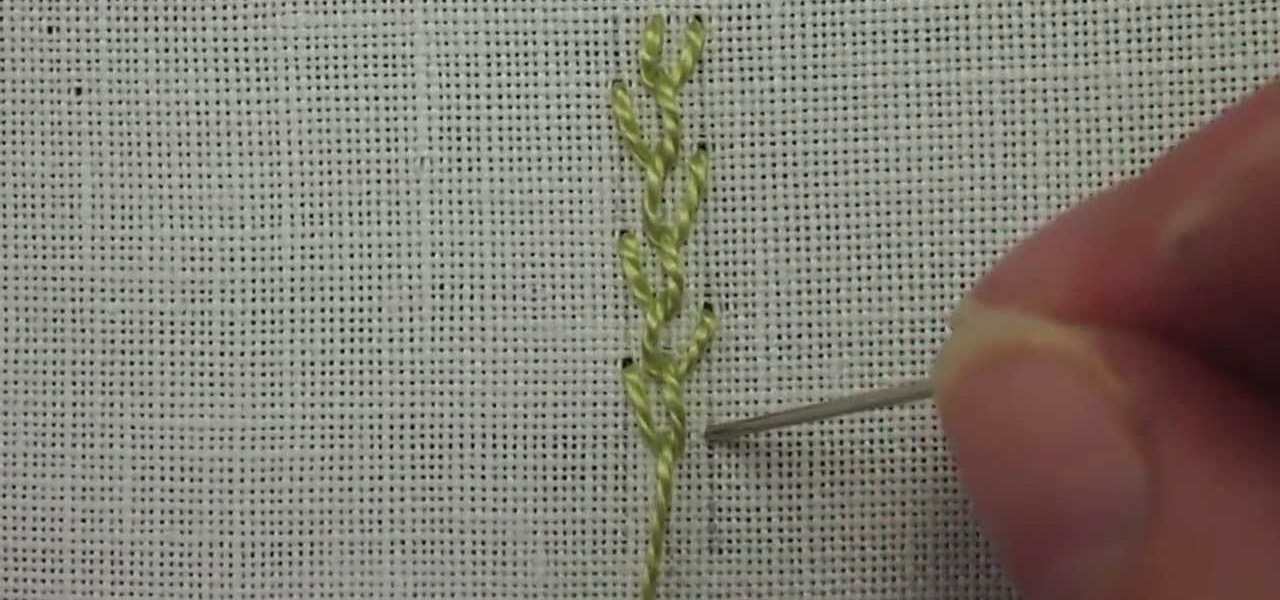
The feather stitch is an easy stitch for hand embroidery. It's worked vertically, from top to bottom in a kind of back-and-forth, right-and-left motion. You can use the feather stitch in hand embroidery for edges and borders, it's used often in crazy quilting as a seam embellishment, and it also makes a good foundation of foliage or stems in flower designs, in Brazilian embroidery, and more. Watch this video from Needle 'n Thread to see how it's done.

DYI-FYI #57 teaches you how to fix a leaky faucet in this video. First, have to distinguish if the water drips from the tap or from the handle. If the water is leaking form the tap you need a new washer; if it drips from the handle you need a new o-ring. First, turn the water off using the valves under the sink. Next, drain the faucet by turning it on of course and grab a towel to place in the sink to prevent scratching while you work! Next, you'll have to remove the decorative topping to rev...

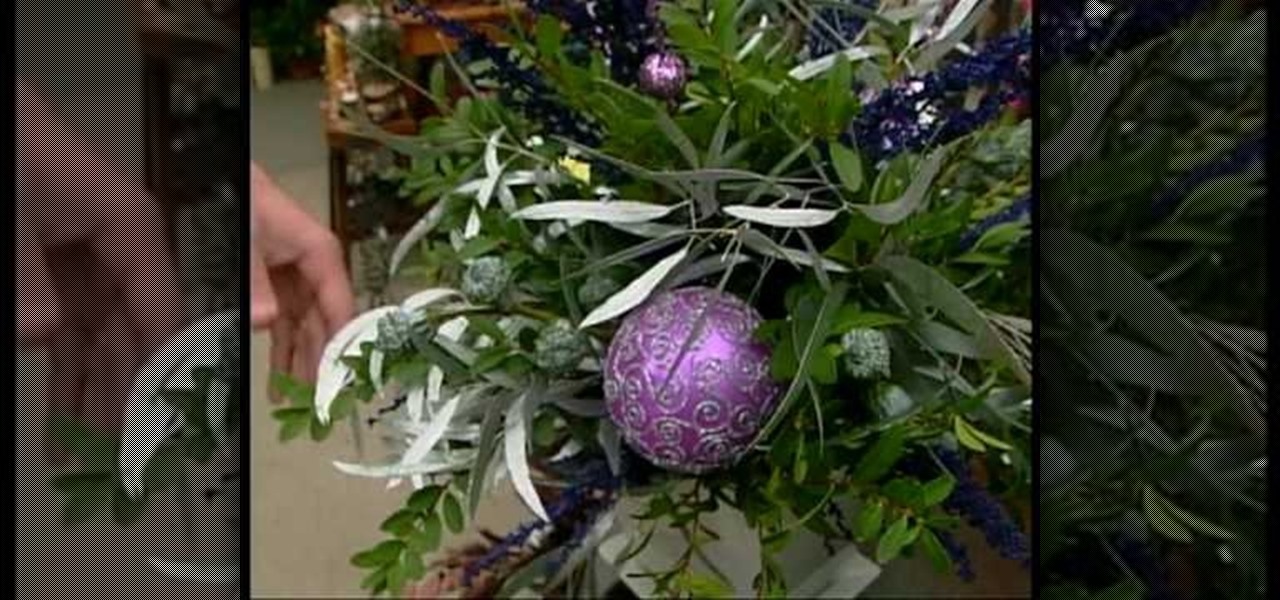
To decorate a fall flower centerpiece for your home, create a table centerpiece. Get some dry flowers with attractive colors of your choice. Take a metallic pot for centerpiece. Place a Styrofoam ring in the bottom of pot or vase. Carefully insert stems of dried flowers into the foam. The interior design technique is to be perfect to fall, so that it looks natural. Make sure to have the tallest flower at the center of the pot. Work from the center outwards applying more flowers and stems. Mak...

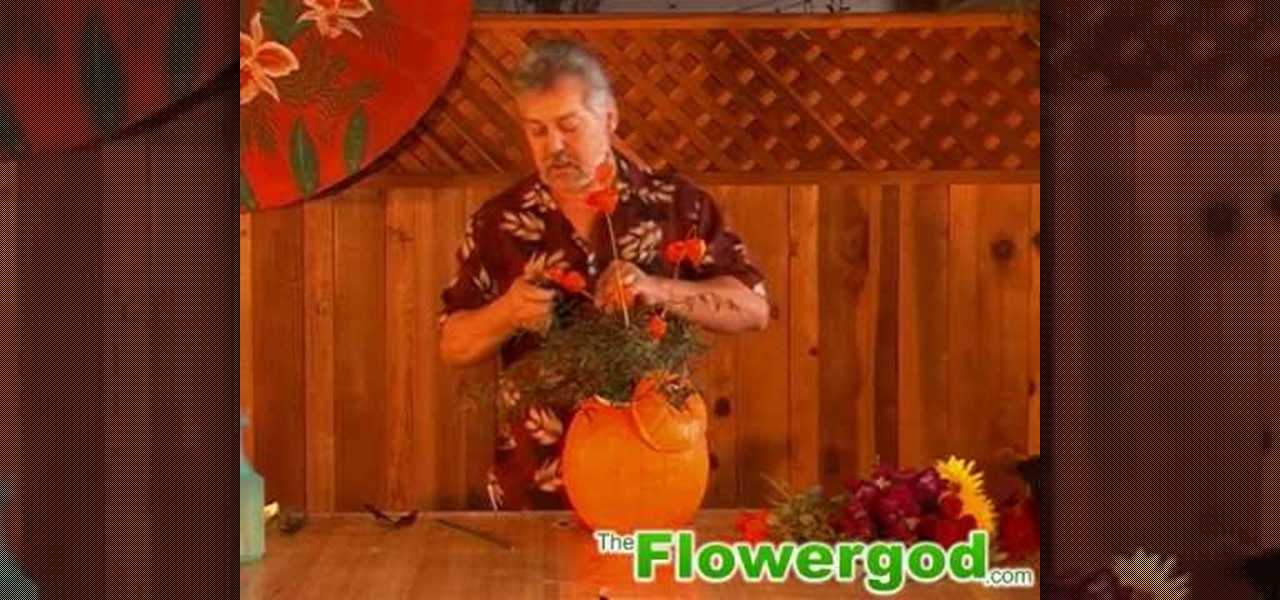
He starts with a pumpkin and some flowers from the supermarket, and some greens that he trimmed from a bush in his yard. He first cuts off the top of the pumpkin and cleans it out. He put newspaper in the bottom of the pumpkin, then puts a container with floral foam inside the pumpkin so the foam is sticking up a bit. He attaches the lid of the pumpkin to the foam with a piece of wire. He starts with the foliage and then begins adding flowers. He puts a tall stem of Japanese Lantern in the mi...

Here's a guide in helping you store a lettuce properly and prolong its freshness. Place a paper towel on top of the lettuce and beat the stem portion with a hammer. Remove the stem of the lettuce by prying it out with your hands. Tear the lettuce into two sections or into small ones. Put all of it inside a zip lock bag and then place it inside a refrigerator. Take them out when the lettuce is needed for cooking. With these easy to do tips, you are now ready to cook those well preserved lettuc...

Gwyneth Paltrow joins Chef Lee Gross in the kitchen for a mouth-watering Vietnamese salad, a healthy, quick Vietnamese salad that has a great crunch and lots of refreshing flavors. This video recipe was made for Paltrow's website: GOOP.

In this tutorial, we learn how to make a paper flower using napkins. First, roll the paper over to one side and then start to roll it up with the other side as well. As you do this, the napkin will start to roll into the shape of a rose. When finished, you will pull out the edges to create different lengths with the petals. After this, use a green napkin to create the stem of the flower, making a small leaf in the stem by ripping it. When finished, continue to make these to create a beautiful...

Swiss chard comes into season over the next few months, meaning the leafy green vegetable will be deliciously ripe, crunchy, and tasty. Take advantage of this in-season veggie by throwing it into your next dish.

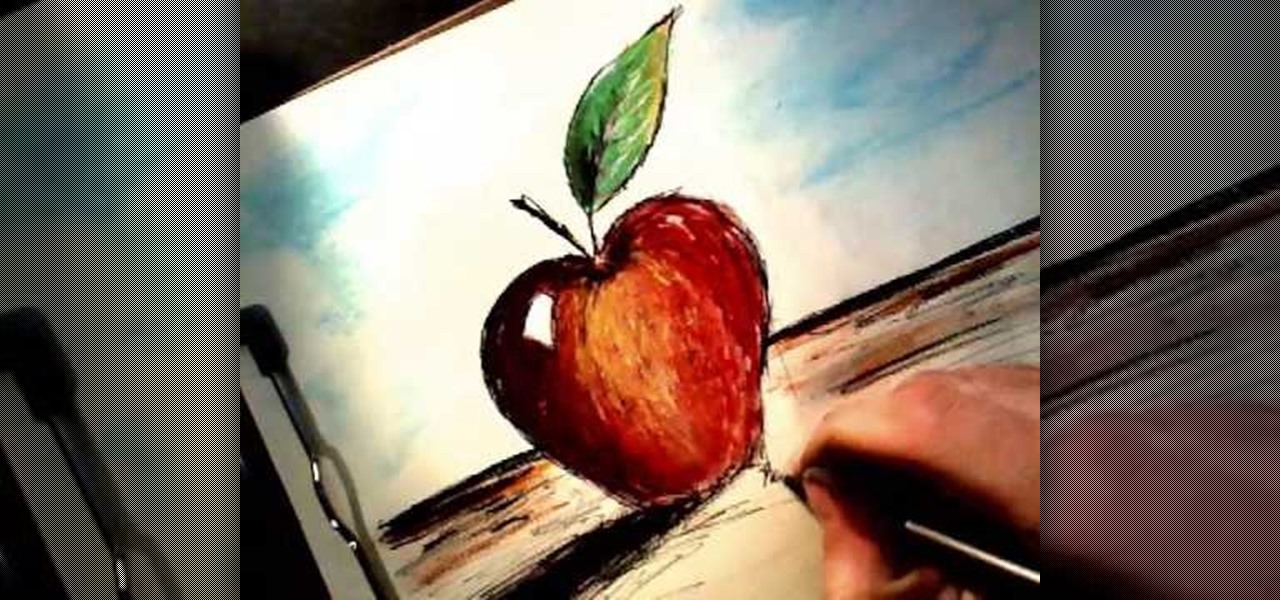
In this tutorial, we learn how to draw an apple. Start by drawing the outline shape of the apple. It looks like a slight heart shape in the middle of the apple where the stem is. After this, start to fill in the apple with lines to make it look more realistic, then draw the stem and a leaf coming out of the top middle of it. Color in the leaf with browns, blacks, and green. Then, draw lines on the bottom of the paper to make it look like the surface. Finish by coloring the apple red, making d...

In this tutorial, we learn how to draw a rose, step by step. start off drawing the petals of the rose, making the inside of the flower first. After this, start to draw in more details and draw around the inside of the flower, making the rose larger and larger. After you have done this, draw on the stem underneath where the petals are, and add leaves onto the stem. Continue to add in any details that you see fit throughout the picture. When you are done drawing, color it if you prefer, then si...


