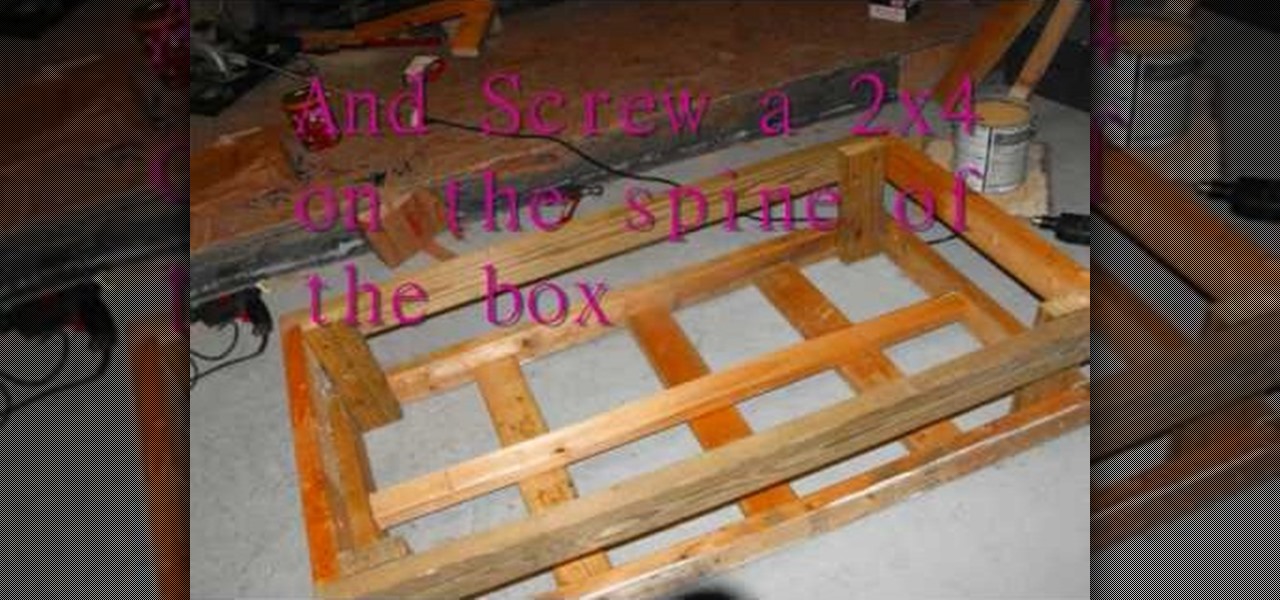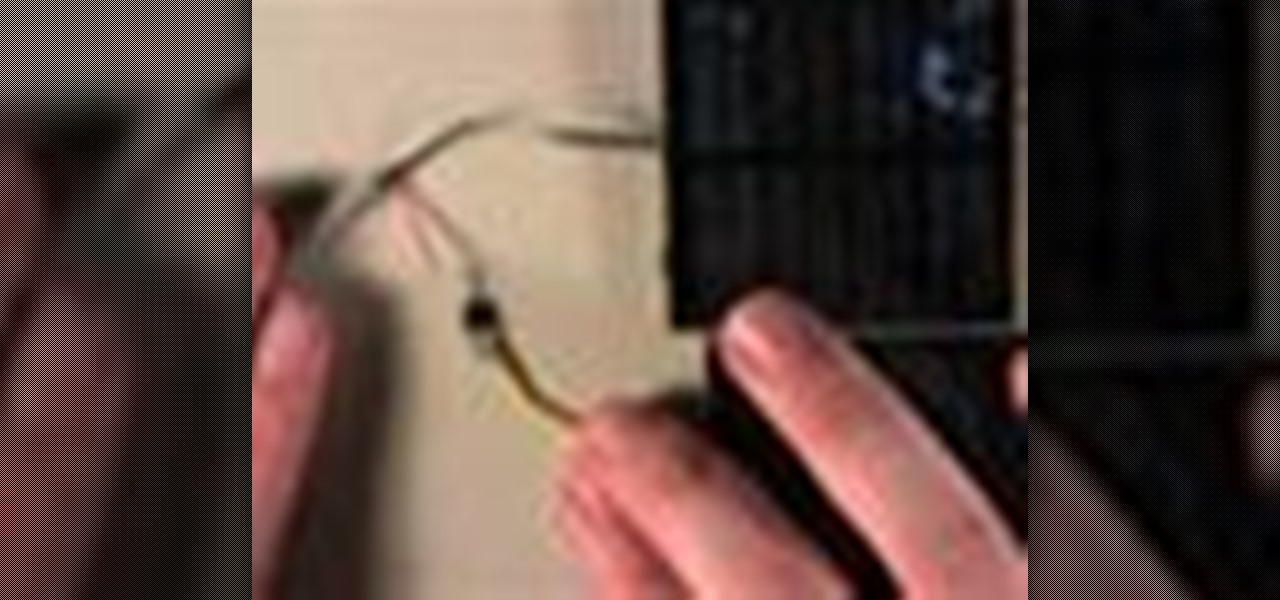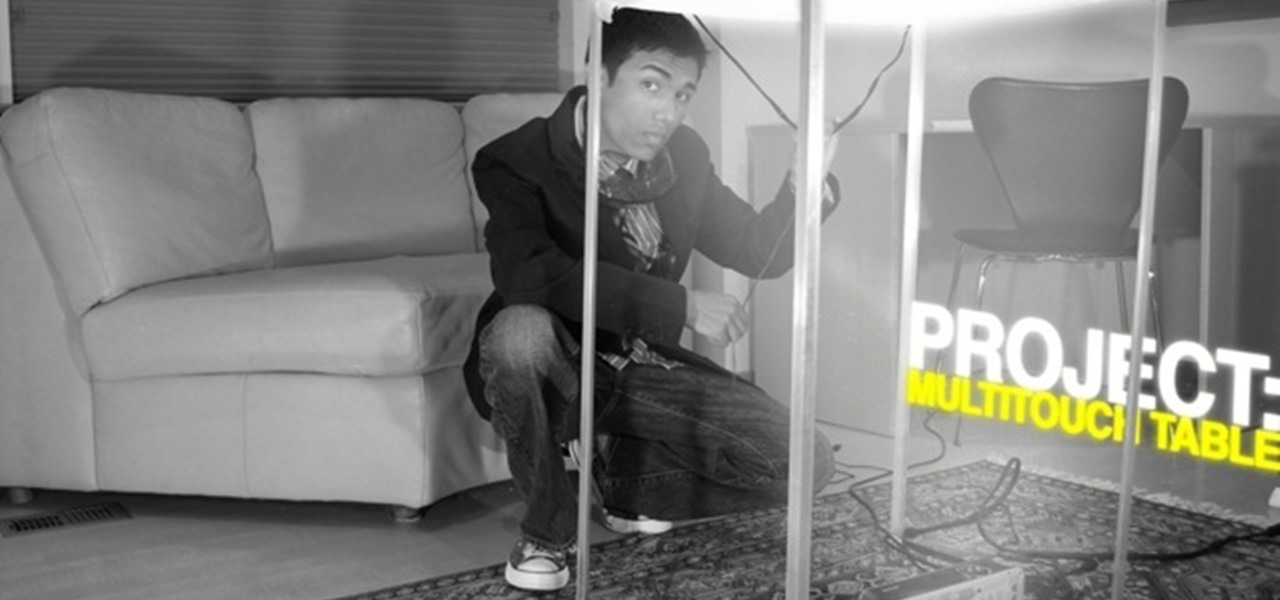
Multi-touch input has been spreading throughout a huge variety of devices, from phones to all-in-one PCs. However, most multitouch (table) displays that can function with your computer tend to be fairly expensive, so with this project we're going to make our own display, that can run on any operating system, and reuses some useless everyday materials.
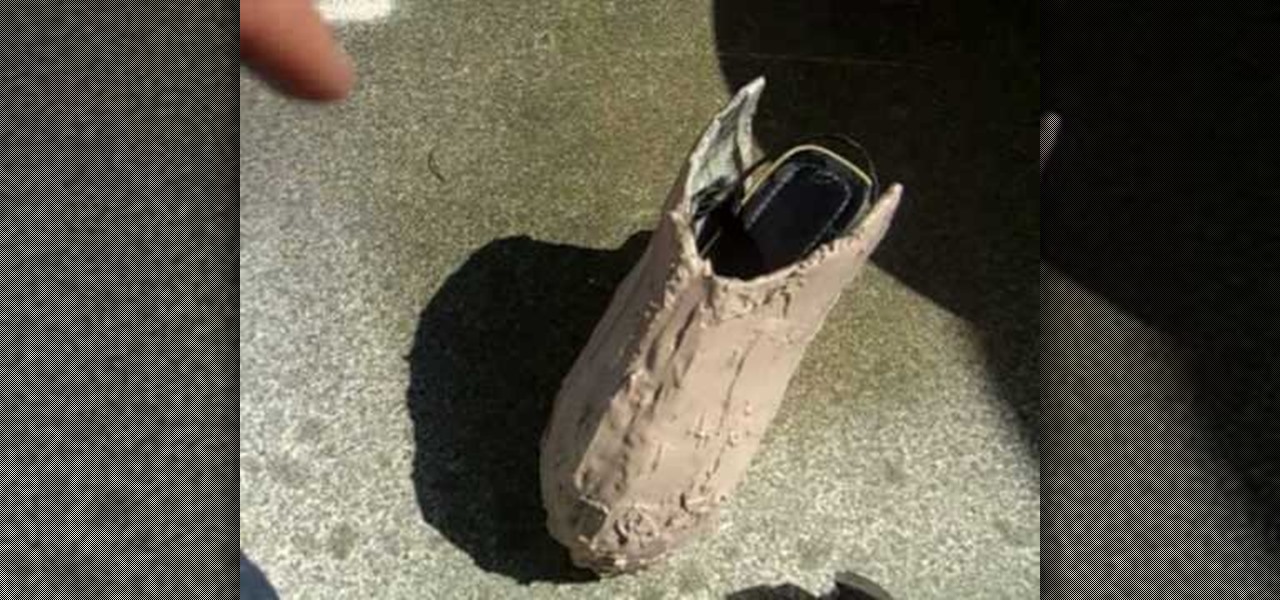
They are made from a pair of comfortable wedge sandals, and are very durable. Materials used:
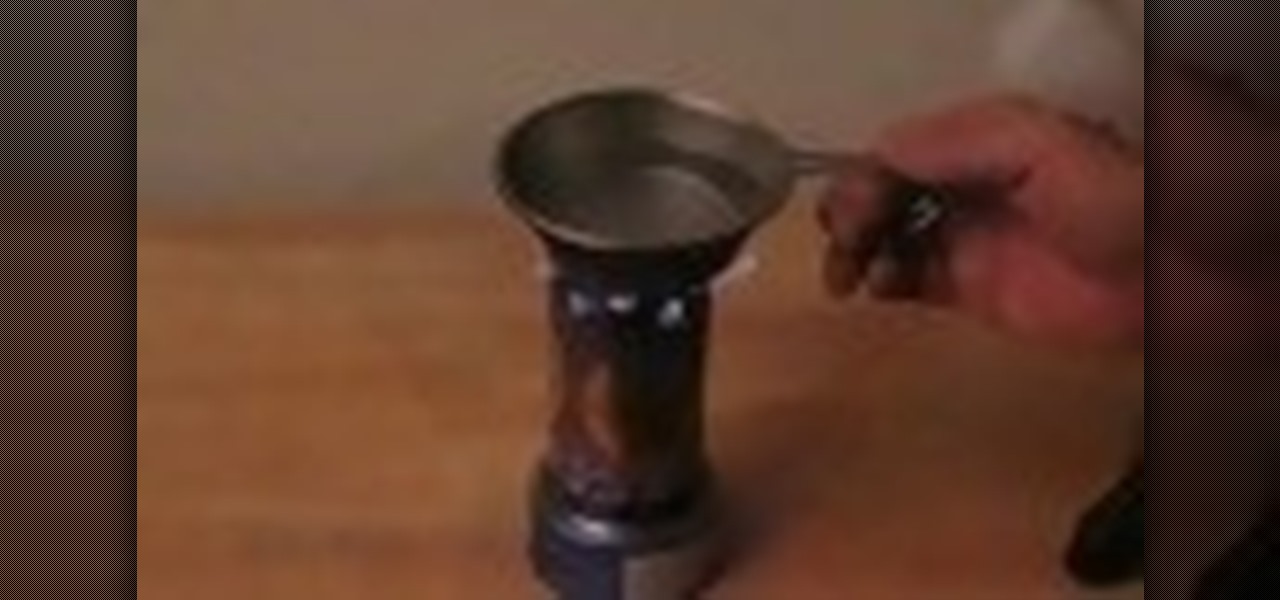
In 2 minutes you can make a stove from household materials that you probably already have. Learn this great survival trick by watching this how-to video. You will need rubbing alcohol, a soda can, a sharp knife, and a food tin. Watch this video tutorial and learn how to build a survival stove out of an aluminum can.

Time flies. Particularly when it's projected. The magical box in this how-to uses light and mirrors to project the image of a working clock face on any wall. To build your own working clock projector, you'll need the following materials: a mirror, a jeweler's loupe, a clock and a flashlight. For detailed, step-by-step instructions on the assembly process, and to get started on this Daliesque hack yourself, take a look!
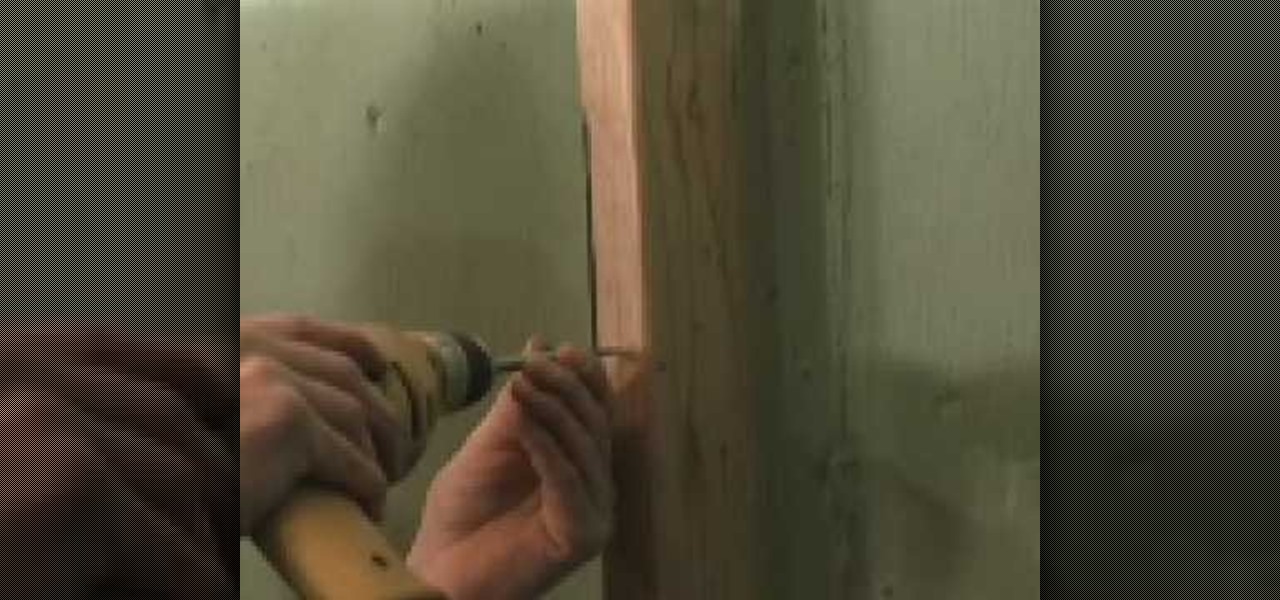
In this video we learn how to remove door material to install a mortise lock. If you live in an older home where you have to take out a chunk of the door to change the lock, there are ways to prevent doing this. First take a spade bit and slide it over the lock. After this, take the mortise lock and hold it so it's flush with the door. Go below the hole and above the closest obstruction and put a mark. On the back measure slightly beyond what it would take for this to bottom out. Once you hav...

In this video, we learn how to easily make a tutu. First, you will need to gather all your materials, then cut the length of the ribbon or elastic you need. Then, grab your materials and cut out strips of it to place onto the elastic. After this, tie the tulle onto the elastic going from color to color as you continue. Once you reach the end of the skirt, you will have a cute tutu that is ready to wear. Making this yourself can save you a lot of money, and it can make several rather than just...

If you're a fan of remote control vehicles or plan on taking up the hobby, you'll need to know some tricks and tips. From putting together the tires for your vehicle to properly painting certain parts of the car.
In this tutorial, we learn how to make a journal from packaging materials. First, cut a cardboard at 5.5" x 4.5" on each side. When you are finished, create another cut that is 5.5" x 1" for the side. Now, cover the two large sides with a piece of fabric that you choose. After this, cover the middle piece with fabric, and then tape it on with double sided tape. Next, place all pieces next to each other, tape it, then place a solid piece of paper on the inside, and use a glue stick to adhere i...
In this video tutorial, viewers learn how to make a toy car with CD wheels. The materials required for this task are: 2 thread spools, long piece of thing wood, 4 CD's, 2 screws, 2 washers and 2 bolts. Begin by drilling a hole in the spools and 2 holes in the wood. Then place a washer on the screw. Now place the CD on the washer. Then add another washer and secure it by screwing on a bolt. Now put the wheel through the first board of wood. Then put it through the spool and other wood board. N...
In this video tutorial, viewers learn about patrol boxes. There are two patrol boxes that are mentioned in this video. The materials that are contained in the first box are: a twin burner stove, propane lantern , adapter hose, propane converter, fat wood, fire starter, matches or lighter, trash bags, aluminum foil, rope and a large paper mat. The materials contained in the second box are: several sized pots, pot lids, frying pan, griddle, colander, backpacking gear, plates, cutting board, tow...
Piping cones are indispensible when applying flowers, leaves, and frilly trims on cupcakes and cakes, and cones with particularly fine points can be used to apply henna in intricate patterns.
When measuring for borders on your quilt, begin by spreading your quilt out on your work surface making sure that it is laying flat but not pulled tight. With a tape measure, measure from one edge to the opposite edge across the length of the quilt. You should measure along two or three different seam lines and cut the border material to correspond with your longest measurement.If you would like a two-inch wide finished border then you should cut your border material two-and-a-half inches wid...
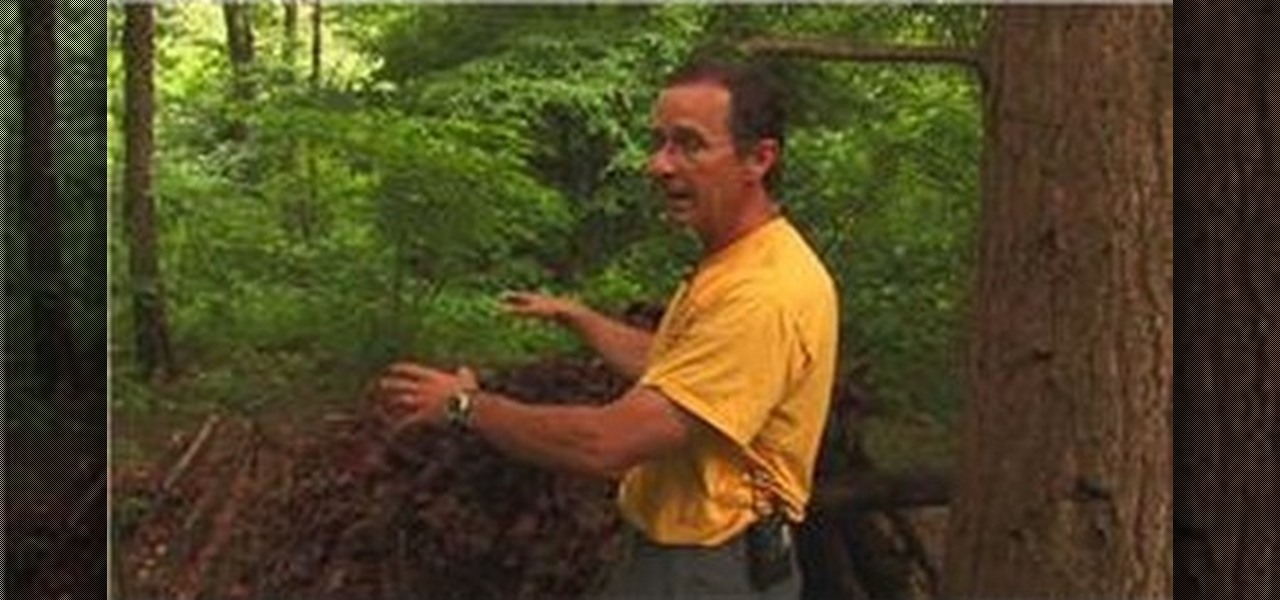
In this how-to video, you will learn how to find pine resin on your trees. This is very difficult to find at first, but with the right knowledge, it can be very easy. First, look closely into the tree's bark. Look for an area where there was once a branch. In the center, there will be a material there. This material should be the pine resin. You can dig it out without damaging the tree with a sharp stick or knife. This is how the tree protects itself from damage. It produces pine resin to fil...
In this video by, you are shown how to make miniature pomegranates out of clay for use with doll houses or however you may want to use them. You will be shown exactly what materials to use, how to make the items, painting and even exactly how to glue everything together. There are even suggestions for where you might want to shop to find the materials you will need. She shows you step by step how to make the items, and describes in detail the tools required to make incredibly realistic lookin...
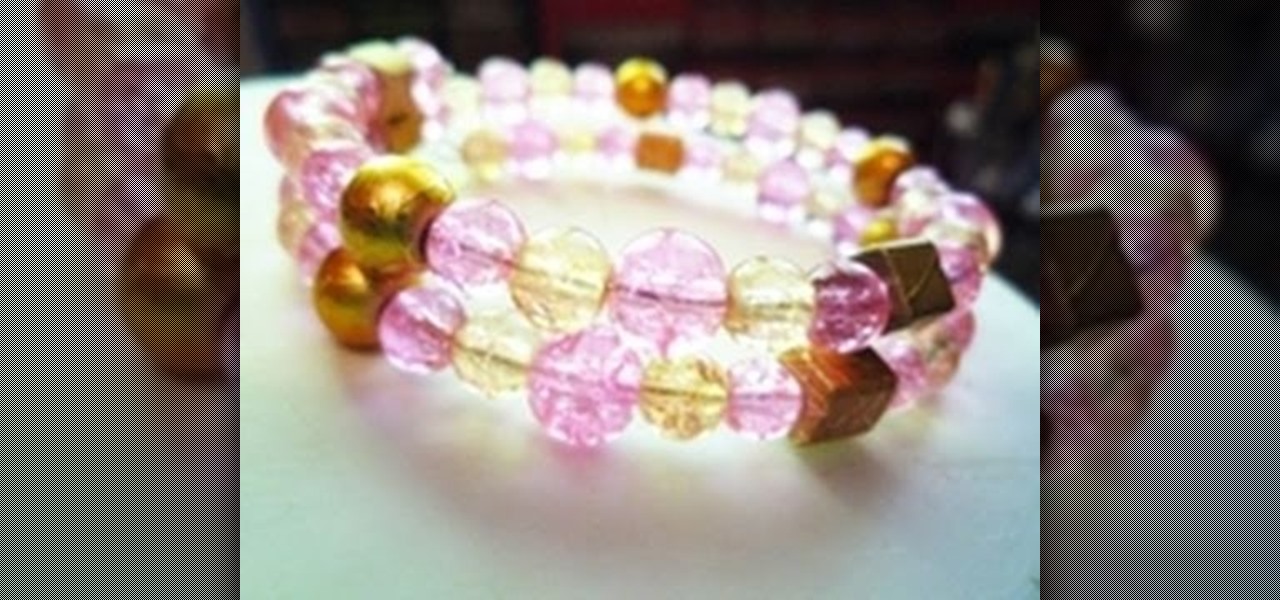
In this video tutorial, viewers will learn how to make a charm bracelet. The materials needed to make the bracelet are: a light silver plated chain, 100 grams of plain glass mix, 1 toggle clasp and 100 headpins. All these materials can bought from Beads Unlimited. The tools needed for the bracelet are: flat-nosed pliers, round-nosed pliers and cutters. This video is descriptive and clearly explains all instructions. This video is at a slow pace and provides step-by-step instructions that will...
Learn how to make a fly fishing leader by following this tutorial. First, the easiest way is to purchase a tapered leader, obviously. However, sometimes as you are fishing this will break and you may not have a backup leader. Your only option in that scenario is to make a new one from your broken leader. Take approximately 18 to 24 inches of the 3X wire and double knot it to the but section that is broken. Then use another wire material to attach for the fly section. To decide what type of ma...
In this how-to video, you will learn how to build a wilderness survival shelter. One thing you can do is use a rain poncho, blanket, or piece of plastic and make a water impermeable shelter with a rope like material. These materials could include anything like a cord or dental floss. You can build a debris hut by using a large stick leaning against a tree. Stack many other sticks around this large stick, and then pile up debris such as dirt or leaves to build up walls. Once the structure is b...
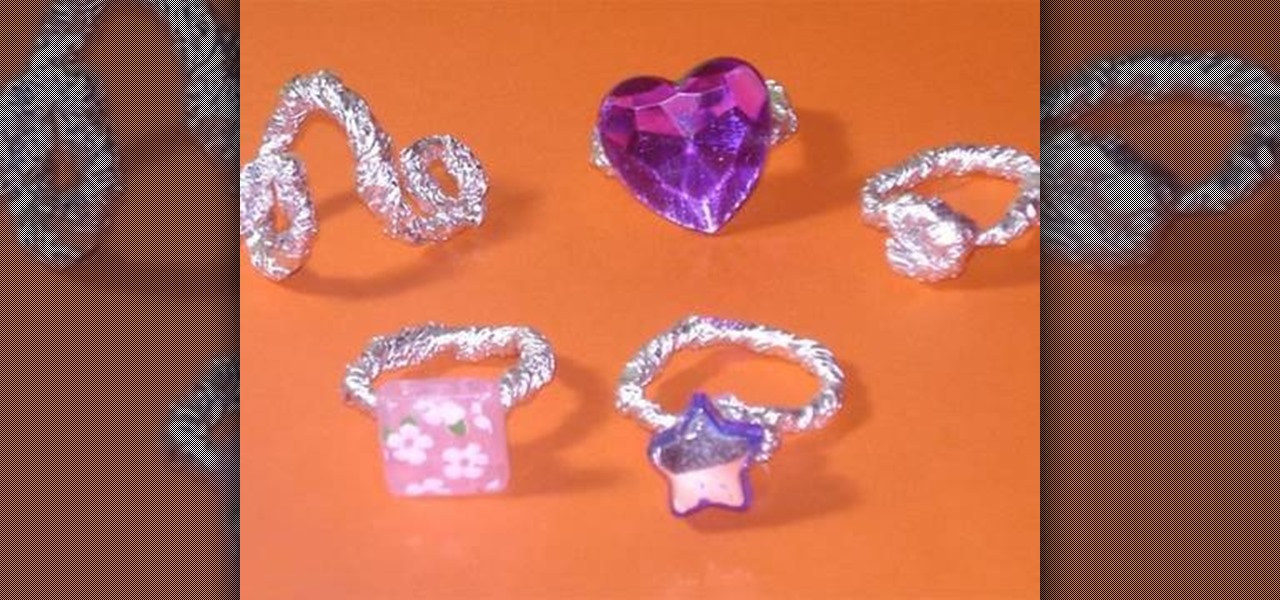
In this video tutorial, viewers learn how to make aluminum paper rings. This video provides all the materials required to make the rings. The materials required include: aluminum paper, glue, plastic gems, beads and the bottom of any decorative element for the top of the ring. Begin by folding the foil into a thin line and twist it. Now bend the foil around your finger to shape it into a ring. Then tie and wrap up the top. Put some glue on and add the bead or gem to the center. This video wil...
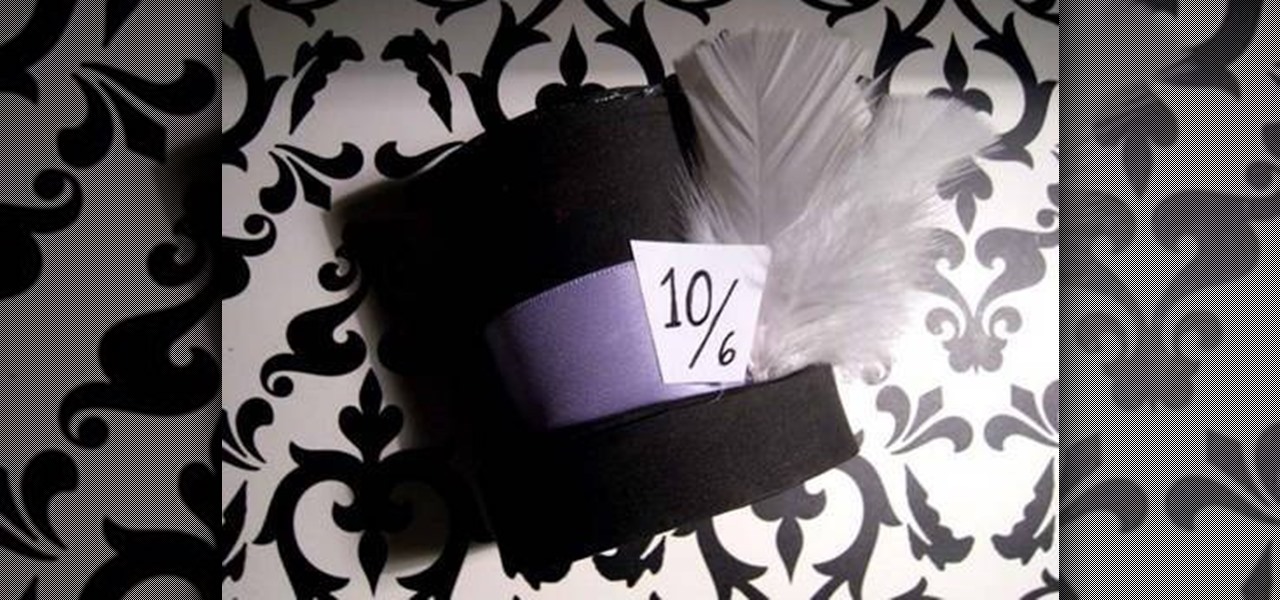
In this video tutorial, viewers learn how to make a mini Halloween top hat. This video provides all the materials required to make the top hat. The materials required include: a Styrofoam cup, X-acto knife, scissors, 2 8x10 sheets of craft foam or felt (choice of color), ribbons, feathers and any other embellishments. This video provides a visual demonstration and step-by-step narration that allows users to easily understand and follow along. This video will benefit those viewers who enjoy do...
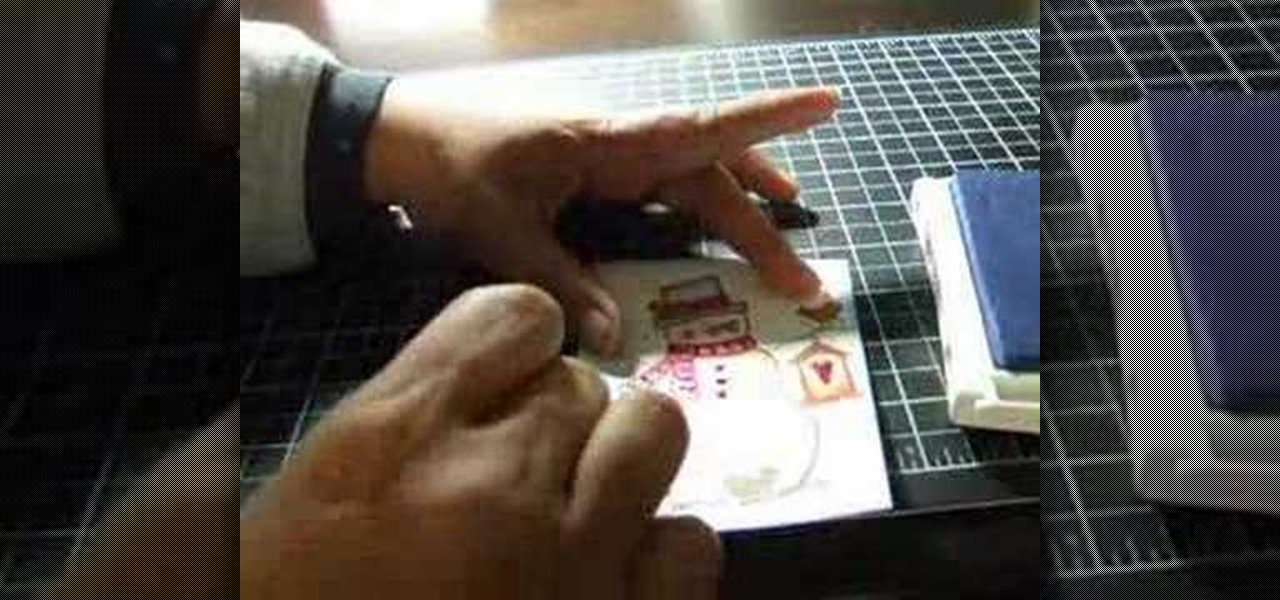
In this video tutorial, viewers learn how to shade and color the background of an image. This video explains all the materials required to shade and color the background of an image. The materials required are: a stamped image, a spoon dauber and an ink pad. Start by inking the sponge dauber and rub the edge of the cardstock. Continue to color the edge. Add more ink if you want the color to be darker. Color the background with the sponge dauber. Add link to the sponge dauber. Dab and rub the ...
This video tutorial shows how to transform a paper bag to a picnic bag designed with Frankenstein's face on the front. The ending result of the tutorial is shown in the beginning. The materials needed are listed after the example, including the total number and color of each material needed. The tutorial starts by cutting down the paper bag and folding the top of the bag. Handles for the bag are then cut out and stapled onto the top of the bag – one on each side. To prevent the staples from a...
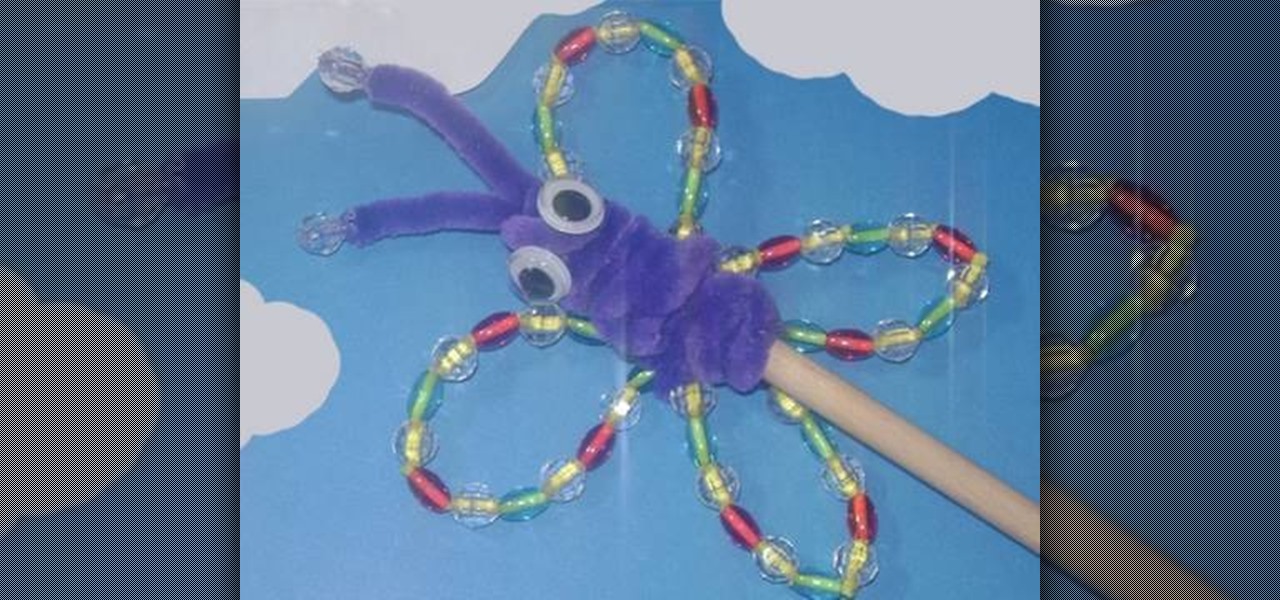
In this video tutorial, viewers learn how to make a garden rainbow butterfly puppet. This video describes all the materials that are required to make the butterfly puppet. The materials required include: beads (blue, red and transparent), 5 pipe cleaners (2 yellow and 3 purple), 2 googly eyes, a stick and one glue stick. This video provides a visual demonstration for viewers to easily follow along. The video is at a step-by-step pace and allows viewers to pause or rewind the video. This video...
This video teaches the viewer how to make a bow for your hair. You need a few materials to do this including 12 1/2 inches of ribbon that is approximately 1 inch wide, Two to three inches of contrasting ribbon for your center piece, a glue gun, 5 inches of craft wire and a hair clip. You can chose the colors or create several different ones to coordinate them with your wardrobe. They take only about 5 minutes to complete as long as you have all the materials on hand. Make sure to have a pair ...
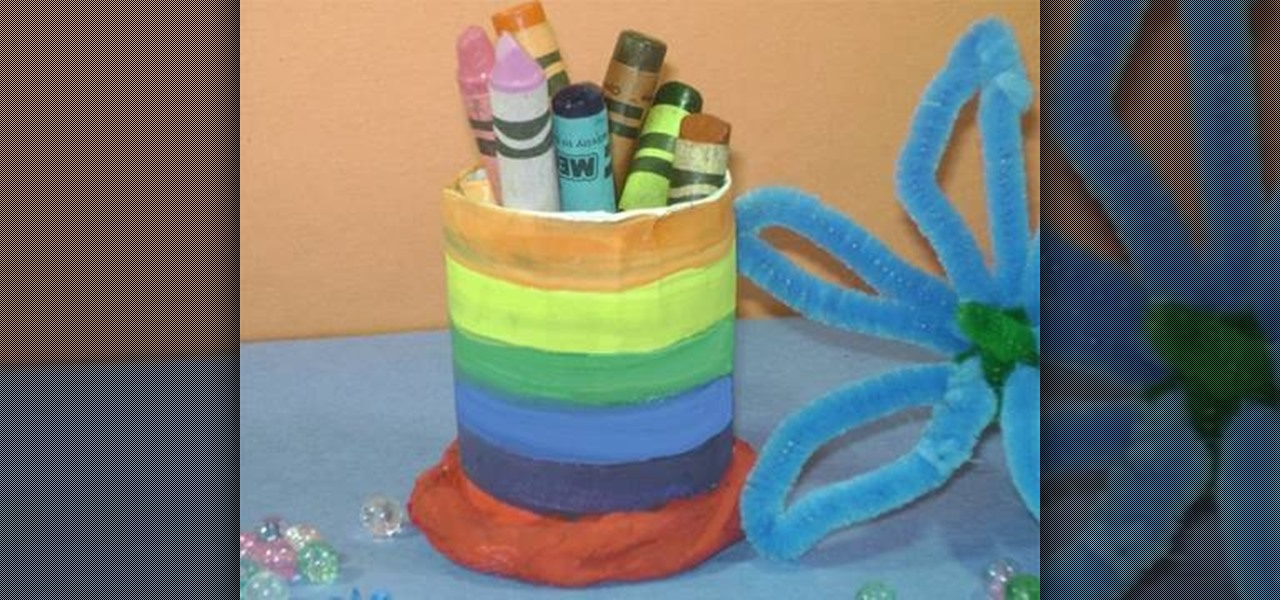
In this video tutorial, viewers will learn how to make a simple pencil holder. This is a child's art and crafts activity. The video provides all the materials that are required in order to make the pencil holder. The materials required include: a toilet paper tube, paint, paint brush, glue, scissors and a sheet of white paper. Users simply decorate the paper with paint and wrap it around the toilet roll. Next, cut another piece of paper for the bottom of the roll and secure it with some tissu...
This is step-by-step video tutorial on how to make a basic but adorable cat puppet. The kids will have such a good time cutting and gluing the materials to make their very own puppet. The process is very quick and very easy. The materials you will need are: Felt (black, white and yellow), 2 googly eyes, scissors, and fabric glue. First cut out 2 triangles for the ears. Glue the circular edges of a half circle of felt together and glue the ears to it. Glue the eyes, nose, mouth, whiskers, and ...
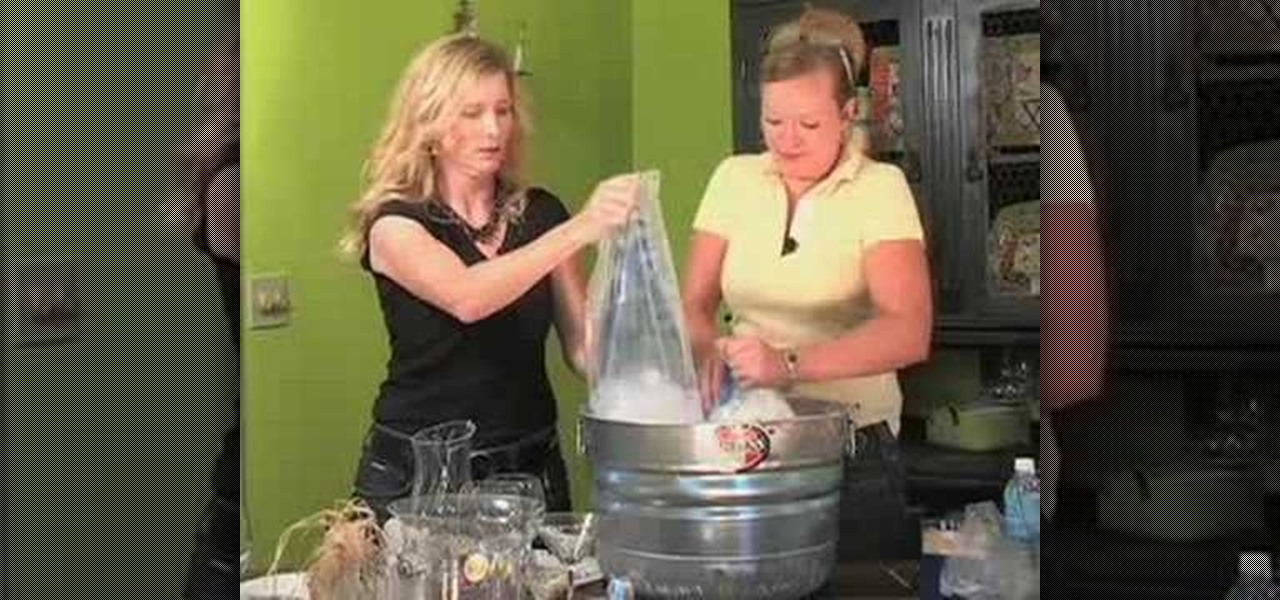
In this video tutorial you will learn how to decorate for a party using household stuff. The materials you will according to the hosts are wires of all sizes and colors (whatever you'd like), beads (the bigger the easier), a drill, an ice bucket, and indoor outdoor lights. With these materials you can learn how to decorate a ice bucket, and your stemware. Its very fun and easy according to the hosts and they will guide you step by step sharing there ideas and ways to decorate these items so t...
In this six minute video tutorial, viewers will learn a process for which to make a skateboard "grind box." A skateboard grind box is used for skateboarders to perform certain tricks on and to practice. In this tutorial the narrator goes over the different materials that are required for the grind box, the different tools that are required, and the steps for putting the materials together to form the grind box. By completely viewing this video, viewers will have gained an understanding on the...
In this video tutorial, viewers will learn how to make a memory wire bracelet. This video provides all the materials required to make the bracelet. The required materials include a memory wire (bracelet size), heavy duty wire cutters (memory wire shears), round-nose pliers and several beads. First, determine how thick you want your bracelet to be and cut the wire according to that size. Now, layout the design of your beads; make a loop on one side of the wire and add the beads on. Once finish...
Ever find yourself short on material and that one board you really need has a nice open knot in it? You could always go out and buy more material, but sometimes its just easier and faster to stabilize and repair the knot. And instead of trying to hide the knot, sometimes it's just better to embrace it and make it look look resinous and natural. And that's the goal here. Our guide uses an epoxy/dye mixture to create a stable and decorative knot. With a little elbow grease, and this video from ...
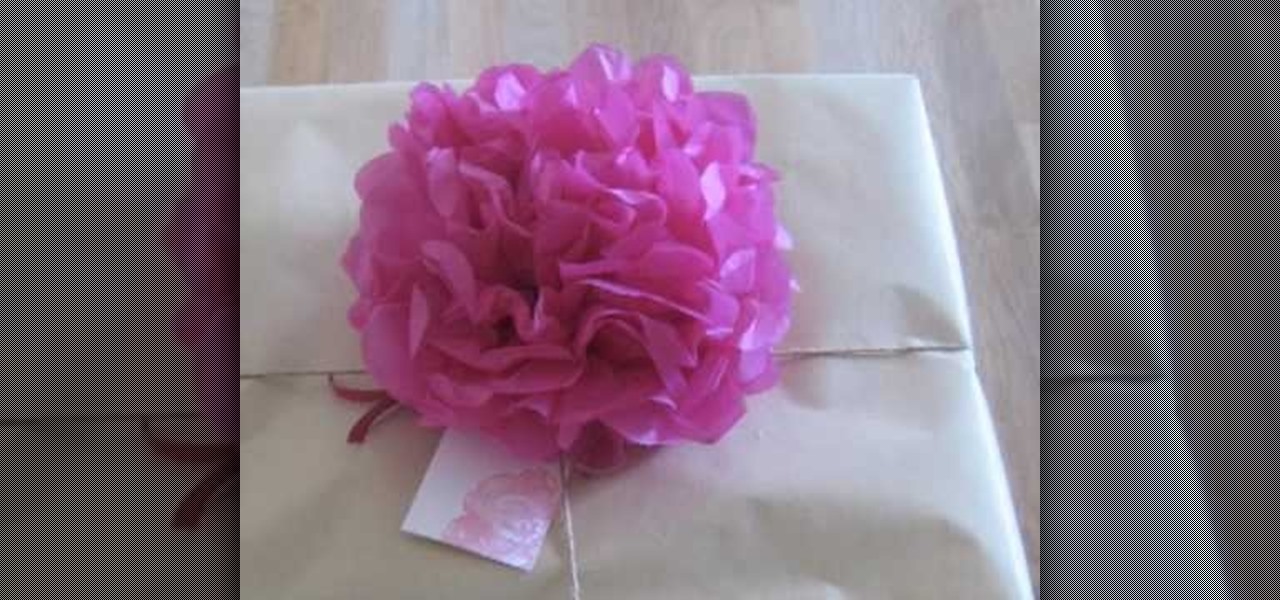
In this video tutorial, viewers learn how to make a paper flower. This video provides all the materials that are required in order to make the paper flower. The materials required include: colored tissue paper, scissors, and 10 cm of colored string. Begin by cutting the tissue paper to preferred size. Fold 1cm on the tissue paper, flip it over and do the same on the other side. Continue this until you've reached the end. Tie one end of the string onto the middle of the tissue paper and fold t...
In this video tutorial, viewers learn how to use the traditional Japanese stab stitch binding to make books. Stab Stitching is used mainly for office documents and in essence is two or more very strong, long staples that bind together loose sheets up to 25mm thick. The video provides all the materials required to make a book. The materials include: filler paper, two sheets of card stock(must be same size as paper), string, pencil, ruler, ice pick, X-acto knife, needle(must be same thickness a...
Kristina tells us the key steps to making a cheerleader styled hair bow. All you need is one simple thin strip of material, of whatever color or pattern you might want, there being a huge variety to choose from, thread and a needle, and the hair tie that you will then be attaching the created bow to. You make a simple "breast cancer sign" with the material, then further twist it into a bow, then thread the center to hold it together. The last step, of course, being to glue the aforementioned ...
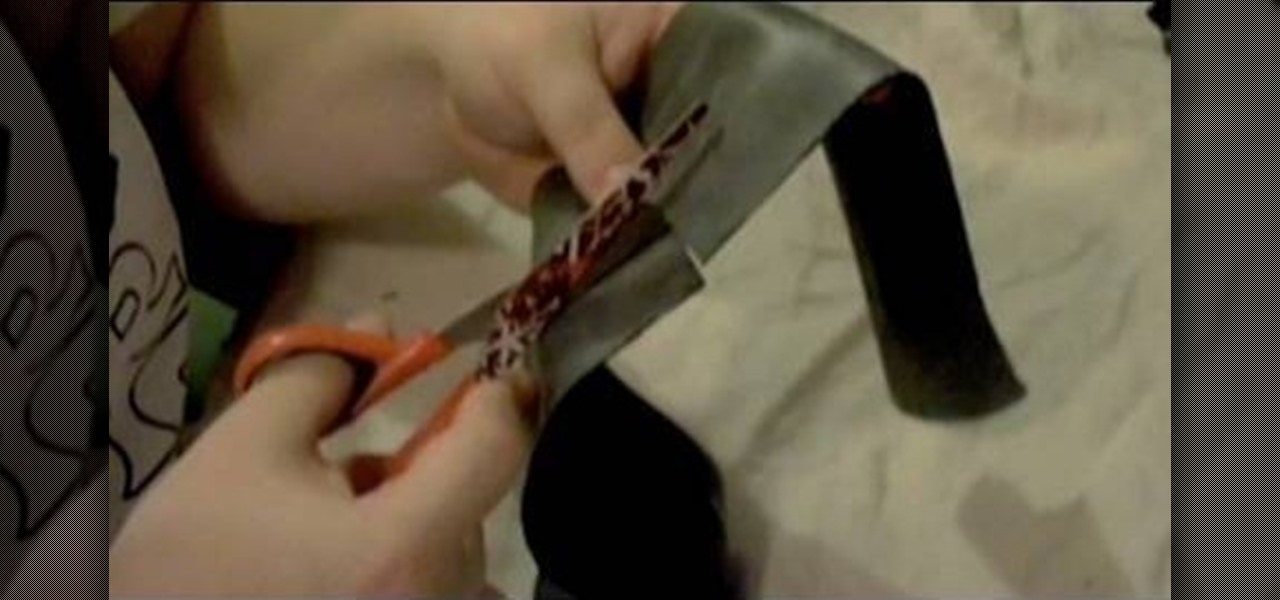
In this video hostess Charlotte instructs us, on how to make "Inner Tube" Bracelets, a rock style associated accessory. Employing either Black Plastic, Leather, or even Tape. Creating these alt accessories requires only scissors and a needle and thread of some type of adhesive to attach the clasp or fastener that will allow you to attach it to your wrist. With a few simple Scissor cuts along the material's length to create a design. Charlotte shows us exactly how it is done with helpful tips ...
Sometimes it's more than just inconvenient when your electronics lose power. Sometimes, losing power could be dangerous. Never worry about a dead cell phone again! Charge your portable electronics by harnessing the power of the sun.
Interested in using fiberglass? In conjunction with the 405th, an online e-zine dedicated to Mjolnir Armor costuming for the Xbox Halo video game series, this tutorial shows you a step by step process of how to layer fiberglass on the inside of a costume mask. Materials needed include latex gloves, respirator or ventilation mask, fiberglass resin, fiberglass cloth, scissors, and a foam brush. Be sure to give up the cash for a great ventilation mask... some of these materials can be toxic to y...
You've organized your materials and chosen your book. Now it's time to get down to brass tacks. . . and tapes, stamps, stickers, cardstocks, markers... Watch this how to video to learn how to make your own scrapbook.
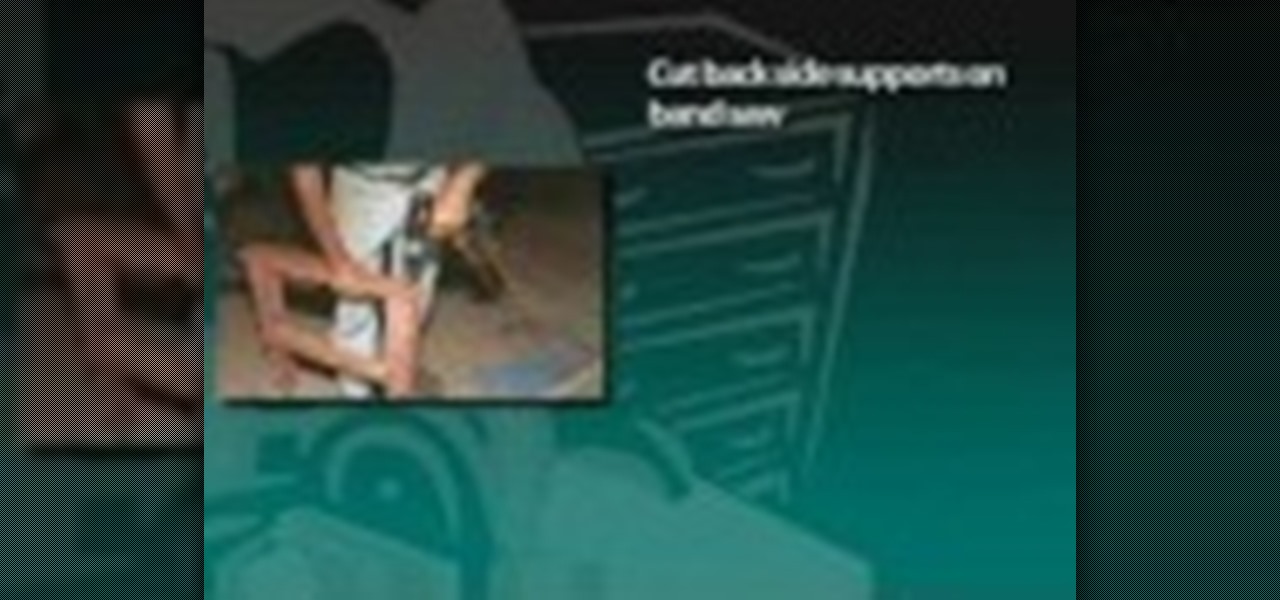
A place to sit and relax can add greatly to the enjoyment of your backyard, garden or flower beds. A garden bench is one answer and also a fun workshop project. Garden benches, as seen by the examples here, can range from classic designs requiring a fair amount of materials and woodworking expertise to simple slab benches that require little effort, can be built from scrounged materials and add a “rustic” appeal to yards. In this DIY video tutorial, you'll find step-by-step instructions for b...
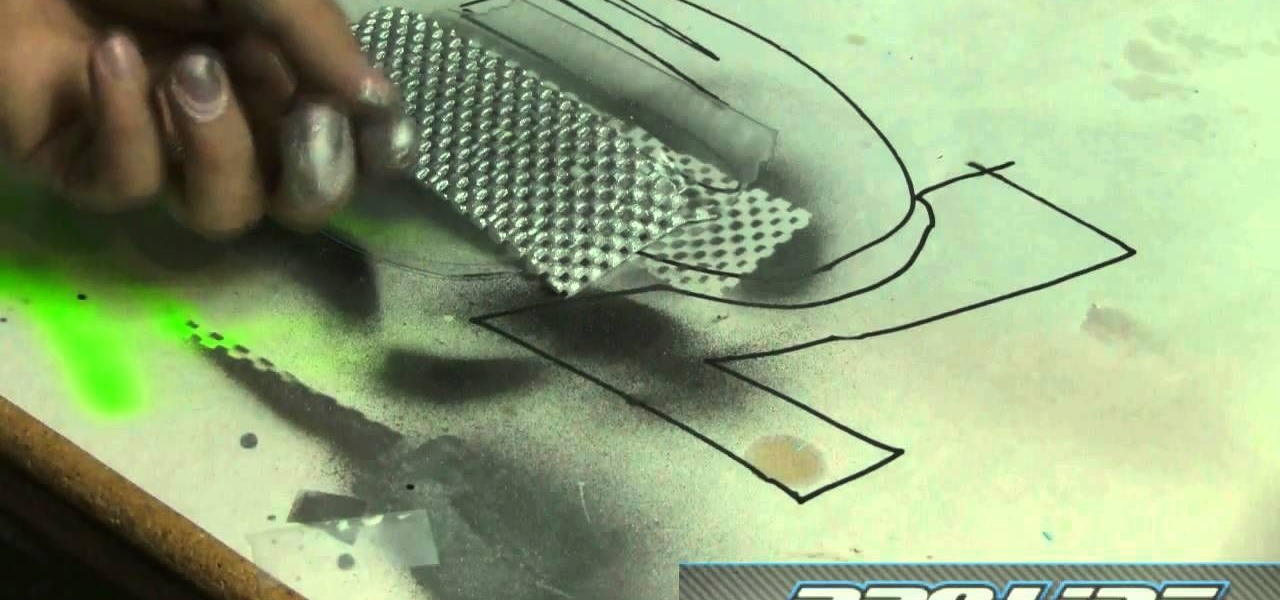
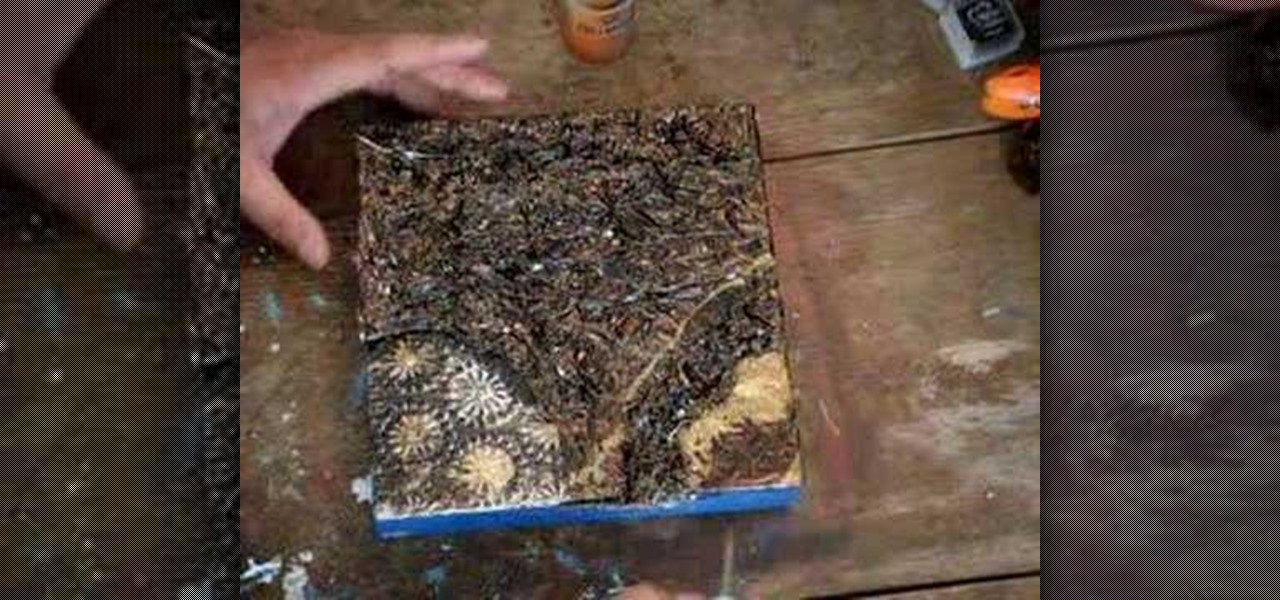
This video demonstrates how to create an artwork using ordinary aluminum foil from your kitchen. This technique is good for those people who have no inspiration of what to paint but want to be creative. This collage technique is a fun way for beginners to experiment with textures, composition and color. Materials used in this video are aluminum foil, a glue stick, Bitumen (a material used as primer for painting on metal without rusting), collage or textured paper, spray paint, acrylic paint, ...
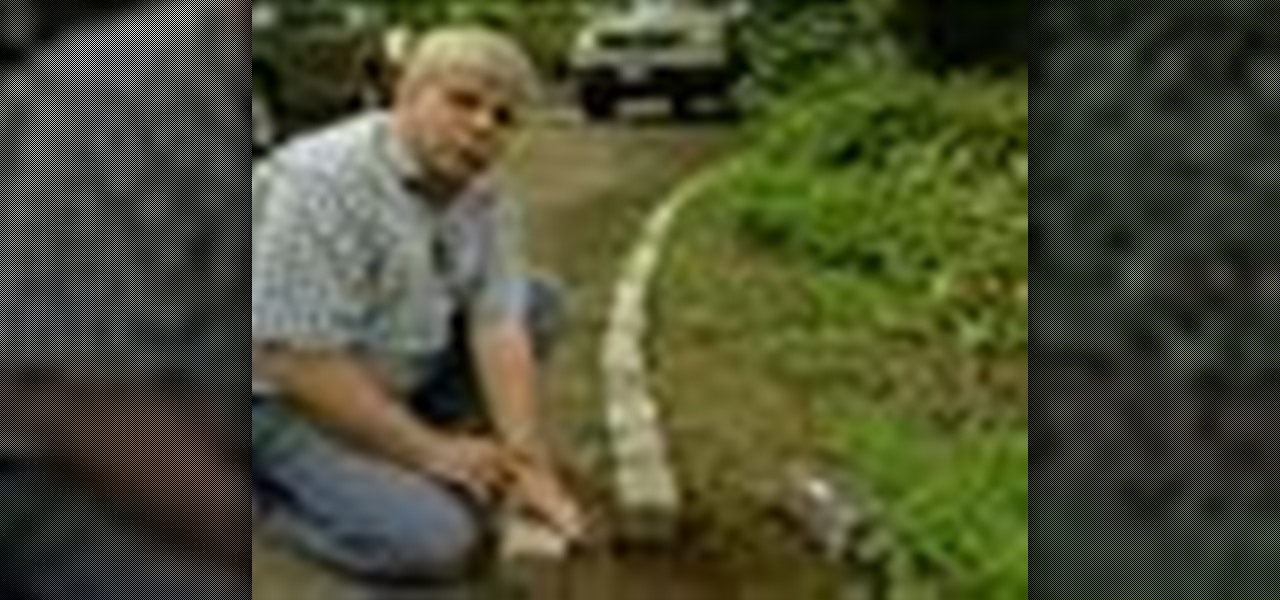
Tim Carter demonstrates how to use recycled cobblestones. Cobblestone can be used to edge gardens, driveways and walkways. These paving stones make a great border.
This video demonstrates how to sew a blind hem stitch to make Roman shades. This stitch is very easy to do. You need a sewing machine that has a blind hem stitch already programmed in it and a blind hem foot. The video shows two different kinds of blind hem foot for two different sewing machines. The one for Viking machines is used here. Fold and pin a one inch hem on your panel, making sure that the pins are pointing off the edge of the panel. Lay your panel on the machine with the hem side ...