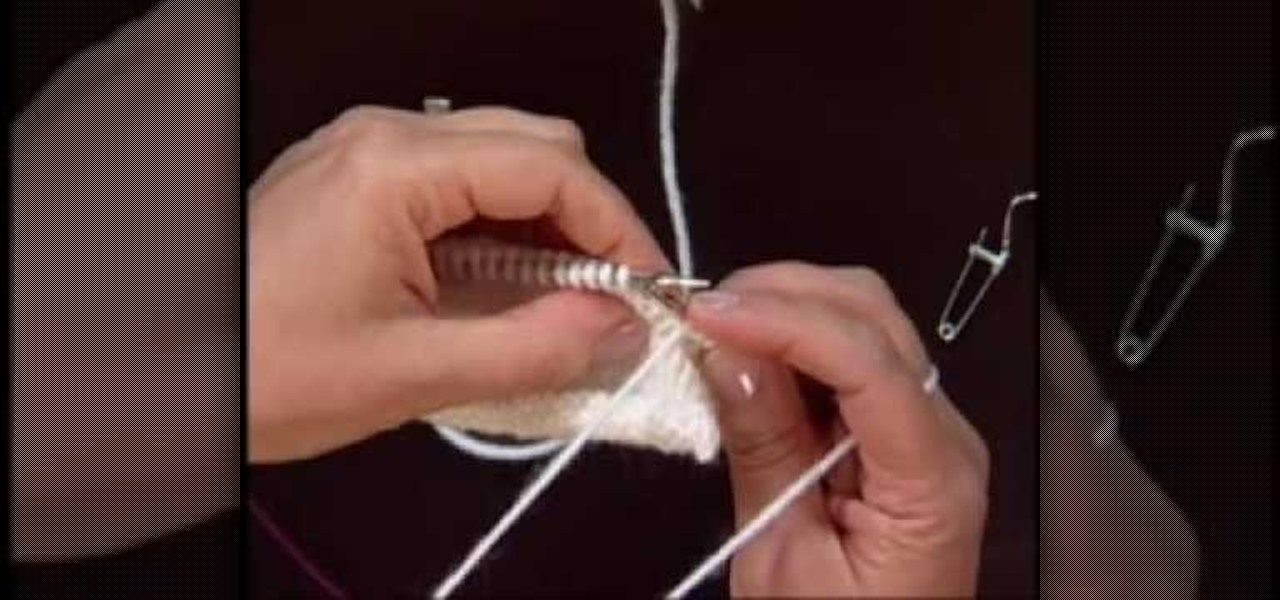
In this tutorial, Andrea Wong teaches us how to knit Portuguese style. This is one of the oldest ways of knitting that started in the Middle East. The holding of the needles are the same but the working yarn should come from the left needle. The yarn should be placed around the neck for your tension or through a pin on the shirt. Next, the yarn should go through the middle finger on the left hand. Then, sit in a comfortable position while you insert the right hand needle under the yarn. Then,...

In this video, we learn how to style short hair for work. When you are styling short hair, it can be difficult at first but you can make it look great. Start out by straightening your hair and make sure it's dry. Then, grab some rollers and place them in your hair at the top and keep them in place with some bobby pins. After this, you will spray hair spray on top of the curlers and leave them in while you are straightening the bottom of the front of the hair to create a shine. After this, tak...

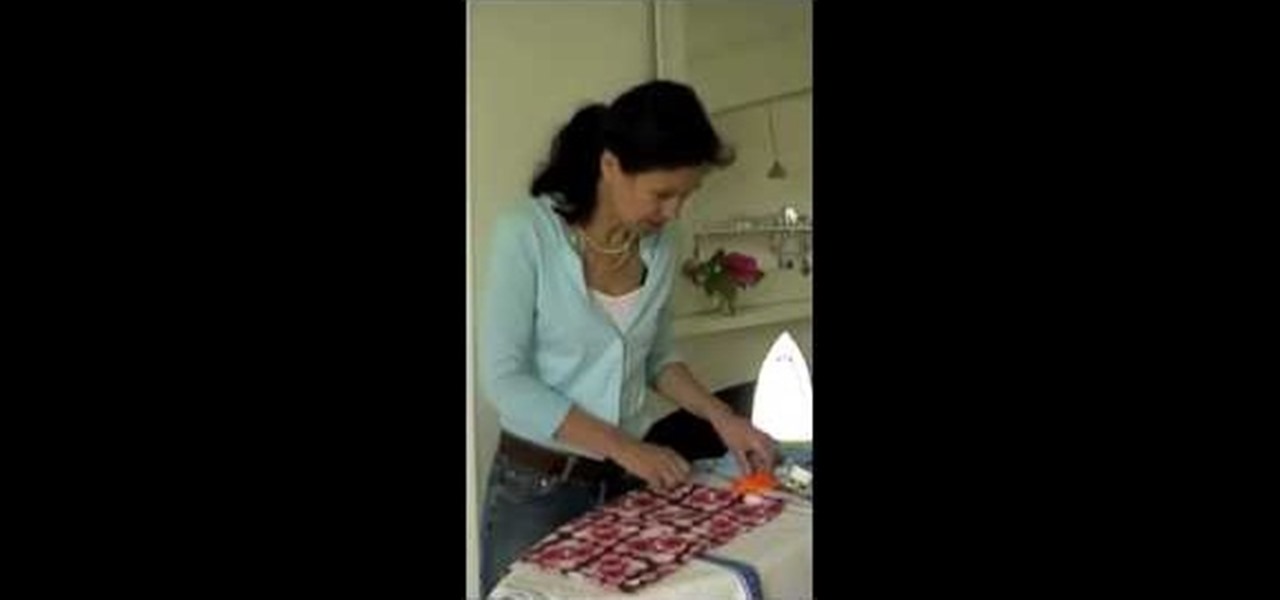
In this tutorial, we learn how to install a zipper into your knit. The first way you can do this is to take it to a tailor and they will do it for around $15. To do this by hand, grab your piece that needs a zipper and then steam the edges. After this, take a sewing needle and start to sew the zipper underneath both sides of the edges of the piece. You can also use pins to place into these so it stays in place. Do a backstitch also, to help make the zipper more sturdy and stay on longer.

Would you believe us if we said you could put together a last minute Halloween costume in less than two minutes? The very idea sounds preposterous, but we're not bluffing.

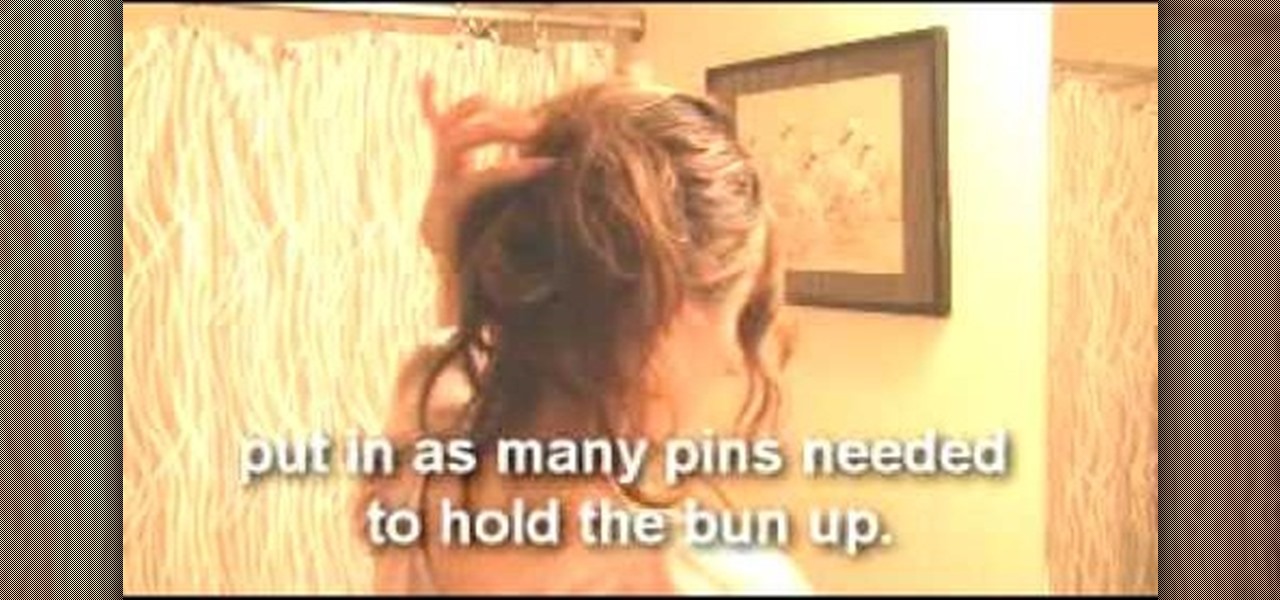
A bun is usually thought of as severe and uptight, but it can be quite sensual and carefree if you style it right. Take a look at this hairstyling video to learn how to create a very easy yet impactful low side bun for school.
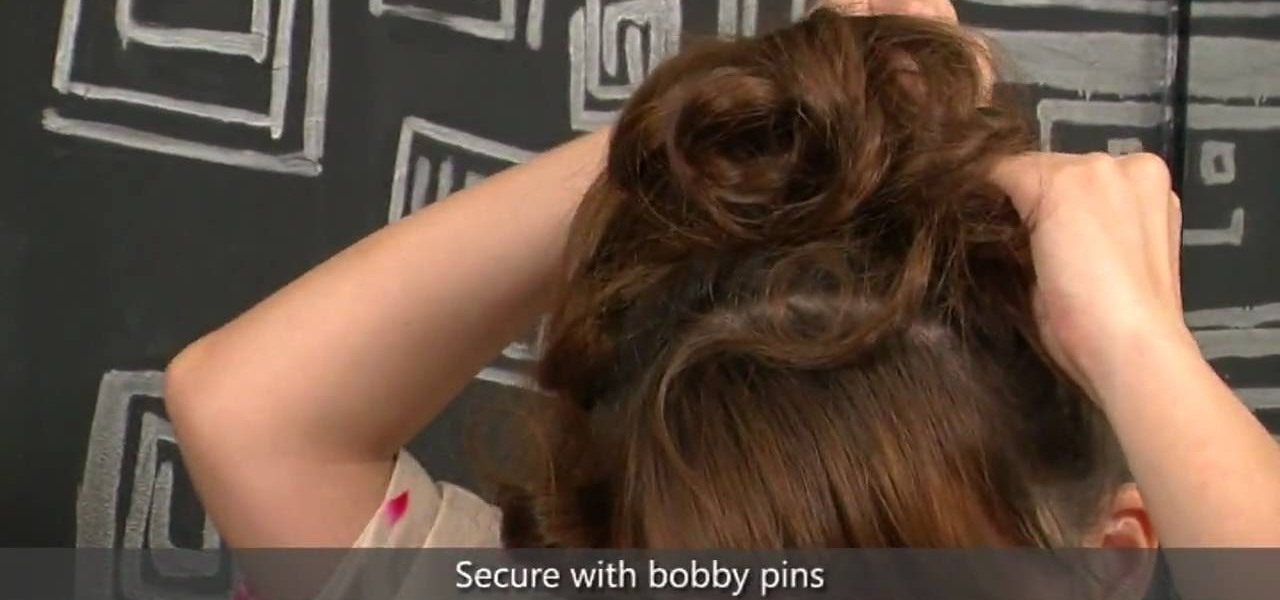
We have nothing against posh, elegant romantic curls or modern pin-straight hair, but don't you ever miss the days when you were just a kid experimenting with her mom's drawer of hair goodies? Creating crazy styles was so fun and the results were always unpredictable.

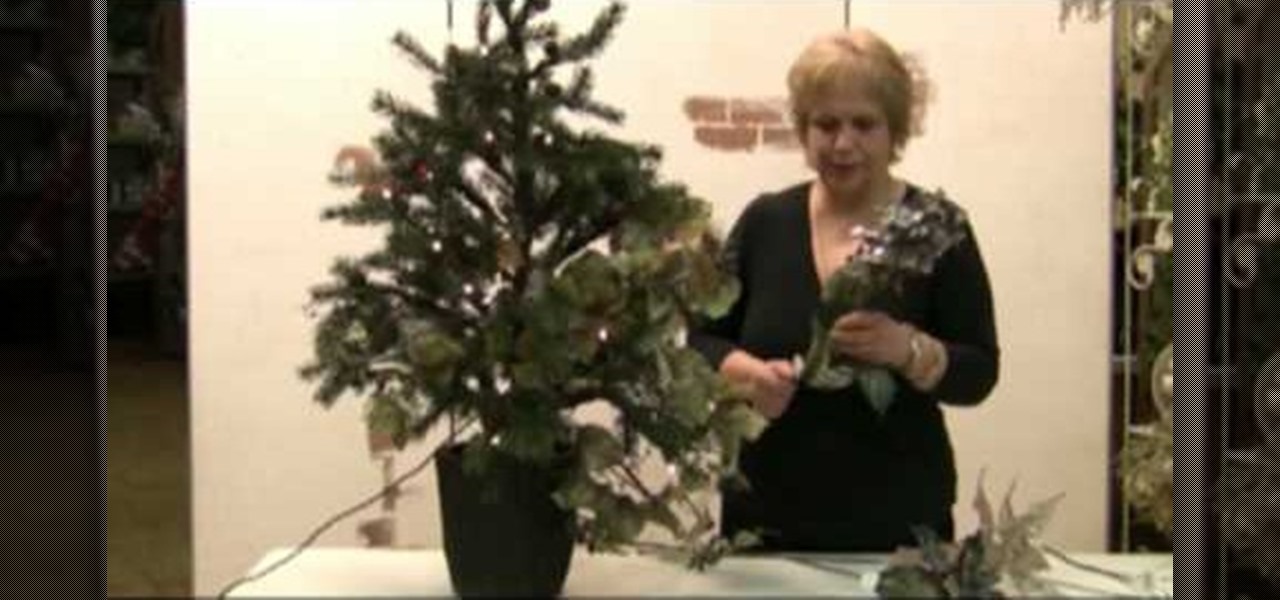
In this tutorial, we learn how to decorate your Christmas tree like a pro. Before you do anything else, put something together that is going to look good that you can place in your tree. Put in different types of flowers, bushes, and garland to make a pretty piece to place inside of your tree. Once you do this, you can shape the branches in the tree around this, then continue to place the elements from the main piece all around the rest of the tree. Add in a long string of matching ornaments,...

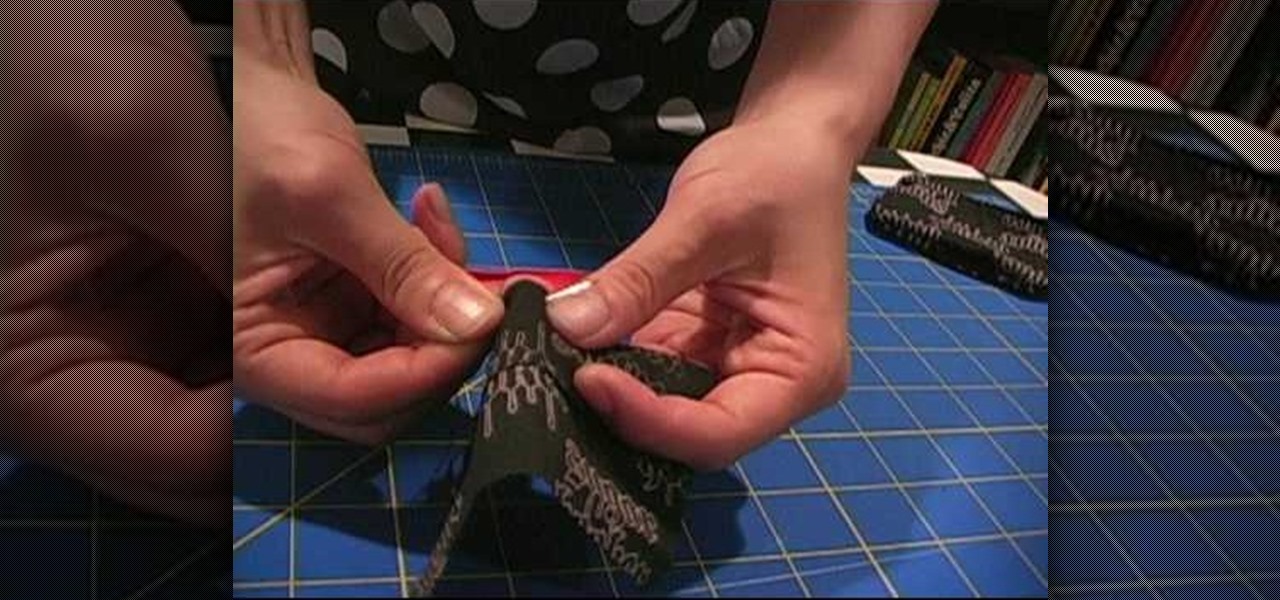
In this tutorial, we learn how to make a Domo plushie. First, cut out the shape of Domo on a piece of brown fabric. Cut this out twice to make the front and the back. After this, sew both of the sides together with a sewing machine. Make sure to place pins in it to keep the fabric in while you are sewing. When finished, turn the plushie over and stick some stuffing inside of it. Now, sew the section where you placed the stuffing in. Then, you can sew on the face of the character and you will ...

In this tutorial, we learn how to fold a paper rose. First, you will grab a napkin and unfold it. From here, roll the napkin around two fingers. Then, take it off and go two inches down from the top. Roll around this quickly, stopping half way. Grab the corner of the napkin and bring it up. Then, pull the rest down and continue to twist. Take your flower and make a leaf, then twist around the stem tightly. Put your fingers in the middle of the rose and use your finger to swirl it around. This...

In this video we learn how to make a zipper purse or mini fanny pack for your belt. First, fold a bandanna in half and cut out a rectangle. Then, cut a rectangle out for the belt loop too. Next, take one of the bigger rectangles and cut it about 1.5 inches from the top. Then, sew these two pieces together using a needle and thread with white thread. After this, pin down the zipper to the back and sew up the sides. Then take the other piece and stitch it to the front side of your other rectang...

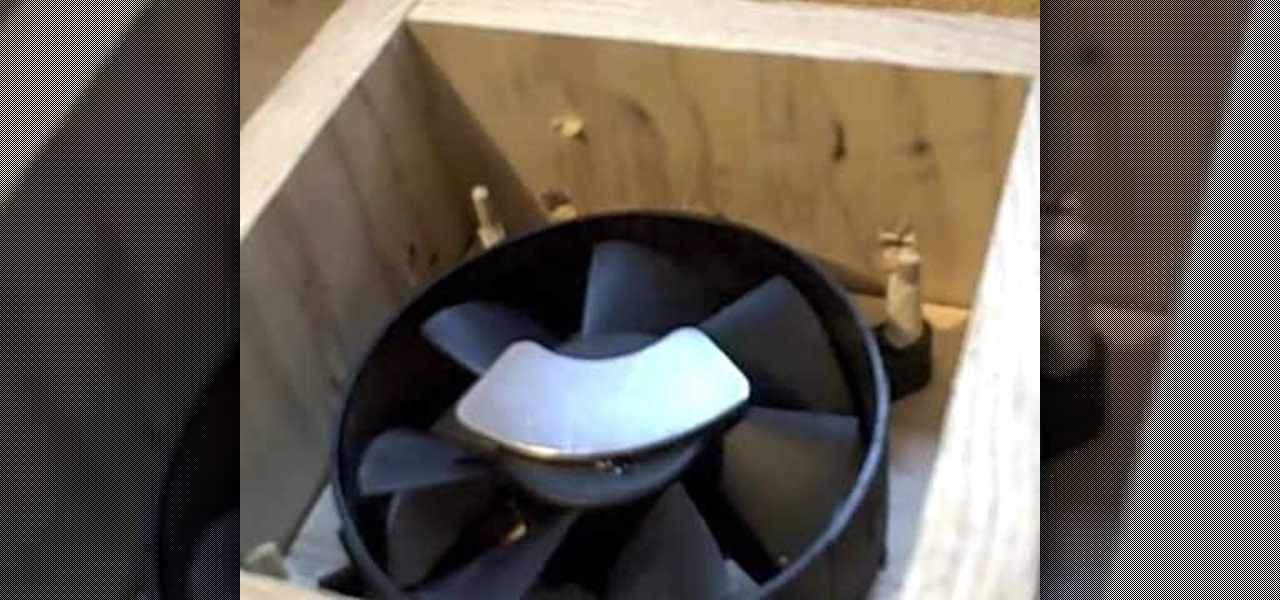
In this tutorial, we learn how to build a magnetic stirrer from computer parts. This is a simple thing to make, and is great if you are going to be mixing chemicals and don't want to get your hands dirty. First, you will need to create a wooden box with the top empty. Then, place a computer fan into the middle of the box and pin it down. Place a magnet from the hard drive in the middle of the fan, then place a stirring rod on the glass that will go on the top of the wooden box. Now you will b...

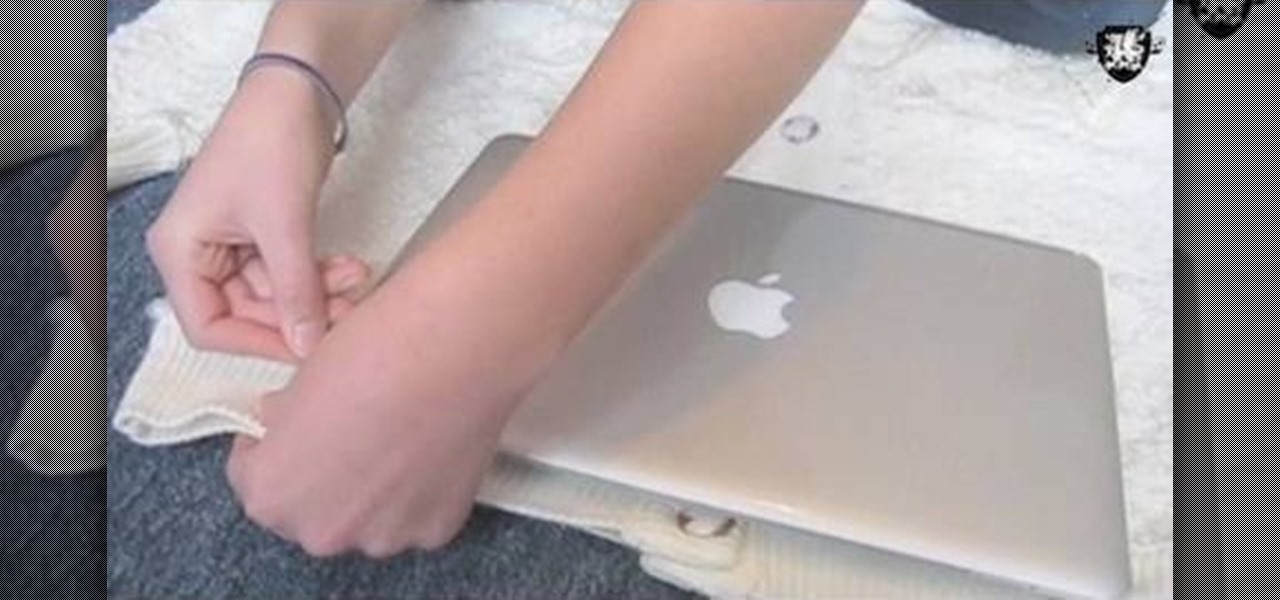
In this tutorial, we learn how to make a sweater for your laptop. First, grab an old large sweater and cut it out to the same size as your laptop. After this, set the rest of our sweater to the side and put the right sides of the sweater together. Then, pin and sew the three cut edges, but do not sew them closed. Sew with a zigzag stitch on the edge of the fabric. After you're finished sewing, use this on your laptop and use the rest of the fabric you have left over to make additional sweater...

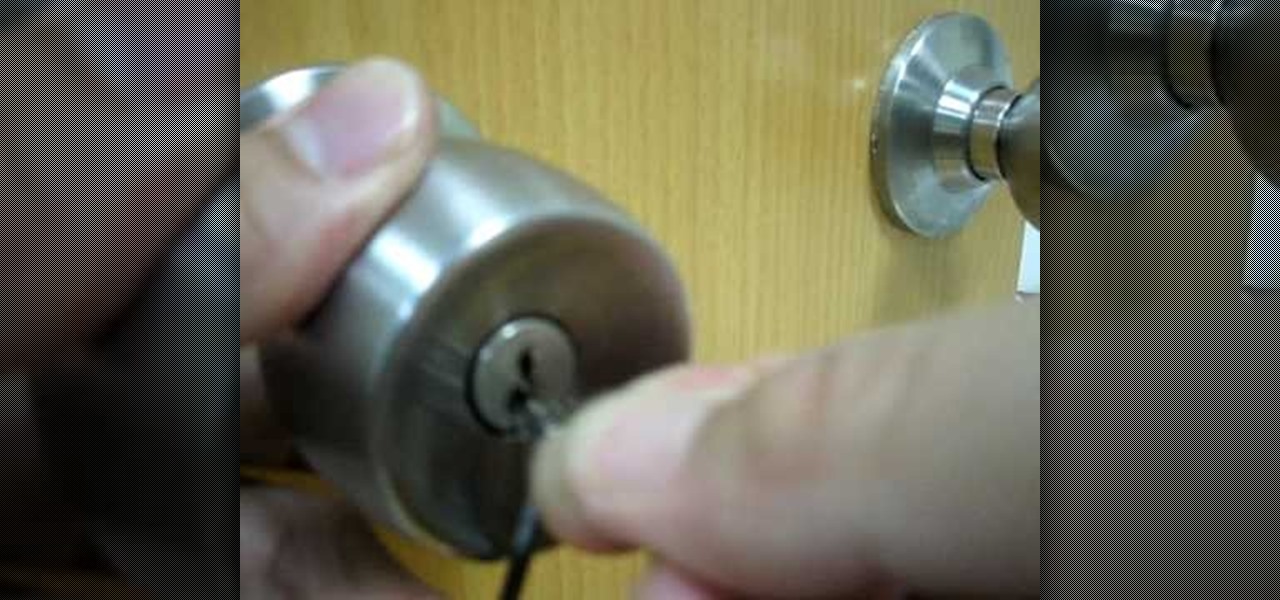
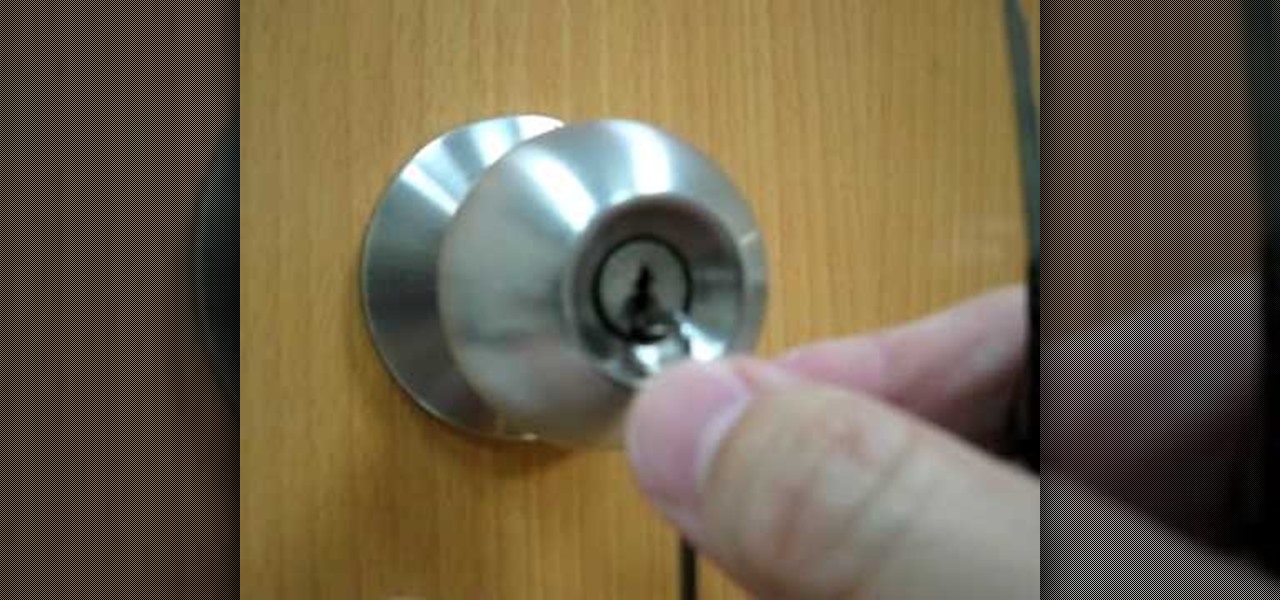
In this tutorial, we learn how to pick a locked door with a paperclip. First, open up your paperclip and then twist the end of it so it's a spiral shape. Then, scrub over the pins and create a spiral shape with these as well. Try your best to make the shape of the paperclip to look like the unlocking saw. Now, take a tension wrench and force it into the bottom of the lock. Then, stick the paperclip into the top of this and turn upwards several times going quickly. When you hear the lock come ...

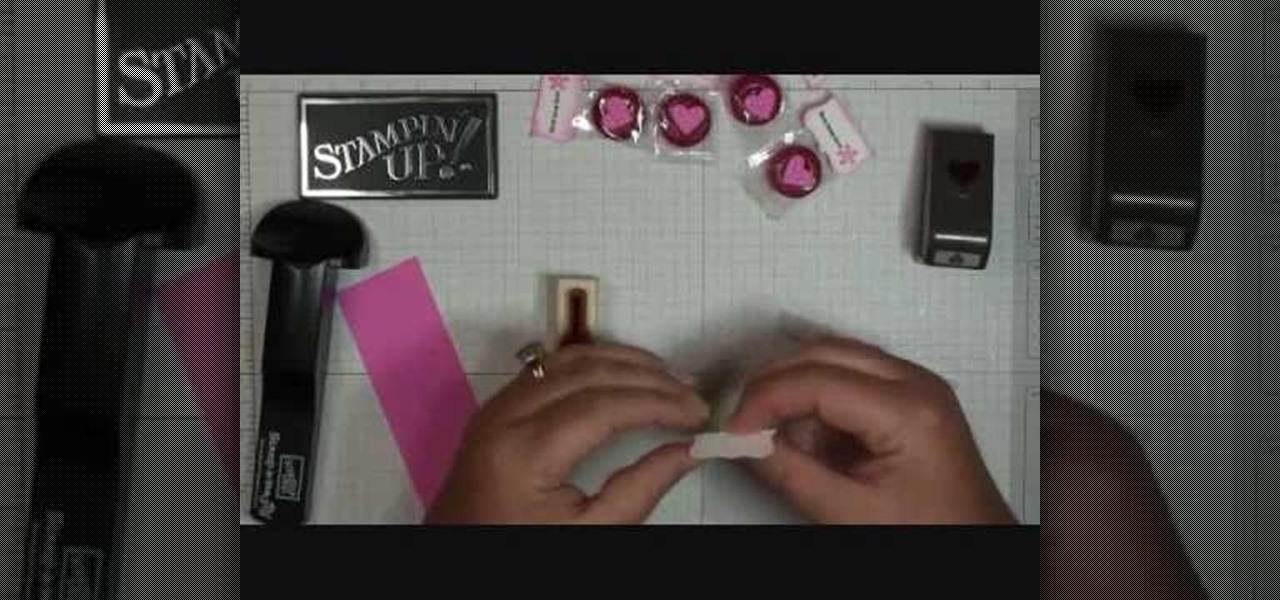
In this video, we learn how to make Life Savers treats. First, use the curly label punch and punch it out of a white paper. Next, fold this in half and then use your stamp-a-ma-Jig on card stock with a love and flower stamp. Use a black and pink marker to fill in the colors of the stamp. Next, stamp this on the piece that was folded in half, then punch out a heart and use sticky strip to adhere the individual life saver to the middle of the sentiment. Once finished, apply the heart and you ar...

In this tutorial, we learn how to pick a door lock with a homemade tool. This tool is made with a hacksaw blade. First, take a locked door knob and try to open it. If you can't stick a pin in the bottom of the knob, then push the saw into the middle of the lock as you are turning it. Continue to do this in a fast motion, making sure not to slip and cut your hands. Within a few minutes, the door knob will come unlocked and you will be able to open the door and go into the other room!

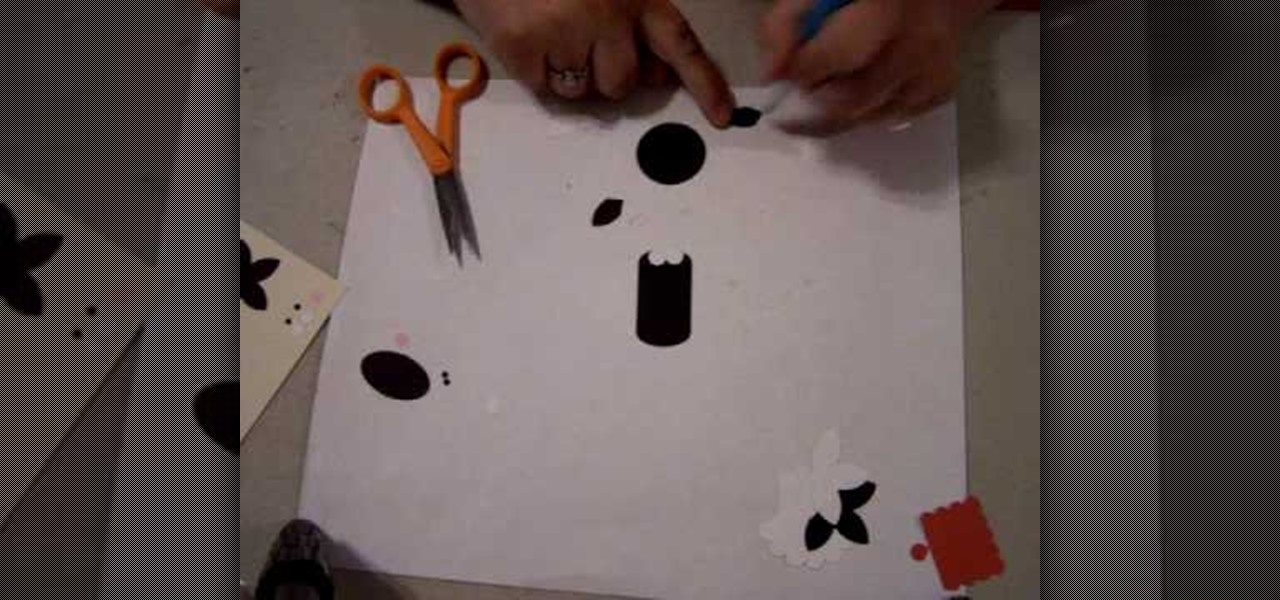
In this tutorial, we learn how to make a cat punch using Stampin' Up! products. First, you will need to use the: circle scalp punch, circle punch, oval punch (black and white), and five petal punch (black and white). You will also need two small circles each of black and pink for the eye and cheek area. Once you have all of these punched out, you will be able to assemble the head. Use the circle as the head and apply the white and black circles in the middle for the eyes. Use the flower punch...

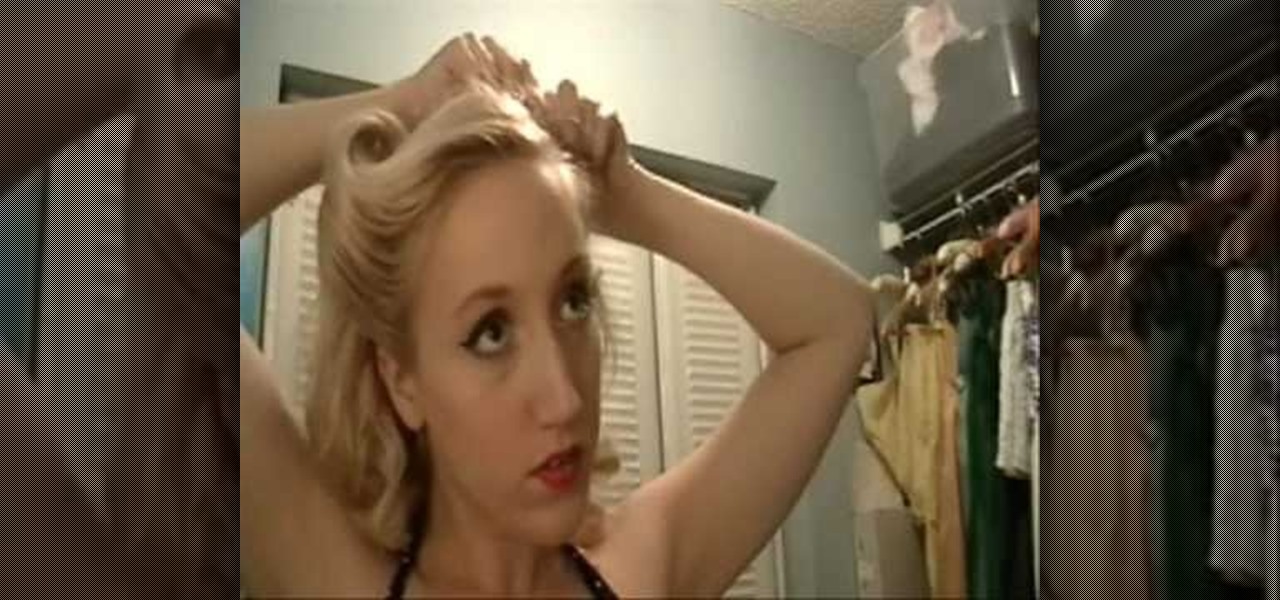
A retro updo that's SIMPLE?! Sounds like an oxymoron, we know, but there are shortcuts you can take when styling a vintage updo that'll shorten prep time. If you love looking like a pin up girl straight out of a calender but don't have an hour to invest in hair styling every day, then this is the perfect tutorial for you.

We love bohemian hairstyles: The loose, beachy waves, pretty curls, and sprinkling of braids look princessy and oh so feminine. But when you have to get up at 5 AM in the morning to get ready for school it's not as easy to muster up the patience to plait, pin up, and curl your hair.

In this video, we learn how to set up the mast on the Open 570 single-handedly. First, look to see where the mast is going to fit on the boat. Pick the mast up in the middle so it balances out on each side, it's very long. Turn the mast around and place the edge facing the foyer. Put the base of the mast into the mast step, then let it rest on a step ladder. From here, get into the boat and add the safety pin into the base of the mast to keep it locked. Now take the mast and push it up into t...

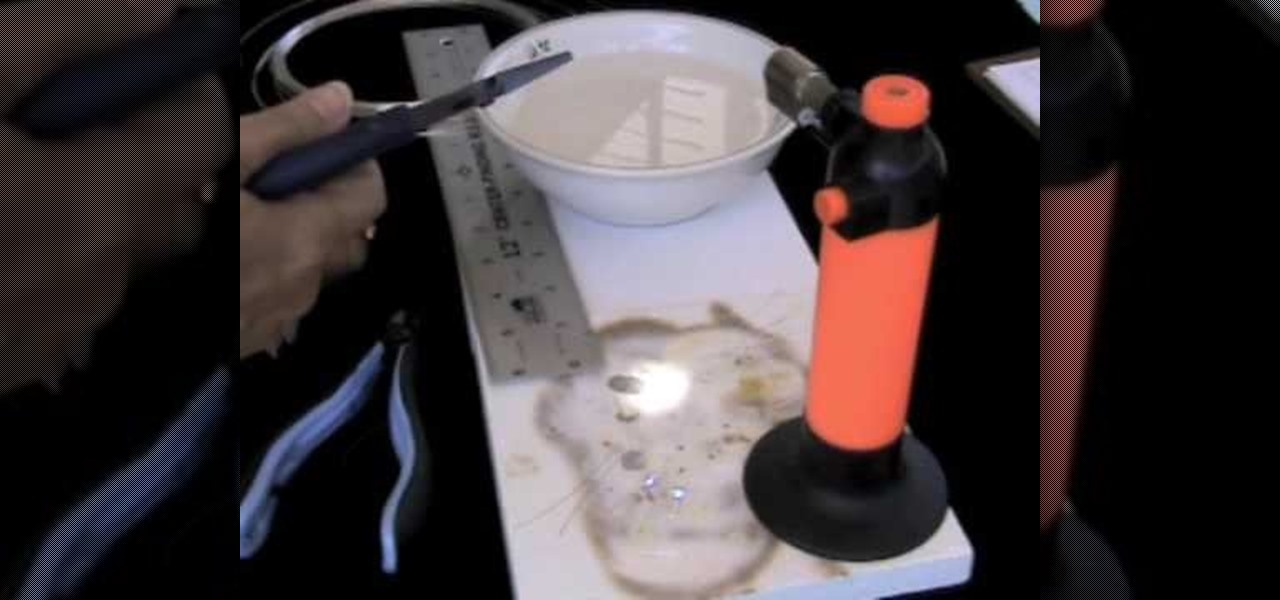
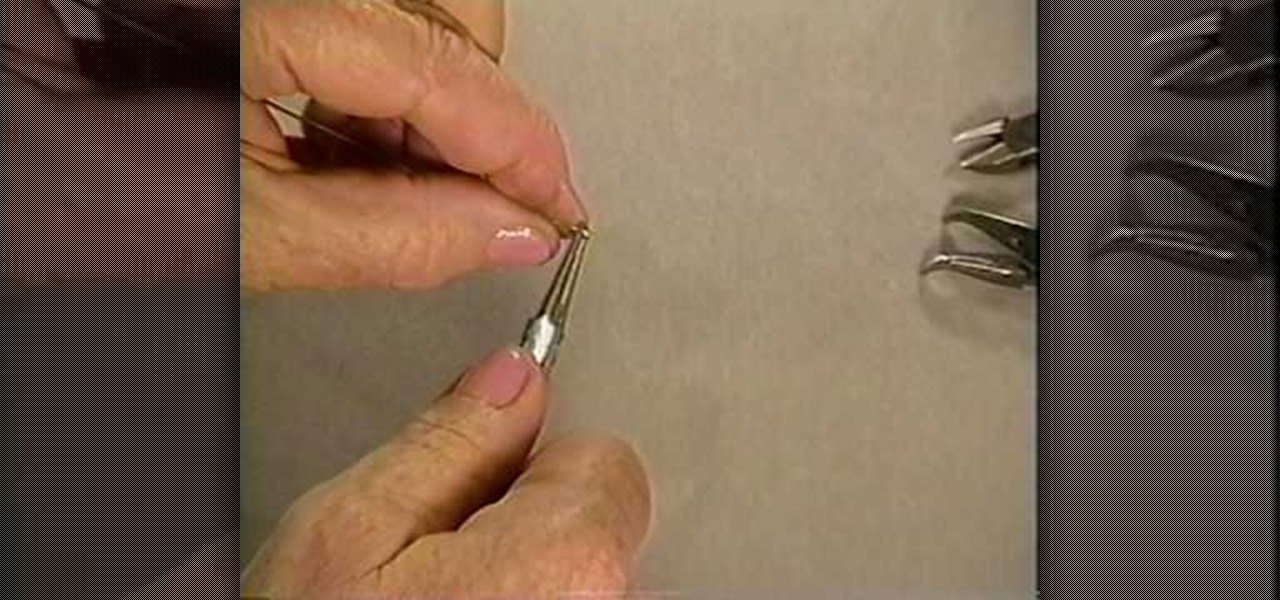
In this video, we learn how to make your own sterling silver headpins. You will first need a torch (one from your kitchen will work fine), a heat protected surface, bowl of cold water, and fine silver. Next, cut out two inch pieces (or longer if that suits you best). Put on safety glasses and turn on your torch. Now, pick up one of the piece you cut and put it into the tip of the flame. Quickly, the silver will ball up at the end of the pin. When it has balled up, place it on the cooled surfa...

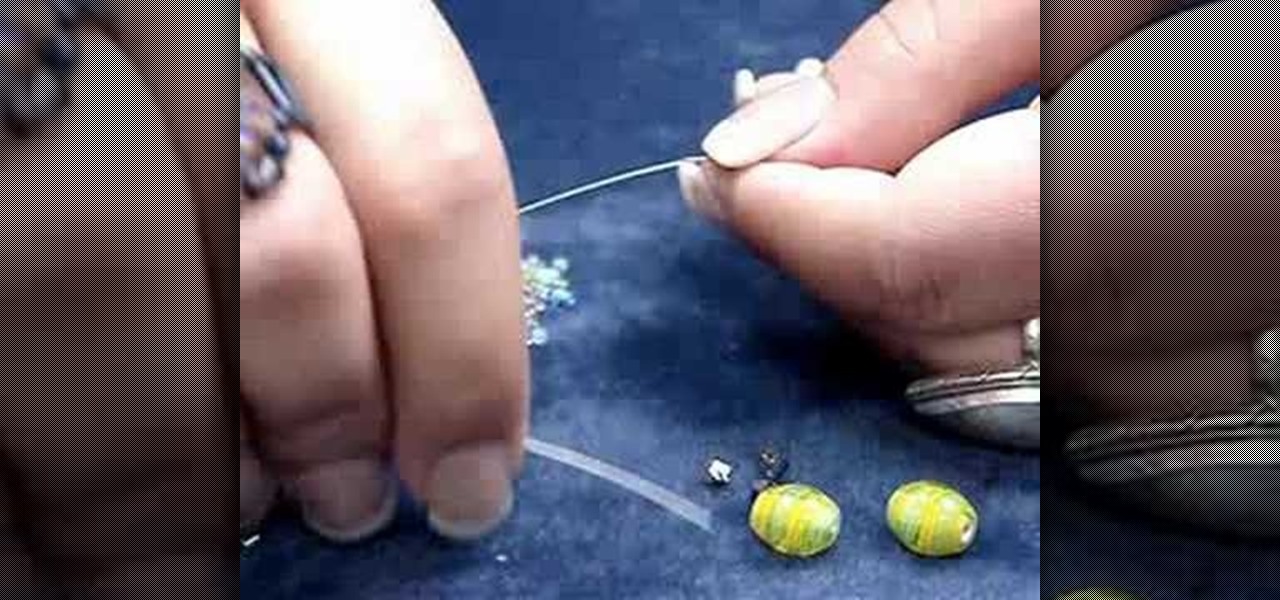
In this tutorial, we learn how to make a beaded bookmark or "book thong". First, take a wire and add on a small horse shoe shaped bead. After you do this, use pliers to help bend the wire around this pin to keep it in place. Next, add on a peace sign pendant, then tie the wire around and push the wire into a cylinder bead. Continue to add on more beads to the wire until you reach the end. Use different types of bead to make it more unique and completely your own design. To finish, apply a cla...

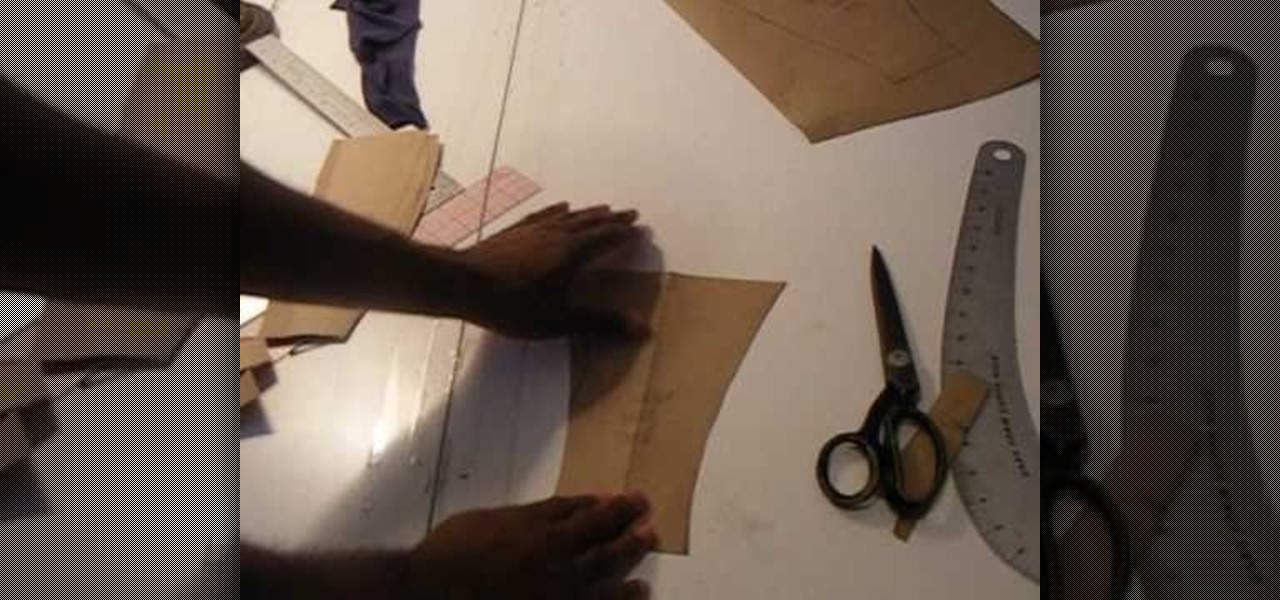
In this 3-part video, Chris White shows you how you can take an old pair of boxer briefs, make a pattern for new boxer briefs, and then create an entirely new one. You'll need some tools, and materials, including elastic, sewing machine with zigzag, serger, stretch fabric, pattern paper, scissors, thread, pins, rulers, and a pencil. Save some dough and make your own underwear that actually fits properly!

Perhaps inspired by her collaboration with Lady Gaga, Beyoncé created a very retro several months ago not in her usual full-blown sexy style but with lots of '40s female stereotypes and a vintage film look. This music video, made for her single "Why Don't You Love Me?", features in one scene a very curvy Beyonce repearing a car and wearing her curled hair up in a bandana.

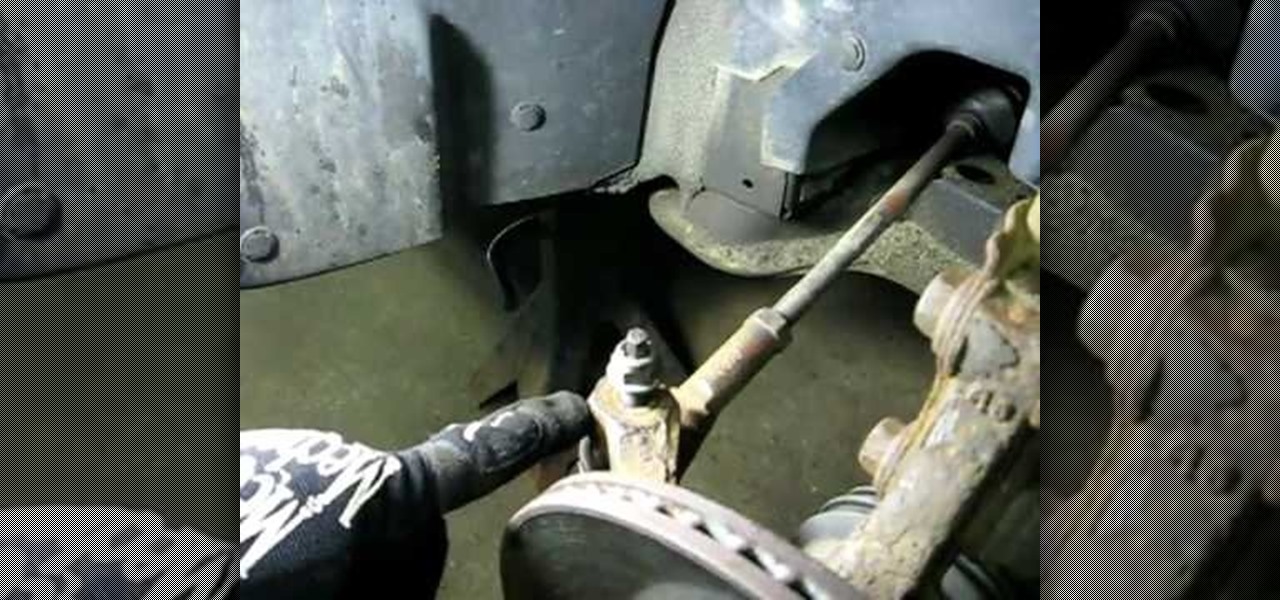
In this video, Rich Pin teaches us how to replace an outer tie rod end on a vehicle. First, get the vehicle in the air supported on jack stands, and remove the tire wheel assembly. Next, put a mark on the top of the tie rod shaft so you know where to line it up when you replace it. Next, loosen the jam nut from the rod, remove that and the nut. Remove the tie rod end after this by shocking it with a hammer. When it is removed, replace it with a new part and then attach all the bolts and nuts ...

If you're an advanced jewelry maker who's looking for a beautiful challenge, then you've come to the right place. This Egyptian clasp, which features a rounded loop head pin, a bunch of spiral curls, and a longer rounded loop headpin, is among the more difficult clasps you can make, but as you can see, the results are quite spectacular.

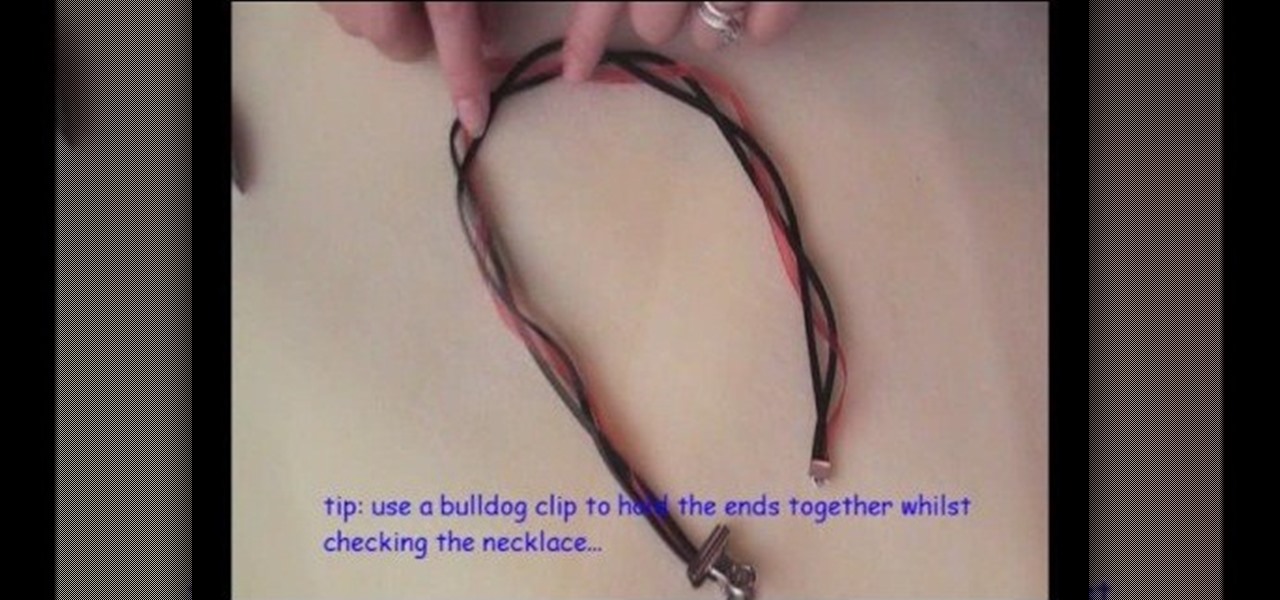
Yeah, we know the title of this video sounds confusing (dichroic what?), but a tri-strand necklace with a dichroic glass pendant is simply a fancy term for a necklace composed of three strands with a glass pendant hanging from the bottom.

Messy hair is not sexy. Especially not when you've just rolled out of bed with teeming array of hair mats and a piece of gum stuck to a few strands.

Simplicity is best, especially when it comes to styling your hair at 5 AM in the morning before you dash to school with a cup of espresso in your hand. If you care about making your hair look presentable but don't care for spending half the morning teasing and primping it, then check out this video.

In this video, we learn how to get a feathered look with your hair. First, take the top of your hair and hair spray it on the back. After this, tease the hair and then place a large barrel curling iron in it. Then, take a clip and roll it into the clip. Continue to do this all the way down until you reach the bottom middle of your hair. After this, hairspray your hair, then do this on the sides of your hair and on your bangs. When finished, take the pins out of your hair and hair spray, then ...

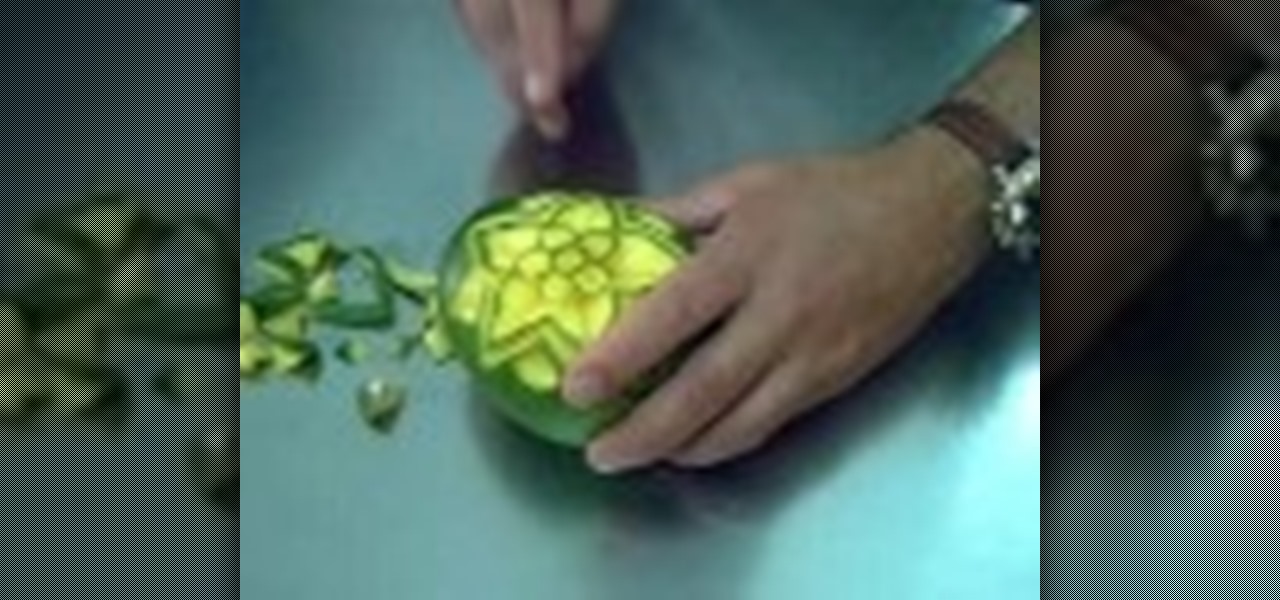
In this video, we learn how to carve a mango creatively. First, cut small circle in the middle of the side on the mango. Next, cut out circles around the middle to make a cute flower shape! Make sure you take the middle peel out so you can see the yellow of the mango show through. Carve in leaves on the side where the petals are. Continue to carve a smaller line to make the image look shadowed. Use your own talents to make this all your own and be as creative as you'd like to be. When finishe...

In this video, we learn how to make raw Brazil nuts and hemp cookie bars. First, mix together honey, coconut oil, hemp seed, and crushed Brazil nuts. Add in some fresh lemon zest, then mix everything together until it's well combined. When you're finished mixing, roll the dough out with a rolling pin until it's thick enough for a cookie. Place in the freezer after you have cut these into your preferred cookie shapes. Leave them in the freezer overnight, then take them out and you will have yo...

Fishtail braids are really not much different from your typical braids, only that they trail off from being thick at the top to very thin and delicate on the bottom (yes, like a fish tail). But this one feature is what makes them infinitely more elegant and romantic than the typical braids we wore in 5th grade.

Victory rolls may not sound like a familiar term these days because almost no one does them anymore. But you'd sure recognize them if we showed you some photos from the 1940s and 1950's: Actresses like Rita Hayworth and Katherine Hepburn loved wearing them, and as they did so did the rest of the nation who looked to them for beauty inspiration.

Do you have a shopaholic girlfriend whose 30th birthday is slowly coming up? It's true that a lot of women dread their 30th, but your gal pal will be simply delighted at her bash if you bake and decorate this purse cake for her.

In this tutorial, we learn how to revamp a junk shop dress. First, you will need to measure out how short you want the dress to be while still wearing it. After this, take the dress off and pin it where you want to sew it. Cut off excess fabric, then sew the hem of the dress where you want it to be. Next, place the dress back on and pair it with some cute leggings. You can buy a cheap dress and make it look nice without having to pay a lot. Pair this will some cute accessories and you will ha...

In this tutorial, we learn how to rock an emo hairstyle. First, blow dry your hair with a round brush, then place the top section down and to the side of your hair. Next, take small sections and spray your hair with heat protector. Now, straighten your hair in each of the different sections until it's pin straight. next, take heavy gloss and work it through the ends of the hair to add texture. Make sure the bangs are covering the front of the face, and the hair looks messy. This will give you...

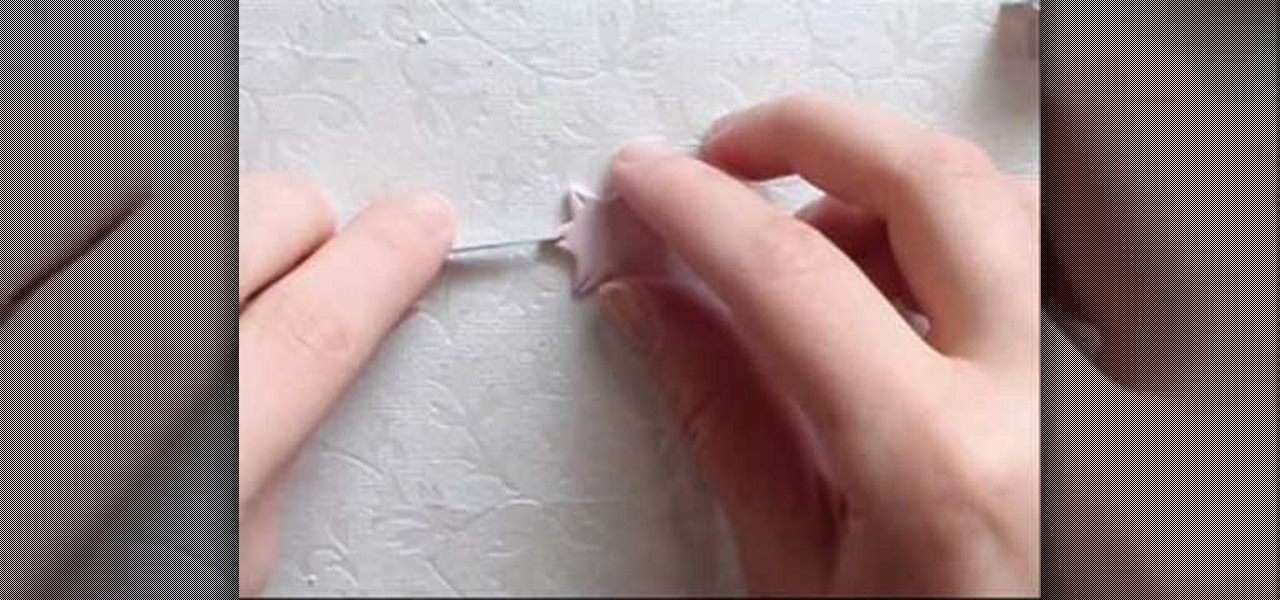
In this video, we learn how to make a bow out of a Starburst wrapper. Now, place clear tape of the wrapper and fold down the edges. Now, fold the wrapper in half and then in half once more. Make it so you have an accordion design with three different peaks on the wrapper. Now, cut a small strip of tape out of the piece of tape and wrap it around the middle of the bow. After you do this, flare out the edges to make it look more like it has a bow shape. Now, take a bobby pin to the bottom of th...

Cherry blossoms aren't just special because they're Bath and Body Works' best-selling scent of all time. No, in addition to their delicate floral smell, cherry blossoms are special because they are the first flower buds to open in spring. Spring officially stars when you see the cherry blossom trees bursting into color, and what a wonderful way to celebrate the new season!

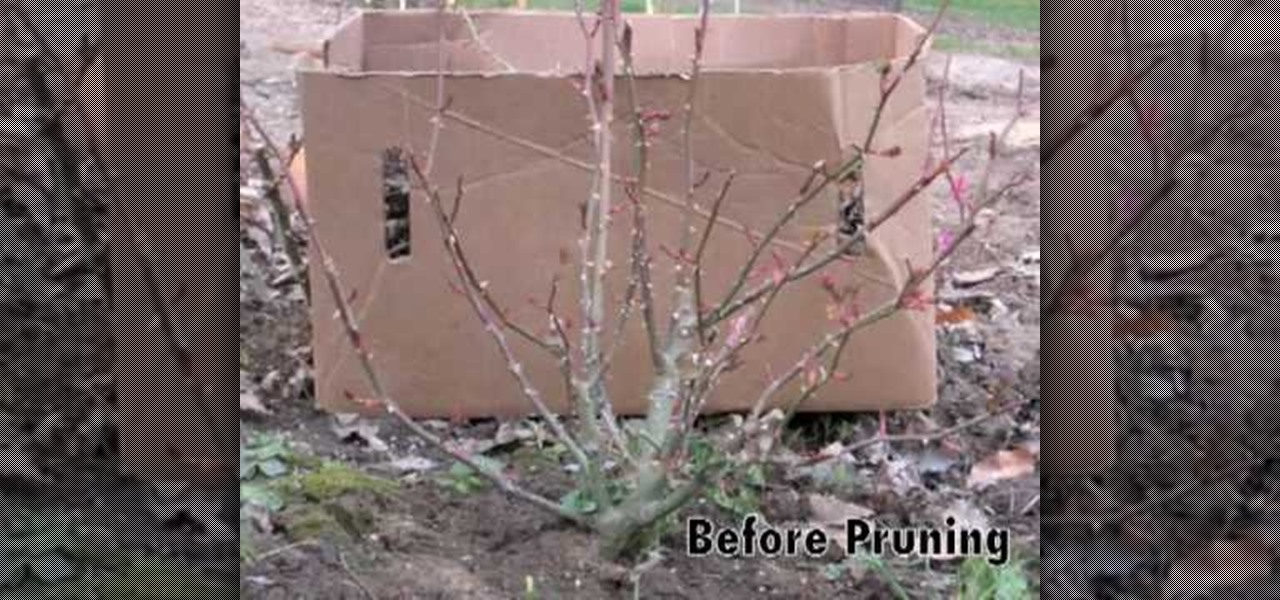
In this video, we learn how to prune roses in the spring. When you prune the roses, you want to cut the branches with shears at the bottom of the plant. Cut any of the dead parts that you see before the flowers start to grow back. If you see any short stubs that haven't and won't grow out, trim those off as well. Leave any healthy branches to keep growing, but trim the tops of them. When you finish, you should end with just a few branches left that are ready for the new growing season. Remove...

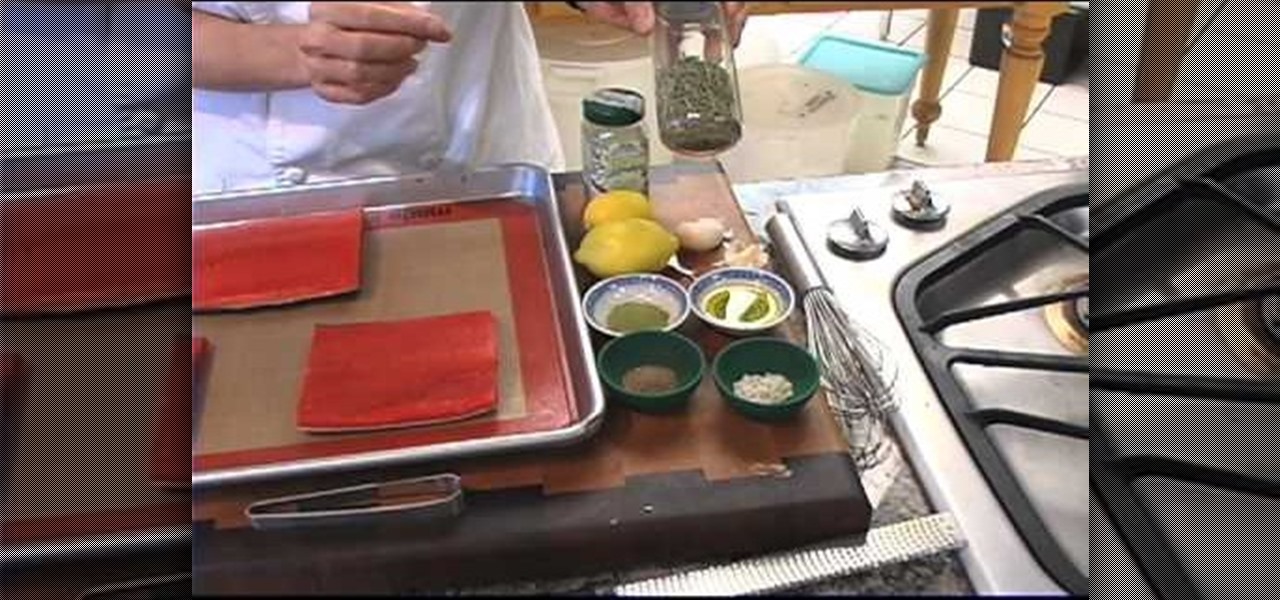
In this tutorial, we learn how to bake salmon without overcooking it. First, lay your salmon down on a baking sheet and then sprinkle dry rosemary, olive oil, lemon juice, pepper, garlic, and sea salt. First, remove the pin bones from the fish if they are inside of it. To see if your fish has it, run your finger over the top of it and then use tweezers to pull the bones out. After this, you will place the baking sheet inside of the oven and cook the salmon until it just falls apart. Avoid coo...


