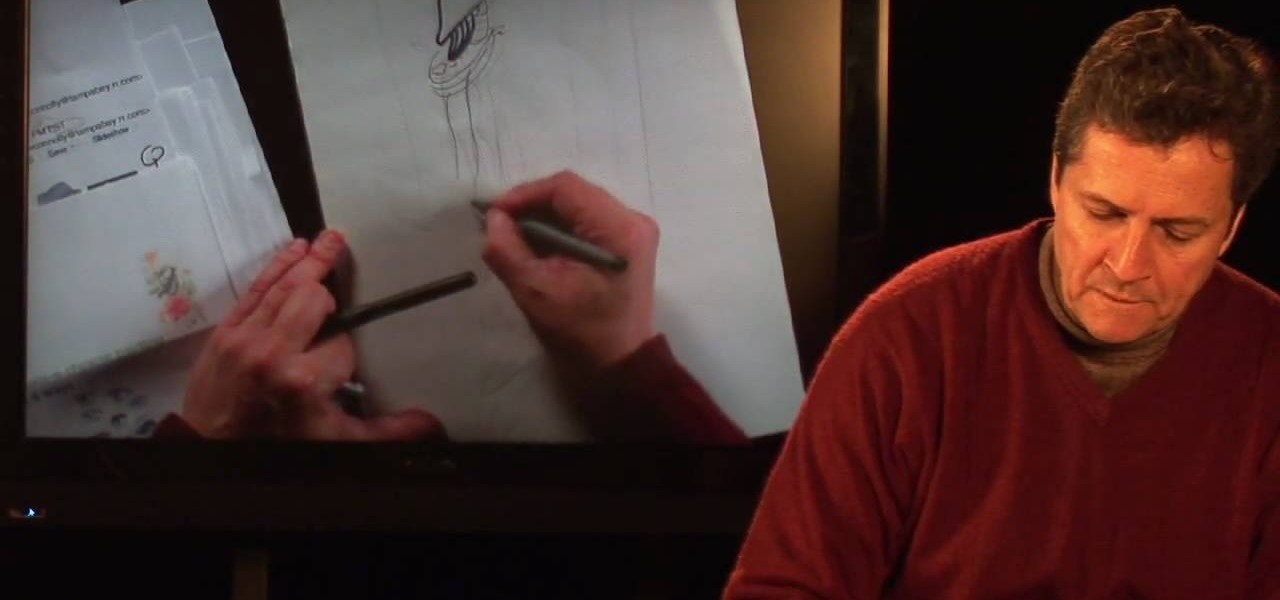
This video shows us the method to draw a fashion concept sketch. You must show the figure of the person you are drawing. You can draw the figure wearing a scarf you have designed. You can draw the flowers on it. A lot of sketches are very long. There are a lot of vertical lines and plates in the sketch. There are long legs at the bottom of the sketch. The parts of the body are not in human proportion. You can draw bracelets and a purse in the sketch. The sketch would be finished with color, v...
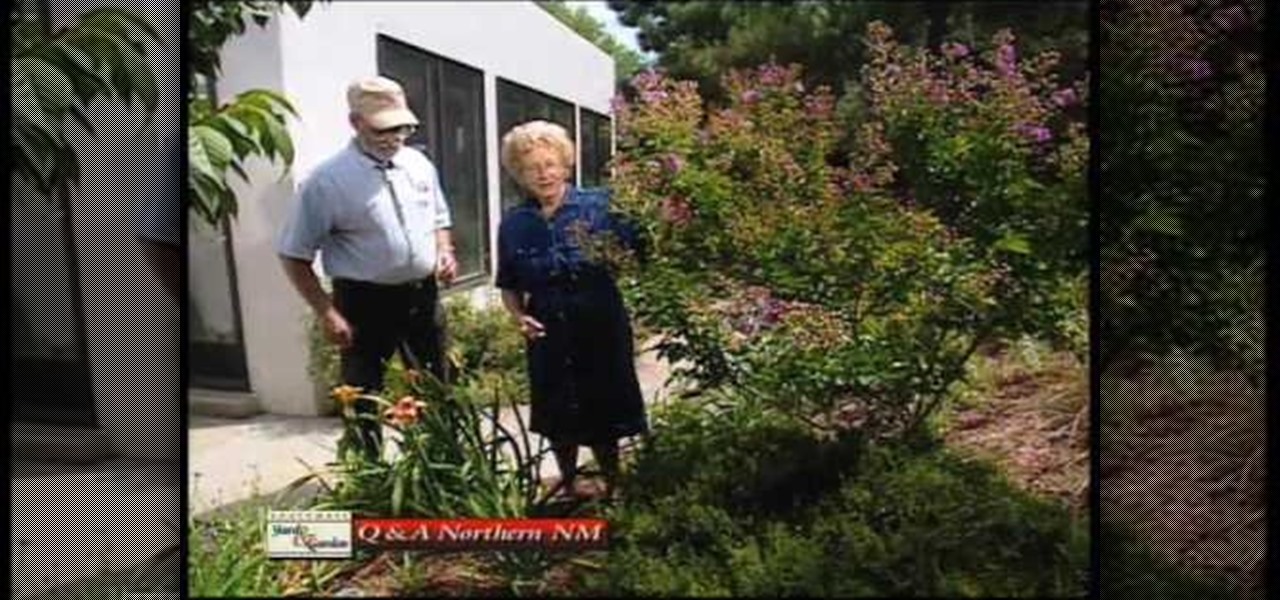
Lillis only flower for one day. They look ugly when dead you can use your finger nail to pop them off. Trim your trees often. Pull your dead leaves. Heat is not good for your plants. When your cutting you crab trees back go down a few branches of leaves before you cut. Yellow breasted sap suckers are not good for your trees. They also cut in a straight line. Crab apple trees have barks that naturally peel off, there is nothing wrong with that tree. Just watch out for the bugs because they can...
Adorn any headband, broach, pair of earrings, or pendant with these adorable handmade paper flowers! Learn how to make these precious accessories step by step using this two-part video tutorial as a guide. Step out in style & unique to your friends by dressing up regular store-bought accessories with your own hand crafted creations!
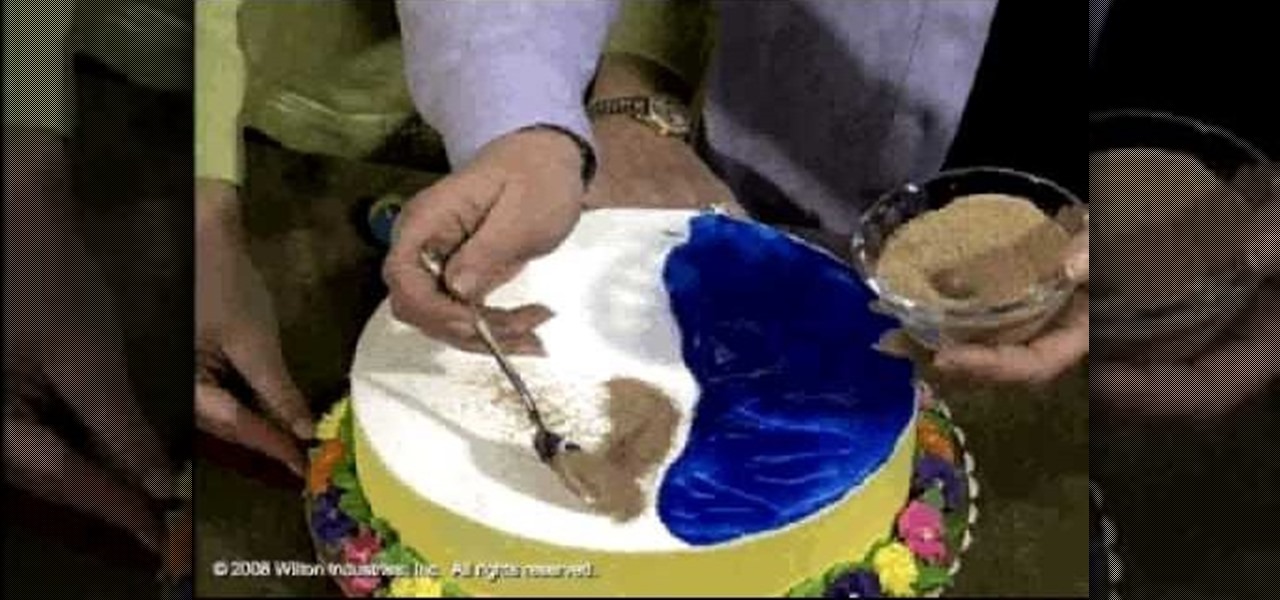
Did you ever want to make the perfect cake to go along with a party by the beach? a friend's birthday party? Are you not very savvy with decorating cakes? Well here's your chance to impress everyone, Wilton Cake Decorating is here to help. See these two lovely ladies show you step by step how to make a simple, yet amazing beach themed cake. Learn how to make flowers out of tubed icing, magnificent umbrellas out of Kraft candy melts, an ocean out of butter cream icing, the shore out of granula...
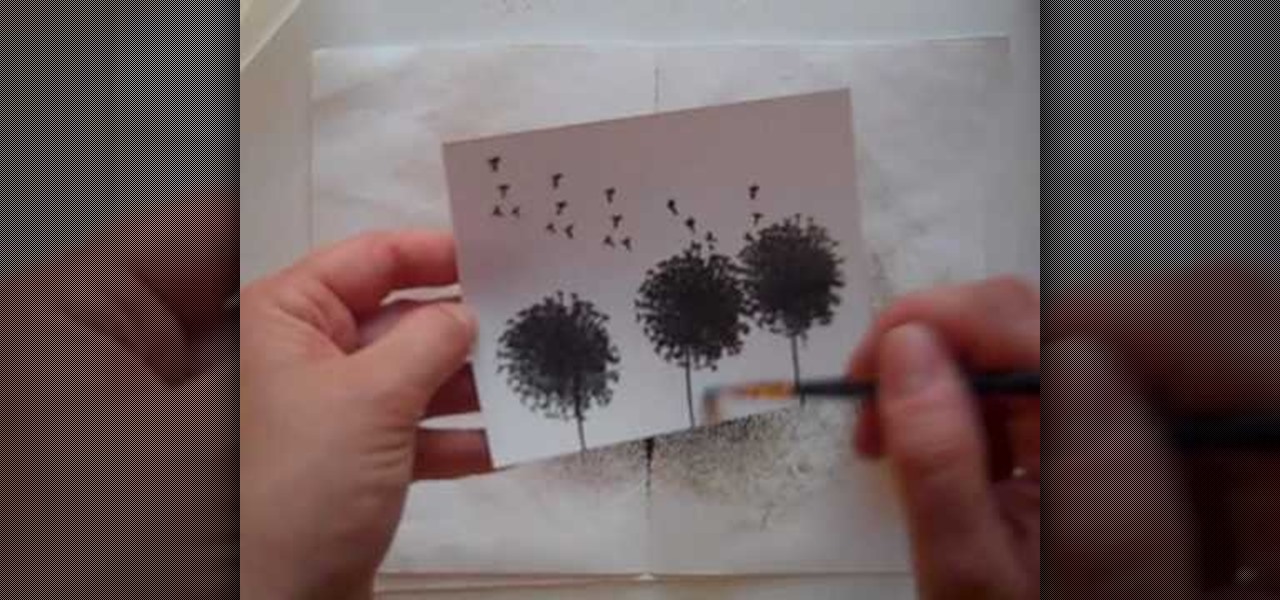
Anyone interested in scrapbooking can learn how to do the Brayer technique with ink refills for cards with this video tutorial. You will need a piece of glossy cardstock as well as stamps. Make sure to keep your fingers off the paper to avoid smudging. You will need the dandelion stamp to stamp the cardstock. Add a stem stamp to your flowers followed by the dandelion fluff along the top of your paper. Then, emboss your stamps with black embossing powder making sure to use a separate piece of ...
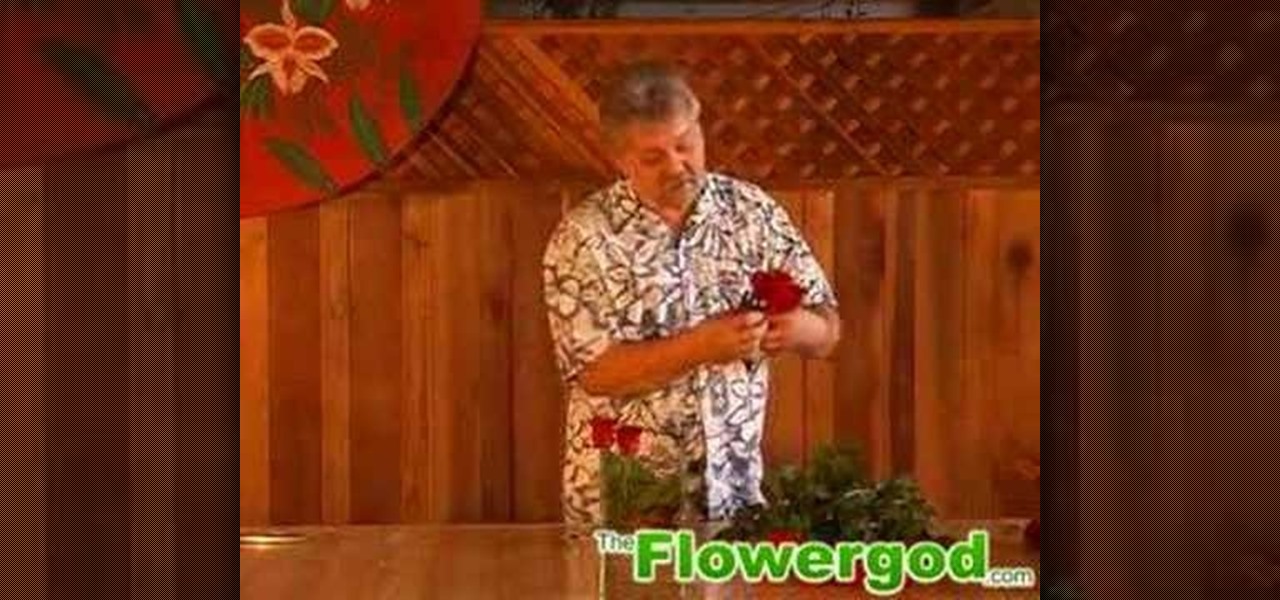
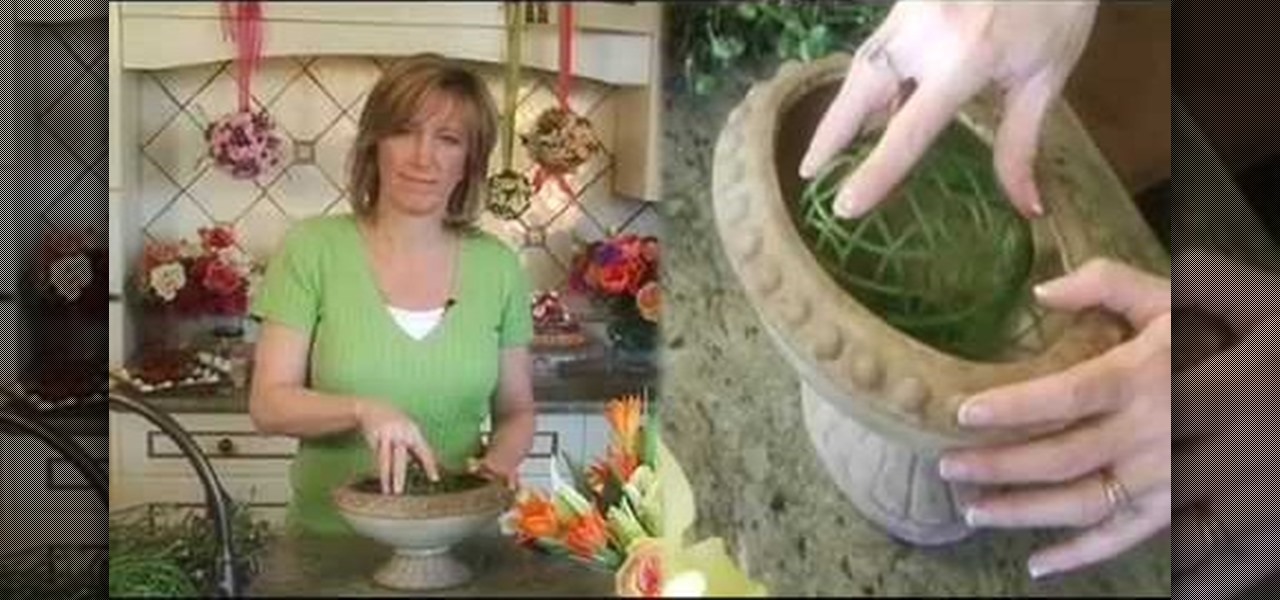
Are you looking for a simple floral design that will delight friends and family as a winter holiday centerpiece? Or perhaps you would like to do something a little more special with those dozen roses you bought as a romantic gesture? If so, look no further, because Jim Daniel, The Flower God, has a quick and easy floral arrangement to help make any occasion special! Useful tips such as including pine cones at the bottom of your vase to add more dimensions, as well as act as an anchor for the ...

A wedding budget can quickly get out of hand as your planning progresses. Things like centerpieces are a major cause of skyrocketing wedding costs. If you have a little time and want to easily trim down the cost of your wedding, think about making your own floral centerpieces. You'll learn how to with this simple tutorial from EZ Bouquet. You'll soon see how easy it is to make a beautiful floral arrangement in an open container and how to secure the arrangement in the base of the container. A...

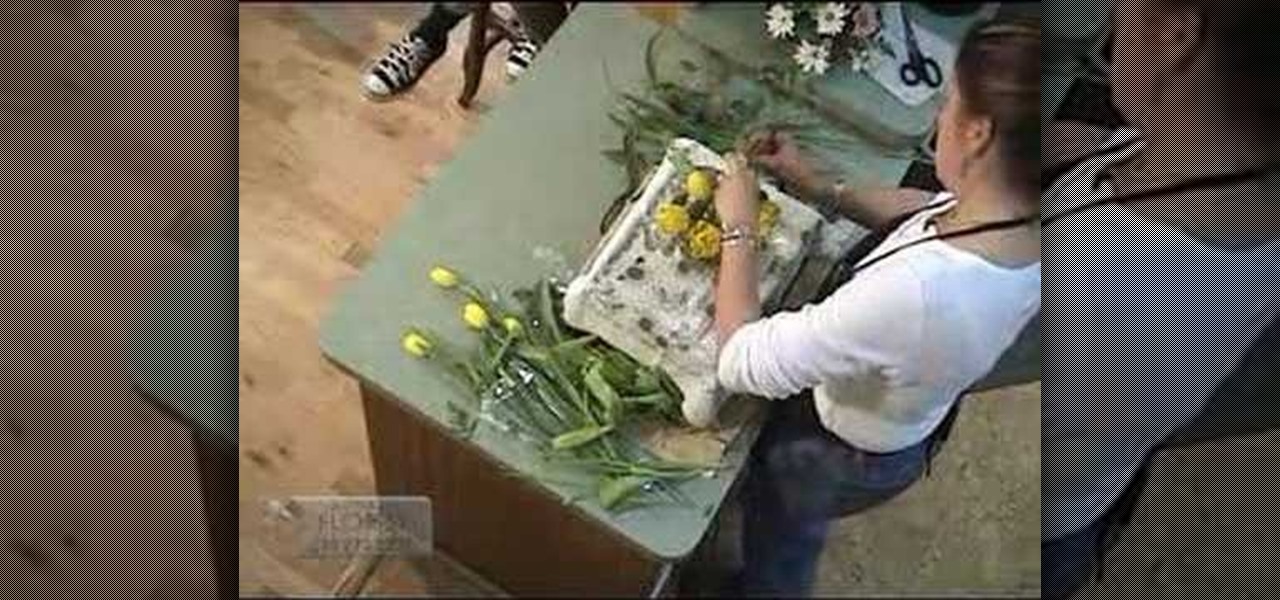
In this video it is demonstrated how to make a simple spring bouquet with tulips and daisies. First take a transparent glass pot and fill it with water. Take some green soft thin stem, roll it and put it into the pot to make a base for the bouquet. Take some yellow tulips and put them into the pot in a clockwise manner and put some seeders in between the tulips. Add some lily grass to it so that the bouquet looks bigger. Now add a dragon fly floating at the top. As time goes by, the tulips wi...

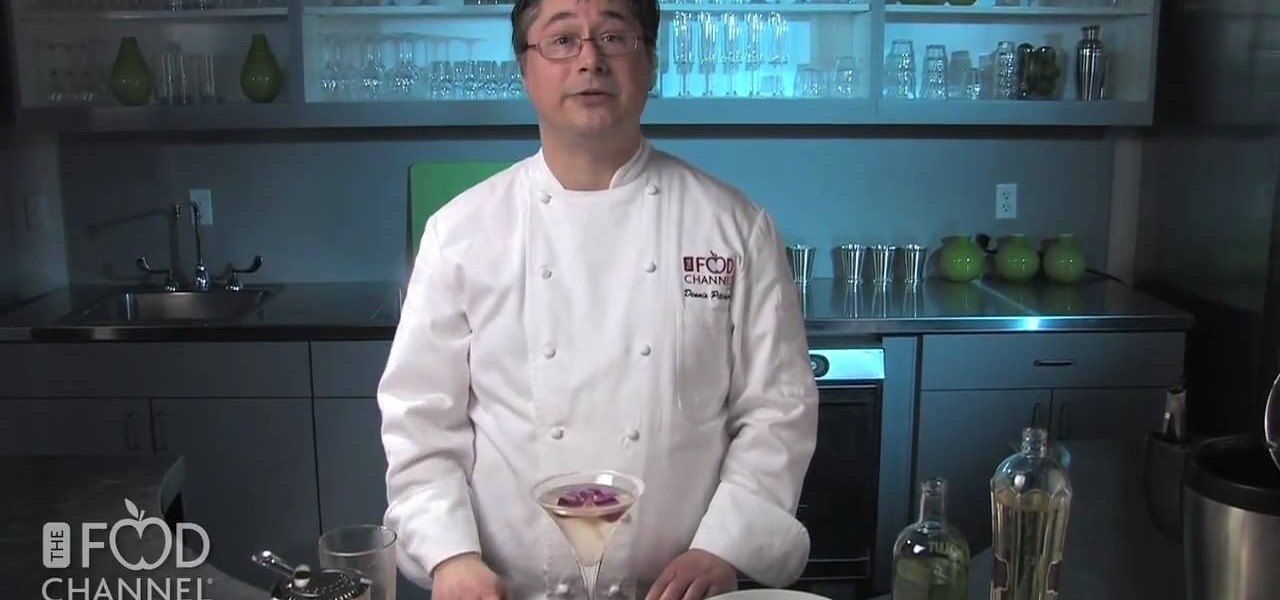
In this video tutorial, viewers learn how to make a French Pair Martini. The video provides all the ingredients that are required to make the Martini. The ingredients include: St-Germain Elderflower liqueur, Spring Pear vodka, ginger and sugar. Begin by sugaring the rim of the glass cup with some lemon. Mix together the St-Germaine Elderflower liqueur and spring pear vodka. Pour it into the sugared cup and add some ginger. Finally add a edible flower in the drink. This video will benefit thos...

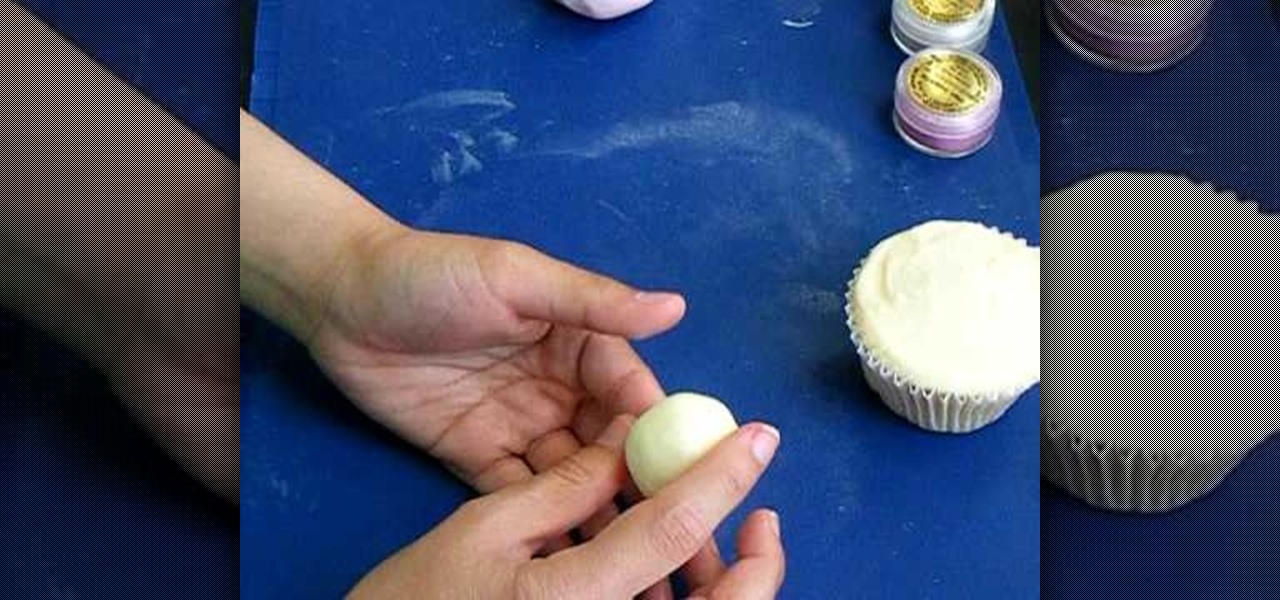
This tutorial shows how to make tiny molded roses and leaves that you could put on cupcakes. To start you only need a few ingredients: icing sugar, water, paste coloring, fondant icing sugar, and a piping bag (optional). Mix all ingredients together, then put them in a bag so they stay soft. Make the color of the rose or petals any color you want. Knead the dough so that you will have the color you would like. Next, break off a piece of the kneaded dough and form it into a cone shape. Break o...

94-year-old Clara shares economical and delicious meals from Depression-era American homes. This episode: Dandelion Salad! Dig up dandelions and discard flowers, roots and dead leaves. Soak in clean water and rinse 3 times. Repeat twice more, if necessary. Dry leaves once they are clean. Arrange leaves in bowl. Pour lemon juice and olive oil over leaves. Mix salad with a spoon or your hands. Enjoy! Follow Clara's instructions and you will have a fresh, delicious and very economical salad stra...

Show your Christmas spirit with an awesome decorative cake that will make anyone with any ounce of Martha Stewart in them, drool. In this two-part video, learn how to ice and decorate the cake to make a poinsettia flower Christmas design. Flaunt your creative skills with the best Christmas cake on the block!

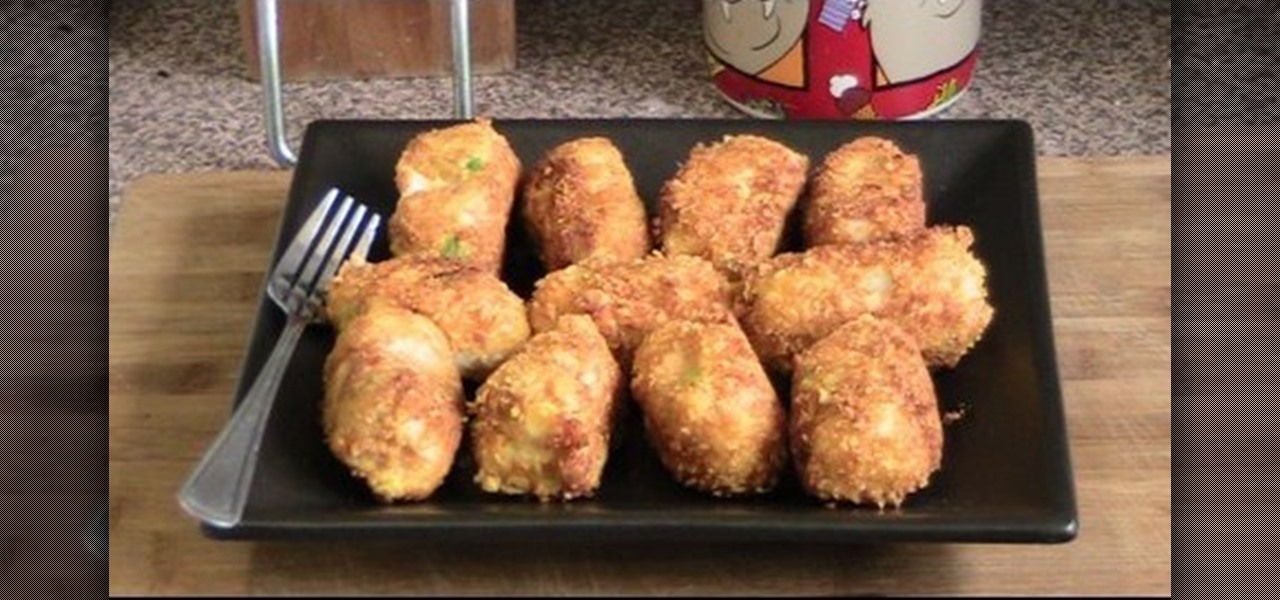
How to make crunchy vegetable nuggets! This is a quick, inexpensive, delicious recipe which is perfect for kids. This meal is even great for kids that are fussy about eating vegetables. All you need is: some potatoes, frozen vegetables, plain flower, 2 eggs and cornflakes. The nuggets can be fried or baked. The recipe is flexible and can be made with different kinds of vegetables, Tuna or even cheese and bacon. The final product looks absolutely delicious!

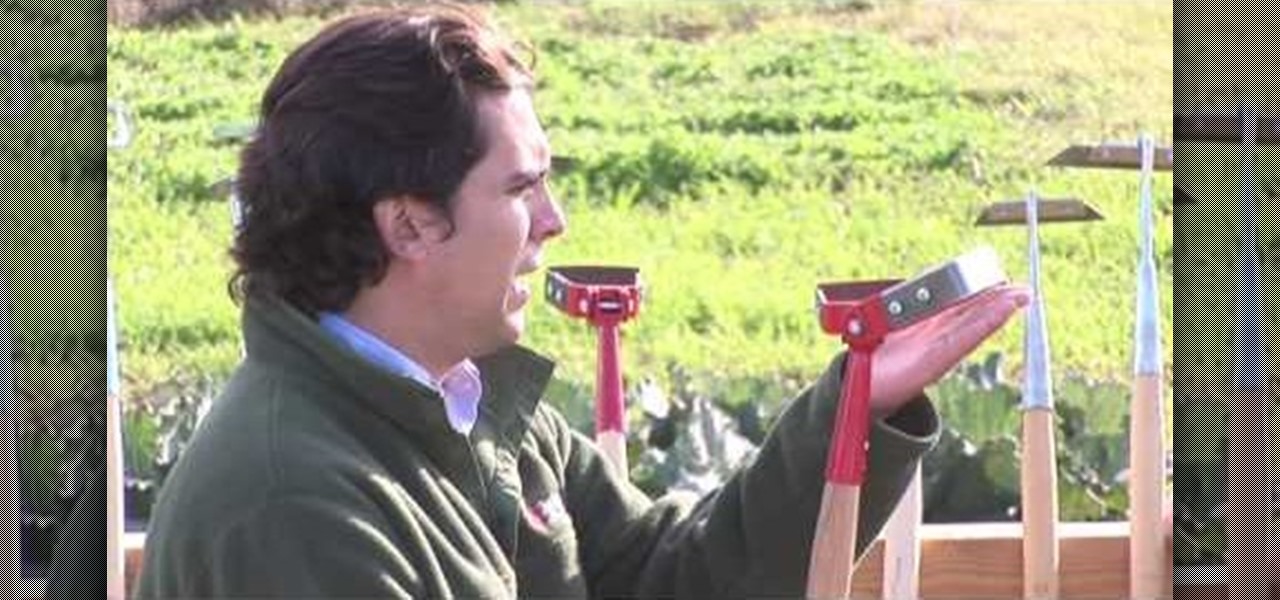
One of the most challenging, arduous parts of gardening is weeding vegetables that are close to the ground. Cabbage, for instance, leafs out near the earth and can be fiendishly tricky to weed. In this Growing Wisdom gardening tutorial, you'll learn about some of the tools that can help you weed those hard-to-reach spots without breaking your back in the process.

James shows us how to prevent stinky pits without using deodorant, but instead the Japanese Urawaza secret of baking soda and lemon.

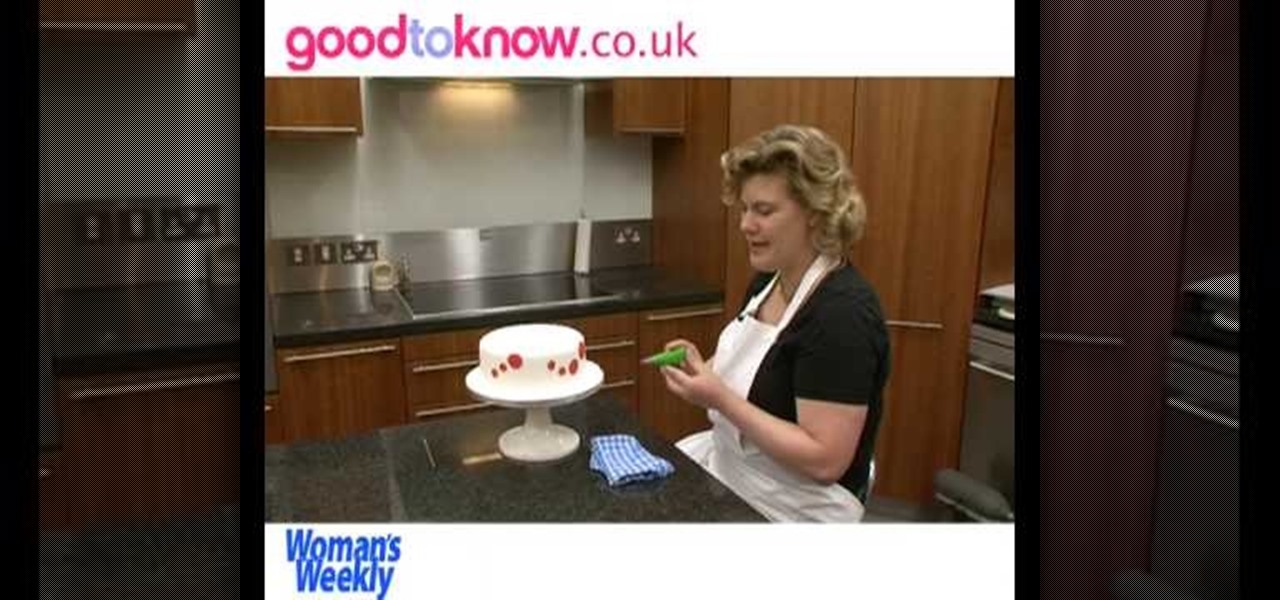
There's a big, BIG difference between professional cake decorating and what most of us do after we've baked a cake - i.e., slathering a bunch of storebought icing onto our cupcakes with a spatula and patting the clumps down.

You know how sometimes you'll wake up in the morning gunning for a fabulous hairstyle, then spend an hour curling your strands to perfection only to find that when you step outside it's raining? Rain literally rains on your hair parade because it brings lots of frizz-causing humidity and wetness.

The holidays are upon us, guys and gals, which means it's time to start thinking about how you'll set your table to look inviting and beautiful for the festive season. While you can always go out and purchase a wilting pre-made floral centerpiece at your nearest supermarket, you yourself can often make a much better looking centerpiece at home.

What do you look forward to most during the holiday season? Sugar cookies sprinkled and iced into a cute snowman shape are always enjoyable, but for us it's all about the decorating. There's nothing quite like putting on Bing Crosby and affixing ornaments onto the tree while sipping hot cocoa.

In this tutorial, we learn how to make a butterfly pop-up card. First, draw a butterfly on the middle of a paper and then draw flowers and smaller butterflies around it on the sides. After this, fold the card in half so the drawing is stick out and cut along the top and the bottom of the butterfly. From here, color in the entire character and then fold inwards and pop the middle out. After this, stick the insert into the card of your choice. Then, glue it down and you will have a cute butterf...

And you thought decorating the cake was hard. Once the last ruffle of icing is piped on and you've crowned your creation with a pretty fondant flower, it's time to bring it to where it needs to go, whether that's a birthday party or simply back home to devour.

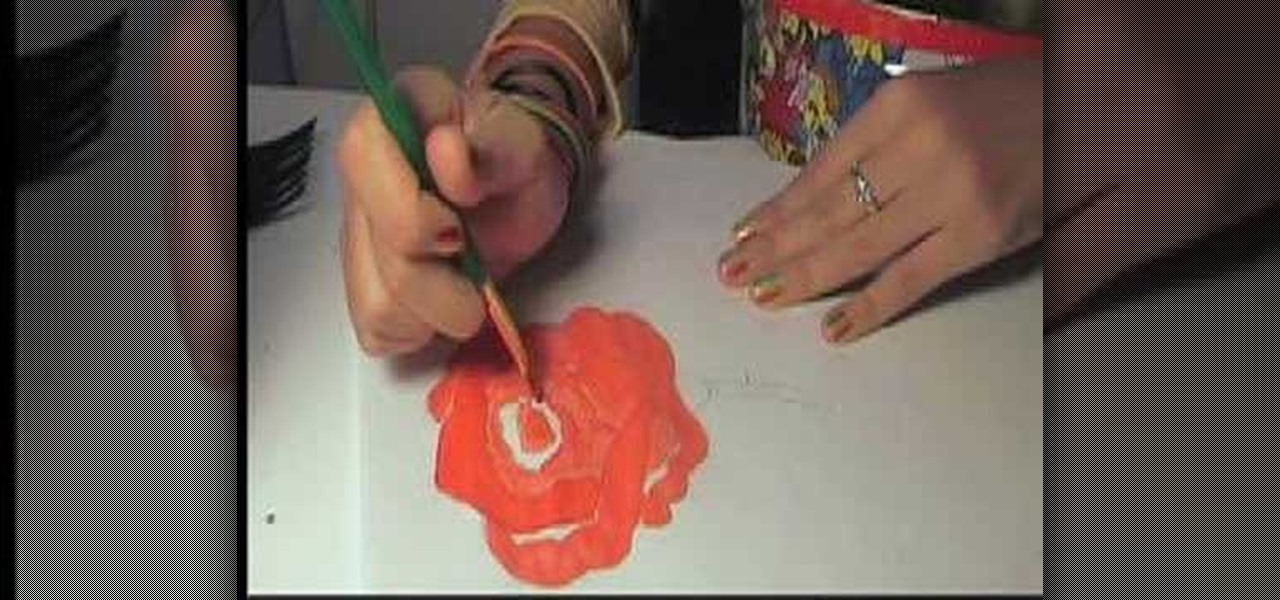
In this tutorial, we learn how to paint a red rose. First, you will add some red paint to your brush and paint along lines of a rose outline. Use an angled brush so you can get a better accuracy while you are painting. After this, continue to paint around the petals until you reach the entire area of the rose. Then, paint the inside of the rose. You will then mix the red together with darker colors and whites to add depth to the flower on the paper. Once finished, you will have a gorgeous red...

In this tutorial, we learn how to decorate a bronze beauty cake with fondant. Start off by coloring the cake with a light bronze or buttercream color. After you do this, you will need to mix up some medium brown colored icing and place it into a piping bag. When you do this, you will pipe this all around the sides of the cake. When you finish with this, you will color the fondant the same color brown and then roll it into a circled shape to make beautiful flowers. Lay these on the cake and th...

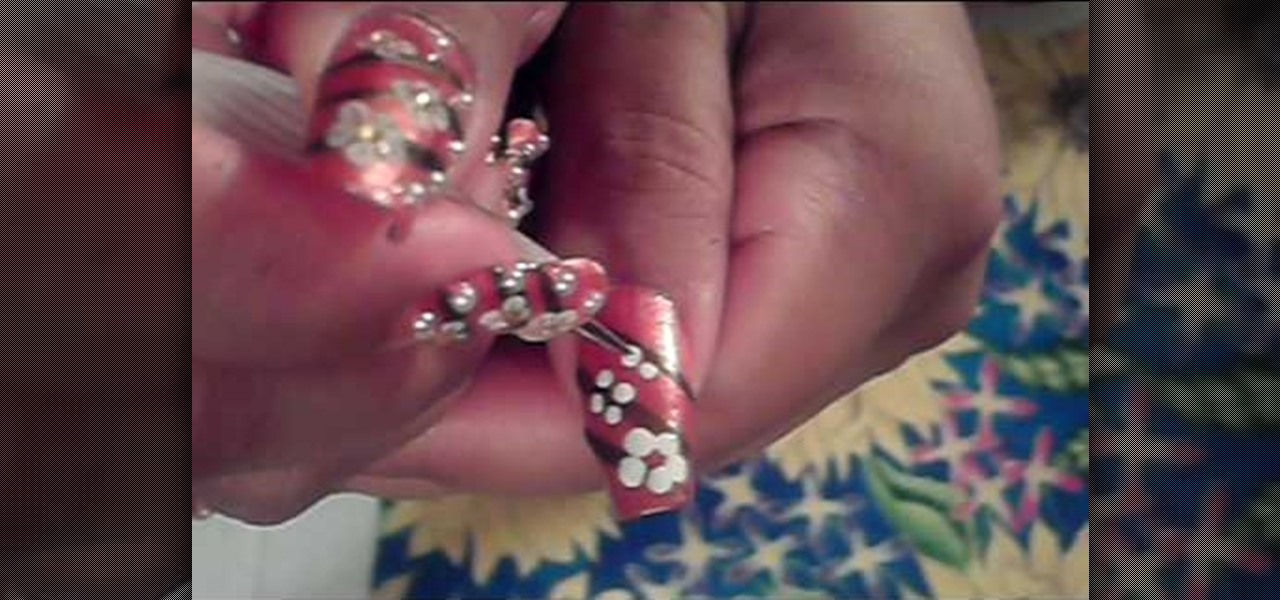
In this video, we learn how to paint nails with an orange, white, and brown theme. First, apply an orange shimmer polish from the top to the bottom of the nail. After this, let them dry and then grab a brown nail polish with a pointed brush. Then, draw on three stripes from top to bottom with the brush. After this dries, use another pointed brush to draw three flowers in a row on the nails. Use the brown to create the details for the petals. Then, you will finish this off by applying four sma...

In this tutorial, we learn how to make & decorate a vintage retro rose romance cake. Start out by rolling out fondant that has been mixed with yellow coloring. Once this is rolled out, you will lay it over the cakes and then cut off the excess fondant from the bottom. Do this on all the layers of the cake until it's fully covered and completely smooth. Then, you will use the same fondant to roll into small flowers that you will apply around the outside of the cakes. Use icing to help the rose...

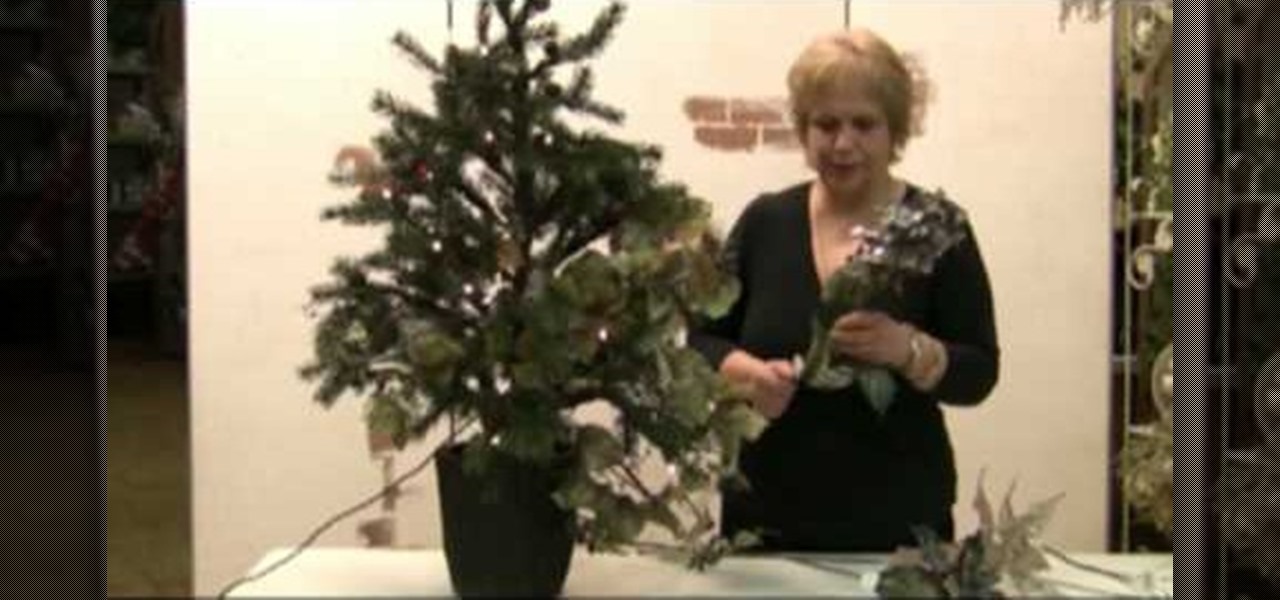
In this tutorial, we learn how to decorate your Christmas tree like a pro. Before you do anything else, put something together that is going to look good that you can place in your tree. Put in different types of flowers, bushes, and garland to make a pretty piece to place inside of your tree. Once you do this, you can shape the branches in the tree around this, then continue to place the elements from the main piece all around the rest of the tree. Add in a long string of matching ornaments,...

In this tutorial, we learn how to fold a paper rose. First, you will grab a napkin and unfold it. From here, roll the napkin around two fingers. Then, take it off and go two inches down from the top. Roll around this quickly, stopping half way. Grab the corner of the napkin and bring it up. Then, pull the rest down and continue to twist. Take your flower and make a leaf, then twist around the stem tightly. Put your fingers in the middle of the rose and use your finger to swirl it around. This...

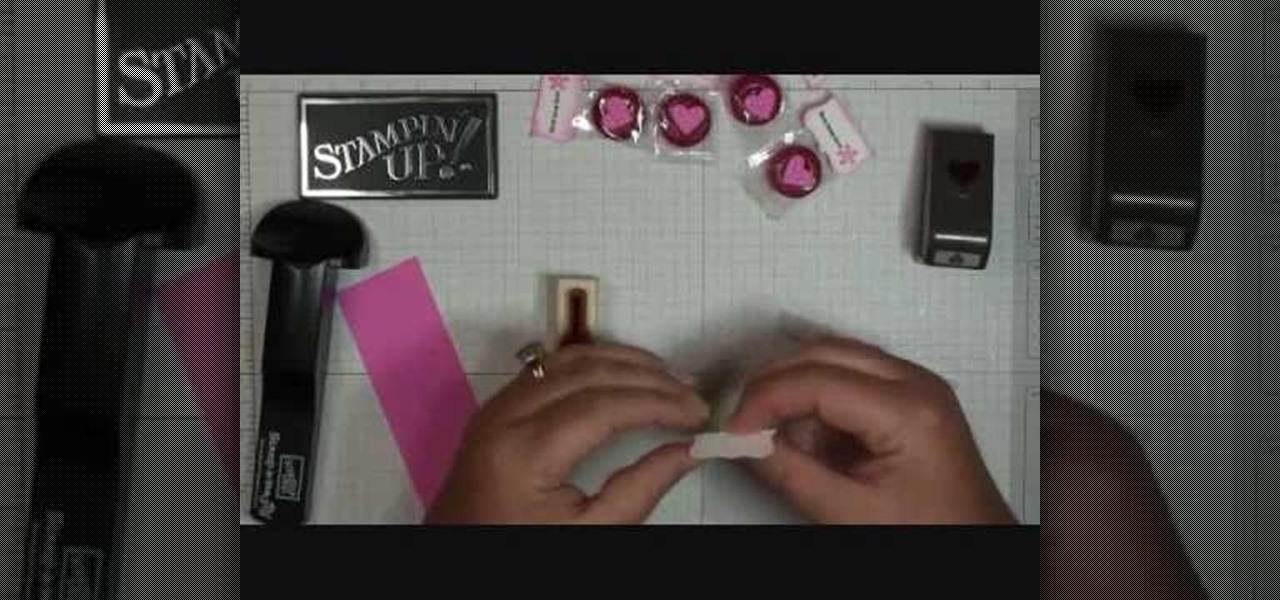
In this video, we learn how to make Life Savers treats. First, use the curly label punch and punch it out of a white paper. Next, fold this in half and then use your stamp-a-ma-Jig on card stock with a love and flower stamp. Use a black and pink marker to fill in the colors of the stamp. Next, stamp this on the piece that was folded in half, then punch out a heart and use sticky strip to adhere the individual life saver to the middle of the sentiment. Once finished, apply the heart and you ar...

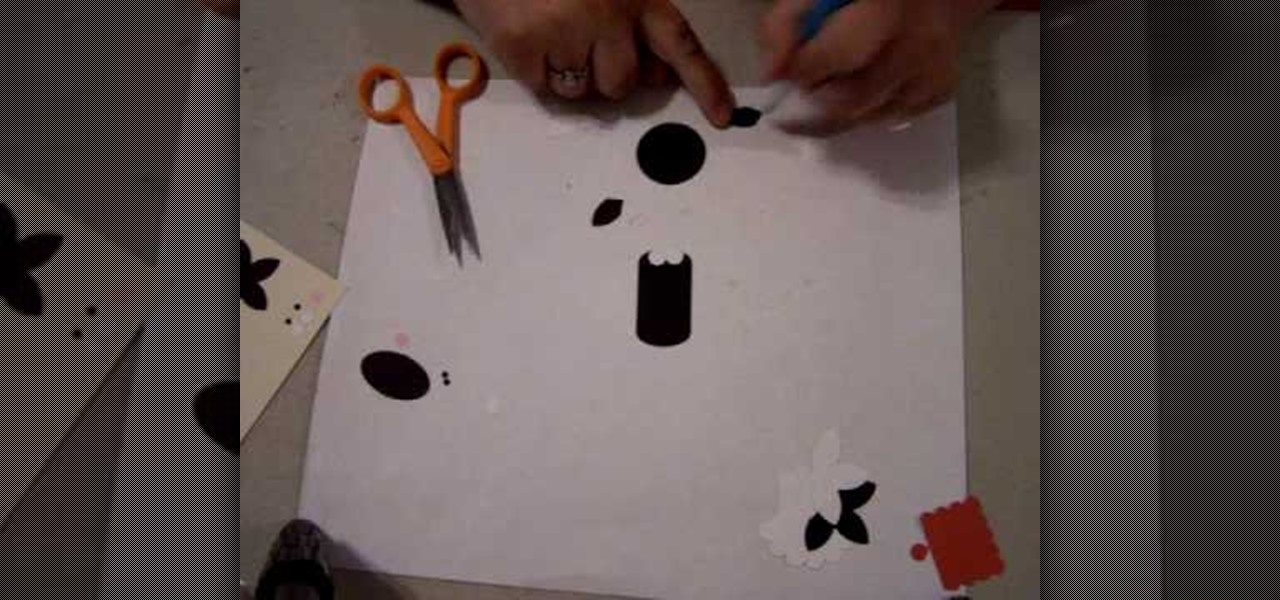
In this tutorial, we learn how to make a cat punch using Stampin' Up! products. First, you will need to use the: circle scalp punch, circle punch, oval punch (black and white), and five petal punch (black and white). You will also need two small circles each of black and pink for the eye and cheek area. Once you have all of these punched out, you will be able to assemble the head. Use the circle as the head and apply the white and black circles in the middle for the eyes. Use the flower punch...

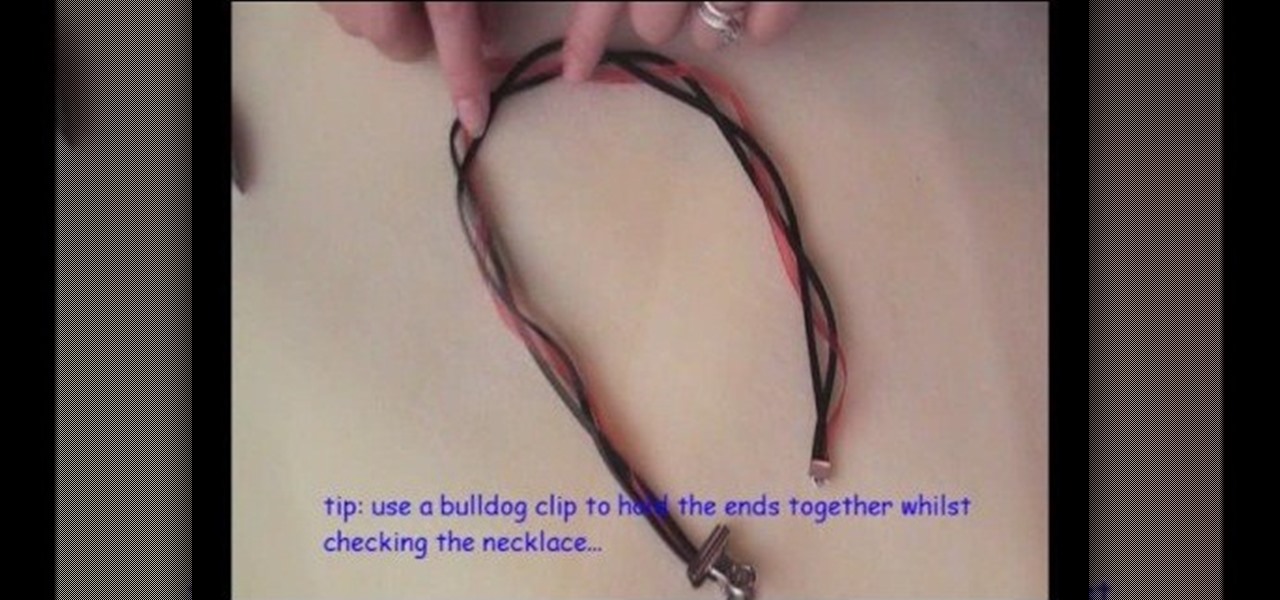
Yeah, we know the title of this video sounds confusing (dichroic what?), but a tri-strand necklace with a dichroic glass pendant is simply a fancy term for a necklace composed of three strands with a glass pendant hanging from the bottom.

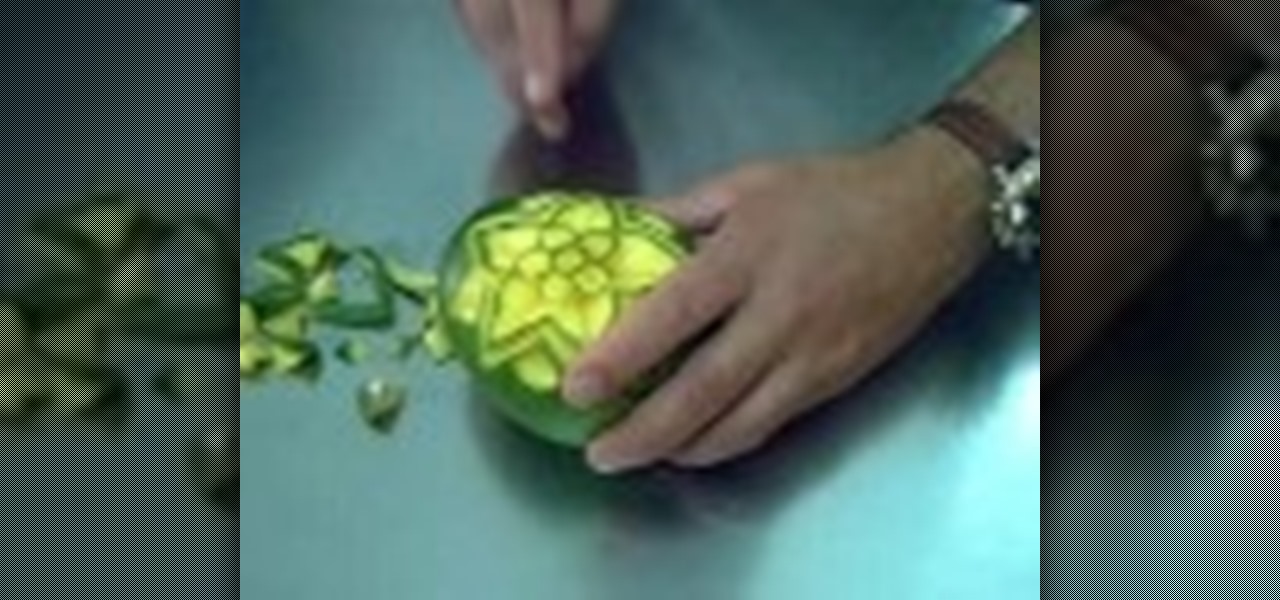
In this video, we learn how to carve a mango creatively. First, cut small circle in the middle of the side on the mango. Next, cut out circles around the middle to make a cute flower shape! Make sure you take the middle peel out so you can see the yellow of the mango show through. Carve in leaves on the side where the petals are. Continue to carve a smaller line to make the image look shadowed. Use your own talents to make this all your own and be as creative as you'd like to be. When finishe...

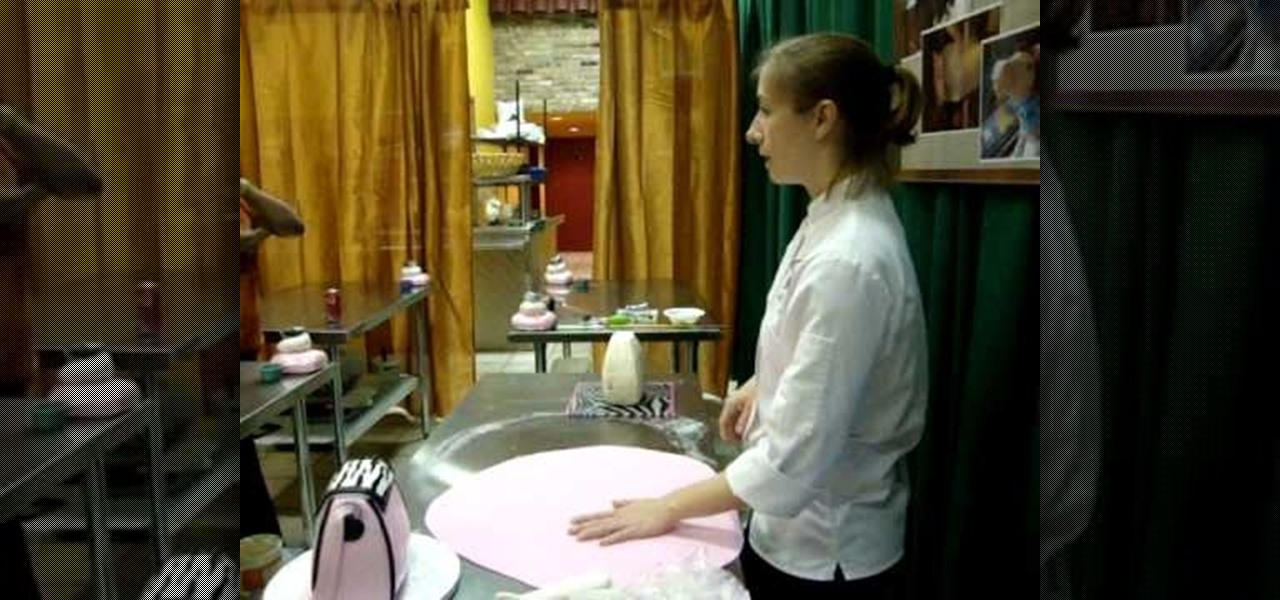
Do you have a shopaholic girlfriend whose 30th birthday is slowly coming up? It's true that a lot of women dread their 30th, but your gal pal will be simply delighted at her bash if you bake and decorate this purse cake for her.

Cherry blossoms aren't just special because they're Bath and Body Works' best-selling scent of all time. No, in addition to their delicate floral smell, cherry blossoms are special because they are the first flower buds to open in spring. Spring officially stars when you see the cherry blossom trees bursting into color, and what a wonderful way to celebrate the new season!

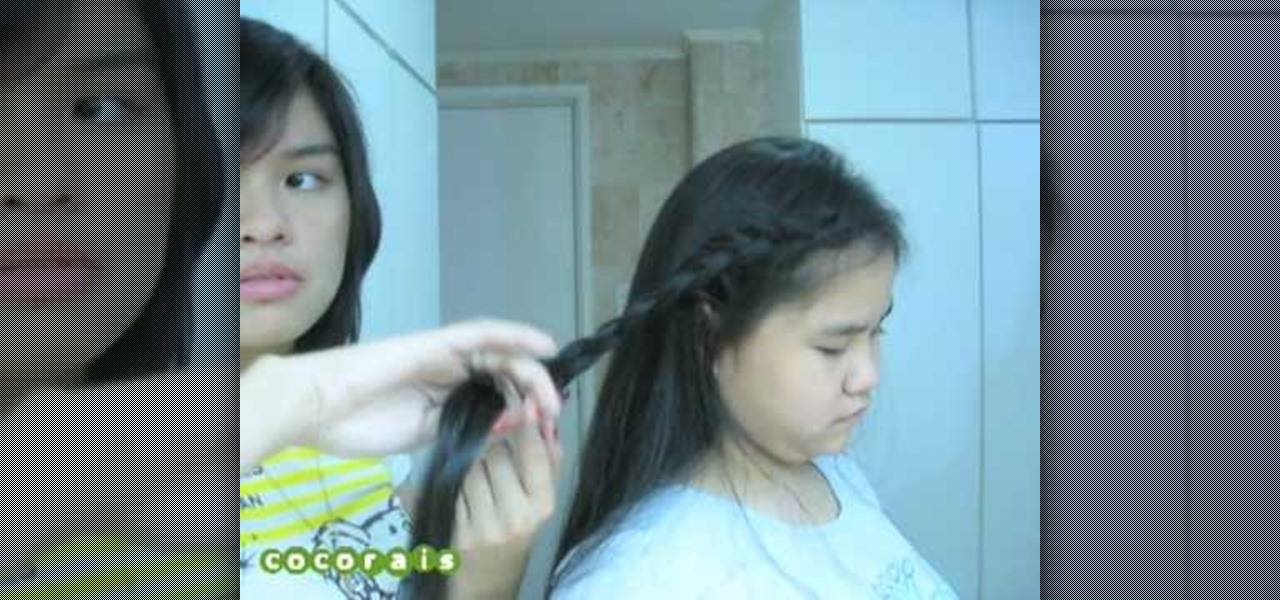
In this video, we learn how to do a yukata inspired hairstyle. First, brush out the hair, then bring the top section of the hair and start to braid it. Continue to braid it until you read the end of the hair, then tie it at the end. Now, set the braid aside and put the rest of the hair up in a pony tail. Push the hair together in a bun, then pin it together with bobby pins. After this, take the braid and wrap it around the bun, then secure it with more bobby pins. To finish the look, add in a...

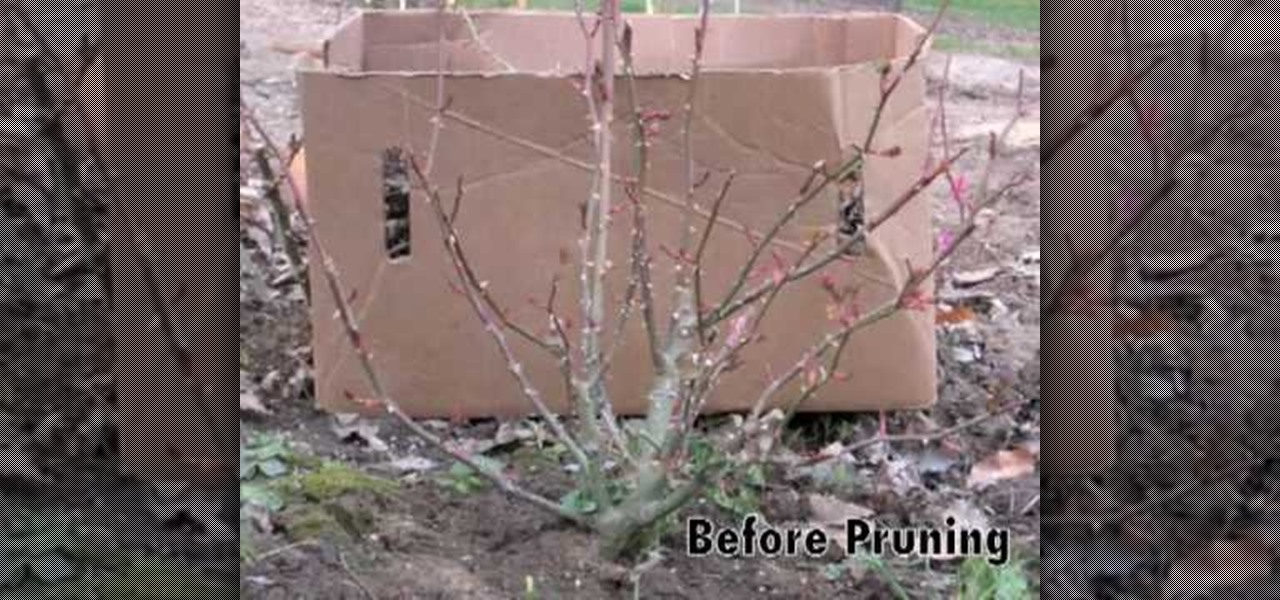
In this video, we learn how to prune roses in the spring. When you prune the roses, you want to cut the branches with shears at the bottom of the plant. Cut any of the dead parts that you see before the flowers start to grow back. If you see any short stubs that haven't and won't grow out, trim those off as well. Leave any healthy branches to keep growing, but trim the tops of them. When you finish, you should end with just a few branches left that are ready for the new growing season. Remove...

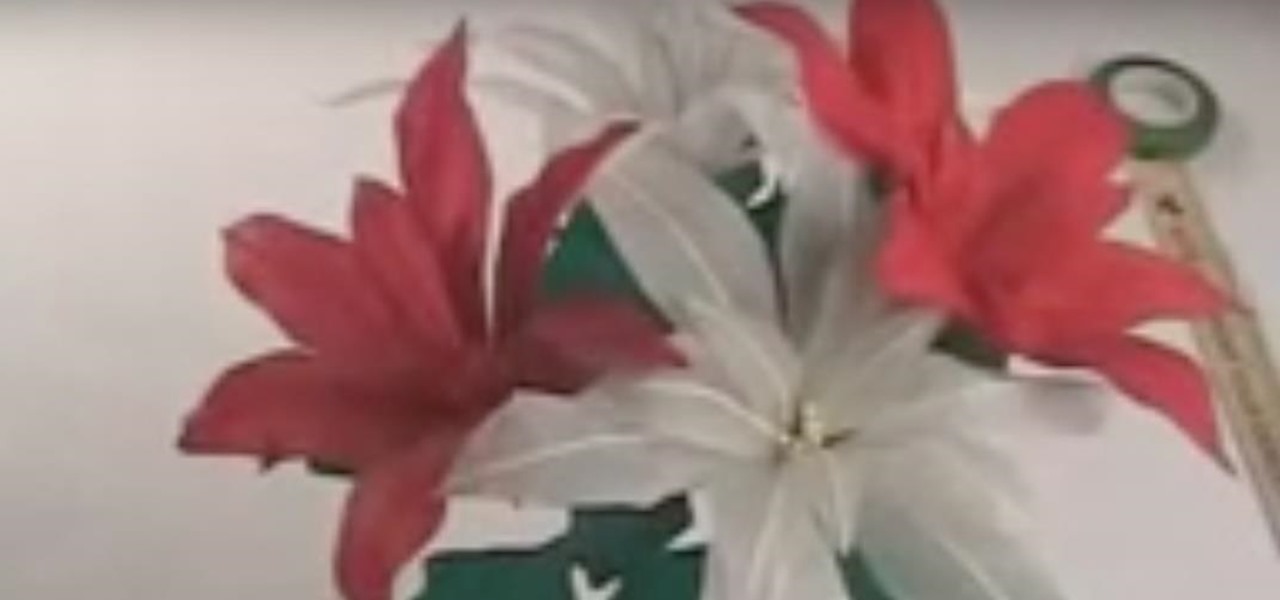
In this tutorial, we learn how to make a lily out of paper and pipe cleaner. First, lay your hand flat on a piece of copy paper. Next, trace your hand with a pen or pencil, then cut it out with scissors. Now use a pencil or pen to curl the ends of the fingers you just cut out. After this, combine two pieces of gold pipe cleaner together and bend in half. Then, place a green pipe cleaner in the middle and make a twist to keep in place. To finish, wrap your paper hand cut out around the gold pi...

This video tutorial is in the Arts & Crafts category where you will learn how to make a multi-layered embossed floral gift card. Take a piece of 11 x 8 1/2 inch Stampin' Up card stock and fold it in half. Next you punch out layers of colored paper of rose red, very vanilla, regal rose and blush blossom colors of different sizes as stated in the video using the Boho Blossom Paper Punch. Now you take a Sizzix Big Shot Die and cut out a craft paper and set the cut outs aside. Now you got to stam...

We believe that cupcakes are good no matter what the topping: sure, it's nice to have a nice fat glob of vanilla buttercream icing on top and maybe a candy flower or two topping the thing, but when a thing is good we'll gobble it up whole either way.

First, cut out pattern pieces. You will need 8 leaf patterns in total. Now, put two leaf patterns together and attach to a leaf with glue. Add a wire in the middle of the wire and glue it closed. Now, stretch your petals to give fullness, you should have 13 petals in total. With your finger, smooth glue onto the petal, then clip wire off of the petals.

Here at Wonder How To we LOVE spring buecause it allows us to indulge in the girliest of girly prints - flowers, hearts, crunchy granola hippie peace signs and happy faces - without restraint and without looking like a seven-year-old ready for church.


