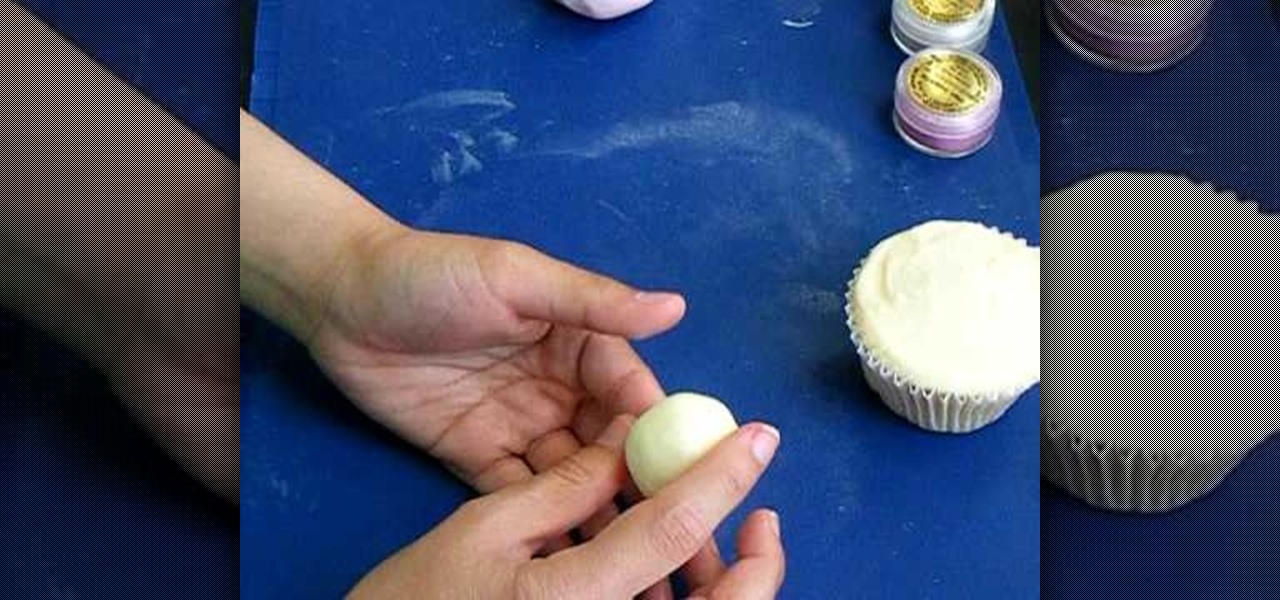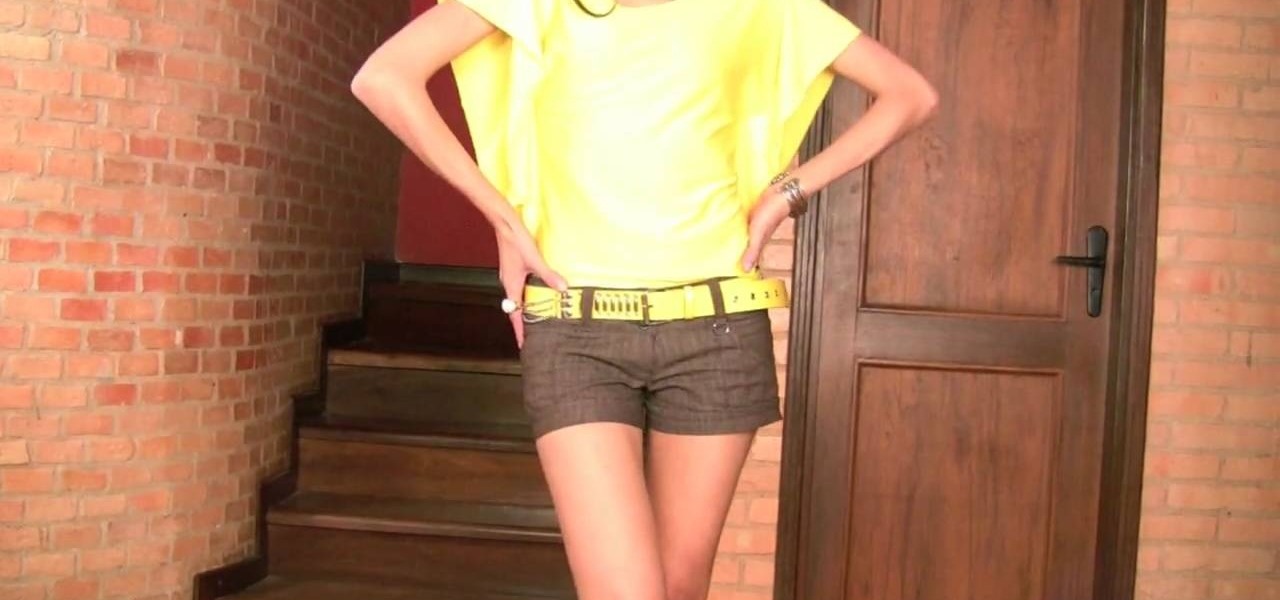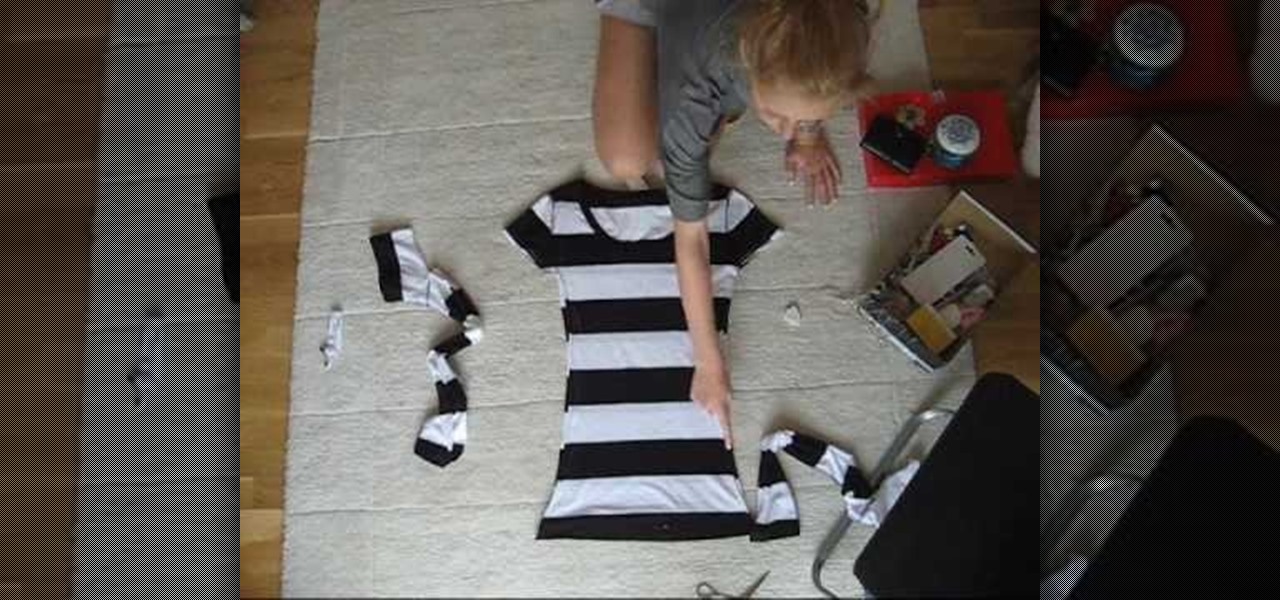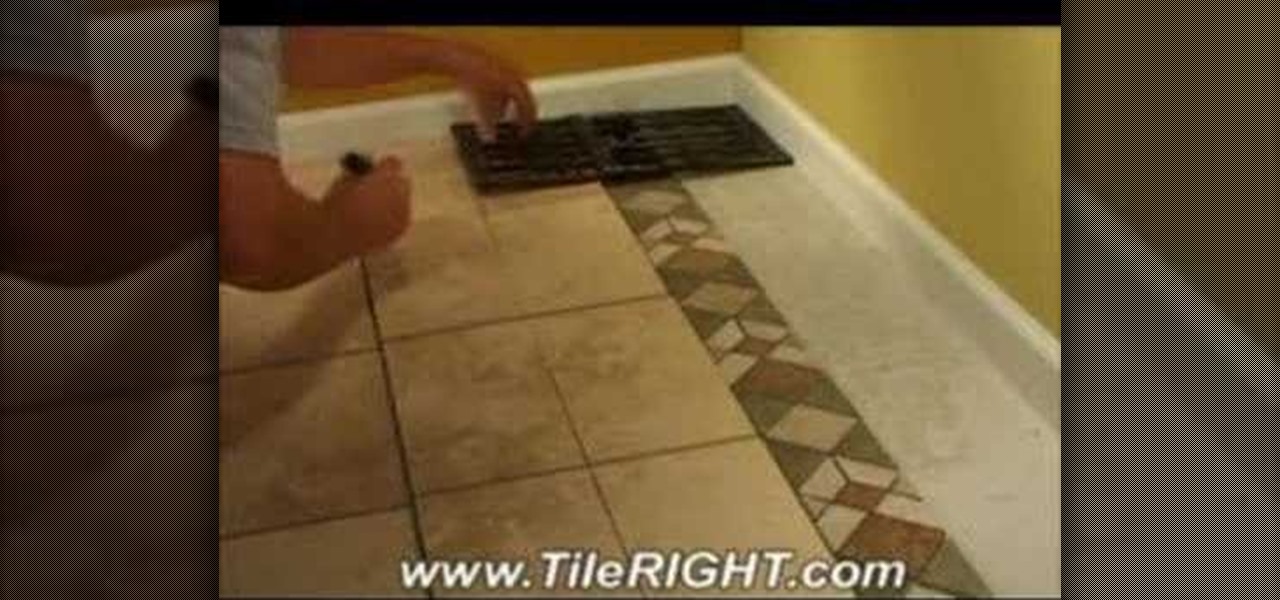
In this tutorial, we learn how to make & decorate a vintage retro rose romance cake. Start out by rolling out fondant that has been mixed with yellow coloring. Once this is rolled out, you will lay it over the cakes and then cut off the excess fondant from the bottom. Do this on all the layers of the cake until it's fully covered and completely smooth. Then, you will use the same fondant to roll into small flowers that you will apply around the outside of the cakes. Use icing to help the rose...
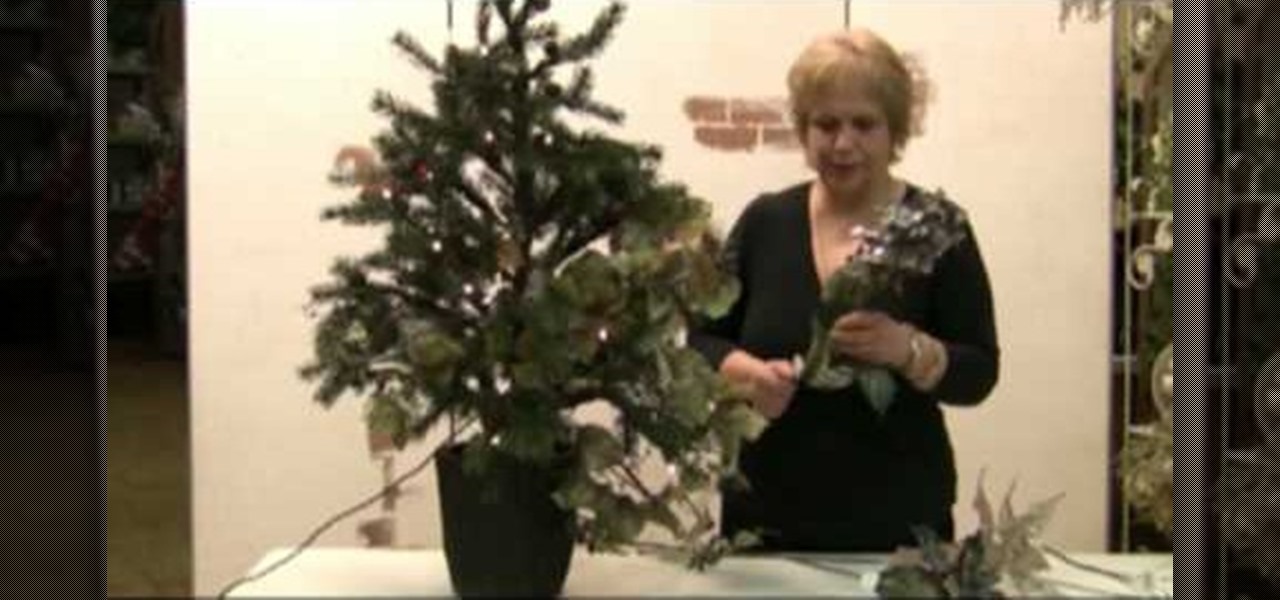
In this tutorial, we learn how to decorate your Christmas tree like a pro. Before you do anything else, put something together that is going to look good that you can place in your tree. Put in different types of flowers, bushes, and garland to make a pretty piece to place inside of your tree. Once you do this, you can shape the branches in the tree around this, then continue to place the elements from the main piece all around the rest of the tree. Add in a long string of matching ornaments,...
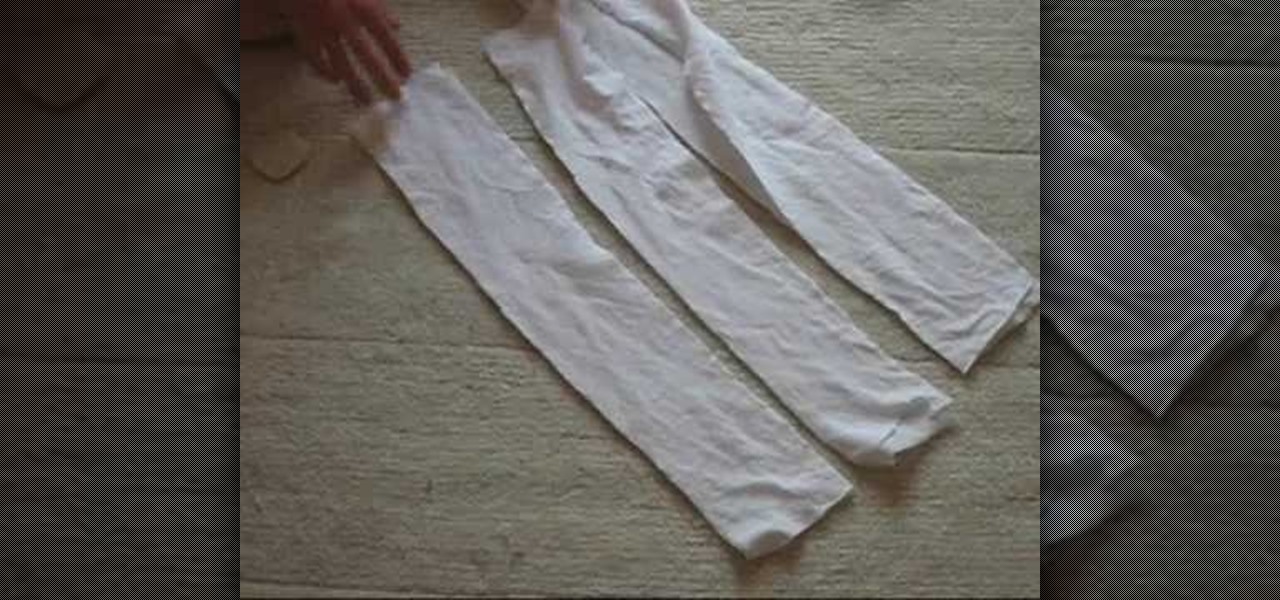
In this tutorial, we learn how to make your own summer dress. First, take a tank to and measure it out on your chest. Then, mark the shirt and cut it. Then, take another color tank top and cut off the opposite area that you just cut on the other tank. Take another piece of fabric now and measure it out to fit your body. Then, attach this to the bottom of the dress and sew all of the pieces together with a sewing machine. Try it on when you are done and then enjoy wearing your new homemade sum...
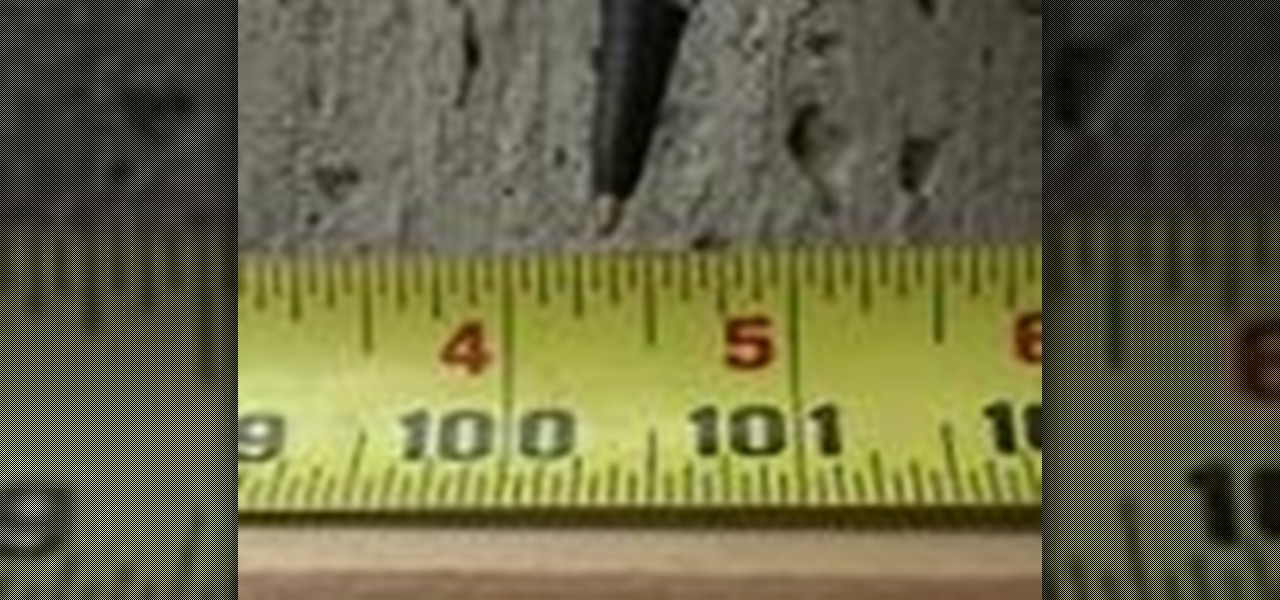
In this tutorial, we learn how to accurately read a tape measurement. First, roll out the tape measure, then find the inch marks. These will be in red. From here, you will find the half inch marks between each of the red inches. Half of the half inches will be right in the middle of that, and exactly half of the half! In between this, you will find 3/4 of an inch and 1/8 of an inch. Make sure you have a good view of the lines on the tape measure so you can identify these correctly. The last m...

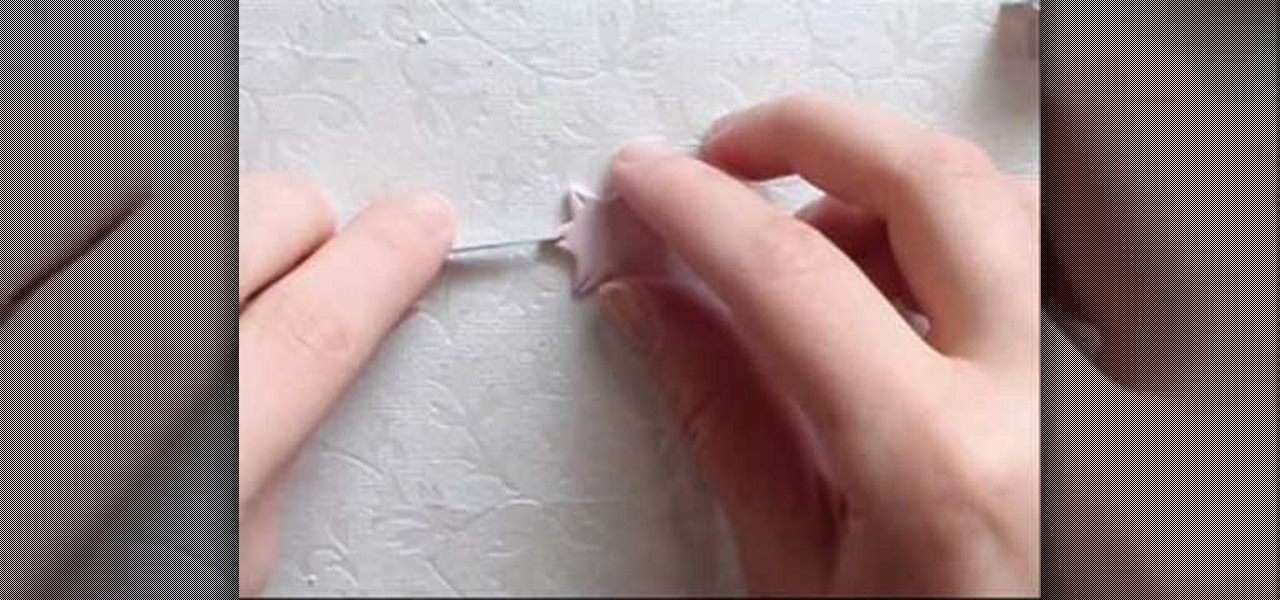
In this tutorial, we learn how to fold a paper rose. First, you will grab a napkin and unfold it. From here, roll the napkin around two fingers. Then, take it off and go two inches down from the top. Roll around this quickly, stopping half way. Grab the corner of the napkin and bring it up. Then, pull the rest down and continue to twist. Take your flower and make a leaf, then twist around the stem tightly. Put your fingers in the middle of the rose and use your finger to swirl it around. This...
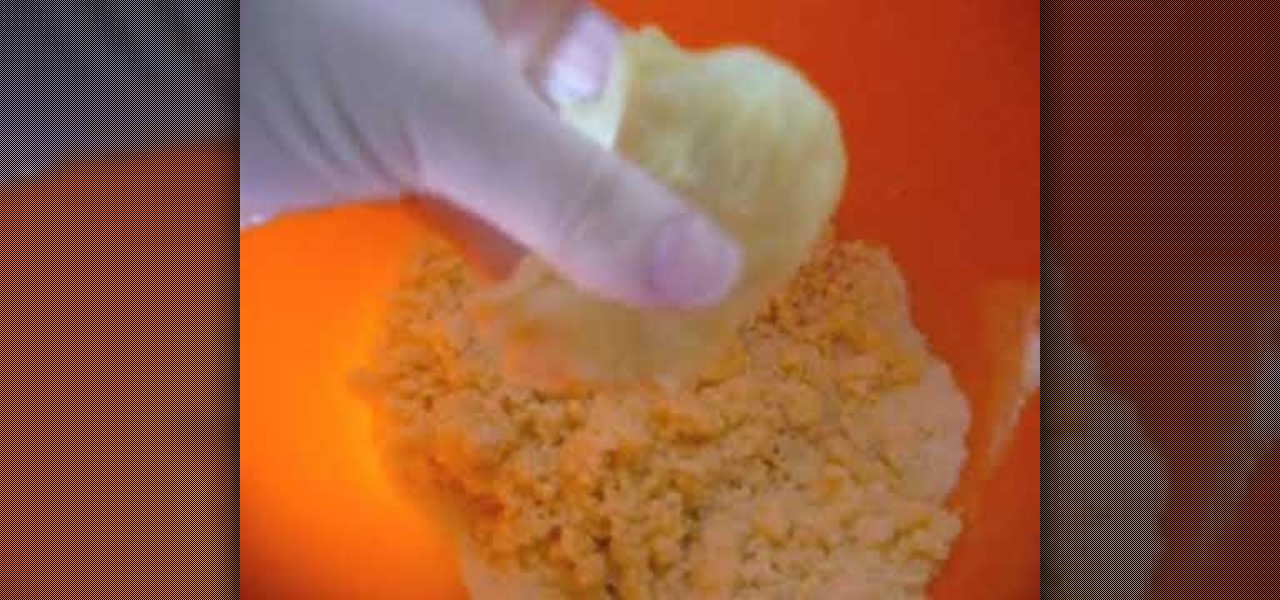
This video tutorial is in the Food category which will show you how to make really easy cookie dough. This is the one that is eaten raw, no need to bake and can be prepared in under 5 minutes. You will need a bowl, plain flour, white sugar, margarine, a table spoon, one cup measuring cup and a half cup measuring cup. Put half a cup of margarine in the bowl, add half a cup of white sugar and mix thoroughly. Add one cup of plain flour and mix it. It doesn't have to become like a paste. So, don'...

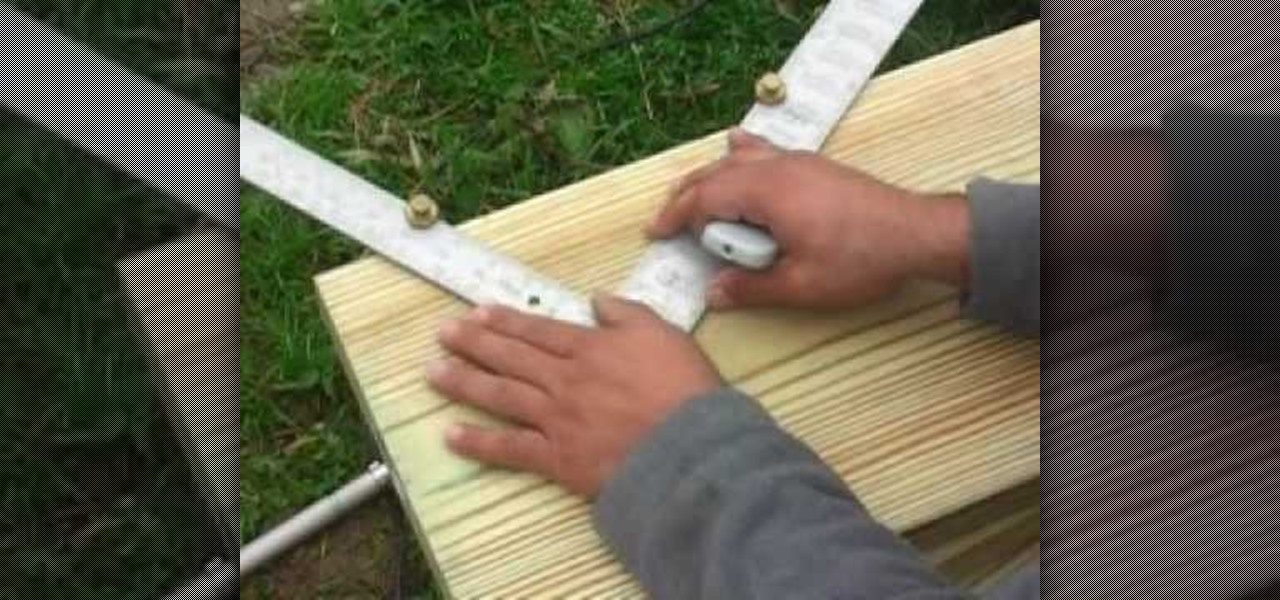
In this tutorial, we learn how to build deck stairs. First, you need to level out your work space and then use a tape measure to see how high your stairs will be from the top of the deck to the stairs. After you have these measurements, take your pieces of wood and use a framing square to measure out the pieces of the wood for the steps. After you have done this, you will need to place your piece of wood on the sides to create support, then create indentations inside of them. Place the wood i...

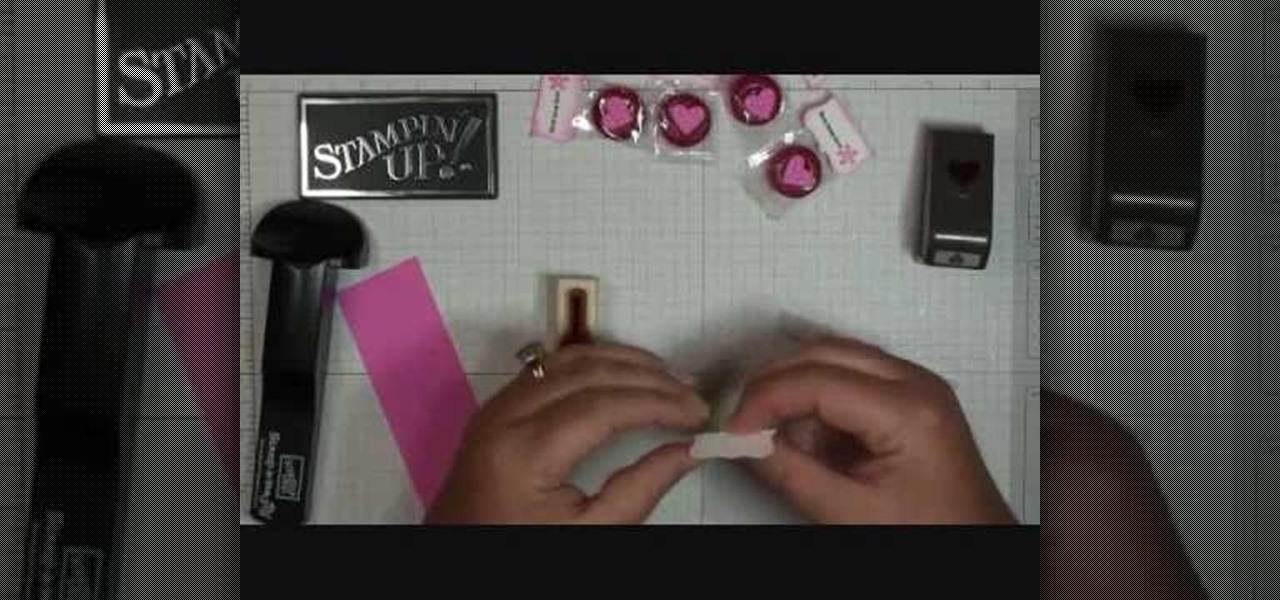
In this video, we learn how to make Life Savers treats. First, use the curly label punch and punch it out of a white paper. Next, fold this in half and then use your stamp-a-ma-Jig on card stock with a love and flower stamp. Use a black and pink marker to fill in the colors of the stamp. Next, stamp this on the piece that was folded in half, then punch out a heart and use sticky strip to adhere the individual life saver to the middle of the sentiment. Once finished, apply the heart and you ar...

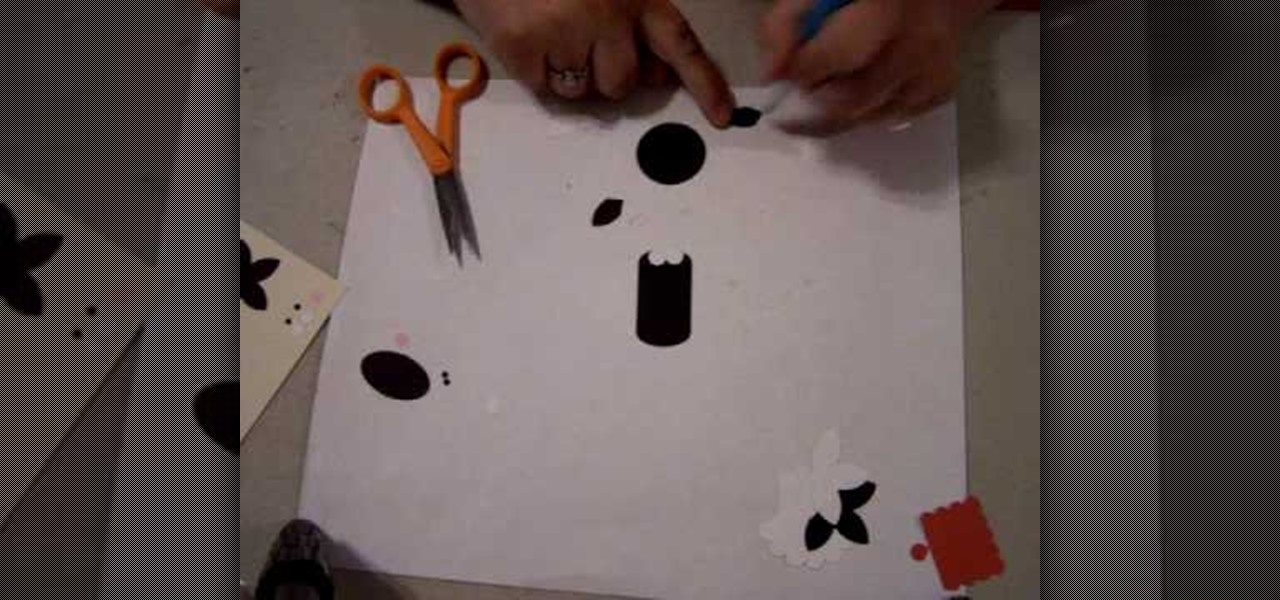
In this tutorial, we learn how to make a cat punch using Stampin' Up! products. First, you will need to use the: circle scalp punch, circle punch, oval punch (black and white), and five petal punch (black and white). You will also need two small circles each of black and pink for the eye and cheek area. Once you have all of these punched out, you will be able to assemble the head. Use the circle as the head and apply the white and black circles in the middle for the eyes. Use the flower punch...

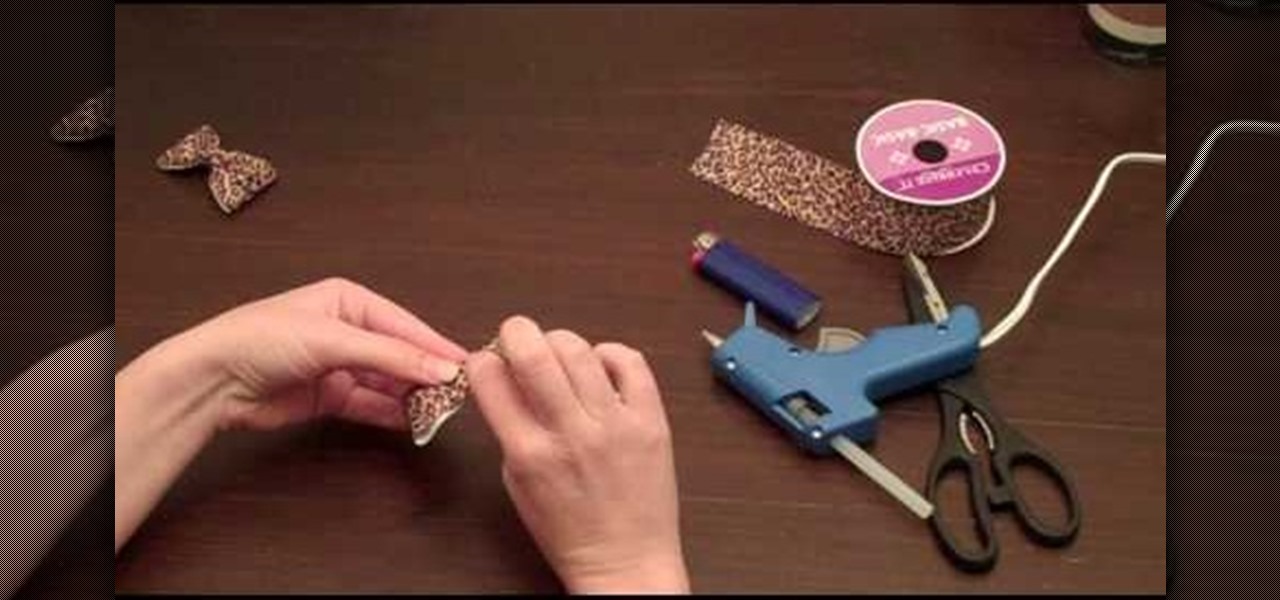
In this tutorial, we learn how to make an easy hair bow. First, grab some thick ribbon in any color or material that you want to have. Use more ribbon if you want a larger one and less if you want a smaller one. Measure it out or use your eye to measure. After this, heat seal the ends so they don't fray by passing them through a lighter quickly. Now, fold the ribbon in half length wise, then place a crease there. After this, use a hot glue gun to fold down the two sides of the ribbon with a k...

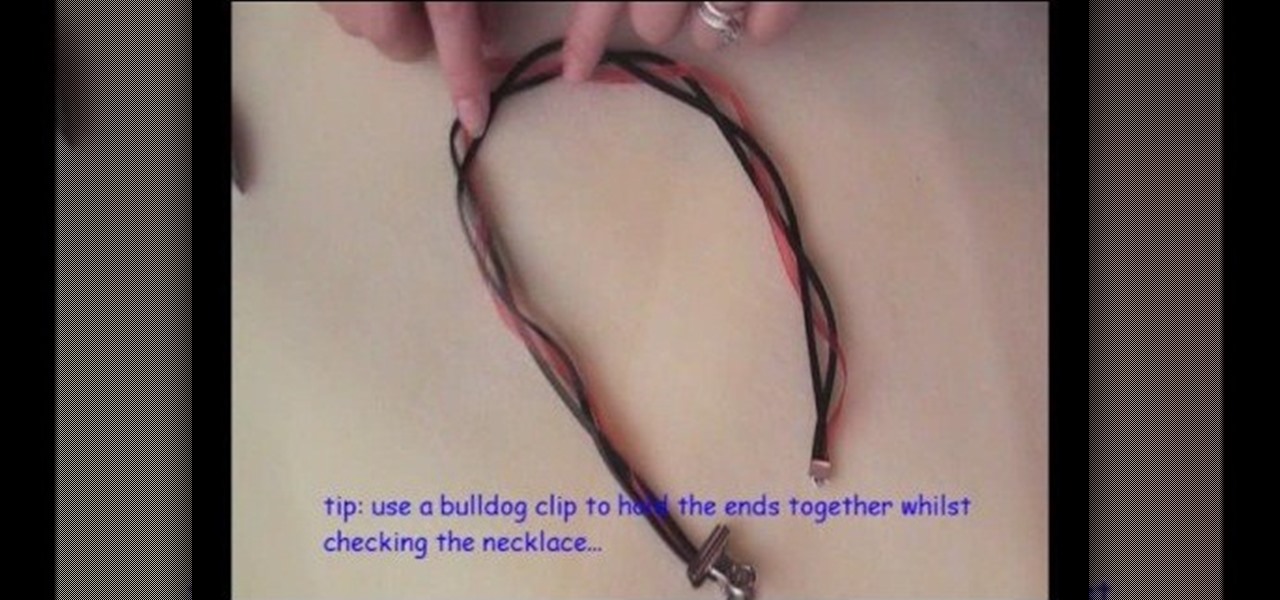
Yeah, we know the title of this video sounds confusing (dichroic what?), but a tri-strand necklace with a dichroic glass pendant is simply a fancy term for a necklace composed of three strands with a glass pendant hanging from the bottom.

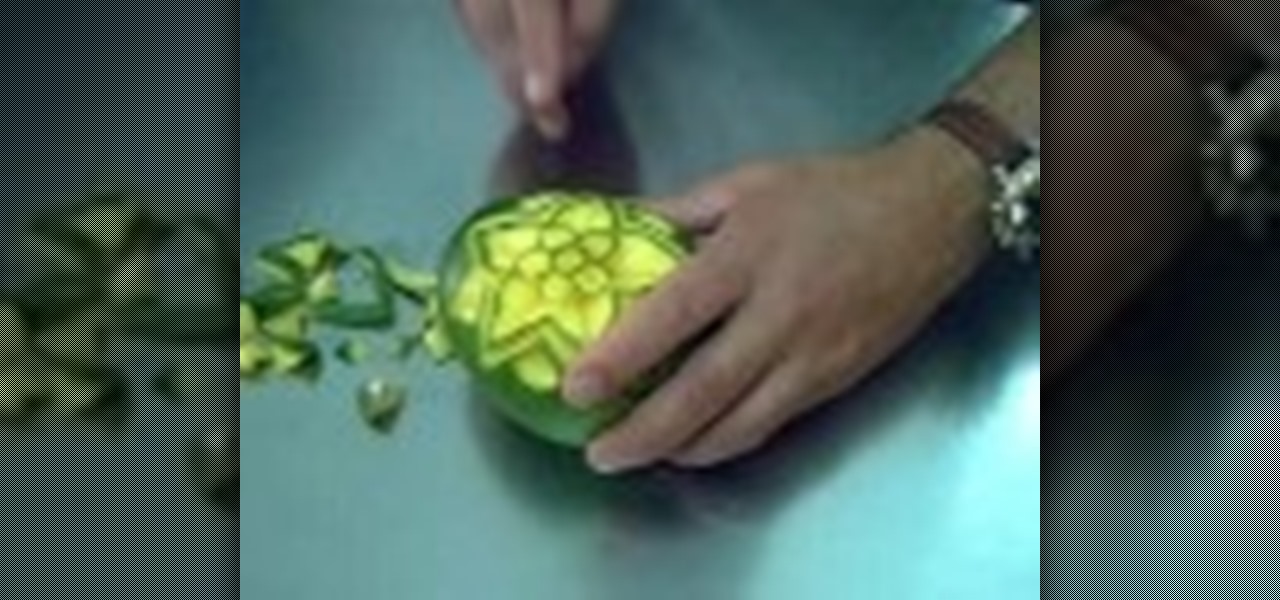
In this video, we learn how to carve a mango creatively. First, cut small circle in the middle of the side on the mango. Next, cut out circles around the middle to make a cute flower shape! Make sure you take the middle peel out so you can see the yellow of the mango show through. Carve in leaves on the side where the petals are. Continue to carve a smaller line to make the image look shadowed. Use your own talents to make this all your own and be as creative as you'd like to be. When finishe...

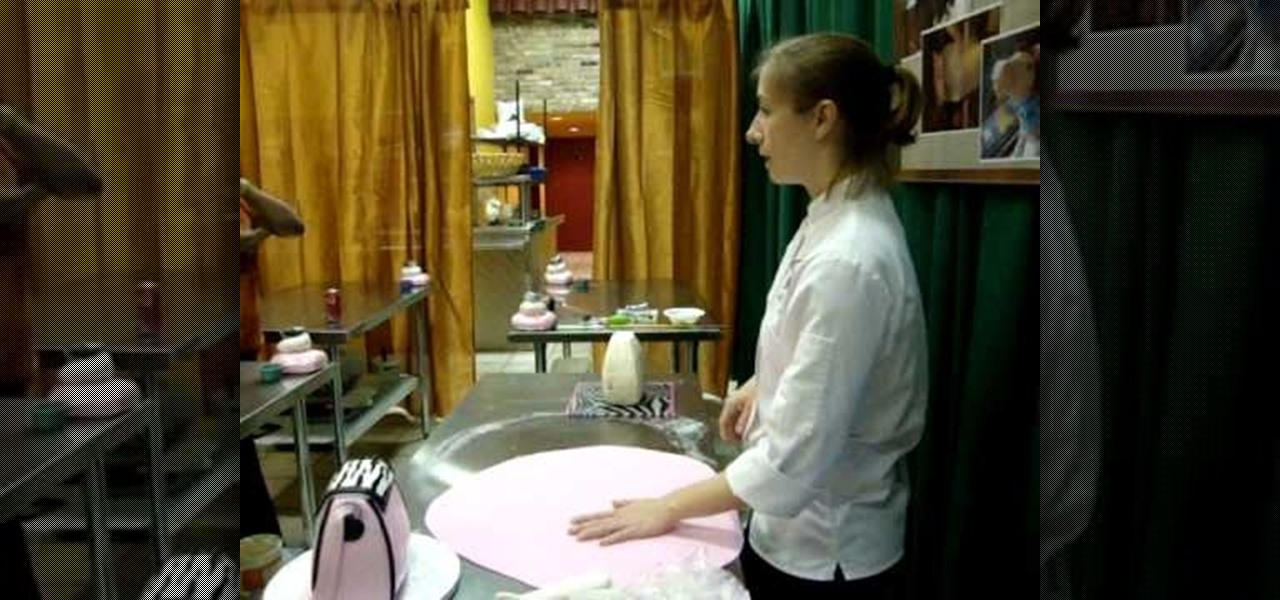
Do you have a shopaholic girlfriend whose 30th birthday is slowly coming up? It's true that a lot of women dread their 30th, but your gal pal will be simply delighted at her bash if you bake and decorate this purse cake for her.

In this video, we learn how to insulate an attic pull down with Roy Honican. Doing this can help keep your home warmer and more energy efficient. First, measure around the top of the attic so you can build a box that will stand on top of it. To build the box, use foam board that is 1" thick. Cut the size to the sizes you just measured. After this, use foam tape to tape all the pieces together. Once you're done with this, you will have a large box and you will be ready to go back upstairs. Pla...

In this tutorial, we learn how to sew and measure elastic. First, place the elastic over your waist and think about what you are making. Decide if you want it to be comfortable or if you want it to be tighter if you are wearing it out during the day. Also take into account what type of fabric you are going to be using so you know how much elastic is needed. Fold the elastic and mark the inside and outside of the fold, now do the same thing with your fabric. Now you will know if you need to ea...

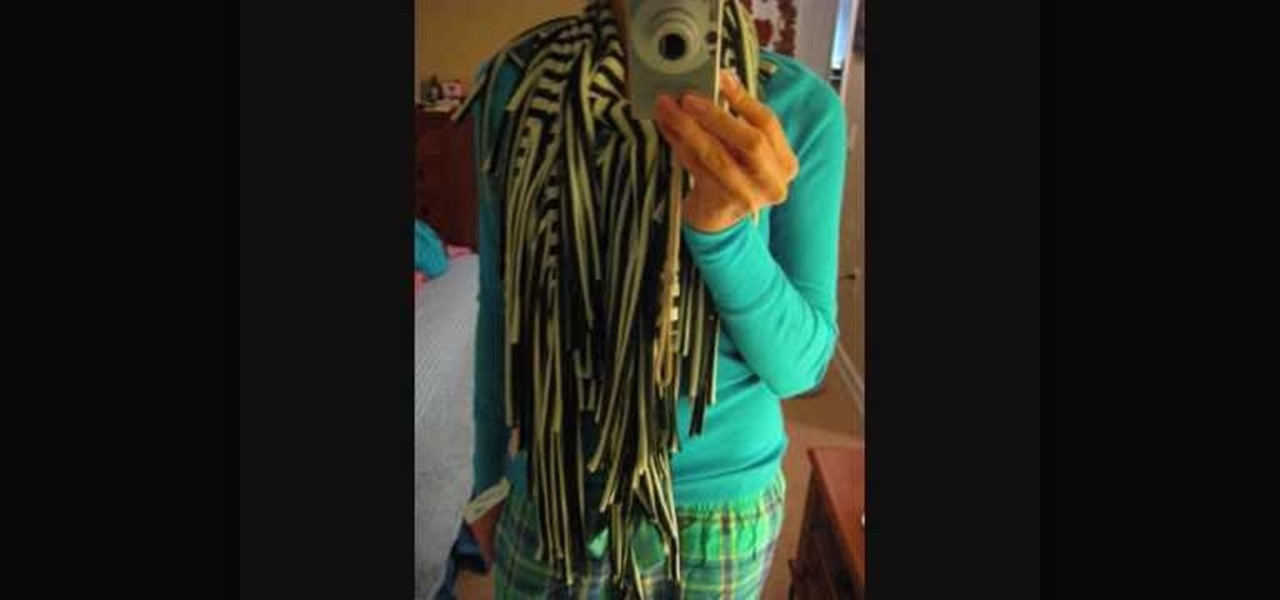
In this tutorial, we learn how to make a fringy scarf. You will first need 1 yard of fabric, then fold it with the right sides facing each other. Next, measure 19" down, then start to cut. After this, measure 7" down, draw a line from across. Now, start to cut towards that line, making fringe on the ends of the scarf. After this, you will be done with your scarf! The great thing about this is that you can use it in so many different ways. You can pair it with a casual outfit, or as a going ou...

Cherry blossoms aren't just special because they're Bath and Body Works' best-selling scent of all time. No, in addition to their delicate floral smell, cherry blossoms are special because they are the first flower buds to open in spring. Spring officially stars when you see the cherry blossom trees bursting into color, and what a wonderful way to celebrate the new season!

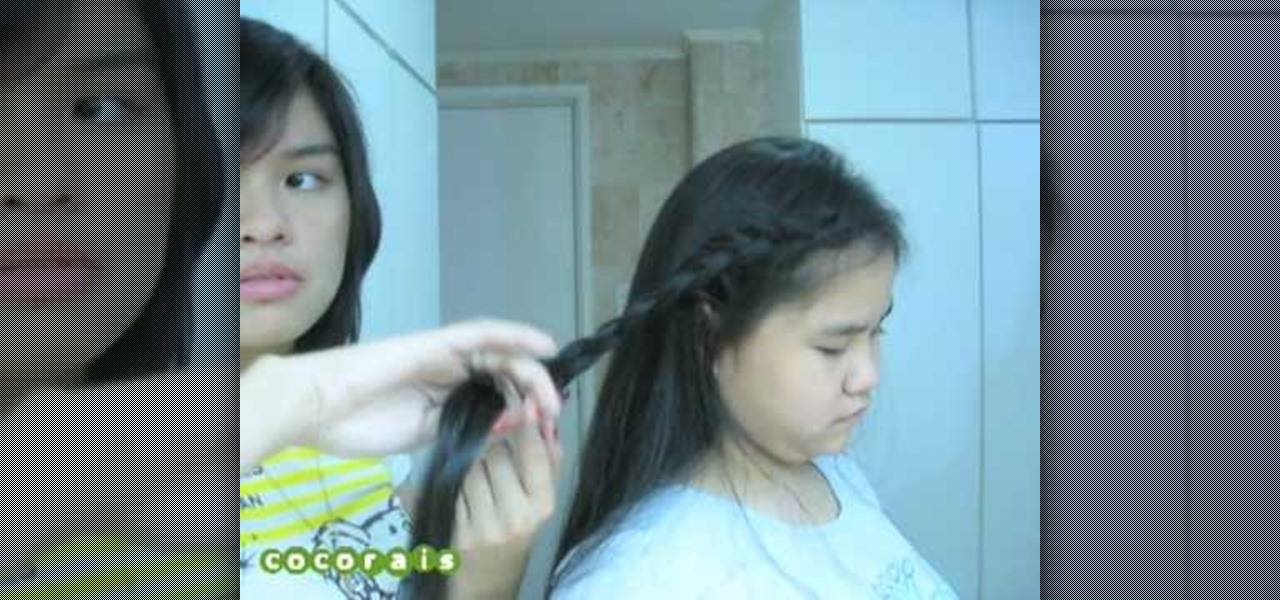
In this video, we learn how to do a yukata inspired hairstyle. First, brush out the hair, then bring the top section of the hair and start to braid it. Continue to braid it until you read the end of the hair, then tie it at the end. Now, set the braid aside and put the rest of the hair up in a pony tail. Push the hair together in a bun, then pin it together with bobby pins. After this, take the braid and wrap it around the bun, then secure it with more bobby pins. To finish the look, add in a...

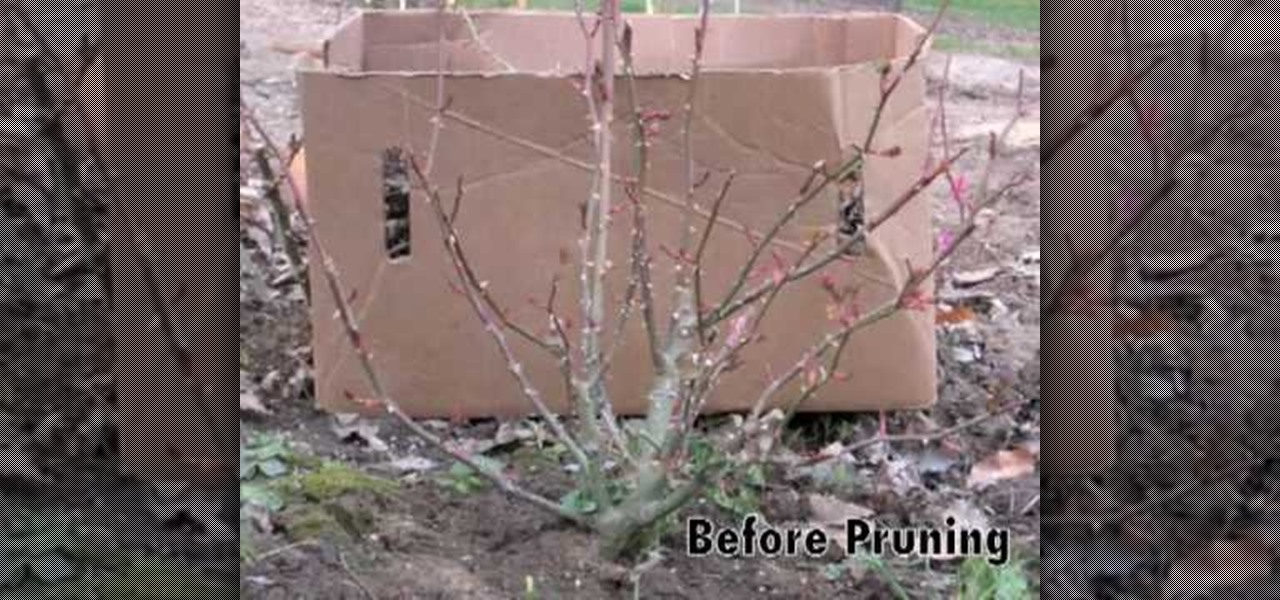
In this video, we learn how to prune roses in the spring. When you prune the roses, you want to cut the branches with shears at the bottom of the plant. Cut any of the dead parts that you see before the flowers start to grow back. If you see any short stubs that haven't and won't grow out, trim those off as well. Leave any healthy branches to keep growing, but trim the tops of them. When you finish, you should end with just a few branches left that are ready for the new growing season. Remove...

In this tutorial, we learn how to make a lily out of paper and pipe cleaner. First, lay your hand flat on a piece of copy paper. Next, trace your hand with a pen or pencil, then cut it out with scissors. Now use a pencil or pen to curl the ends of the fingers you just cut out. After this, combine two pieces of gold pipe cleaner together and bend in half. Then, place a green pipe cleaner in the middle and make a twist to keep in place. To finish, wrap your paper hand cut out around the gold pi...

This video tutorial is in the Arts & Crafts category where you will learn how to make a multi-layered embossed floral gift card. Take a piece of 11 x 8 1/2 inch Stampin' Up card stock and fold it in half. Next you punch out layers of colored paper of rose red, very vanilla, regal rose and blush blossom colors of different sizes as stated in the video using the Boho Blossom Paper Punch. Now you take a Sizzix Big Shot Die and cut out a craft paper and set the cut outs aside. Now you got to stam...

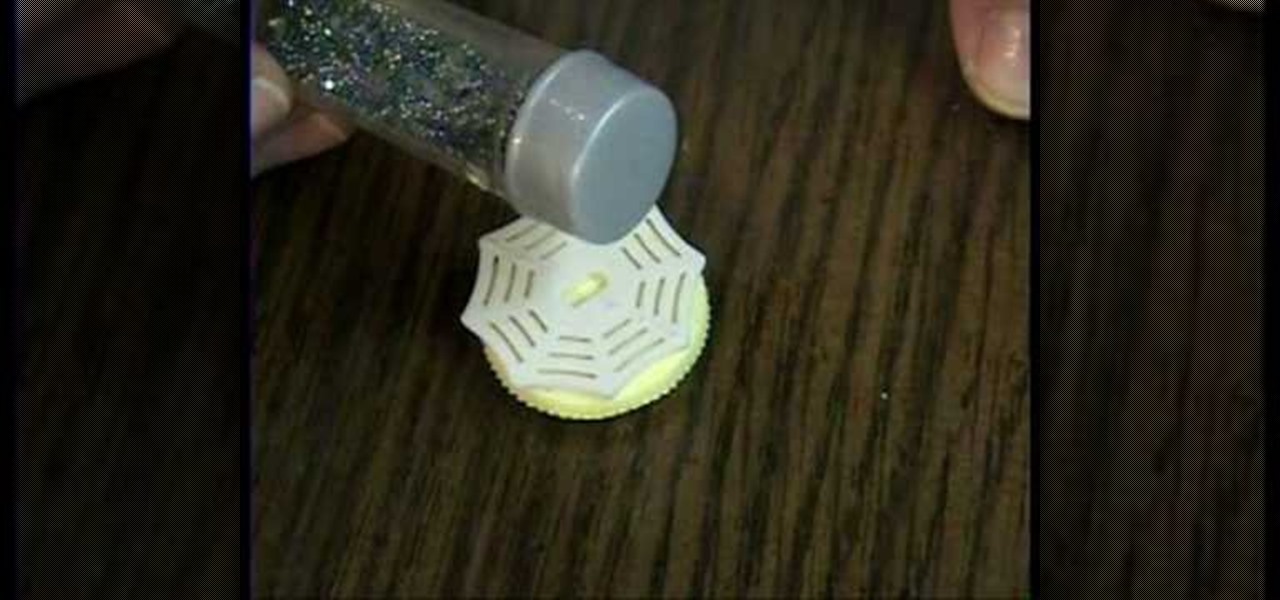
We believe that cupcakes are good no matter what the topping: sure, it's nice to have a nice fat glob of vanilla buttercream icing on top and maybe a candy flower or two topping the thing, but when a thing is good we'll gobble it up whole either way.

In this tutorial, we learn how to make a stylish bat sleeve. First, take a large piece of fabric and measure it from your shoulder to the armpit on the other arm. Now, fold the fabric up and mark pins where you want the cuts to be. Now, sew the seams where you placed the pins. Do this for both sides and when you are done you will have bat sleeves on a blouse in just a few short minutes. You can do this on any color of fabric and use different types of fabrics as well. Just make sure to measur...

In this tutorial, we learn how to make a t-shirt. First, measure around your waist and your bust, as well as around the hips. Now, take your old boxy t-shirt and flip it inside out. Now, place your measuring tape on the shirt and pin it where your measurements are. Draw out your measurements so you know where to cut. Once you have the new shirt drawn out, Cut out an inch out of the lines and toss the rest of the cloth in the trash. After this, sew the shirt on all the open sides. To finish, t...

In this Home & Garden video tutorial you will learn how to install a decorative tile border. Decorative borders add a beautiful accent to any room. Start by setting the "measure right pro' tool. Slide the tool open to cover the entire tile and the width of the border. Next move out one eighth for the wall space and lock the tool. Now place the fill tiles on top of the set tiles. Then you slide the "measure right pro' along the wall and mark the tiles. Write the sequence numbers on the tiles a...

In this tutorial, we learn how to make a bikini bottom. First, measure the widest part of your bottom area, then write this number down. Next, place your fabric where the measurement device just was, then mark where you want your underwear to fit. Mark this spot, then measure the lines out on the fabric. After this, use a pen or marker to mark the underwear shape. After this, cut out the shape of the underwear and pin all sides together. Now, sew the sides of the bottoms together, then flip t...

First, cut out pattern pieces. You will need 8 leaf patterns in total. Now, put two leaf patterns together and attach to a leaf with glue. Add a wire in the middle of the wire and glue it closed. Now, stretch your petals to give fullness, you should have 13 petals in total. With your finger, smooth glue onto the petal, then clip wire off of the petals.

Here at Wonder How To we LOVE spring buecause it allows us to indulge in the girliest of girly prints - flowers, hearts, crunchy granola hippie peace signs and happy faces - without restraint and without looking like a seven-year-old ready for church.

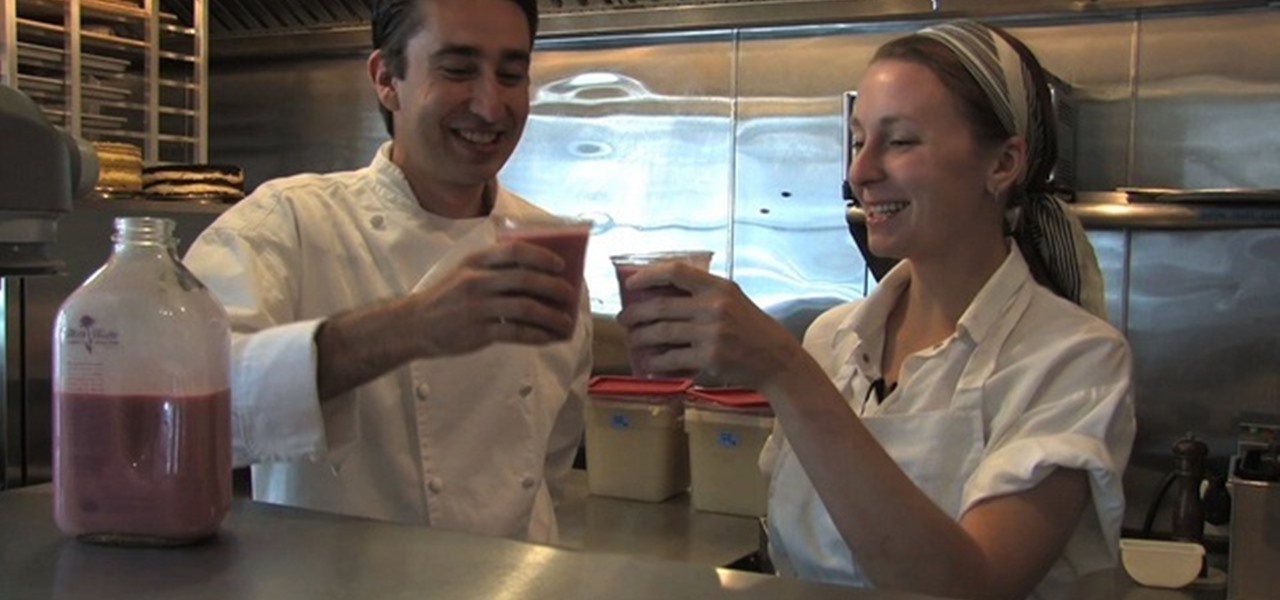
In this tutorial, Michael Crupain shows us how to make strawberry flavored milk. To do this, take 200 grams sugar and put it into a large mixing bowl with 180 grams of elder flower sugar. Also add 65 grams of yogurt and whisk together until everything is well combined. Now, you can whisk in 665g of fresh strawberry puree and 1 quart of milk. Now, you can pour the milk into a pitcher and place it into a fridge until it's chilled. When you're ready, you can serve as you like and enjoy as you pl...

Piping cones are indispensible when applying flowers, leaves, and frilly trims on cupcakes and cakes, and cones with particularly fine points can be used to apply henna in intricate patterns.

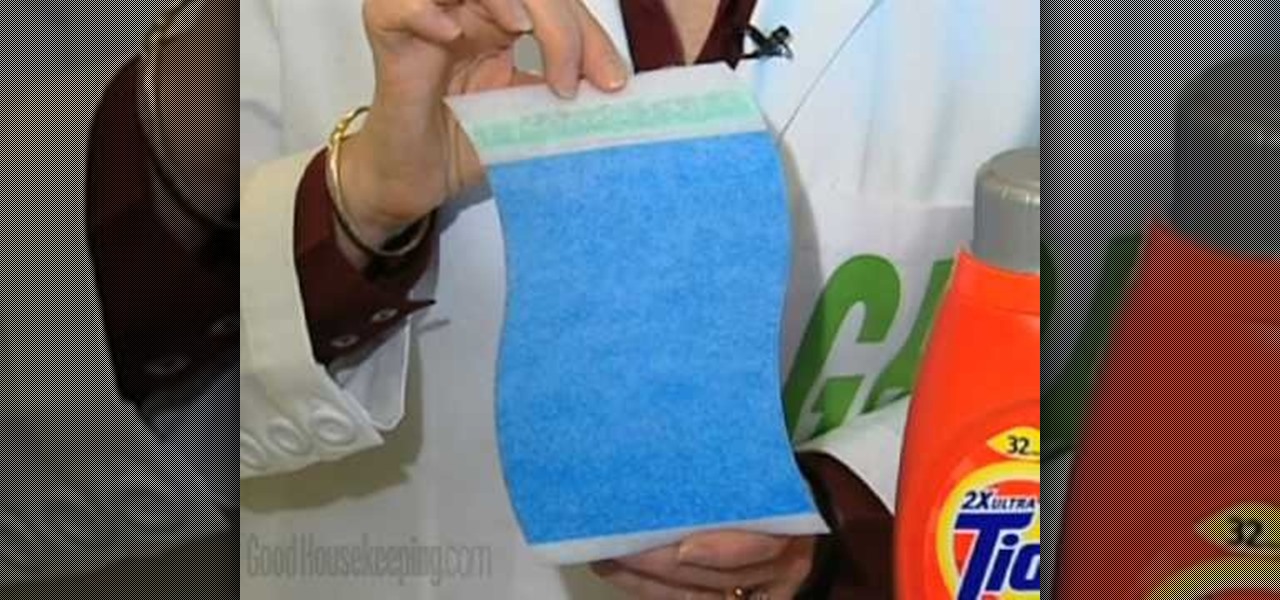
If you have done hundreds of loads of laundry you might be in a habit of not measuring your detergent and just pouring it into your washing mashing. Although you may think you are taking a short cut, you might be causing more damage than you think. You could end up with too much detergent in your load and have residue on your clothes and even have detergent build-up in your machine, which can be more costly in the future. There are many ways to improve your laundry technique, some even have a...

If you aren't employed as a mechanical engineer, chances are you may have no idea what this is. This device is called a micrometer. It's used to make certain measurements and is often looked at as a form of a caliper. This tutorial will show you how to measure properly with a micrometer. You never know when you'll need one, but at least you'll know how to use one. Enjoy!

For those who may not know what the device in this tutorial is, it's a vernier caliper. It's basically a scale that measure certain thins, but this one is more precise than others. They can measure internal, external and sometimes depth. This devise is used to obtain a precision measurement. It can be a bit confusing to use, but can be helpful in certain situations. So sit back, pay attention, and enjoy!

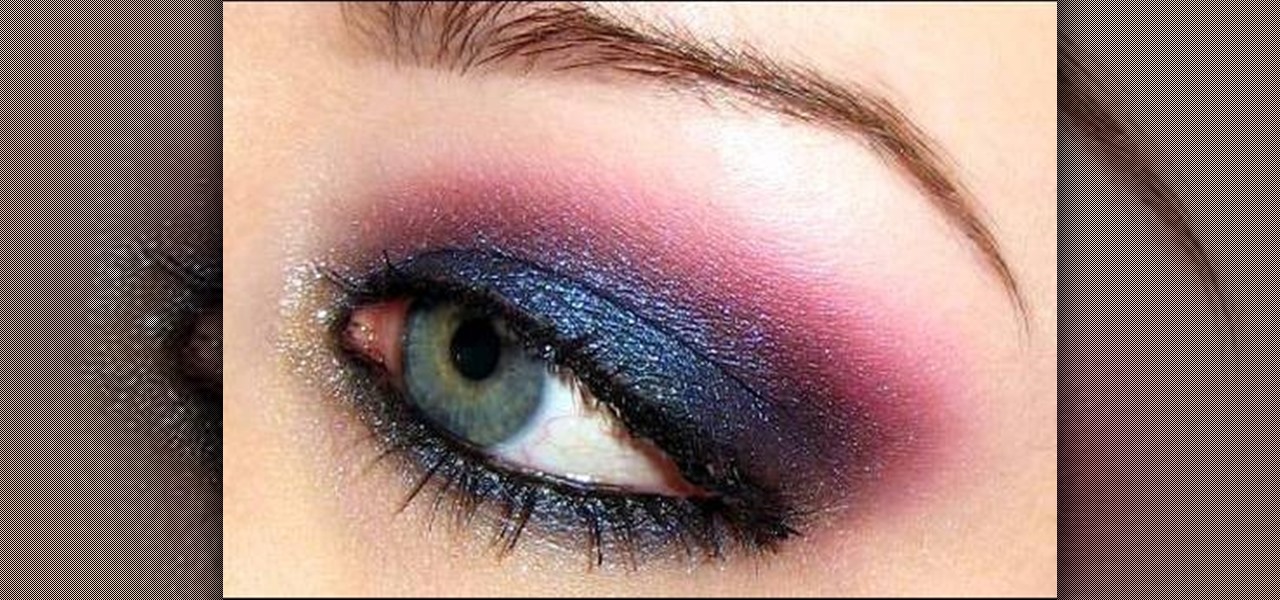
Live on the edge and kick up your beauty routine a notch to create a look that will drive your parents crazy! Create an edgy, rock 'n' roll makeup look with help from this makeup tutorial hosted by Goldie Starling. Stop hiding behind a boring and safe makeup routine and take your face to a brand new level! Products used to complete this look include the following:

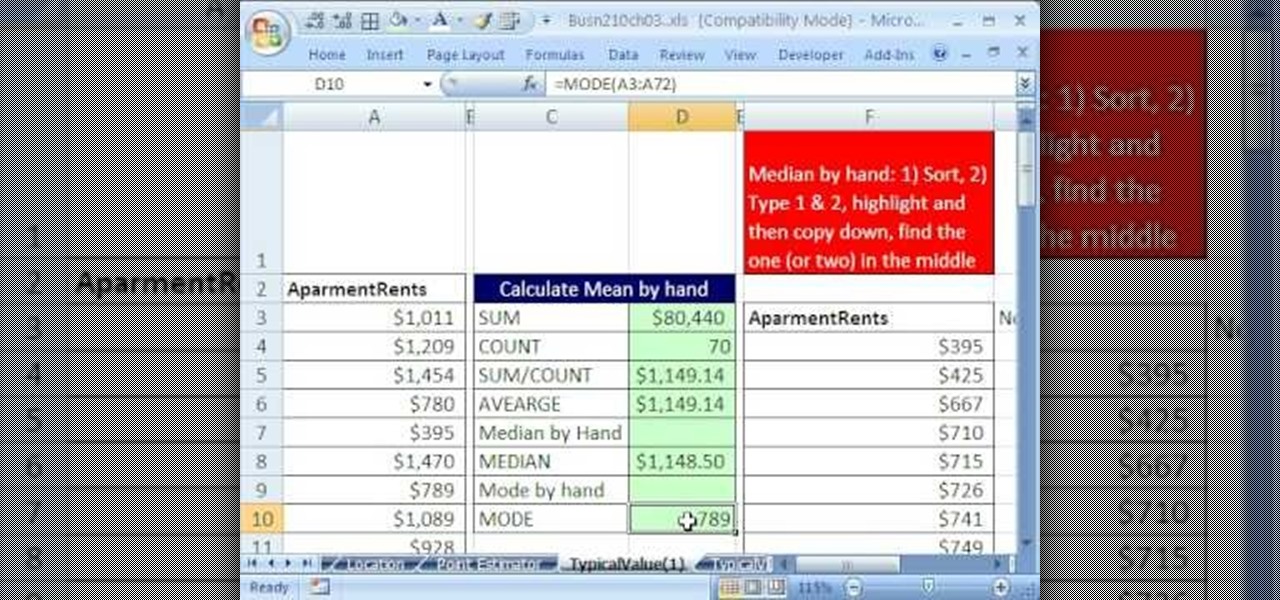
If you use Microsoft Excel on a regular basis, odds are you work with numbers. Put those numbers to work. Statistical analysis allows you to find patterns, trends and probabilities within your data. In this MS Excel tutorial from everyone's favorite Excel guru, YouTube's ExcelsFun, the 34th installment in his "Excel Statistics" series of free video lessons, you'll learn how to use MEAN, MEDIAN, MODE. These measures give us a typical value, a measure of central tendency one value that can repr...

Chrysanthemums are a beautiful flower to have in your garden for color and for picking to take into the house. There are two very important factors with planting mums. One is that you must have the right kind of chrysanthemum and two you must plant it at the proper time. There are two types of mum plants. One is the garden center plant and the other is the mail order plant. Scott, on the video, recommends the mail order plant. The garden center plant will only last one season where the mail o...

This video tells us to measure a 1:12 dollhouse polymer clay plate. You can use a 'MINI MAGLITE FLASHLIGHT' to cut out the clay from some clay that has been rolled out on a platform. Roll the toothpaste cap along the edges of the circular piece of clay. The center of the plate is made by pressing it in the center with a small bottle or the end of a pencil which has a flat base. Cut a smaller circle of clay and put it below the plate to form its base. Press the center of the plate again to sti...

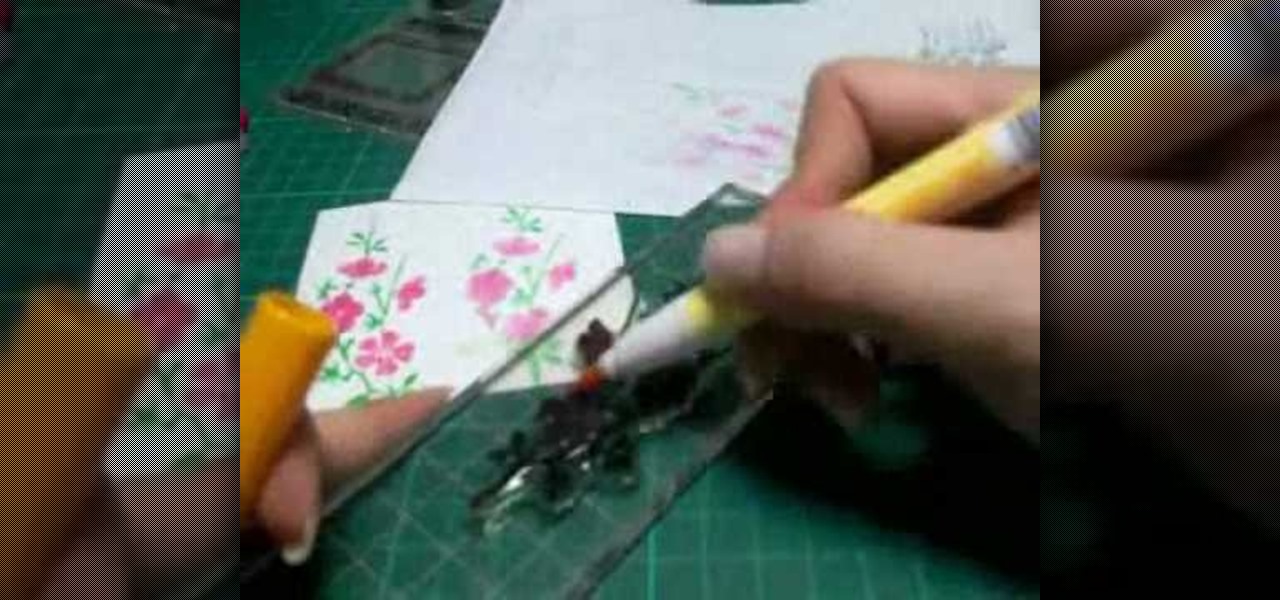
In this Arts & Crafts video tutorial you will learn how to use markers & water to create a watercolor stamp look. You can use rubber and acrylic stamp for this. You will need water based markers, minimister and card stock. Select you stamp and color it with markers as you would do in a painting. For example, you can color the leaves green and flowers red. You can also apply different shades. Then spray water with the minimister and stamp the image. Just stamp and lift, don't keep it too long ...

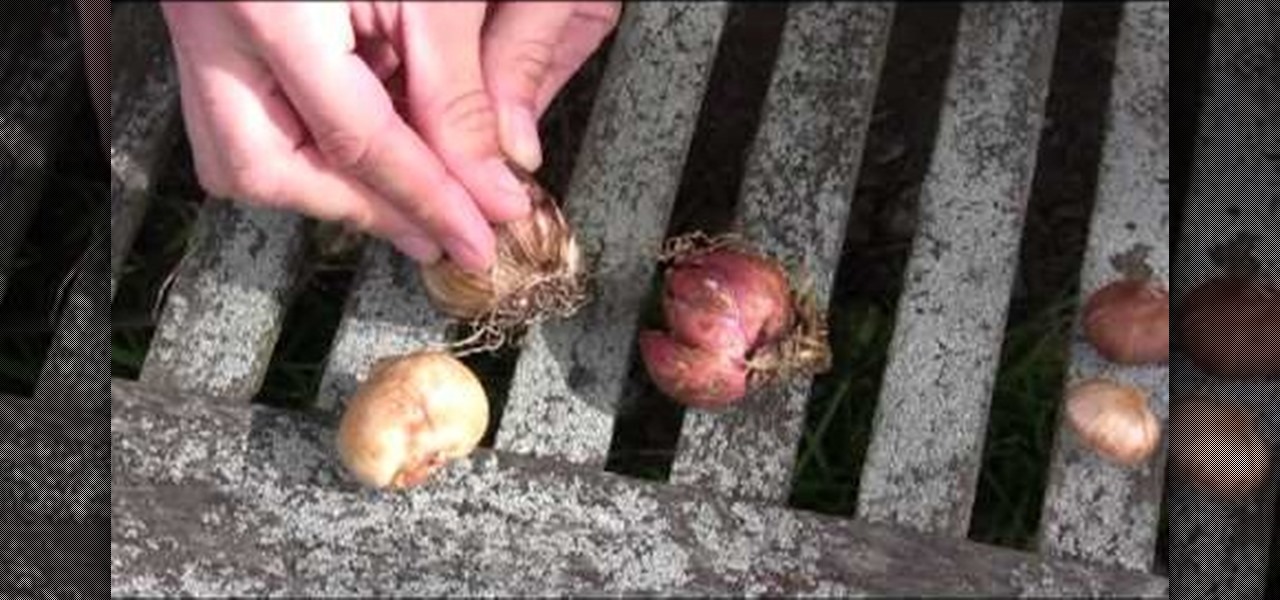
In this tutorial, Scott Atkinson shows us how to identify different types of bulbs. Common types of bulbs are: tulip, daffodil and lily. These are most easily identified but there are many that appear in flowers. A core looks similar to a bulb but it is a solid tissue and doesn't have an leaves, just a hard core with a protective covering. There is also tubers which are what potatoes and other foods grow from. These cause eyes to form and create different types of things to grow. You will now...

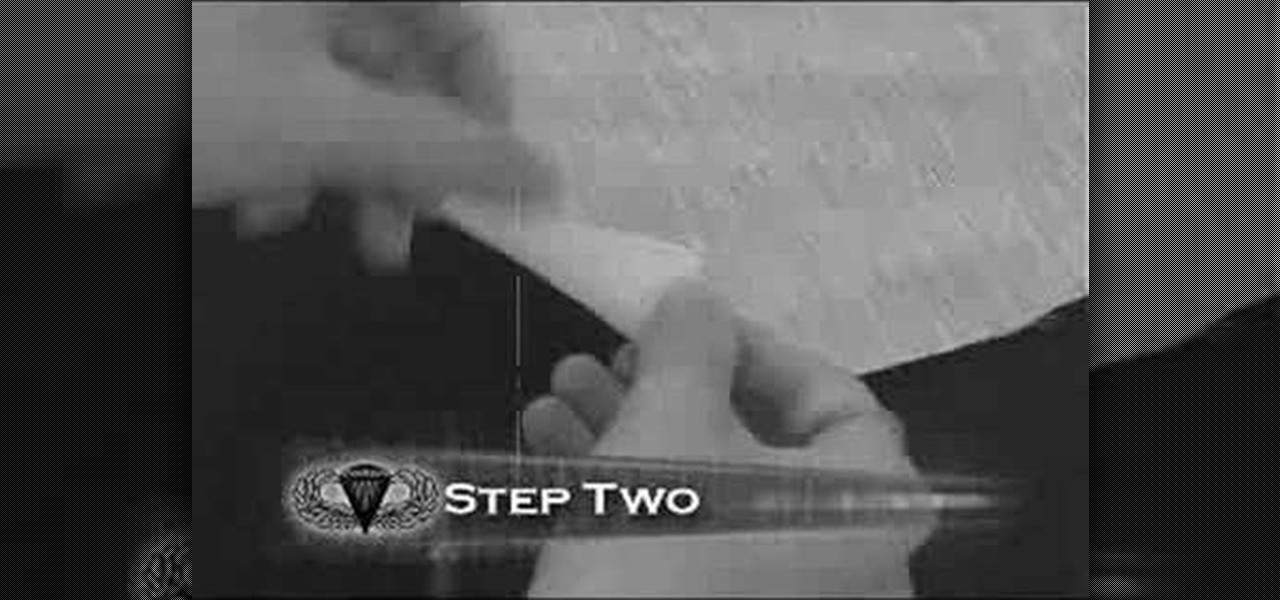
In this video tutorial, viewers learn how to make a toy parachute. The materials required are: lightweight fabric, ruler, scissors, string, 4 hole button and a toy army man. Begin by measuring a 10x10 inch square on the fabric and cut it out. Fold over each of the 4 corners and cue a small hole. Measure and cut 2 lengths of 36 inch string. Take the string and tie it to one end of the hole on the fabric. Run the other end through the button hole and tie it to the diagonally opposite hole on th...


