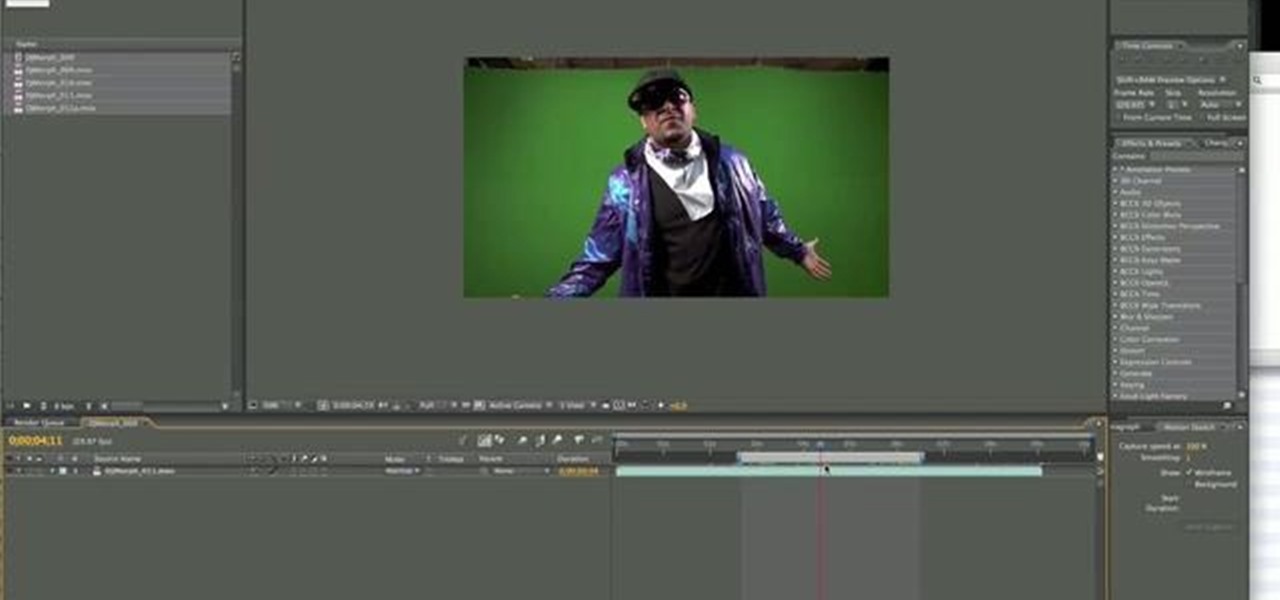
This After Effects tutorial covers how to use the keylight plug-in when working with green screen footage. The keylight plugin makes it easy to remove the subjects from the green screen background. This saves time and makes it easy for you to get working on compositing your effects and other After Effects projects.
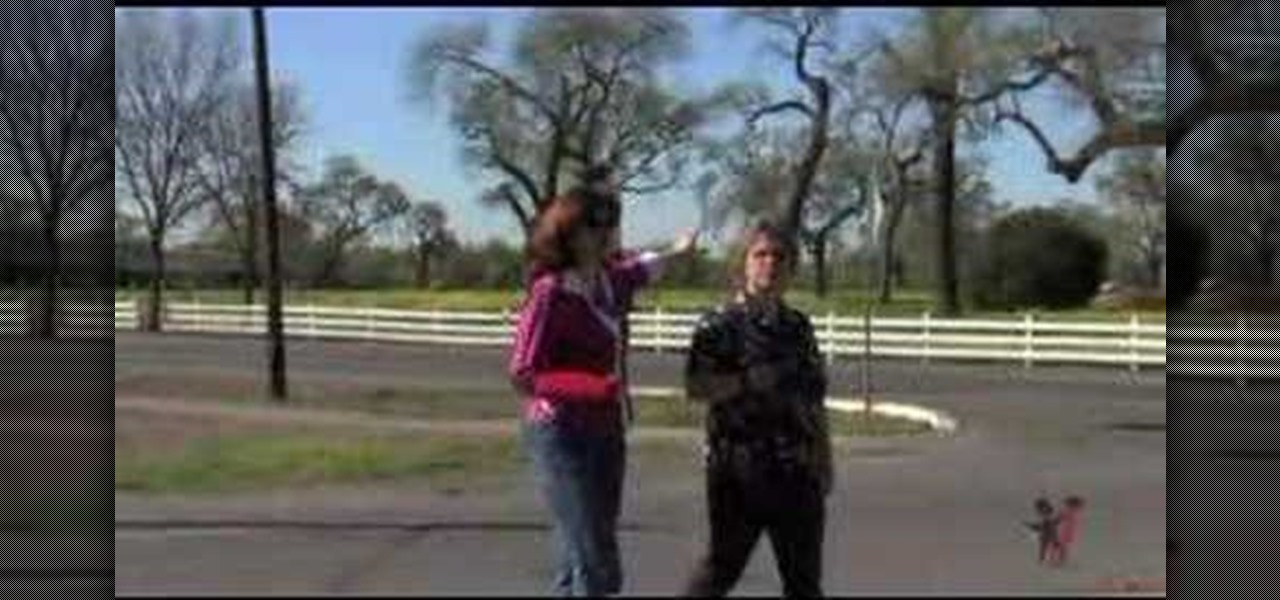
Jennifer gives Melissa, a beginning videographer, some pointers on shooting better hand-held footage.
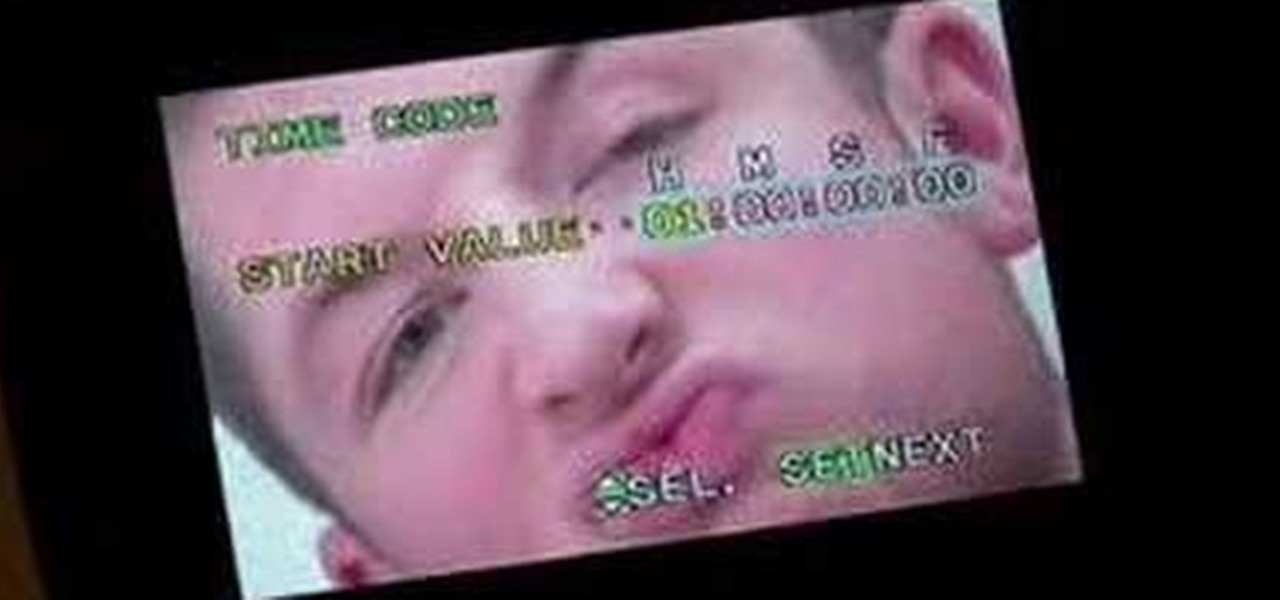
Matt, the Shirtless Apprentice, gives us some quick tips on how to sync timecode for multi-camera footage. He shows you how to sync multi-camera footage using cameras that support free run and cameras that don't.
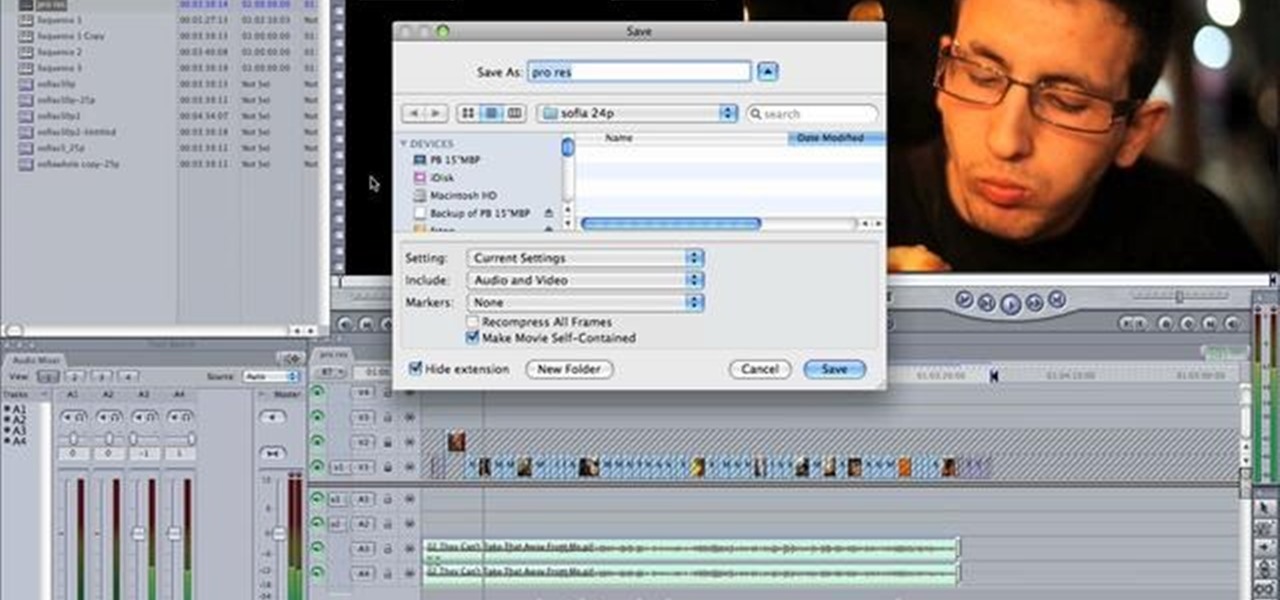
A tutorial using Final Cut Studio 2 on how to convert footage shot in 30p to perfect 24p. Used in the short Sofia's People. Can't quite figure out why you have two of the same filters in FCP? This quick clip will sort you out. Whether you're new to Apple's popular motion graphics and compositing software or a seasoned video professional just looking to better acquaint yourself with the program and its various features and filters, you're sure to be well served by this video tutorial. For more...
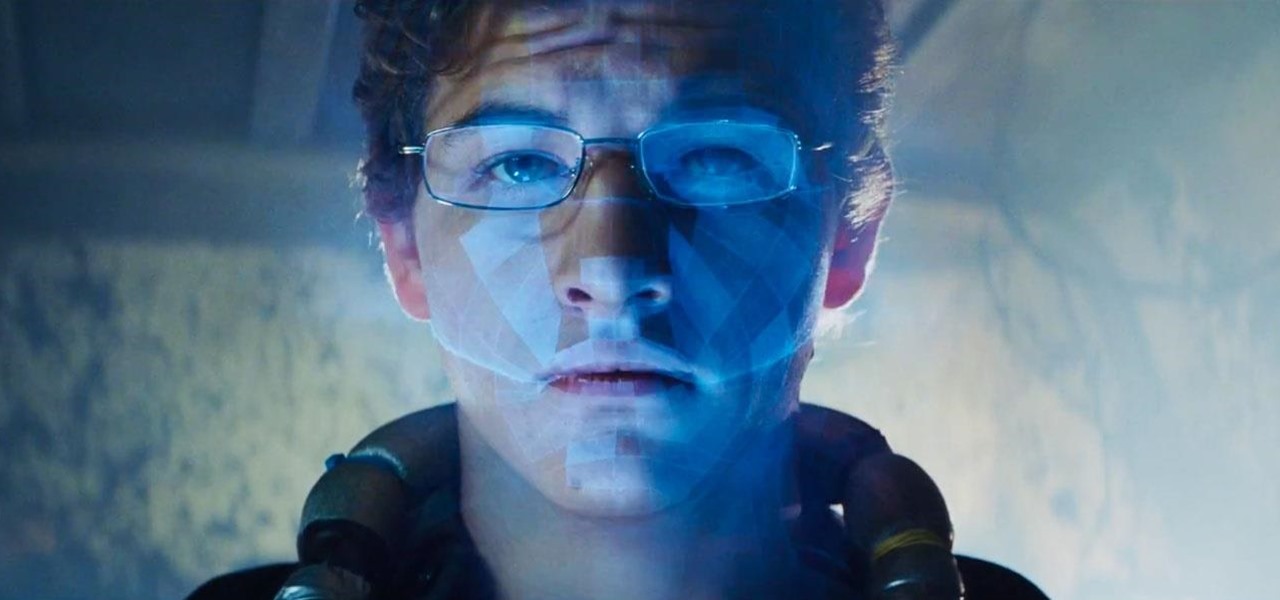
A funny thing happened on the way to the release of the virtual reality epic Ready Player One — augmented reality grabbed a major piece of the spotlight. Specifically, Microsoft's HoloLens.
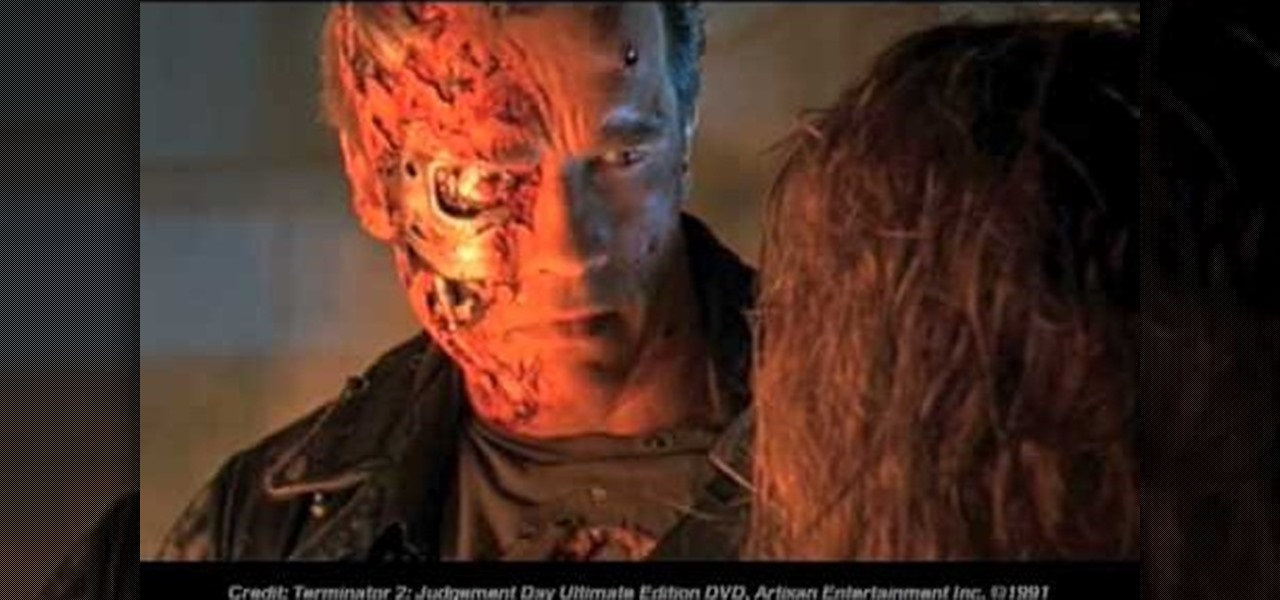
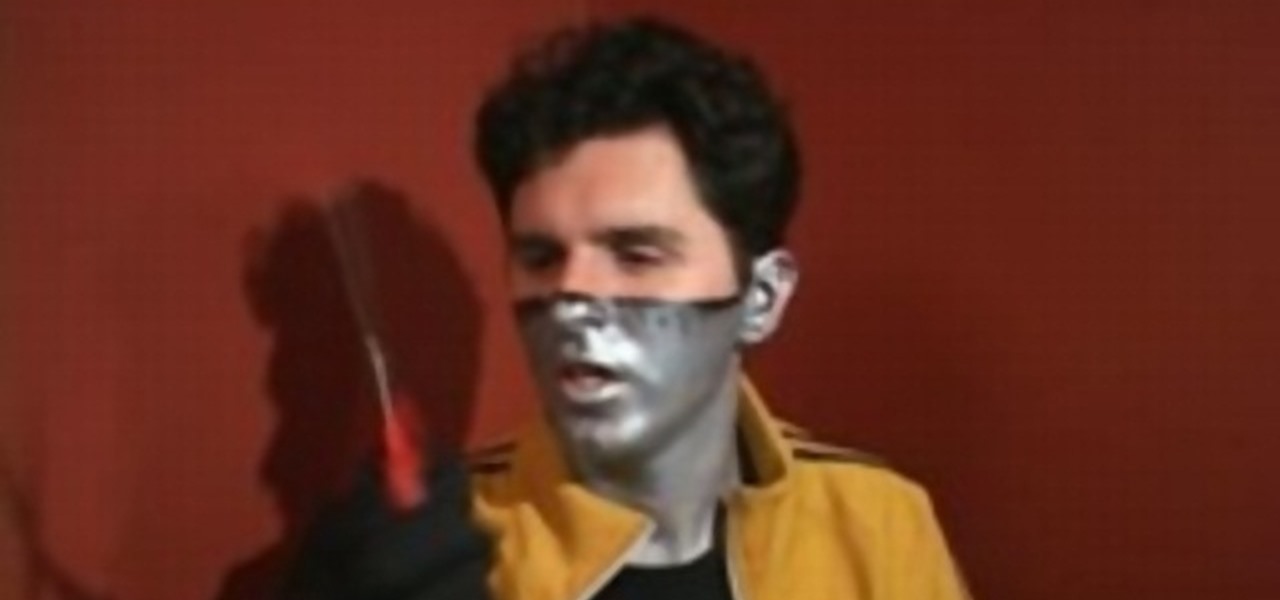
This tutorial will show you how I created my own original Terminator costume from scratch and a modest budget. All the materials used are easy to find items sold at your local Hallowe'en or theatrical costume store.

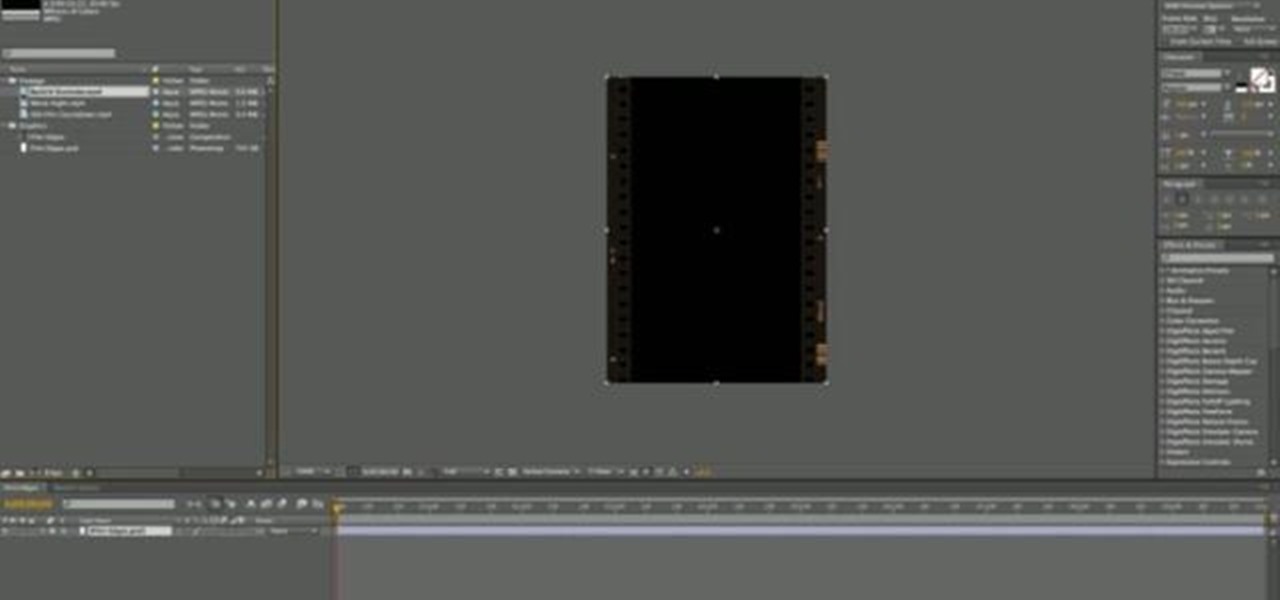
Love the look of animated 35mm film? It can be tricky to really replicate this effect, but it's nevertheless possible. This tutorial shows you how to use Adobe After Effects to create your own clip of 3-D animated film footage.
This software tutorial shows you how to use chroma key, the method of using green or blue screen footage, in Wax 2.0. Use the free video editing software Wax 2.0 to chroma key and create cool effects for your video footage.
This software tutorial shows you how to chroma key in Windows Movie Maker. Chroma keying requires having green screen video footage. Once you have footage you can use the chroma key effect tools in Windows Movie Maker to put subjects in different background. See how easy it is to chroma key in this tutorial.
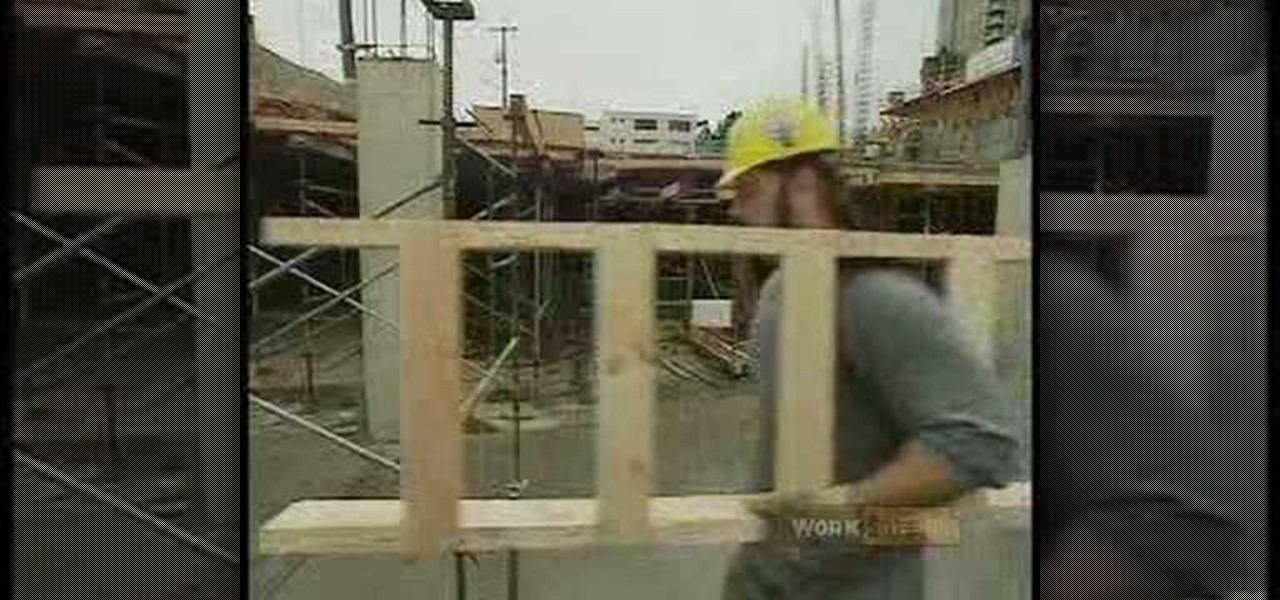
Ladder Safety is a video tutorial designed to highlight the important safety procedures associated with ladder use on construction sites. The video uses classic B&W comedic film footage and computer graphic simulations to illustrate safe ladder techniques. Learn how to use a ladder safely while on the job or at home by watching this instructional video.
Do you have some footage from the Sony XDCAM EX digital camera memory card that you need to get into Final Cut Pro? Well, check out this brief tutorial on ingesting that XDCAM EX footage into Final Cut Pro with ease by downloading some software, like upgrades. You'll need the Sony camera and a USB cable, then just watch the video to see how it's all done in Final Cut Pro. This will work with Sony EX1 or EX3.
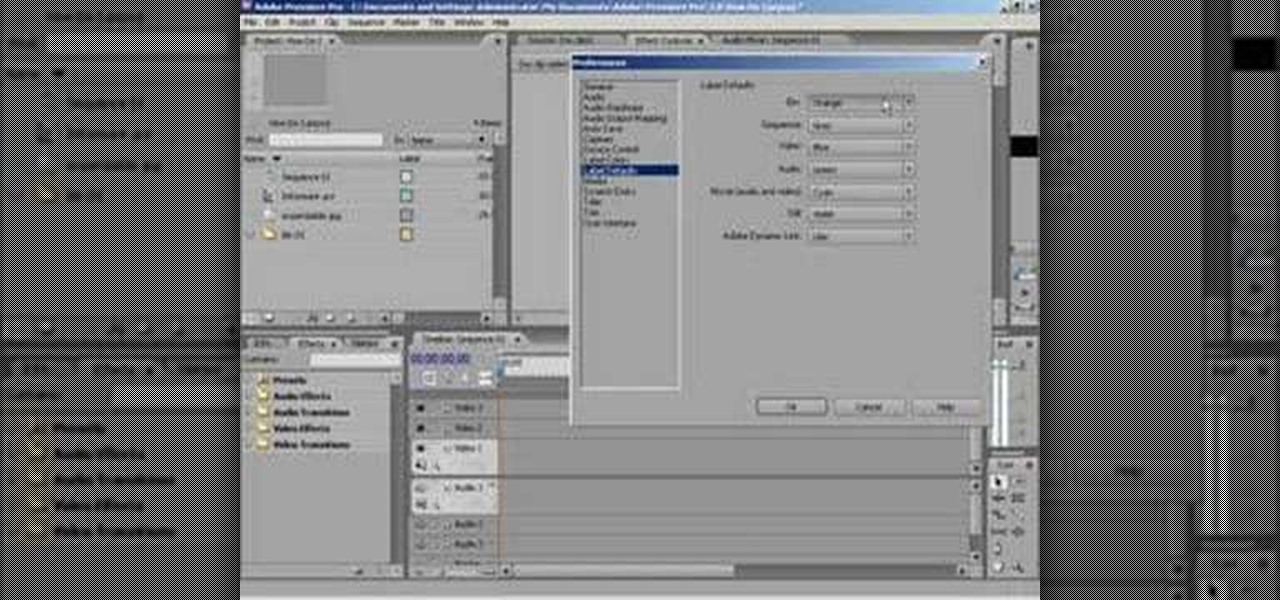
This tutorial shows you how to change the colors on the labels for each footage type in Premiere.
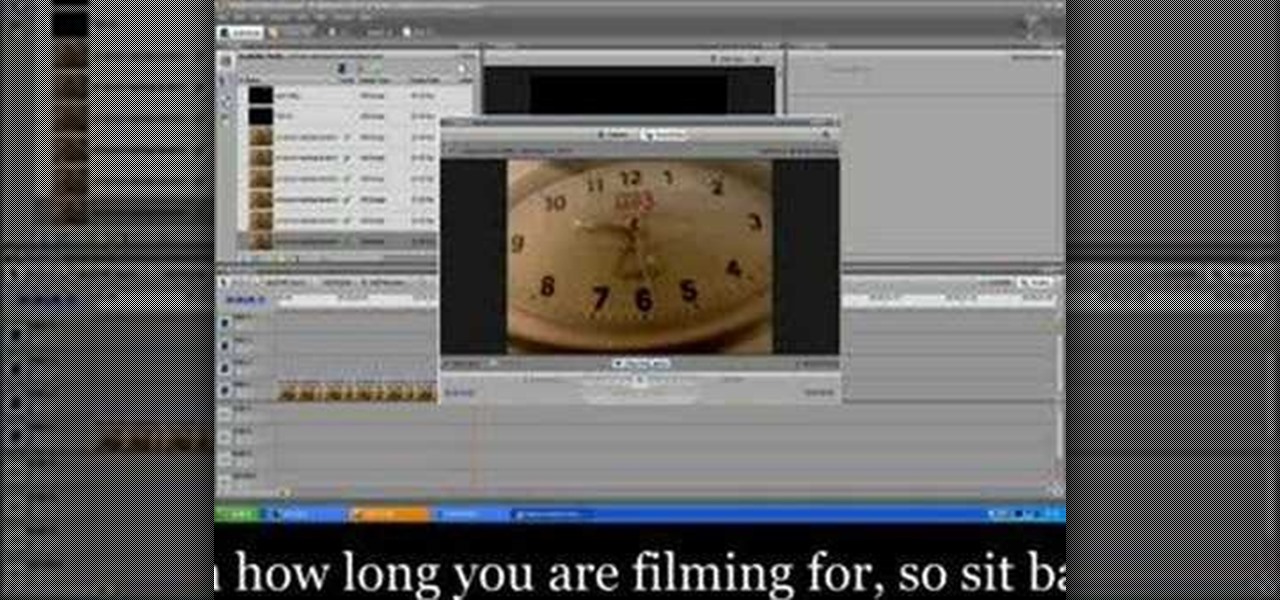
This video talks about cutting techniques. Bear in mind that you will need to have lots of coverage of the same scene if you plan to do editing, so you have multiple angle options. Israel Hyman, an Arizona-based videographer, shows you how to edit your footage in this tutorial.
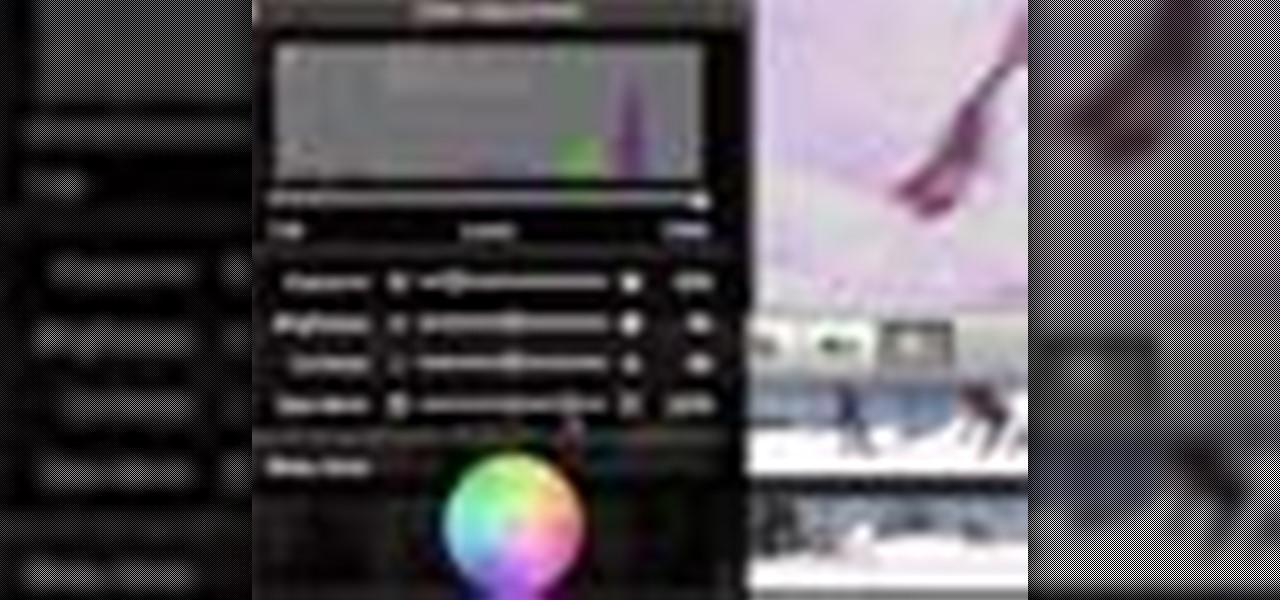
iMovie allows the average computer user the ability to quickly make movies out of your digital video footage or home movies. This is not the most professional way to color correct your footage, but it should be sufficient for the average Mac user. Follow along and see how to adjust color using iMovie.
Don Schechter demonstrates how to capture your footage from your camera to your computer and log it for easy access later on for Final Cut Pro. Logging clips allows you to organize your footage without having to waste hard drive space.
Don't jeopardize your memories. Learn how to preserve your old home movies by digitizing your VHS tapes.
Backyard FX shows how to build a real lightsaber. Erik Beck unearths the original lightsaber blueprints from the special effects creator for Star Wars, and show you how to buy parts to a real lightsaber so you can have your own custom Star Wars weapon. In the test film you'll see our rotoscoping technique on how to complete the effect with some simple computer animation. You will need chrome plated slip joints, black vinyl rubber, a nylon slip joint, a rubber slip joint, rubber O rings, and m...
Before you do any shooting on the Red One Camera, you must set up your project settings and format your media with the settings you plan on shooting with. 2K, 3K, or 4K and your FPS must be set or face bad consequences when you go to edit this footage.
So you've got hours and hours of footage for your home video, and now you want to make it into a usable product that you can put up on YouTube! Or, you know, onto a tape that you can bore your family with (heh heh heh). But you need to at least edit them down a little so that way you can get the point of your story across. In this video you will learn how to use the editing tools in Adobe Premiere.
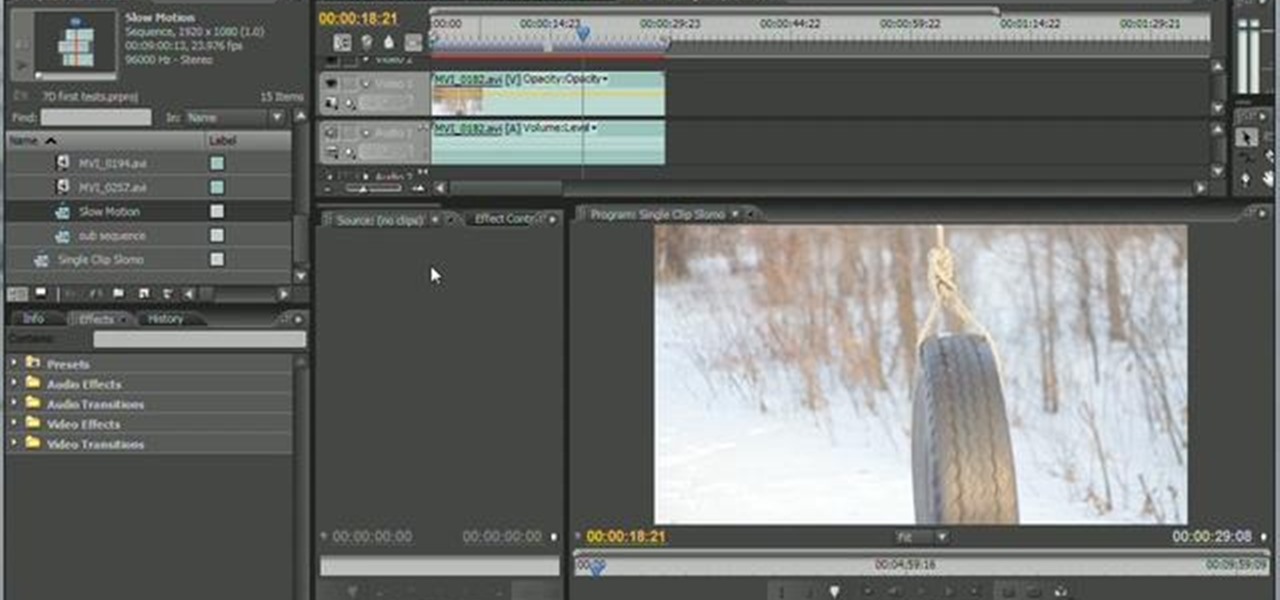
In this clip, you'll learn how to overcrank footage from a Canon DSLR camera like the 7D or T2i to a lower frame rate for a high-quality slow-motion effect. Whether you're new to Adobe's popular motion graphics and compositing software or a seasoned video professional just looking to better acquaint yourself with the program and its various features and filters, you're sure to be well served by this video tutorial. For more information, including detailed, step-by-step instructions, watch thi...
This clip presents a guide to overcranking footage shot on a Canon DSLR camera like the 7D or T2i to a lower frame rate for a high-quality slow-motion effect. Whether you're new to Adobe's popular motion graphics and compositing software or a seasoned video professional just looking to better acquaint yourself with the program and its various features and filters, you're sure to be well served by this video tutorial. For more information, including detailed, step-by-step instructions, watch t...
Check out this tutorial of how to create moving curtains in After Effects. You create a set of curtains that opens up to reveal footage placed behind it. You can render the clip out with an alpha channel and always have a curtains clip ready to reveal some footage. Whether you're new to Adobe's popular motion graphics and compositing software or a seasoned video professional just looking to better acquaint yourself with the program and its various features and filters, you're sure to be well ...
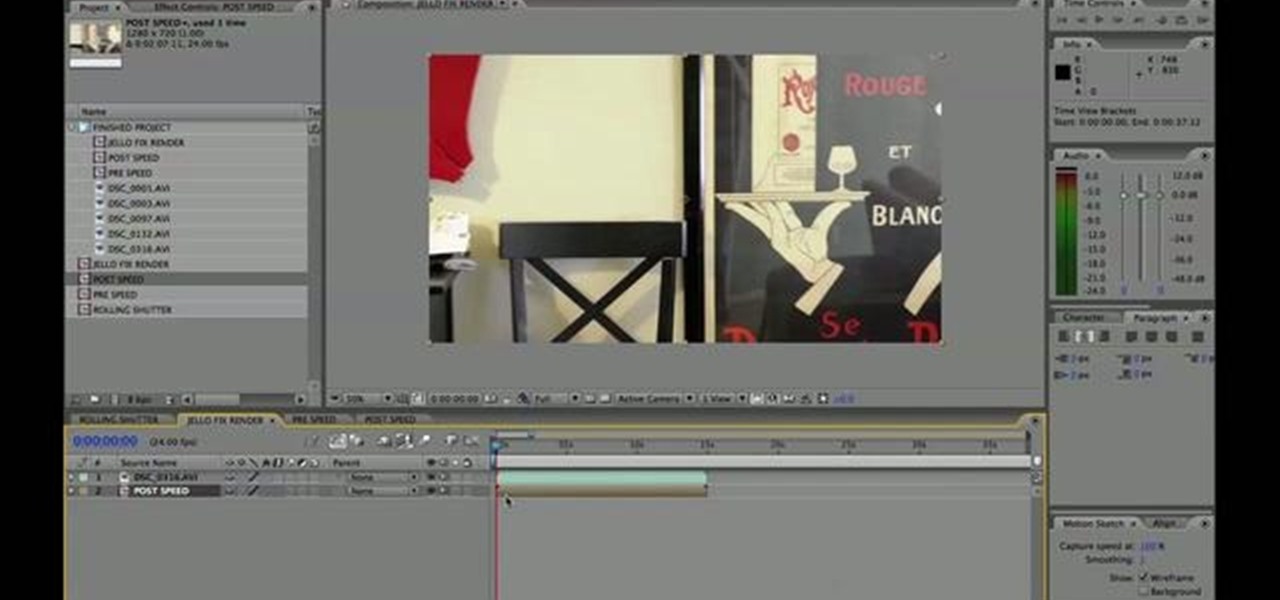
Is your digital SLR camera creating an unintentional "Jello effect"? Well, this is caused by a rolling shutter, which can be fixed in Adobe After Effects. This tutorial serves to help you eliminate your problems on your D-SLR caused by the CMOS's "rolling shutter".
The Minecraft 1.8 pre-release is out, and it's now possible to play Minecraft 1.8 beta on a Mac computer. Unfortunately, the installation process isn't very simple, so if you want to learn how to download and install the pre-release of 1.8 on your Mac, take a look at this tutorial.
This tutorial uses footage from the demo version of Madden NFL 12, but it should work just fine for the retail versions of the full game. It demonstrates how to successfully execute a Surprise Onside Kick. If you're looking to surprise your opponent, try this off from the regular kicking formation and see how many yards you can gain on either the Xbox 360 or the PS3.
Time lapse videos can be used to distort a sense of time around your subject, which makes them very useful special effects in documentaries. By using time lapse, you can show the transition from sunrise to sunset in just a few seconds, or slow down a drop of water hitting a table. The tools in Adobe Premiere can be used to create this effect, and the following tutorial shows you how to take your raw footage and turn it into a time lapse shot.
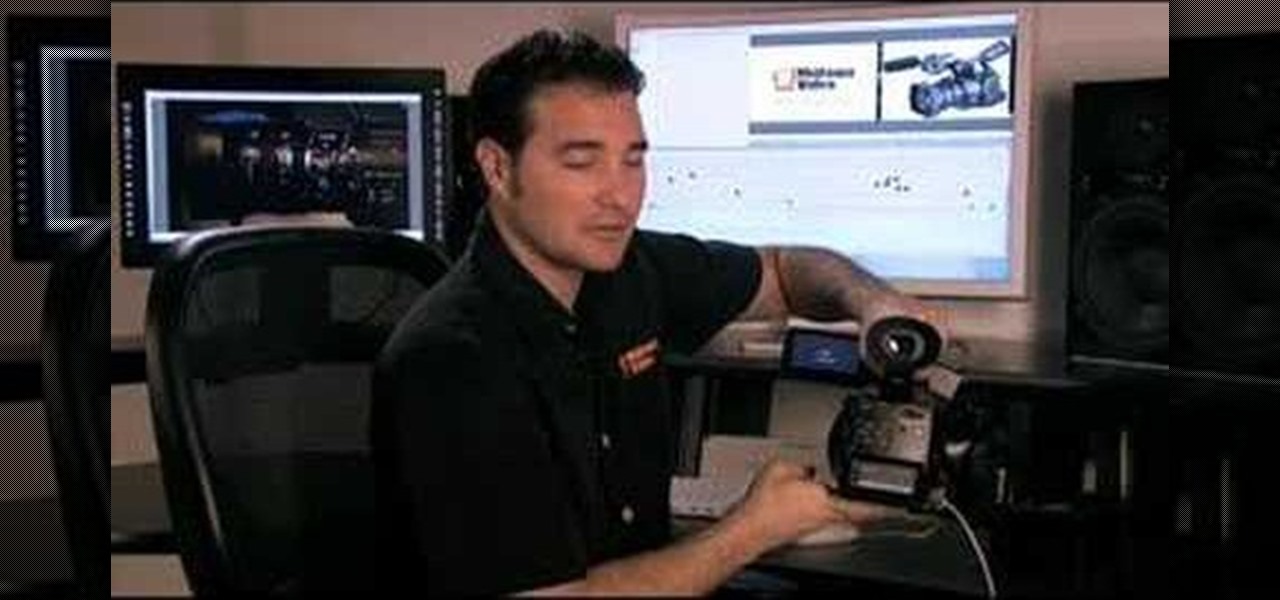
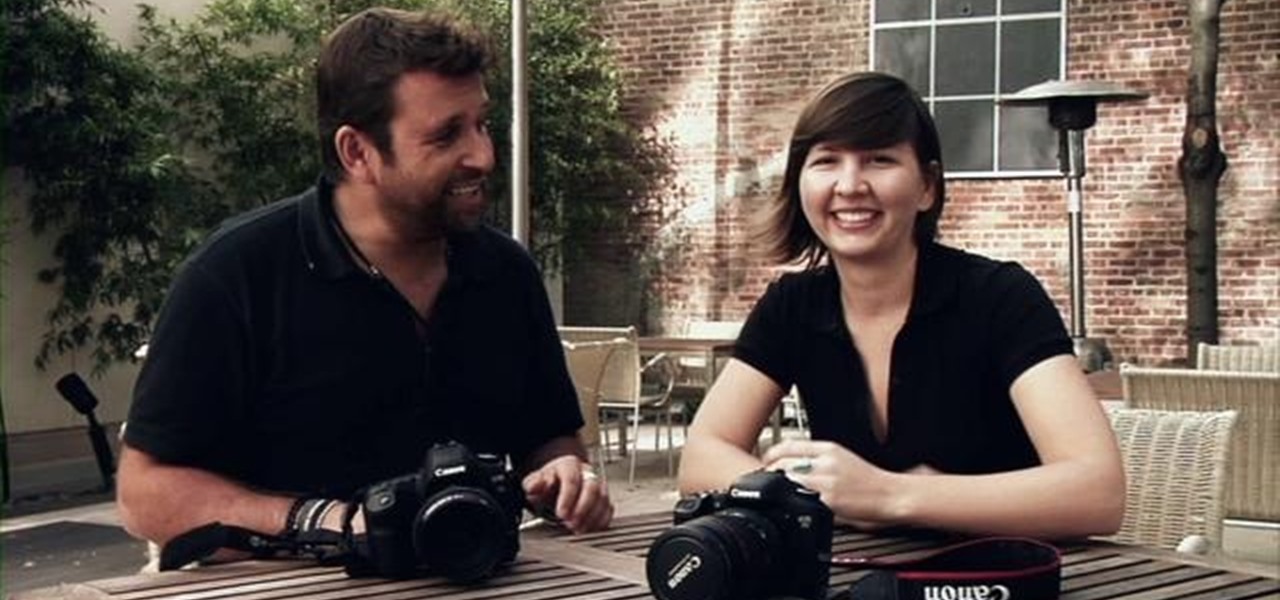
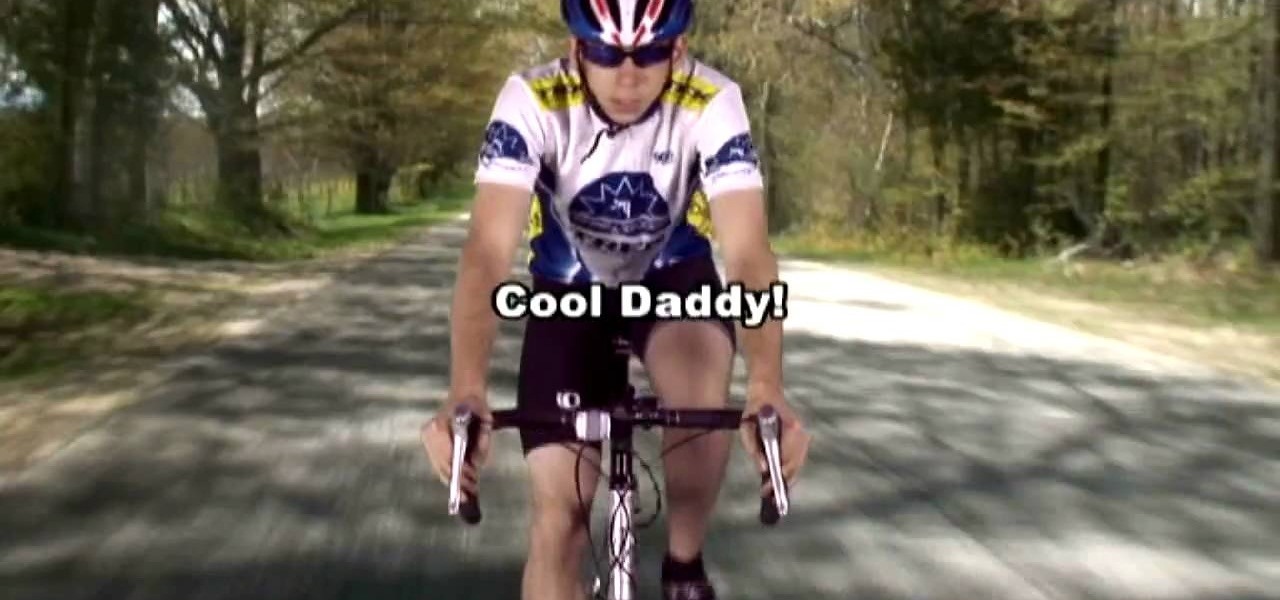
Buy a DSLR just for the video? You're not alone. In this video tutorial from renowned DSLR cinematographer Philip Bloom and the staff of Vimeo, we receive some tips on how to set up a DSLR like the Canon 7D, T2i (550D) or 5D Mark II for shooting video.
Ready to edit your footage in Windows Live Movie Maker? First, you'll need to move the individual clips from your camera to your computer. This installment in Vimeo's excellent Video 101 series of covers all of the basics—connecting your camera, copying the files over and, finally, importing them into your video editor of choice.
Motion tracking a movie scene in After Effects is a royal pain in the butt. It takes a long time, depends largely on the suitability of the footage you are working with, and is rather confusing. This video is here to shed some light on the subject, offering many tips and tricks for basic motion tracking in After Effects. If you're having trouble getting your own scum-sucking monster to wander the desert realistically, watch this video!
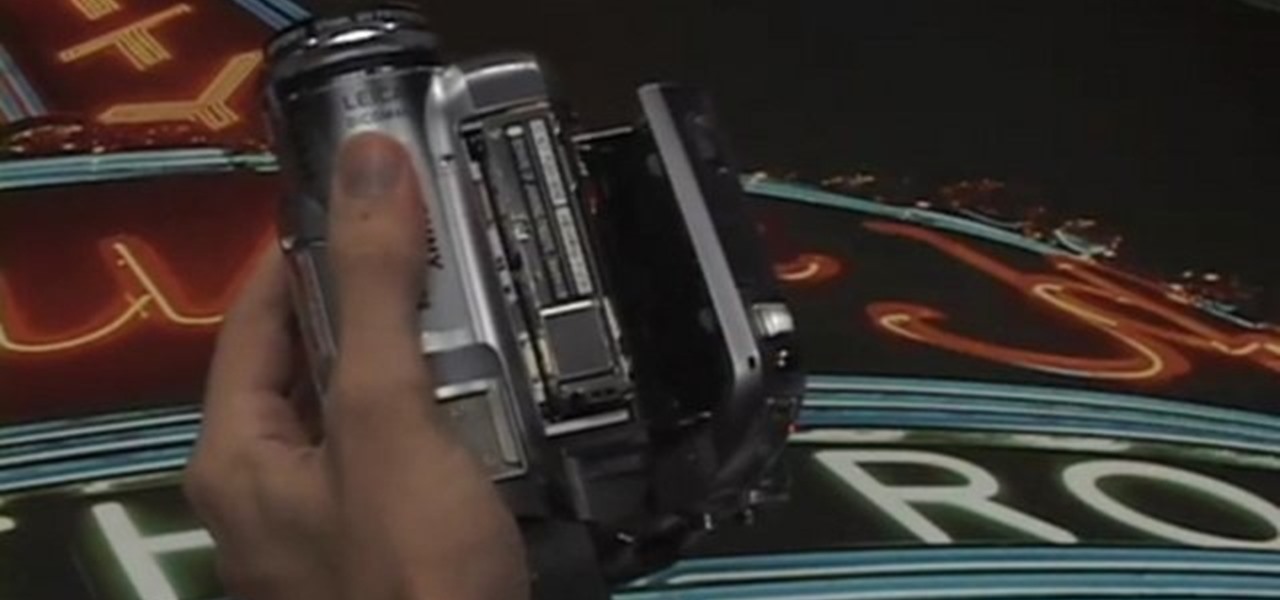
Check out this video tutorial to show you how to use a Panasonic MiniDV camcorder. This video was made by the equipment room at CUNY Journalism School in New York.
CaptainDisillusion challenges the urban legend of a gas station ghost that's talked about by newcasts across the country. Find out the tricks or illusions of low quality video footage.
To make your movie look as professional as possible, you'll want to include only the best footage. It's easy to remove the parts of your clips that you don't like.
This video tutorial is in the Fine Art category in which you will learn how to chroma key green screen video. Chroma key is the magical process of making images where the background or any object in your scene can be made transparent so that you can replace it with a different image. First shoot some footage in front of your Chroma key backdrop. Then shoot the background footage. Next put the 1st video track over the background track in the editing time line. With Chroma key you can have some...
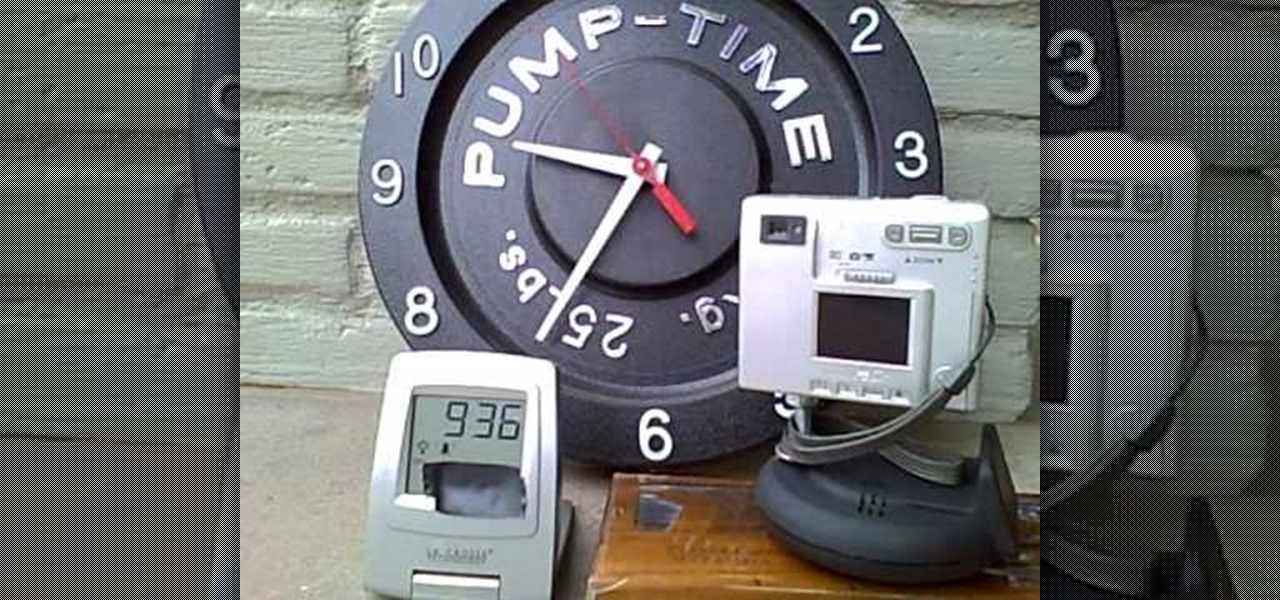
Imagine your own time-lapsed footage in a 360 degree pan. You don't need an expensive Hollywood-style pan mount to get this effect. You can easily do this rotating pan mount on the cheap, with something you would never suspect— a kitchen timer.
This tutorial takes a look at the basics of keying footage in After Effects using the plugin Keylight. This tutorial doesn't go over all the buttons and switches of the plugin but gives you enough to get started and understanding how it works. Whether you're new to Adobe's popular motion graphics and compositing software or a seasoned video professional just looking to better acquaint yourself with the program and its various features and filters, you're sure to be well served by this video t...
In this tutorial, we learn how to cut your friends in half with film effects. To do this, you will need an actor, a still frame of blood, and some gory looking meat. Have your wounded actor lay on the floor with another actor laying next to him. Then, have them all leave the frame. Next, bring all the footage in After Effects and bring in the meat picture as well. Add blood and the meat in the pictures and remove the lower half of the body. Play with the colors to make it look more realistic,...
Want to make your digital footage look a little less ... well, digital? Color grade it for a classic film look. Whether you're new to Apple's Final Cut Pro non-linear video editor or just want to better acquaint yourself with the Final Cut Pro 6 workflow, you're sure to benefit from this free video tutorial. For specifics, including a step-by-step overview of the grading process, watch this Final Cut Pro lesson.
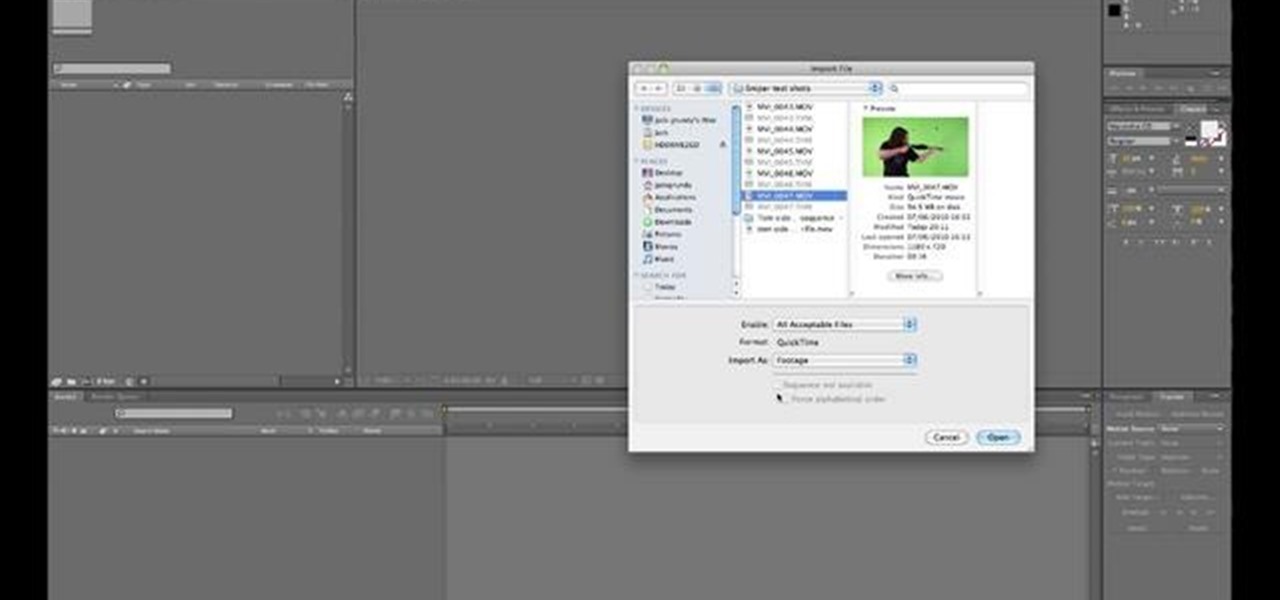
The first step in any After Effects CS5 project is importing your footage and setting up a custom composition with reference to the technical settings of your individual clips. Learn how it's done with this video tutorial.
Seanshows us how to use the cloning feature in Adobe After Effects. The first step consists of moving two versions of his footage (video clip) into the time-line area. He then takes a single frame from his footage and saves it as a Photoshop layer and puts it into the time-line. That frame will act as a masking layer and is to be made invisible by deselecting the eye icon. After watching this informative how-to video you will learn how to use cloning in Adobe After Effects.
This After Effects tutorial gives a basic overview of how to create the tongue effect as seen in the show Kung Pow. You want your actor to move as little as they can, or you will have to fix the footage by motion tracking, which isn't covered in this tutorial.