Dina Prioste shows us how to do a yoga eight angle or astavakrasana pose in this video. To do this, make sure your arms are strong and you are stretched out. Now, get into a push up position placing your elbows at a 90 degree angle. Next, lay back down and sit in a position where you can rock your right knee. Then place your right knee over your right shoulder and place your hands on the floor to lift your butt up off the floor. Next, hook your feet and lean forward so it feels like you are f...

In this tutorial, we learn how to do reverse yoga poses to open up the shoulders with Dina Prioste. You will want to start off in a reverse table top position, which will give your shoulders a nice deep stretch. To come into this position, sit with your knees bent and take your hands behind you, so your fingers point towards your feet. Now, inhale and lift your hips up and keep pressing your feet into the floor. Keep your chin touching to your chest. A regular tabletop position just includes ...
In this video, Dina Prioste shows us how to do a flying crow pose arm balance in yoga. After you are warmed up, start in a semi squat position with your right angle over your left thigh. Now, bring your hands together in front of your heart and bring your elbows to the front of your shins. Now bring your hands to the floor and hook the right foot outside the left arm. Next, lean forward and engage the left back leg while lifting it up. Keep this pose for as long as you can, then do it again o...

In this tutorial, Dina Prioste shows us how to do a yoga dancers pose. Start standing with your weight on your left leg. Now, bend your right leg and grab it behind you. Now, lift your left arm up and keep raising your right leg. Open up into your back bend and lean forward. As you lean forward, you will create balance on your left leg, so focus on a spot that is in front of you. If you can't reach your foot behind your body, use a yoga strap or belt to help you reach. Doing this will help in...

Cheryl Cole can do it all. She sings, writes, acts, dances, and models, so it's no wonder why a multitalented woman like this would also be good at makeup! Her smokey eyes are flawless. Primp Powder Pout shows you a really good description of recreating Cheryl Cole's flawless smoky eyes, great for a night out on the town.
In this tutorial, Dina Prioste shows us how to purify chakras with yoga. First, go into a gentle back bend while chanting a mantra. Then, lie on your back with your feet flat on the ground. Next, lift up your hips and place your fingers under your thighs and look up at the ceiling. When you do the chant, feel the vibrations through your body and remember to deep breathe while focusing intently. When finished chanting, lower your back down to the floor and relax the body. This will open up you...

In this video tutorial, viewers learn how to do a beginner chest workout. All the exercises revealed in this video are machine equipment, that can be found in any gym. For each exercise, do 3 repetitions in a pyramid form. The first set should be 15 repetitions, second set should be 12 repetitions and third set is to lift until failure. The exercises in this workout are: incline press, chest fly, cable crossover and straight chess press. This video will benefit those viewers who are intereste...
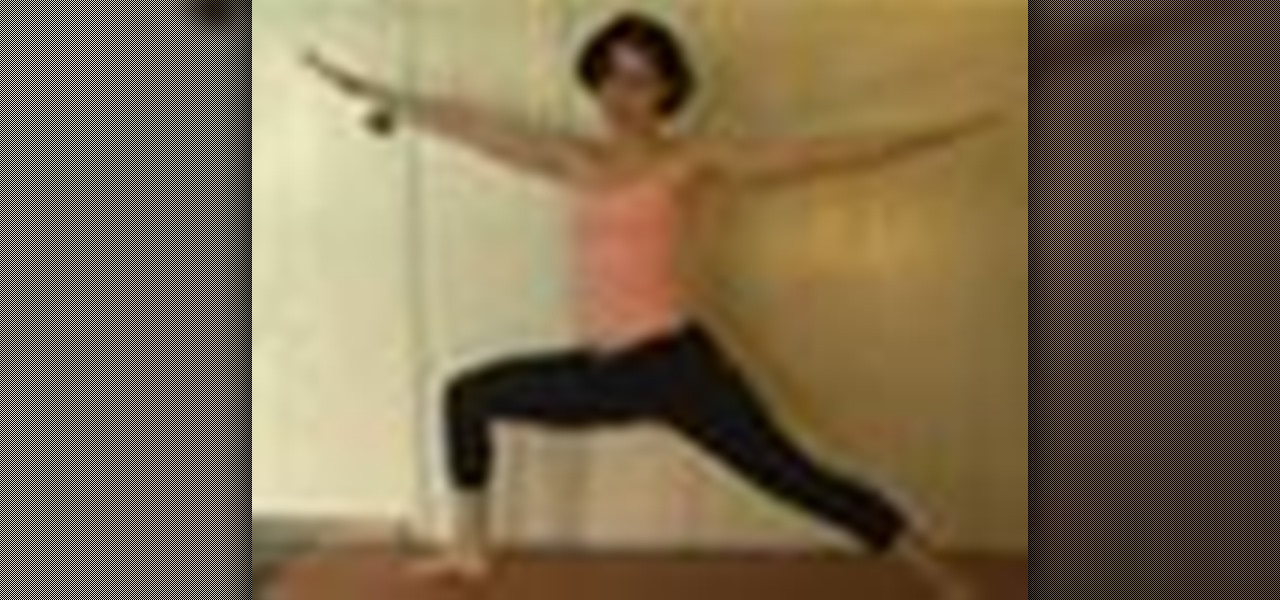
If you only have 5 minutes to practice in the mornings, string together the four warrior poses. Begin in the Downward Facing Dog position. Push into Plank pose. Transition into Cobra pose. Then, push back into Downward Facing Dog. Lift right leg up, swing it through into a lunge. Transition into Warrior I pose. Open from Warrior I to Warrior II. Then, transition into Reverse Warrior pose. Then, Open up into side angle pose.
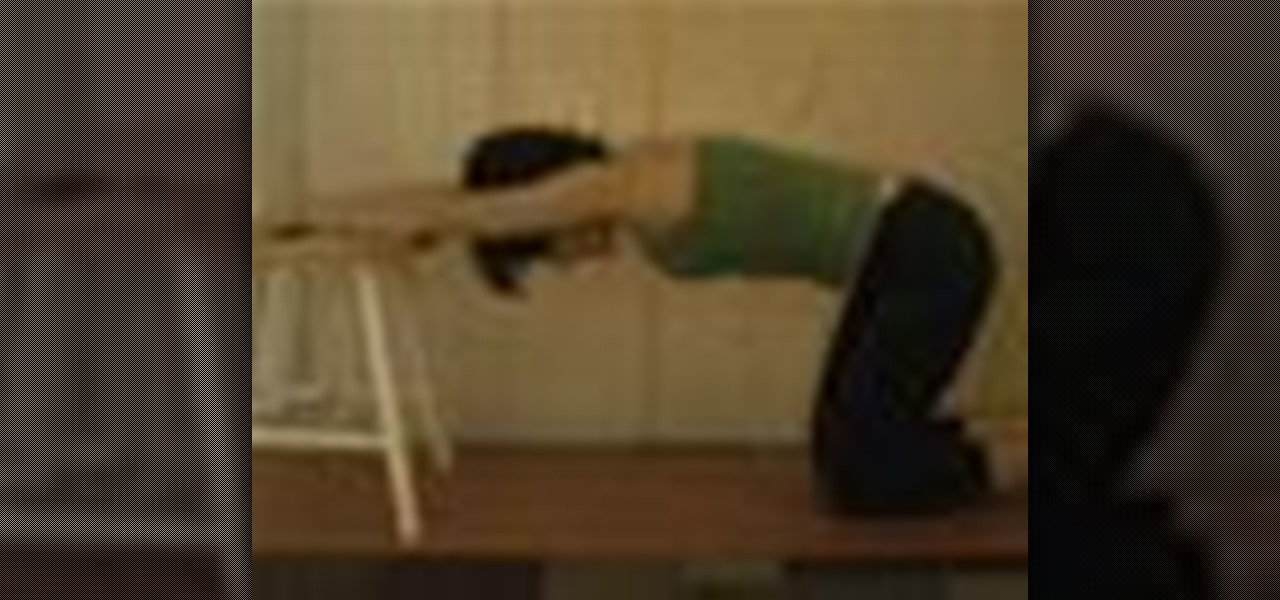
For the first version of the yoga extended puppy pose, kneel down on the floor while extending your arms towards a chair or a sofa placed in front of you. Stretch out your arms gently. Keep your back straight and then gently lift it up. Repeat these steps over and over yet gently. Take deep breaths as you do so.
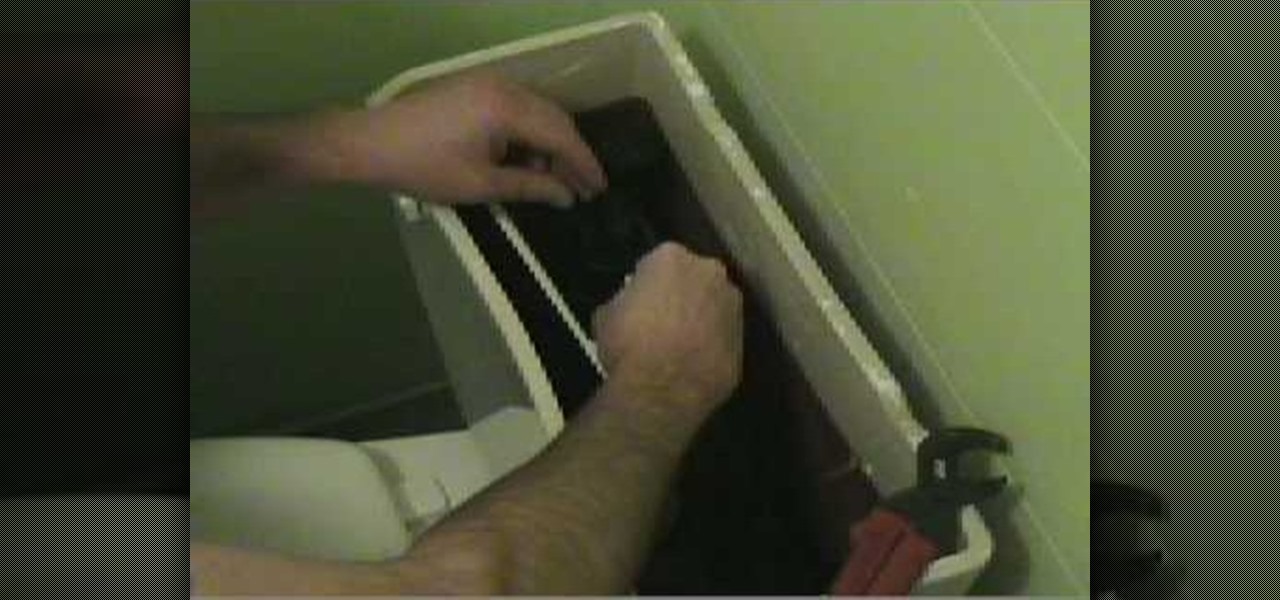
This Home & Garden video shows you how to replace a running old style fill valve toilet with something more modern. Shut the supply line to the toilet and flush to remove the water from the tank. Then remove the supply line. Now take a wrench and loosen the plastic nut of the old fill valve located under the tank. Then lift the old valve and keep it aside. Take a 'flow master', which is a new type fill valve, place it in the same spot and hand tighten the nut under the tank to hold the flow m...
In this tutorial, Dina Prioste shows us how to do a stretchy pigeon yoga pose. Make sure you properly warm up your body before attempting to do this pose. First, start off in a pigeon pose with your front foot as far forward as you can place it. Keep your back toes tucked under and lean forward with your elbows and forearms to the front on the ground. Inhale while sending the back heel back. Do this three times, and exhale while you go back in. Do this on both sides, then place the foot on th...
In this video tutorial, viewers learn how to install the Roman shade orb on Roman shades. Begin by threading the lift cord through the bottom ring of the shade and then slide the end of the cord through the orb. To do so, squeeze the orb to reveal an opening and slide the cord through the hole. The orb allows the user to easily adjust the tension of the Roman shades. Simply slide it back and forth to tighten or loosen. This video will benefit those viewers who have Roman shades, and would lik...
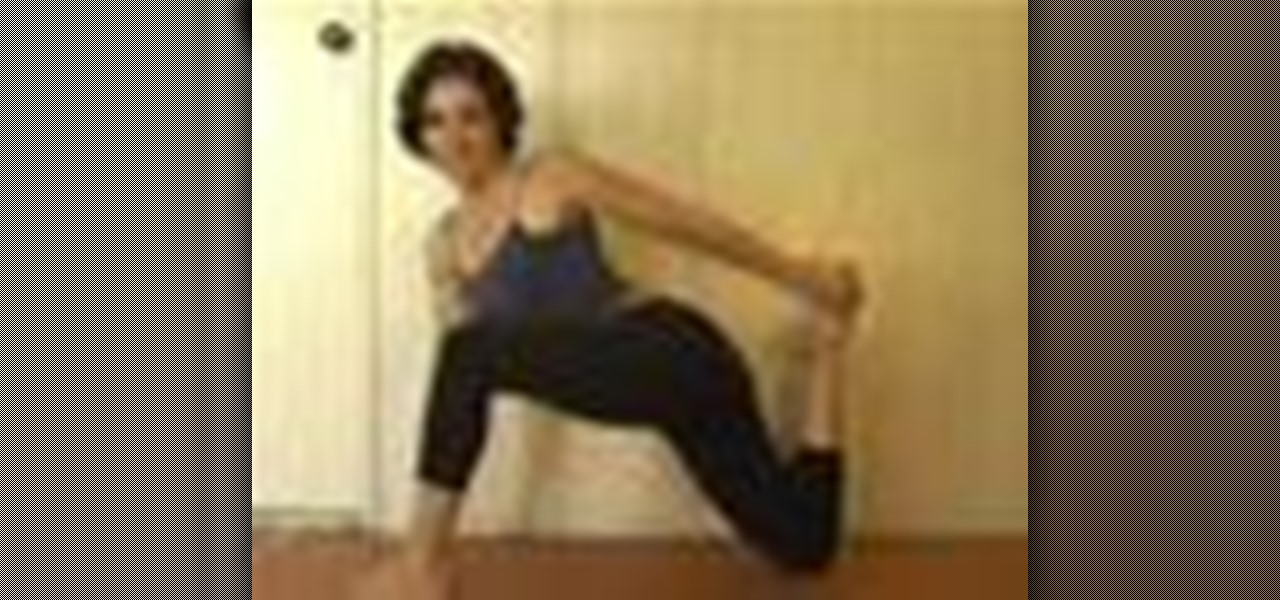
In this video, we learn how to do hip flexes with Dina Prioste. First, bring your right foot up and get into the downward facing dog position. Your right toe should be pointing towards the front and your left leg should be facing toward the back. Now, raise your arms high into the air so they are raised above you. To feel the stretch more deeply, lift up and stretch down further than before. You can also press into the top of the left foot and bring the right foot up if you are a more advance...
In this video tutorial, viewers learn how to fold a pocket square into the winged puff and rolled puff. For the winged puff, begin by folding the pocket square diagonally in half to form a isosceles triangle. Then fold the two edges towards the middle to form a diamond shape. Now fold the two outer points into the center and fold the bottom flap up, creating a pentagon shape. For the rolled puff, cup the pocket square in one hand, then roll the top of the pocket square downwards with the othe...
Setting up bluetooth in your vehicle is an easy task that anyone can complete. Bluetooth is a great and useful gadget that enables drivers to have conversations on their phone, without ever having to lift it from their dash. It's also a vital gadget to have in some states, since texting and calling while driving is becoming illegal. So in this tutorial, you'll be finding out how to setup bluetooth in a 2011 Hyundai Sonata. Good luck and enjoy!
For some people, no matter how hard you exercise and how heavy the weights you lift, muscle gain seems to be elusive. But that's because many of us don't understand the basics of muscle gain.
Unilateral exercises are easier than bilateral exercises, so it's safer to start with these types of weight lifting workouts if you're an exercise beginner.
The strength of your torso is helpful in many exercises. If you plan on body sculpting or weight lifting, you will need to have a stong enough upper body to support it. In this tutorial, learn how to use a tornado ball to increase your strength.
In this how to video, you will learn how to load a kayak on a vehicle. Doing this properly will mean both the kayak and vehicle are safe. A simple upright system is fine for your kayak. You want to look for J and V bars with padding to transport your kayak. To lift the kayak on to the roof, first check to make sure the straps are working. Hold the kayak with both hands and a straight back with your knees. Lay the kayak in a strong position on its side. Secure the kayak with the straps. Thread...
In this Software video tutorial you will learn how to make a winking animated GIF in Adobe Photoshop. Select a photograph of two eyes and duplicate the layer. Now copy the top eyelashes and paste them on top of the bottom eyelashes. Go to the eye drop tool and select a dark color. Then go to paint brush, choose a brush with size 1 and select darken in the ‘mode’ dropdown menu. Reduce opacity to 50%. Now darken the lower eyelashes as shown in the video. Then go to healing brush tool and se...
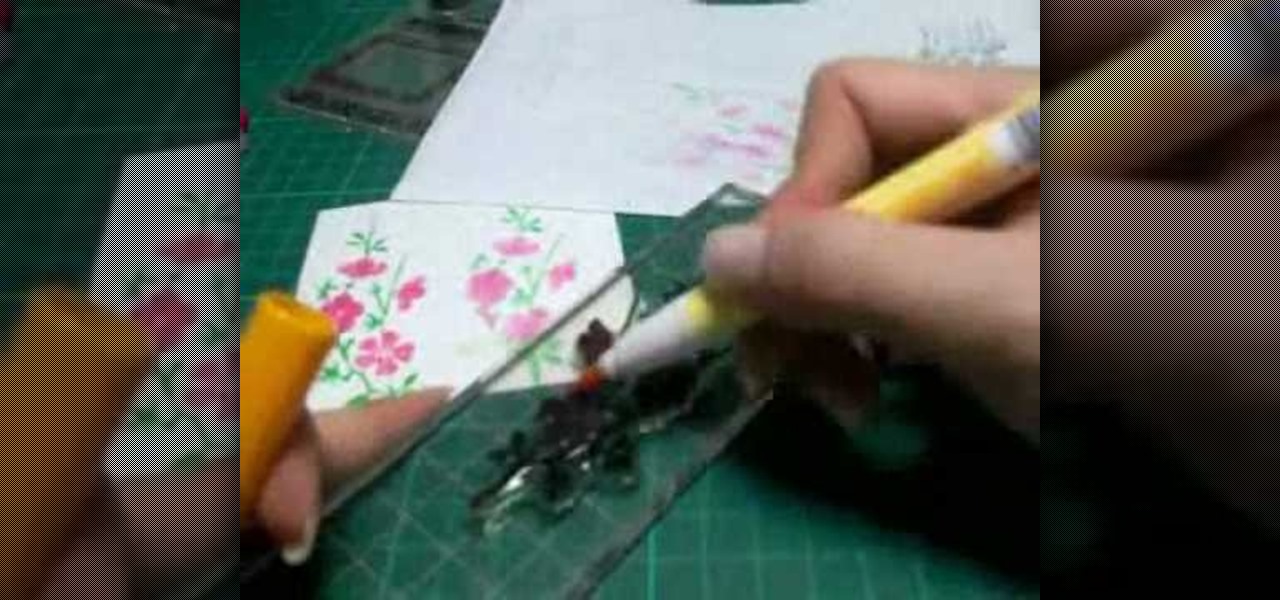
In this Arts & Crafts video tutorial you will learn how to use markers & water to create a watercolor stamp look. You can use rubber and acrylic stamp for this. You will need water based markers, minimister and card stock. Select you stamp and color it with markers as you would do in a painting. For example, you can color the leaves green and flowers red. You can also apply different shades. Then spray water with the minimister and stamp the image. Just stamp and lift, don't keep it too long ...
In this Arts & Crafts video tutorial you will learn how to fold a hexagonal, six-point paper star with origami. Take a hexagonal sheet of paper and fold in half from all corners. Then fold each side inward up to the center point. Open up all the folds. Now fold one side up to the center point. Then fold one corner back over itself and fold the next side of the paper up to the center point. Continue like this for all sides and you will now have a smaller folded hexagon. Then lift up each flap ...
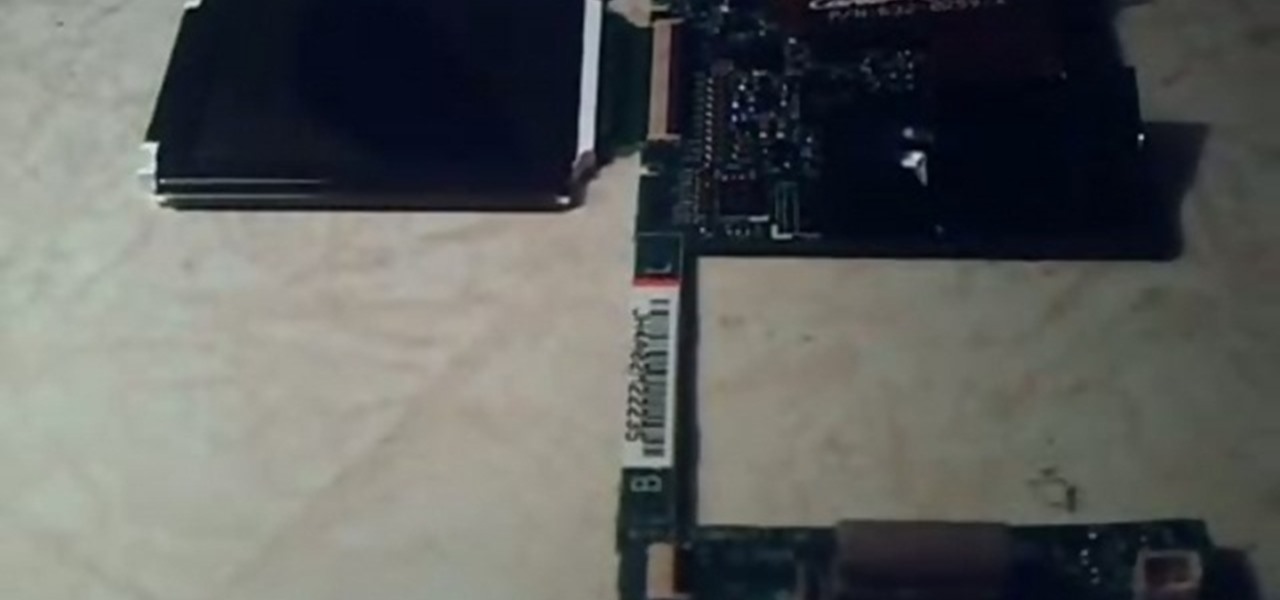
This video will help you repair your iPod classic first to fourth or fifth generation that has been damaged. Overall goal is to remove the broken, smashed, destroyed screen by removing the broken screen from the main board and replacing it with another screen. You start first by removing the screen which is connected by a short ribbon cable. To detach the ribbon cable from the main board, you have to lift up the clip away by pushing your fingernail into the pin hole. This will push the black ...
If you’re into final fantasy and wish to look like the character Lightning, this video will teach you how to style your hair to transform into the character. First, spray your hair with a root lifting formula and blow dry to add volume and texture. Next, separate the top portion of your hair and tie it into place. Then using a straightening iron, crimp and curl the bottom half of your hair to create nice, wavy hair. Let down the top portion of your hair. Again using a straightening iron, fl...
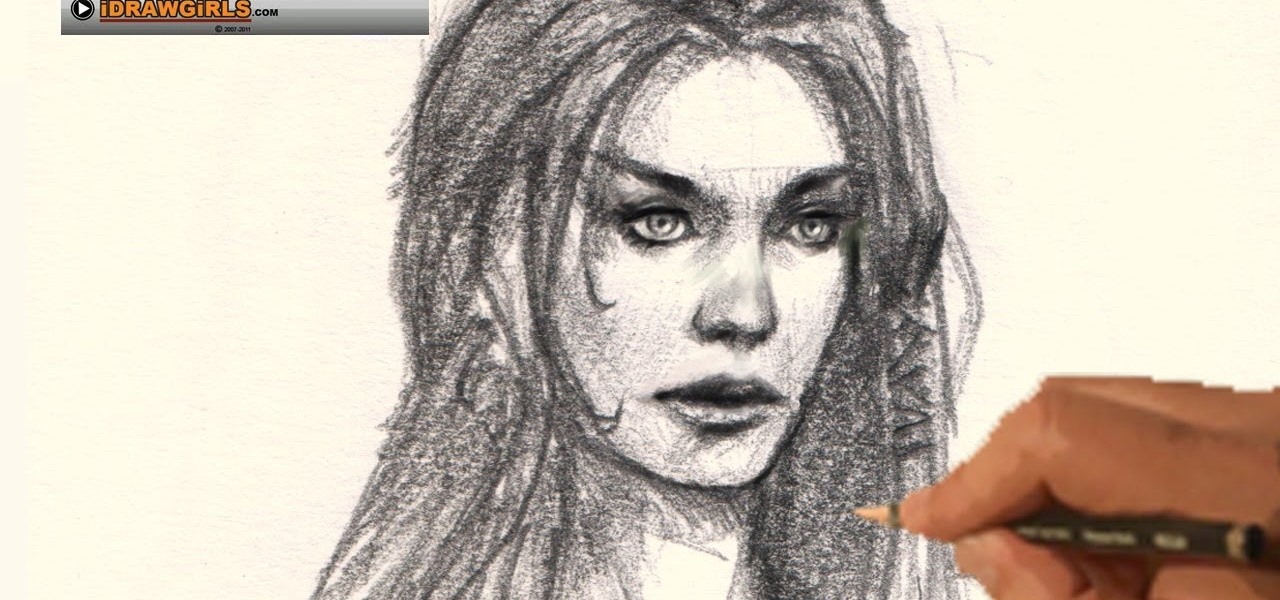
This video illustrate us how to draw a face. Here is the procedure for the following: Step 1: First of all take a sheet of paper and start by drawing a oval representing the outline of the face.
This video teaches you how to replace a LCD screen for the 5th generation iPod. The tools you will need are a soft cloth, a mini screwdriver, a plastic or metal putty knife, and of course your iPod. First, pry your iPod open with your putty knife. Place the knife in between the metal base and white case and pull the knife around the iPod, to undo the clips holding the case together. Once open, lift up the hardware, remove the headphone assembly, and take out the screws on the side. Take the e...
This video shows you how to remove acrylic nails using a nail tip. It takes a long time to soak the nails in acetone to remove them, and this method is quicker. To do it, slide one of the corners under any part of the tip. Force it in and slide it over across the nail and you will be able to see the acrylic nail lift up. Gently work on it to pull the nail off. It might hurt a little bit. The nail will look kind of rough, so you'll have to file it, and use some nail strengthener. Nail technici...
In this video tutorial, viewers learn how to remove the fan assembly from a G5 i-Mac computer. This process is very fast, simple and easy to do. Begin by laying the i-Mac screen face down and remove the screws on the back cover. Then remove the back cover of the screen. There are 3 fans inside the i-Mac. These fans are not supported by any screws. Just simply lift up each fan to remove it. This video will benefit those viewers who have an i-Mac computer and would like to learn how to remove t...
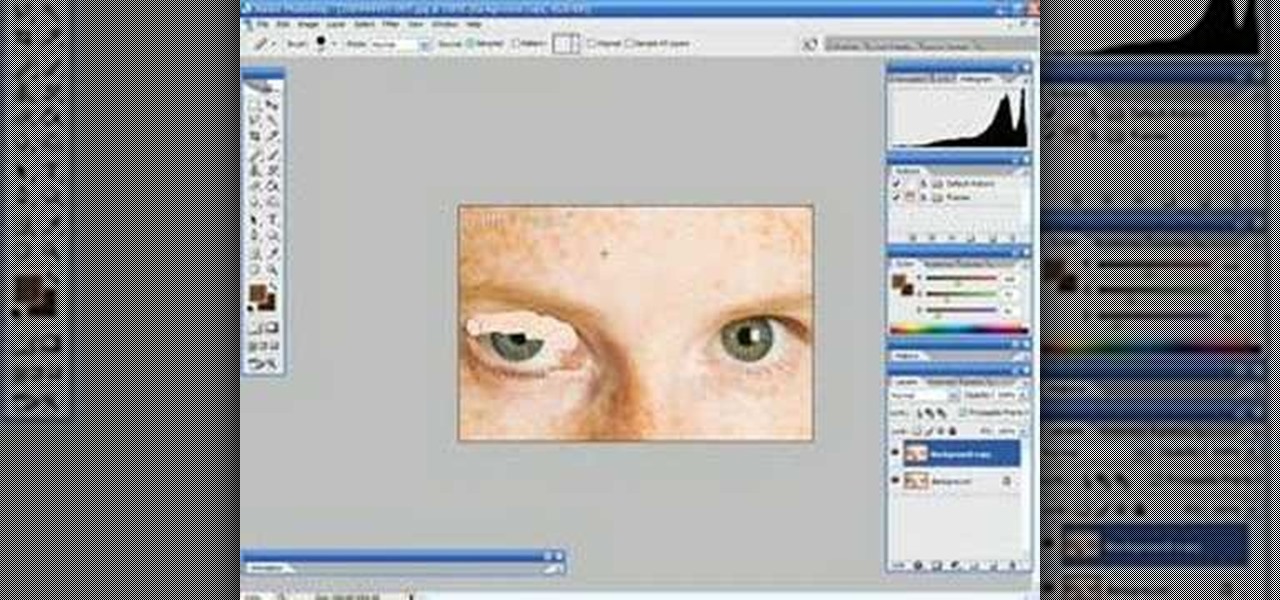
In this video tutorial, viewers learn how to change the color of eyes using Adobe Photoshop. Begin by selecting the Magnetic Lasso tool and create a selection around the eye. To create a second selection without losing the first one, hold the Shift key. Now go to Image, click on Adjustments and select Hue/Saturation. Now adjust the hue and saturation of the eye to change the color. This video provides a visual demonstration for viewers to easily follow along. This video will benefit those vie...
This video here is about making a messy hair bun. First the hair is drawn into a ponytail. Then, using a thick rubber-band, insert the the middle of the ponytail partially into the rubber-band so as to make a loop. Then spread the hair strands of this loop to make it look messy. Now from this spread loop, take bunches of strands and lift it slightly upwards and fix it using a hairpin. Fix the hairpins firmly so that they stay in the place. Spread out this bun from the middle. Curl up or tuck ...
In this video, a professional hair artist shows how to make a quick French twist hair style. Lift the hair up and backcomb it a little at the neck. Smooth the rest of the hair down over that. Gather the hair like a ponytail and twist it while moving it upward. Put a bobby pin at the top and another at the bottom. Twist the ends of the hair that are at the top so they fluff out, and add another bobby pin to hold them in place. Spray hairspray all over to hold the style in place. This is a simp...
The Gardening Guru demonstrates how to prepare and lay pavers in a multi-level adjoining area. First, get a garden stake use it to measure the evenness of the terrain and to set the height. Put the leveling tool on top of the pavers to even out the dirt. Then, lift out the rails. Once the rails are removed, you can then set the pavers directly on the dirt. If you prepare your area correctly, you will save a lot of time when you execute the actual project. This technique is useful when dealing...
Using a rubber worm with a lead cast you must first understand how it fells in the water. The lead cast will allow the bait to travel to the bottom. When the lure is at the bottom you will know because the line goes slack. Next is to lift the line up and let it rest on the bottom again. Do this twenty-five times to really get the feel of the weight and lure. When casting for real the practice will come in helpful because the Bass will look at the lure on the bottom and strike at it when it is...
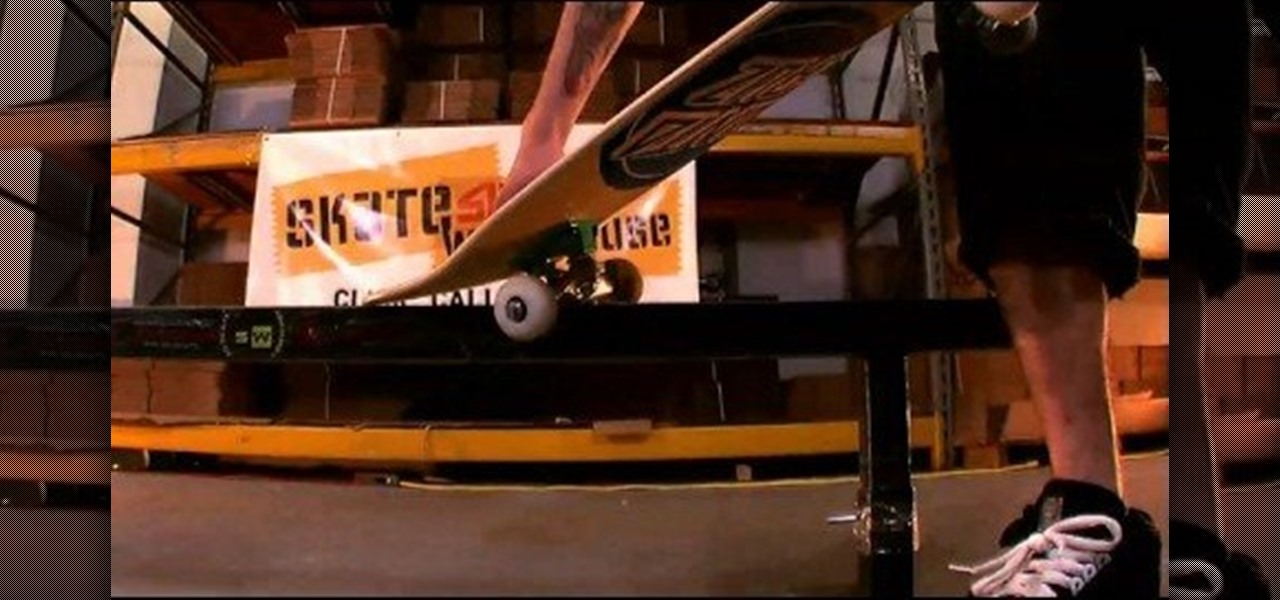
In this video Jarvis from Skate Warehouse will demonstrate how to do a proper crooked grind. Starting by riding up to your obstacle pay attention not to come in at a parallel angle. Next pop an ollie to hit the obstacle, aim for a spot on the rail slightly ahead of yourself before slamming your nose on it and rotating slightly. After grinding the length of the rail push forward and lift up with your back foot to level the board before the dismount. Keep in mind to bend the knees and use your ...
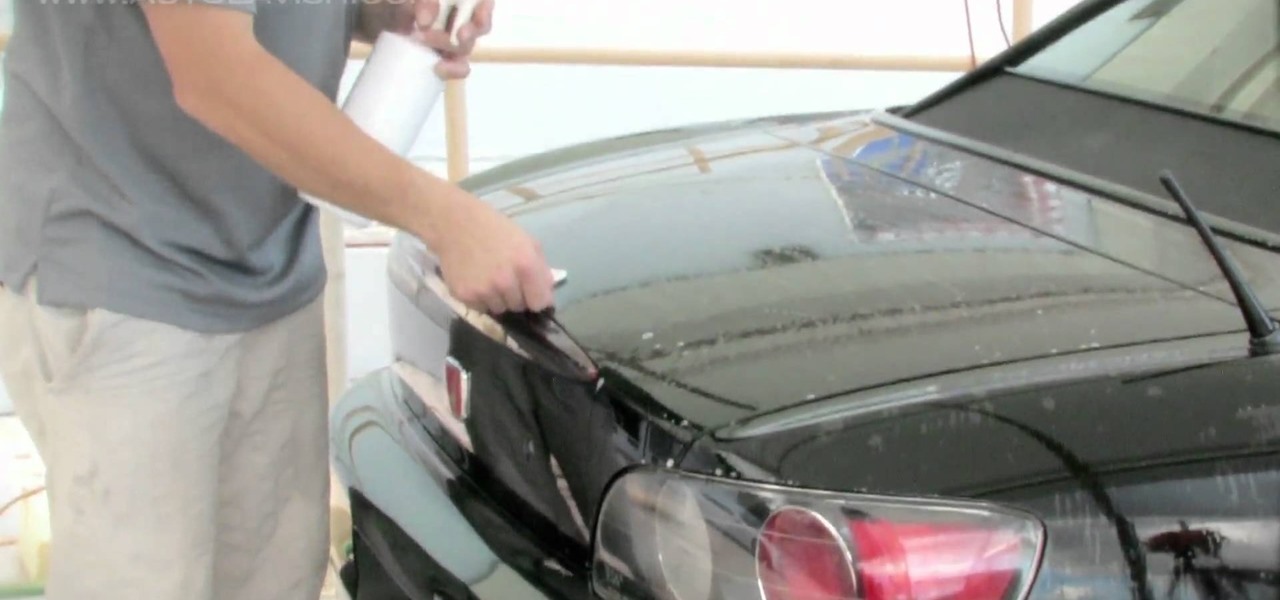
In this how-to video, you will learn how to use a clay bar for paint decontamination on your car. To clay, make sure you use a brand new bar. Break the bar into about three pieces and save the other pieces for later. The clay will remove the contaminants from the paint. Flatten the piece before using. Spray the area on the car with clay lube. Now, lay the clay on the surface and use light pressure as you wipe it across the surface. Once you finish the section, remold the clay. Use your nail t...
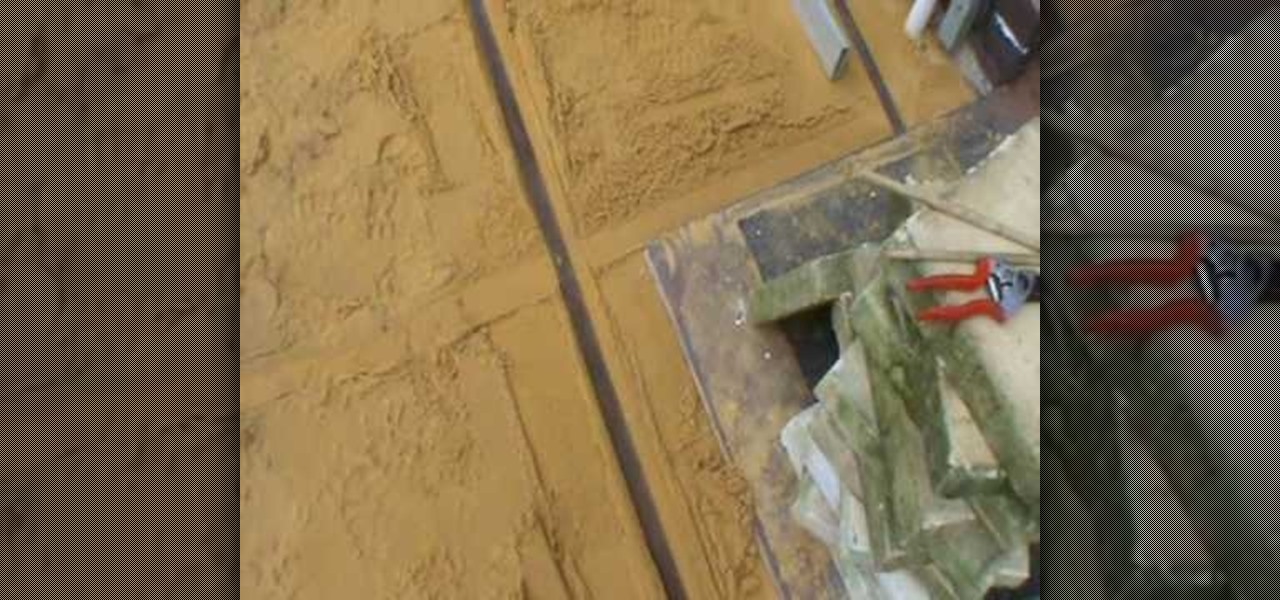
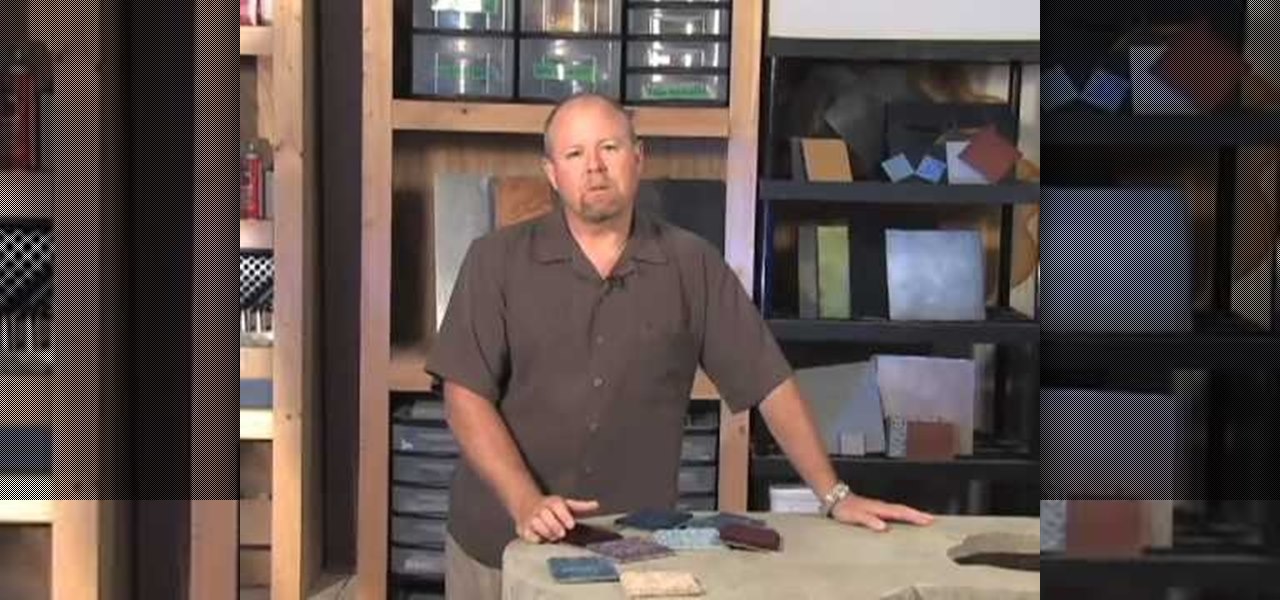
Bob Harris of decorative concrete institute explains how you can remove your tiled or carpeted flooring for a concrete substitute. He suggests when your removing carpeting that it can be very heavy and advises you to hire someone who can lift and carry it out, or rent a dumpster for easy take away. He states that after the carpet is removed you'll need to remove the adhesive from the floor. You can do this by stripping or grinding, and at other times the use of harsh chemicals may be needed. ...
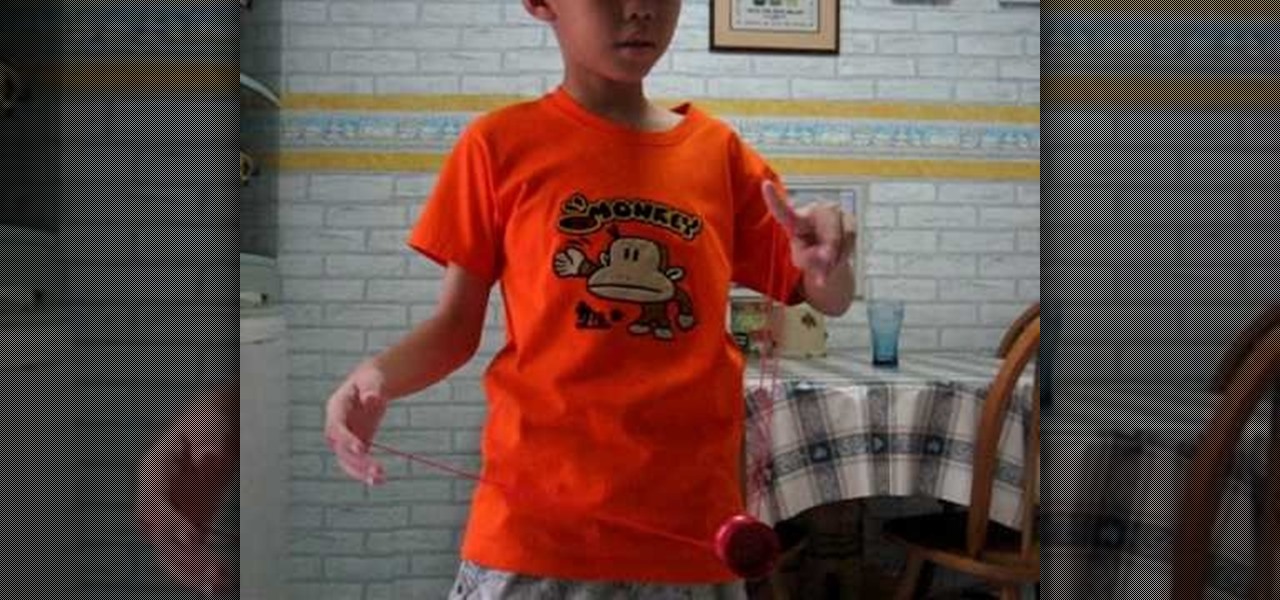
This is a demonstration of performing the green triangle yo-yo trick. You can start with a trapeze, lift your non throw hand middle finger and swing the yo-yo off the trapeze. Take care that you do not drop the yo-yo, you can use the middle finger to hold the string. Swing just like doing the trapeze so that the string lands at your wrist. Slide your throw hand out of the loop and you will form the green triangle. To dismount pop the yo-yo out of the green triangle and land on the string near...
Watch as Joshrulz77 Shows your how to get Six pack abs in just one month! Depending on how much you need to lose you can achieve it in one week or up to one month. One exercise you can do is to hold on to the bottom of a bed or a couch with your hands and then use your abs to lift up your legs in the air and then back down. Remember to keep your legs straight and move them slowly and controlled. Remember to also not let them touch the ground when going down but just about a few inches off of ...
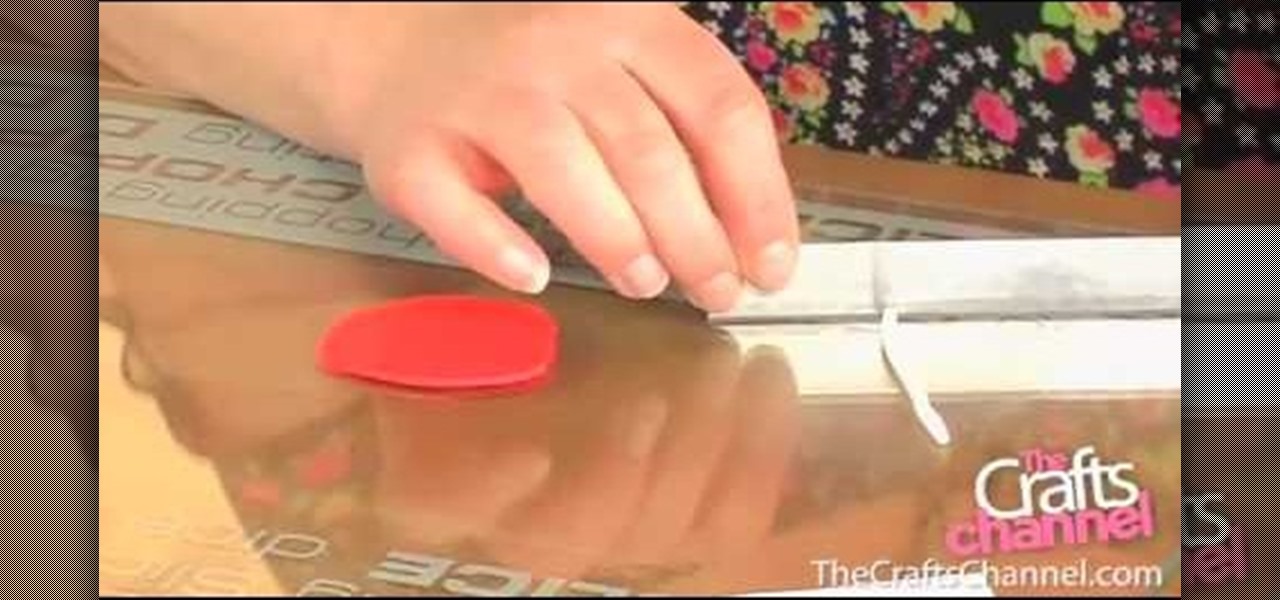
The Crafts Channel teaches viewers how they can make spotty fimo buttons! First, take a piece of fimo and roll it out to about it's a few centimeters thick. Take another color and roll this into a thin long snake shape. Then cut this long snake into lots of tiny slices. Lift them off and put them onto the surface of your rolled out clay. Next, roll over this clay and take a baking surface, cut out the clay with a circular cutter and take away the excess clay. Now with a needle, make your hole...
In this tutorial, we learn how to set rhinestones using a Bejeweler. To do this, you will first need to prepare your Bejeweler and the fabric you are using. Lay out the pattern on your fabric and use tape as a guide for any letters you write. The rhinestones may move during this, just push them back in with tweezers. Once the Bejeweler is plugged in, rest it in a stand since it will become hot. Once it's ready, place it over an individual rhinestone for around 15 seconds. When time is up, lif...