In this tutorial, we learn how to make a Halloween card using Cricut Paper Doll. First, cut a skeleton out of the PaperDoll Dressup package, then cut it out two more times. Glue these together to make the skeleton thicker, so it pops out of the page. You can place this next to a paper sentiment that says "bone to be wild", with a black card stock underneath it. You can use die cuts with a view papers to make it look more interesting. Use any other type of decorations you like to decorate your...
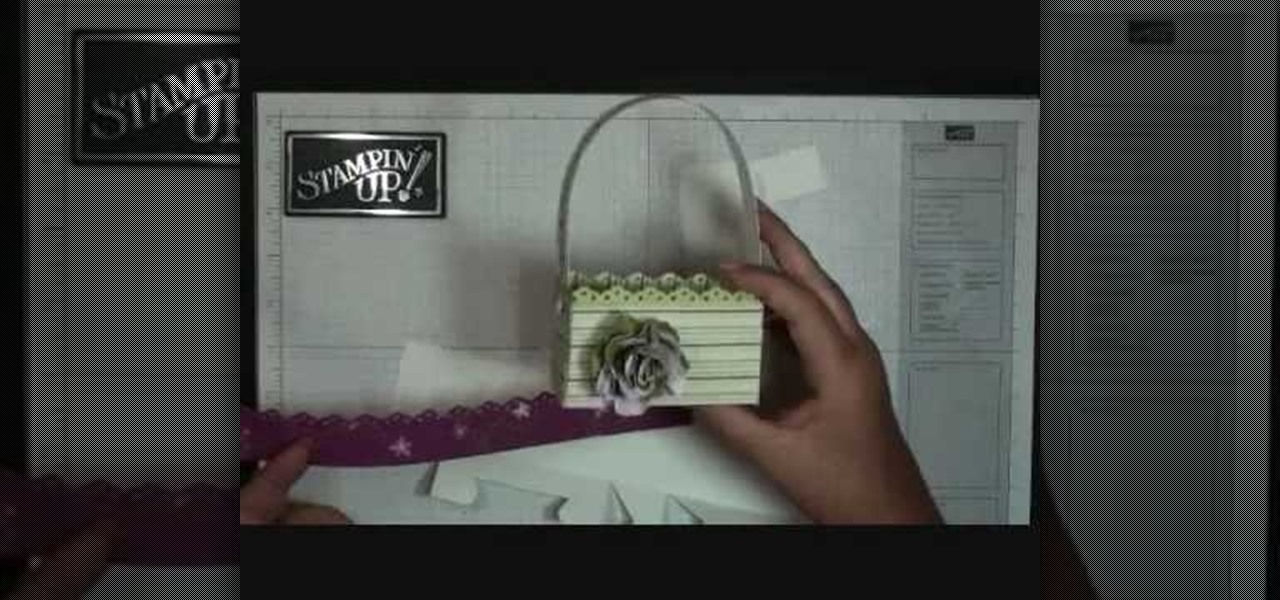
This video tutorial is in the Arts & Crafts category where you will learn how to make a mini Big Shot Box with Stampin' Up! For this you got to use the Bigz Die Box #2. Cut a Whisper white card stock at 6" x 11", place it on the die box and run it through the machine to get the box template. Cut off one edge of the template along the score line with scissors. This will be the top part of the open box. Now fold the bottom part of the box along the score line. Take a strip of cottage wall desig...
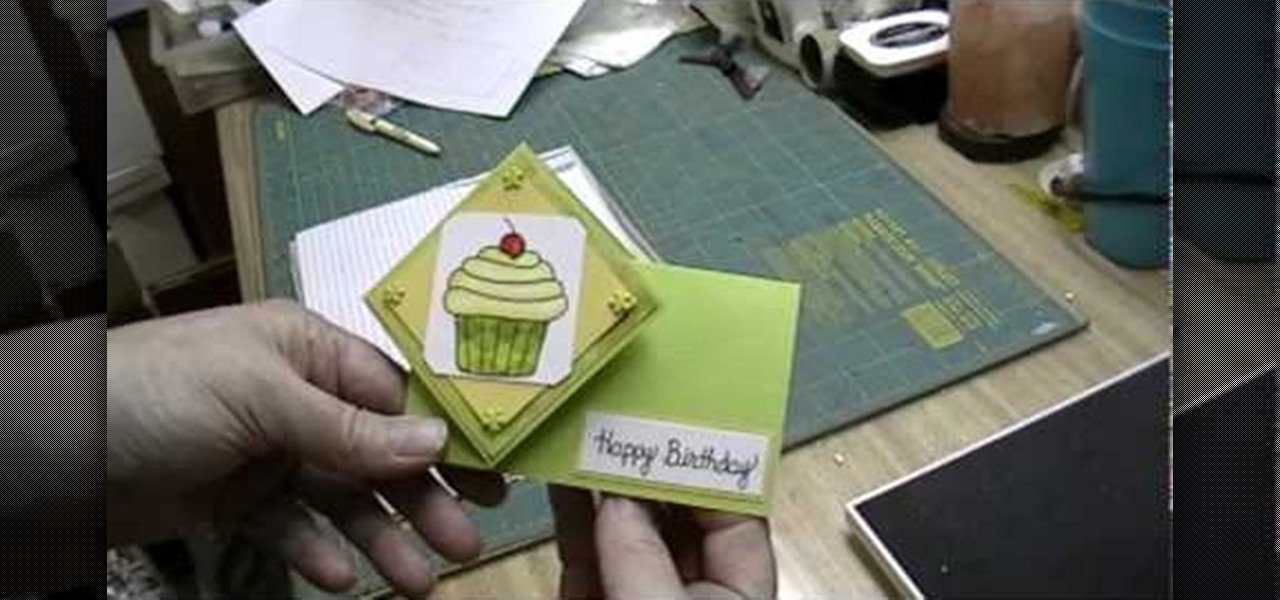
In this video, we learn how to make a twist turn style card. The card will open with a neat pop out image on the front of the card! First, get an 8 1/2 x 5 1/2 piece of card stock and then score it 2 and 3/4 inches from the left edge and 4 inches over from the left edge. Then, turn the card the other way and find the center, then score from the right end to the very first score line. Then flip the card over and score the rest of the center line up to the first line. Now, make a score line fro...

In order to build your own mini fridge, you will need the following supplies: a heatsink, a cardboard box, a petier unit, popsicle sticks, standoffs, an AC adapter, scissors, and on/off switch.

A fun way to display photos and artwork in your home is with homemade frames. Keep the crafty feeling of the art and make a colorful frame for display. This project can be done with kids of any age, and they will love helping to decorate their rooms or play areas. These frames are 8 pointed star shaped decorations that add a spark to any wall. All you need are popsicle sticks, glue and any paints or glitter you may want to add to your project. So, get messy and have fun..its time to start cra...
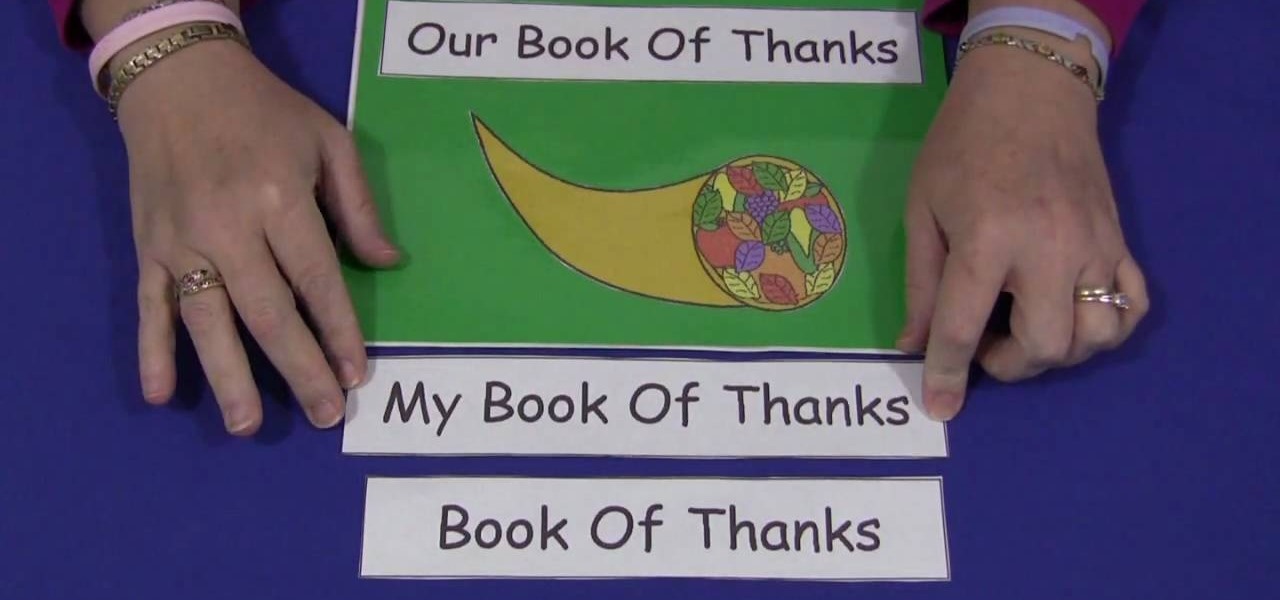
Childcareland demonstrates how to make a Thanksgiving book of thanks with kids in this video. A book of thanks can be done by a group or an individual. It begins a title page which can be labeled to reflect whether it is an individual book called "My Book of Thanks" or an group book called "Our Book of Thanks" or a general book called "Book of Thanks". The back page is a blank match of the cover page. In the middle are five pages labeled "I'm thankful for" with a line for older children to wr...

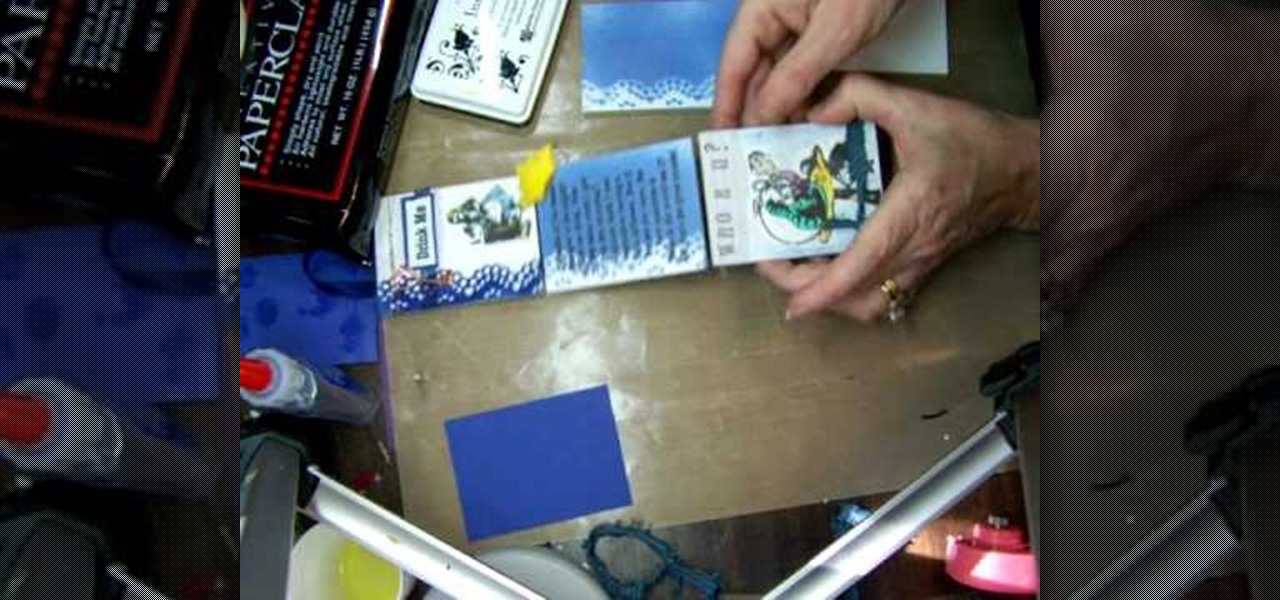
This video is about how to make a story board craft. In this case the story is about Alice in Wonderland. In this case 3 Eco art boards are taken of a suitable size of 2 1/2"X3 1/2" the left edge is decorated with a lace spray painted with Memorie mist spray, the rest of the card is also spray painted. Now from Queen Kat Designs the stampings are selected and stamped on each board as per the story. Whilst stamping Indian stamping ink is used as it does not smudges. For extra decoration paper ...

To decorate a fall flower centerpiece for your home, create a table centerpiece. Get some dry flowers with attractive colors of your choice. Take a metallic pot for centerpiece. Place a Styrofoam ring in the bottom of pot or vase. Carefully insert stems of dried flowers into the foam. The interior design technique is to be perfect to fall, so that it looks natural. Make sure to have the tallest flower at the center of the pot. Work from the center outwards applying more flowers and stems. Mak...

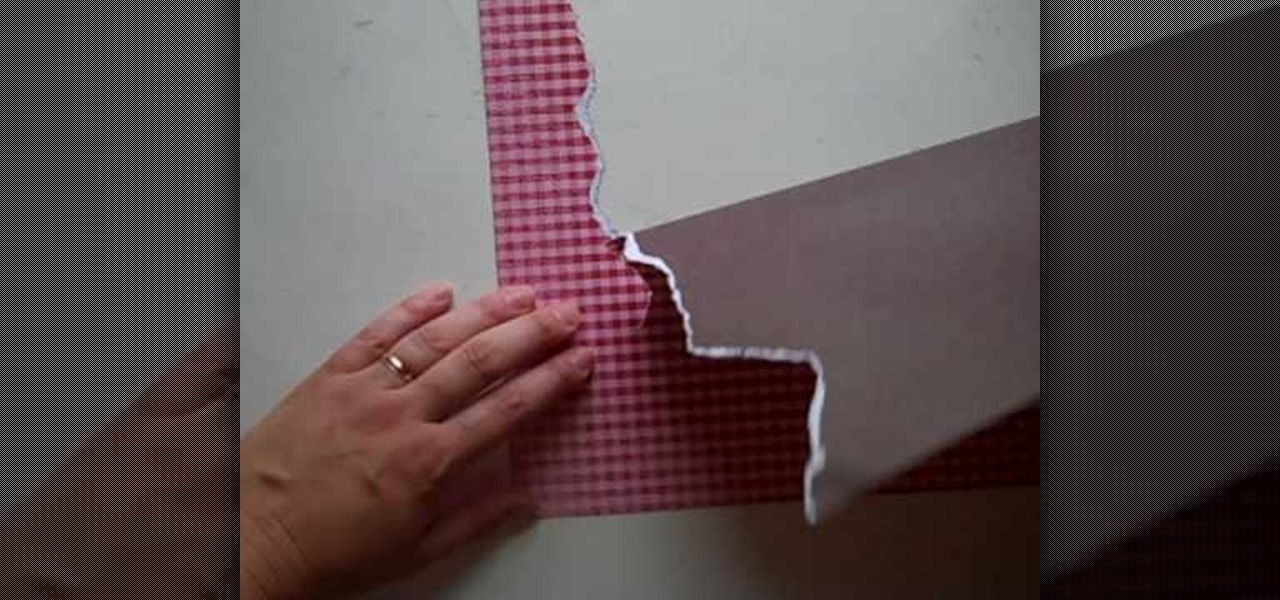
Want to create scenery to decorate your scrapbook? You can use torn paper to create this effect cheaply and easily. This video describes how. For example, if you want to create mountains, choose some brown paper, and tear in a jagged pattern, using your finger as a guide. If you want white-capped mountains, tear with the front side facing you. If you don't want white-capped mountains, turn the paper over and tear. You can also create other scenery. The woman in the video creates scenery such ...

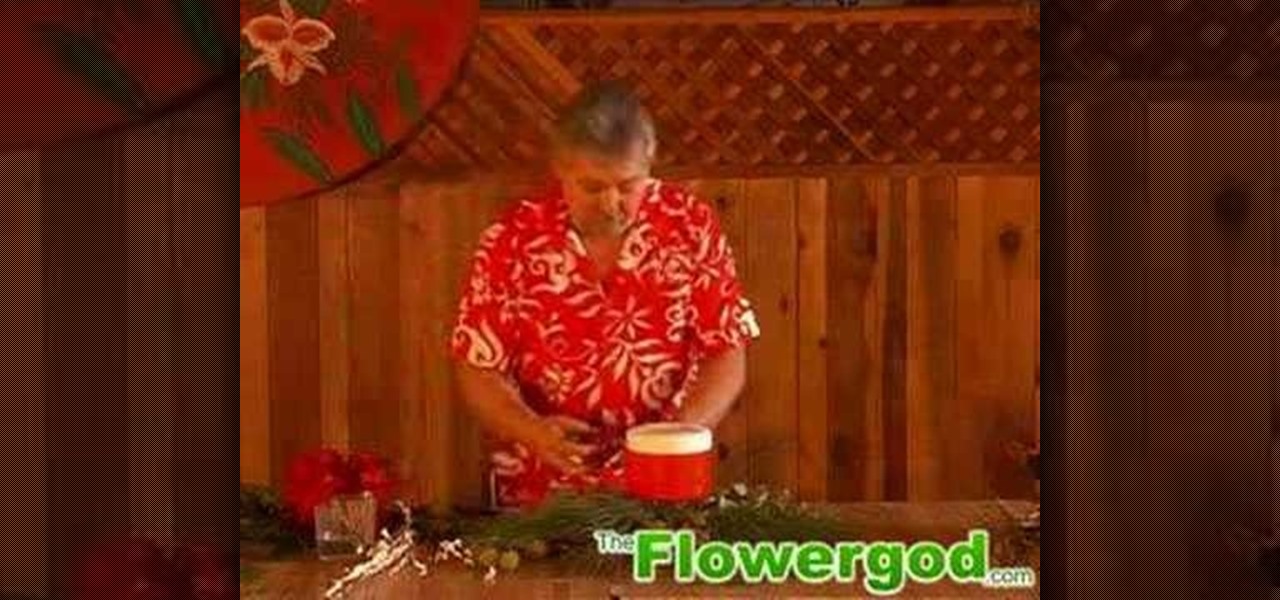
Are you looking for some fresh ideas to decorate your table for Christmas or any other special occasion? Then watching this video might give you some new and creative ideas to transform your table. The Flowergod shows you how to design a beautiful and innovative candle centerpiece for your table. He uses pine needles, cedar, pine cones and roses to create a decorative style. The candle is placed above a container to keep the wicks dry and the greens are placed in the container with some water...

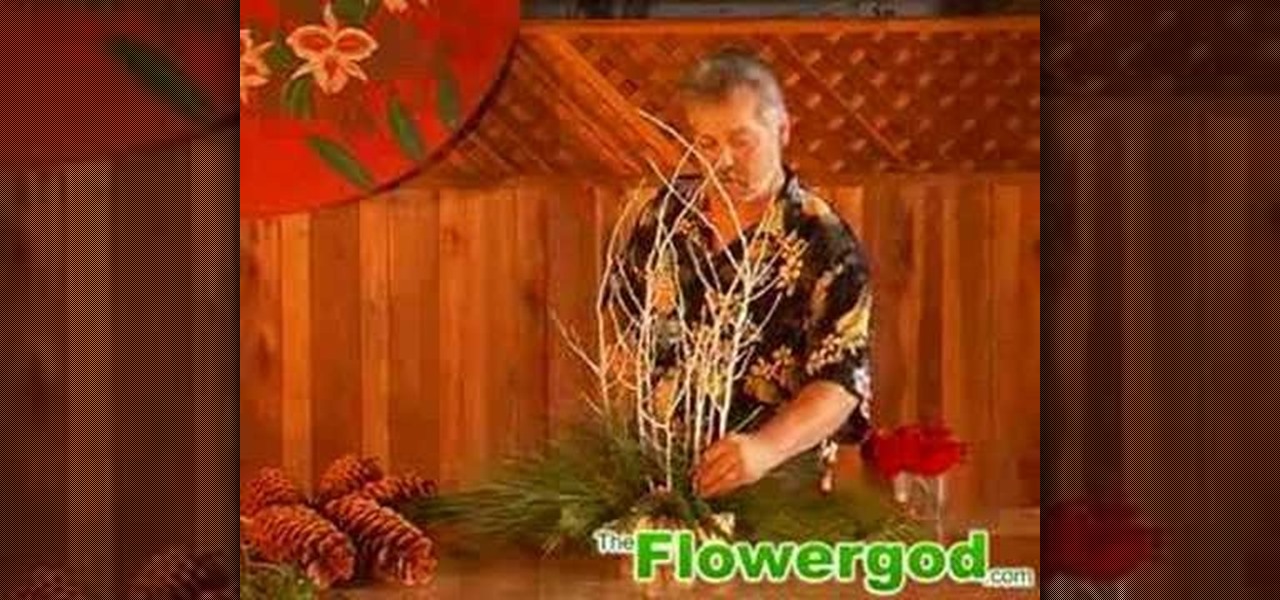
In this video the author describes how to design a centerpiece for your table with a holiday or winter type theme. The author uses different types of foliage including cedar, pine, sugar pine cones, roses, and twigs to accomplish this masterpiece. This is a step-by-step video and is easy to follow along with. The author starts with floral foam and explains the process from start to finish with enthusiasm and detail. The finished product would decorate a large table for a party or gathering an...

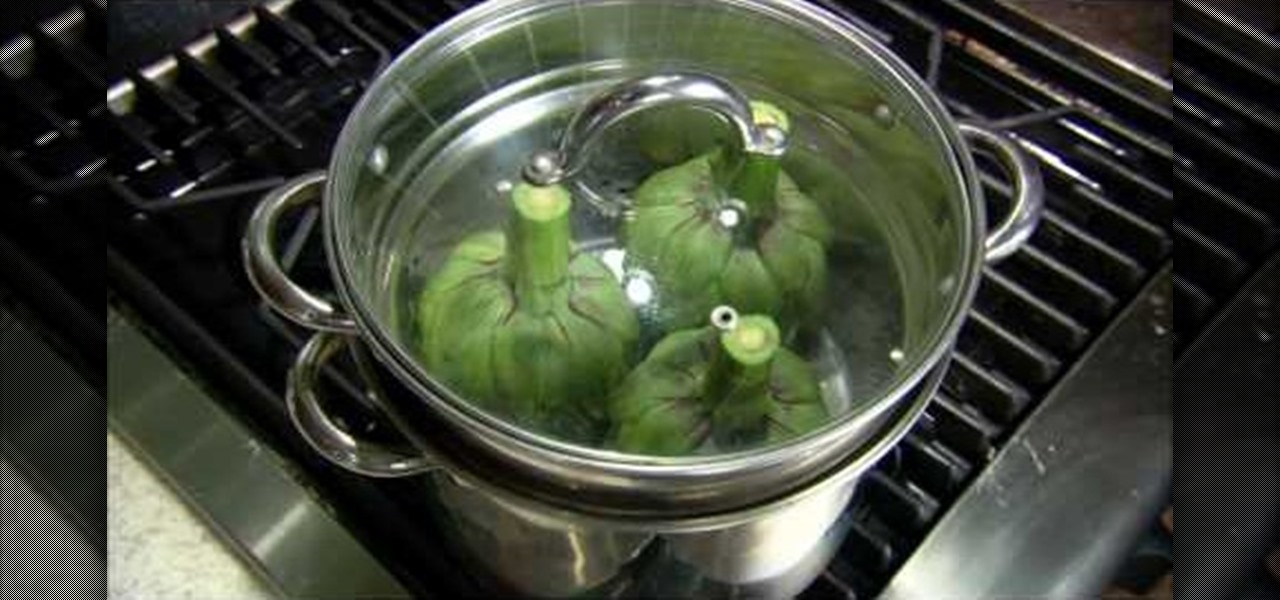
A few tips and tricks in cooking involving artichokes. A simple trick of the trade made to use while cooking at home or even if you are out preparing artichokes on the grill. One of few examples that artichokes are known for in cooking is first by steaming the artichokes for about 35 to 40 minutes, or until you could take a knife and if it easily penetrates without being tough your artichoke is ready. This video gives you a small demonstration on what you could do with your artichokes. You co...

Butterflies are some of natures most beautiful creatures. How would you like to make one of your very own? Check out this tutorial and learn how to origami your very own paper butterfly and impress your friends. Grab a piece of paper - and some pens or markers if you wish to decorate your unique butterfly - and start folding! Making an origami butterfly is not as difficult as you would think, but you would never know that from the great results. Have fun!

In this video tutorial, viewers learn how to make an origami fortune teller. Fold a sheet of blank paper in half--vertically and horizontally. Fold the four corners of the paper into the middle. Flip the paper over and fold the corners into the middle. Fold it on the horizontals and diagonals. From then on, users can decorate the fortune teller. This video will benefit those viewers who enjoy origami and art.

Corynne from The Crafts Channel teaches how to make a stylish bird motif in minutes. You'll need: Colored/printed papers, scissors and glue. Get a colored paper. Draw a whatever bird image You like at the back. Cut with scissors. Get another colored paper of different color and draw a wing. Put a glue on the wing and glue it onto another colored paper. Cut it leaving 1/2 an inch over the first wing to have layers. Decorate bird as what You want Your bird motif to look like. Follow these steps...

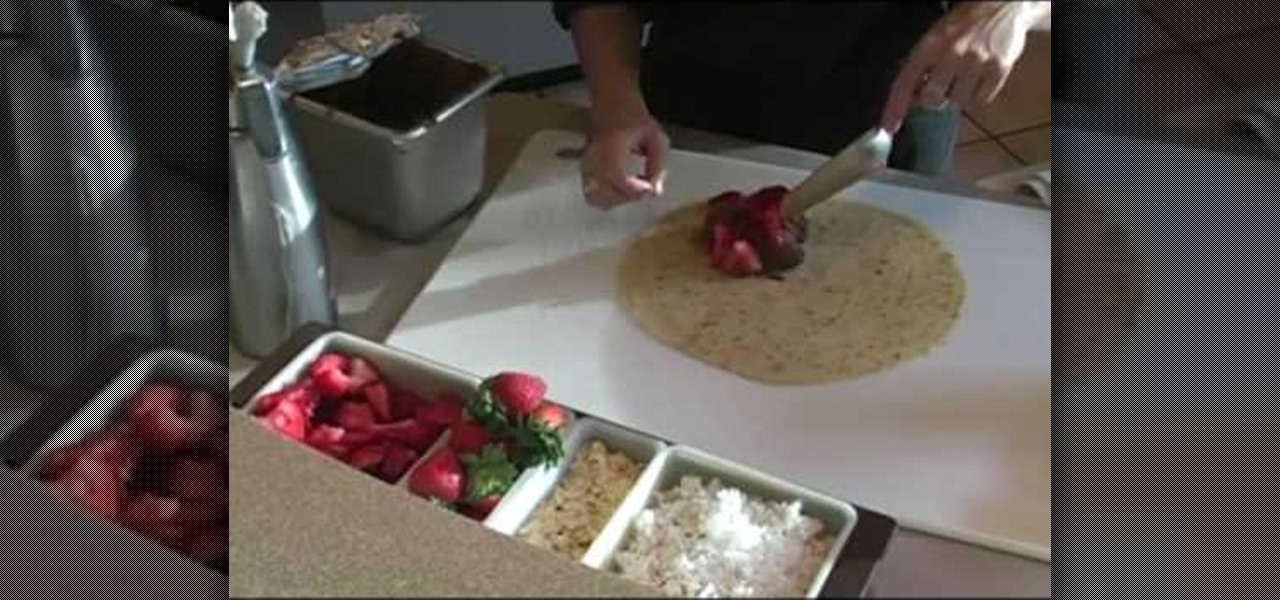
In "How to Make Crepes", a video by Cayley Waldo, she describes one of the methods used at the Baker's Crust restaurant chain to create elegantly designed crepes. She starts by describing how to create the wrap to be used with the crepe as well as demonstrating the way to fold the crepe and also how the contents should be arranged. For the Example given, the crepe is filled with chocolate mousse and strawberries. The video then goes on to show ways that the plate can be decorated so to increa...

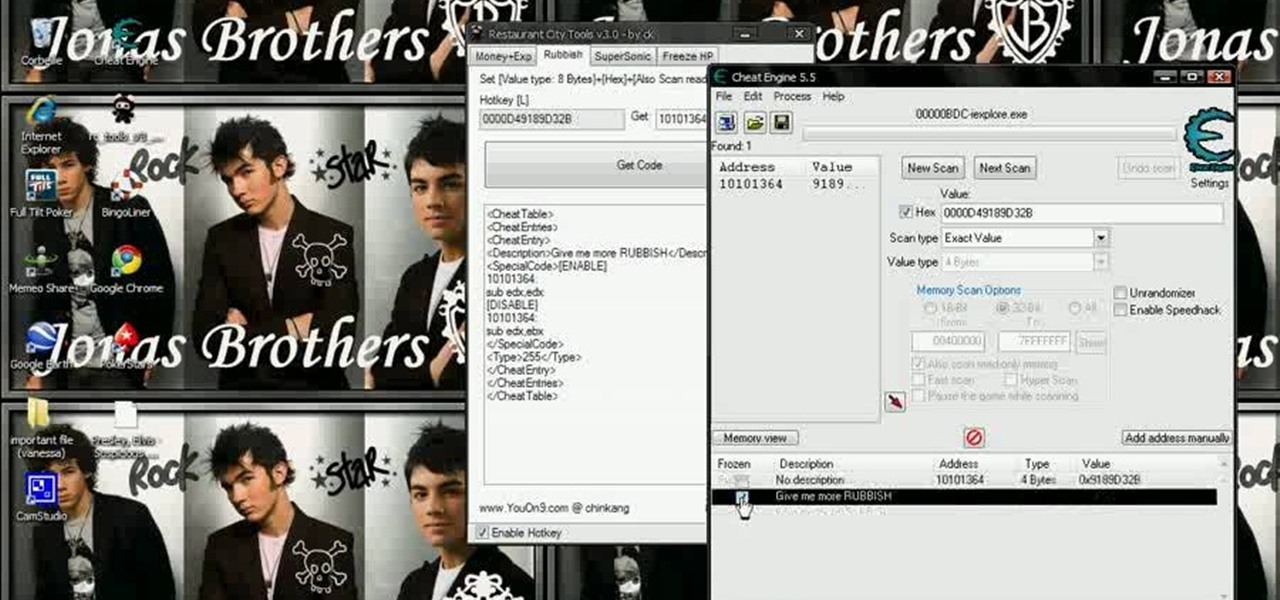
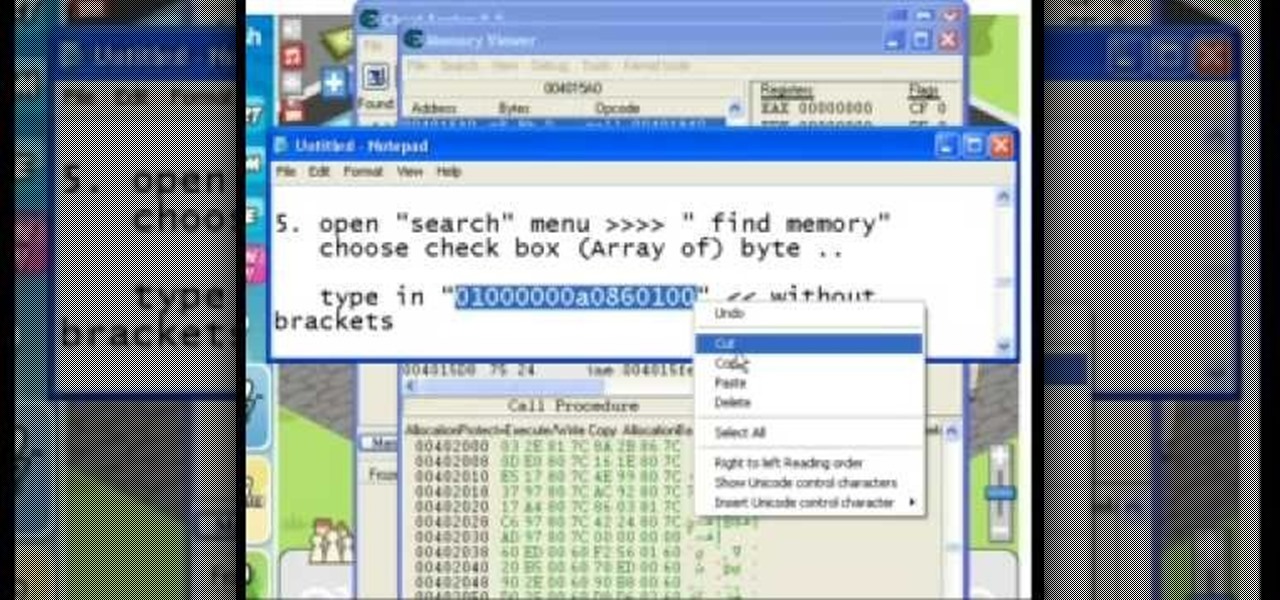
Restaurant City is a Facebook game that allows you to create your own restaurant. Watch this video to learn how to hack Restaurant City - rubbish hack (06/29/09).

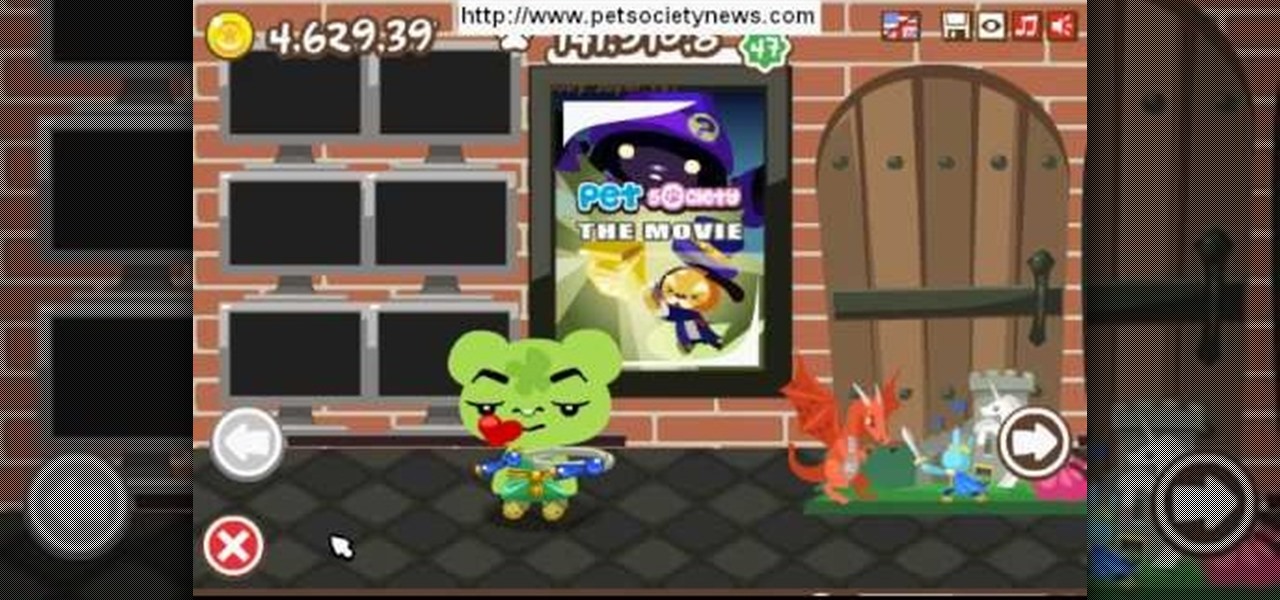
Pet Society Coin cheat using Rope, ball or Frisbee. For detailed instructions visit Pet Society News.

This Restaurant City cheat works as of 05-12-09. cheat engine 5.5 download: http://cheatengine.org/downloads.php

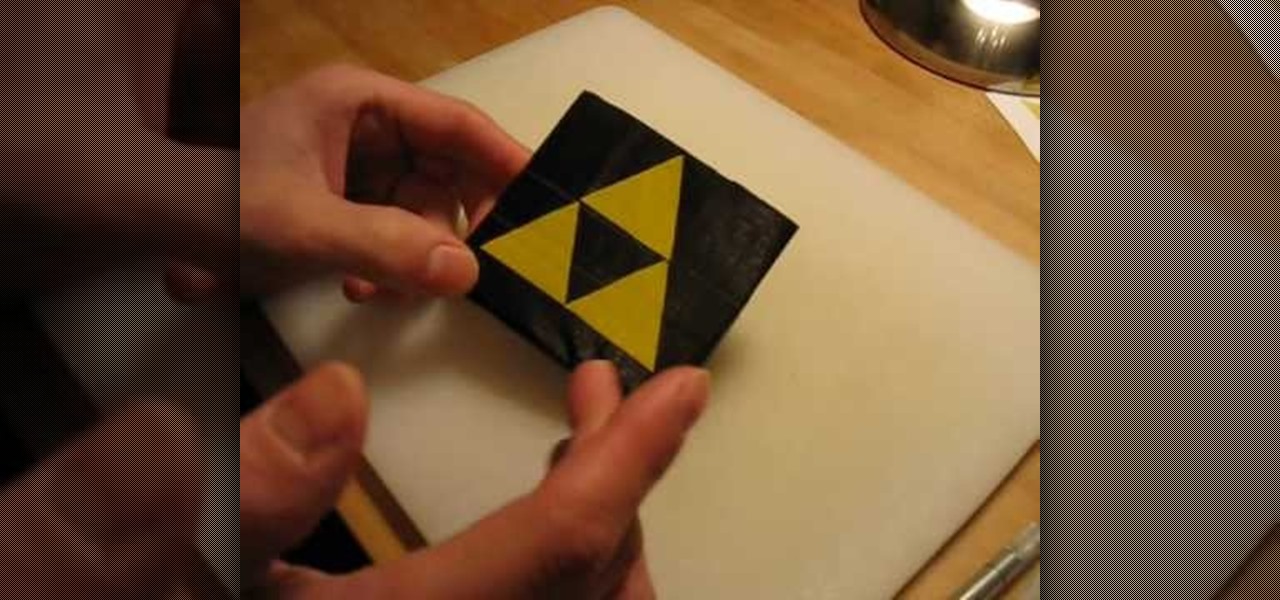
Feel and see just what duct tape is capable of! You can practically do anything with duct tape! This video tutorial will show you how to make decorative designs on your duct tape creations. There are two concepts to decorating your duct tape designs with more duct tape, and that's using stripes and squares, and using stenciling. Make all of your duct tape wallets and checkbooks and whatever more beautiful with colors.

What can you do with old lightbulbs? Think flowers... Learn how to recycle old lightbulbs into a flower vase with sexy Gianny L! This is a cool vase out of pure junk, so don't throw away those old light bulbs... recycle them!

In order to decorate your cake you will need to create a cone. This cone is easy to make and will help you pipe designs onto cakes more easily. Check out this tutorial and learn how to create a cone for use with your buttercream.

Watch this how to video to learn how to decorate a cake with melted marshmallows.

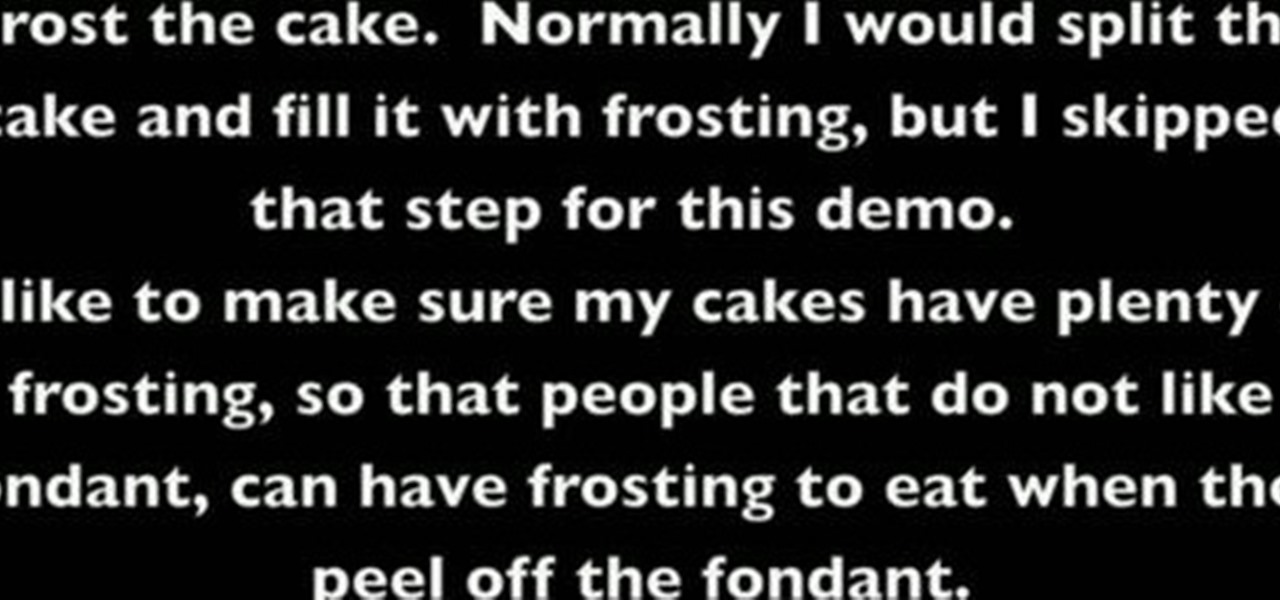
In this video we learn how to make a mummy cake. We will need candy melts, eyeball mold, edible markers, a cake that has a crown on it, buttercream frosting, white fondant, sugar veil frosting, brown petal dust, a decorator brush, a cake round covered in foil, spatulas and knives. First you make the eyes. You can use the white candy melts to do this. You can use colored melts to make the irises. Put the melts in the mold and tap it to get the air out. Then put it in the fridge to harden the c...

Got some candles? What about a few ornaments and candle holders? Then you're ready to create an amazing holiday arrangement in less time than it takes to steam rice.

If you need to decorate your house fast for the holidays, then supersized decor is the way to go. Yeah, you could buy those tacky big Christmas ornament balls fastened with big red ribbons at the store, but if you're looking for elegant Christmas decor then making it is the way to go.

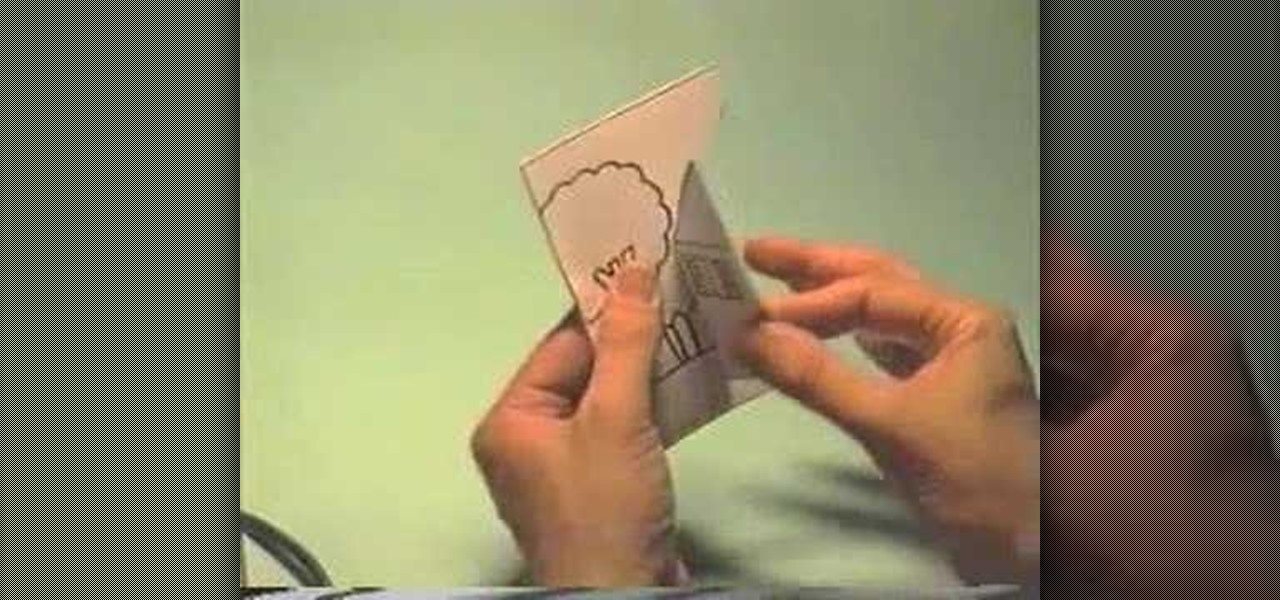
In this tutorial, we learn how to make a little house pop-up card. First, draw a cute little house on a flat plain with trees around it, then decorate the house! After this, fold it in half so the house shows on the outside and cut the paper along the roof and on the bottom, not on the sides. After this, bend that flap on both sides and then open up the card. Now, fold the card in so the little house pops out when you open it up! From here, put into your card and then color the entire thing t...

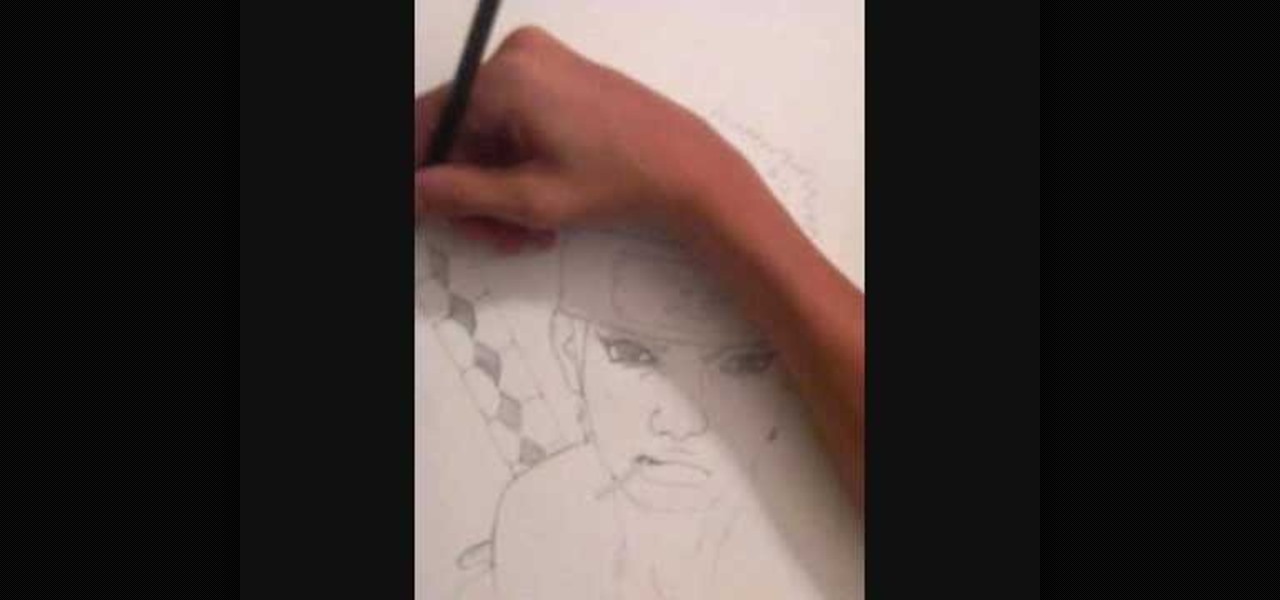
In this tutorial, we learn how to draw Omoi. first, draw the outline of the character with a thin pencil mark. After this, draw in the features of the face and include the details on the eyes. From here, start to draw in the bangs and the hair around the head. Next, you will draw on the headband on the forehead and then decorate the inside with the usual sign. Next, you will draw on the ears and finish with the details on the face. After this, draw on the upper body and then clean up any back...

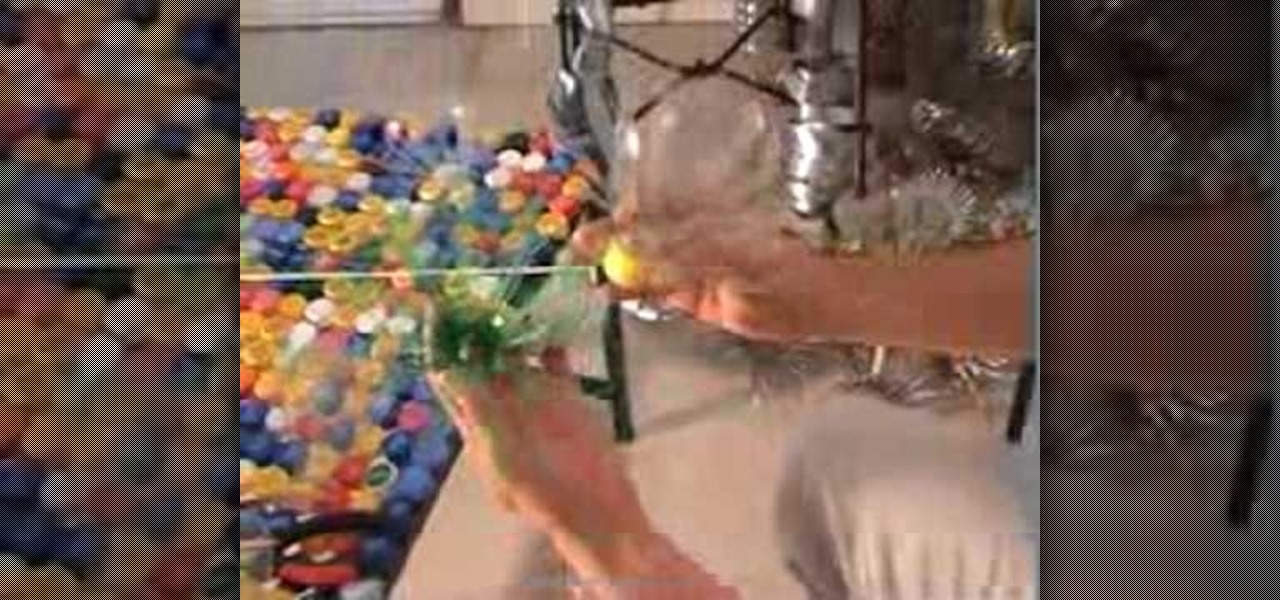
In this tutorial, we learn how to recycle plastic bottles and make decorative flower art. Start out by cutting around the cap of the bottle until the body is cut off. Then, cut small slits in the bottle until it's completely cut up. From here, you will spread these out so they are opened up like petals. Take different colored plastic bottles and repeat this process. When you're finished, you will then attach these together using heat and use them as decorative art for your wall! This is great...

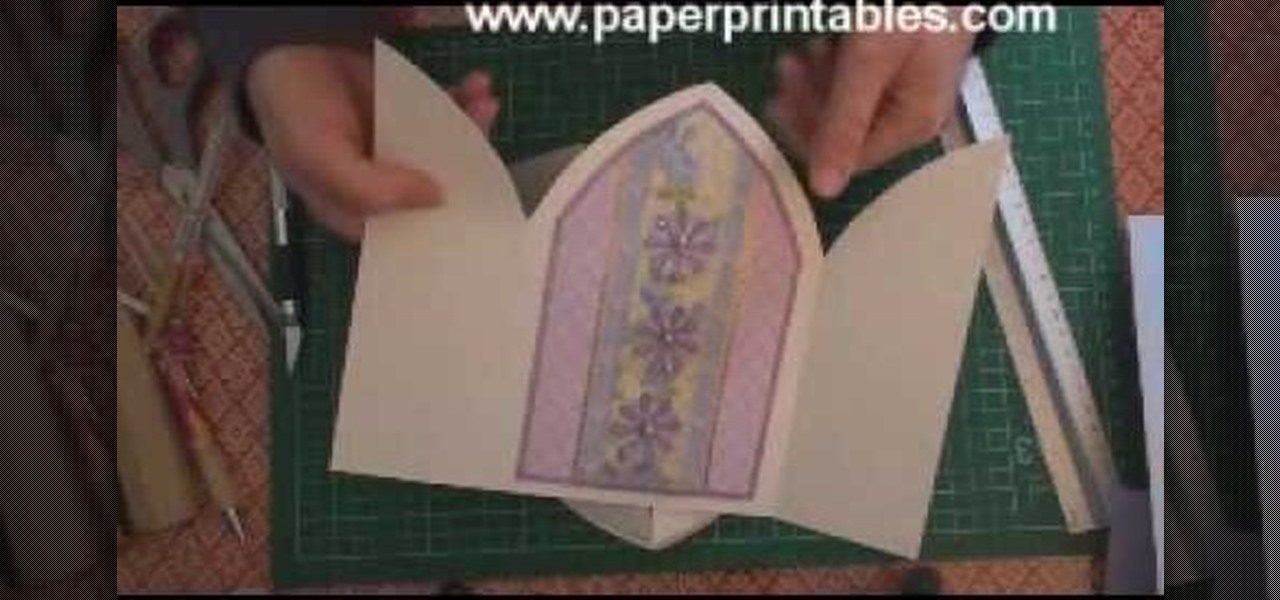
In this tutorial, we learn how to make a church door card. To start, you will need to take a piece of card stock and the template for the church door. After this, you will fold the template up using the paper, then cut it out. After this, write the message you want on the inside of the card. From here, you will decorate the front of the card and then tie a ribbon on the front. This will close the two doors and then when you upwind it, the person can see the inside. Make this unique and have f...

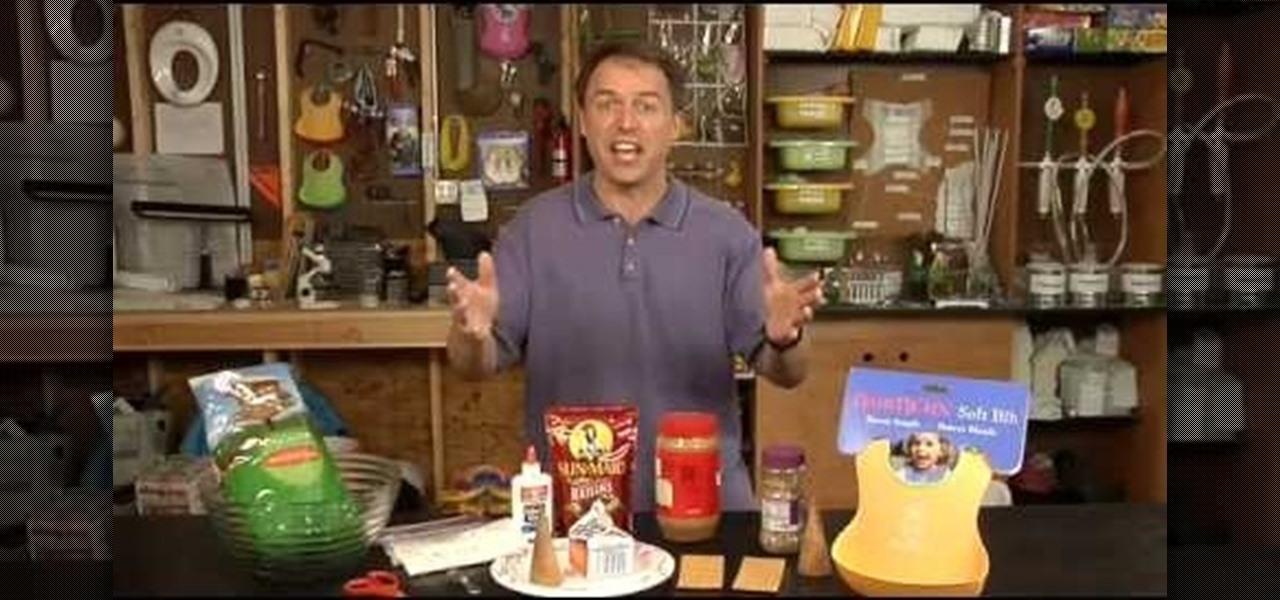
In this tutorial, we learn how to make an edible bird house with your kids. You will need: bird seed, 1/2 c flour, 2 tbsp corn meal, scissors, twine, paper plate, ice cream cones, 1 pint milk, raisins, peanut butter, nuts, and graham crackers. Now, poke three holes into your paper plate. Then, glue the milk carton onto it with the glue. From here, mix the flour with the peanut butter and then rub it on the crackers. After this, stick the crackers on the milk carton. From here, the kids can us...

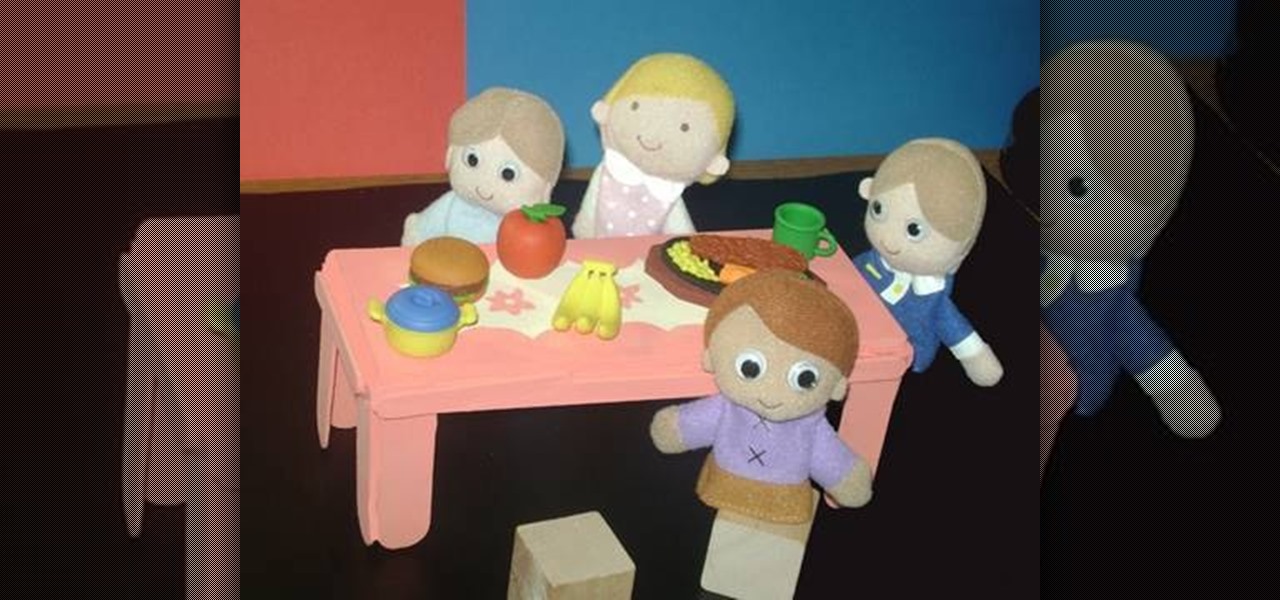
In this tutorial, we learn how to make a miniature table. Materials you will need are: a wood slat, 4 popsicle sticks cut in half, paint, paintbrush, and glue. Heat up your hot glue gun and then grab your popsicle sticks. Glue one stick to the side of every corner of the slat. After this, you should have two on each side of all four corners of the wooden slat. After you're finished placing them on, let the glue cool and then harden. To finish, you can paint this and decorate it and use it ins...

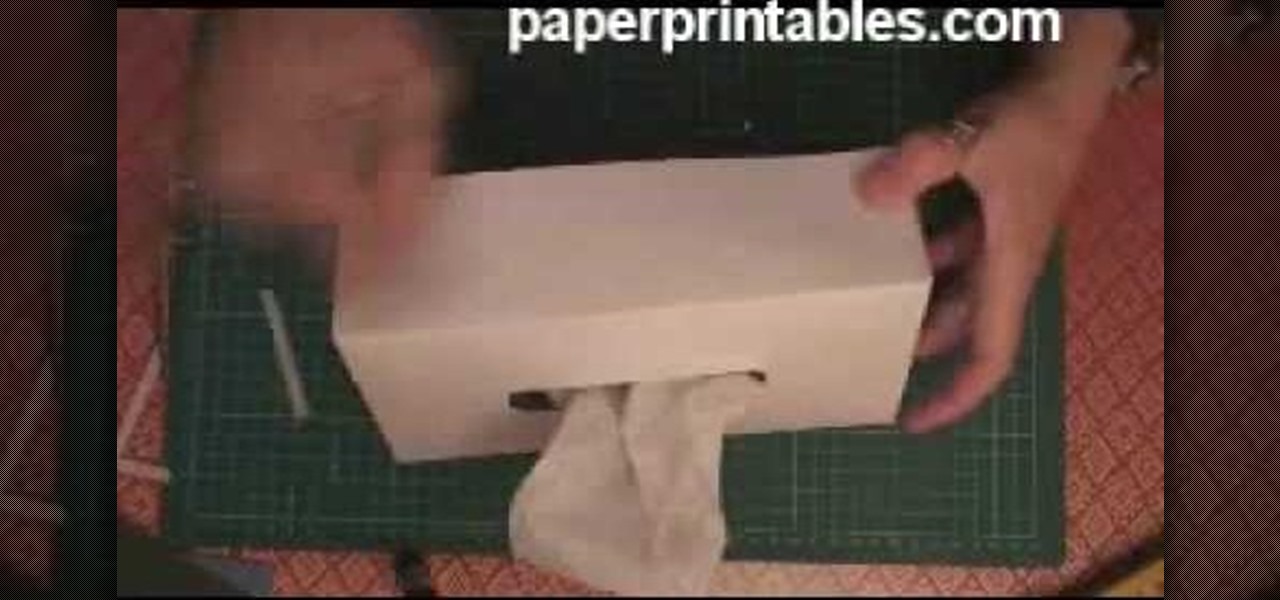
In this video, we learn how to make a decorative tissue box cover. First, you will need to get a piece of paper in your choice of color and set your tissue box on top of it. Use different colors of paper to trace out the edges of the box and then you will tape them all together. Make edges off the paper when you trace them so they fold over. When finished, you will put this onto the tissue box. You can also decorate this with any accessories that you would like to add a personal touch to the ...

In this tutorial, we learn how to do a Y braid on your American Girl doll. First, brush your doll's hair out and then put the hair in pig tails. From here, you will split the tail in half on both sides. Then, you will combine the two middle pieces and start to braid the hair like normal. Do this all the way down until you reach the bottom of the hair. When finished, tie the end with a rubber band to keep in place. This will finish the Y braid look for your American Girl doll, enjoy! Decorate ...

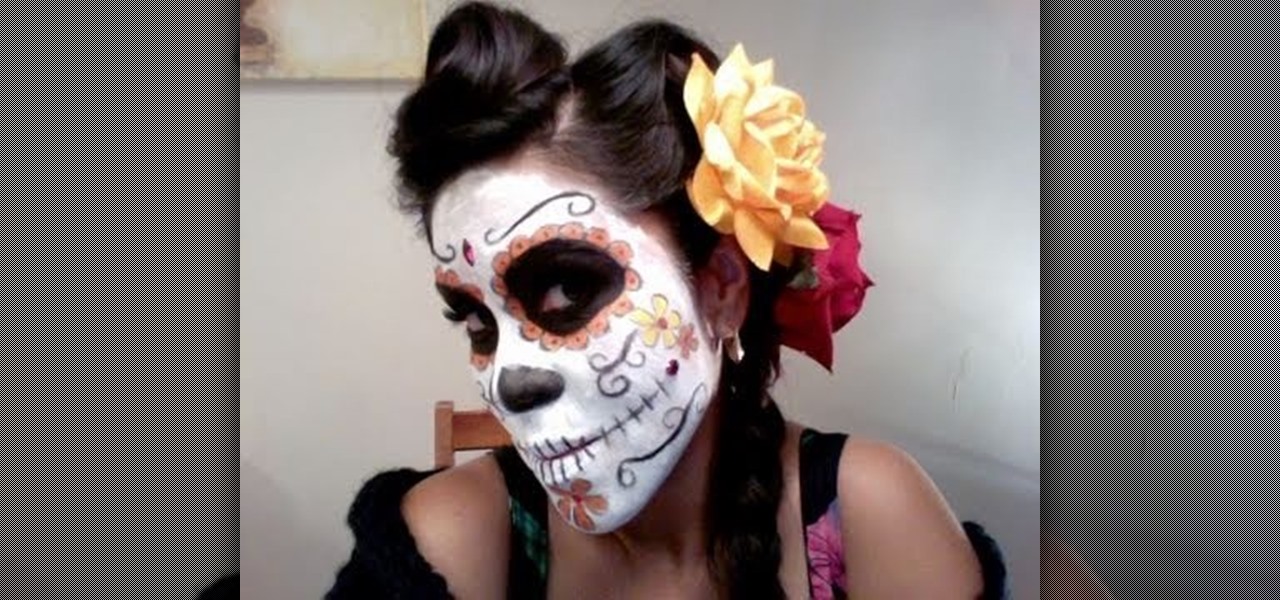
El Dia de los Muertos is a very colorful Spanish holiday which takes place on November 2nd, All Soul's Day. The festival involves bringing food and other goods to your dead relatives' graves and spending the night praying and remembering them. It's often a very communal, spiritual ritual that's also a fun activity for the whole family.

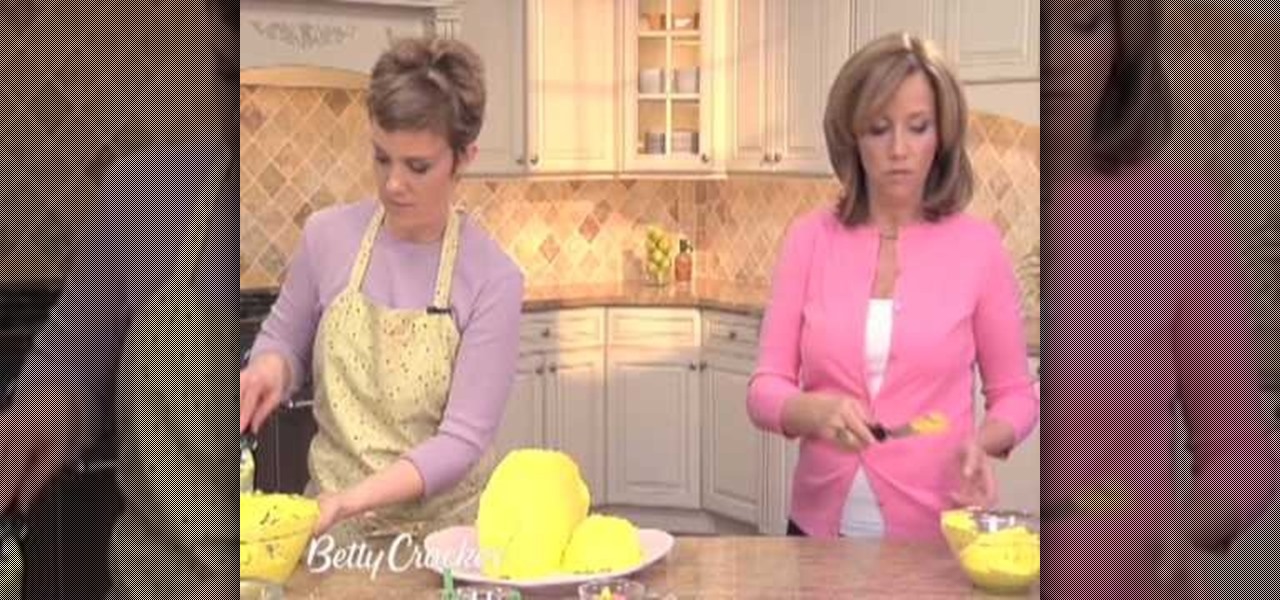
In this tutorial, we learn how to make a birthday cake in the shape of a purse. First, bake two round cakes and place them in the fridge. After this, cut off the edge of both the cakes that are the same size. Then, take some frosting and spread it onto the cake to adhere both together. Now, push the cakes together and have them stand up straight. Use the other pieces to make a mini cake and frost both cakes all over. Then, smooth out the frosting all over the surface. Now you can start to dec...

In this tutorial, we learn how to make 3D nails. You will need: nail glue, nails, glitter, nail polish, tools, and anything else to decorate. To start, paint the nail and then apply small ribbons to them at the top. You can also add in glitter if you would like. Glue the ribbons by using nail glue or super glue. For the rest of the nails, repeat the same process, making all of them look different by adding small pearls, different shapes, and glitter. Let these dry, then you can place them ont...

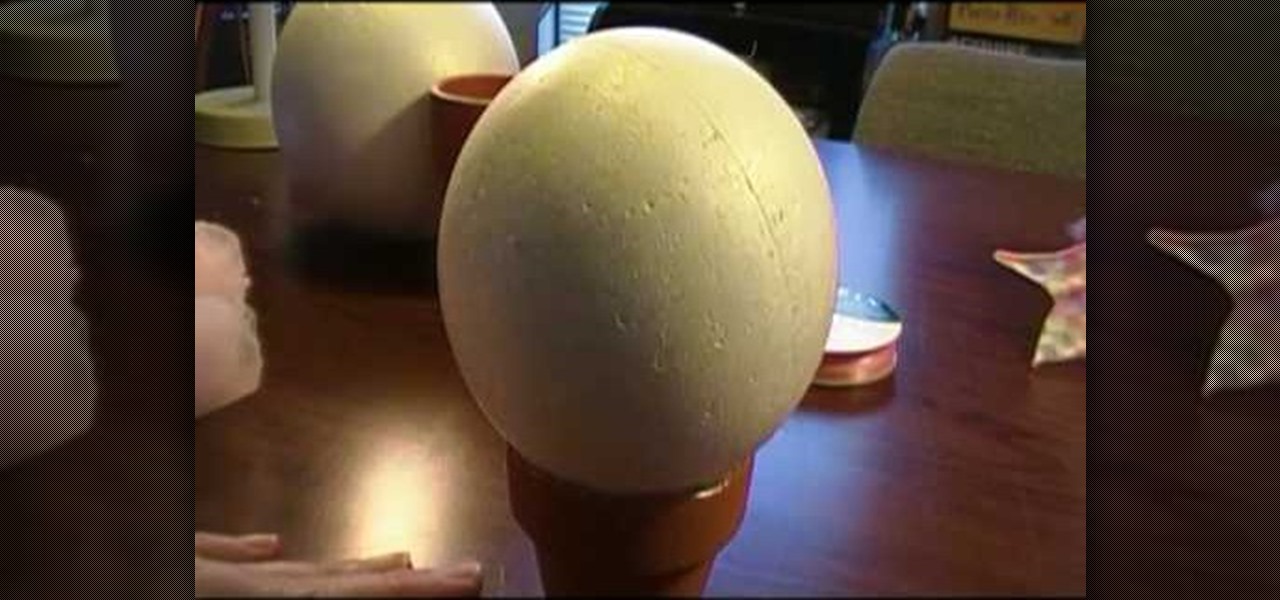
In this video we learn how to make a baby and child hat stand. First, you will need to purchase flower pots from the store along with Styrofoam balls. Use different sizes of balls to fit the size of hats that you are creating. Use marbles to weigh down the flower pots. From here, you will use a hot glue gun to glue the ball to the stand and then let it cool From here, you will be able to use this as a stand for your hat. This will help your hat set after you are done decorating it and display...

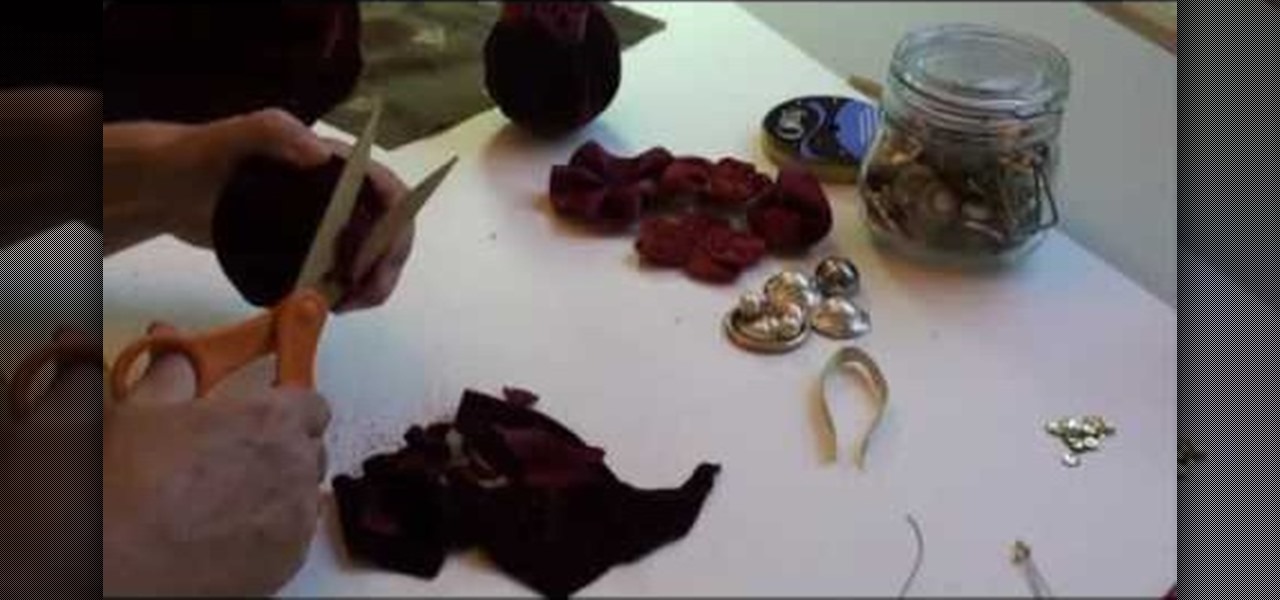
In this tutorial, we learn how to make Styrofoam and fabric Christmas ornaments. First, shape the Styrofoam into a ball and then grab the fabric you want to place around it. Place the ball into the fabric, then tie it at the top with a ribbon and some string. After this, you will be able to decorate the fabric with bows and glitter, whatever you want to use. You can attach a hook to the string in the middle if you would like to hang this on a string. Be as creative as you would like, just mak...

In this video, we learn how to craft orange-and-clove Christmas decorations. First, you will need to grab some oranges from a local supermarket, along with ribbon, and cloves. Now, grab the close and pierce it into the skin of the orange. This will release the smell of the orange and give you the scent of the clove as well. You can now make any design on the orange that you would like to! When you are finished decorating these, you can attach a ribbon to any part of them that you would like. ...


