In this video from Raw Radiant Health, Natasha explains how to begin a raw food diet. First, you need to decide when you want to start. Clearly define your goals and stick with them. Once you set a starting date, you can prepare your kitchen beforehand. Your fruit should be ripe. She always has ripe fruit in her kitchen, but she also keeps things that are jut beginning to ripen, so that there is always food that can be eaten immediately, and also food that can wait a while before eating.

Hook-billed birds are the ones in the parrot family—from petite parakeets to massive macaws. Here’s some stuff you should know if there’s going to be a hookbill in the house.
Elaine Lemm demonstrates how to make the traditional British dish, yorkshire pudding. This video recipe goes through all the necessary steps for preparing yorkshire pudding.

Jilted by a would-be lover? Try a good old-fashioned hex and change his mind. Learn how to cast a love spell with this Howcast video. You will need a pink candle and a vase of pink flowers, like roses or gardenias.

Learn how you can achieve this purple glitter eyeshadow look with this makeup tutorial. This is a dramatic eye makeup look that is perfect for clubbing. The products used in this how to video are as follows:

You can create a pink and maroon eyeshadow look with this how to video. This makeup tutorial uses the following products: MAC Eyeshadows in Angelcake, Cranberry, Maroon, and Frost, Benefit Lemonaid, MAC Ebony eyeliner, Kanebo liquid liner, MAC Mascara X, MAC Chromeglass Technobeet.

You can learn how to create this shimmery hot pink and silver eyeshadow look with this makeup tutorial video. The following products were used: 120 Pro Palette, Benefit Lemonaid eye base, black mascara, and black eyeliner.
Learn how you can create this pink and green, blushing apples look, with this makeup tutorial. The following products are used in this how to video: NYX palette perpetual , BENEFIT lemonaid eyebase , apple green eyeliner by NYX, BOURJOIS white eyeshadow, KANEBO black liquid liner , MAC mascara x , lily lolo rosy apple blush , models prefer lipgloss.
Learn how you can acheive a fun feminine makeup look with this how to video. This makeup tutorial uses the following MAC products:
This video will teach you how to apply that Bowie inspired glam rock makeup job. Use colorful eyeshadow to make it seem like you're from Mars.
Join the A-TV science superstars and find out how to make a cabbage indicator to determine whether a substance is an acid or alkali.
See how to create a multi-layered image in Photoshop Elements with your subject in the foreground so you can see your results in real-time. This tutorial shows you how easy it is to work with multi-layer images in the Cut it Out feature of the Essentials 2 plug-in for Photoshop. If you have the Essentials 2 plug-in, you can use Cut-it-Out to change foreground and background parts of your photos to create entire new images within Photoshop Elements. This tutorial shows you how to prep your ima...
Walter Biscardi demonstrates the basics of travel mattes in this Apple Final Cut Pro Video Tutorial. Learn what travel mattes are and the difference between alpha mattes and luma mattes. In part two we'll learn some simple animation and drop shadows. In part three Walter will show a real world application for using travel mattes - one of his favorite uses to enhance an interview. Use travel mattes in Final Cut Pro - Part 1 of 3.
Cutting plywood on the table saw can be difficult because you have to move the unwieldy 4x8 sheet across the blade. A better solution is to move a circular saw over the sheet. For rips, the saw table rides next to a guide strip and for cross cuts, a fence squares the jig to the work. Watch and learn these alternatives to cutting plywood on a table saw. Cut plywood without a table saw.
In this video, we learn how to recycle cans and make decorative candle votives. First, you will use a straight edge to remove any paper from the top of the can. Then, use the straight edge to cut parallel holes in the bottom of the can. Grab sharp scissors and continue to cut the holes from the bottom all the way up to the top of the can. After this, use scissors to help pry the folds up and into the air for a cute design. Make sure not to use your hands to pry these up, as the edges will be ...
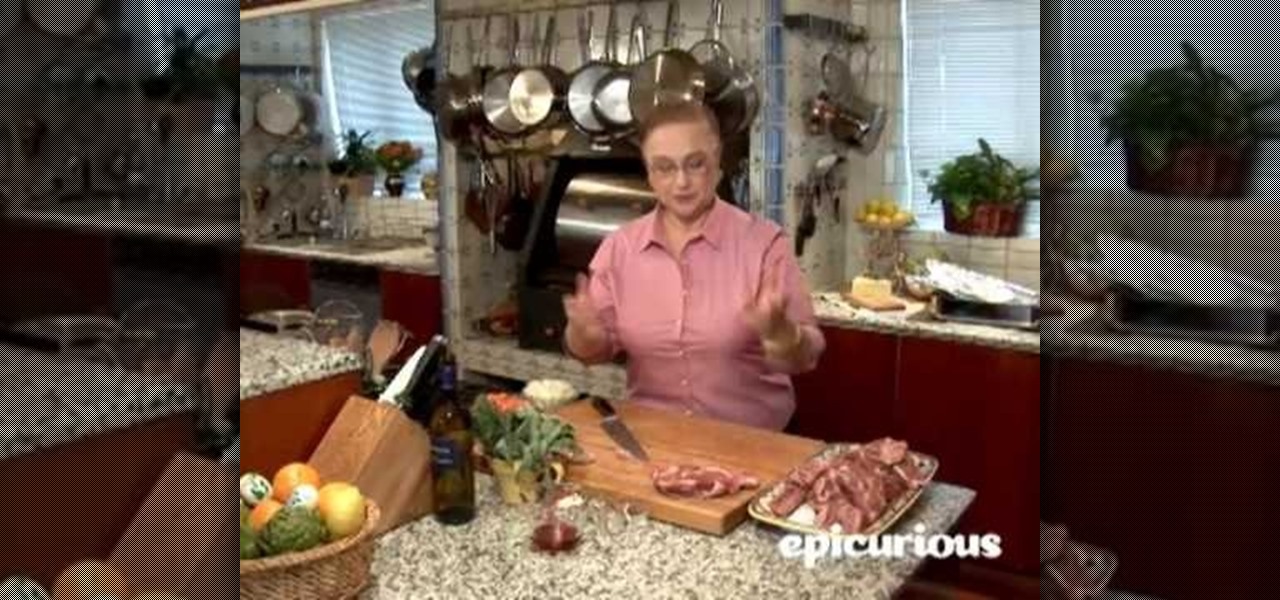
In this video, we learn how to trim a lamb shoulder with Lidia Bastianich. Start off with your raw piece of meat laid out in front of you. You will want to trim the meat around the outside where the most fat lies. Remove the fat that is excessive with a sharp knife. Cut as close to the bone as possible, then trim off the excess fat. Remember, some fat is good to keep on the meat for flavor. Cut the meat into cubes after you have removed the fat from it. Once finished, you will be able to roas...
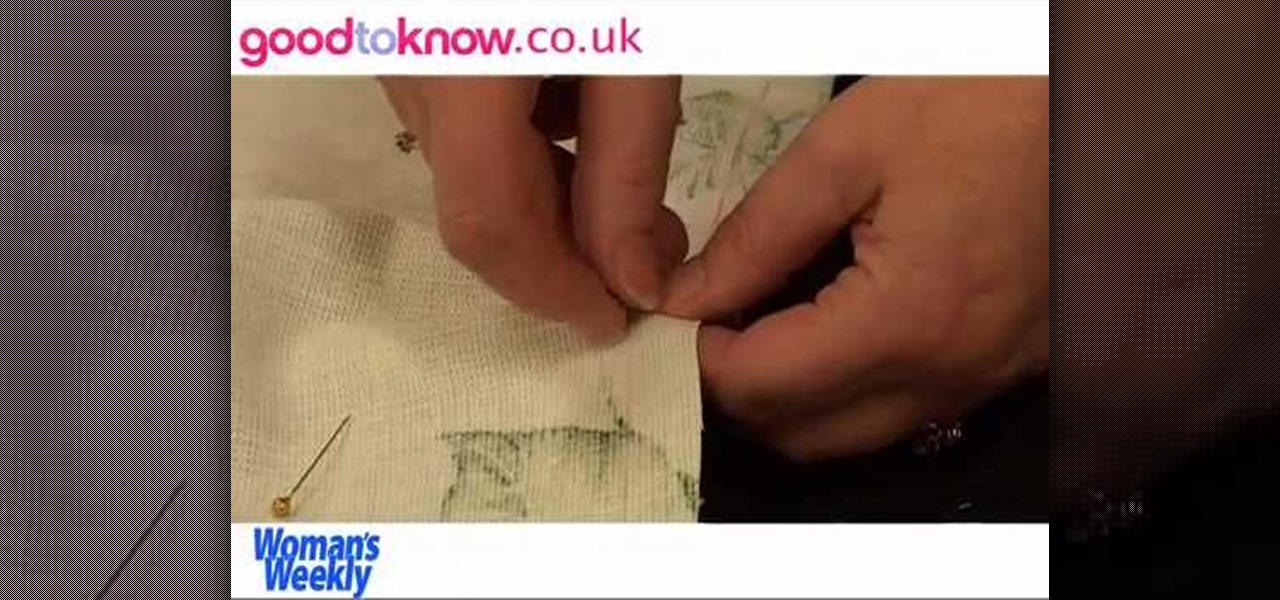
With a little practice a cushion cover can be made at home easily. The materials/equipments required are as follows: fabric of your choice (having appropriate dimensions) to make the cover, scissors, measuring tape and ruler, needles, threads, sewing machine and an iron.
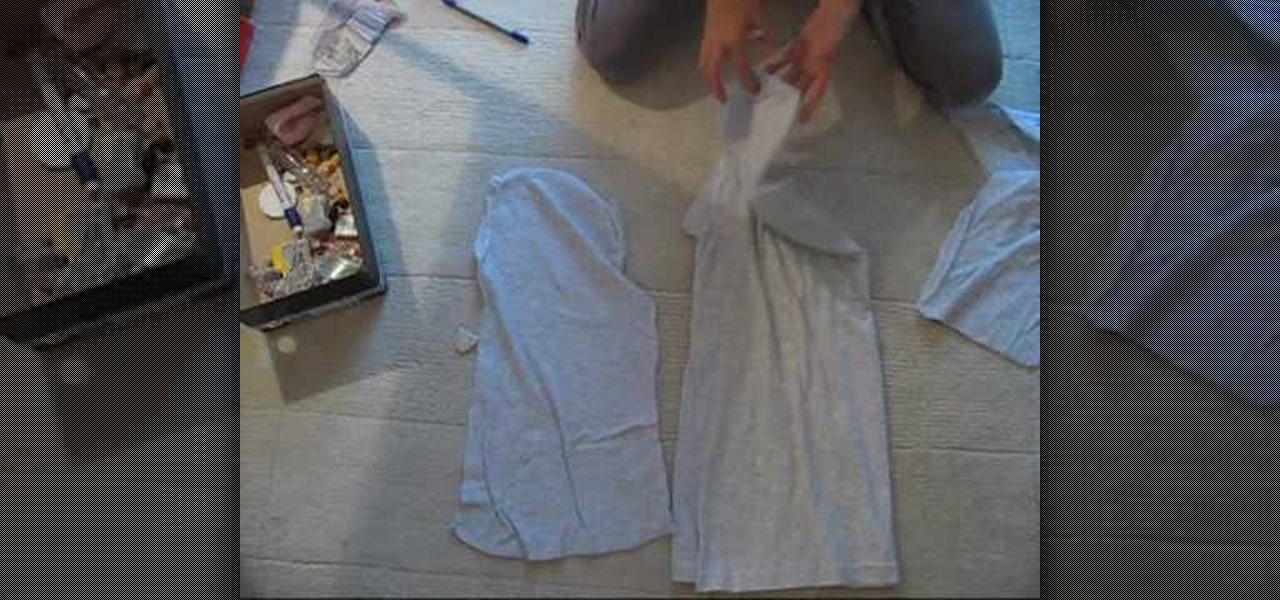
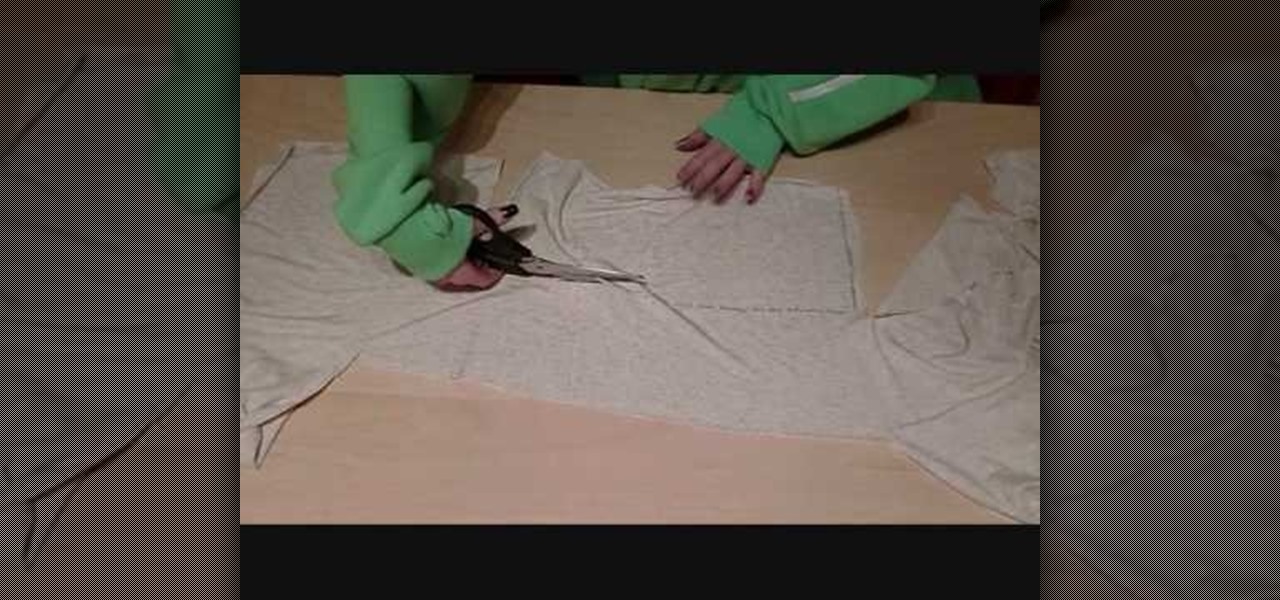
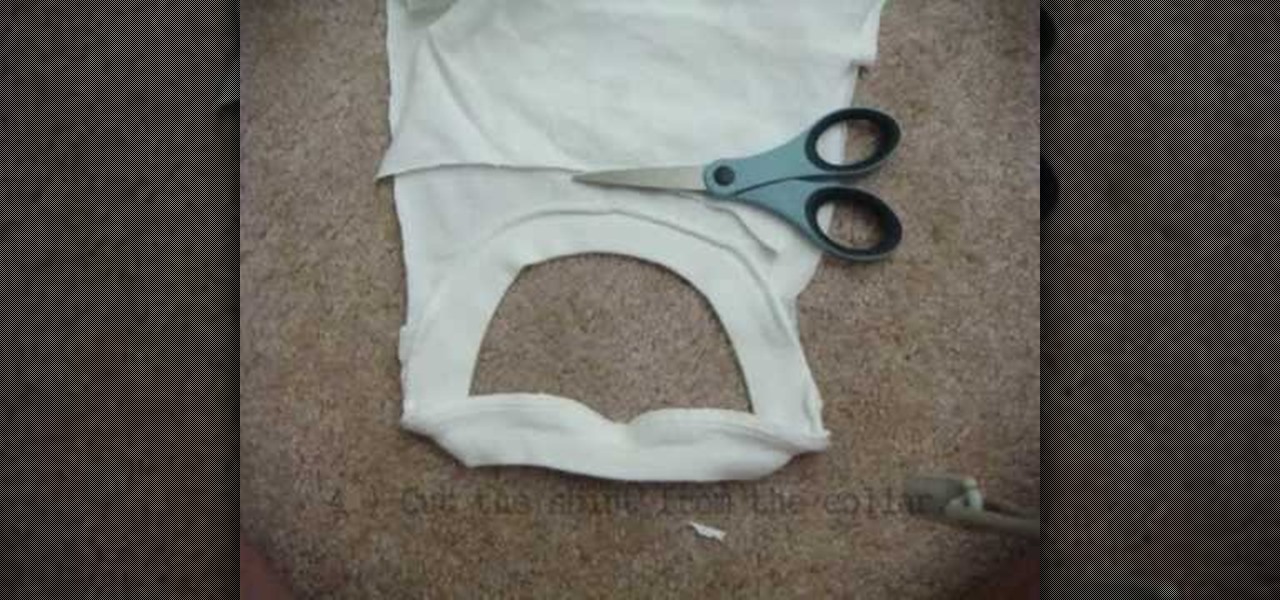
In this tutorial, we learn how to make a hip dress or tunic. First, take an oversized shirt and fold it in half. Next, you will cut the sleeves off and the collar around the neck. From here, you will take the excess pieces of fabric and use those as a guide to cutting out the same shapes from another piece of fabric. Now, turn the shirt inside out and sew it. Measure around the neck, then sew the neck and the sleeves so they are ruched. After this, you will add a ribbon on to wear around your...
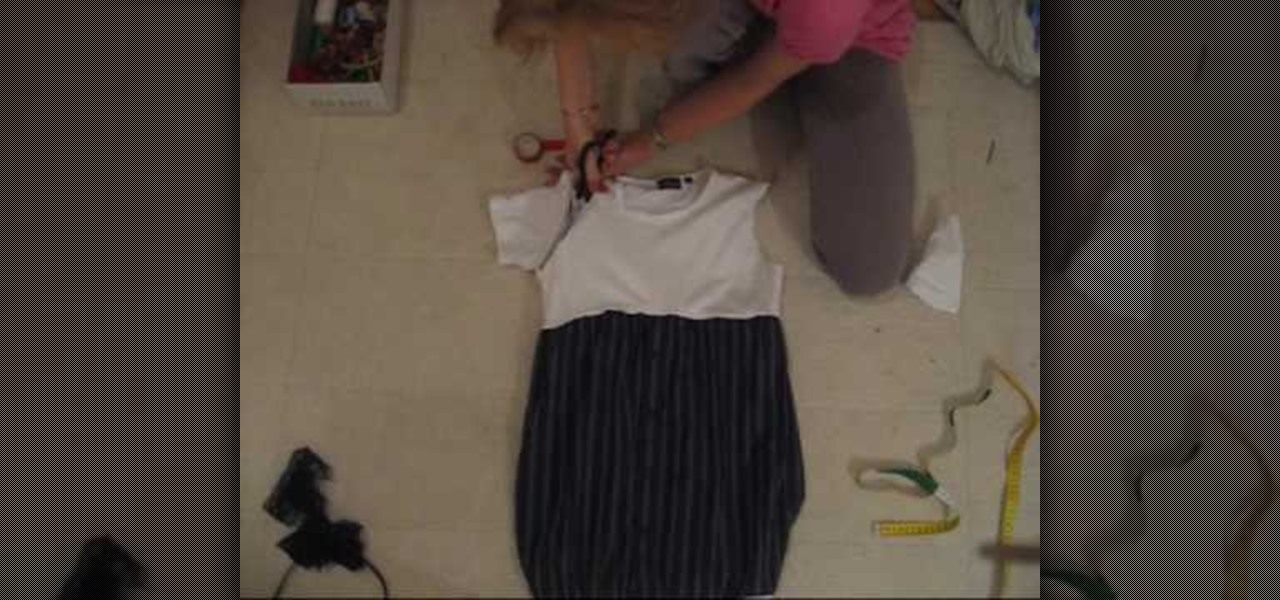
In this video we learn how to make a dress out of an old flannel & t-shirt. First, measure your body on the bust. Then, take an old shirt and mark the measurement on there. Then, cut where you marked the shirt leaving 1/2" extra. After this, attach the top of the dress to the flannel by sewing it with either a needle and thread or a sewing machine. After this, take the part that you cut off and sew it to the bottom of the dress. When finished, try this on and enjoy wearing your new homemade d...
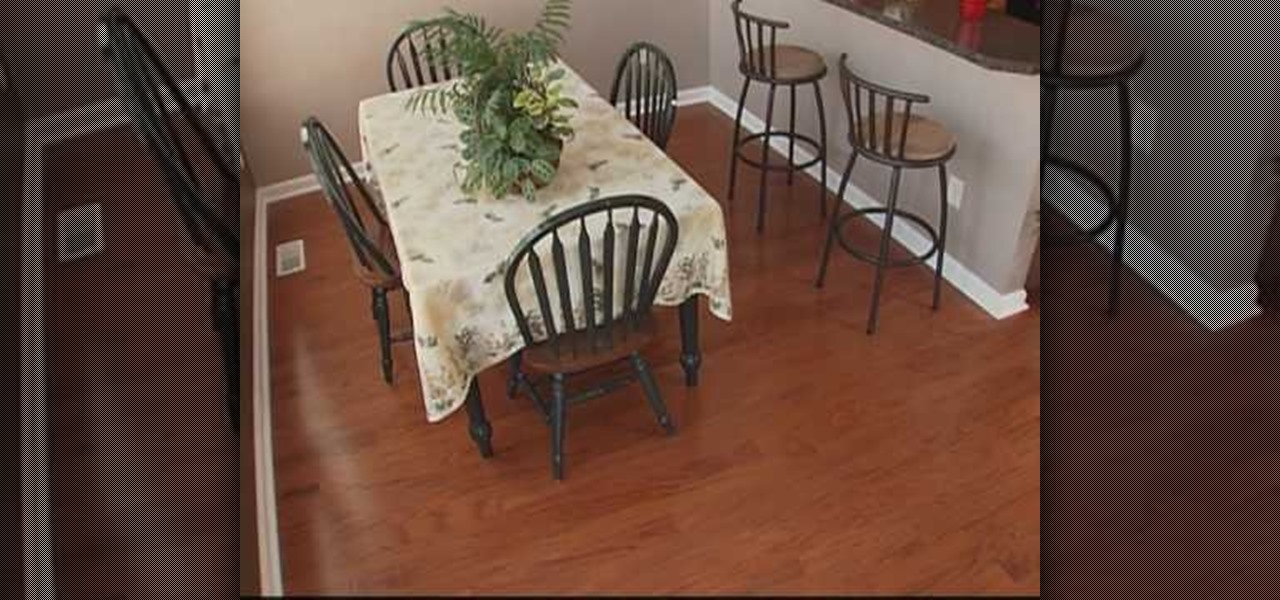
In this video, we learn how to install a locking hardwood floor with Lowe's. First, prepare the sub floor before you begin installing the floors. After this, grab all of the tools you need to install the flooring properly. Place spacers between the flooring and the walls and start to lay it down. Lock the planks together on the first row. Then, lock the sides to the next row and use weights to keep the floors from moving. The ends must be 6 inches apart on each row. For a locking floor, cut o...
In this video, we learn how to make a photo/ATC carousel for cheap. First, take clay in a cylinder circular box and let it set. Then, insert in a long object to create the spine of it. Push the clay around this after spraying with water. Then, fold trading card stock as well as card stock for photographs. Cut these out so you create little pockets where you can insert your photos into. Then, once you have all of these cut out and your photos inside, you will adhere the sides of them to the ce...
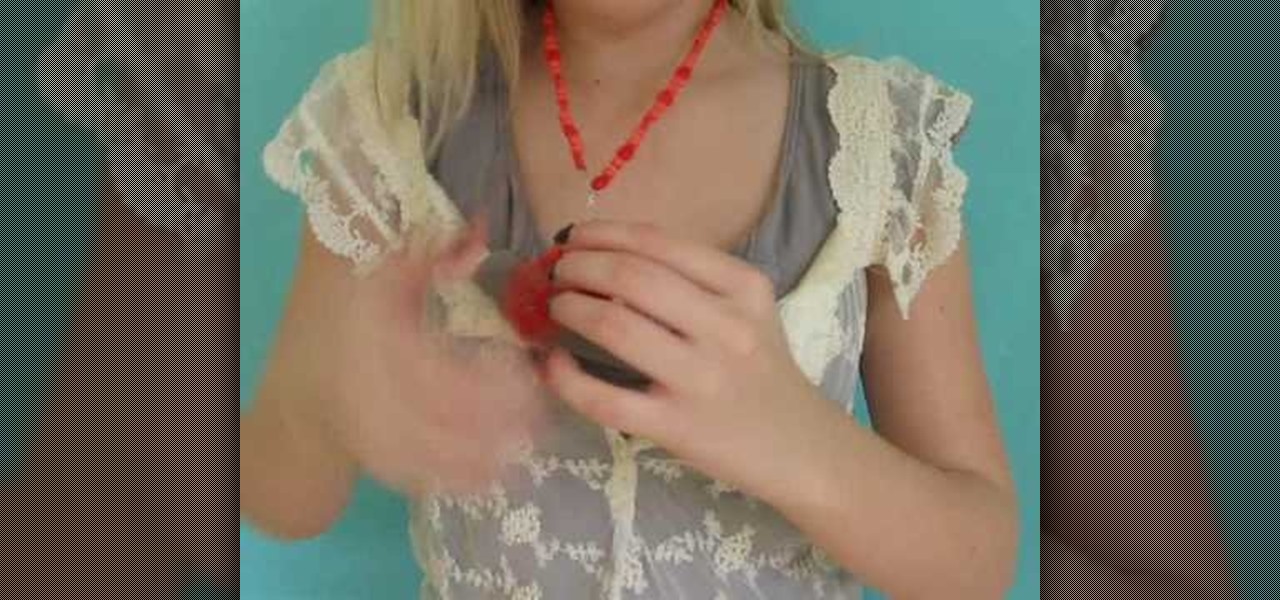
In this video, we learn how to make a feminine, long fitted sweater. First, lay out your fabric and use a pen to trace the lines for the sweater, measure it out so it's a good fit. Make sure to cut around the edges so you have room to sew. Now, sew along the edges and then turn the shirt inside out. Then, take extra fabric and cut out rectangular pieces that you will then attach to the bottom of the sweater by sewing them on. Once you are finished with this, try your sweater on to see how it ...
In this tutorial, we learn how to prune and trim a tree with Lowe's. Pruning your trees will help them stay healthier and look better. It will help the tree grow new and healthy branches and stay alive for longer. Make sure you gather all the tools you need first so you are prepared for your trees. Now, take some pruning shears and climb to find the dead branches on the tree. Cut along the inner corner of the branches to cut them off from the tree. When finished, clean up the dead branch debr...
In this video, we learn how to make a lariat necklace. First, cut your wire so it's 20" long. Then, make a loop at one of the ends and attach a small chain to it. After this, put on the crimp bead and make a loop through the bead. Once finished, take your pliers and clamp it down. Now attach your chosen beads to the wire until you reach the end where the chain is. After this, cut out three pieces of wire and attach them together in a slight v shape. After this, apply beads to them, then tie t...
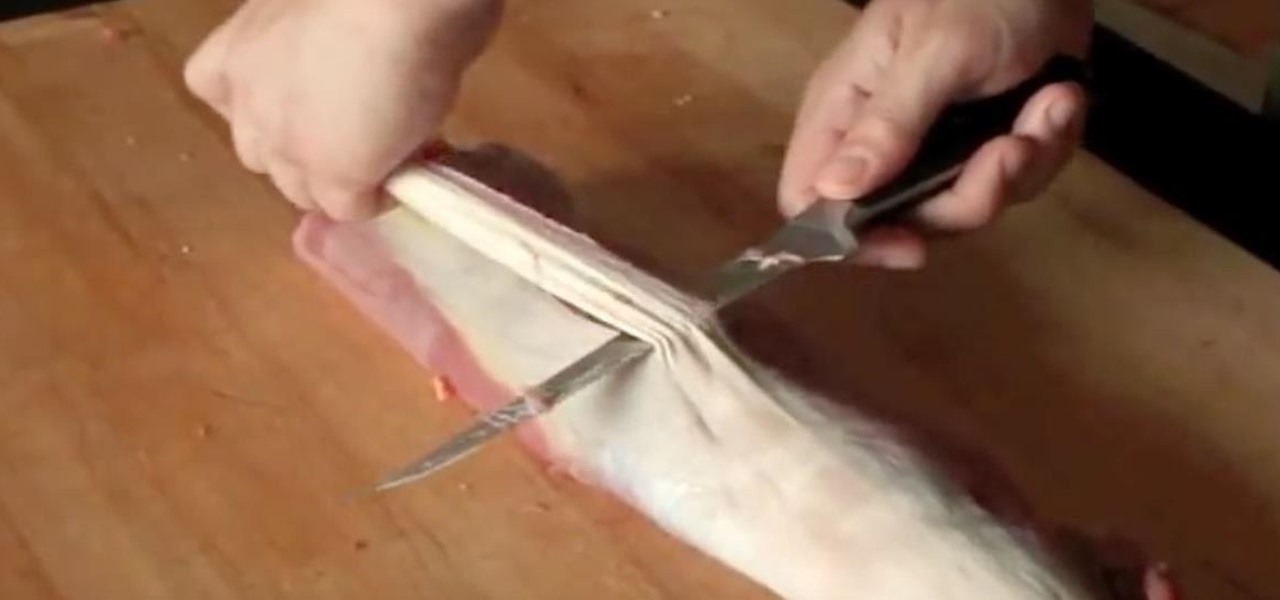
Getting your tenderloin steak trimmed at the butcher is what most of us do when we're craving steak for the night, but why spend the extra bucks when you can trim that tenderloin at home?
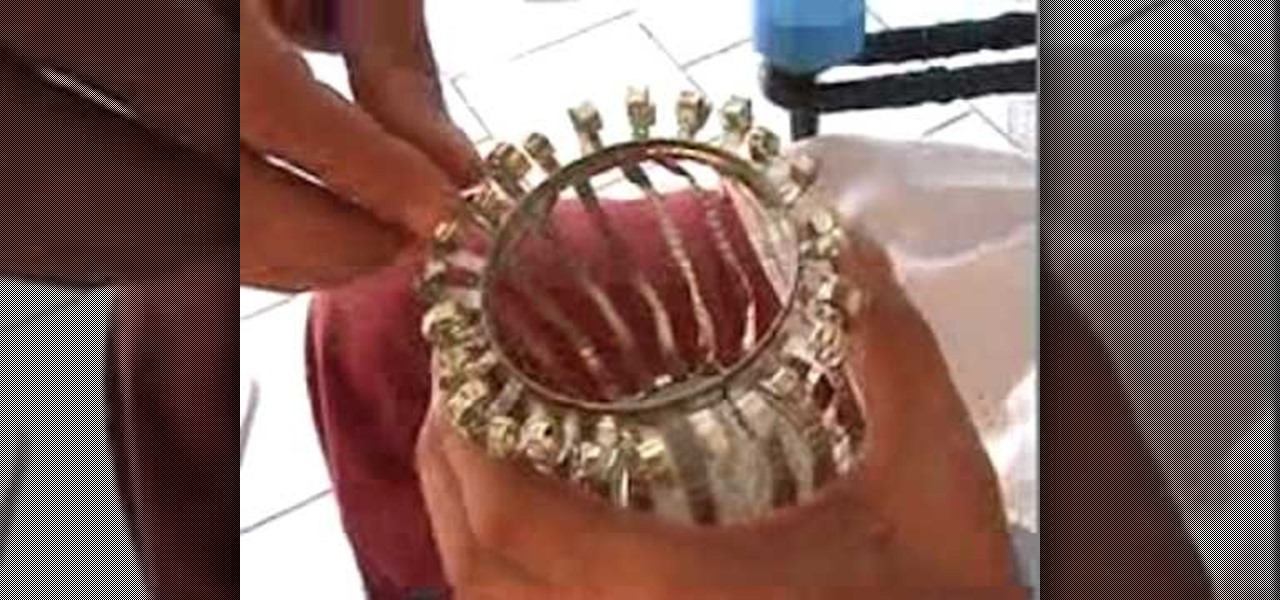
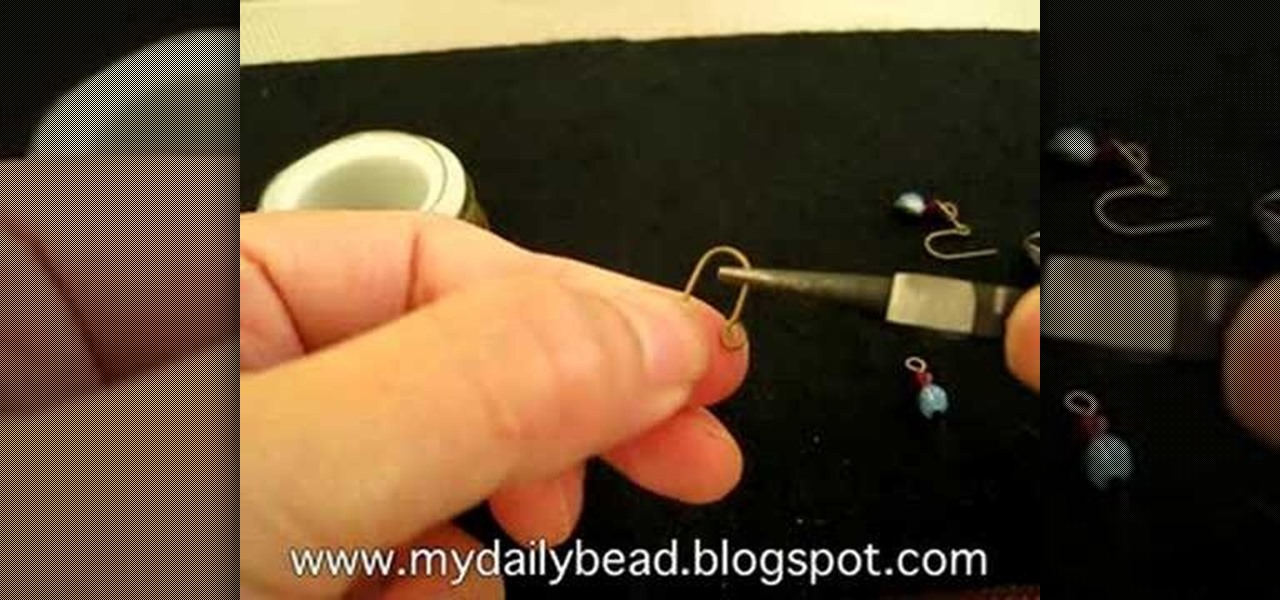
In this tutorial, we learn how to make earrings with Swarovski Crystal & coiled wire. You will need: 6 mm round bead, 4 mm Swarovski crystal, 2 inch head pin, and coiled wire. First, place the beads on to the head pin then bend the pin to 90 degrees. Cut this around 8 mm with a wire cutter, then use pliers to curve the bottom of the pin into a loop. Now grab the wire and cut it into a small strip. Form a loop at the bottom, then twist it into a wired circle. Attach this to the loop on the ear...
When working on the dashboard of any vehicle, make sure you disable the vehicle's airbag system first. Your service manual should tell you how to do that. In this video, the heater core is plugged up in a 2001 Ford Taurus, which means it needs to be taken out. The book states it will take 5 hours to complete, mostly because of the dash. But this trick will cut the time down to 1.5 hours. First, get you heater hoses off in the engine area. Then proceed to watch a mysterious bracket being cut o...
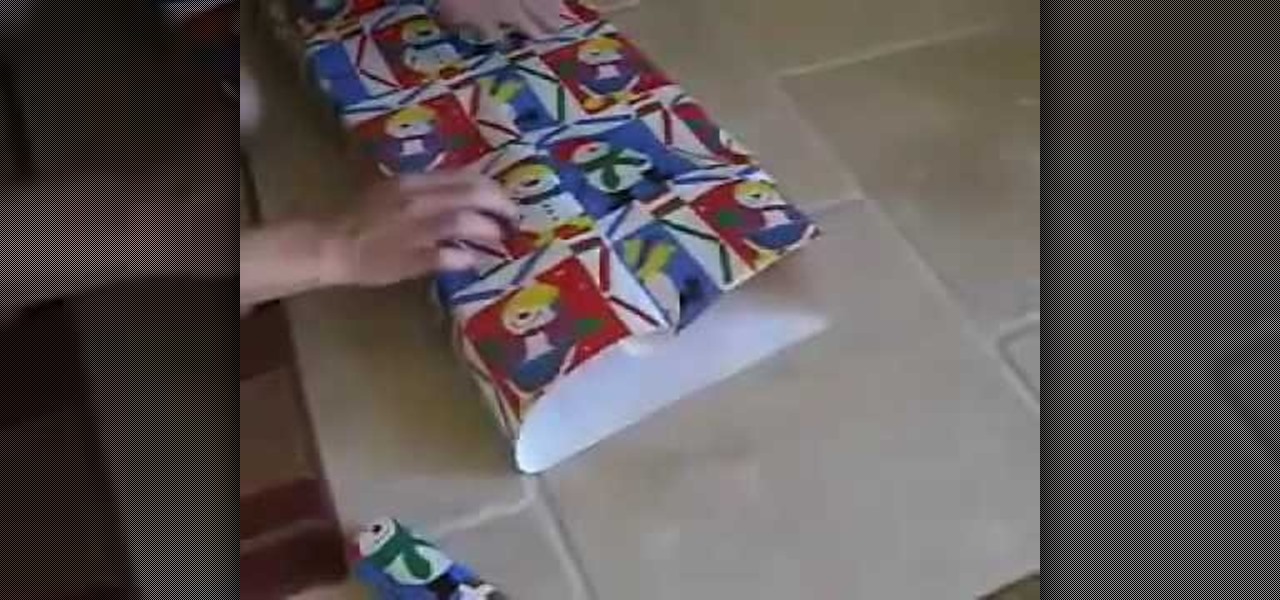
In this video, we learn how to wrap a gift. You will need: scissors, your gift, tape, and wrapping paper. First, place your gift down on the rolled out wrapping paper upside down. Measure out the paper so you have enough, then cut the paper from the roll. Next, you will fold the edges of the paper down, then center the gift on the paper. Bring the sides of the wrapping paper into the middle, then tape it. If you have too much paper on the edges, cut it carefully with the scissors. Now, push d...
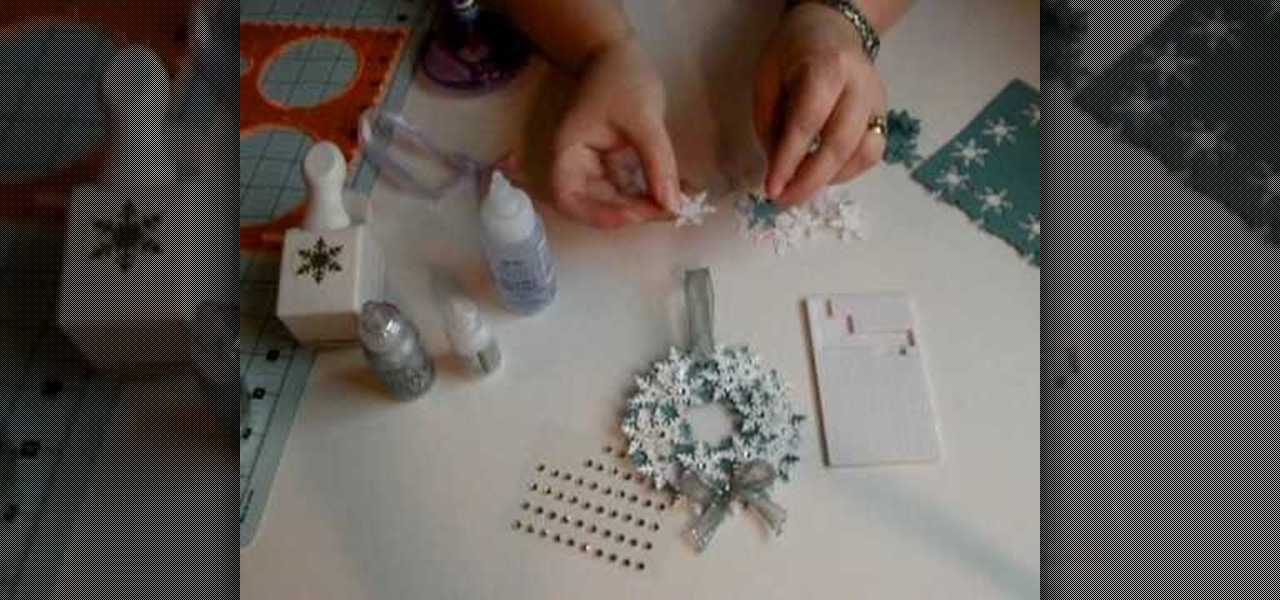
In order to make a snowflake wreath ornament, you will need the following: a snowflake punch, adhesive, foam, rhinestones, card stock, a hole punch, a circle cutter, scraps of paper, and ribbon.
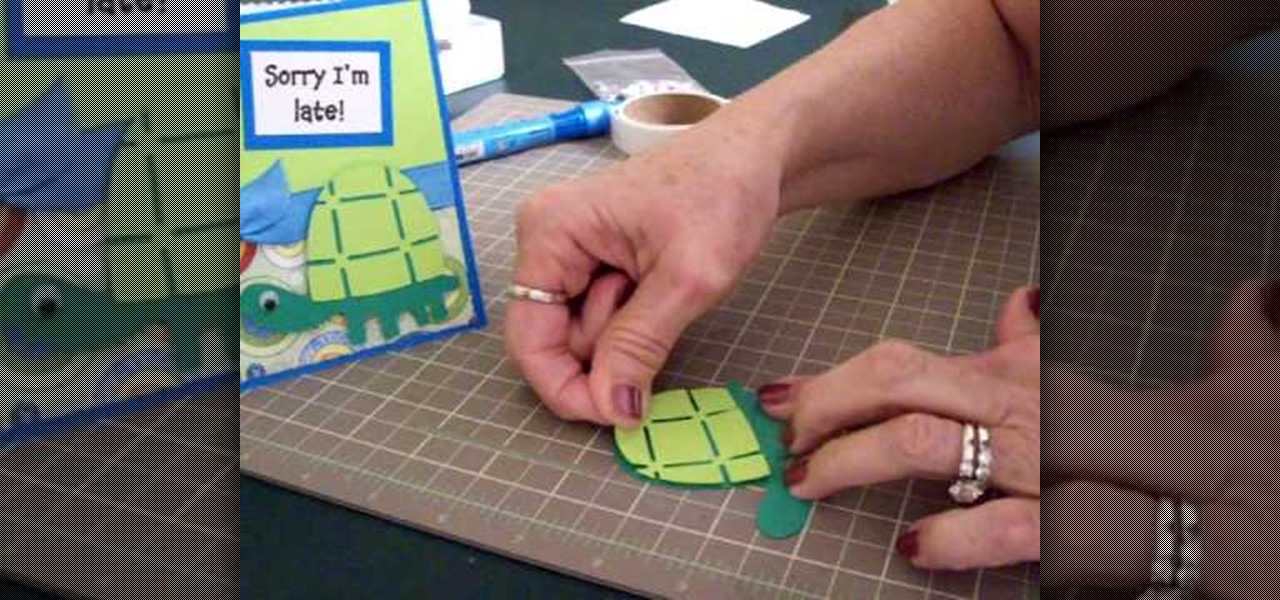
In this tutorial, we learn how to make a Cricut belated birthday card. First, cut the turtle out using the Walk in my Garden cartridge. After you cut this out, add in details to the shell using different colors. After you put the turtle together, place it on a blue card stock that has a pattern over the bottom of it. Next, place a ribbon around the middle of the card. On the top, place a message in a framed piece of card stock that says "Sorry I'm Late!". After you make this, fill out the car...
In this tutorial, we learn how to make hand warmers. You can make this out of pockets off of an old sweater. First, grab a piece of copy paper and measure over two inches, then fold it in half. After this, measure down 1.5" and then draw a line where this mark was. After this, cut the piece out and lay the paper on the sweater, then draw a line on the paper for the thumb holed. After you do this, you will cut out the area on the sweater, then sew it around on the sides. When you are done, you...
In this video, we learn how to create a knotted tank top. First, you will need to take a shirt that is too large, the cut off the sides of the two sleeves down to the bottom. Next, cut the shirt from the collar and make strips out of the excess fabric. Tie the strips on the back of the shirt going to the front of the shirt and tie it. You can also make a chain shape to make this look more unique. When you are finished with this, you will wear a tank top underneath it, then you can wear this c...
In this tutorial, we learn how to make spaghetti pasta sauce from homegrown tomatoes. First, pick out your favorite tomatoes from your garden. next, you need to wash them and they remove the skins by first boiling the water. After this, cut your tomatoes into small chunks, then chop up garlic and onions. Now, place olive oil into a pot on low heat and add in the garlic and onions. SautŽ these, then add in the cut up tomatoes and stir. Let these cook on medium heat, then chop up any other vege...
In this video, we learn how to make a ceramic slab plate. First, roll out the ceramic. After this, place the clay on butcher or newspaper and smooth it out with a plastic card. Repeat this on the other side. Next, use a paper template to help cut your design or use a circular object. Cut slits to help remove the surrounding clay. Use the excess clay to build support pieces then curve the edges of the plate up and place the support pieces underneath. Use a piece of leather to smooth the edges....
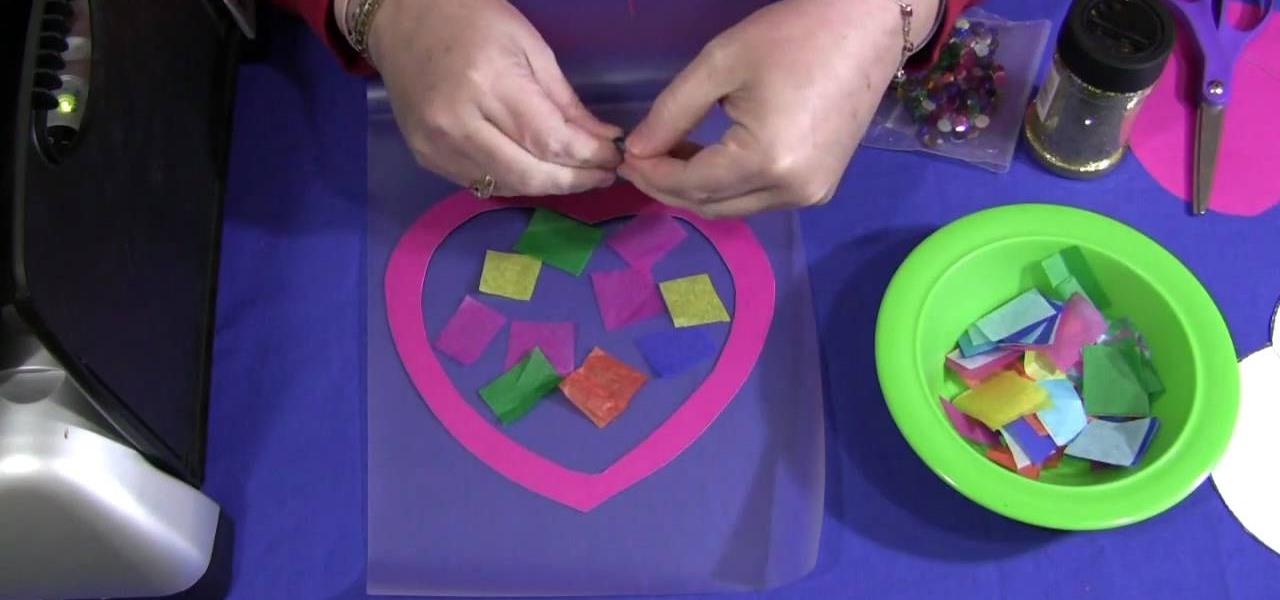
In this video, we learn how to make a sun catcher with your kids. First, you need laminating paper, two paper hearts, and scissors. First, cut the center of one heart out by sticking your scissors in and making your way around the heart. Next, place the outline of the heart inside of the laminating pouch, then decorate the inside of it how you prefer. You can use whatever you want to decorate the inside, including: glitter, crayon shavings, tissue paper, etc. Next, place the paper inside of a...
In this video, we learn how to make a vertical striped bracelet cuff out of beads. Start with a long piece of string and string on your beads until you have a length that fits well around your wrist. After this, tie the ends together and cut the tails off the excess string on the short side. now, start to thread through new beads around the entire bracelet. At the end of every few rows, tie it to keep it tight at the end. When you are finished, tie the string and make a knot, then cut off any...
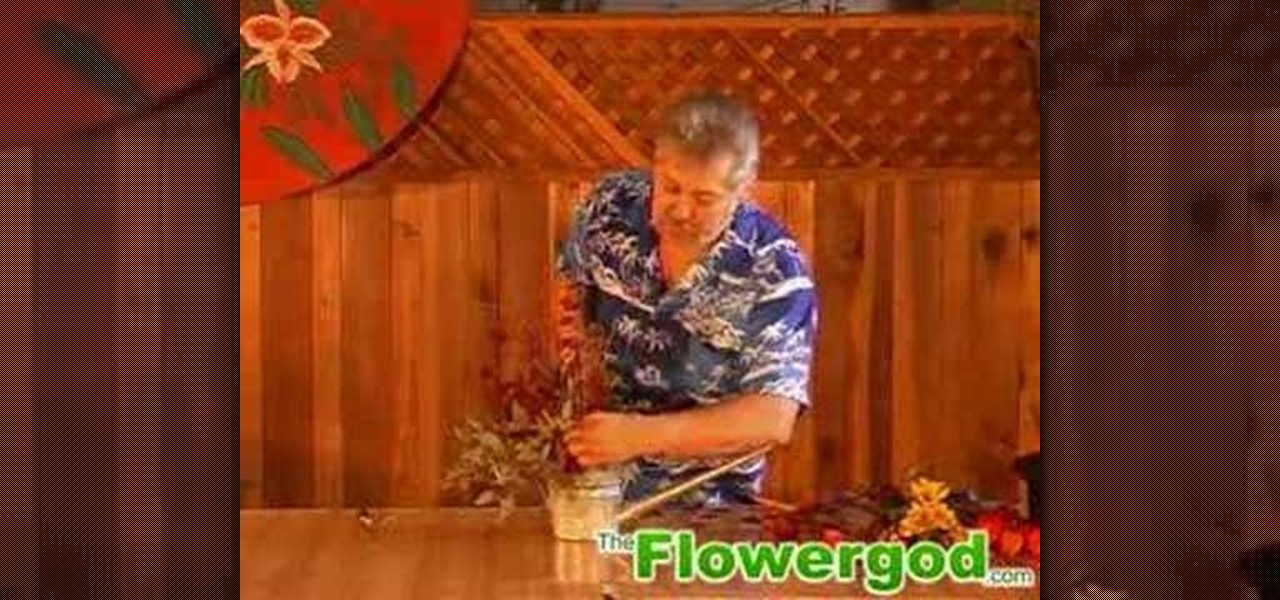
In this tutorial, we learn how to design a fall centerpiece in a watering can for a home. Start off by cutting branches off of a willow and placing it into a watering can. Next, arrange Japanese lanterns around. After this, cut alstromeria and seeded eucalyptus and place them around the can where you feel they fit best. The best part of this arrangement is that you can arrange it however you want! You can add different types of fall flowers and add more or less of flowers you prefer. When fin...
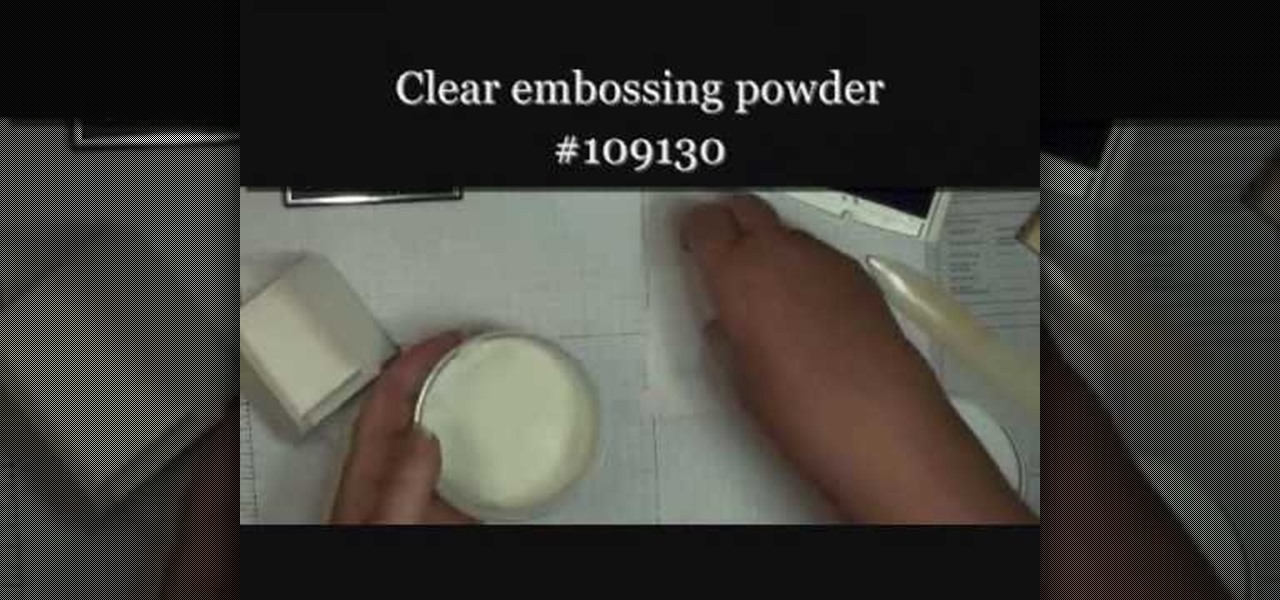
In this tutorial, we learn how to make a small folding box for Easter. First, cut a shimmery white piece of card stock to 6" x 8 1/4". After this, score the paper at 2 and 3/8". Then score again at 2 and 7/8", flip it over and do again on the other side. After this, cut the four corners with score lines off, then fold the score lines that are left. Now, grab an Easter stamp and stamp the inside of the box underneath the top flap. Place a candy inside of the box, then fold it up and place an E...
In this tutorial, we learn how to make a sniper rifle movie prop. First, go to this website to get the blueprints: Sniper. After this, draw your gun out onto a poster board and cut it out, you will do this for around 6 of these poster boards. When you are finished, use the hot glue gun to stick all of these together. Next, sand out the sides and attach duct tape to the sides to keep it together. After this, grab two empty water bottles and an empty toilet paper roll. Cut around the top of the...
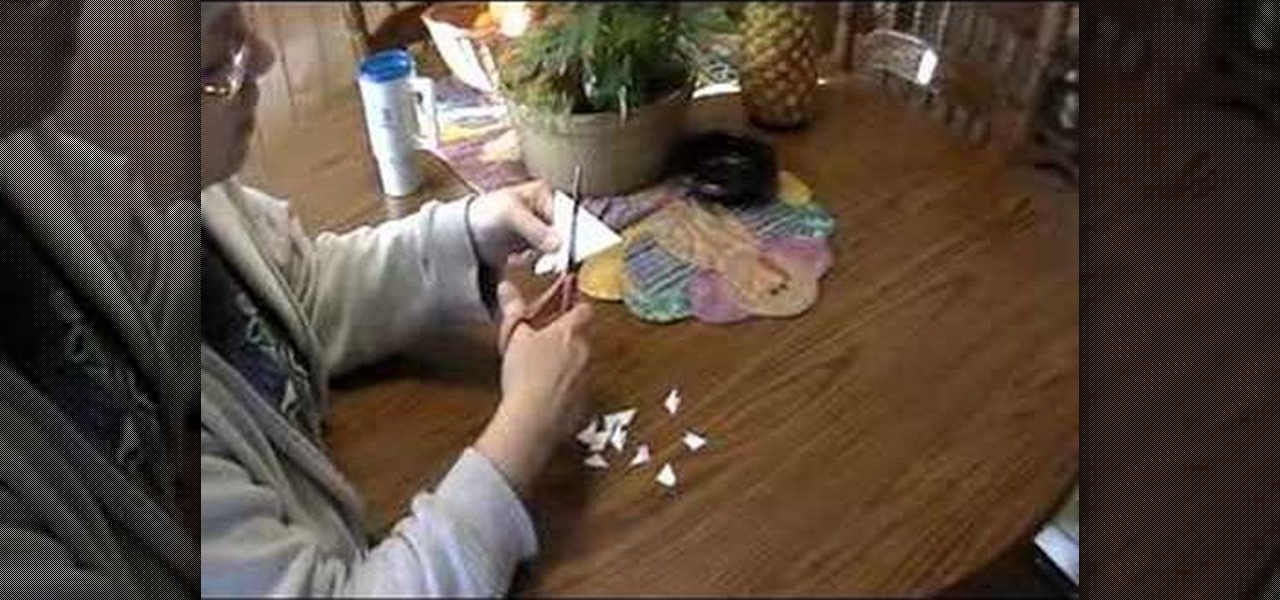
In this tutorial, we learn how to make a paper Christmas tree. Start out with a square piece of paper, then fold corner to corner and open it, then fold it on the opposite corners and open it. Now, turn it over and fold it side to side on both sides. Now, the paper will automatically fold into it's shape because of the creases you made. Now take each of the four flaps and flatten them out with your finger. After this, cut your trunk out of your tree at the bottom, then cut slits on the side o...