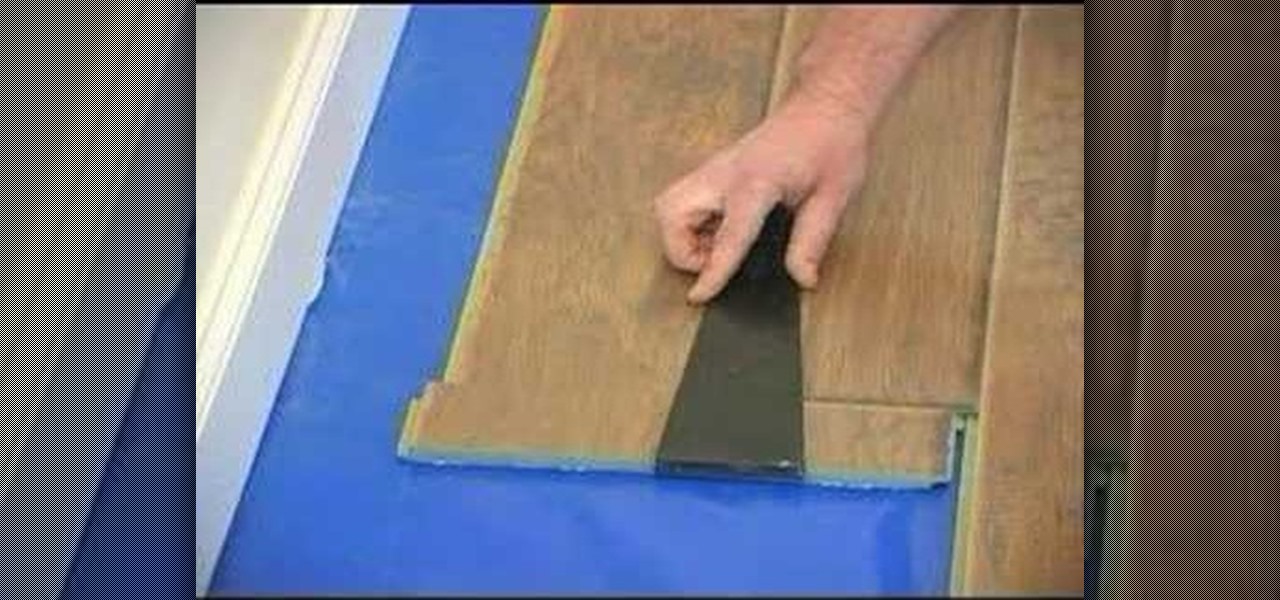
Many home that have stairs in them, tend to have either wood or metal stair railings. Each has their own benefits, but metal tends to be cold and less attractive to homeowners and potential home buyers. Installing a wood stair railing adds much more character to the space and can increase the value of a home significantly. So check out the tutorial above and see if this is a project you would like to tackle. Enjoy! Install a wood stair railing kit in your home.

If you're looking for a way to maximize the amount of space you have in your cabinets, this video tutorial may have what you need. In it, you will be shown, step-by-step the process of removing old shelves and adding pull-out shelves instead. This ensures that whatever space is available is being used properly in your kitchen cabinets. Good luck and enjoy! Best use your space by installing pull-out shelves.

This tutorial shows you how to build your own picture frame from scratch. It's a grea tutorial for those interested in saving some money for a high-end frame or for those interested in expanding their woodskills. This tutorial has great insight and tips for making a great looking frame. Sit back and enjoy! Build your own picture frame from scratch.
If you've recently bought a home or currently reside in one with stairs, handrails are an important way of ensuring you and your family's safety. If you are looking to add a handrail on the opposite side of the wall, this tutorial will give you the necessary steps and tools needed for the project. It's an moderatley difficult task that takes time, but will look great once completed. Good luck and enjoy! Install a wood handrail in your home.

Sometimes when it comes to existing moldings, they tend to be dull and lack any kind of style to them. But the best way to maximize their look without breaking the bank, is to add some detail to existing moldings that are already in place. This can help with the character of the room and even house. So check out this tutorial and find out if you got what it takes. Enjoy! Add details to your moldings and door casings.

Sometimes, it can be a pain to remove an countertops made of material such as wood and laminate. So an easy to do option would just let it be. If you're looking to add ceramic tile, you can easily do that over your existing countertops. This video will show you how for a quick to do and easy kitchen project. Enjoy! Apply a ceramic tile over an old countertop.

If you own a home with a big kitchen and are looking for a way to optimize the space, this tutorial may have what you need. This video will show you what supplies are needed in order to create a helpful seating area for a corner of your room, known also as a breakfast nook. Enjoy! Build an attractive breakfast nook in your home.

Dovetails are an extremely old and effective wood joint. There are three types of dovetails, through dovetails (the most popular), half blind dovetails, and sliding dovetails. In this woodworking video tutorial, you will learn how to do a machine cut through dovetail. Cut through dovetails with a machine.

Tommy and Al dedicate this podcast to answering the question of the week: What is the best way to attach legs to a column? With explicit instructions, they demonstrate how to use dovetails to get the legs and columns to fit together “nice and tight.”

This clip walks through the process of making an end grain cutting board (or butcher block) from maple and purple heart. This basic project is suitable for most skill levels and the techniques described in this video can be applied to any end grain assembly, whether it's a cutting board of a different design or another butcher block project. Make a decorative butcher block.

Inserting FasTrim with your laminate floor requires only a few simple tools. To insert FasTrim on your laminate floor that is up against ceramic tiles, first drill holes in the plastic track using a 3/16 masonry bit. Be sure to wear safety glasses to avoid damage from flying parts. Then clean up any debris on the track. Next insert the plastic insert and put in the screws. Put in the last piece of laminate and use a pull bar to bring it up tight. Insert the FasTrim over the plastic track. Pou...

Prefer a clear, hand-rubbed, "antique" finish to the shiny or satin sheen of varnishes? Then you will want to use a tung oil-based topcoat applied over an oil-based stain when you are staining or refinishing your special piece of furniture.

All the dentil molding is on and now it's time to add another layer. Tommy shows how the applied dentil molding looks and how the soffit and quarter round fit over it. He then attaches them to the case. Tommy cleans up the dentil molding with a chisel so it is flush with the quarter round. After gluing the final corner in place, the first part of the crown is done and Tommy can enjoy a victory cigar.

Tommy had debated on whether he was going to show the viewers the hidden drawer in the Bombe, which is typical of a period piece. Considering how the early podcast at the museum showed how it was taken apart, he figured why not. Using scrap wood he has saved while working on the project, Tommy begins construction on his first hidden drawer. He’ll need to mill the pine, cut the sides and glue the bottoms. While waiting for the glue to dry, he demonstrates how to cut dovetails again.

Cock beading can add depth to a drawer face and help conceal the gap between the drawer and the drawer box. Steve Latta demonstrates two methods for creating cock beading. One technique uses traditional hand tools, and the other uses a router. Create cock beading.

In this tutorial, we learn how to install laminate floor under a door. First, take your floor and pop it into place like you do for the entire floor. Then, take a piece of scrap and place on the end. After this, grab a tool and push it into the door with a hammer until it reaches underneath the door. Once you have this finished, it will give you a nice and clean look on your floor. Make sure you don't miss with the hammer and hit the flooring, so you don't cause cracks in it at all. To finish...

Whether you live by yourself or with others, there's no harm in having an extra seat or two for guests. Buying one is simple and easy to do, but making your own can be much more satisfying and fun. In this video tutorial, you'll find out how to make a nantucket bench for you or others. It's an easy to build project that will result in a beautiful looking bench. So check it out and good luck! Easily build a nantucket bench.

If you're looking for a tutorial that will challenge your woodworking skills, this video may be it. In it, you'll find out how to make a great looking tile-top craftsman table. This is a great looking table that is sure to help with the look of any room. The simple, yet, beautiful design requires a mortise with tenon joinery, two methods that are easy to use and easy to learn how to make. So if you're up to the challenge, check out this video. Enjoy! Make a tile-top craftsman table easily.

A table saw is a powerful tool that comes with great responsibility. It can cut small and large pieces easily, created little grooves for decoration, and much more. But despite all of the great benefits a table saw has, it is a dangerous tool for anybody, experienced or not, to use. When it comes to pushing wood, nothing gets your fingers or limbs close to the blade than doing that. So in this tutorial, you'll find out how to make a table saw jig using some easy to follow tips. Having a jig m...

Anything that contains the words, "knock" and "down" would sound like something that is unsafe and shouldn't be used. But in this case, knock-down refers to something that is easy to put together, but looks like it took days to complete. So check this tutorial out on how to make a knock-down bookshelf with a mortise and tenon joinery. Good luck and enjoy! Create a knock-down bookshelf with mortise and tenon.

Cutting tapered legs, can be a challenge withing itself. When using a band saw, it makes the job much more simpler to do, but there can be certain situations when it can prove to be tricky. That's when you need some tricks to help you out. In this tutorial, you'll find out how to cut tapered legs that have all four faces tapered. So sit back and enjoy! Use a band saw to cut a tapered leg.

If you are trying to create a lamb's tongue chamfer, then you must know that extra detail is important. Doing this can be hard and time consuming, but in the end it results in a beautiful looking piece. It's a detail that has been traditionally used throughout time and requires a steady hand. So check out this tutorial on how to make a lamb's tongue chamfer today. Enjoy! Make a lamb's tongue chamfer.

If you're looking to add a table to your study room or living room area, look no further. Instead of going out and dishing anywhere from $80-$100 dollars on a round table top, why not make one yourself. You can do that with this helpful tutorial from Woodsmith magazine. It's easy to follow and will make a nice addition to anywhere in your home. Enjoy! Make a round, solid table top.

If you've made chairs from scratch and are looking for something else to add, cushions could be a good option. Buying them from the store is great and all, but making your own is so much better. Not only are your able to choose whatever material you want, but you can have it look a certain way as well as make it as soft as you want. In this tutorial you'll find out how to add cushions to your chiars with some help from these videos. Good luck and enjoy! Add cushions to your seat.

Being a woodmaker isn't an easy task. It takes time and experience to know just how to make something from scratch. Oh, and having some nifty tools that can make the job a whole lot easier, helps too. So in this tutorial you'll find out how to make a quartered bookmatch veneer using your handy skills and tools. It's not an easy project, but this tutorial will help make it easier for you. Enjoy! Make a quartered bookmatch veneer.

If you are interested in creating a jewelry box for your kid, wife, or even yourself, installing a half-mortise lock can be a tricky project. This is a piece of hardware that will help make any jewlery chest look professional and adds a bit of character to the piece. So in this tutorial, you'll discover just how difficult it can be to install a half-mortise lock. The video offers some helpful advice that will make the job much easier. But in order for it to work, make sure you follow the step...

Accidents happen. Once they've taken place it's impossible to go back and fix whatever mistake you made. Or is it? When it comes to wood, or other materials, dents, indentations, or cuts can easily disappear when using the right type of wood filler. It's especially important to choose the right one, when you have to stain your wood. Not doing so can result in an obvious mistake that almost anyone can catch. So in this tutorial, you'll find out how to determine which wood filler is right for y...

It's important for any woodworker, that their tools be in tip-top shape in order to complete any job. A couple of those tools that need constant attention is a chisel or a plane blade. Having these tools sharpened is very important for completing most wood projects, and there are many options that woodworkers can choose. One of the most overlooked methods involved using sandpaper. If you want to know more, check out the tutorial above. It's easy to do and will have your chisel or plane blade ...

If you're interested in making any kind of l-shaped furniture, having the right jig to create the right kind of joiners is a big help. In this tutorial, you'll find out how to make a mitered spline jig using a router table. It's a pretty difficult task that requires you to be accurate and sure about your cuts. If you have a biscuit joiner, this is a cinch, but if not, check out this tutorial to help you make easy cuts. Enjoy! Make a mitered spline jig.

Creating a wooden inlay for any piece of furniture can help add a beautiful accent that will be admired by all. In the past, making inlays was a difficult task that required time and patience and was a tough challenge for any woodworker. Nowadays, technology is so advanced, that making these inlays can be an easy task, especially when you use a router. Check out this tutorial on how to use a router in order to create a great inlay for you table, dresser, or whatever you want. Enjoy! Make a gr...

There are many ways to attach pieces of wood. You can use screws or nails to keep them nice and secure or another option can be wood glue. But when making certain items, it's a good idea to use joints when connecting pieces of wood. In this tutorial they talk about how to make mitered half-lap joints. The best time to use these joints is when you're using one to two inch stock. Items like desks and dressers usually have half lap joints. It adds studiness to the internal structure without need...

There's nothing like the sweet satisfaction of making something using your own two hands. It can give you a great sense of pride knowing that you were able to make something that you and others can use. If you're interested, check out this video tutorial on how to make a bowl using a router and other tools. It's easy to follow and will result in a beautiful bowl that anyone can use. Enjoy! Use a router to make a bowl.

One of the most commonly used tools in woodworking is the table saw. It's easy to use and make clean accurate cuts for any wood project. Out of all the different cuts that can be made, a rabbet is a common one. A rabbet is just a notch that is usually cut into the edge or end of a board and is used with things like cabinets or drawers. So in this tutorial, you'll find out how to cut rabbets on a table saw. So sit back and enjoy! Oh, and when using a table saw, please be careful! Cut rabbets o...

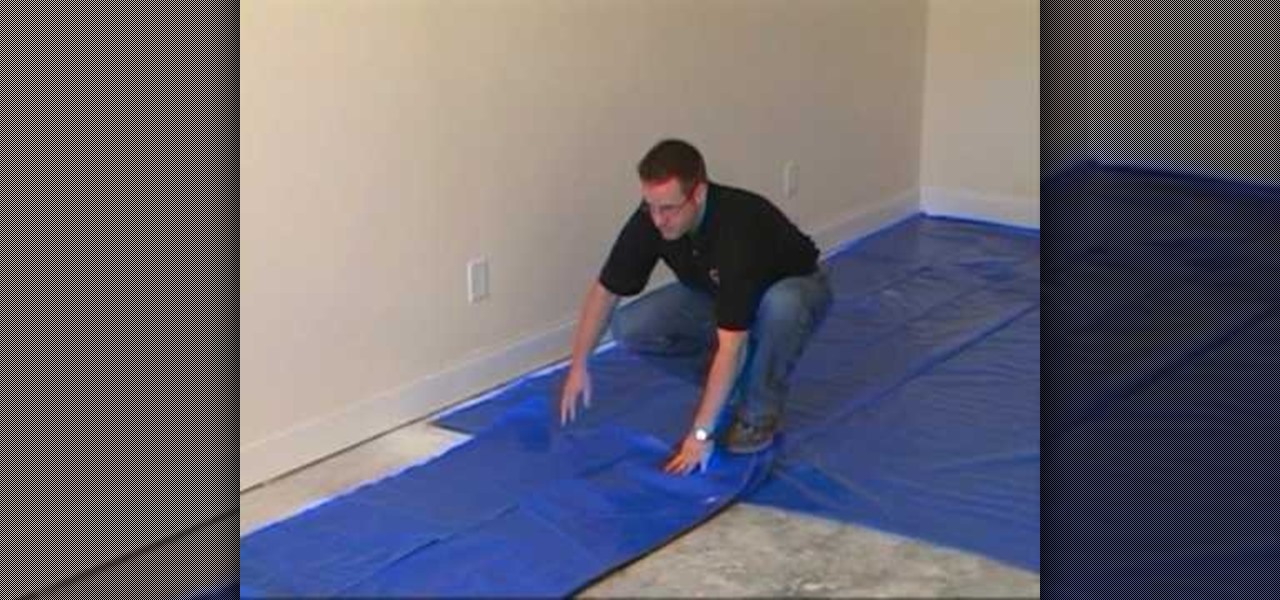
This video describes the process of installing a moisture barrier over a concrete subfloor. The presenter is using 6 mil thick poly barrier. The barrier comes in rolls about twenty-four inches wide. When rolling out the moisture barrier you want to go from wall to wall and cover the entire floor. For optimal moisture control you will want to overlap the poly barrier by at least six inches. The barrier plastic does not need to be taped or secured to the floor at all, it simply lays on top of t...

This video shows how to install the last row of laminate flooring. Take one of the last row pieces of laminate that was cut to size, and tilt it into the laminate floor. Lay a pull bar from your wedge kit across the laminate, and wedge it between the wall and the

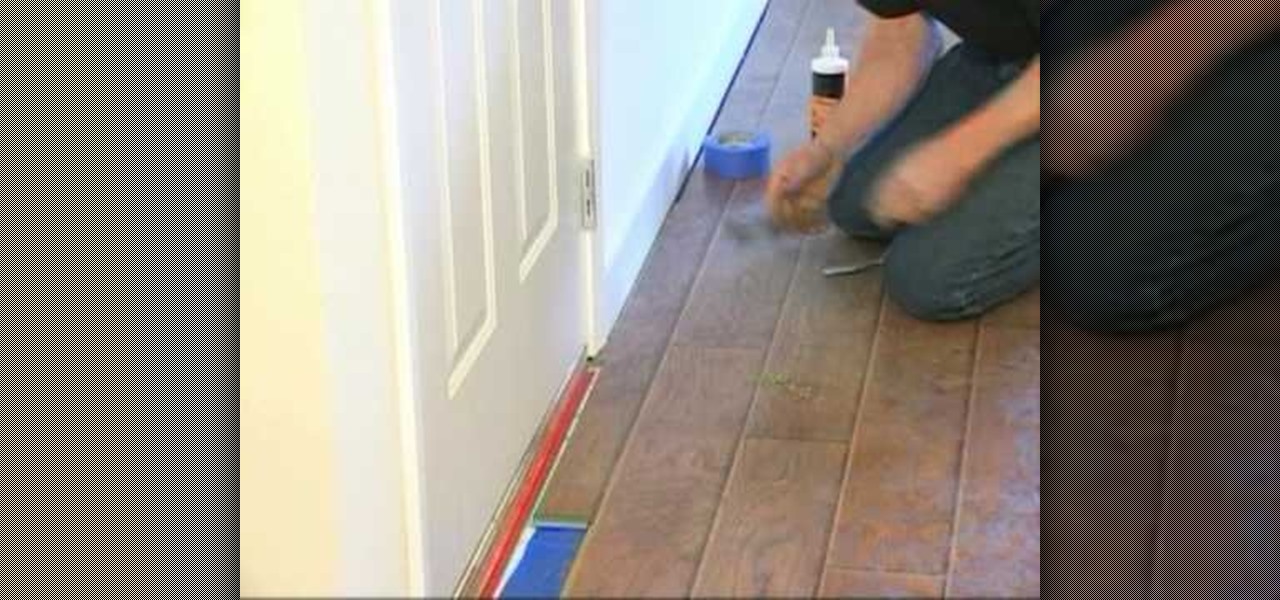
When you end your last row, there are occasions where you can't use a pull bar. The alternative to using a pull bar is to modify the groove side of the plank that's on the floor. Shave the groove and remove the debris, making sure that there's none in the track. Next, take a small bead of glue and run it down the groove side of your plank. Engage the next plank as close as you can get. Set the plank in place with the pull bar. Finally, tape the plank to its neighbor to secure it until the glu...

This video demonstrates the proper technique for undercutting the door casing or the molding around the door. You will need to do this when you are laying a laminate floor, otherwise the laminate flooring will not seat underneath the door casing correctly. The first step is to figure out how much you will need to cut out of the door casing. This can be accomplished by measuring the thickness of the laminate flooring plus any underlay you may be using. The presenter demonstrates this with a po...

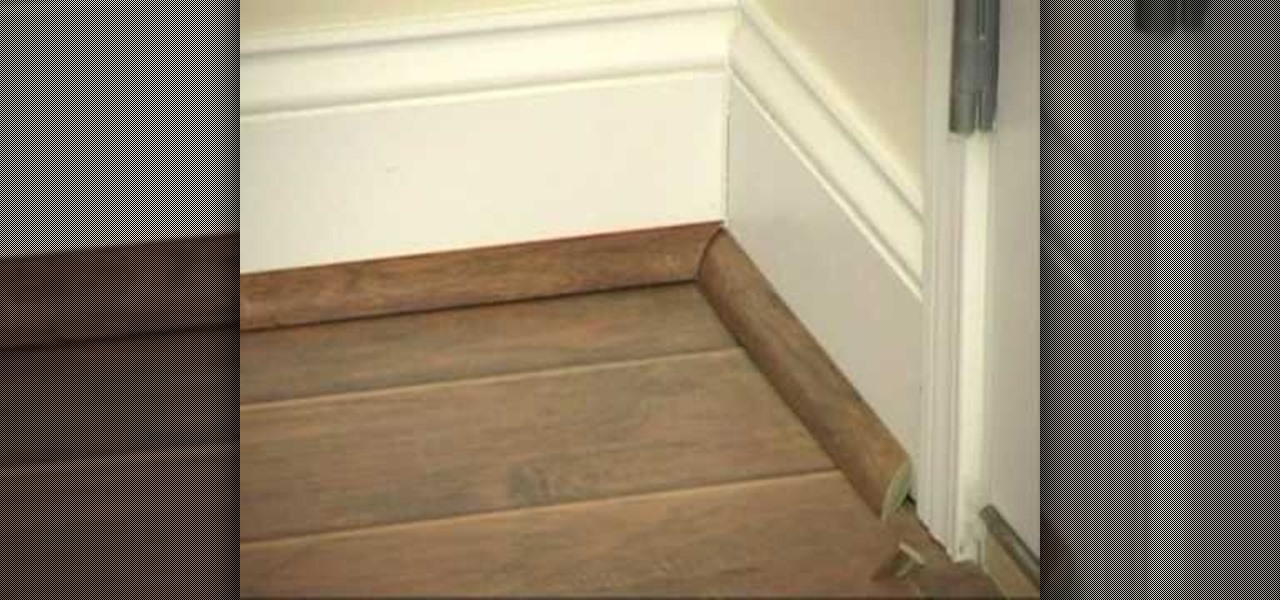
This video will be a very quick, simple, and easy way to install your quarter round. To start you will see that instead of cutting a 45 degree corner, it was left flush. With the other piece you will cut a cove in it and then align it on top of the other piece at the corner of the wall. This method allows the pieces to fit, regardless of the irregularities in the wall (if any). To finish it up take the return and just apply enough glue to attach it to the end of the first piece. There it is -...

This video has some great techniques for holding bamboo pieces together. Lashing is both strong and attractive, and all you need for each joint is a piece of waxed lashing cord 4 to 5 feet long.

Sanding sealers, also called first-coat sealers by some manufacturers, are recommended when refinishing furniture. Although using a sanding sealer is a good step to take regardless of the type of stain you are using, it is especially necessary when using water-based stains. Apply the sanding sealer after you have bleached your furniture, but before you have applied the stain. Sanding sealers provide an important barrier to keep the wood pitch and stain from bleeding into the water-based topco...


