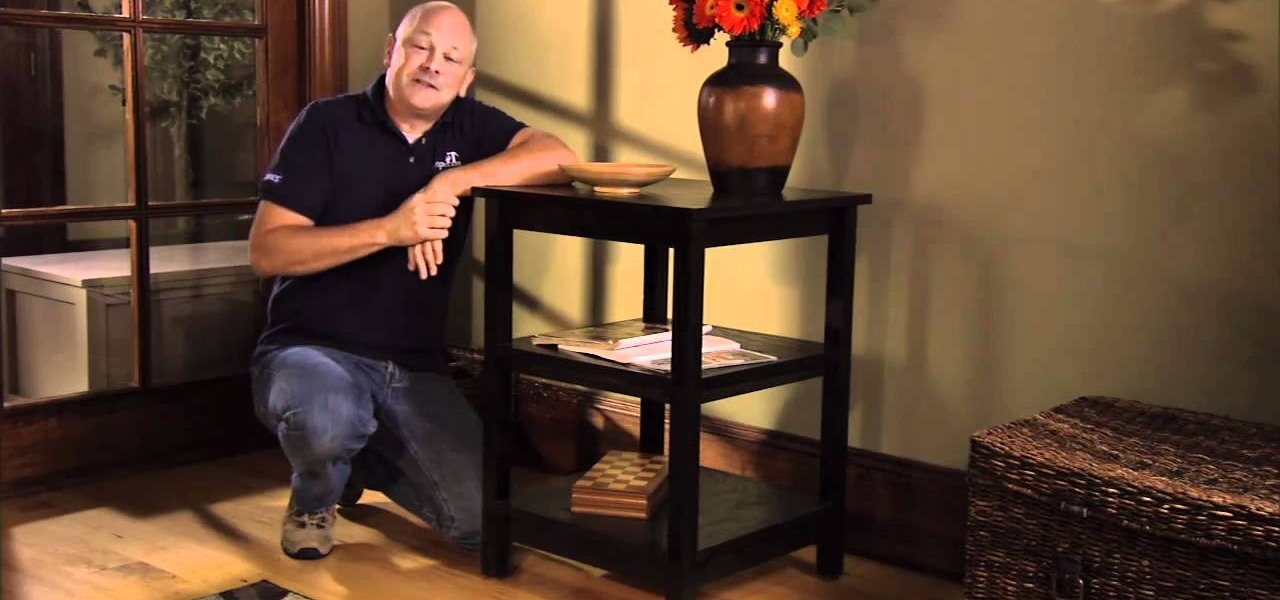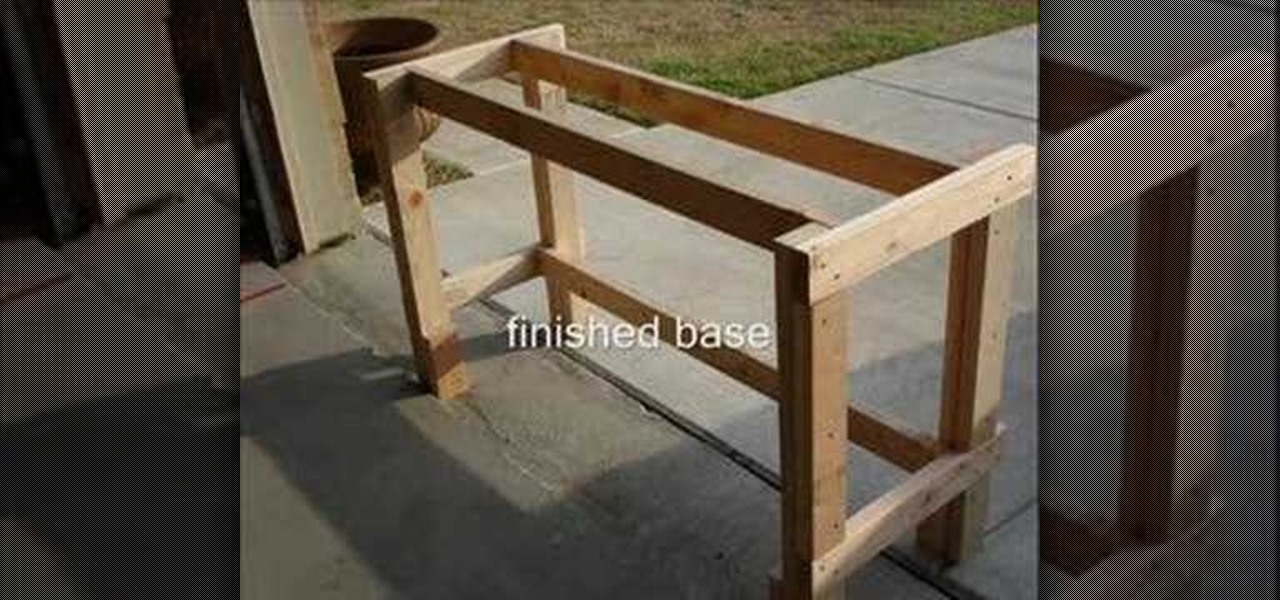
A good first project for anyone interested in doing woodworking projects on a regular or semi-regular basis is, naturally, a wooden workbench. This carpenter's guide will help you to build a solid work table without breaking the bank in the process. For more information, including a step-by-step breakdown of the assembly process, watch this free video tutorial.
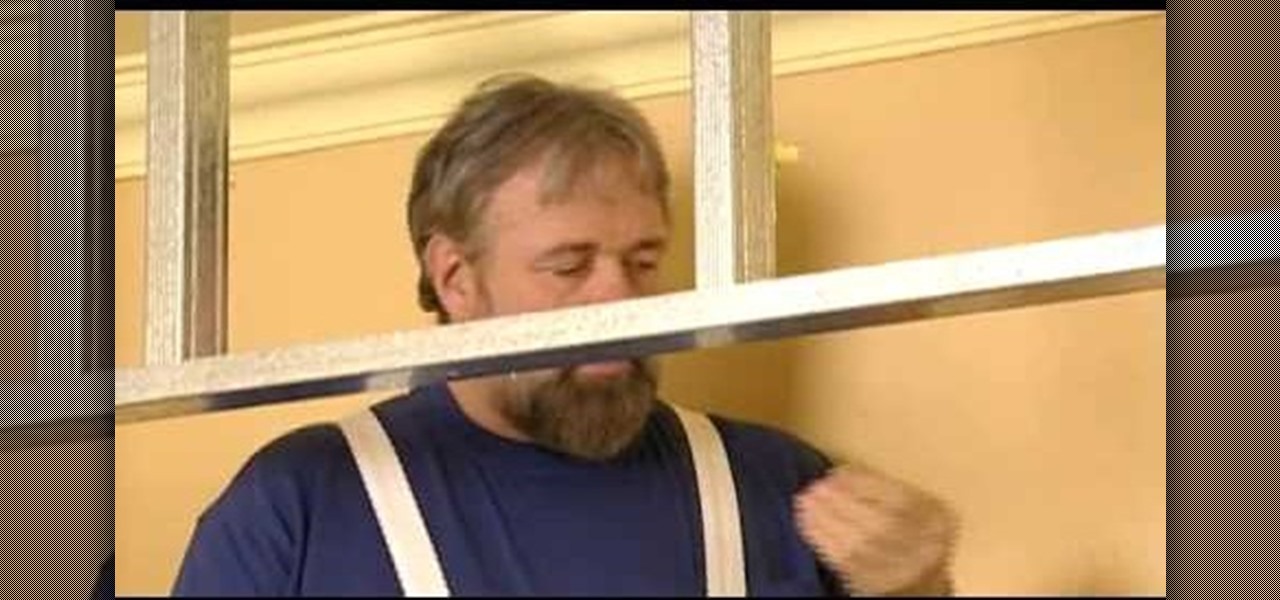
If you're looking for a means of saving money as well as closet space, installing your own built-in wardrobe can be a great way to go. This free DIY video tutorial provides a nuts-and-bolts overview of the entire process.
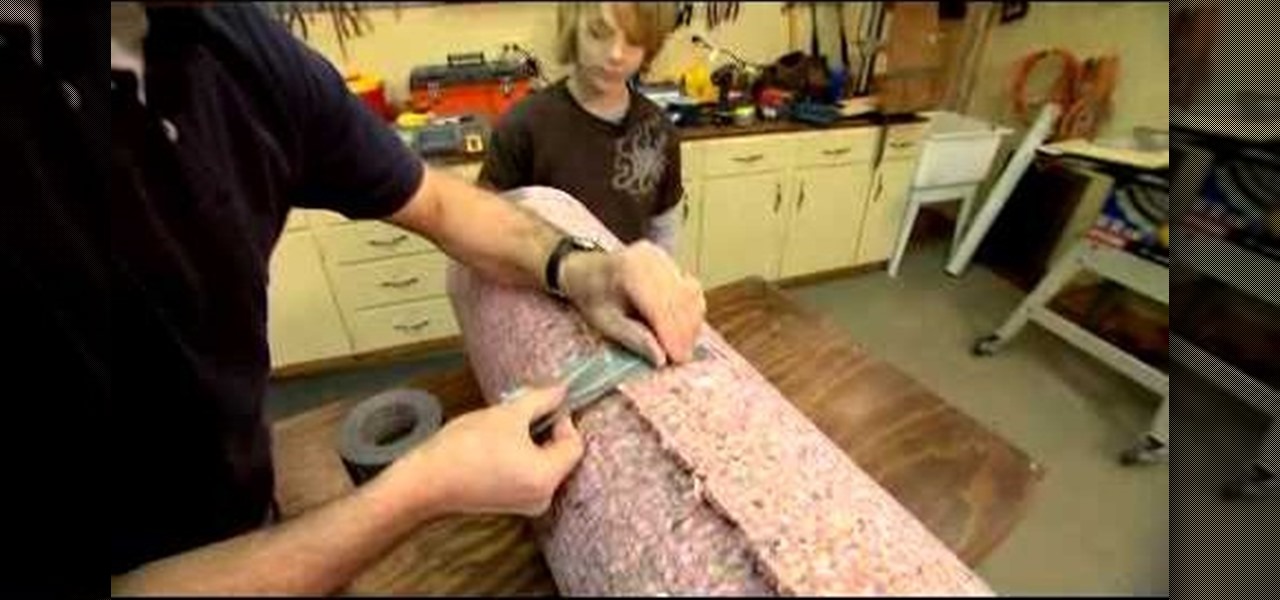
In this video, Danny Lipford will show you how to make a punching bag with trash found at a construction site. First, a circle of plywood is cut out about one foot in diameter (in this video, a bucket is traced in pencil over the plywood). This is for the base of the punching bag. A large piece of PVC pipe is used for the center of the punching bag, which carpet padding is wrapped around to makeup the main part of the bag. Finally, duct tape is wrapped around the whole thing. Out of these ver...
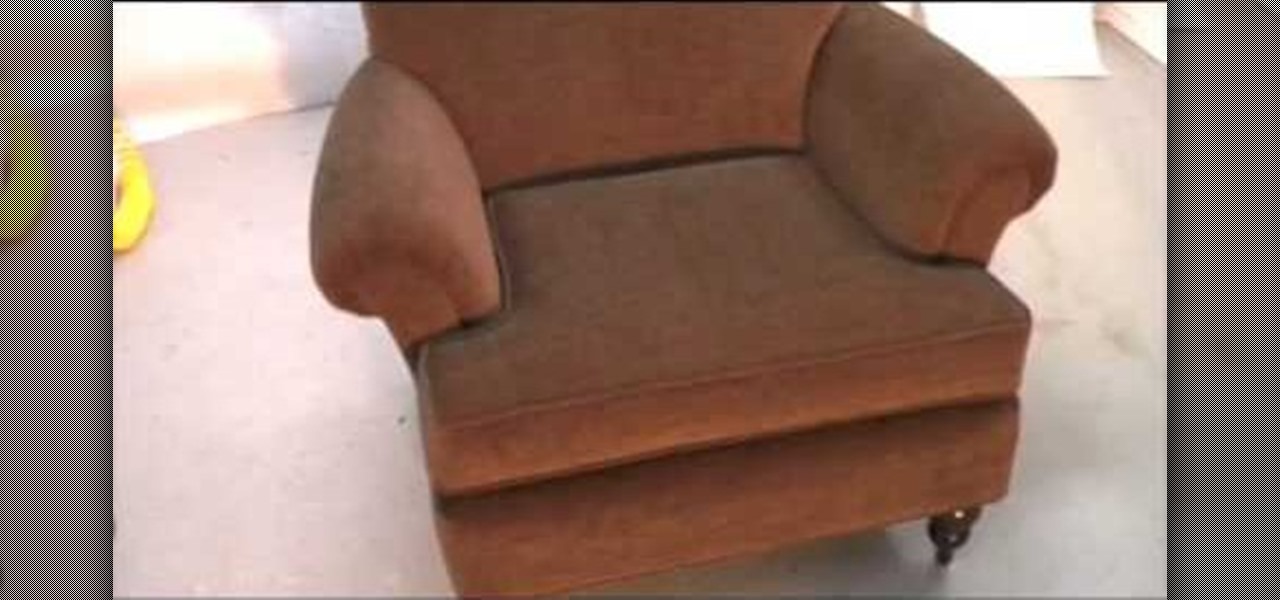
This is a demonstration of how to upholster full an occasion chair. First the seat upholster is removed carefully. The new cloth is cut accordingly to the shape. The edges are folded and stitched. The cloth is spread over the seat, tucked under the hand rest stretched to the bottom and nailed. For the hand rest a rectangular cloth of required color is cut. A piece of foam is spread over the hand rest and covered with the upholstery cloth and stapled at the sides and bottom. The back rest is r...

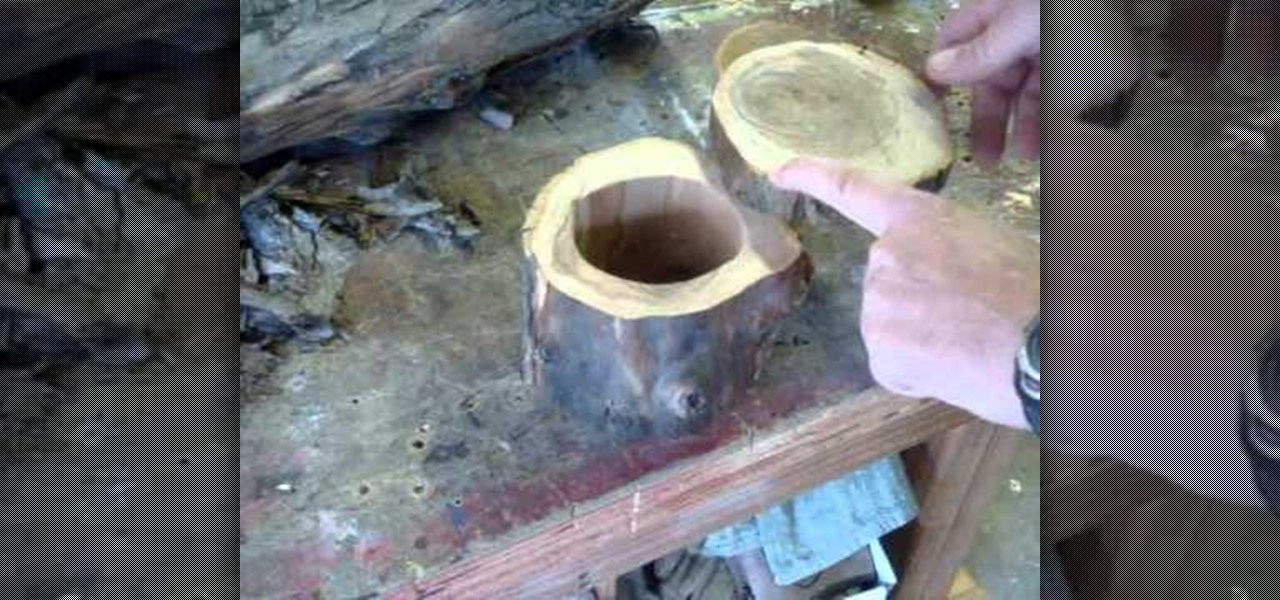
This video outlines the process used to turn a chunk of wood, specifically sweet gum, otherwise known as Liquidambar styraciflua, American sweetgum, redgum, liquidambar, or simply liquid amber.

This video illustrates the transfer of paper patterns on woodworking projects with Lowe's. If you have a pattern in a piece of paper for the woodworking project. Draw the grid for the pattern in a piece of paper. Even though, the piece of wood is six times larger than the pattern in paper. Draw the grid in the wood with One and half inches by the use of ruler. Then check out each and every box of grid in a pattern, trace the shape of each boxes in the wood. After finishing all the grid boxes ...

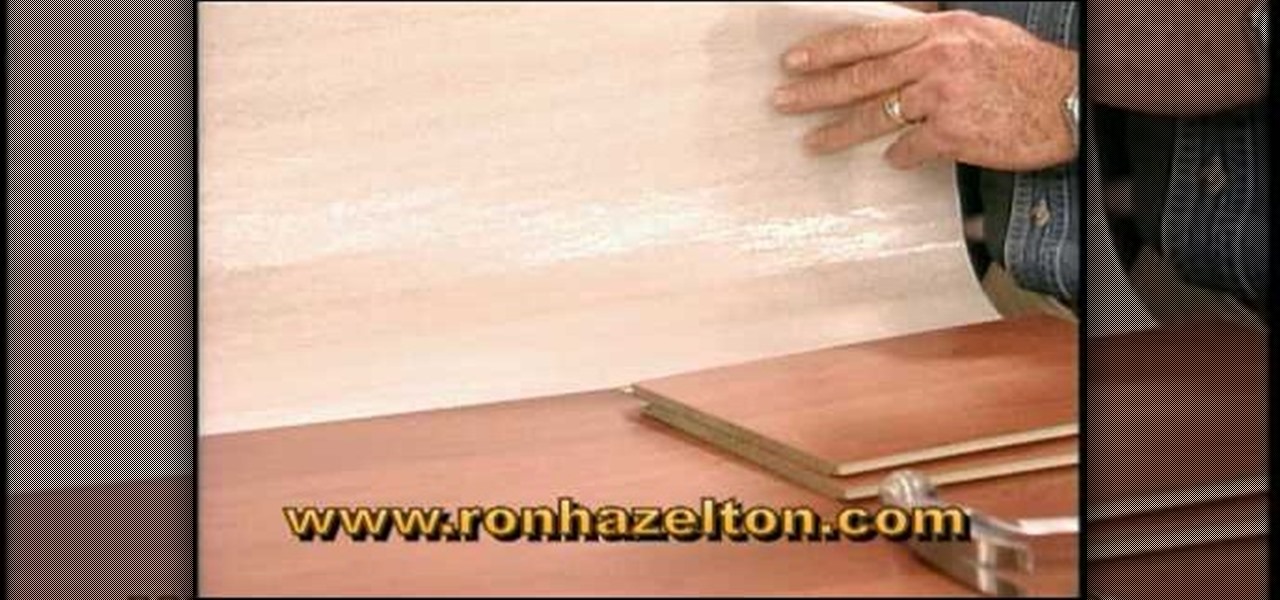
If you like the look of wood floors but you are concerned about the durability of wood because of kids or pets then laminate might be the answer for you. Laminate is really durable and it is easy to install. The laminate is the same material that they laminate kitchen counter tops with and it doesn't have to be glued or nailed down. It floats on a foam pad. This allows laminate to be laid over almost any surface without a problem. The pieces now interlock and so you don't have to worry about ...

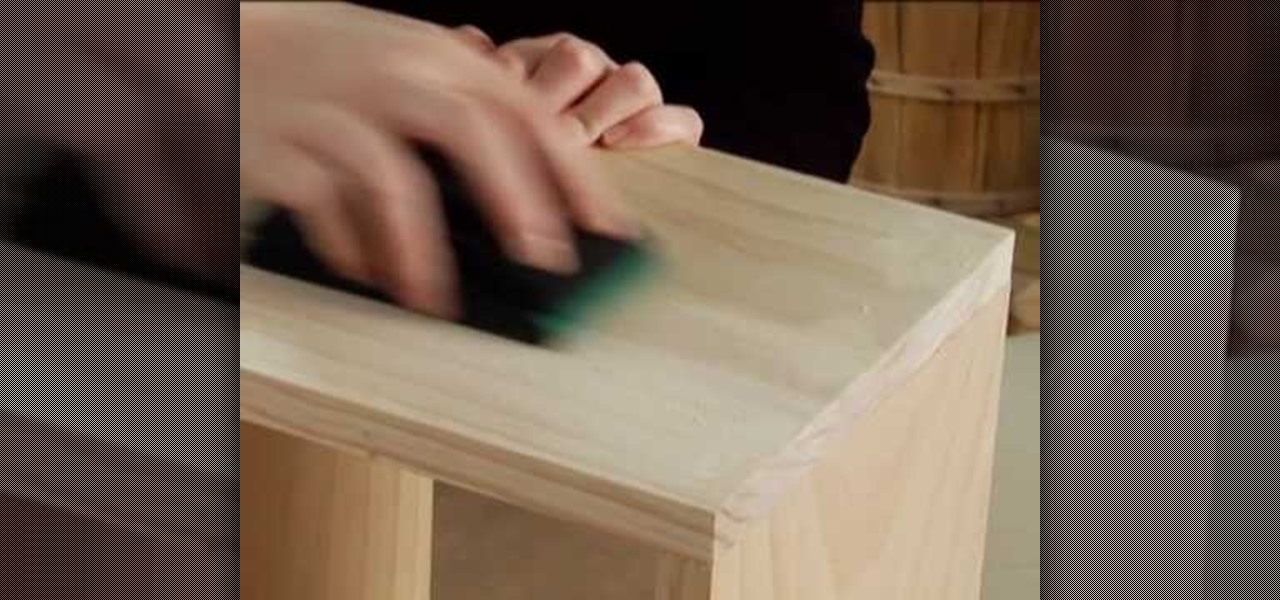
This video describes how to improve one's skill when performing home based projects with wood which is a useful skill if one wants to build a table, chair or even a box. In this video one will learn how to sink a nail, cover the hole and leave a sanded finish. For example it is important to drive all nails 1/8 an inch into the surface of the wood so the filler can cover the hole properly and avoid leaving sharp edges or uneven surfaces. Overall this video is simple, easy to follow and useful ...

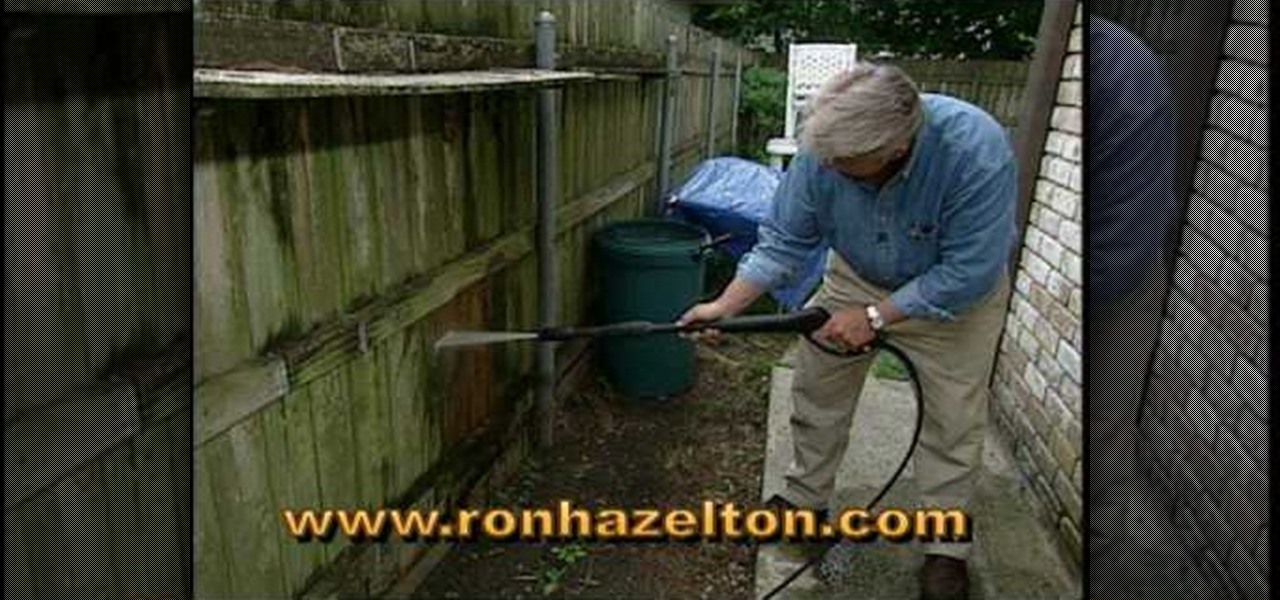
The many uses of a pressure washer that can be fun and save time on the harder cleaning jobs around the house. Always use safety glasses when using power tools. The pressure washer easily attaches to a garden hose and multiplies the water pressure. It is good for removing dirt from wooden fences, sidewalks, decks and the side of your house. When you get used to the pressure washer and begin using its attachments, you will find more uses around the house and with your vehicles. It can be fun a...

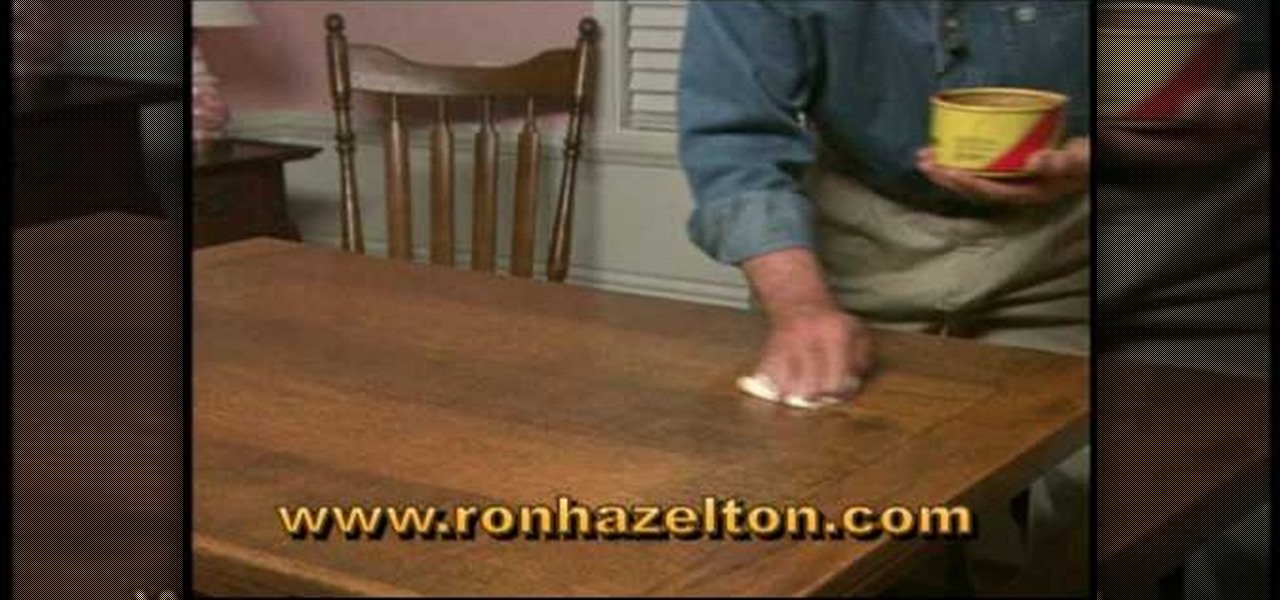
Not sure how to safely clean your wood table without ruining it? In this video tutorial, learn how to properly wipe off your table and how to protect it with a sealant called, Pastewax. This substance dries and does not attract dust making your table look shiny & new, like a piece out of a museum!

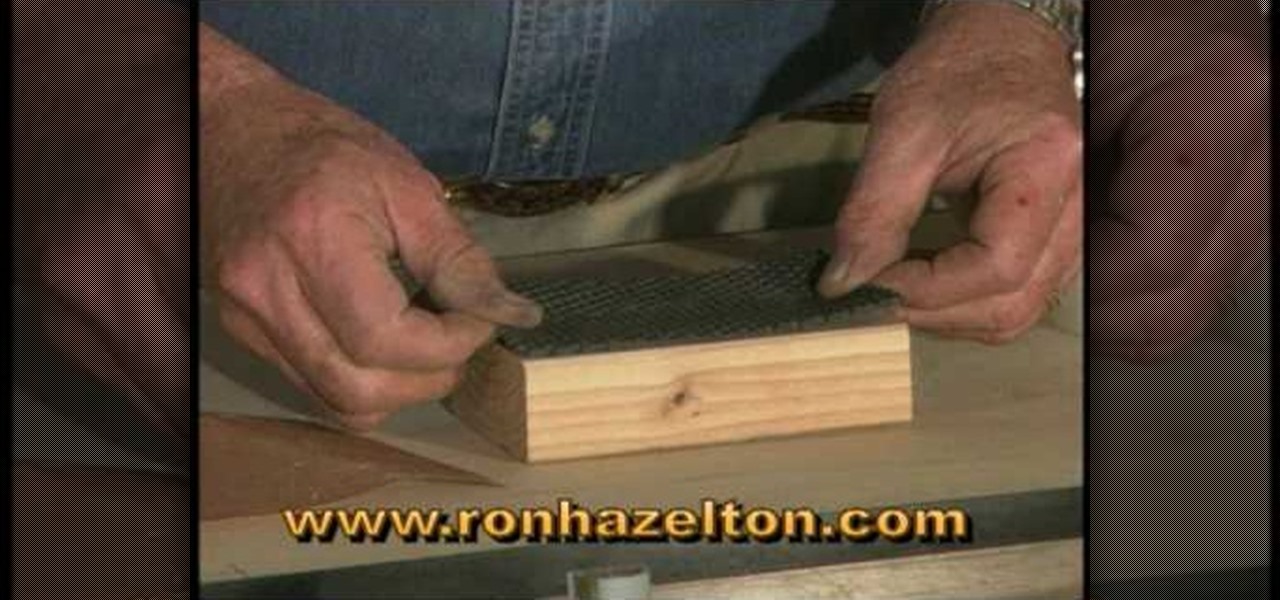
Make a DIY wood sanding block for smooth surfacing with help from this video tutorial hosted by the can-do man, Ron Hazleton.

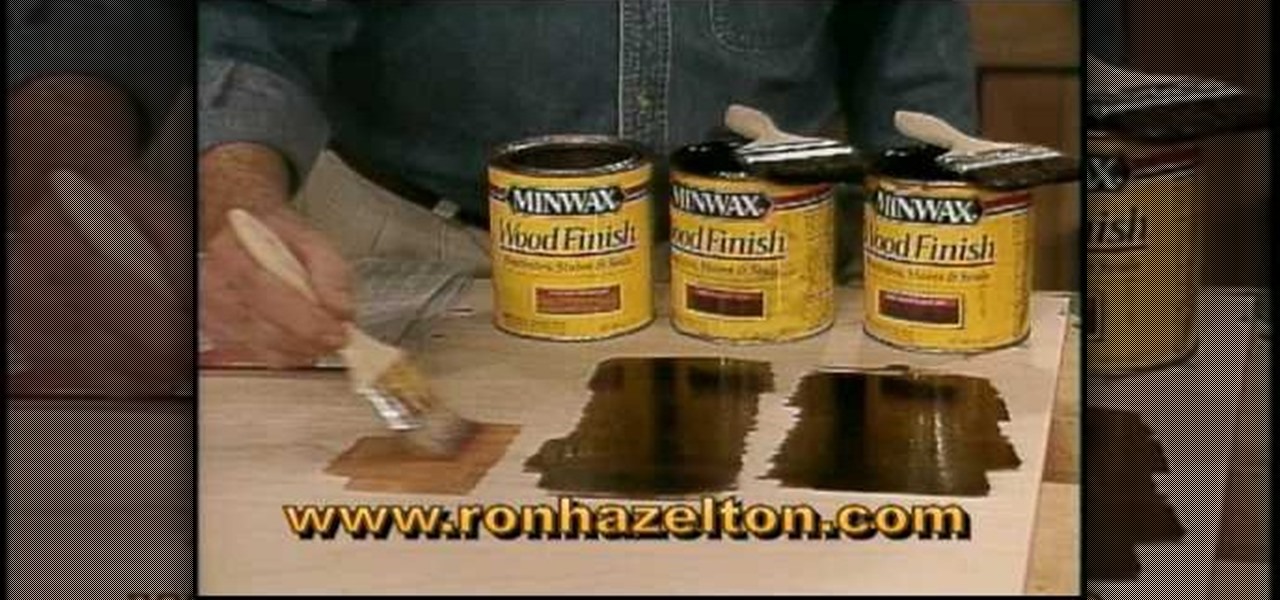
Want to create a realistic or customized wood stain for your home? Learn how to get the exact color stain you need to match existing wood finishes or to create unique effects.

Do you long for a Polynesian vacation? Do you wanna go back to your little grass shack in Hawaii? Well, if you can't afford that, you can at least have a stylish "staycation" at home with your own homemade tike bar. You'll learn to build one in this Decor It Yourself video tutorial.

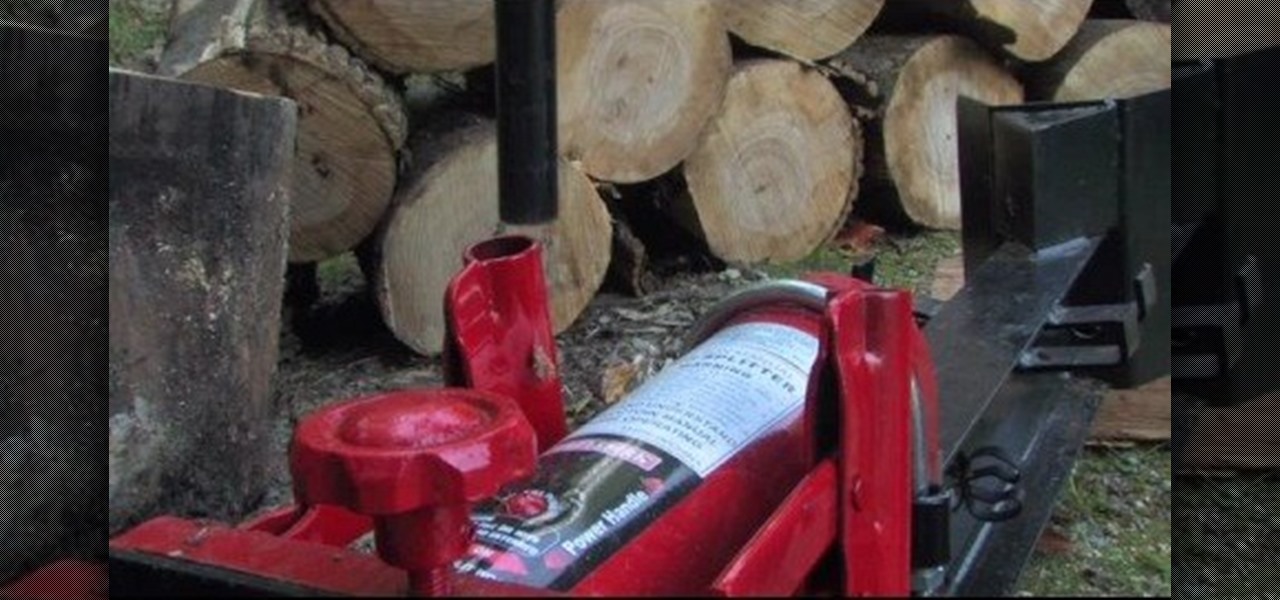
With a manual log splitter, splitting logs doesn't have to be such a chore. But a manual log splitter isn't ideal for every job. In this video, Tim Carter, of Ask the Builder, will teach youu about the manual log splitter and what sort of jobs you can use it for.

Eagle Lake Woodworking, hosted by John Nixon, offers great do-it-yourself guides for building your own furniture, especially in the American Arts and Crafts style, and turning your garage into an amateur woodshop. Search Eagle Lake on WonderHowTo for more carpentry tutorial videos. From Eagle Lake Woodworking on this specific lesson:

Eagle Lake Woodworking, hosted by John Nixon, offers great do-it-yourself guides for building your own furniture, especially in the American Arts and Crafts style, and turning your garage into an amateur woodshop. Search Eagle Lake on WonderHowTo for more carpentry tutorial videos. From Eagle Lake Woodworking on this specific lesson:

Eagle Lake Woodworking, hosted by John Nixon, offers great do-it-yourself guides for building your own furniture, especially in the American Arts and Crafts style, and turning your garage into an amateur woodshop. Search Eagle Lake on WonderHowTo for more carpentry tutorial videos. From Eagle Lake Woodworking on this specific lesson:

What tools and materials do you need for turning a bowl on a lathe? Learn more about the equipment for woodturning in this free woodworking video from a wood shop expert.

Woodturning is the process for making items, like bowls, out of wood. Learn how to turn and sand a bowl from a woodturning specialist in this free crafts video series.

Sharpened woodturning tools make creating wood projects simple and easy. Learn how to sharpen and use woodturning tools from a woodturning expert in this free crafts video series.

Woodturning is the process of creating items out of wood on a lathe. Learn how to rough out the interior of a bowl with expert woodturning tips in this free crafts video series.

Woodturning is creating items out of wood on a lathe. Learn how to create key chains and light pulls from a woodturning expert in this free crafts video series.

Woodturning is a process of creating wooden objects on a lathe. Learn how to start woodturning from a woodturning expert in this free crafts video series.

Woodturning uses skew and gouges to create designs in wood on a lathe. Learn about making cuts with these tools from a woodturning expert in this free crafts video series.

Woodturning uses a lathe to create wooden objects. Learn how to use woodturning to create a bowl from a woodturning expert in this free crafts video series.

Master craftsman George Berry, "The Woodguy" shows how to quickly and easily make a chess board.

Have you always wanted to be batman but you do not have a hidden cave? Watch this video on how to build your secret bookcase entrance to your bat cave.

Learn how to make gifts by burning designs onto small wooden objects or other things like cork and dried gourd. This method is cheap and easy.

In this video, Mark Sillay uses a unique grind on his spindle gouge and shows how he sharpens it. If you've never seen the Jool Tool sharpening system, you're going to be impressed.

An accent table is a great addition to any room, especially if storage is at a premium in your living space. This project won't take longer than a weekend to complete, and you can finish it in any color to match your decor.

This style of table is often only seen at restaurants, but you can easily build a set for your own home - a square, high-set pub table with four matching stools. A stylish addition to any kitchen or dining room.

This is a super easy project that uses all natural products - starting with a birch log! You will also need a drill to make the holes in the log, as well as some wire to hang it from a tree with.

If you're lucky enough to have a large backyard, or perhaps even a plot of land, then you probably have several trees on hand. If for whatever reason one or two of these trees needs to be cut down, don't just dispose of the wood!

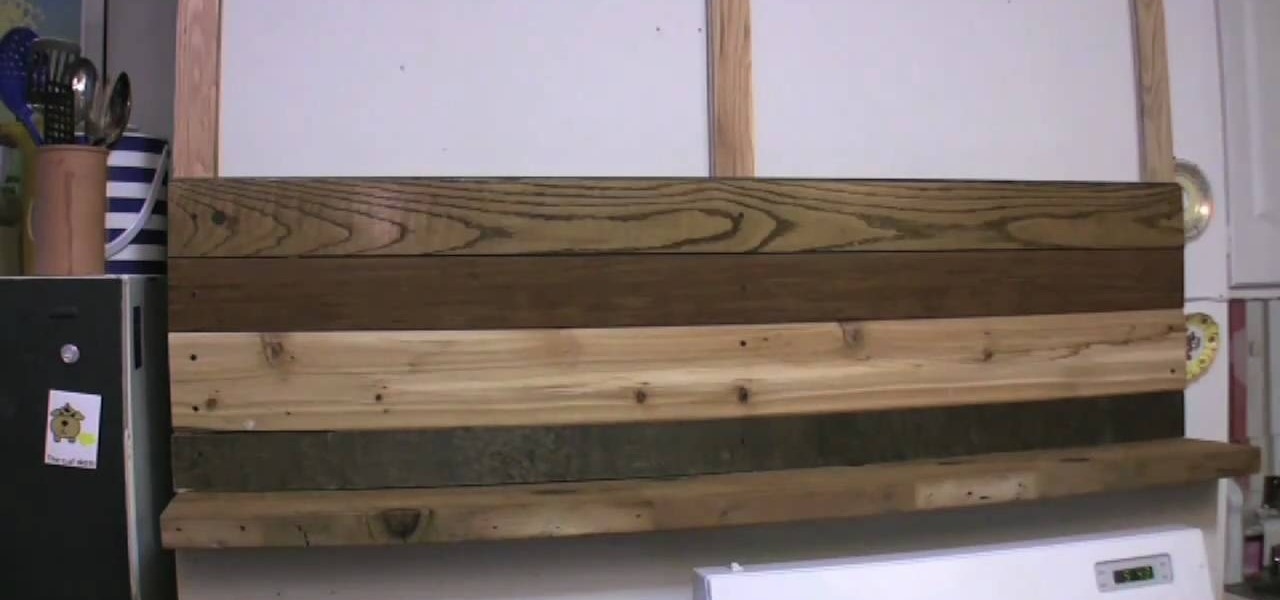
This is a classy and environmentally friendly way to give your home a wall treatment with reclaimed wood. You can find reclaimed lumber from nearly any lumberyard, especially green ones. Make sure you get the right tools and hardware, as well!

In this clip, we learn how to make a wood picture easel using only hand tools. It's easy! So easy, in fact, that this video woodworking lesson can present a complete overview of the build in just over eight minutes. For all of the details, and to get started making your own wooden picture easels, take a a look!

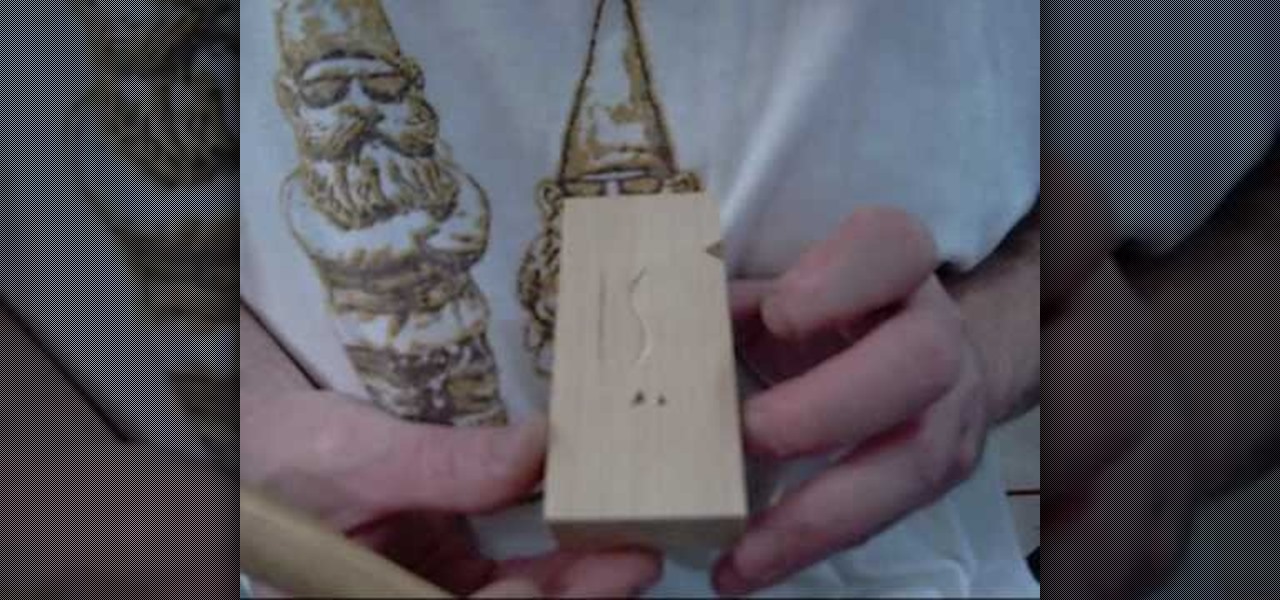
In this tutorial, we learn how to begin using a woodcarving knife. Before you go into the detail, you will want to make sure you have it carved right. The carving all starts in the block of the wood. There will be a couple initial cuts that you will do with a knife after marking the wood with a pencil. Do repetitive cuts to get the right shapes. Also do an 's' curve and hit the lines right. If you want to make this look like a v-tool then you just need to make it with your knife. Have fun and...

Looking for your next woodworking project? Why not a wood slit drum? It's easy! So easy, in fact, that this DIY guide can present a complete overview of the process in about minutes. For all of the details, and to get started making your own one-of-a-kind slit drum, take a look.

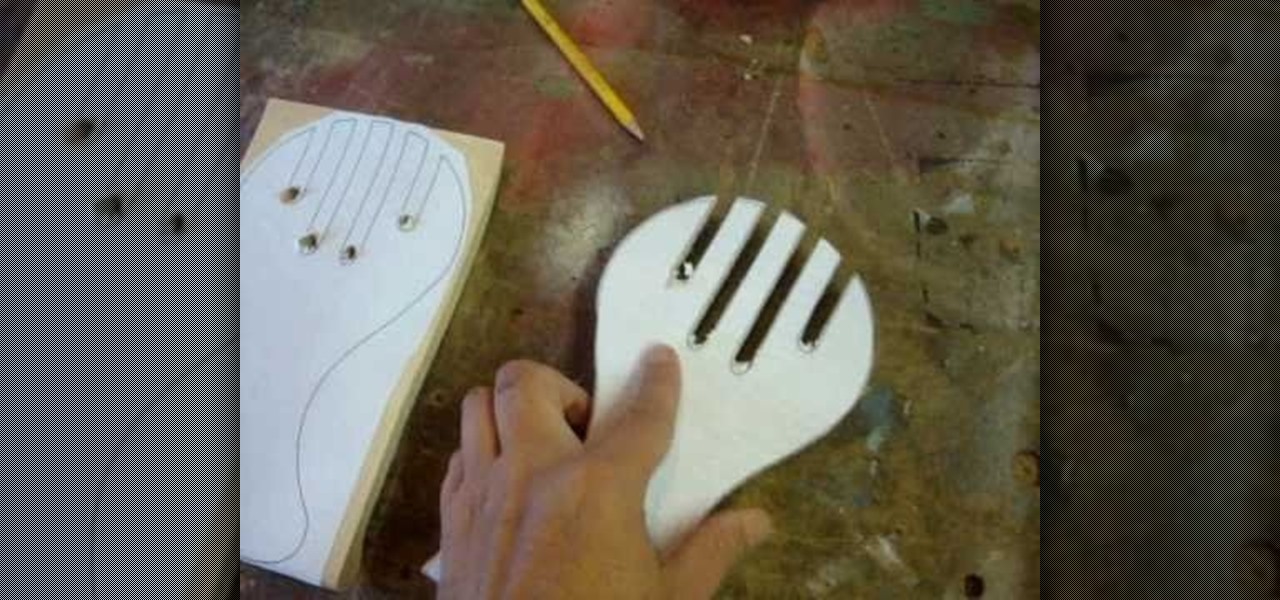
Looking for your next woodworking project? Why not a pair of wood salad tongs? They're easy! So easy, in fact, that this DIY guide can present a complete overview of the process in about minutes. For all of the details, and to get started making your own one-of-a-kind salad tongs, take a look.

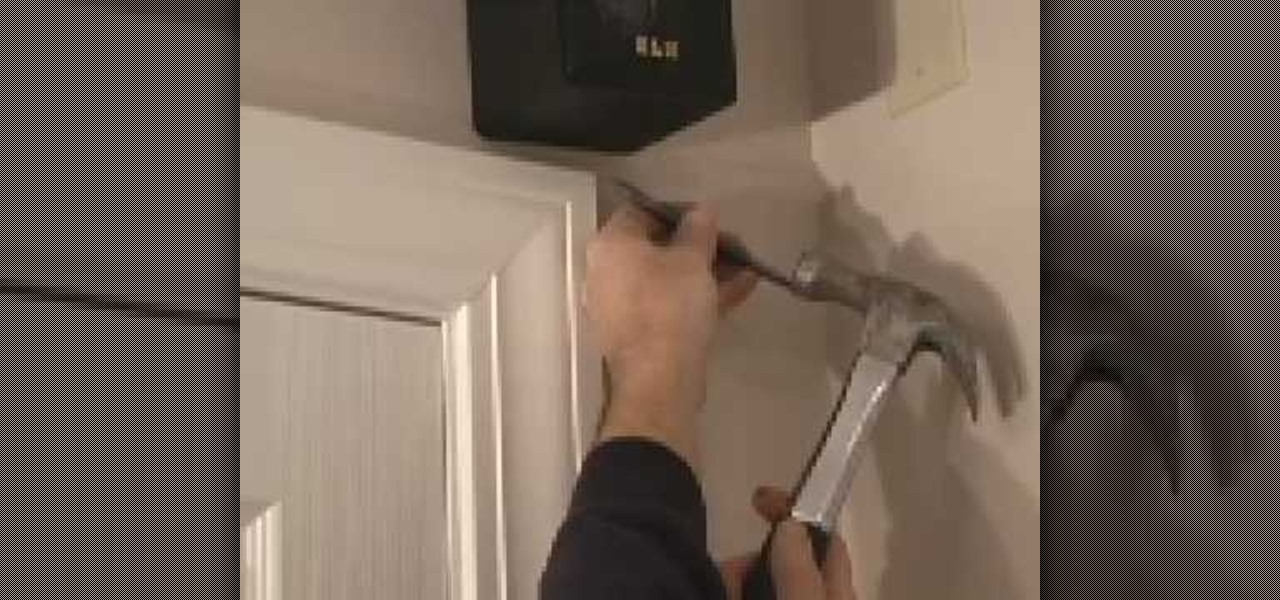
Bob Schmidt teaches us how to use a nail set & punch for woodworking. A nail set is a traditional kit that you can find anywhere. The nail set punch does not require a hammer to use and is very easy to figure out. Place this on a nail and then pull the spring back. Keep the pressure towards the nail head and it will drive the nail right into the hole that you need it to go in. This is great if you have a nail that needs to go into the wall but the hammer will not fit where you need it to. Any...

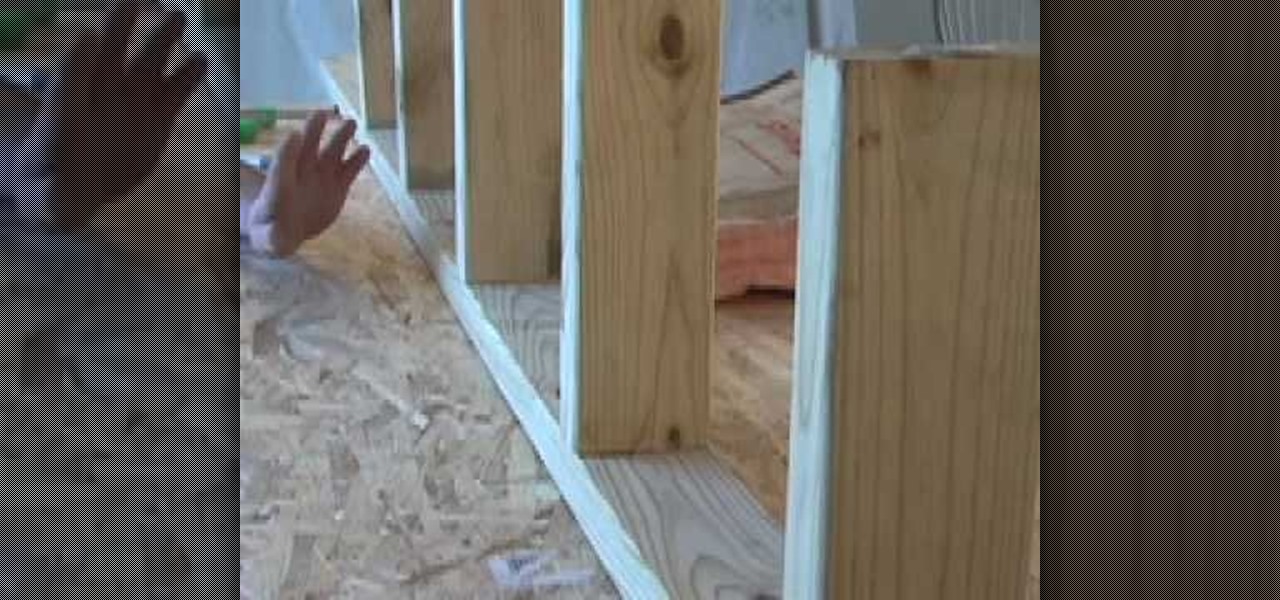
In this tutorial, we learn how to frame a wall 16 inch out on a subwall with Bob Schmidt. First, grab some straight plates for the top and bottom plates of the wall. Then, you will need a framing square as well. When doing a layout for the wall, you will first need to lay the plates next to each other. Then, find the red marks at the typical wall stud layout. Go ahead and make your first mark at 3 quarters back from every red stud mark. Then, place the framing square on the wood and line it u...


