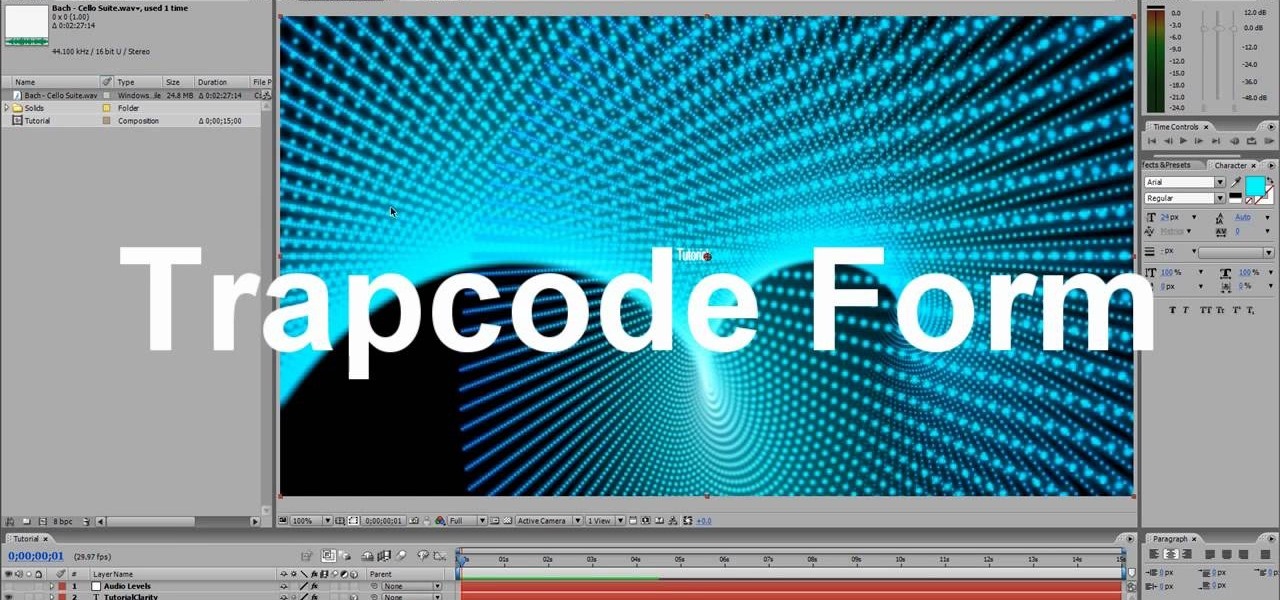
Particles are very useful for digital artists who want to create liquids, gasses, or clouds of small solids that react naturally. This video tutorial will show you how to use the twisting particle field effect to create a very cool title shown at the beginning of the first video. This particular particle effect is especially great for making galaxies and other fantastic images.

You hunt and you hunt, but you can never find the right pillows to go with you couch. Even your reupholstered chair needs a little pillow love, but it seems impossible to find the right color and design to make a perfect match. That's when you know it's up to you save the day. Why settle for simple decor when you can make your own chic throw pillow to match any room?
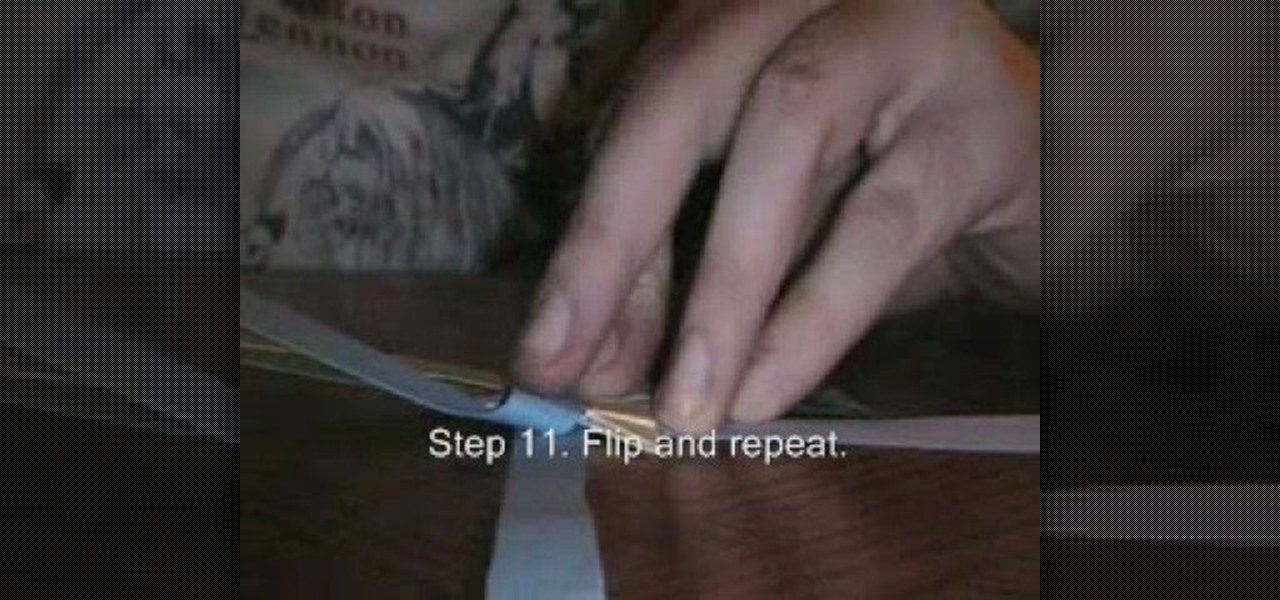
This video shows how to make German paper stars for Christmas.Step 1. Measure and cut strips of paper.Step 2. If we are using shorter pieces of paper glue the strips together.Step 3. Weave the strips.Step 4. Starting with the upper left strip. Fold down. Repeat all the way around. Skipping every other strip.Step 5. Tuck the last strip under the first strip.Step 6. Flip and repeat. If there is a trouble getting some of the strips to go under the other strips cut the ends at an angle.step 7. Fl...
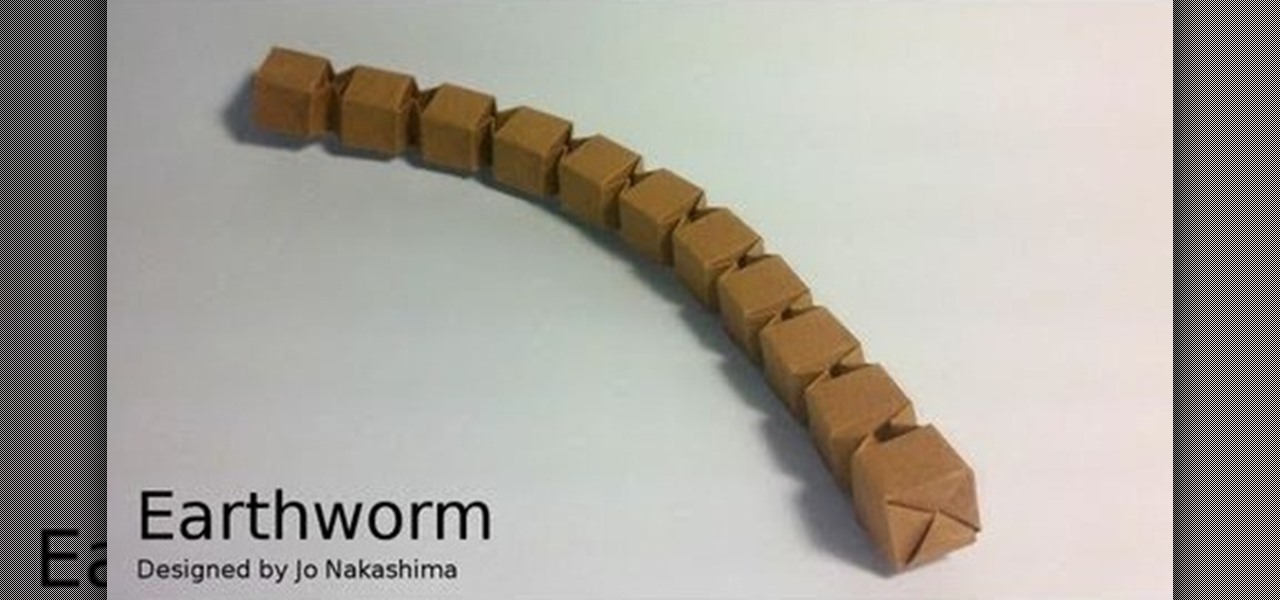
And you thought real earthworms were scary. This origami earthworm, which has segments that can bend and twist, is just as if not more icky than their living and breathing cousins.
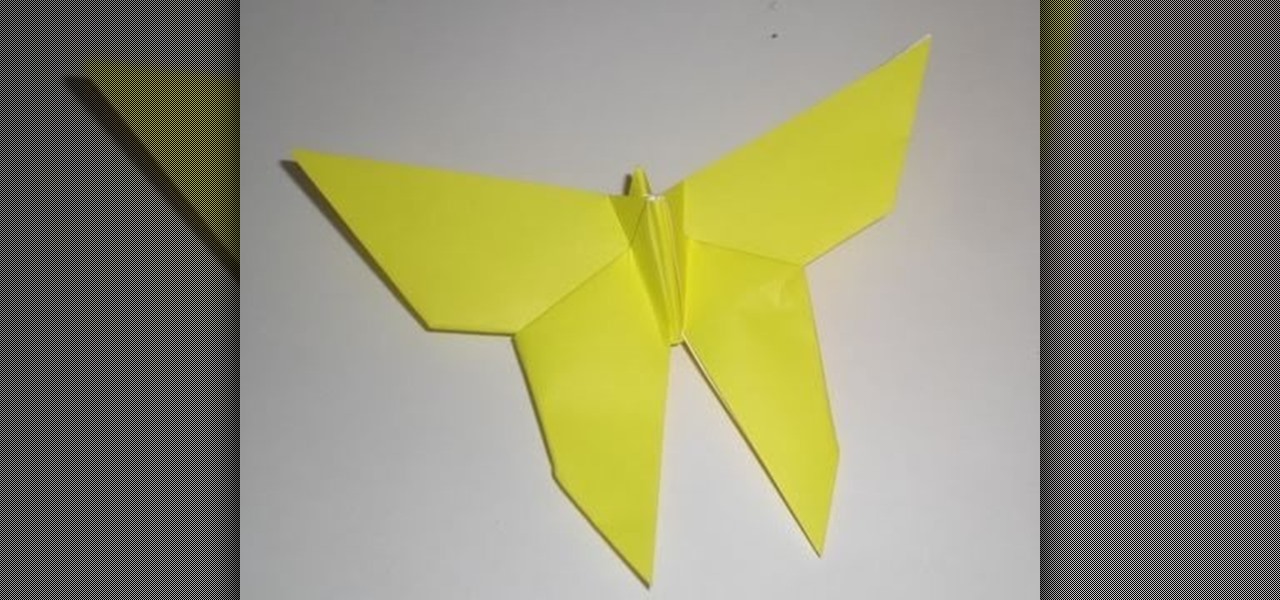
You don't need to be able to create crazy 100-side modular spheres to make beautiful origami projects. In fact, a great portion of the more popular origami projects are on the easier side (good news for sausagefingers like us).
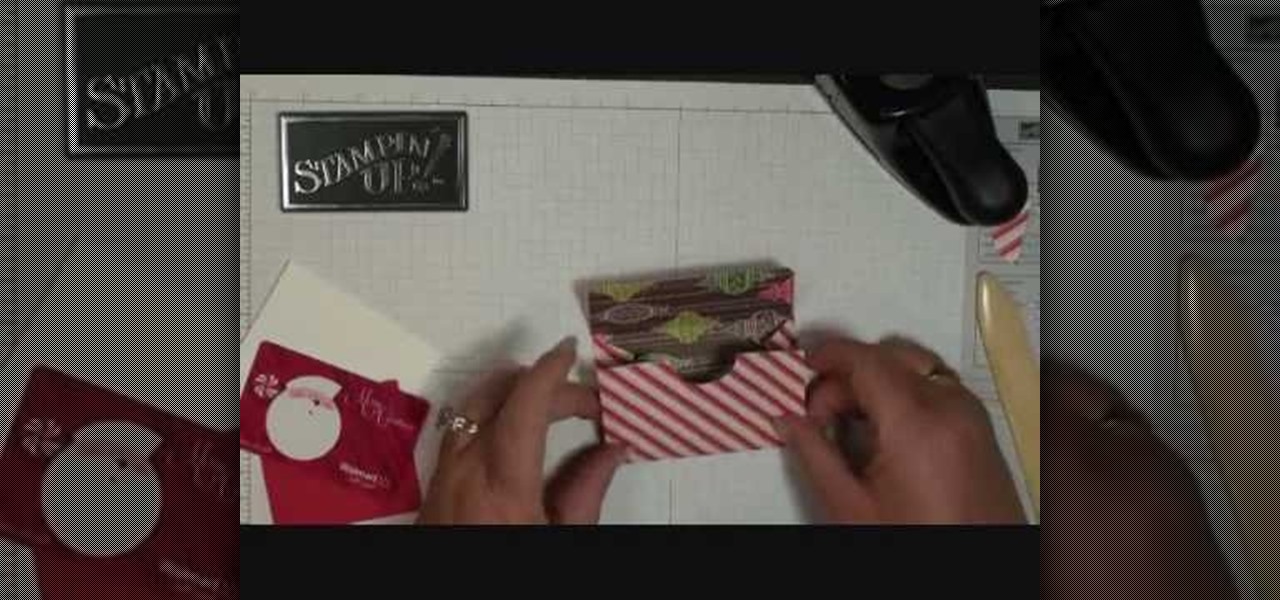
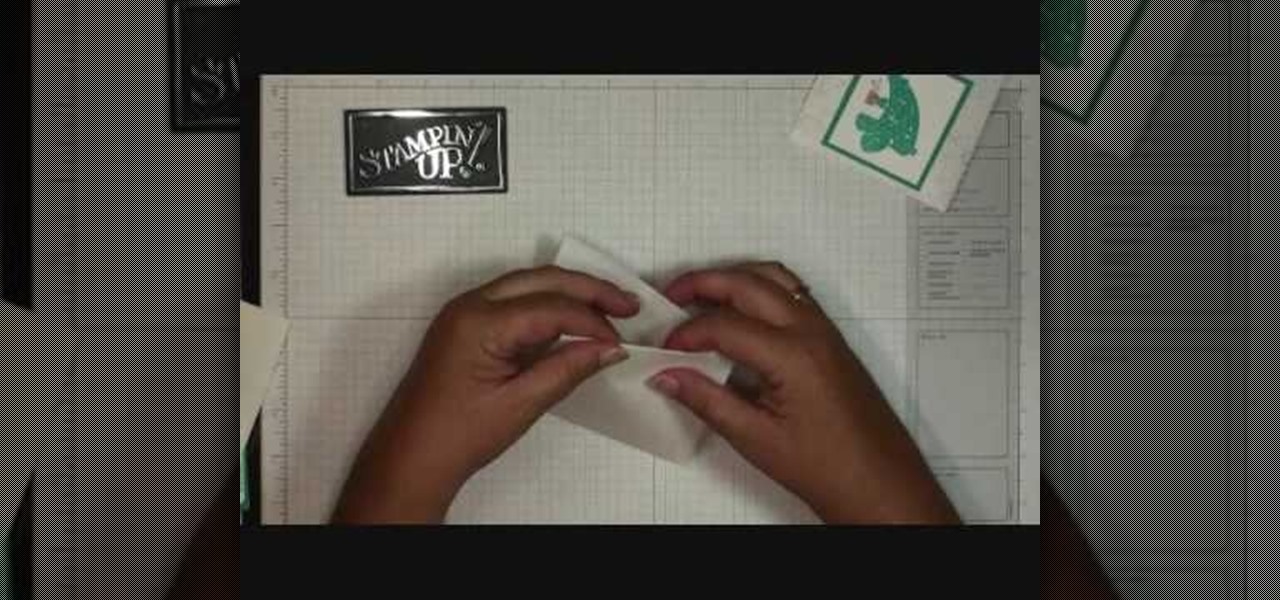
In this tutorial, we learn how to make a mini gift card envelope with Stampin' Up!. First, take a piece of card stock that is red and white. Score this 3/4" on both sides, then turn on the 6" side and score at 1 1/4" and 3 3/4". Once finished, fold this up and cut along the sides that you have scored. Put adhesive on the bottom of the gift card holder to seal up the bottoms so you can place the gift card in. Now, punch a hole in the bottom of the paper so you can see the gift card peak out of...

In order to make a multi-colored paper cube, you will need the following: 6 pre-made folded squares, which can be found separately.
So we have to admit something. We're not entirely sure what this project is. It looks like one of those Sweedish straw ornaments you hang on the tree during Christmas, but then again it could also just be an abstract representation of the sun.
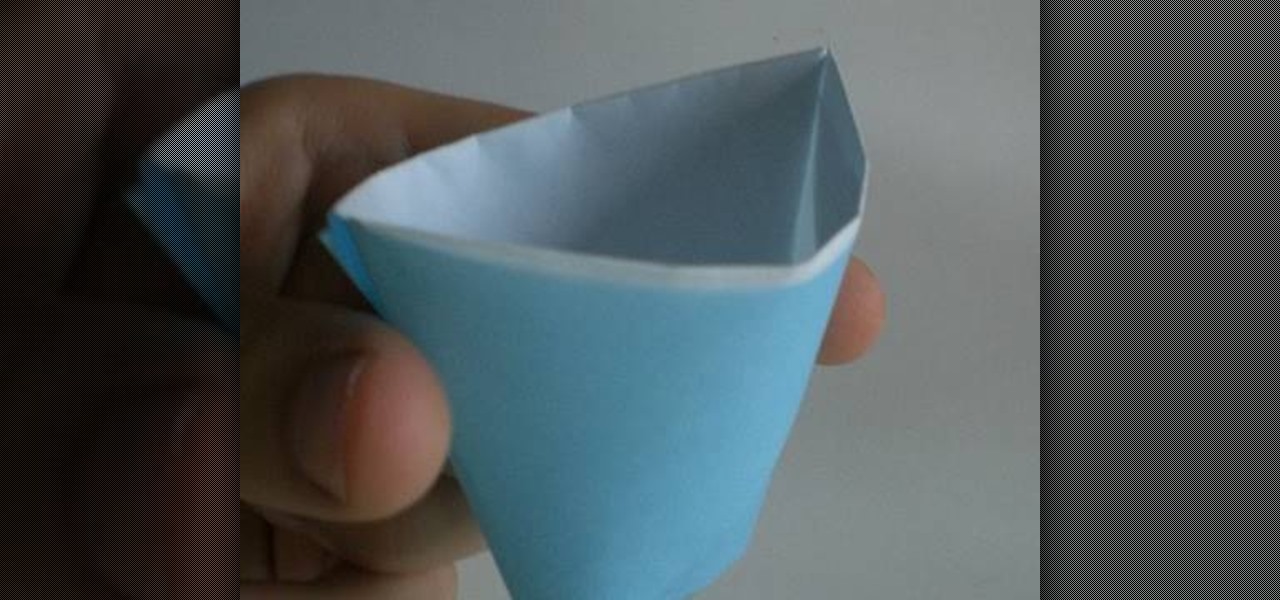
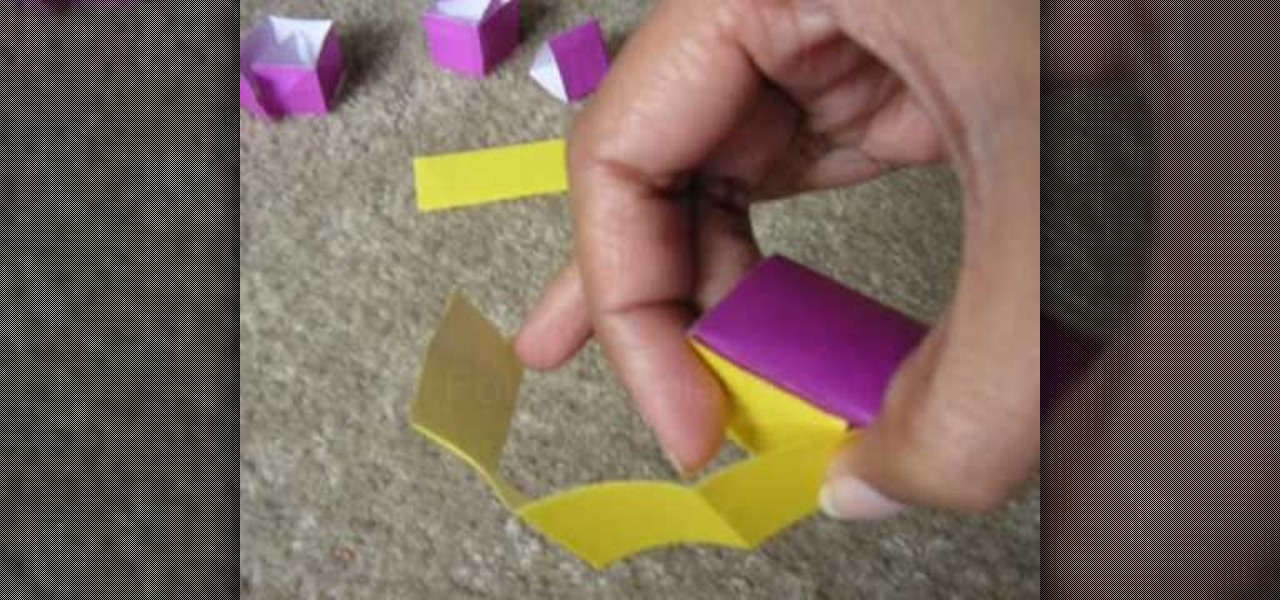
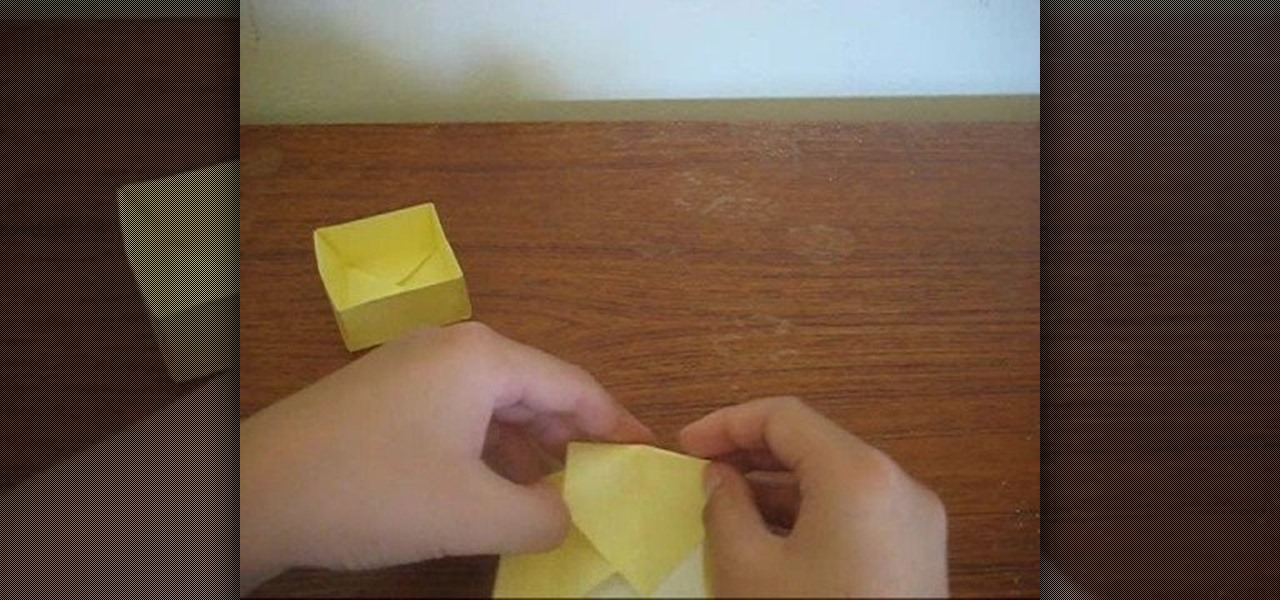
While this paper cup can't hold water or other beverages, it is actually very useful as a container. Whether you're having a birthday party soon and wish to produce inexpensive favor boxes (just fill the cups up with candy) or need little cups to store your tiny treasured knick knacks, these will fit the bill.
In order to make hot cocoa holders with Stampin' Up, you'll need the following: a whisper white Stampin' Up envelope, scissors, a paper cutter, cocoa, a jumbo wheel, ink pad, adhesive, stamps, ribbon, pen, stapler, glitter, and card stock.
So we're going to ask you one question that will change your origami folding life forever: Are you ready to move beyond cranes? So many people get stuck and attached to making origami cranes because they're easy, cute, and pretty.
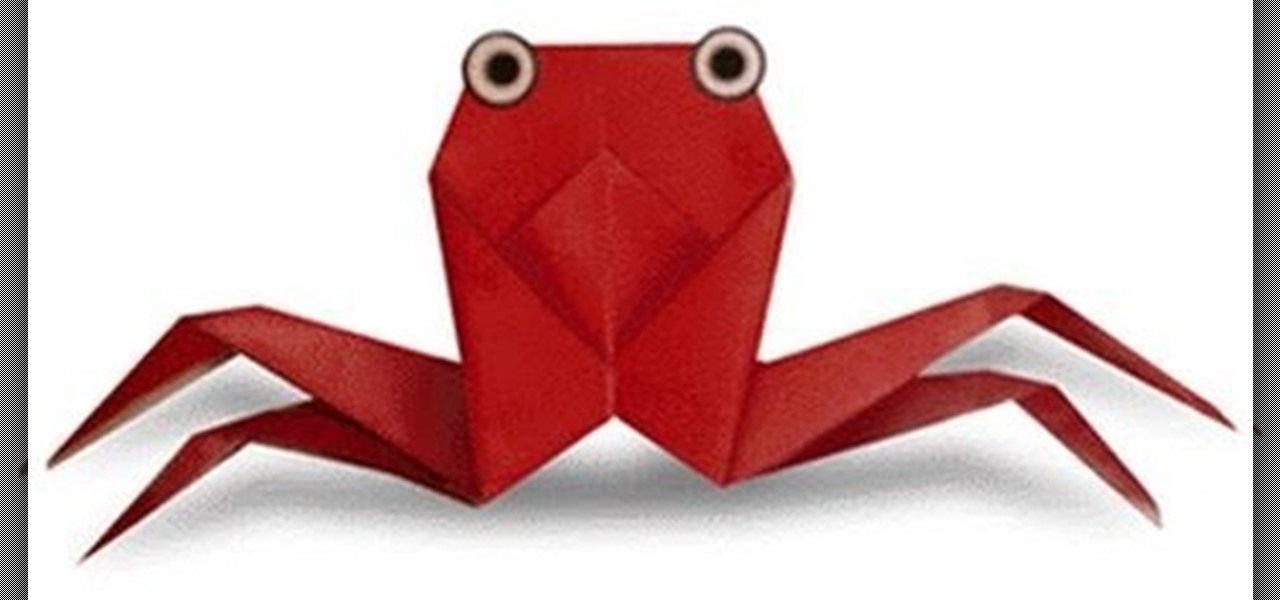
Feeling crabby doesn't always have to be a bad thing. In fact, if you're an origami artist sometimes feeling crabby simply means you're in the mood for folding some teeny crabs! Crabs are a great project for summer and also take minimal effort and expertise to fold.
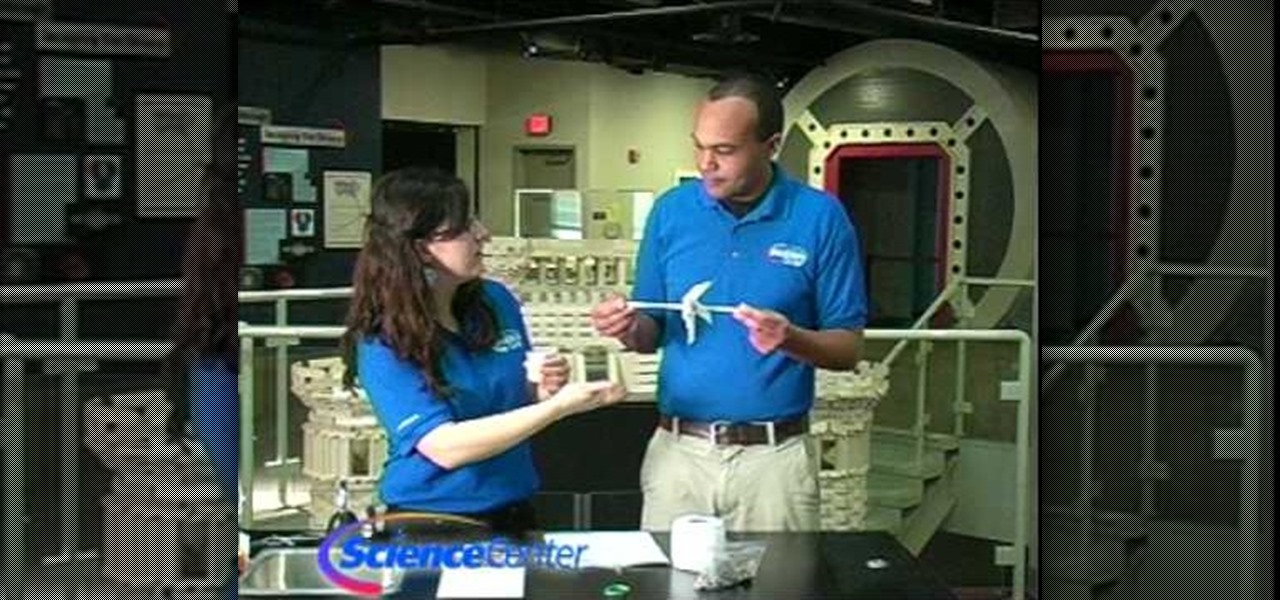
In this Home & Garden video tutorial you will learn how to build your own windmill with household materials. Materials needed for the windmill are a template, scissors, straw, some yarn, some pennies, a paper cup, rubber bands, pencil, single hole punch, a skewer and thumb tacks. Take the template, cut it out along the solid lines and punch holes on the corners as shown in the video. Now with a thumbtack and a pencil make a nice hole at the center of the template. Fold the template along the ...
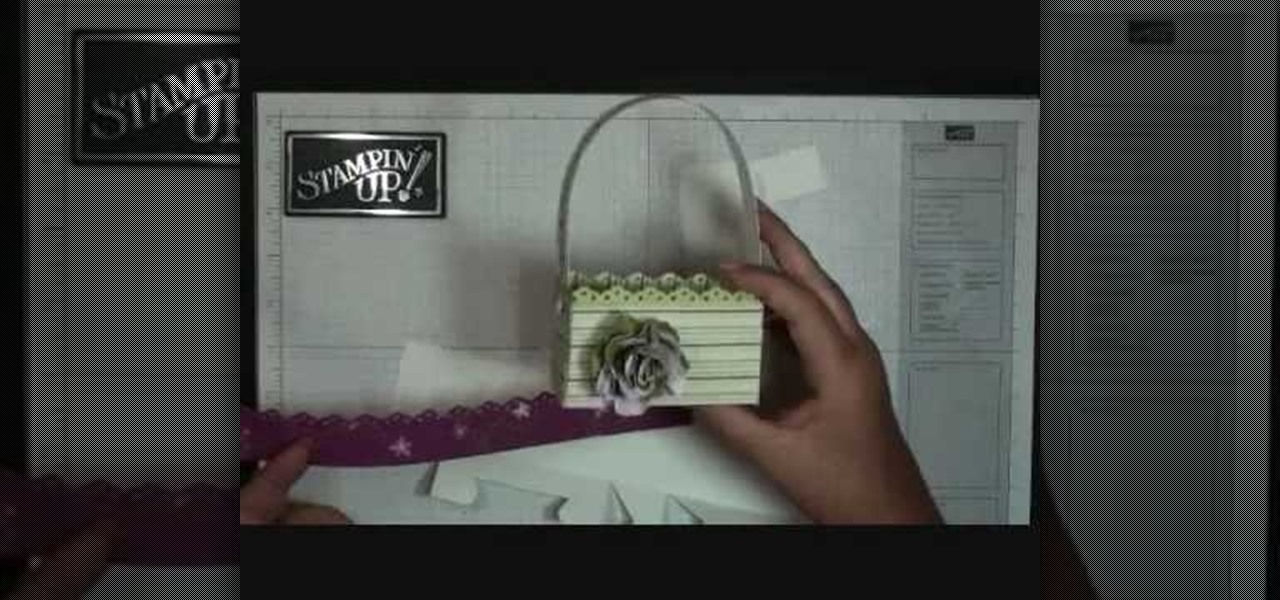
This video tutorial is in the Arts & Crafts category where you will learn how to make a mini Big Shot Box with Stampin' Up! For this you got to use the Bigz Die Box #2. Cut a Whisper white card stock at 6" x 11", place it on the die box and run it through the machine to get the box template. Cut off one edge of the template along the score line with scissors. This will be the top part of the open box. Now fold the bottom part of the box along the score line. Take a strip of cottage wall desig...
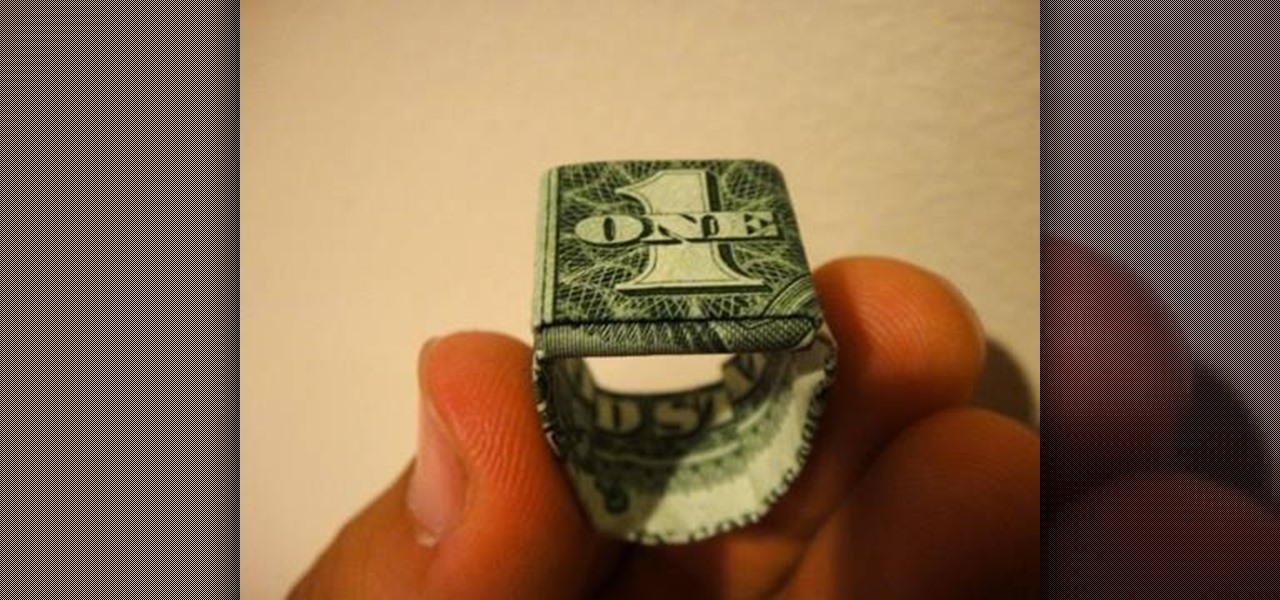
Moneygami is exactly what you think it is - a hybrid of money and origami. Rather than folding origami with your typical origami tissue papers, you can craft yourself something truly special by using money instead.
Take a square piece of paper and fold in half. Open the paper crease from the other side and mark it as previously.
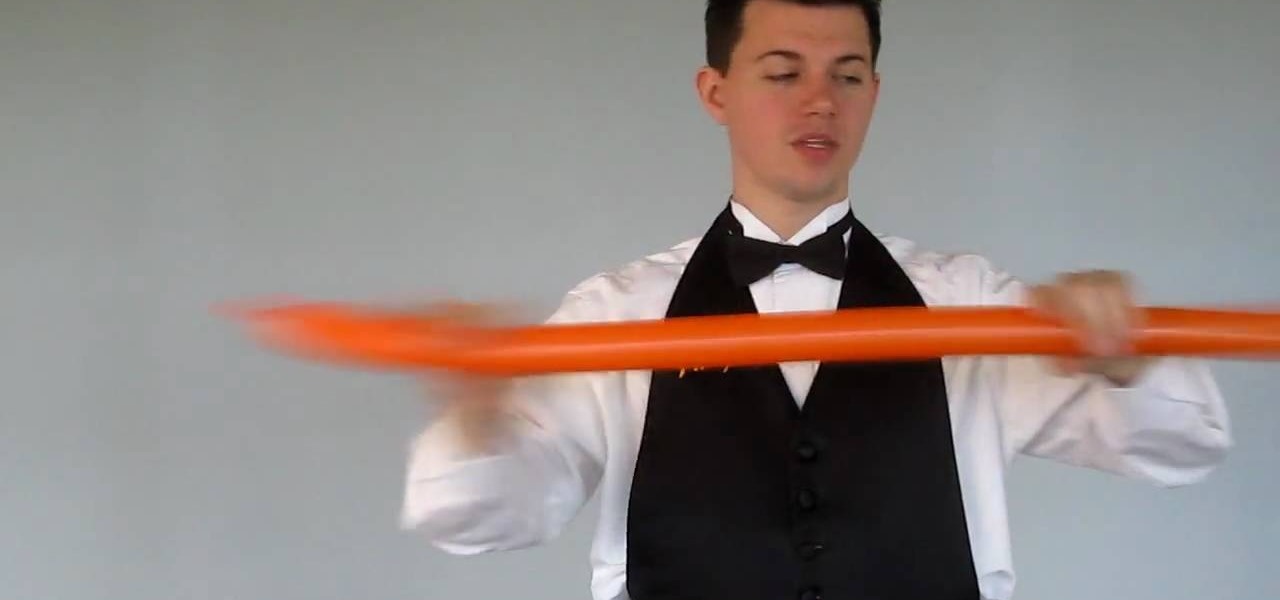
Balloon masters, hone your skills! In this free balloon art tutorial, learn how to make one of the most basic of swords: the 3 fold, 1 twist sword. This sword is perfect for any crowd, of any age. Your Balloon Man, Mr. Fudge, is full of balloon tricks! Be sure to find other balloon videos on WonderHowTo from Mr. Fudge teaching everything from animals to planes! In a few twists and a few ties, you'll be an expert balloon artist in no time!
In this free balloon art tutorial, learn how to make a basic balloon sword: the 2 fold, 1 twist sword. This is very simple balloon project, perfect for beginners! Your Balloon Man, Mr. Fudge, is full of balloon tricks! Be sure to find other balloon videos on WonderHowTo from Mr. Fudge teaching everything from animals to planes! In a few twists and a few ties, you'll be an expert balloon artist in no time!
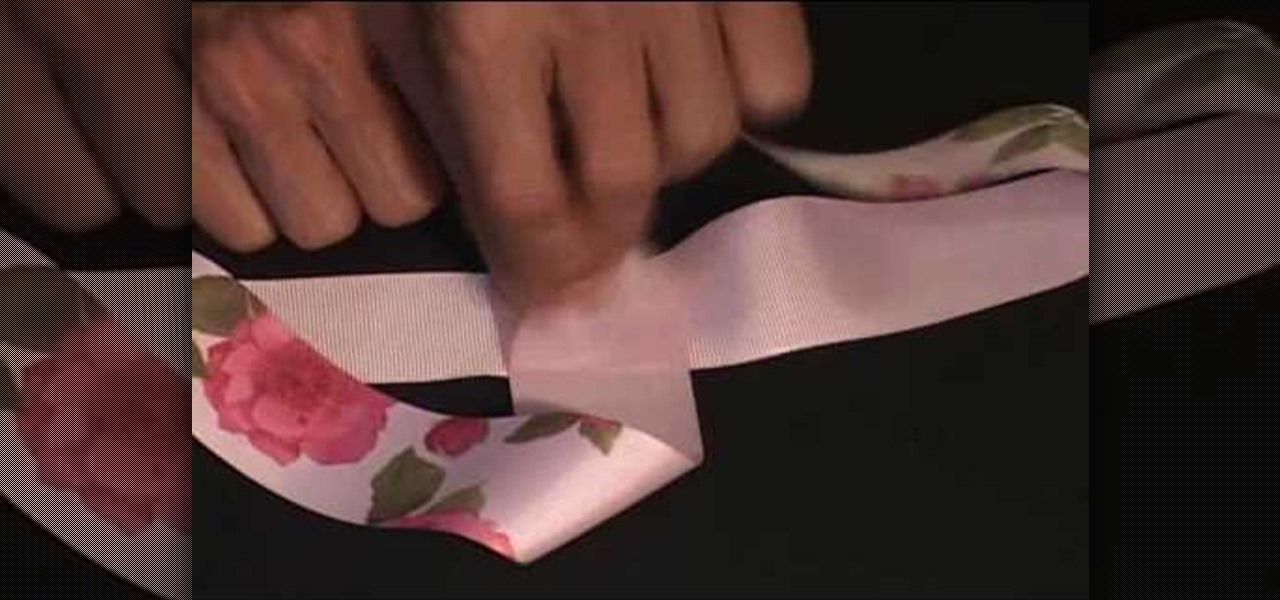
get a long piece of ribbon, put the ends together and make a crease at wear the ribbon folds, that'll be your center point. Now get one end of the ribbon, and without it flipping over, bring the end to the center of the ribbon and lay it perpendicular to the direction of the ribbon. Also bring the other end of the ribbon to the center of the ribbon but from the other direction. Hold the ribbon together using a gator clip. Obtain a piece of string or plastic strip, tie the folded ribbon tightl...
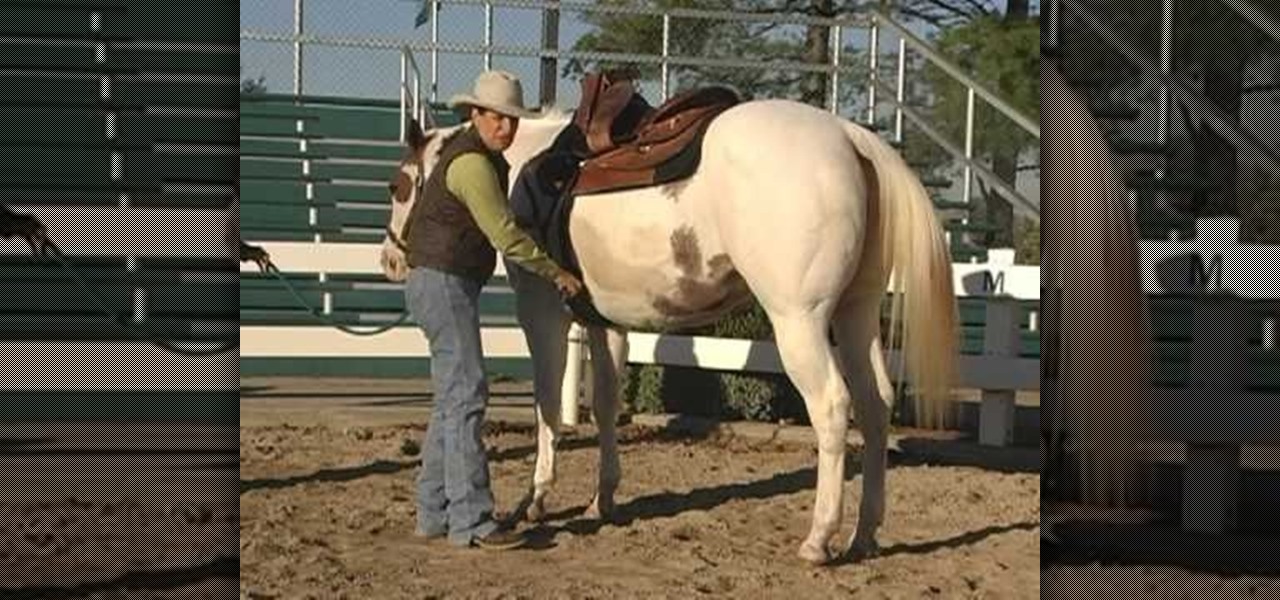
How to saddle your horse for riding
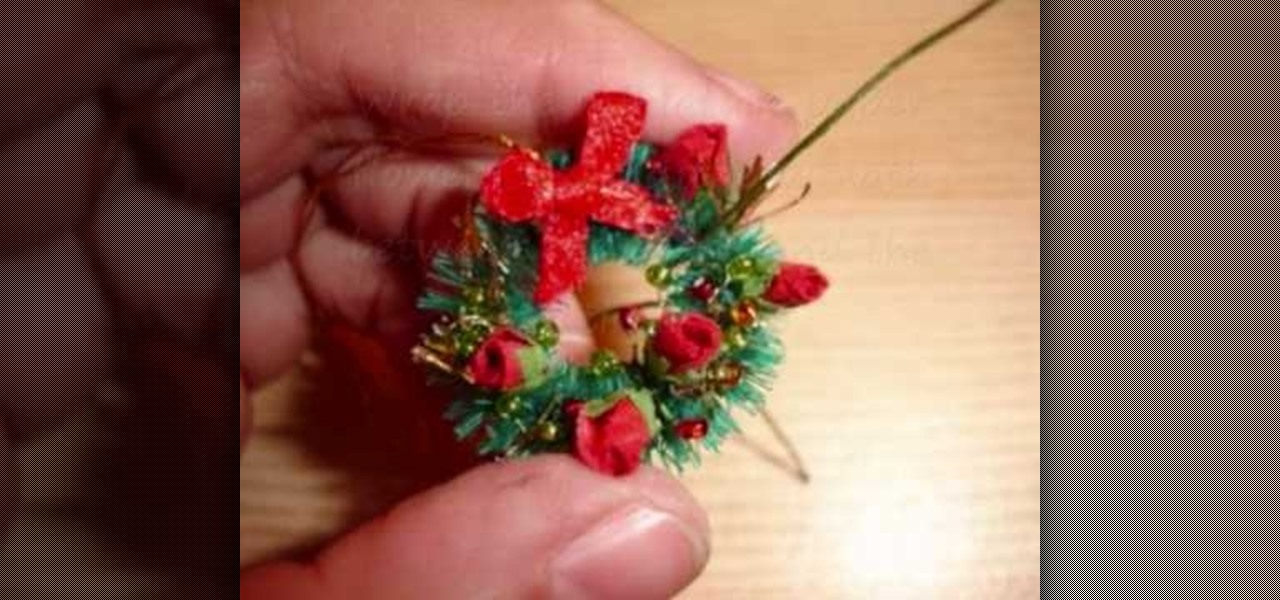
The equipment that you need is pliers, beads, beading wire, tinsel, some miniature flowers and a plain wreath. Twist a section of beads onto the wire, 5 beads make a nice grouping. Twist the 5 beads onto a single wire to make a bunch. Make enough bunches to cover the wreath. Fold a piece of tinsel between your fingers. Wrap the beading wire around the tinsel to hold it firm. Fluff the tinsel to give it some depth. Wrap the bead bunches and tinsel wraps around the wreath. Wrap the miniature pa...
Learn how to wrap a textblock in this video tutorial. Wrapping the block allows you to protect the book's inner pages while you are working on the outside of the book. All you need to do is use some butcher paper, or any other kind of heavy duty paper you may have on hand. Lay the spine flush against one side of the paper. Open the front cover and fold the bottom sides into the book. Tape these ends together. Then, with the excess paper on the non-spine portion of the book, fold those ends in...
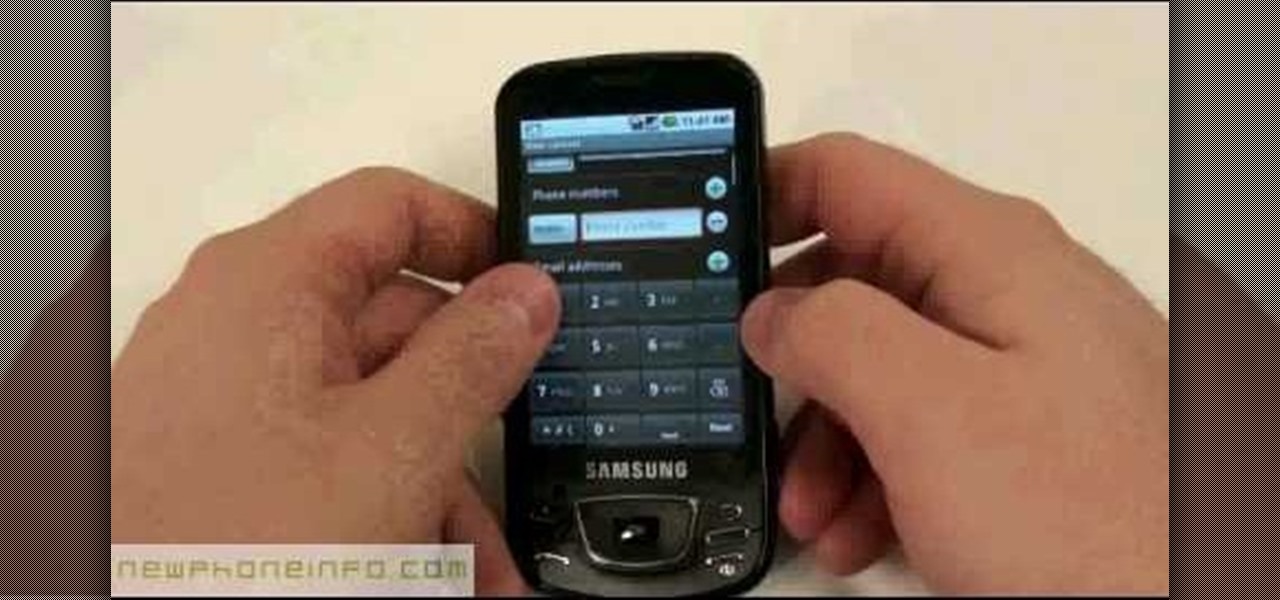
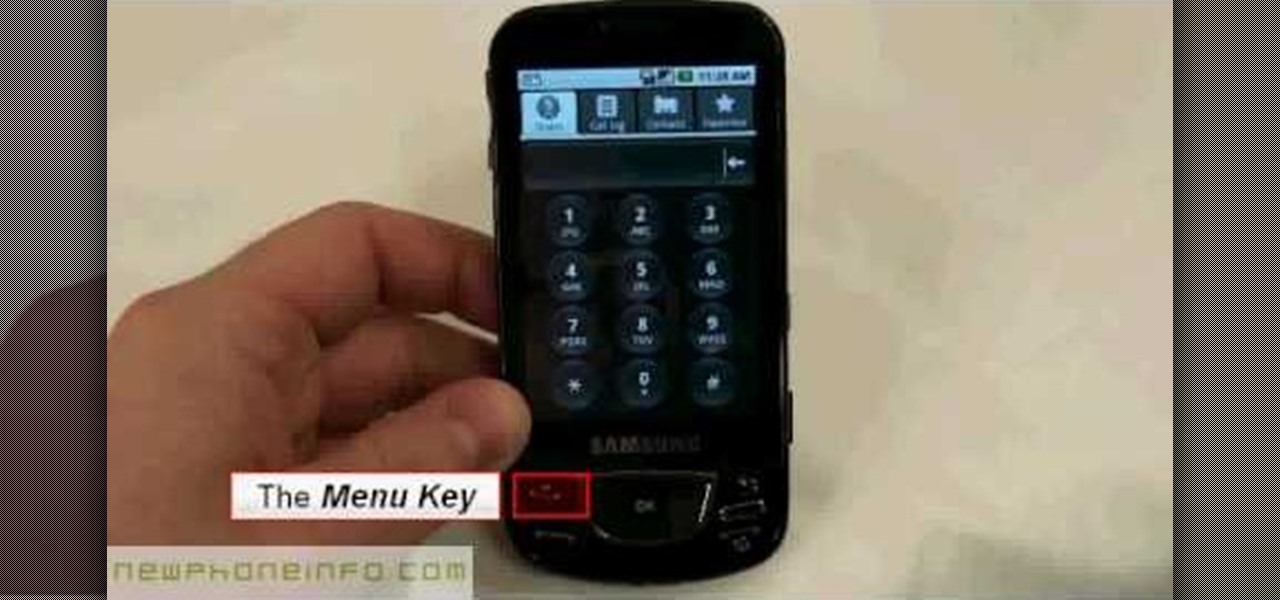
Watch this video to learn how to add a contact using the Samsung Galaxy I7500. To Enter a New Contact: 1. From the homepage, tap the Contacts icon, then the Menu key. 2. Tap "New Contact" and enter desired contact information. 3. Enter the phone number. 4. Scroll to the bottom of the screen and press "Done". To Edit an Existing Contact: 1. Press and hold the contact. 2. Press the "Edit Contact" icon. 3. Add an image if desired by tapping the image icon and selecting a desired image. 4. Press ...
This is a video demonstrating how to properly coil a guitar cable. First some incorrect ways of folding the cable are shown. One should not wrap the cable around the forearm, pick it up in a ball, or wrap it like a lasso around the hand. The correct way is demonstrated by taking a section between the thumb and index finger, rolling the index finger toward you, then making another loop by rolling the index finger away from you. This process is repeated until the entire cable is coiled. Folding...
Predicting the future is always cool.. what if you could do it with just a piece of paper? With this tutorial, learn how to fold an origami fortune teller and at least pretend you can predict what will happen! All you need is a single sheet of paper and some pens or markers to record your fortunes and you are on your way. This is a great little thing to make anytime you are bored with friends - work, school, on the bus, anywhere!
Follow this video to learn some basics on how to use a Samsung Galaxy I7500 mobile phone. Switch on the phone by pressing the power key in the bottom right corner. To navigate around the screen press with your finger on the touch screen and swipe to the left or right. If you want to open a particular application simply press the icon relating to it. Press the menu key to open the home screen with its various options. Press the dial key to open a screen where you can dial in the numbers for a ...
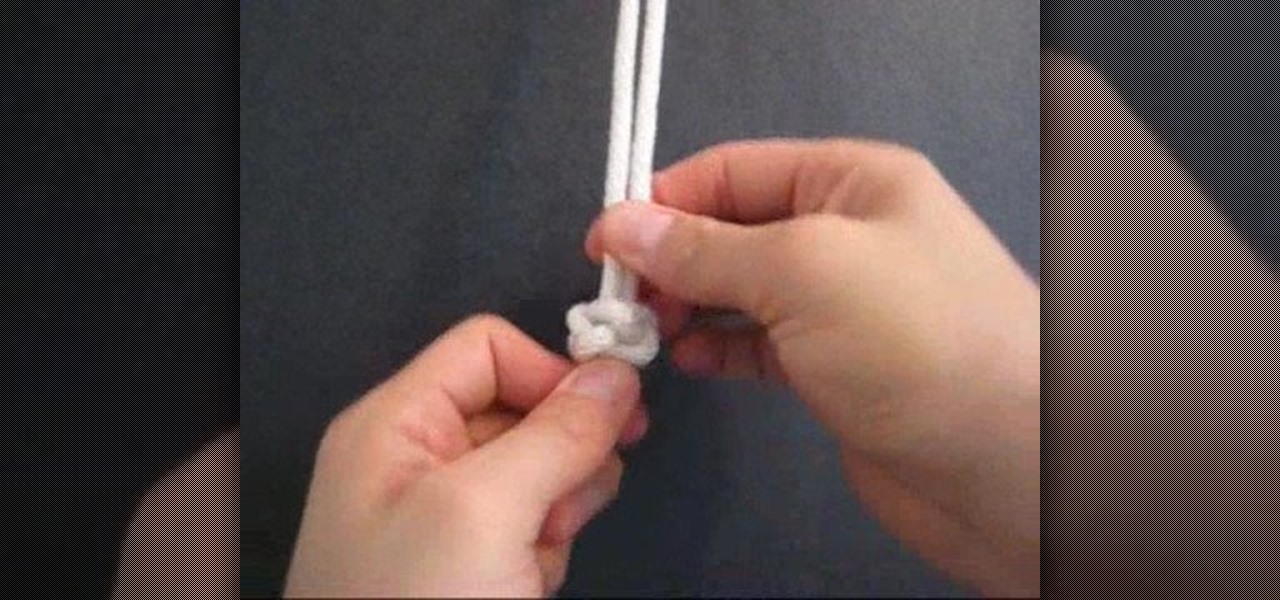
The video is about tying a Zigzag braid knot design. At first, make the tag or rope into two by folding it. Take one end and make a small knot at the folded junction. Then take the second and pass it through the first made loop. Then take the other end and pass it through the loop made by second end. Continue the hitches to end the rope. Finish the knot by tightening the rope. Then rearrange the position of the hitches. This is done with care. The knot is made beautiful and prettier by making...
"How to Tie a Decorative Diamond Knot: Tying It All Together" explains how to tie a decorative diamond knot. The diamond knot is a decorative cylindrical knot, which is also known as the lanyard knot and the knife lanyard knot. Make a loop with one end of the string, and fold the other end parallel in the center of the loop. Feed the end of the right string over the left string and pull down. Fold the right string over and feed through the left side of the loop. Pull a second loop behind the ...
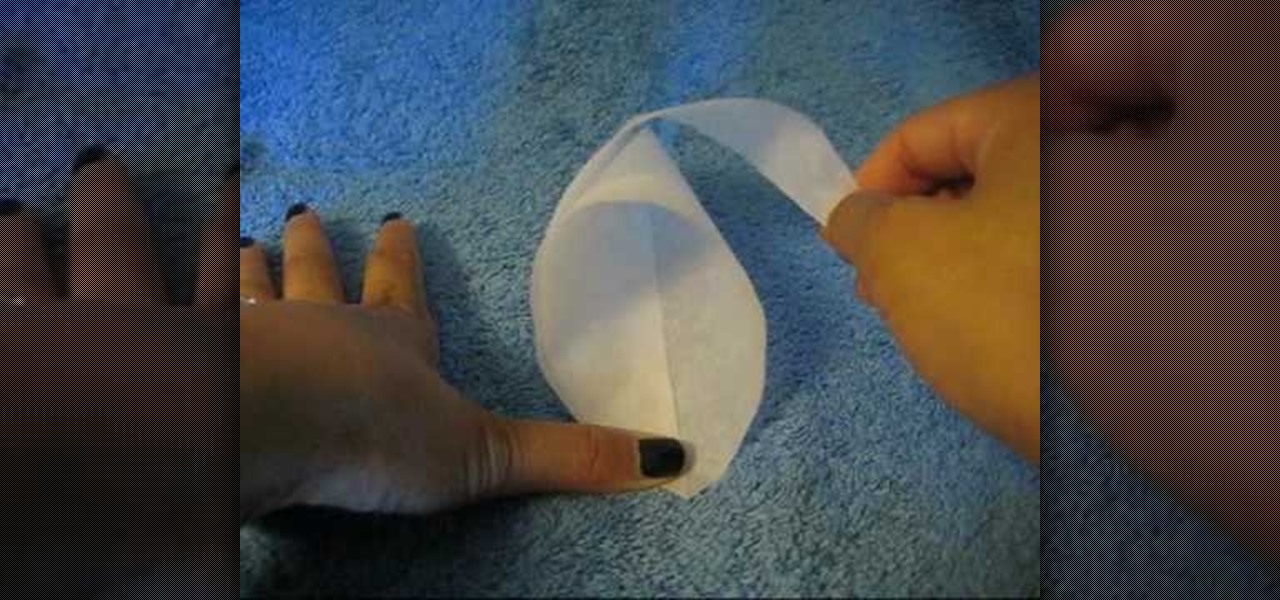
Want to make parchment cones for cake decoration? The secrets of making parchment cones for cake decoration are given in simple steps. First cut a parchment paper into an isosceles triangle of any size you wish. Now roll one corner inwards to the bottom end, curl it under and hold it. Now roll the other end over it and curl it under to form a cone, all the three tips should meet. Now fold the end with a sharp point inside the cone twice to secure it. If you are going to use it as decorating t...
Enchant that special birthday boy or girl with a unique origami birthday pop-up card by following this well produced instructional video. 1. All you need is a two sided square piece of colorful wrapping paper to create your origami birthday pop-up card. As long as your paper is square, the finished card can be any size you wish. 2. Make a series of simple sharp folds on both sides, carefully following the video instructions. Pay particular attention to the final intricate folds which create t...
Looking to make this Christmas a DIY Christmas? Why not make your own Christmas tree skirt, customized to fit your personality and home decor! Nothing says it’s Christmas like a beautiful Christmas tree. Now you can decorate the area below with a handmade Christmas tree skirt that you can be proud of.
This video explains how to make an Origami Icosahedron (designed by Heinz Strobl) using 50 strips of paper. You need 20 strips of a single color for the triangles and 30 of a contrasting color to connect the triangles.
This origami Icosahedron is a very sturdy modular model and it is very attractive. Origami is the timeless art of Japanese paper folding. Watch this origami how to video to learn how to fold the Icosahedron. Origami is a fun craft and your models make nice, homemade gifts. Practice makes perfect.
Origami is the timeless art of Japanese paper folding. Watch this origami how to video to learn how to fold a box that has a divider that divides the box into 4 section. Really nice origami model and has a lid too! You need 3 pieces of paper. Origami is a fun craft and your models make nice, homemade gifts. Practice makes perfect.
One of my favorite perks of this job is the opportunity to try out all the big flagship phones each year. Whether it's rating their suitability for a particular use-case or just entering their specs into our comparison tool, we have to get our hands on all major phones released in the US. We pride ourselves on being fair in our reviews and roundups, but that doesn't mean we don't have preferences.
Samsung isn't known for its timely rollout of major Android updates, and Android 9.0 Pie won't be an exception. If we go by their Oreo update timeline, we can expect Android Pie to officially touch down for the Galaxy S9 and S9+ sometime around November, with the final version rolling out the around the first quarter of 2019. But a leaked version of the beta has already hit the internet.
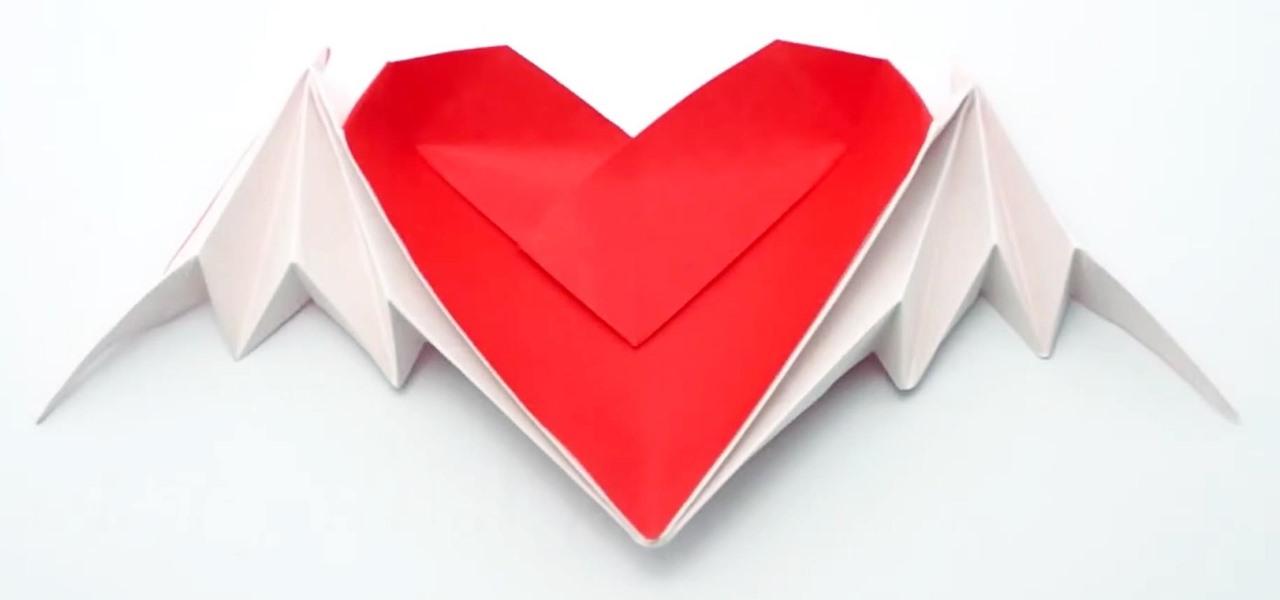
Valentine's Day is a day for love, but it also just happens to be the time when every flower shop in town hikes up their prices. Chocolates are still relatively cheap, but I never understood why you have to give the gift of bigger love handles when something more creative gets the job done at a much cheaper price.
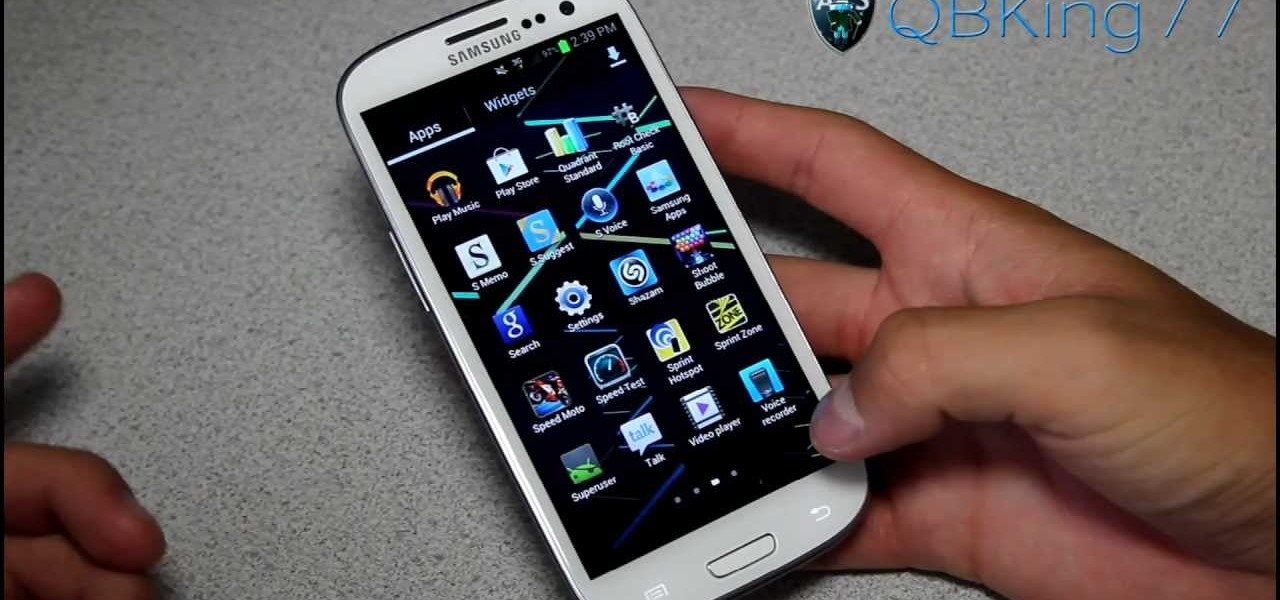
The advantages of rooting are vast. From free wi-fi tethering, being on the latest and greatest software, theming all aspects of the OS, to ditching Touchwiz for a pure Google experience and much much more.
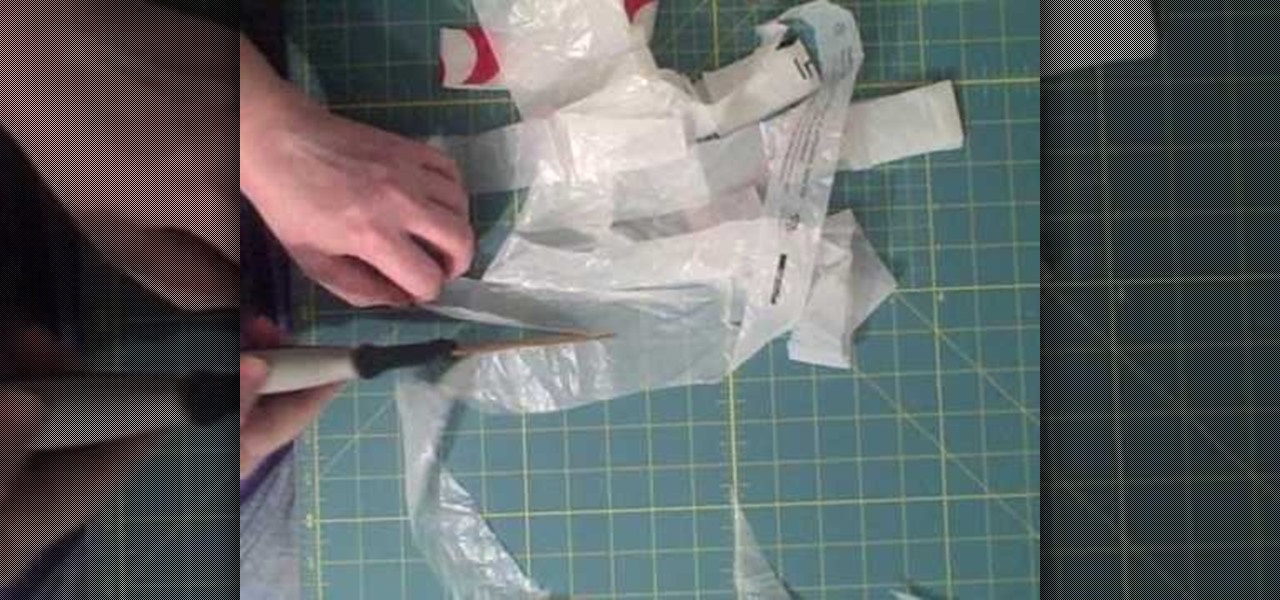
Plastic bags on their own aren't quite strong enough to hold anything too heavy (at least not for an extended period of time), but when broken down into "plarn" - plastic yarn - they can be woven into some very sturdy fabric.
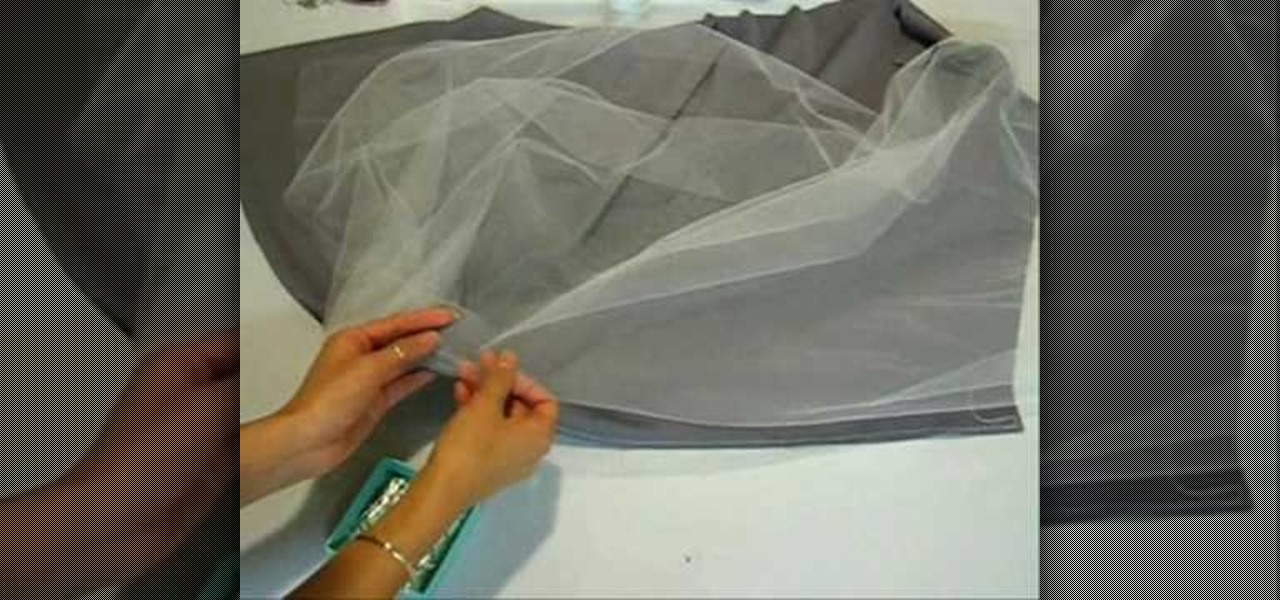
In this how-to video, you will learn how to create your own tube top dress with lace and tulle. This will be useful if you need a unique dress for prom. You will need a sewing machine, scissors, pins, ruler, measuring tape, thread, a half yard of gray knit, tulle, and a yard of lace. First, cut out a rectangular piece that can fold in half. The lower half is a trapezoidal piece. This will be the jersey skit. The smaller end should fit around your waist. Lay the rectangle first and then put th...