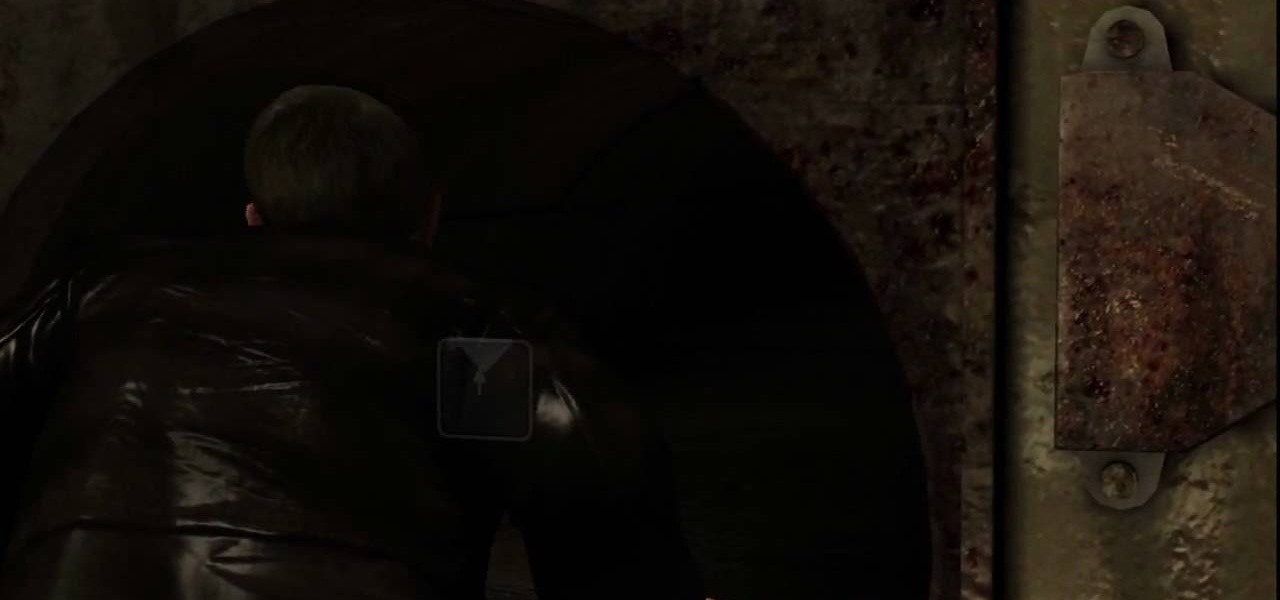
The city is full of reptiles, and in Heavy Rain, the lizard is the most treacherous of all. See if the lizard can get you one step closer to solving the murder mystery of the Origami Killer. Porcelain isn't what it used to be. See how to beat Chapter 3 - The Lizard.
Butterflies are usually sweet and innocent, but not in the downpour that is Heavy Rain. In this PS3 walkthrough, see what's up with the Butterfly and if you're ever going to catch the Origami Killer. See how to beat Chapter 3 - The Butterfly.
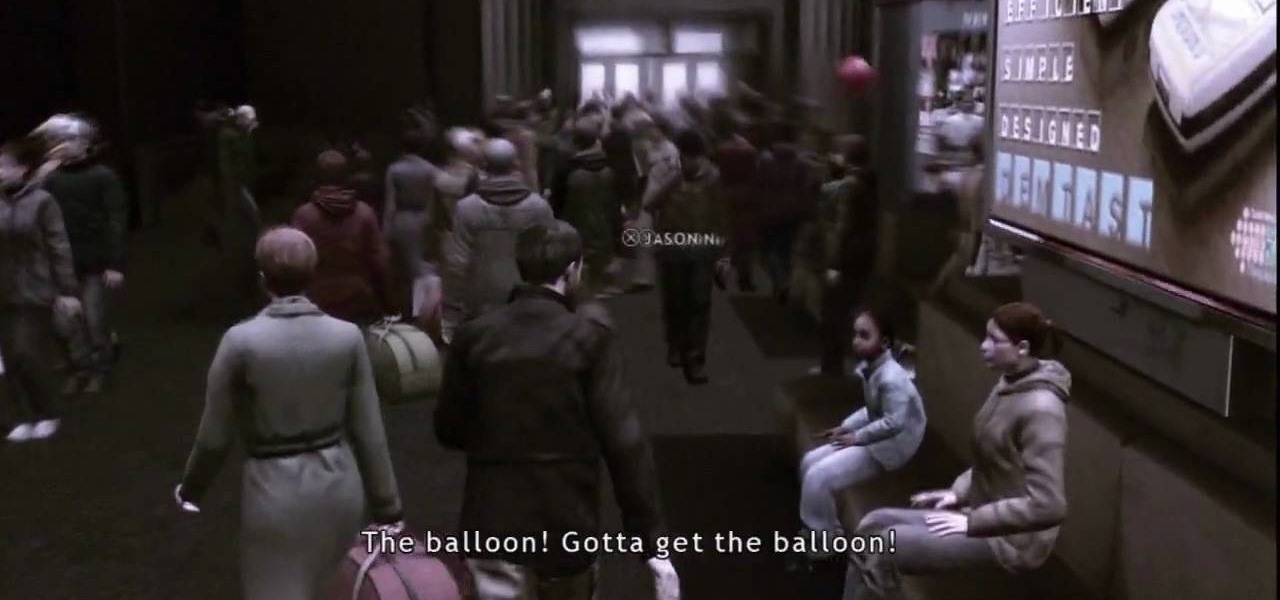
This level of Heavy Rain has you in the Lexington Station, where hopefully you can make it through the crowd without embarrassing yourself. Watch the full video walkthrough to see what happens, and how to continue on. See how to beat Chapter 2 - Lexington Station.
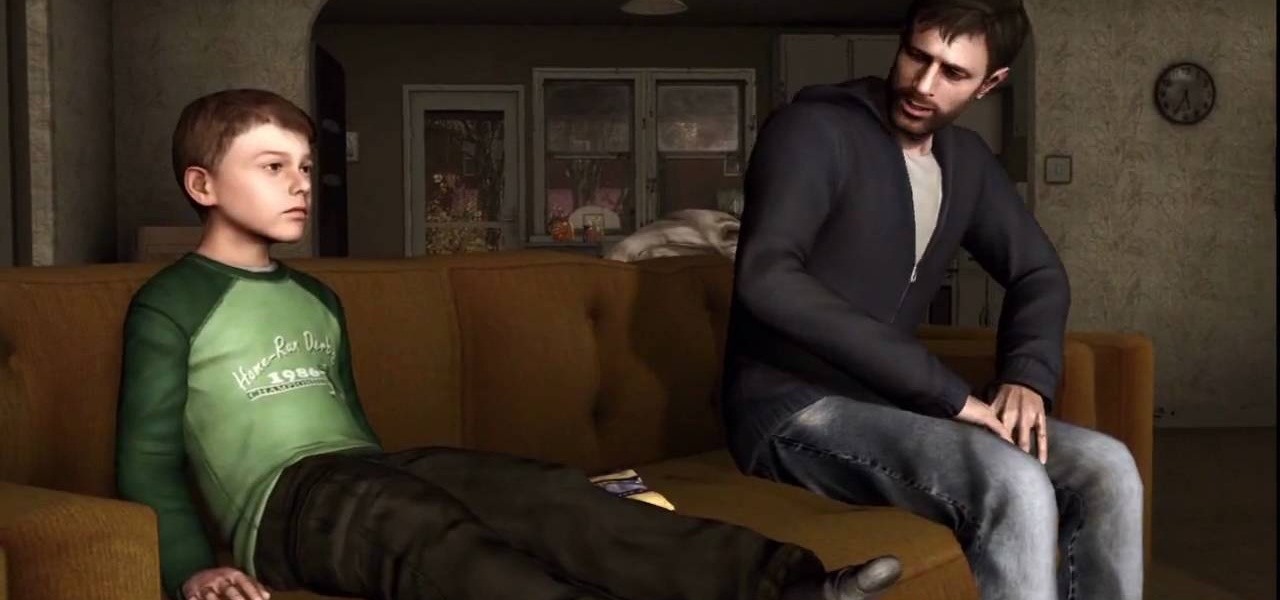
Nothing can beat a father and son. Check out this Heavy Rain video walkthrough for the PS3 on "Father and Son". Do you think you're getting closer to catching the murderous Origami Killer in this level? See how to beat Chapter 1 - Father and Son.
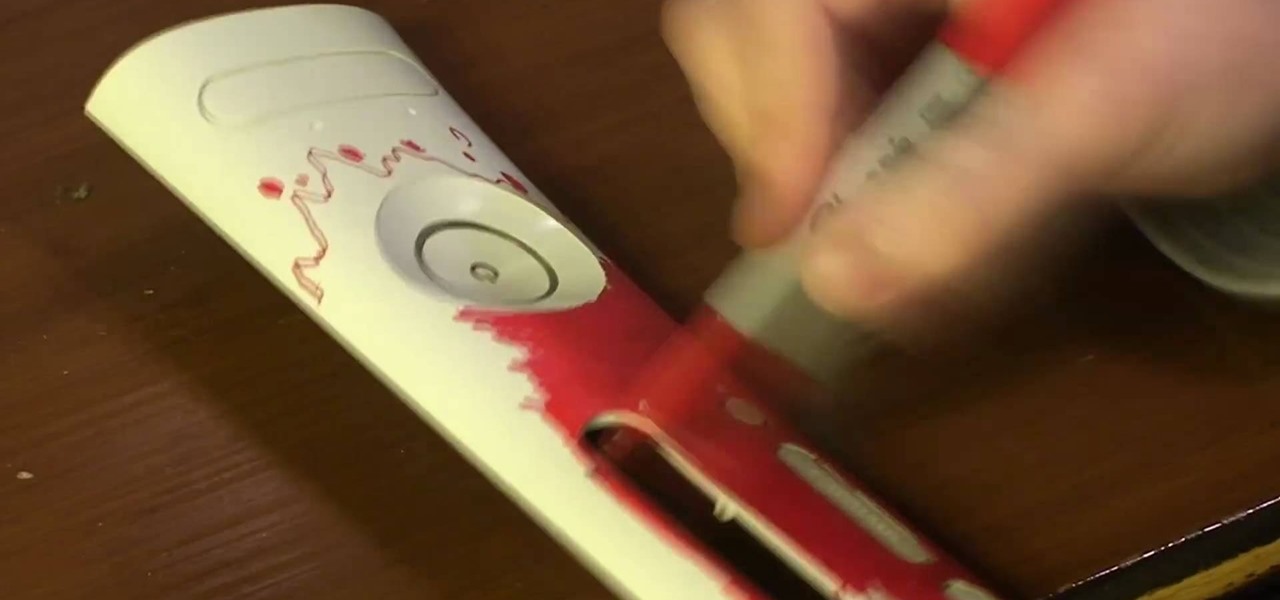
Purchase a silver XBox 360 faceplate from your local gaming retailer. You can also remove the faceplate currently on your XBox 360.
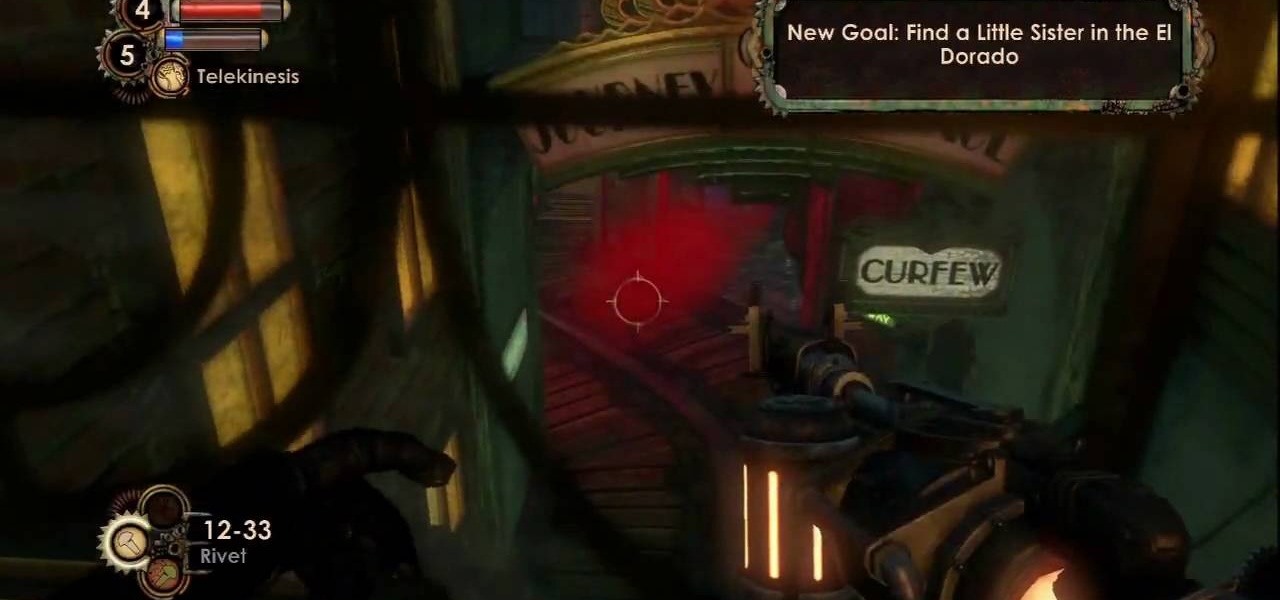
In the third chapter of BioShock 2, you'll have to try to make it all the way through Ryan Amusements alive. The only way may be to watch this five-part series on completing the whole mission in the popular Xbox 360 video game.

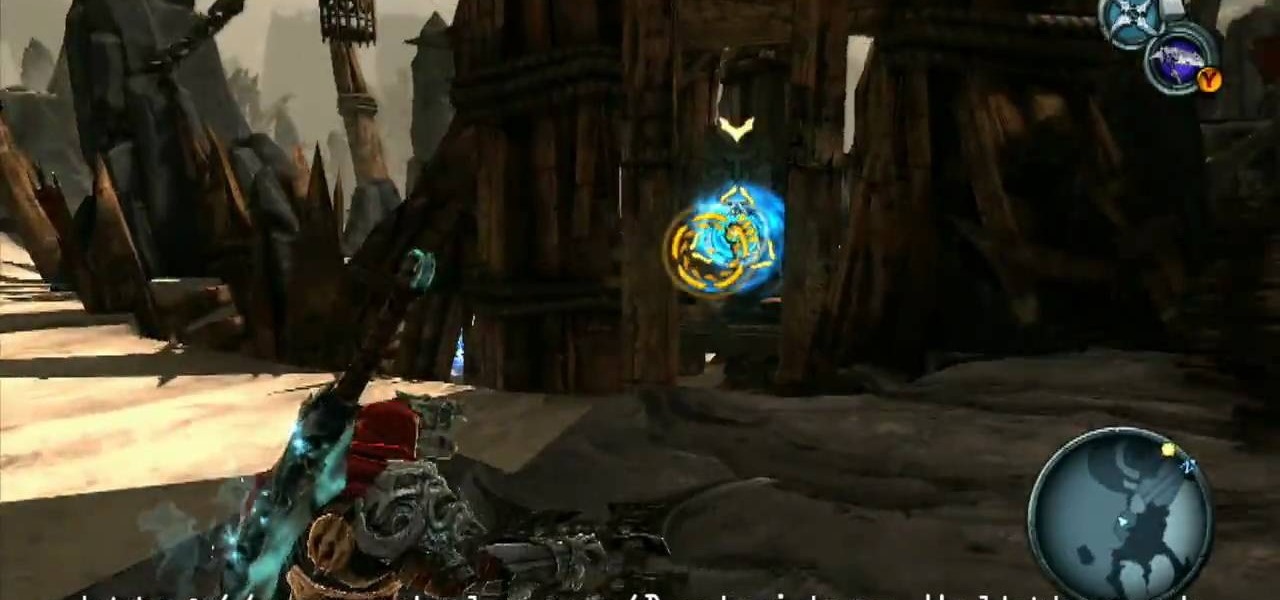
Defeating the Ashland level of Darksiders on the Xbox 360 means getting past Tower A, Tower B, Tower C, Tower D, The Caverns, The Ash Field, Fracture Cannon, The Arena, Abyssal Gladiator, Leviathan's Drift, Stygian and lastly… the Soul Bridge. Before you lies an ash field. This ash is to thin for you to Dash in and makes moving around in it difficult. On top of that, a giant sand worm or Ash Titan, roams around freely. This massive creature will home in War as soon as he touches the ash groun...
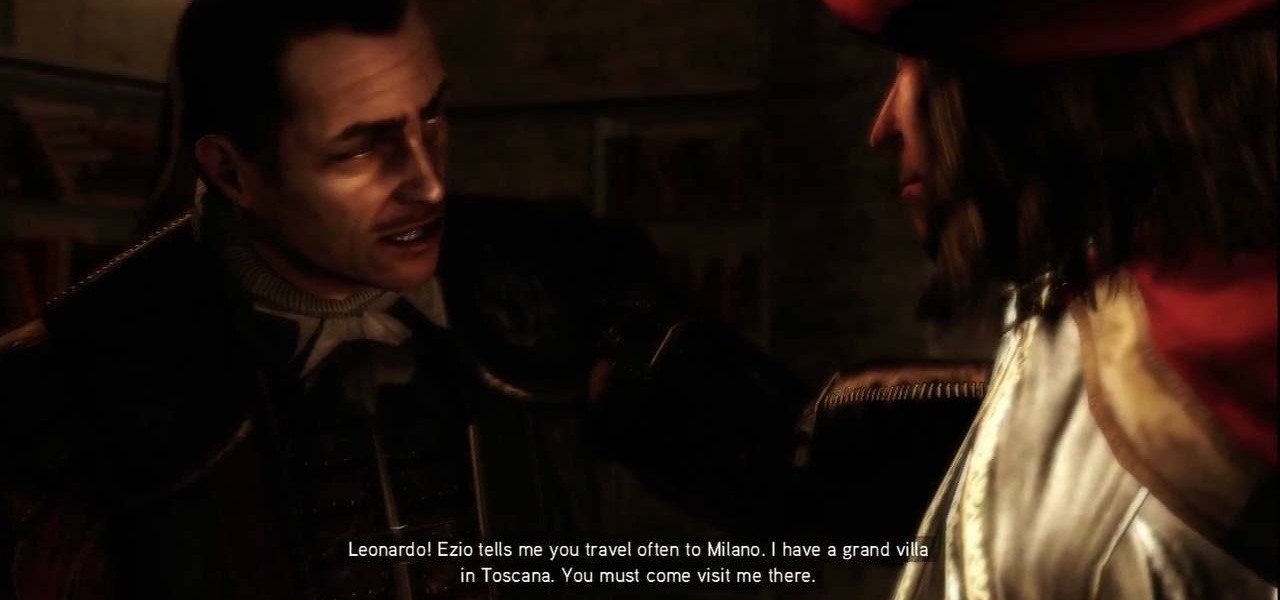
The Battle of Forli: This is downloadable content that fills in the missing pieces and has Ezio defending the town of Forli from the Orsi Brothers. There are six new memories and Leonardo's flying machine makes a return allowing players to fly it across Romagna. Ezio is joined by Machiavelli and Caterina Sforza to protect a Piece of Eden from the Templars. For more info, watch the whole gameplay.
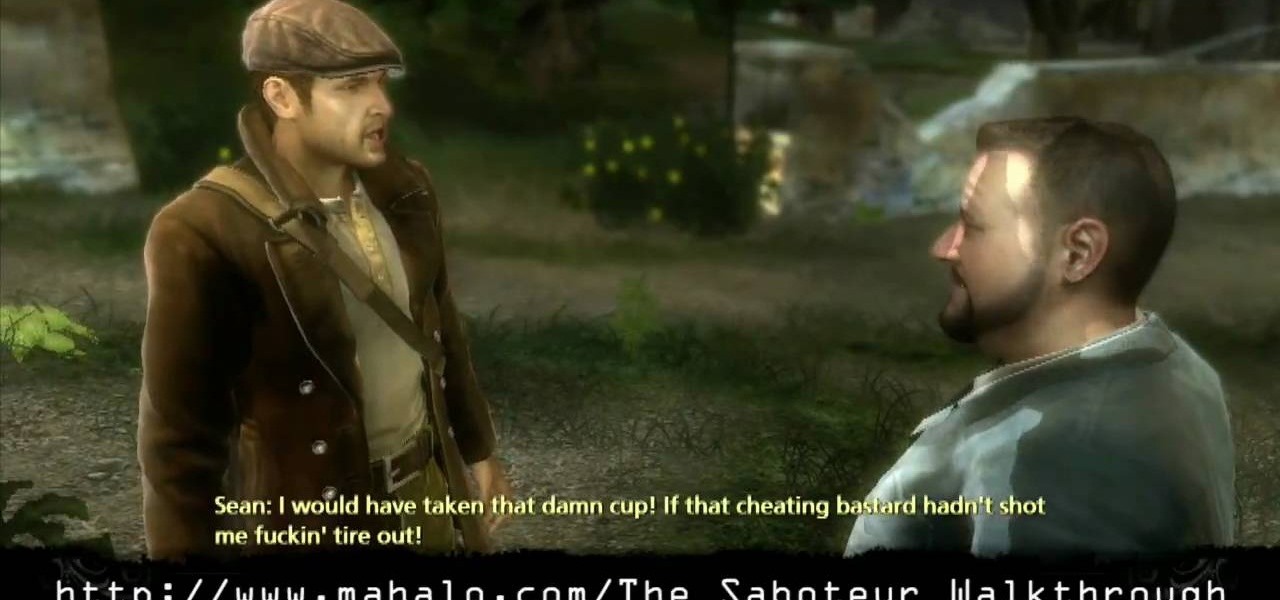
This is just a simple race in The Saboteur for the Xbox 360. The twelfth mission in Act 2: On Your Marks… Get Set... is where Horst is waiting with a good car right near Margot's base. This is a solo race mission to unlock the races throughout the rest of the game. The key to these is really just practicing the route. There aren't waypoints, so you can take some shortcuts, but the highlighted route is the most direct, so this won't amount to much more than corner cutting. For more info, watch...
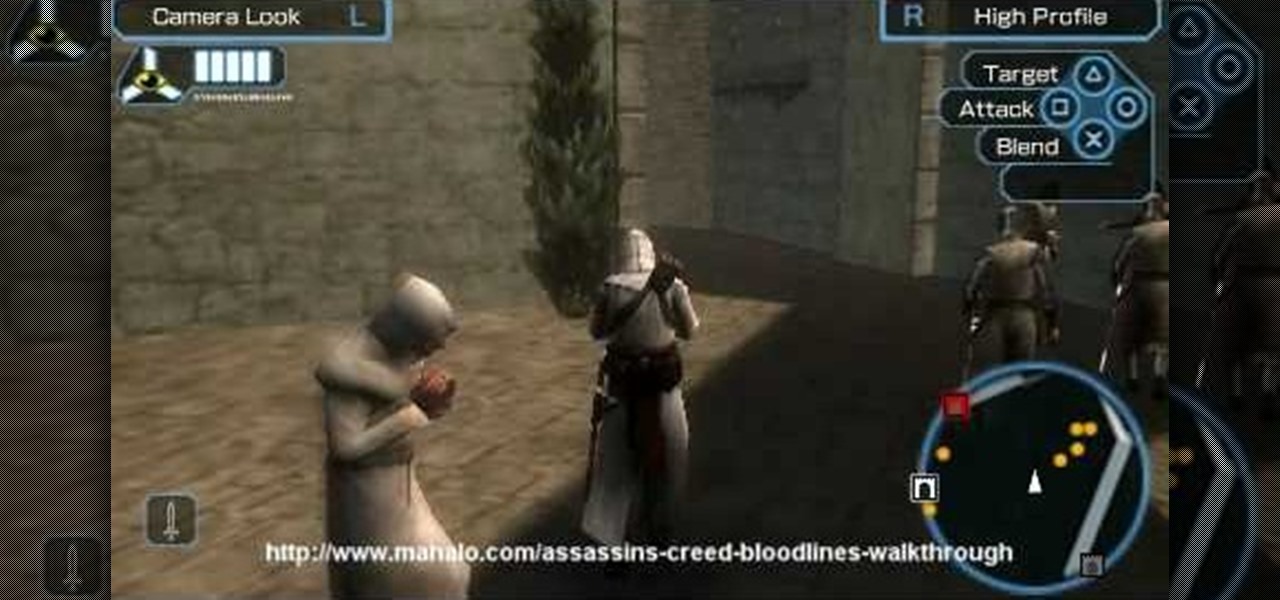
Mission 10 on the Sony PSP takes you through finding the ship for Kyrenia to deliver Alexander's message to the crewmen without being discovered. The path to the Crewman is relatively free of guards if you stick to rooftops as much as possible. Then, leap down to the docks below. The manifest is located on the big ship docked at the Port. Take the ladder down to the deck below and follow your nose to the manifest. With it now in your possession, take it to Alexander. For more info, watch the ...
In Mission 9 on the Sony PSP, you just need to recapture Maria. Chase after Maria and her captors. You will end up fighting off these soldiers. Once they've fallen to your sharp blade, Maria rejoins you, and you receive a new objective. For more info, watch the whole gameplay.
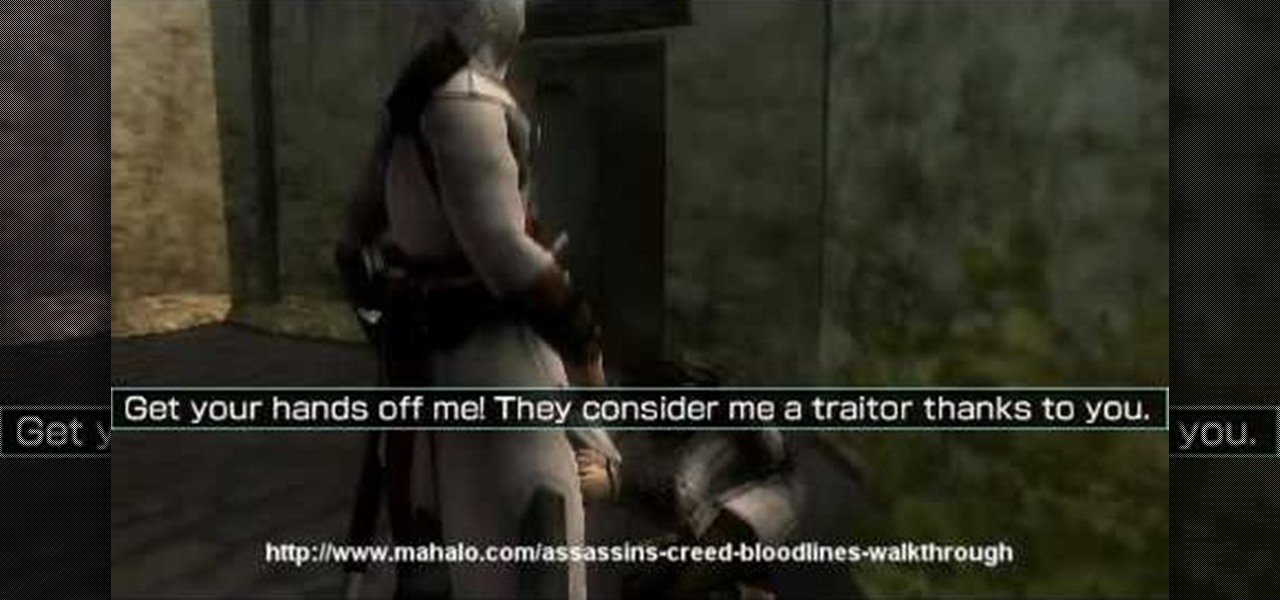
Defeat the Templars in Mission 8 on the Sony PSP and stop the attacks on the safe house. Altair doesn't really catch a break, although the Safe House assault squad comprises only six Templars. Slay them all. For more info, watch the whole gameplay.
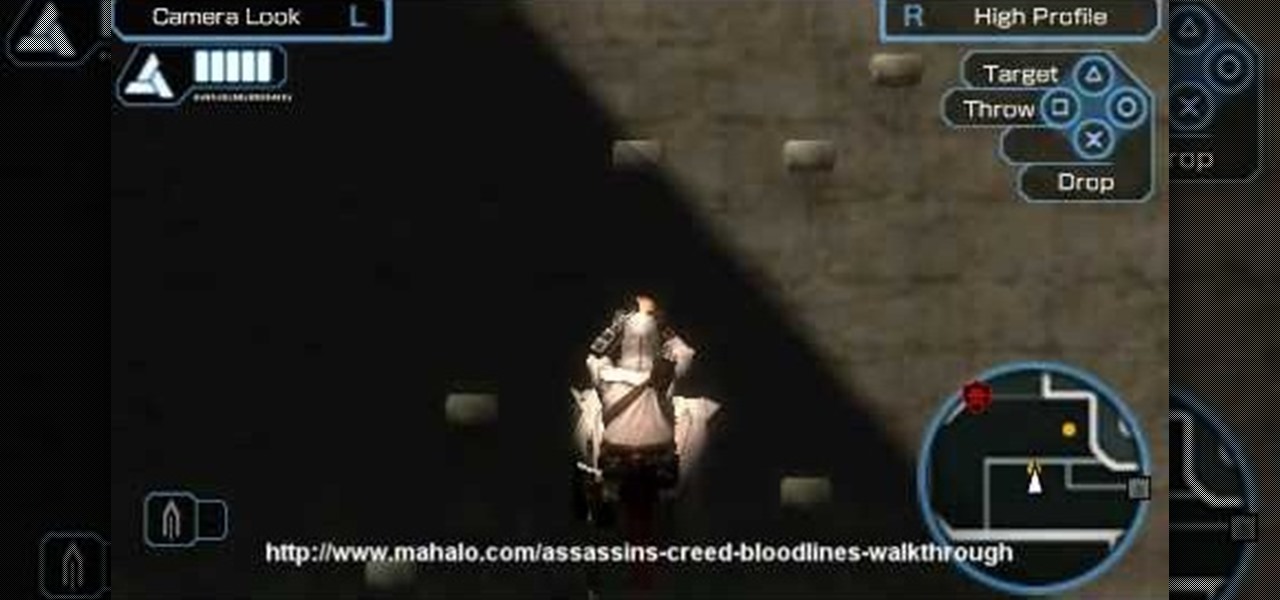
In order to escape the Limassol Castle, you simply need to return to the castle entrance in Mission 7 on the Sony PSP. Ignore all the pursuers and just keep running back toward the Castle Courtyard. From there, mosey on over to the Marketplace.
See how to infiltrate the Limassol Castle and kill Frederick "The Red" in Mission 6 on the Sony PSP. Guards patrol almost every corner of the Limassol Castle Courtyard, and soldiers armed with sturdy-looking shields block the normal route into the castle. Looks like you will have to find an alternate way. That path reveals itself quickly enough in the form of protruding pieces of bricks along the wall, allowing Altair to gain suitable height above the ground. Jump on the merchant stand roof f...
Find Osman in the Cathedral Square to deliver Alexander's message to him in Mission 5 on the Sony PSP. Make your way to the Cathedral area, at which point the red delivery icon pops up and denotes Osman's rendezvous point. The only problem is that the area is swarming with guards and that Altair must make successful contact without being detected. Climb up the first buildings in front of you and hop across toward the icon. Silently dispatch the archer on the roof and then head around to the o...
Learn how to locate the assassinate the Templar Captain of the Guard. Locate him in the Limassol Marketplace in Mission 4 on the Sony PSP. The Templar Captain is as good as dead with his location so boldly announced on the map. A word of caution: if you make a ruckus approaching him, he will be backed up by annoying archers on the rooftops. Once you've found him and carried out the deed in any way you see fit, return to the Safe House for the next objective. For more info, watch the whole gam...
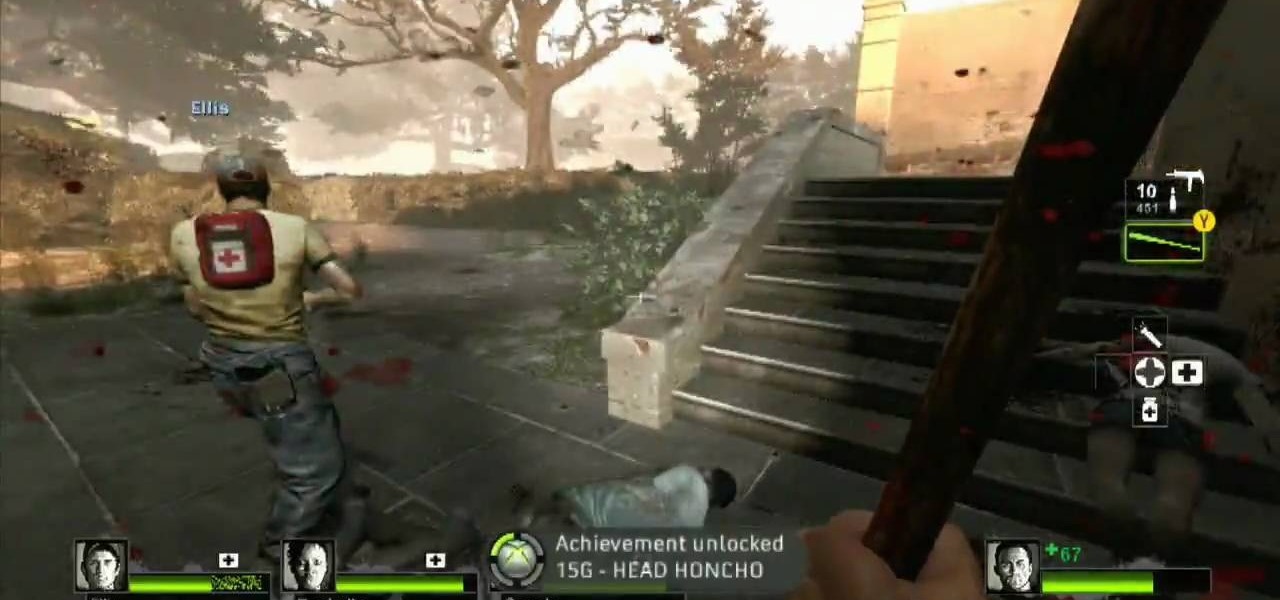
Check out this L4D2 walkthrough for some tips on Campaign 5: The Parish - Park. Stock up on items and exit via the door right next to the one you entered. Clear out any zombies and work your way up the large staircase into the park. Be prepared to deal with a likely Crescendo event in the plaza here. Pick a one of the staircases to climb up and enter the park. The restrooms near the entrance of the park usually contain a throwable item or two. For more info, watch the whole gameplay.
This last campaign is the hardest one. In the first part of campaign five, try not to drown and watch this L4D2 walkthrough for some tips on Campaign 5: The Parish - Waterfront. You are dropped off on the waterfront and told to make your way to the bridge. Pick up weapons and medpacks and head up the staircase. Go through the gate and clear a path to the Waterfront Market directly in front of you. There should be an open door for you to walk into. You may encounter a SWAT zombie at this point...
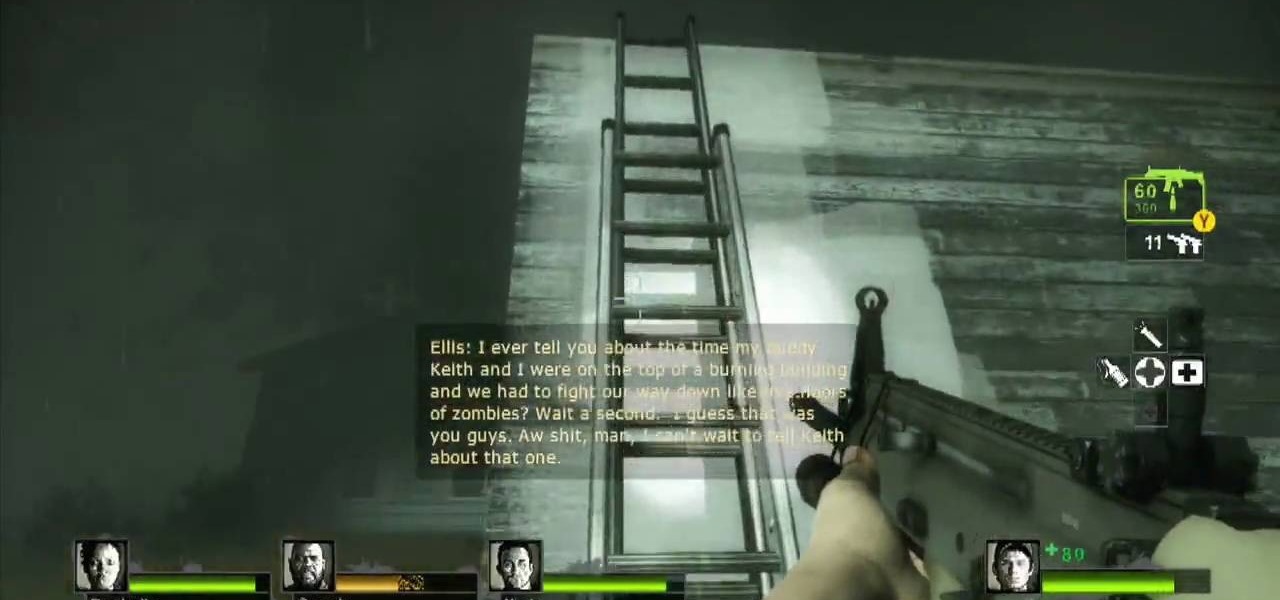
And just when you thought it was safe in town, you come back and find out it's like you were never there. Zombies everywhere. Watch this L4D2 walkthrough to play Campaign 4: Hard Rain - Return to Town. Gather any equipment and head out of the safehouse. The suburban neighborhood you travelled through last time is now flooded. You will want to spend as little time as possible wading through water. Try to look for rooftops or makeshift walkways to maximize your maneuverability. After dropping d...
Learn your way around the saccharine and bloody land of the sugar mill in L4D2. See the whole gameplay for Campaign 4: Hard Rain - Sugarmill. Stock up on weapons and head down the stairs to open the door of the safehouse. Clear out any zombies on the street and go across through the open window into the sugar mill. Once in the building, head to the left. There should be an open door leading back outside. For more info, watch the whole gameplay.
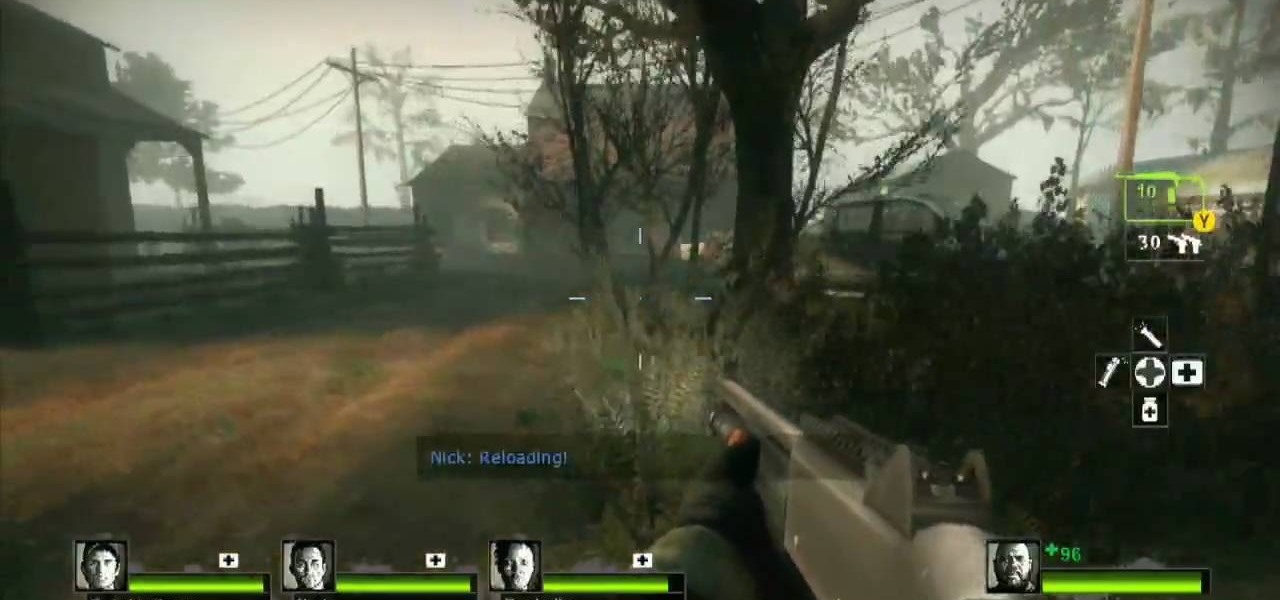
Make your way through the deadly plantation in L4D2. See the gameplay for Campaign 3: Swamp Fever - Plantation. Gear up and go outside of the safehouse. It will be light out. Mop up any zombies here and head straight ahead, bearing to the left. You will climb a small hill and see an opening in the fence. Check the sundries building on your left for items. Make your way through the rows of houses here towards the red two-story house at the end. Don't go inside the house, turn left right before...
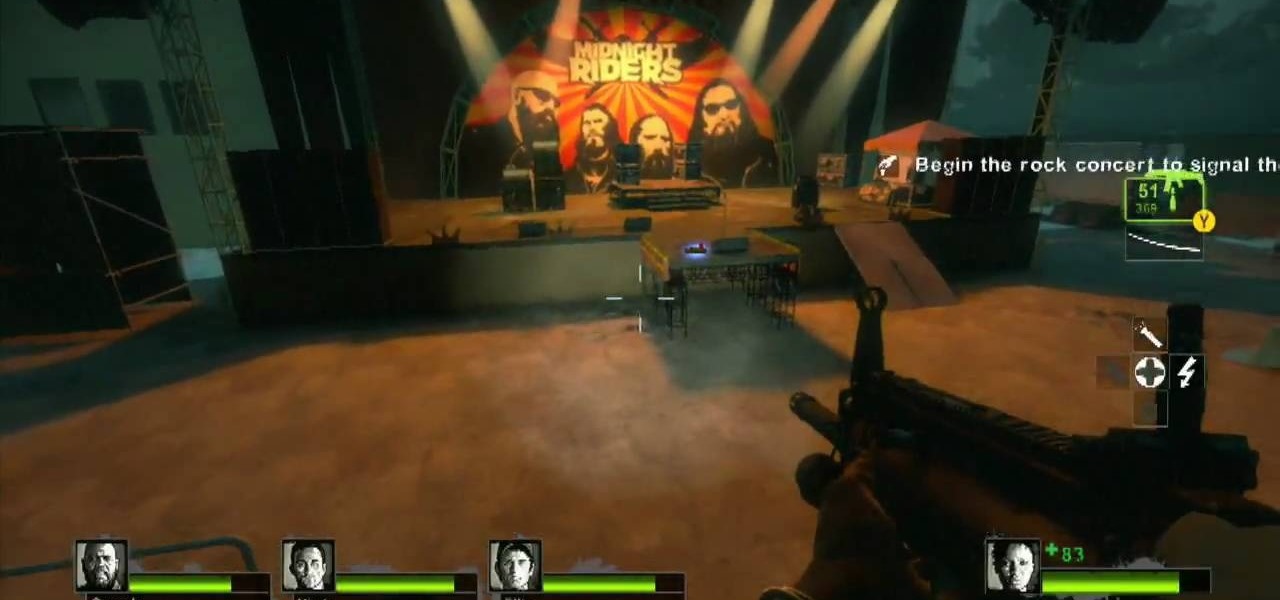
Don't let L4D2 get the best of you. Take control by checking out this video on Campaign 2: Dark Carnival - Concert. Grab your guns and go out the door. There is really only one path to follow, so move right around the venue until you reach the stage. Feel free to use up your ammo as there will be a refill when you reach the end. There are bathrooms to your right and left, but it isn't worth your time to search them. Clear out any zombies in the stage area. You must then flip the switch on the...
Having some trouble beating L4D2? No problem, watch this which shows you around and gives tips on Campaign 2: Dark Carnival - Coaster. Restock your gear and head out the door. If you have any pipe bombs or pick up any throughout the level, try and save them for the roller coaster chase sequence at the end. Climb up the stairs and continue forward until you reach the swans at the start of the ride. Turn right, and follow the water pathway forward. You can safely ignore most of the tiny backdro...
Need a little help with your L4D2 gameplay? Watch for some tips and tricks for Campaign 2: Dark Carnival - Barns. Grab supplies and go out the door. Make your way to the left, past the booths. You will see a bumper cars attraction to your right. Go inside here and back out to the alleyway. In order to get the gong show achievement you will need adrenaline and a melee weapon. If you have neither, you should be able to find a guitar and some adrenaline in the tent across from the bumper cars. N...
Prepare to delve into the world of L4D2 and check out the gameplay for Campaign 1: Dead Center - Streets. Stock up and open the safe house door. You should see a bunch of infected milling about here. Kill them and make your way straight up the hill past the port-o-potties. Turn right at the fence and take the street down. Watch out for zombie attacks from the walls to the left and right of you. They will drop down from above. Duck into the building on the right when you reach the fence at the...
Learn about the L4D2 gameplay for Campaign 1: Dead Center - Atrium. Get the goodies and walk out of the safe house. Turn right and go down the hallway, making another right through the door at the end. You will find yourself back in the mall. Continue on the makeshift walkway, bearing left at the end until you reach an elevator. The blue door across from you is a dead end. For more info, watch the whole gameplay.
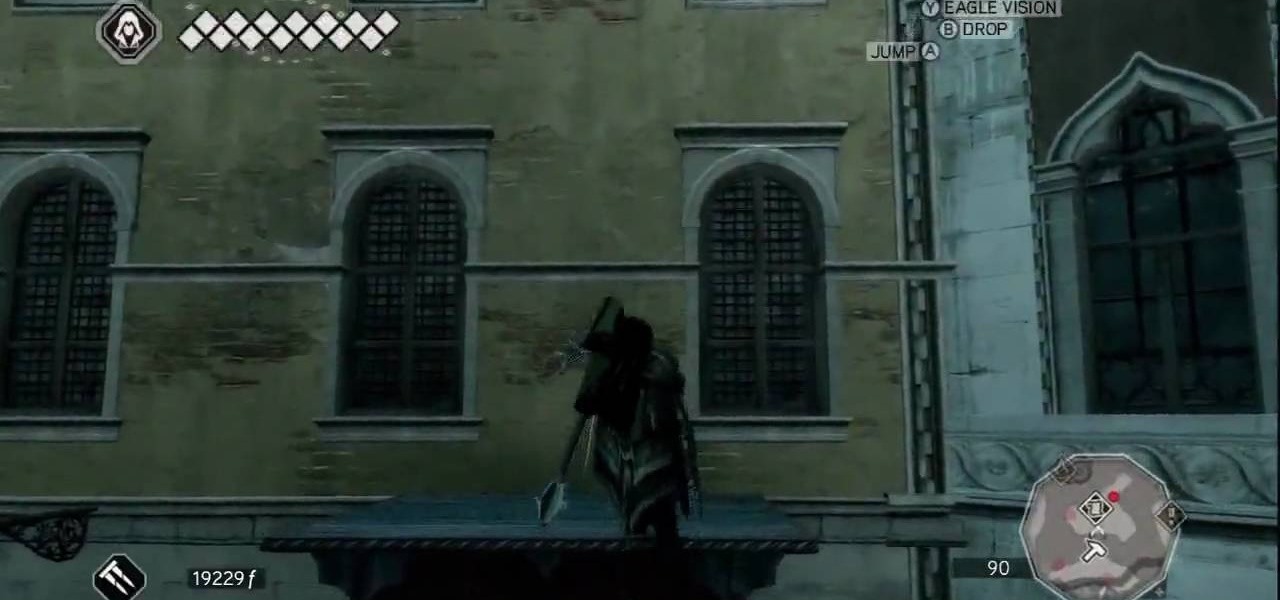
Visitazione's Secret: This is Tomb number 6. The grave of all graves. The entrance to the tomb is on top of the first level of the building's roof. You can pretty easily climb the building on the eastern face and then shimmy around to the north face and continue up. There's a small nook where the building's tower meets the first level of roof, and in there you'll find the entrance.
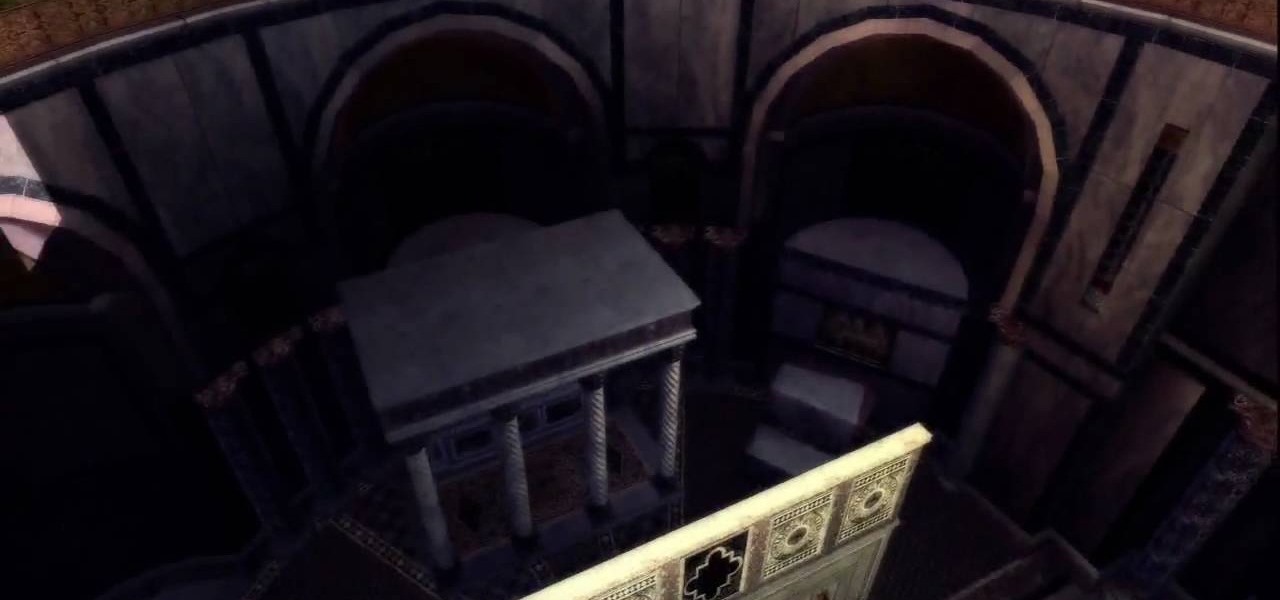
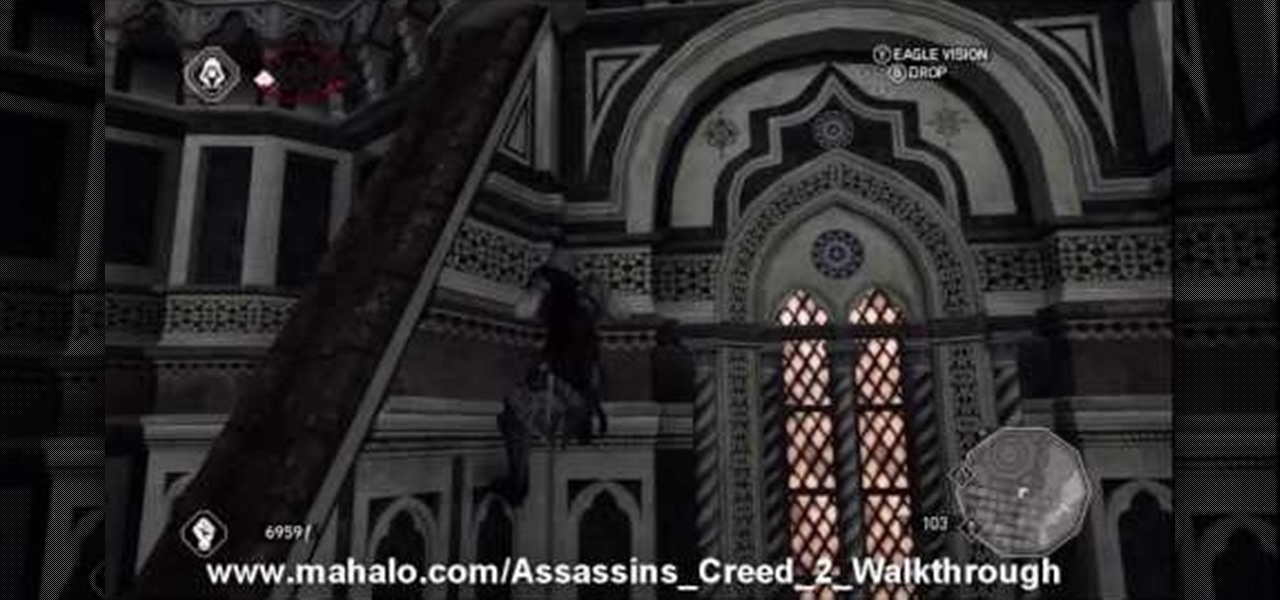
San Marco's Secret: Tomb 5 is not easy, so be careful. Getting into the Basilica without the use of Leonardo's flying machine is tricky. However, chances are that you've already penetrated the massive building's defenses in the mission If at First You Don't Succeed.... But if you haven't yet completed that mission, here's how to get to the tomb's entrance.
Ravaldino's Secret: The entrance is sort of tucked away behind a tower on the other side of the city's water way to the west. Jump in the water and swim around the north end of the tower and you should find the entrance pretty easily. It's just off the water.
Torre Grossa's Secret: The entrance is on ground level, and it's not hard to find. Look for a vaguely-narrow arched hallway just off the street and look for the entrance on the wall to the right.
Il Duomo's Secret: Super simple. The entrance is on the north end of the Basilica Santa Maria del Fiore. It's on street level, and really anyone could open it but only you're smart enough.
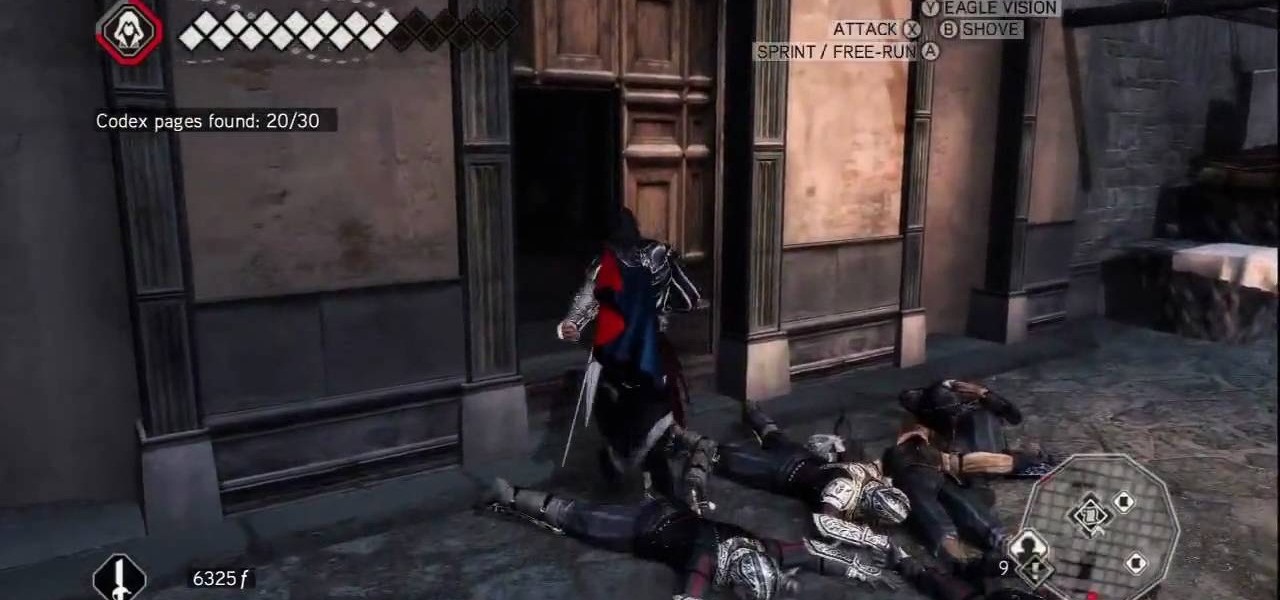
X Marks the Spot: Activate the odd glowing thing and then walk up to the wall of codex pages to bring up a puzzle. Use eagle vision and you can spot the faint red outlines of a picture. You need to rotate all of the pieces around into their correct positions in order to complete the picture. Start by going around the perimeter of the puzzle and arranging the border—it's the easiest. Once you've got the border in place, go for the inner pieces.
Play Along: At the start of the mission, you simply need to follow the leader through the city. Do your best not to bump into anyone, as Ezio will drop the chest if you do. Eventually, you read the end of the trail and a cut scene takes over.
All Things Come to He Who Waits: After parting ways with Leonardo, break into the walled-off area to the northeast and trigger this mission via a waypoint on the parapet walk. After the cut scene, you need to trail a courier that zigs a zagging path through the city. Stay far enough behind him that he doesn't get curious, but also be sure to keep him in your sights. If he gets separated from you by a wall, a countdown timer hurries you to catch back up.
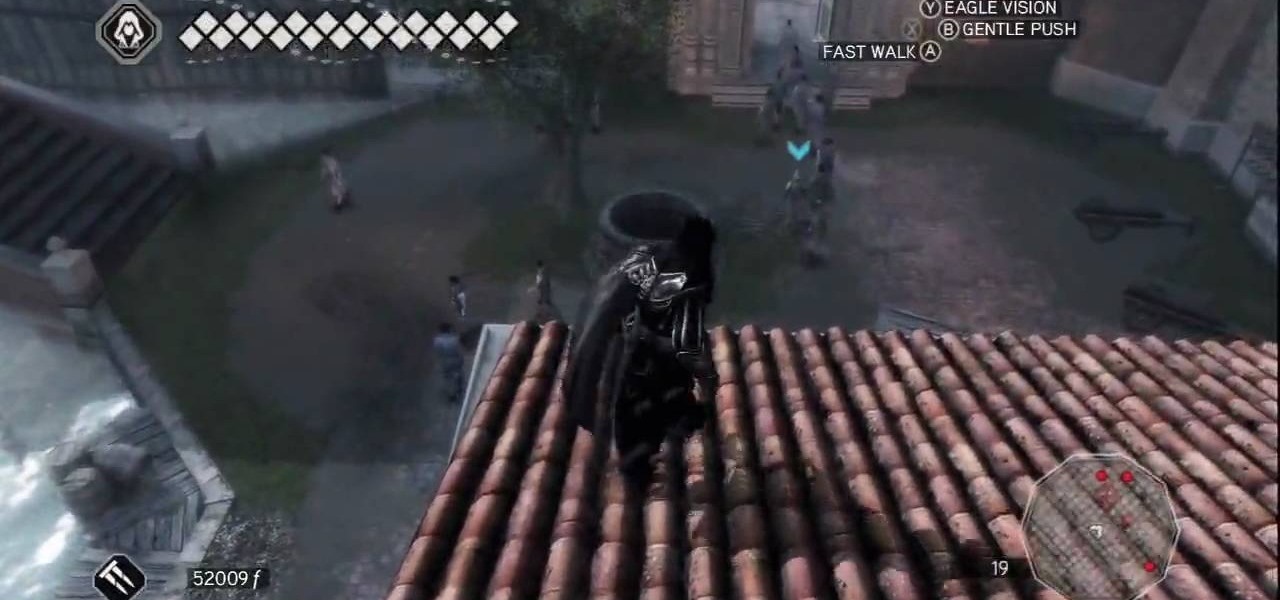
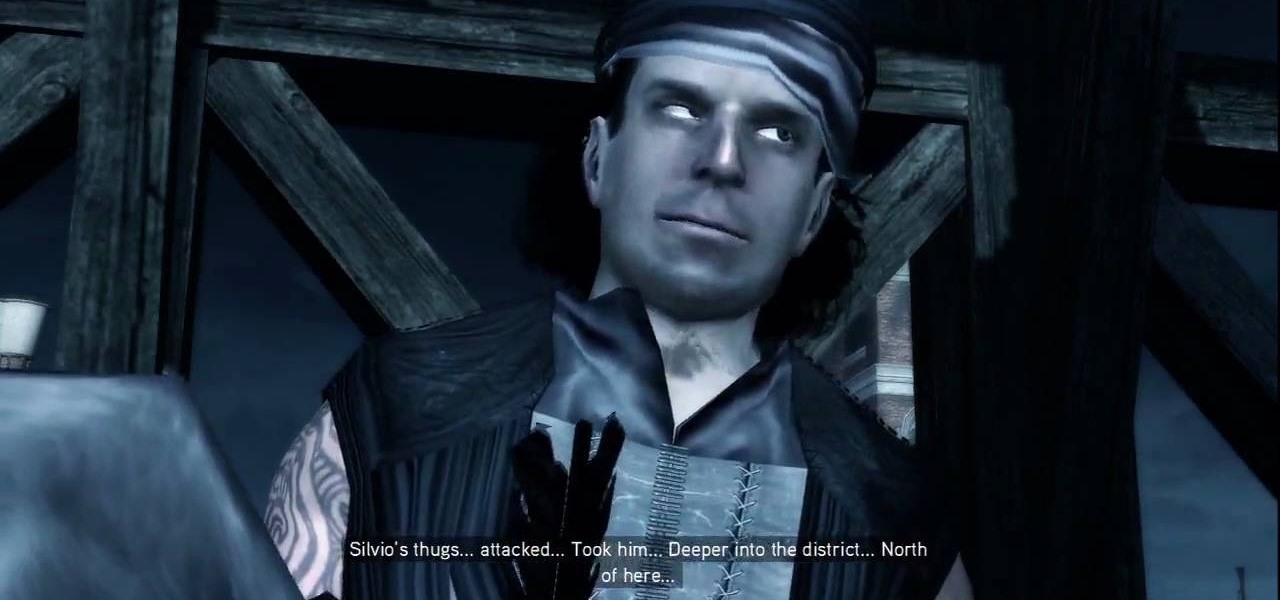
Caged Fighter: Make your way across town and you'll find an injured soldier on the rooftops that gives you some new information on finding Bartolomeo, who should in turn help you with Silvio. You get a large green area added to your map, but note that it's overlapped by a restricted area. Expect trouble.
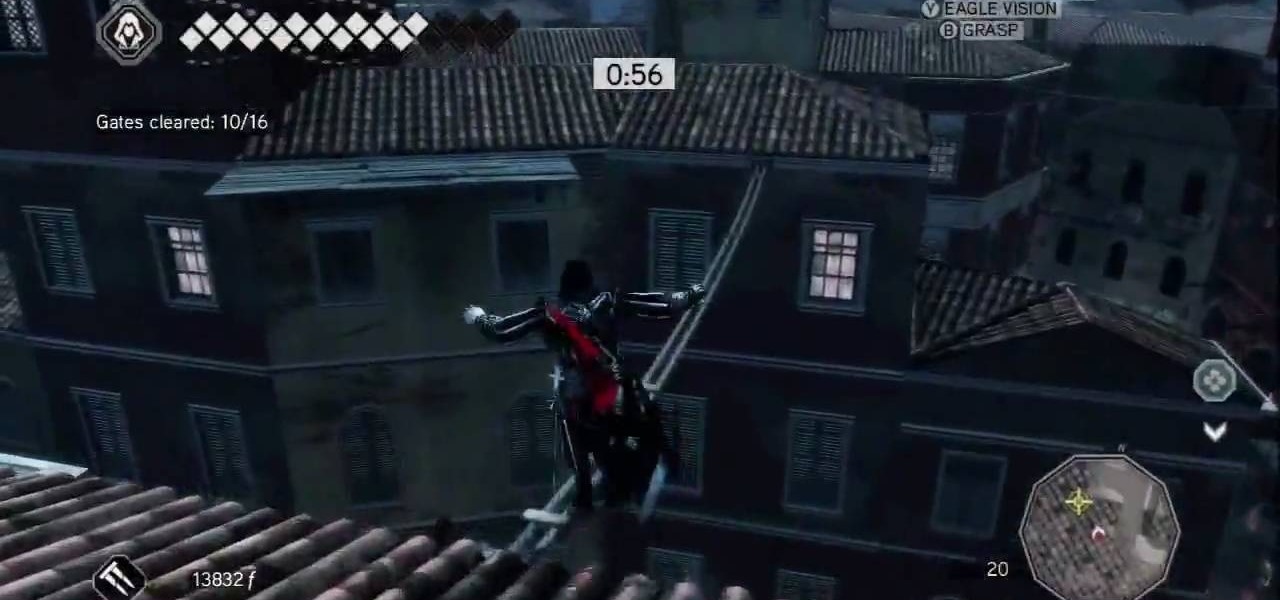
And They're Off: Time's crucial in this missions, so be careful. You've got a limited amount of time to complete this fairly challenging obstacle course. A series of waypoint show up one after the other, and you've got to run through all sixteen of them, quickly. The first four are on ground level, so you don't waste time climbing any buildings. The fifth waypoint will start you on an ascent up the side of a building, and from then on you can expect next bunch to require some careful platform...
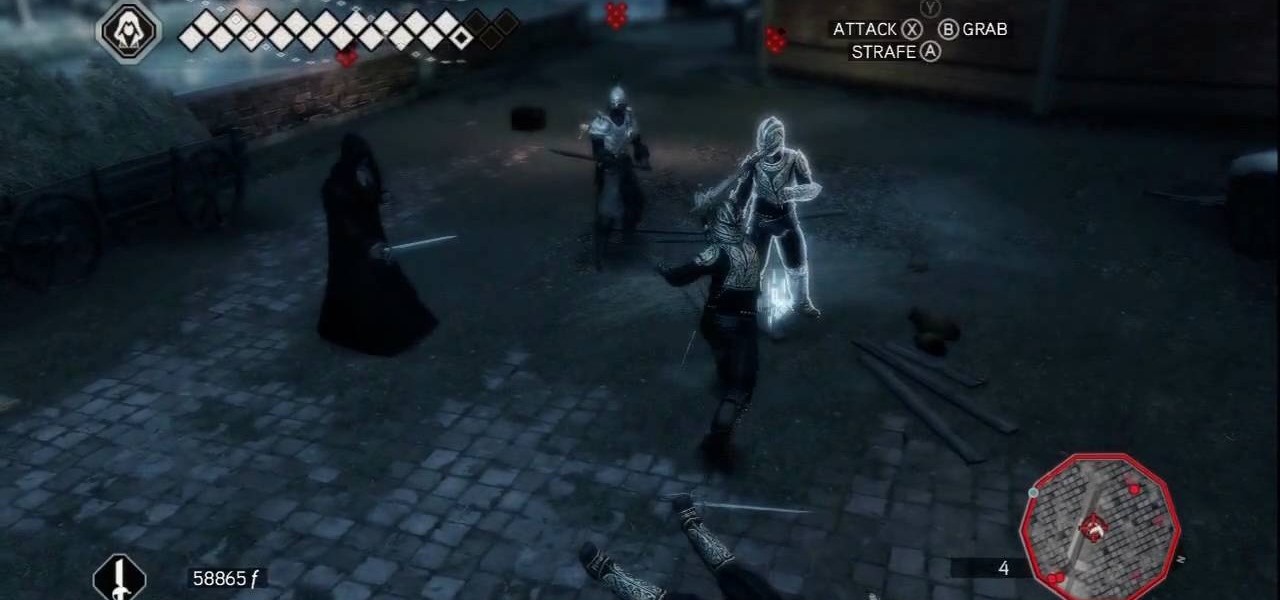
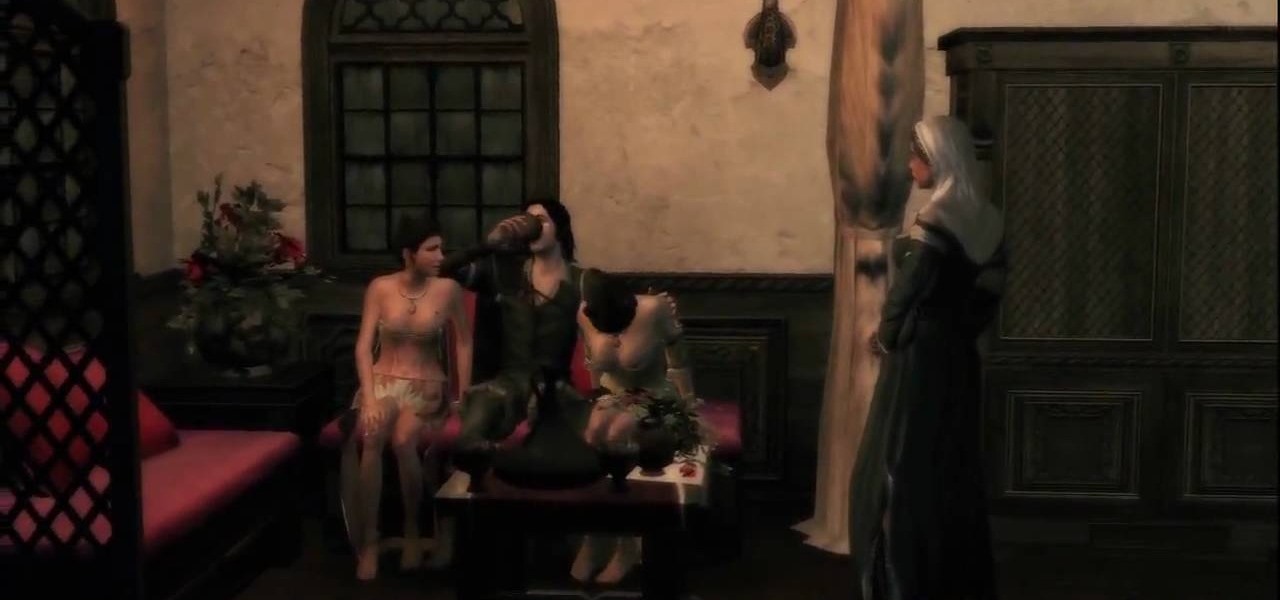
Damsels in Distress: Everybody likes rescuing a helpless woman, or multiple helpless women. You'll find Antonio and company in the Dorsoduro district to the south. Talk to him and your conversation is interrupted by a murder—that's right, murder! After the cut scene, you need to kill the murderer, who's marked on your map and doesn't move. Make your way toward the murderer and you'll be stopped as he threatens to kill another courtesan. Lock onto him and equip your pistol. Charge the shot ful...
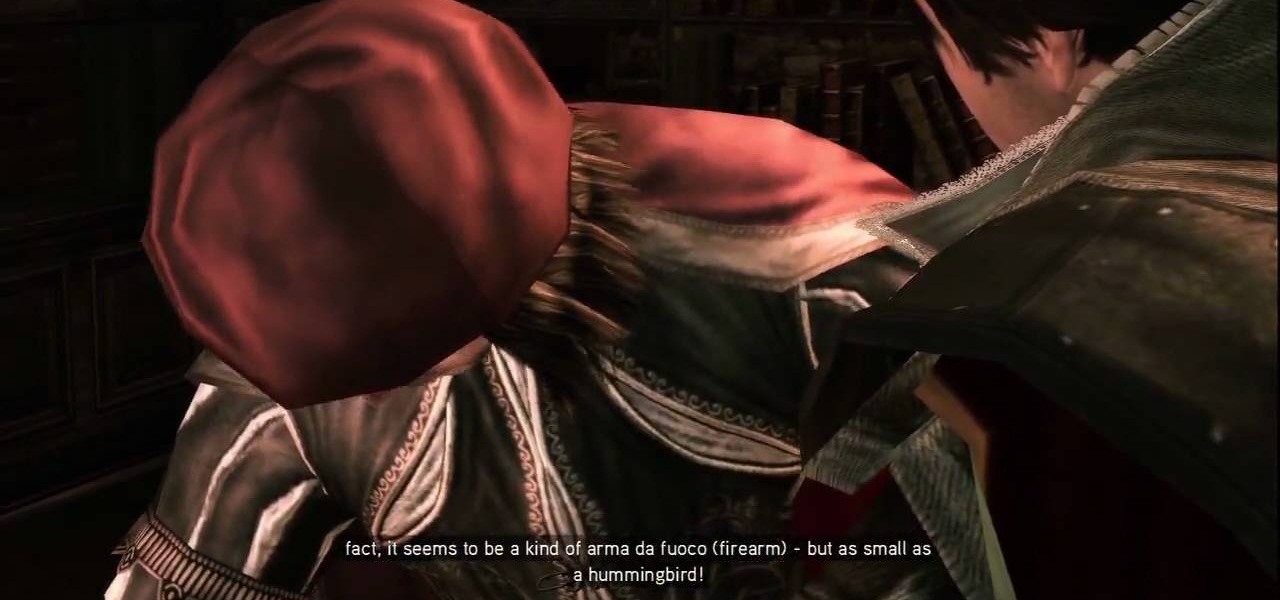
Knowledge Is Power: But can power be knowledge, too? Pay a visit to Leonardo and he'll cook up a new weapon for you based on a mystery codex. After the cut scene, move out to the yellow map marker and you'll get some directions on how to use your new pistol. Lock onto the three dummies across the river and shoot 'em. Holding down the fire button builds up your accuracy, making it possible to hit the distant targets. When all three targets are shot, return to Leonardo to complete the mission. ...
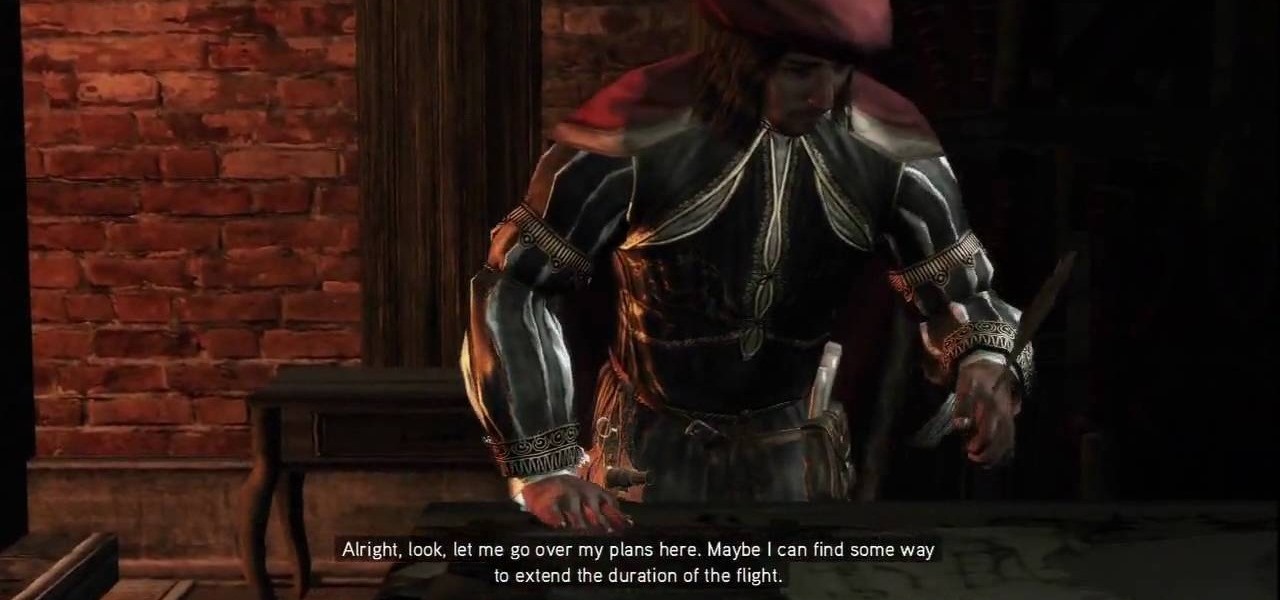
Nothing Ventured, Nothing Gained: But everything is on the tightrope. Find Leonardo's new shop in Venice and pay him a visit. He and Ezio move to a rooftop to test out Leo's rad flying machine. As the cut scene ends, you get to play with the flight controls a bit. You don't really have to do anything—in fact, we crashed into the first building we came to (...the controls are inverted...). After you've landed or crashed, the mission is over. For more info, watch the whole gameplay.
Birds of a Feather: As you move on from mission to mission, things get harder. Trigger this mission in the center of town. A couple of conspirators meet up and begin walking away from you. You need to trail them, but obviously you don't want to rouse their suspicion. Stay close enough that they never leave your line of sight, but try not to run or do anything else high profile. If a nearby guard bumps into you and gives you crap, turn the other cheek. If you get into a fight, you stand a good...