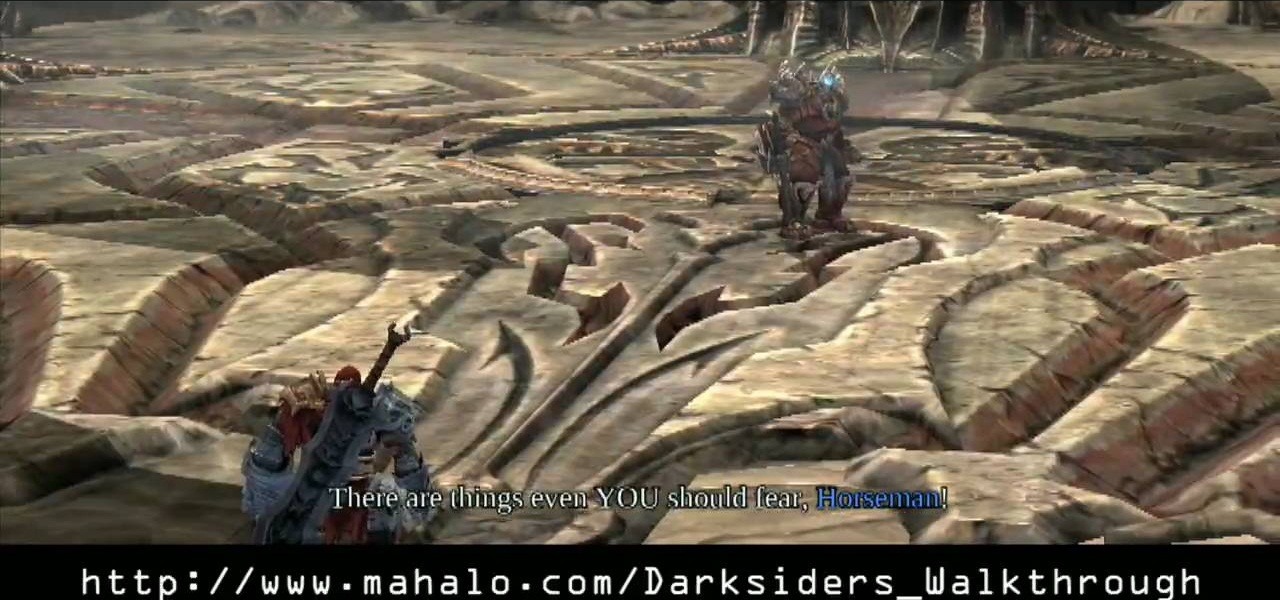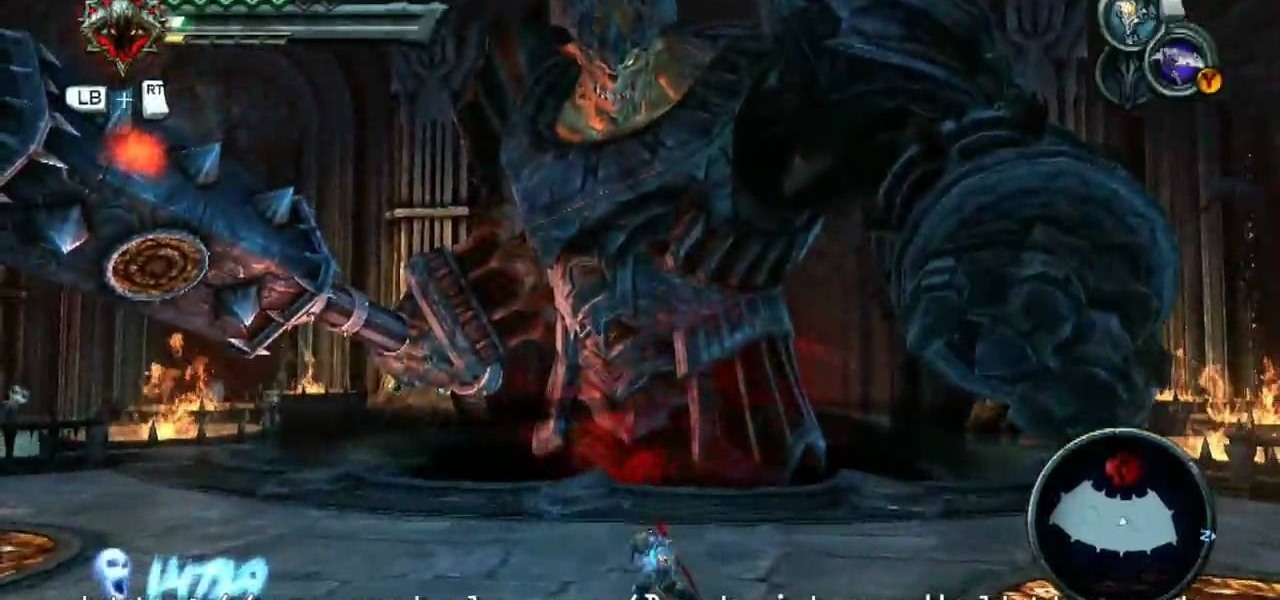
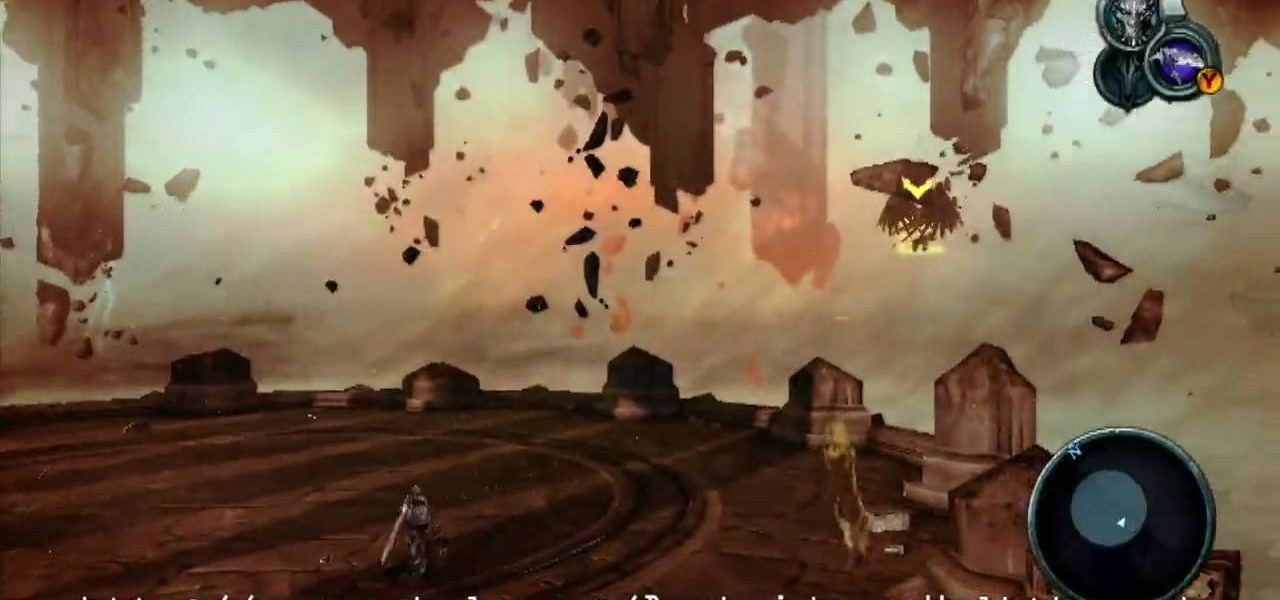
Fighting Straga is the main boss fight In the Xbox 360 game Darksiders - The Black Throne. Can you beat him? Quickly shoot a portal onto one of the floor stations in front of Straga. Watch his mace carefully and you'll see another orange portal point on the side of it. Shoot a second portal onto the mace then wait for Straga to raise the mace back behind his head. When he does this, drop through the portal you made on the ground so your pop out of the portal on his mace and land on the platfo...
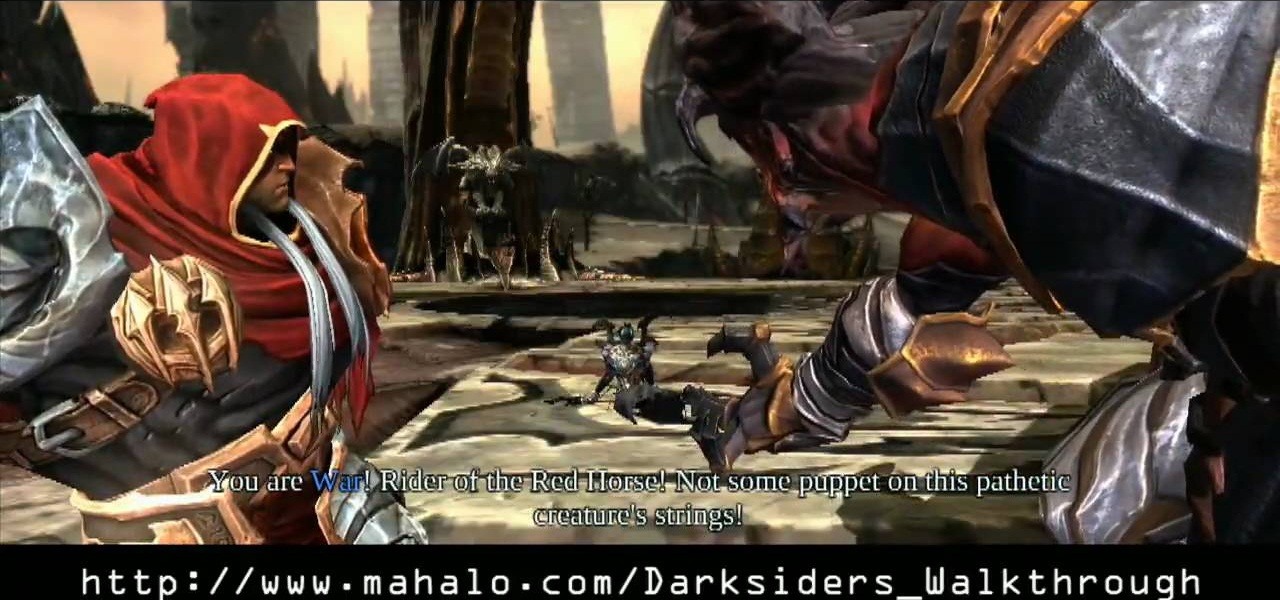
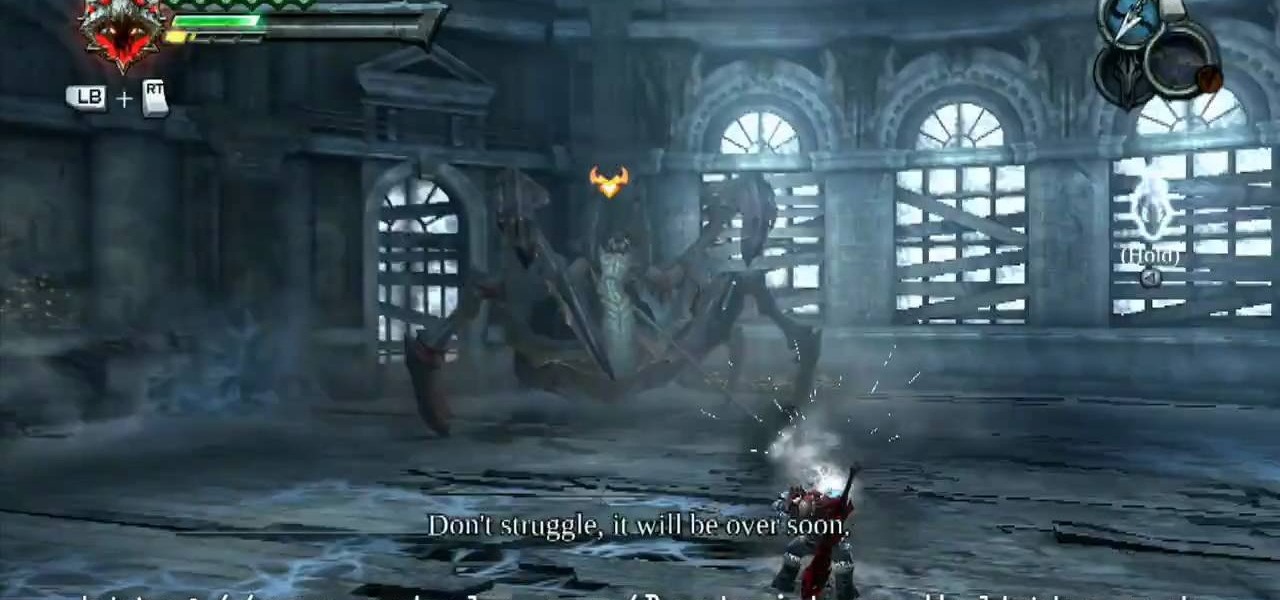
Are you ready for the last boss fight in the Xbox 360 game Darksiders? Once you fight Abaddon in the Destroyer, you win, unless you lose. You'll now have to face Abaddon in his "normal" form. He is a powerful swordsman so you'll want to take the defensive route as he can block most of your basic attacks. Instead of attacking him, be patient and stand near him. You'll need to perform a Block Counter but simple tapping the Dash button (without hitting the directional stick) the moment before Ab...
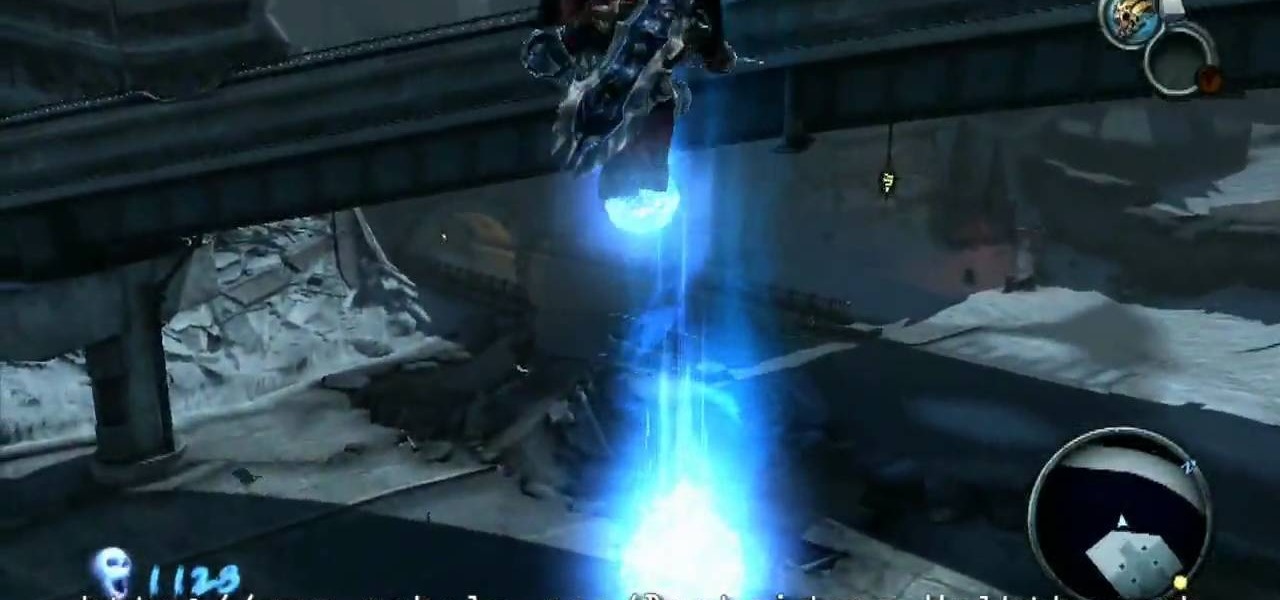
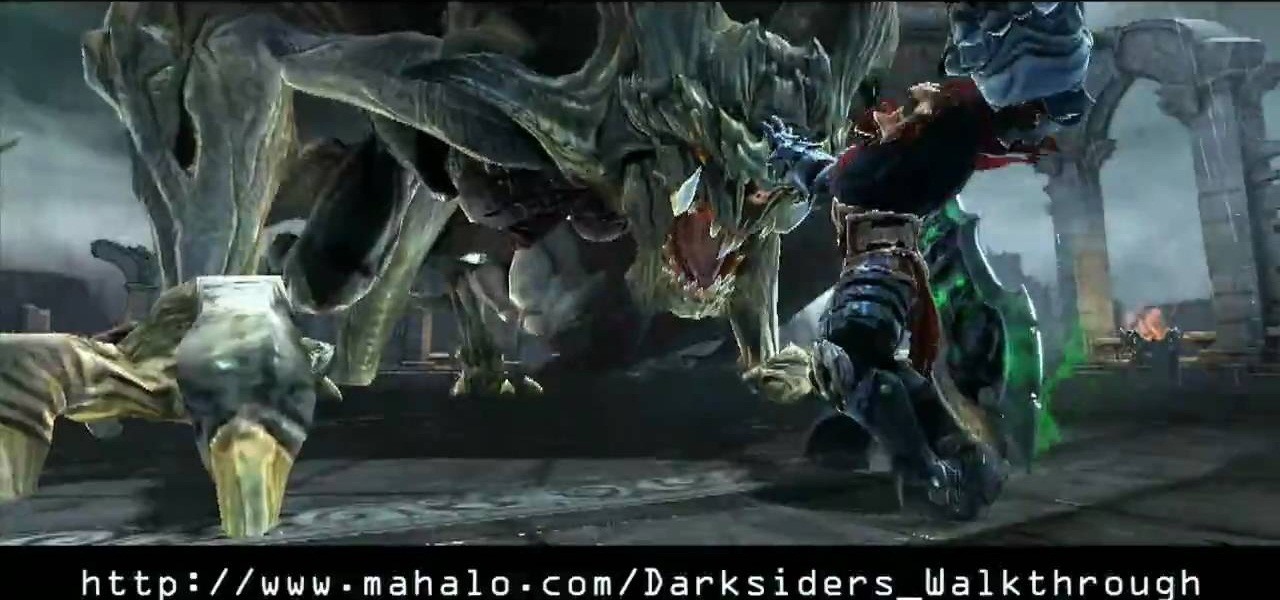
If you can't beat Silitha in the Xbox 360 video game Darksiders, then perhaps you should check out this video on accomplishing just that. Silitha is a gigantic and ugly spider-like creature that dwarfs War. She can teleport around the arena and likes to appear directly above War and attempt to crush him beneath her. Silitha will appear around the edge of the room and taunt War. Get just about past the middle of the room towards her then use your Abyssal Chain to pull yourself directly at her ...
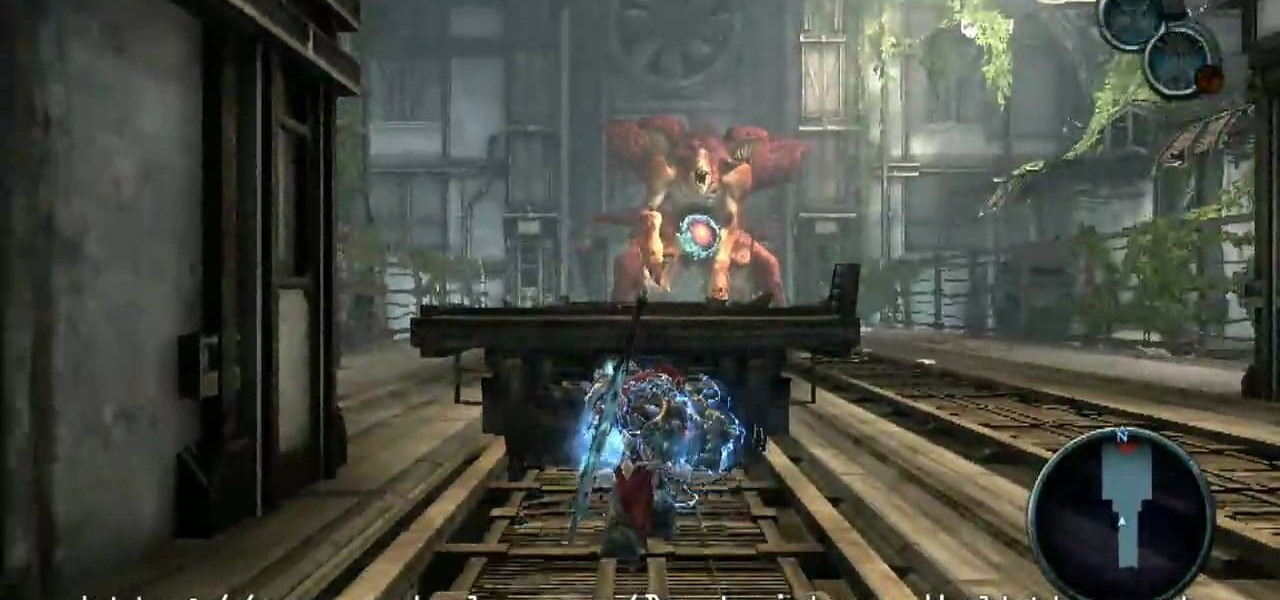
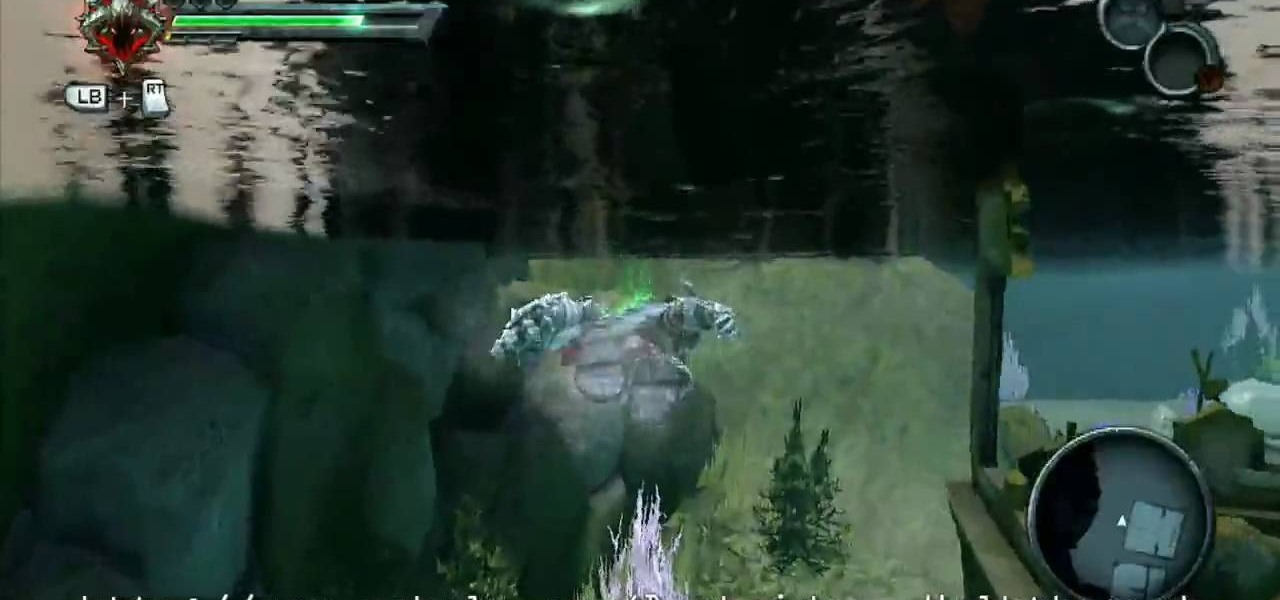
Prepare for the boss fight against Griever in the Hollows on the Xbox 360 game Darksiders. The idea here is for you to punch the flatbed train car into the Griever to topple the beast so you can reach his weak spot, that blue spot on it's belly. The problem is however, various blue crystals block the flatbed's tracks so you are unable to move it. As soon as the battle begins, you're goal is to clear the tracks in front of the flatbed of crystals. Run towards the Griever and begin destroying t...

You need to give the Griever's heart to Samuel in this level in the Xbox 360 game Darksiders, The Hollows - Griever. The Beholder door will lead you to a long tunnel where a massive creature called the Torture Coil likes to nab helpless souls who pass by with its giant tentacles. Push the subway car up the track in front of you and the creature will grab the car instead of you. This will clog its hole so you can safely pass by. Head through the hole in the wall at the end of the tunnel. Follo...
Get ready for the boss fight of your lifetime in the Xbox 360 game Darksiders. In the boss fight in Twilight Cathedral, spar against Tiamat. When you reach the bat queen Tiamat she will take offf into the air immediately. Quickly dash to the Inert Bomb Growth around the edge of the arena closest to the flying and then throw it at Tiamat. Now you need to use your Crossblade and target a flaming urn then the bomb you stuck onto Tiamat to light the bomb on fire. Once you detonate the bomb on her...

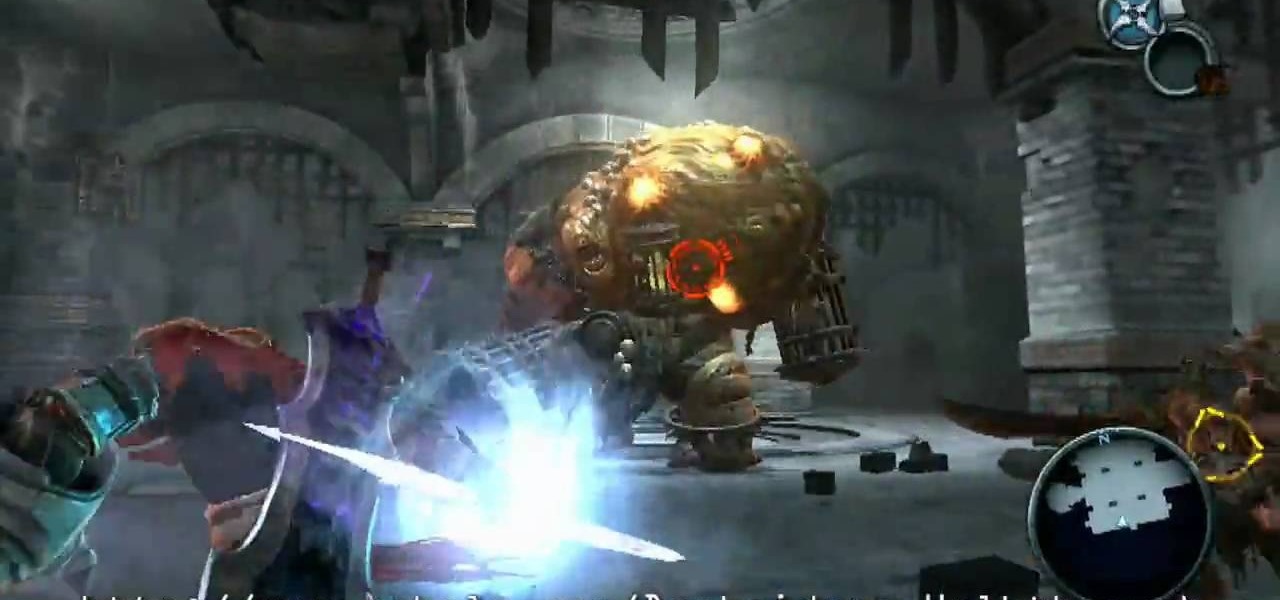
Keep your crossblade near for this level of the Xbox 360 game Darksiders, In the sub-boss fight in Twilight Cathedral - The Jailor, make sure to target the sores. This grotesque monstrosity towers over War. It is almost as wide as it is tall. You'll want to keep your distance from the Jailer as it has a powerful attack in which it slams the cage it carries onto the ground. You'll want to spend most of you time here with the monster targeted while you backpedal away from it. The biggest annoya...
Make sure to detonate the bomb growth in this level for the Xbox 360 game Darksiders, section Twilight Cathedral - Revisit Scalding Gallow. Upon defeating Tiamat, War will find himself back out front of the cathedral. Go speak to Vulgrim to learn about Serpent Holes. These allow you to "fast travel" back to previously visited places, as long as you've found Vulgrim in these places. Make you way back to the Scalding Gallow and go talk to Samael who sits on a throne in the middle area where you...
Prepare yourself for the Xbox 360 game Darksiders. On the Twilight Cathedral level, there's the Main Floor, Catacombs, Raising Columns Chamber, Rotating Bridge Room, The Jailer, Tiamat, and the Revisit of Scalding Gallow. Outside the cathedral, open the Soul Chest on the right then visit Vulgrim who's to the right of the entrance. Stock up on abilities of your choosing and then make your way into the Twilight Cathedral. For more info, watch the whole gameplay.
You must complete four shadow arena challenges in this level of the Xbox 360 game Darksiders. In the Choking Grounds, there's the Speed Brawl, Aerial Brawl, Venomous, and the Gory End. Once you enter the Chocking Grounds, head straight ahead and into the gazebo-like structure to find Vulgrim. Make some purchases and then set out to venture around this new area. Explore the cemetery around Vulgrim and destroy 7 of the cross tombstones you find here. Now head back by the entrance to these groun...
Face off against Hellion in this level of the Xbox 360 game Darksiders. In the Broken Stair, you need to find the soul chest and the beholder's key. Upon exiting the Choking Grounds tunnel you'll find yourself back out in the streets of the Broken Stair area. Head up the street and look for the pit along the right side. Drop into it and you'll find an Artifact at the edge of a cliff within this chasm. Head back up to street level and make your way towards the building to the southeast corner ...
There's four shadow arena fights in this level of the Xbox 360 game Darksiders. In the Drowned Pass, there's the Counter Killer, Wrath of War, World of Pain, and Defender. The Drowned Pass features a deep lake in the middle of the area, a path that runs about the outer edge, and various hidden nooks and caves (some which can only be reached by swimming under water). Follow the path to the left. As you proceed along this path, keep an eye out for an opening along the right side. This will lead...
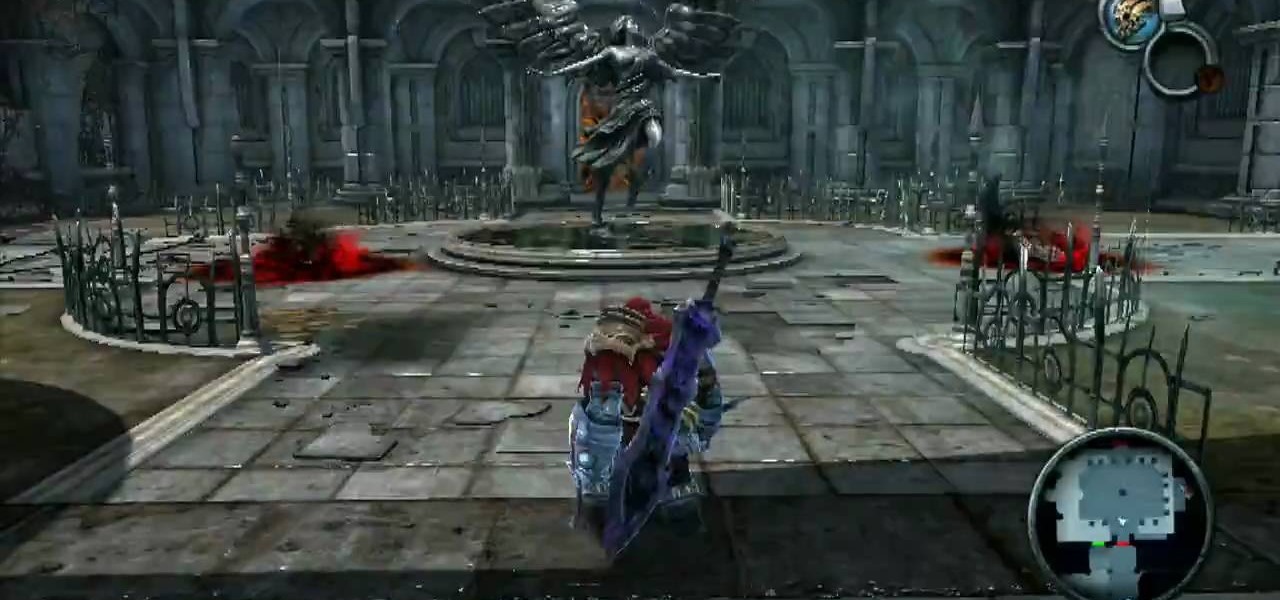
Get ready to battle Uriel in the Xbox 360 game Darksiders. Uriel is an incredibly quick and powerful Angel. Follow the tunnel to the sewer then take a left. At the end of this straight away, swim down into the hole and through the tunnels below. You'll emerge in another sewer section. Climb the Demonic Growth along the right wall but avoid the glowing orange bits (they explode). Climb to the ledge up above then leap to the cable in the middle then shimmy across it to the far side of the gap. ...
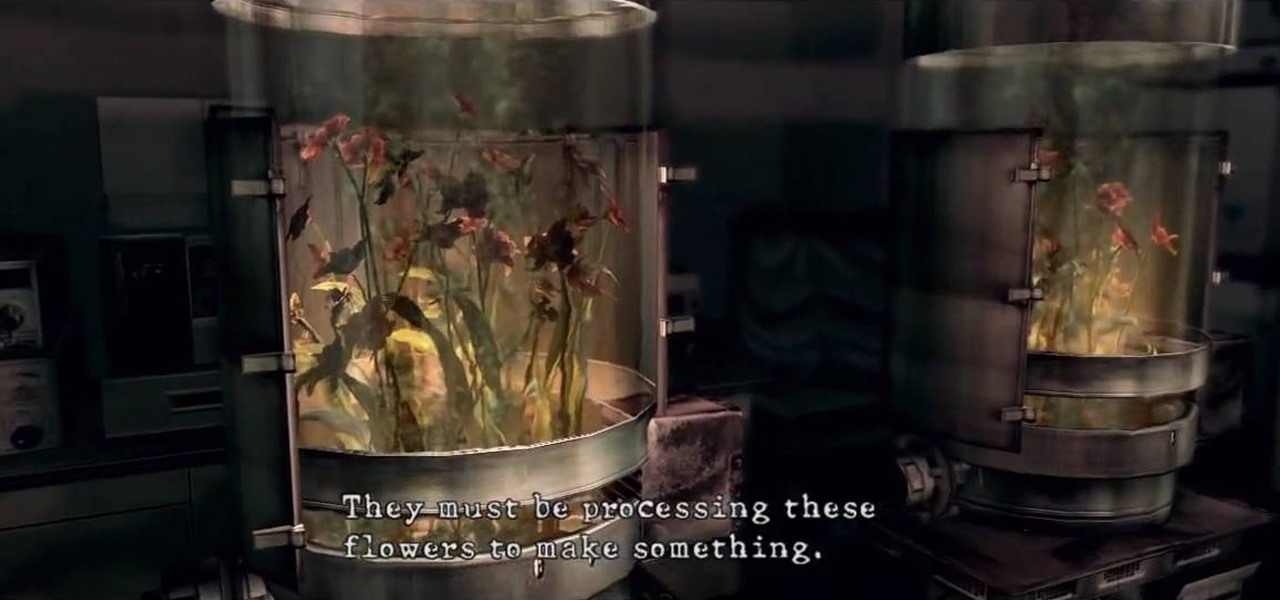
See Licker Beta and the U-8 Boss on this level of RE. See the playthrough for Resident Evil 5: Chapter 5-1, Underground Garden in this three-part video. The ruins appear to be adjacent to a large facility. Perhaps the answers Chris and Sheva seek can be found inside?
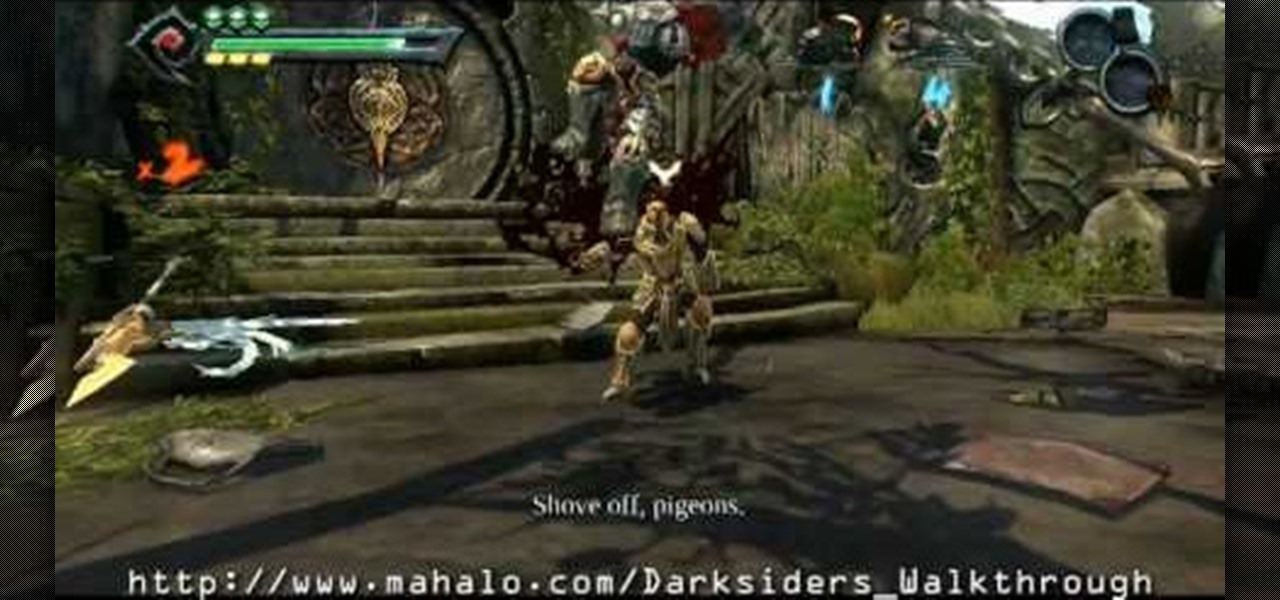
The Phantom General isn't all you have to watch out for in the Xbox 360 game Darksiders. He'll send tons and tons of soldiers in the Scalding Gallow - Phantom General level. The real inconvenience here is that the general will summon Phantom Guard Soldiers into battle with him. When other enemies on in the arena, you main focus should be to take them out as fast as possible. It's hard to concentrate on the general when other enemies surround and hit you in the back. Use the Earthcaller to kee...
See the steps that lead up to the Phantom General in the Xbox 360 game Darksiders. See each and every step involved for the Scalding Gallow level. Once you enter this new area, make your way up the steps to the left to find a Soul Chest on the half demolished second floor. Now step out of this building and into the middle section of this map. In front of you is a long sharp tooth lined walkway. Before venturing to the circular portion in the middle, make your way around to the left. Back here...
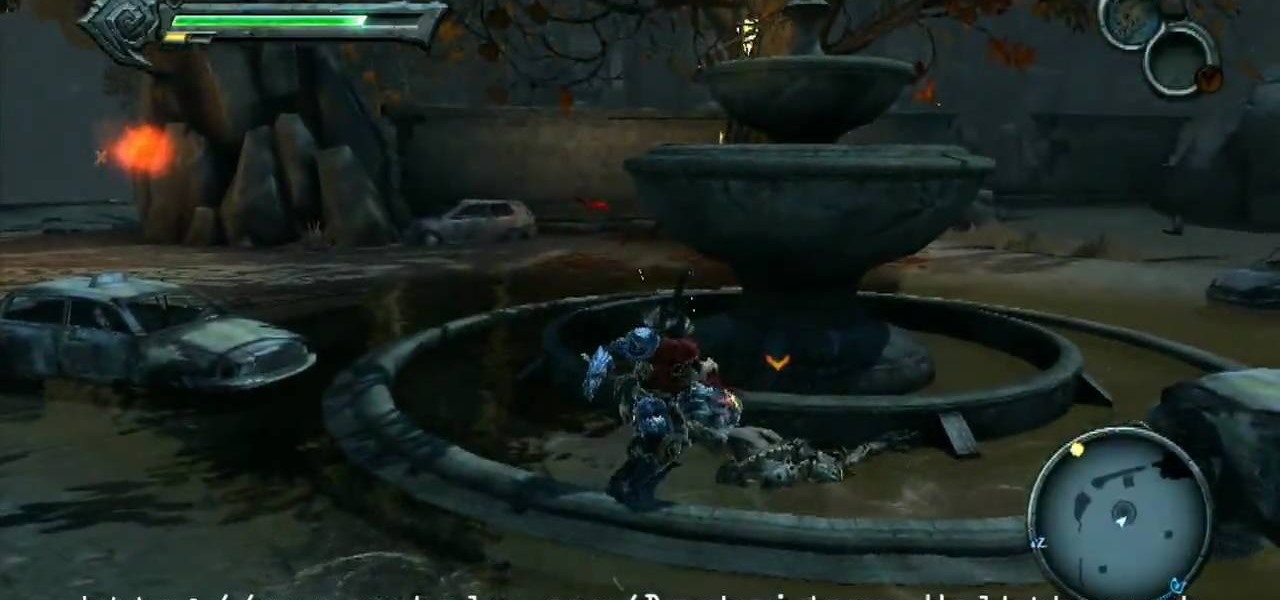
This lengthy walkthrough covers a lot of ground in the Xbox 360 game Darksiders. Learn all you need to know about the Crossroads, including the Seraphim Hotel, the Crossroads, and the Library. War and the Watcher land in the parking garage of a hotel. Smashing cars and other objects can earn you a few extra souls. When you are ready, climb the Demonic Growth to the second floor and explore the far corner to discover a Soul Chest. These blue souls are worth collecting as you will be able to ex...
Souls have their value in the Xbox 360 game Darksiders. Learn all you need to know about the Crossroads level Charred Council. War finds himself before the Charred Council who accuse him or disobeying the laws of the Seven Seals. War feels that he was in the right to intervene and pleads to be sent back to earth to discover how the Destroyer invaded earth without breaking the Seven Seals. Being that War has been stripped of all his powers, the council sees it as a death sentence which is a wo...
Check out this L4D2 walkthrough for some tips on Campaign 5: The Parish - Park. Stock up on items and exit via the door right next to the one you entered. Clear out any zombies and work your way up the large staircase into the park. Be prepared to deal with a likely Crescendo event in the plaza here. Pick a one of the staircases to climb up and enter the park. The restrooms near the entrance of the park usually contain a throwable item or two. For more info, watch the whole gameplay.
This last campaign is the hardest one. In the first part of campaign five, try not to drown and watch this L4D2 walkthrough for some tips on Campaign 5: The Parish - Waterfront. You are dropped off on the waterfront and told to make your way to the bridge. Pick up weapons and medpacks and head up the staircase. Go through the gate and clear a path to the Waterfront Market directly in front of you. There should be an open door for you to walk into. You may encounter a SWAT zombie at this point...
Learn your way around the saccharine and bloody land of the sugar mill in L4D2. See the whole gameplay for Campaign 4: Hard Rain - Sugarmill. Stock up on weapons and head down the stairs to open the door of the safehouse. Clear out any zombies on the street and go across through the open window into the sugar mill. Once in the building, head to the left. There should be an open door leading back outside. For more info, watch the whole gameplay.
Make your way through the deadly plantation in L4D2. See the gameplay for Campaign 3: Swamp Fever - Plantation. Gear up and go outside of the safehouse. It will be light out. Mop up any zombies here and head straight ahead, bearing to the left. You will climb a small hill and see an opening in the fence. Check the sundries building on your left for items. Make your way through the rows of houses here towards the red two-story house at the end. Don't go inside the house, turn left right before...
Having some trouble beating L4D2? No problem, watch this which shows you around and gives tips on Campaign 2: Dark Carnival - Coaster. Restock your gear and head out the door. If you have any pipe bombs or pick up any throughout the level, try and save them for the roller coaster chase sequence at the end. Climb up the stairs and continue forward until you reach the swans at the start of the ride. Turn right, and follow the water pathway forward. You can safely ignore most of the tiny backdro...
Prepare to delve into the world of L4D2 and check out the gameplay for Campaign 1: Dead Center - Streets. Stock up and open the safe house door. You should see a bunch of infected milling about here. Kill them and make your way straight up the hill past the port-o-potties. Turn right at the fence and take the street down. Watch out for zombie attacks from the walls to the left and right of you. They will drop down from above. Duck into the building on the right when you reach the fence at the...
Learn about the L4D2 gameplay for Campaign 1: Dead Center - Atrium. Get the goodies and walk out of the safe house. Turn right and go down the hallway, making another right through the door at the end. You will find yourself back in the mall. Continue on the makeshift walkway, bearing left at the end until you reach an elevator. The blue door across from you is a dead end. For more info, watch the whole gameplay.
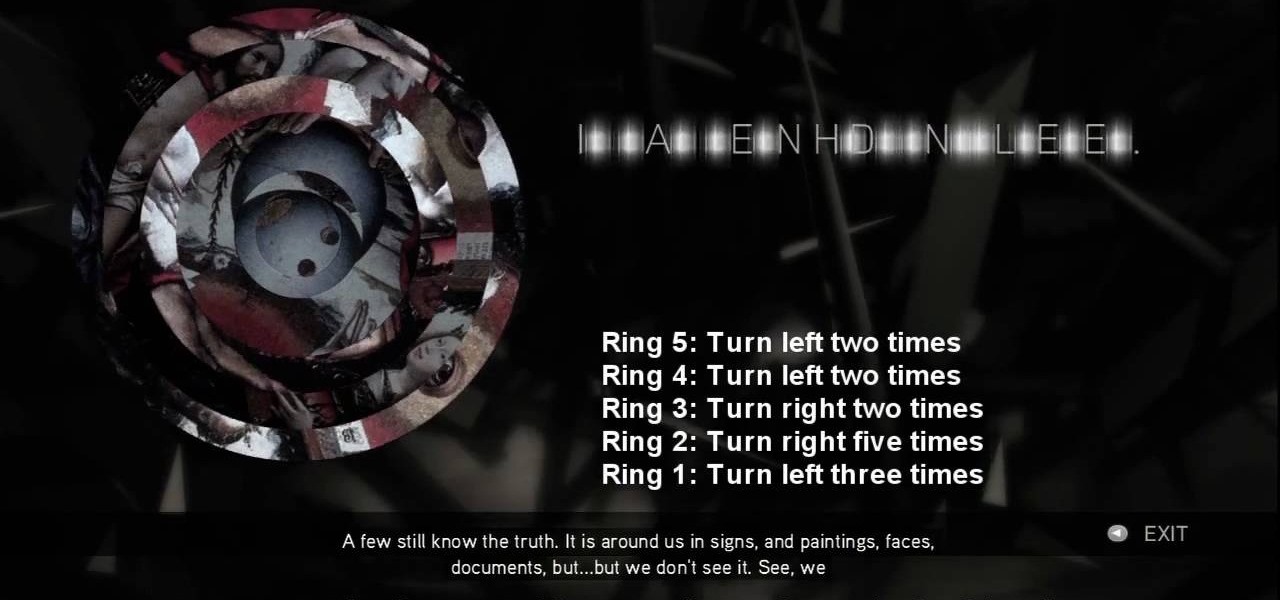
No need to figure out the 20th puzzle, entitled "The Origin of the Species", in Assassin's Creed 2. Here's the answers! Puzzle wheel: Start by turning the fifth ring right ten times, then turn the fourth ring left twice. Then rotate the third (and first) rings right twice, the second ring right five times and the first ring left three times. Image 1: Highlight the eye at the top of the painting. Code wheel puzzle: Ignore the numbers and focus on the Assassin motto: “Nothing is true, everythin...
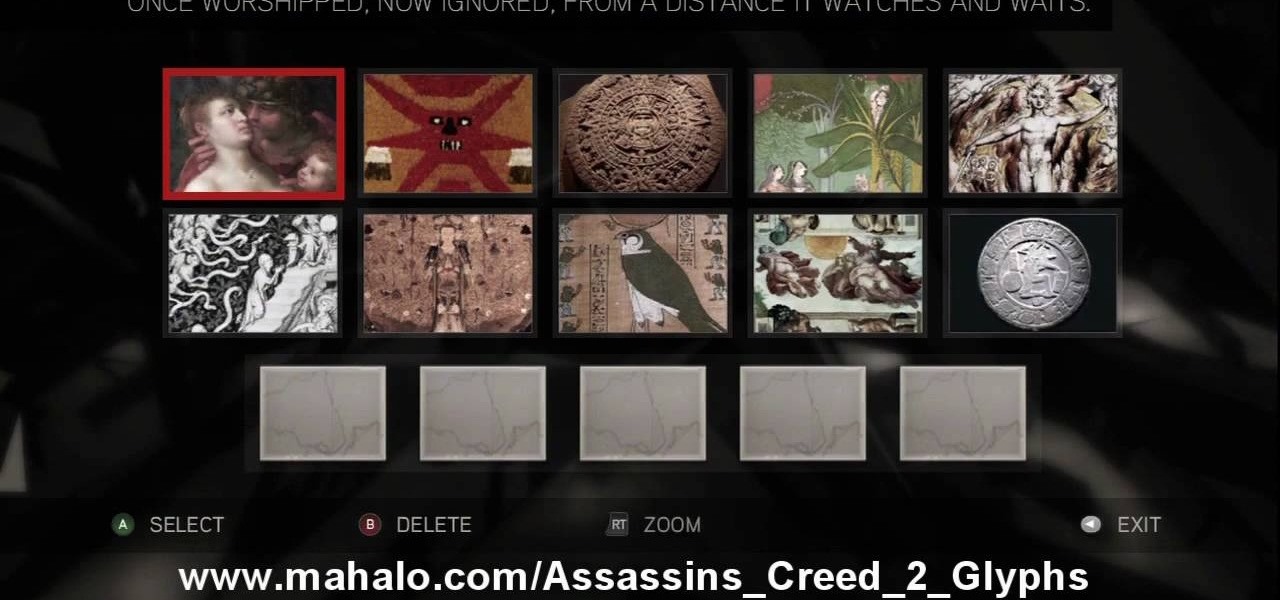
Here's the answers to the 19th puzzle, titled "The Fourth Day", in Assassin's Creed 2. Image set: What used to be worshipped by every primitive culture under the…? That’s right, the sun. Pick the five images that focus on it. Image: Find the tiny image of Earth in the lower-left quadrant of the sun. For more info, watch the whole gameplay.
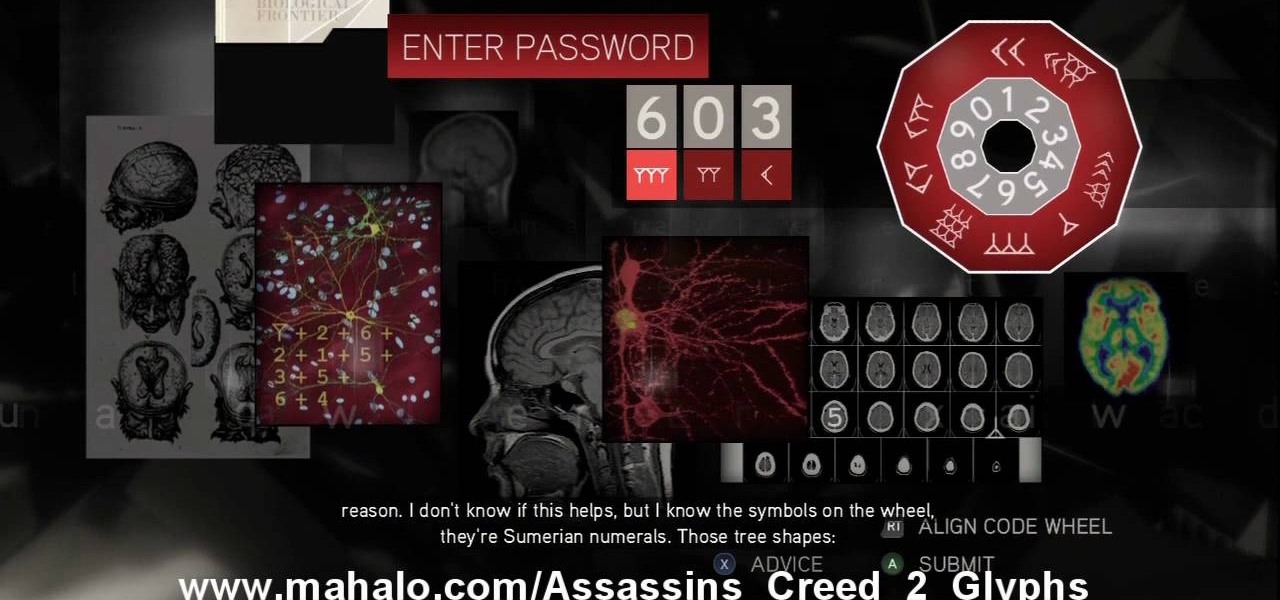
The 18th puzzle is called "Synapses". See how to solve it in Assassin's Creed 2. Code wheel puzzle: Your first clue is to line up 5 with a single tree-looking symbol. The key here is the weird-looking equation on the left, which offers a hint as to the progression of the symbols.
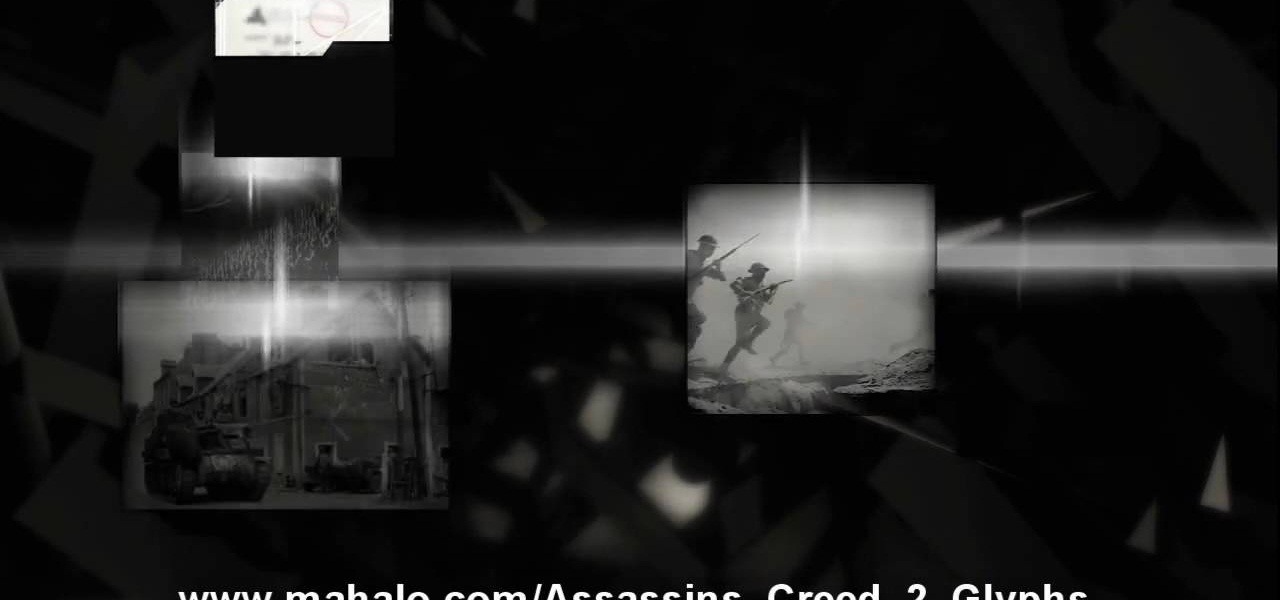
Figure out the 17th puzzle, entitled "The Bunker", in Assassin's Creed 2. Code wheel puzzle: Here’s a tricky one; your clues are “<” and “2,” and the only advice you’ll get from your handlers is that maybe there’s “something we can count” on the strange symbols. In this case that “something” is the number of times each symbol bends sharply. Don’t expect consistency across the wheel on this one; just take a look at what symbols flank the blank spaces and pick a shape with the number of bends t...
This one's pretty easy. Here's the solution to the 16th puzzle, entitled "The Cavalry", in Assassin's Creed 2. Image 1: Just move the cursor to the word “Tunguska.” Image 2: Move the cursor onto the staff and drag it onto Tesla’s photo. For more info, watch the whole gameplay.
Get all of the info on the 15th puzzle, entitled "Guardians", in Assassin's Creed 2. Puzzle wheel: Seemingly every other ring is linked here, so we’ll cut straight to the chase: Turn the third (and fourth) rings right twice, the fifth (and first) right four times, the fourth (and first) right five times, the fifth (and first) left five times and the second left five times. Finally, move the fifth (and second) rings right five times. Image: Another gimme – just move the Assassin logo over the ...
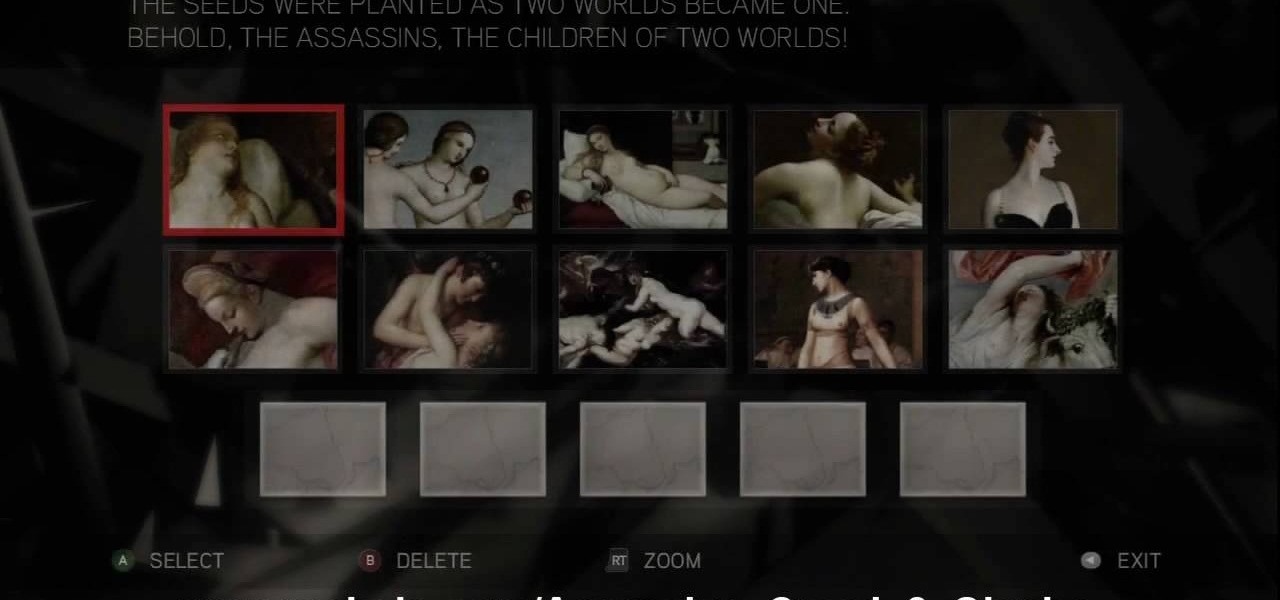
The 14th puzzle, entitled "Bloodlines", isn't really that hard in Assassin's Creed 2. Set 1: Highlight the images that depict women and gods in amorous entanglements (especially if those gods are disguised as animals). For more info, watch the whole gameplay.
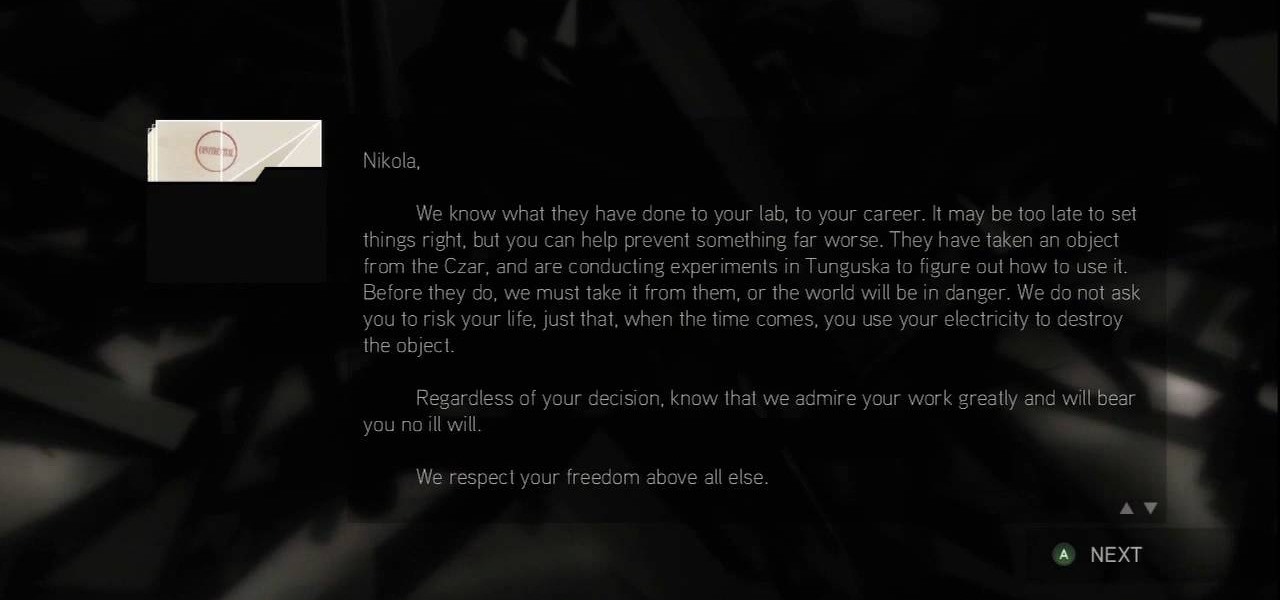
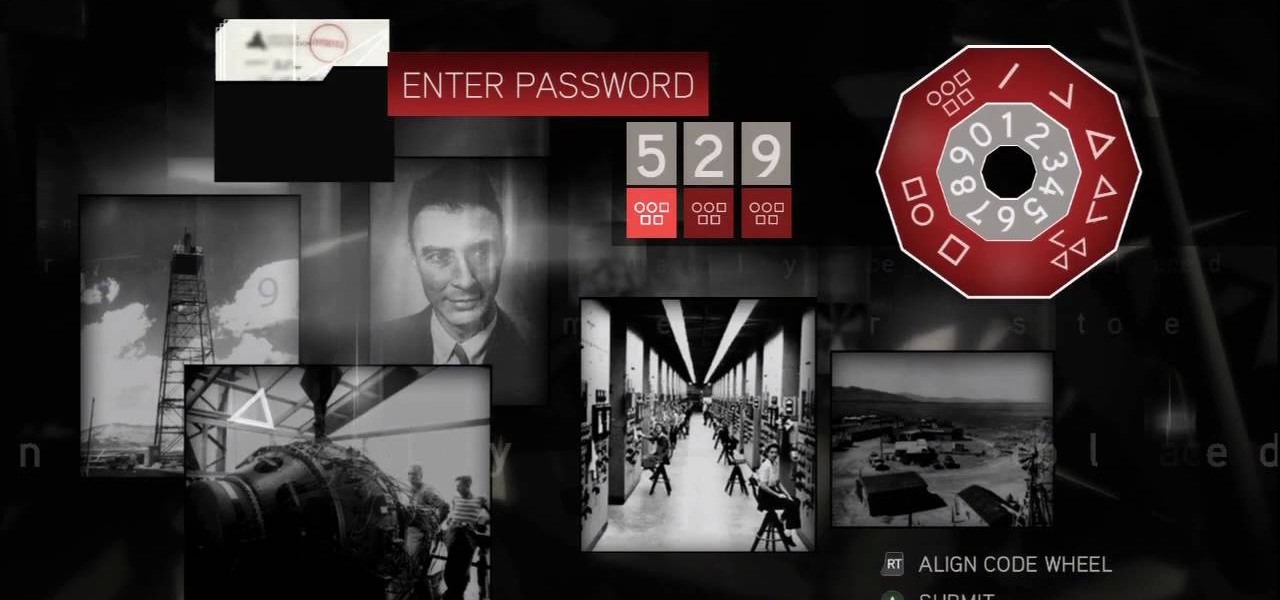
Solve the challenging 13th puzzle, entitled "I Am Become Death, the Destroyer of Worlds", in Assassin's Creed 2. Code wheel puzzle: This one’s even trickier than the last one; starting with the hint that 9 (next to the tower) equals “triangle” (up and to the left from the bomb), you need to figure out which symbols would fill in the blank spots on the wheel, going by the symbols next to them. Image 1: Just hit the button. It’s not hard. Image 2: Use the Geiger-counter clicks to guide you. For...
This is the 12th puzzle, entitled "Titans of Industry", in Assassin's Creed 2. Code wheel puzzle 1: The key here is in the “4=1” on the blueprint at the left of the screen. Line up the red 4 over the gray 1 and input the following code: 917240. Image 1: This one’s the opposite of the light-bulb “puzzle” from before – just move the dollar sign over the bulbs to extinguish them. Image 2: Highlight the glowing ball at the center of the image. Code wheel puzzle 2: Your hints here are the “2” on t...
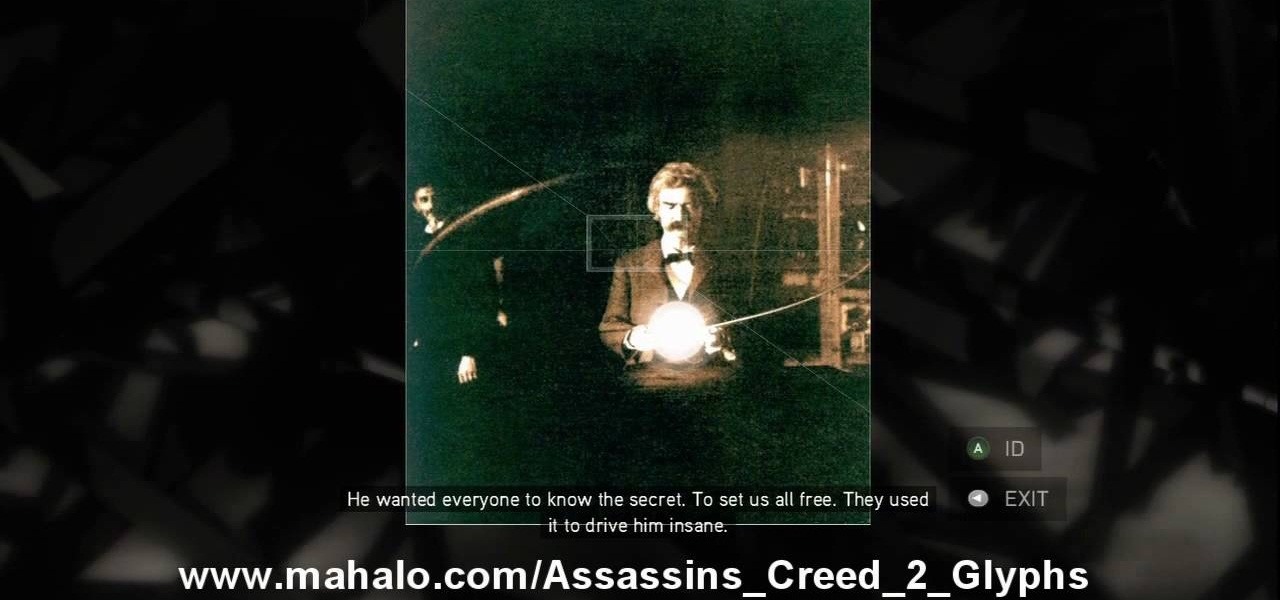
Find out how to solve the 11th puzzle, entitled "The Inventor", in Assassin's Creed 2. Image 1: Just move the lightning bolt over the bulbs to bring them to life. Image 2: Highlight the area just at the base of the tower, between the two windows, to find this hidden image. Image 3: Move the pointer onto Tesla’s lap. For more info, watch the whole gameplay.
Figure out the 10th puzzle, Apollo, in Assassin's Creed 2. Image 1: Highlight the lunar lander just down and to the left of the moon. Puzzle wheel: Another linked-ring rotation puzzle. Your job here is to align all the channels; do this by moving the fifth ring to the left six times, the second ring to the left four times, the fourth ring to the right three times and the third ring to the left five times. Then snap the first ring into place. Image 2: Move the cursor down between the flag and ...
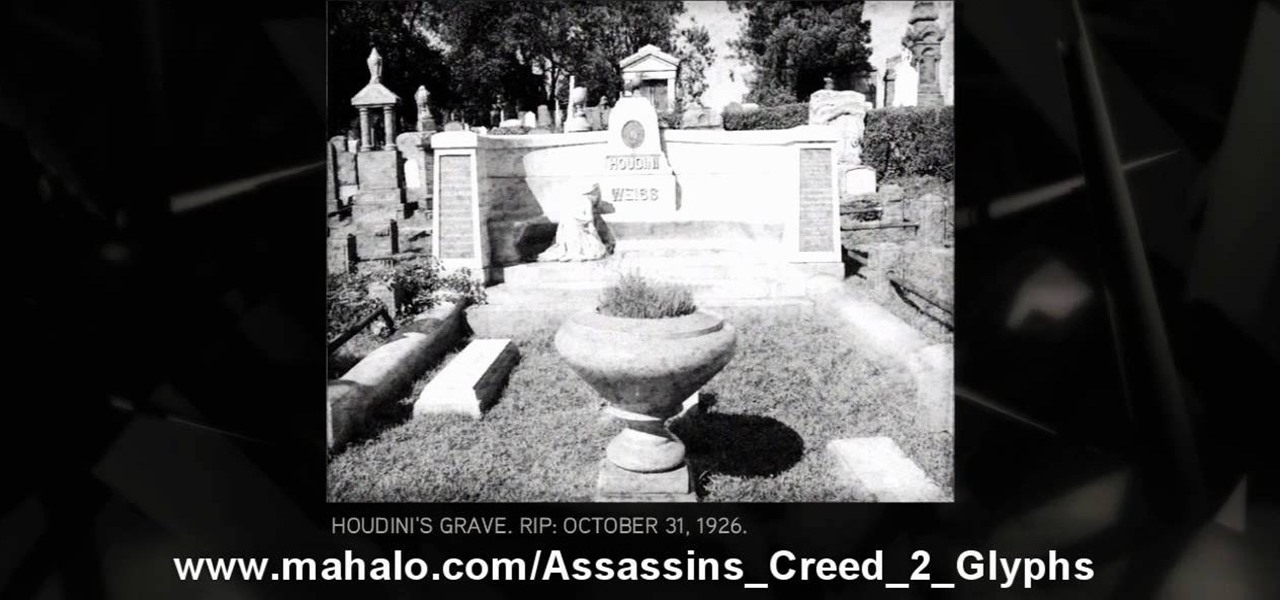
Execute the 9th puzzle, called Hat Trick, in Assassin's Creed 2. Image 1: Move the cursor onto Houdini’s torso. Image 2: Move the cursor over Gandhi’s heart. Code wheel puzzle: Your hint here is pretty obvious; there’s a big, glaring “6=1” next to Oswald’s picture. So move the red wheel so that the 6 is over the gray 1, and plug in the corresponding numbers. For more info, watch the whole gameplay.
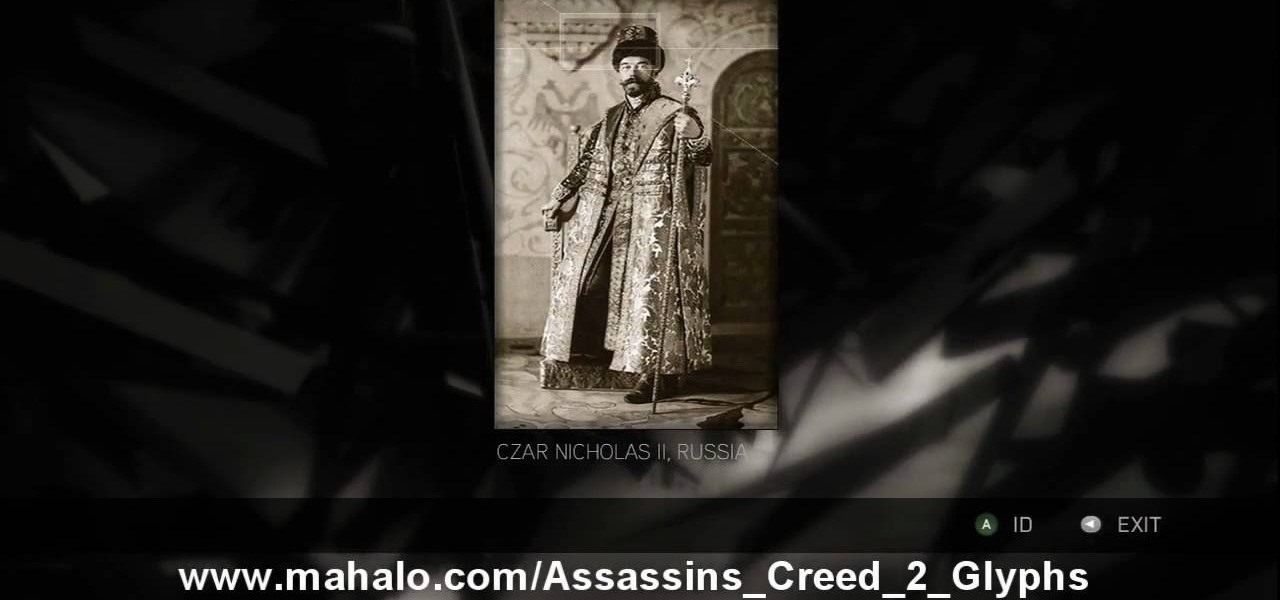
Learn about the 8th puzzle, titled Martyrs, in Assassin's Creed 2. Image 1: Highlight Czar Nicholas’ staff. Image 2: Highlight Joan of Arc’s sword. Image 3: Move the fireball to Joan of Arc’s portrait. Image 4: Move the photo of Rasputin onto Czar Nicholas’ portrait. For more info, watch the whole gameplay.
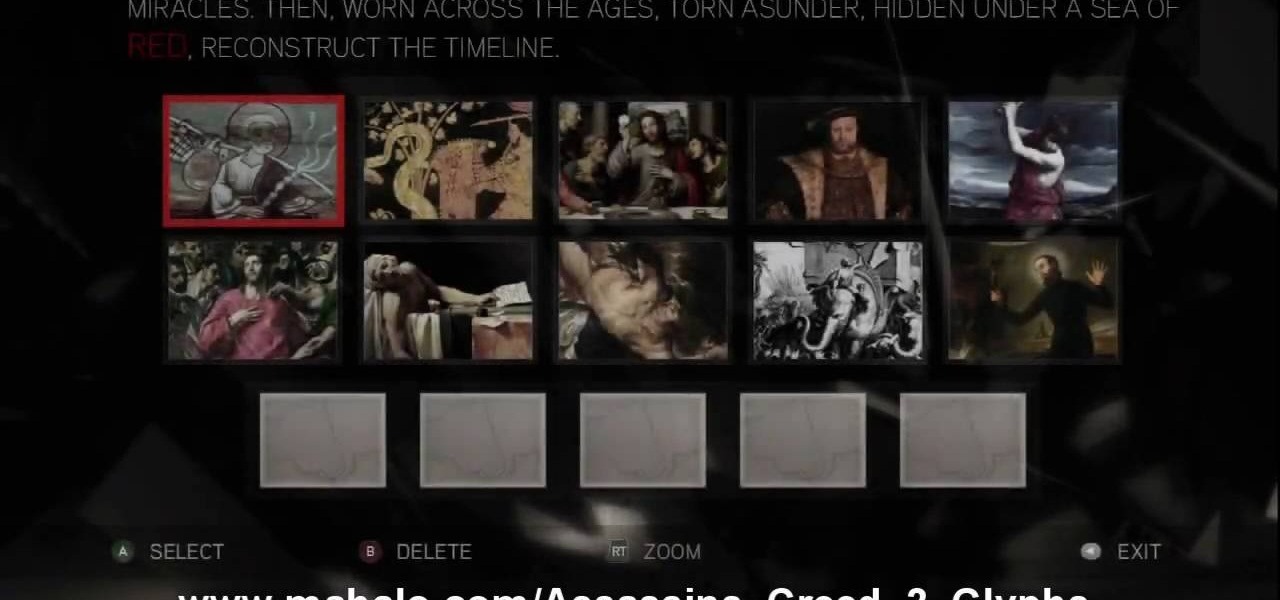
This is about the 7th puzzle in Assassin's Creed 2. Keep on seeking, and you should find… in the first image set, the key word here is "red", so pick the images in which that color shines the brightest. In the second image, highlight the area to the right of Jesus’ hips to reveal a Piece of Eden. For more info, watch the whole gameplay.
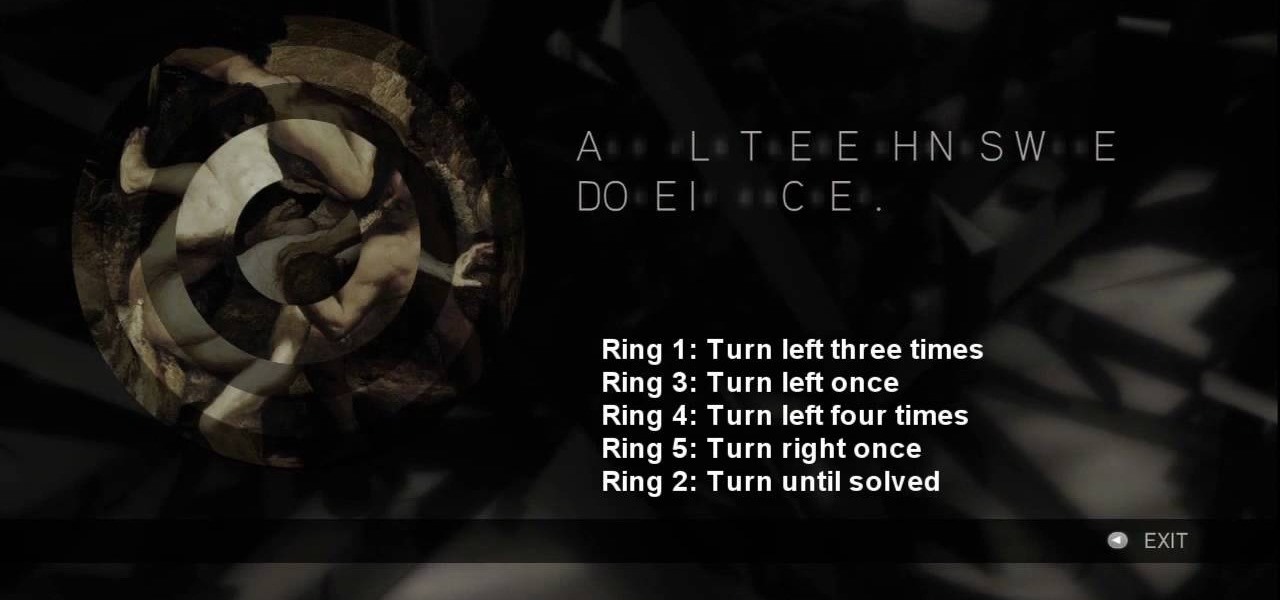
See the key to the sixth puzzle "Brothers" in Assassin's Creed 2. This is where things start to get tricky; while the first batch of ring puzzles were simple, these link some of their rings together, so that you can’t move one without moving another. For more info, watch the whole gameplay.