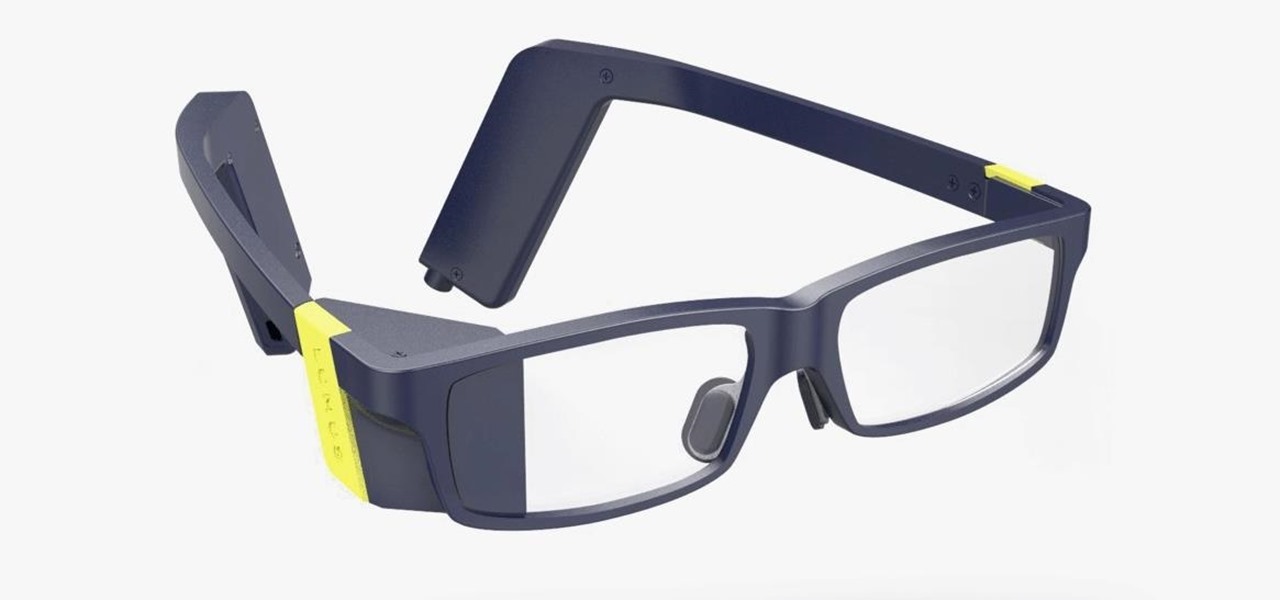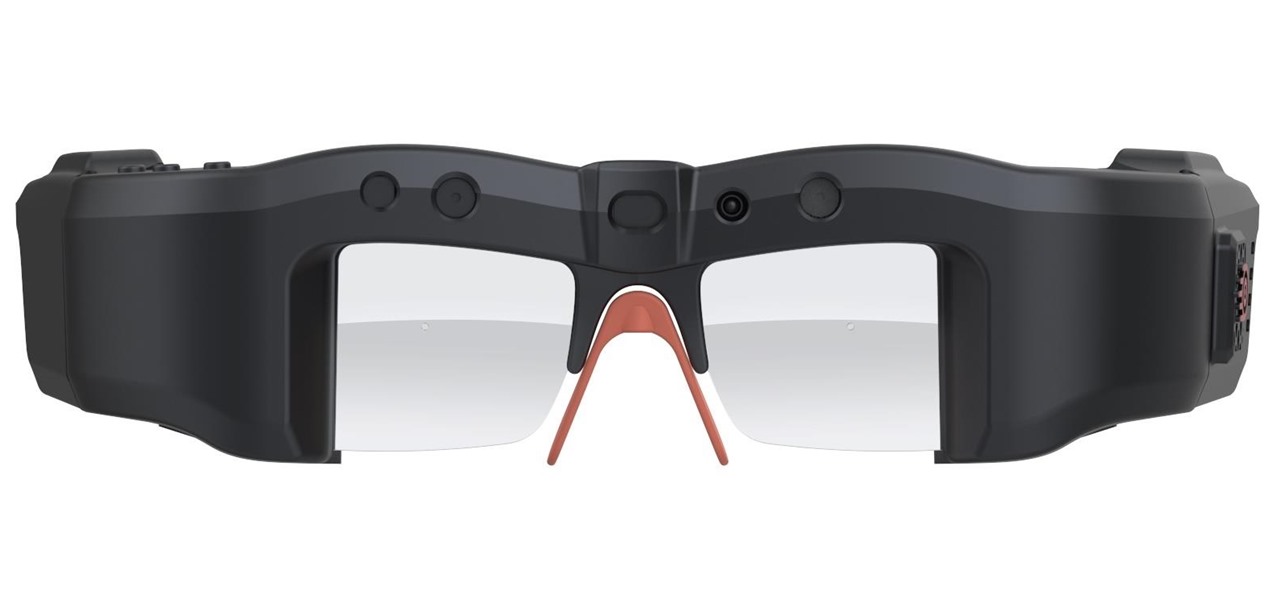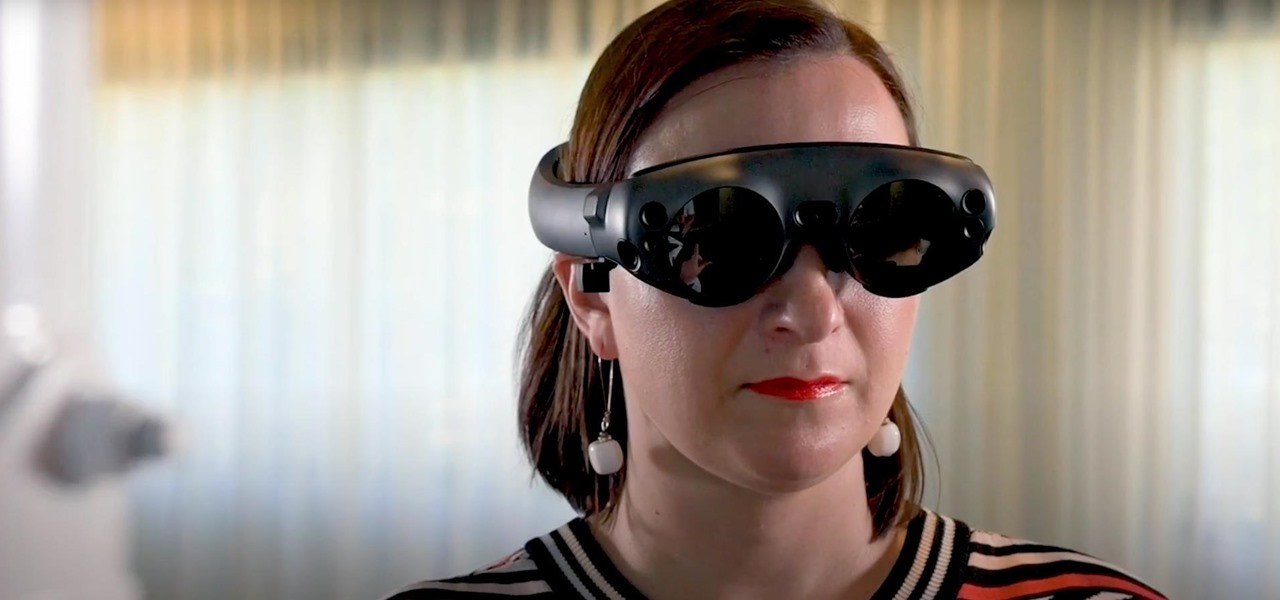
While Apple, Facebook, and Snapchat are still working on their first-generation AR wearables, startup North is already preparing to bring its second-generation smartglasses to the world in 2020.
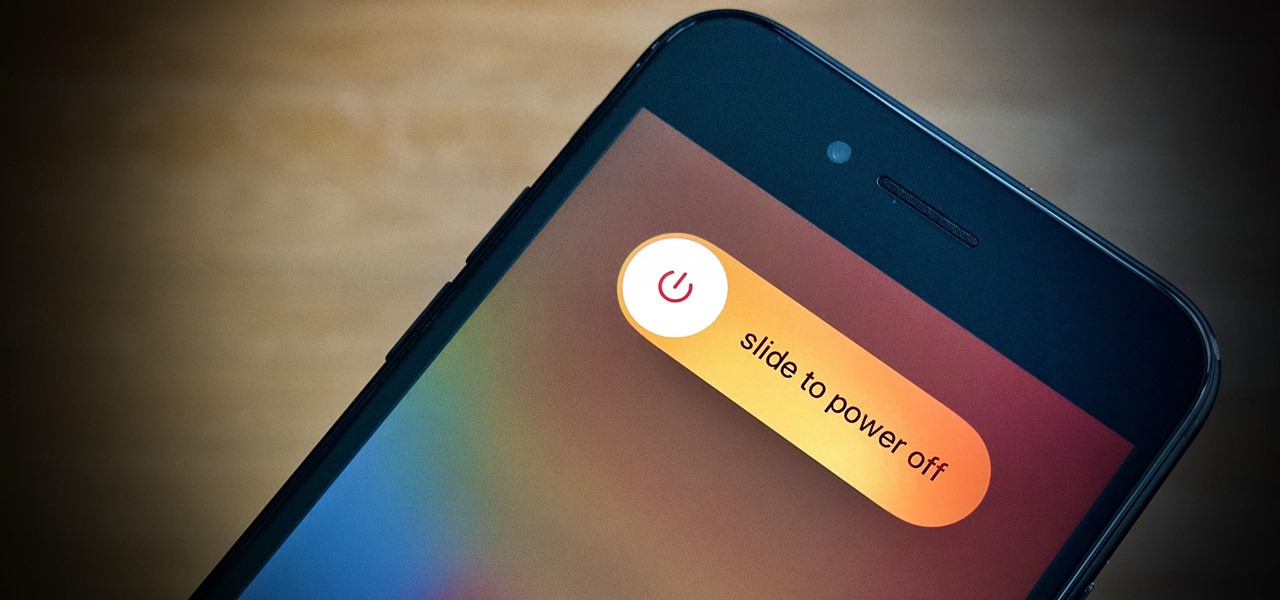
In a departure from Apple's newer iPhone models with Face ID technology, the 2020 iPhone SE goes back to the old days where the Home button ruled, and Touch ID was the biometrics method. But if you've never owned an older iPhone with a Home button, something as simple as shutting down and restarting the iPhone SE could elude you.
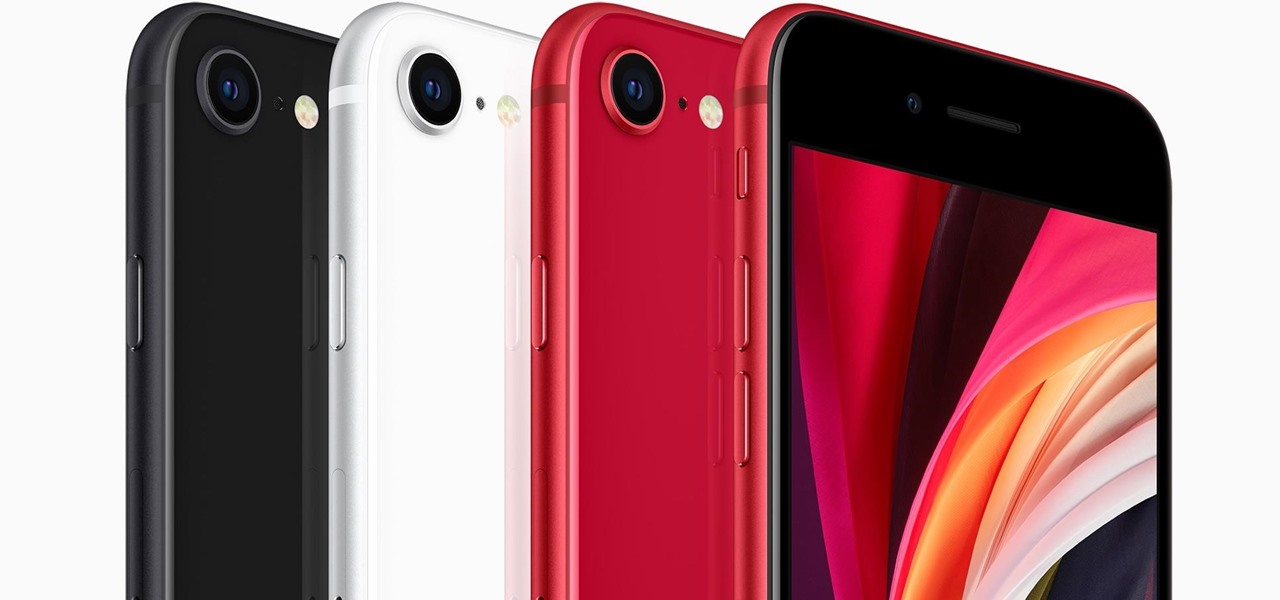
The original iPhone SE was, for some, the perfect iPhone. It brought back the popular one-handed form factor of the iPhone 5 but packed in the internals of the then-new iPhone 6S. Now, the second-generation iPhone SE is here for 2020, but can it live up to what made the first-generation iPhone SE so popular?
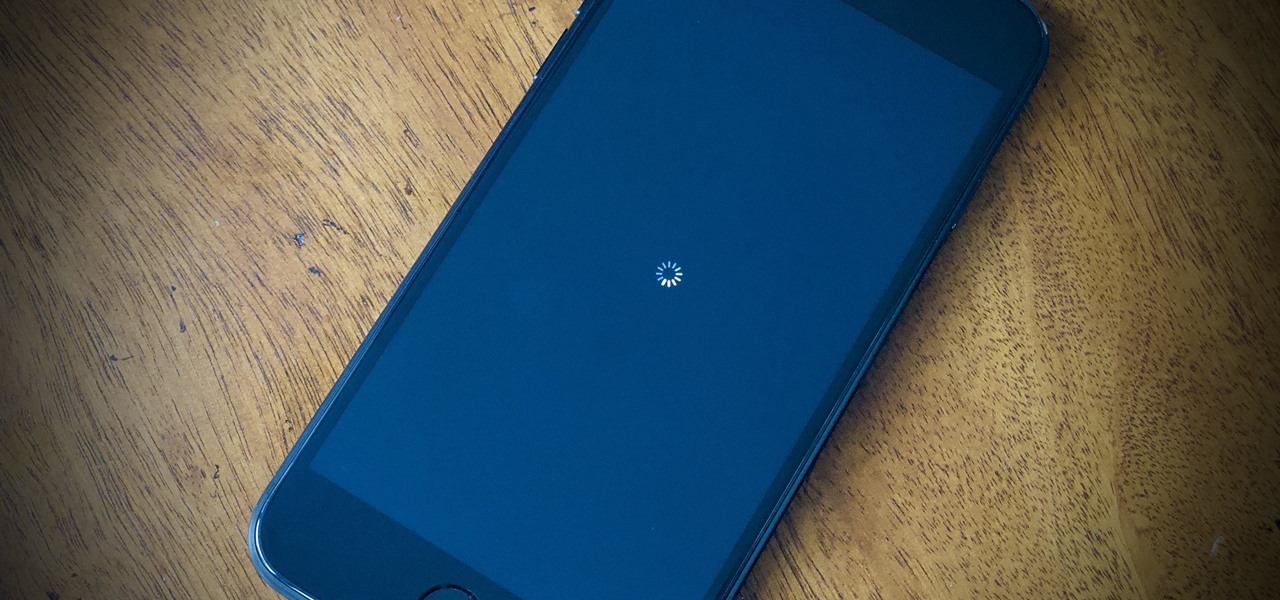
Your brand new iPhone SE packs the latest A13 Bionic chip into the form factor of the iPhone 8. With all that modern tech, you'd expect your iPhone to be unstoppable. That said, no smartphone is perfect, and sometimes, the iPhone SE will give you trouble. If your device is frozen, bugging out, displaying the wrong data, or won't shut down the usual way, you might want to try a force restart.

If you're considering purchasing Apple's new 2020 iPhone SE, which brings many modern components into the compact body of an iPhone 8, you should know what its dust and water resistance rating means. Just how dirty and wet can the iPhone SE get without breaking any functionality?
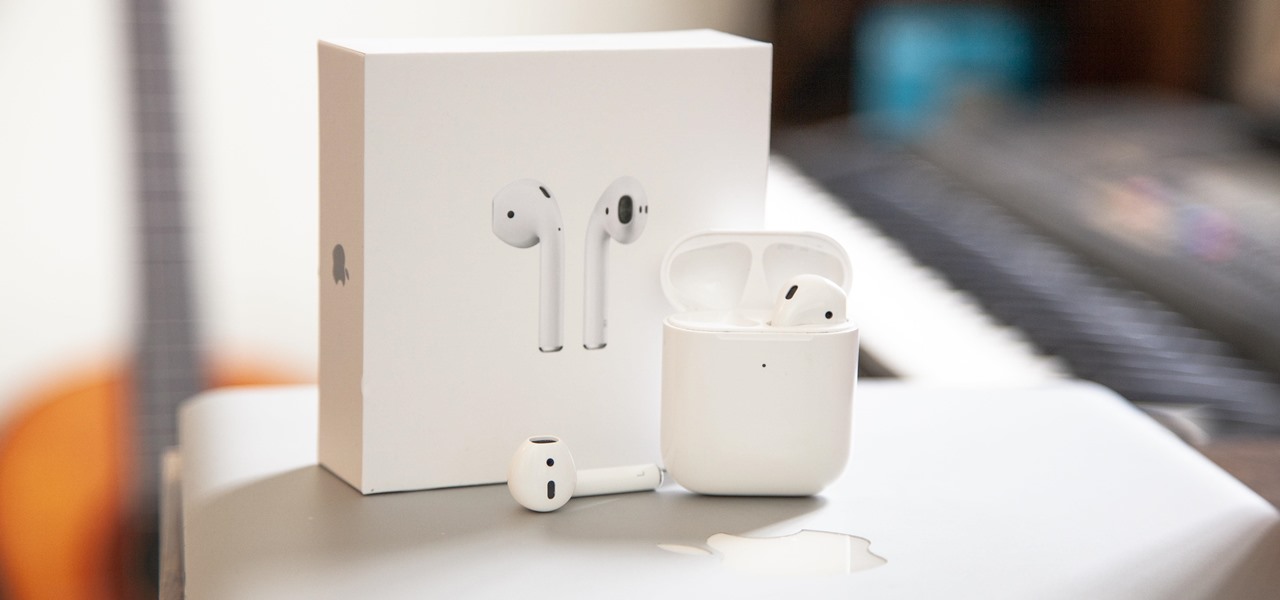
Second-generation AirPods just went on sale with the best prices since Black Friday's deals. So if you missed your shot at snagging a set of AirPods with the Charging Case or Wireless Charging Case, you've got another chance. But you'll need to act quickly to take advantage.

Transparent display maker Lumus has reached a deal to license its augmented reality optical engine models to Quanta Computers for mass production of displays for consumer smartglasses.

And so it begins... CES 2017 is upon us! This is a very exciting time for those who are looking out for the newest innovations and releases from the world of technology. I said this was going to be a fun week, and here we start it with a bang from smartglasses developer Osterhout Design Group (ODG).

Apple is giving iPhone owners even more options to express themselves via Animojis with a wide range of customization options for their personal Memojis.

Augmented reality wearables maker ThirdEye Gen, Inc. has officially released what it claims are the "smallest mixed reality glasses" in the X2, which will be available for hands-on demonstrations at the company's CES 2019 booth this week.

Microsoft's latest move to further secure its hold on the emerging mixed reality space comes in the form of two new Mixed Reality Capture Studios in San Francisco (the flagship studio) and London.

After tapping Nvidia for its first AR headset, Magic Leap is calling in reinforcement for its future enterprise-focused efforts.

It's finally here. After years of rumors and speculation, Apple unveiled the new iPhone SE on April 15. While it doesn't have a 4-inch display like the original SE, it's the smallest new iPhone you can buy today, with the chipset of the iPhone 11, 11 Pro, and 11 Pro Max. So, when can you get your hands on it?

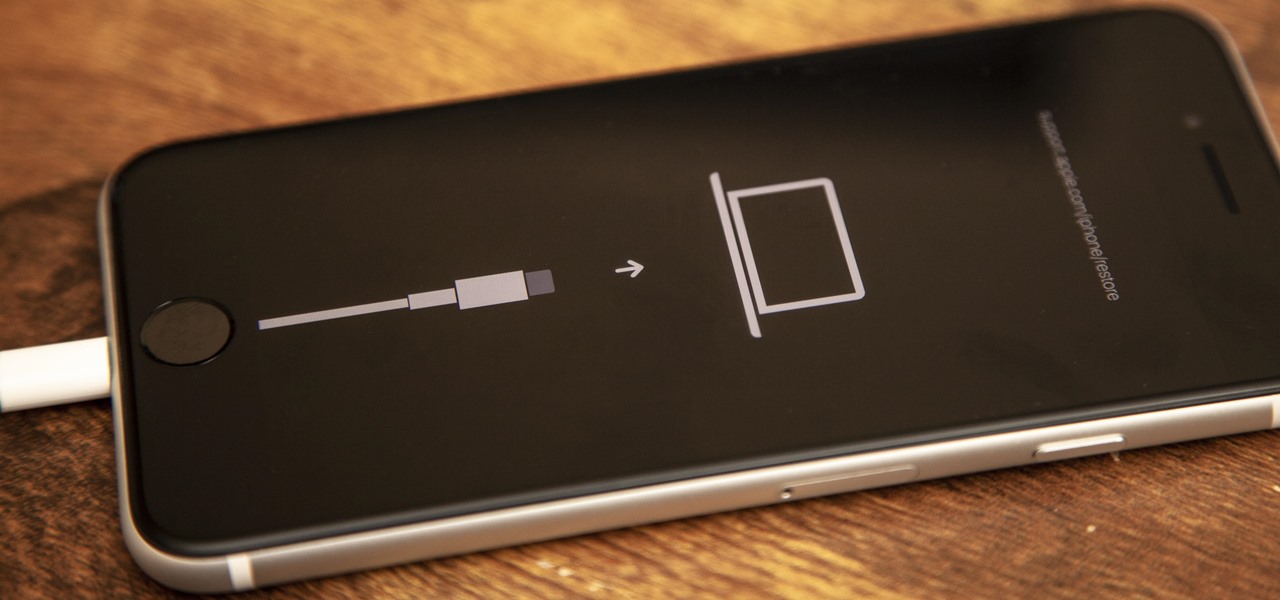
If your new 2020 iPhone SE is frozen, unresponsive, or won't load the system, and a standard power down and up procedure didn't work, there are few more things you can try. Force-restarting the device may do the trick, recovery mode is a last-ditch option, and DFU mode is your fail-safe.

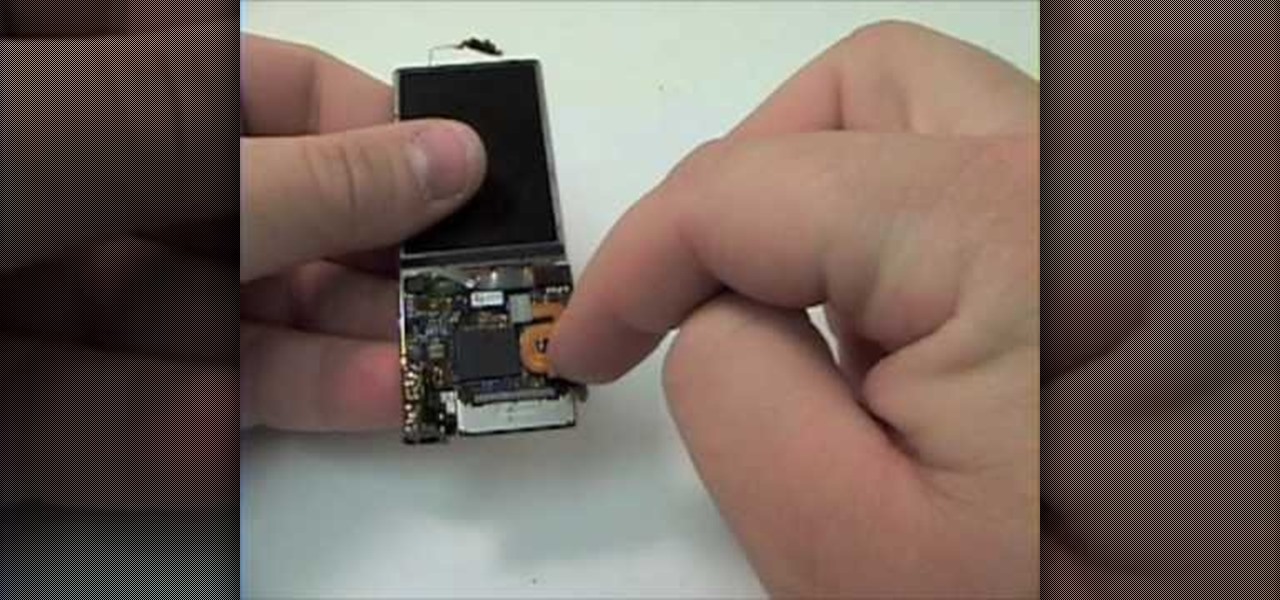
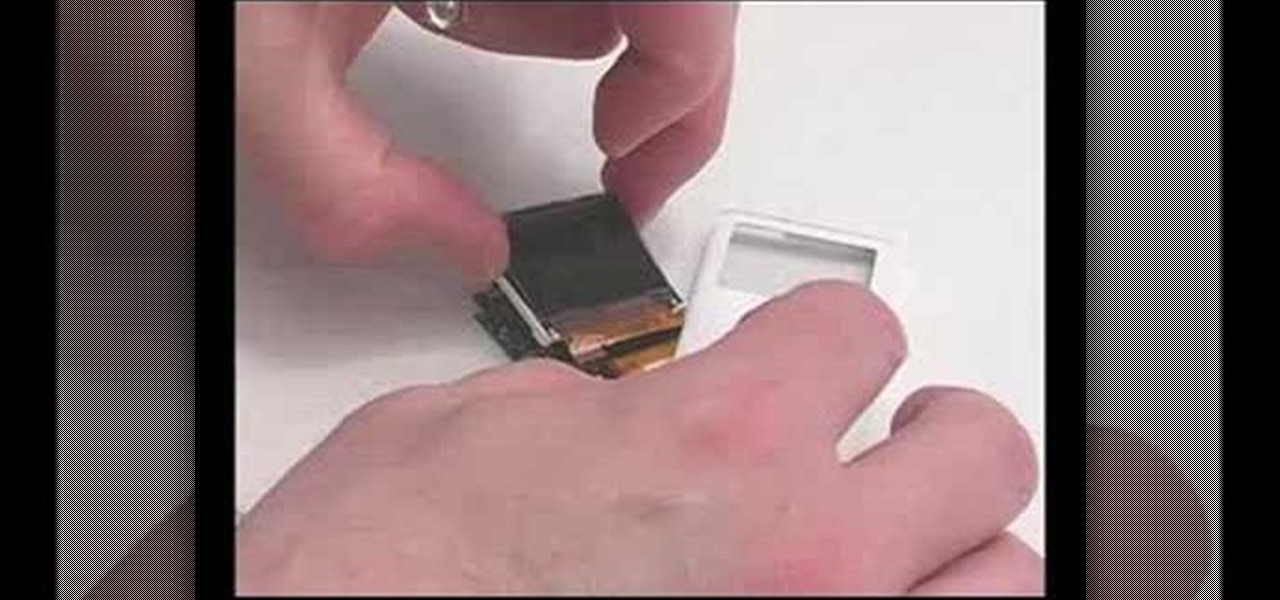
If you haven't bought one of the new Apple iPod's, you're probably pretty attached to your old one then. Like the iPod Mini. Compared to today's small iPods, it's a clunker, but to you, it's your baby. So if it ever needs fixed, you should do it yourself. See how to disassemble the iPod Mini, 2nd Generation.

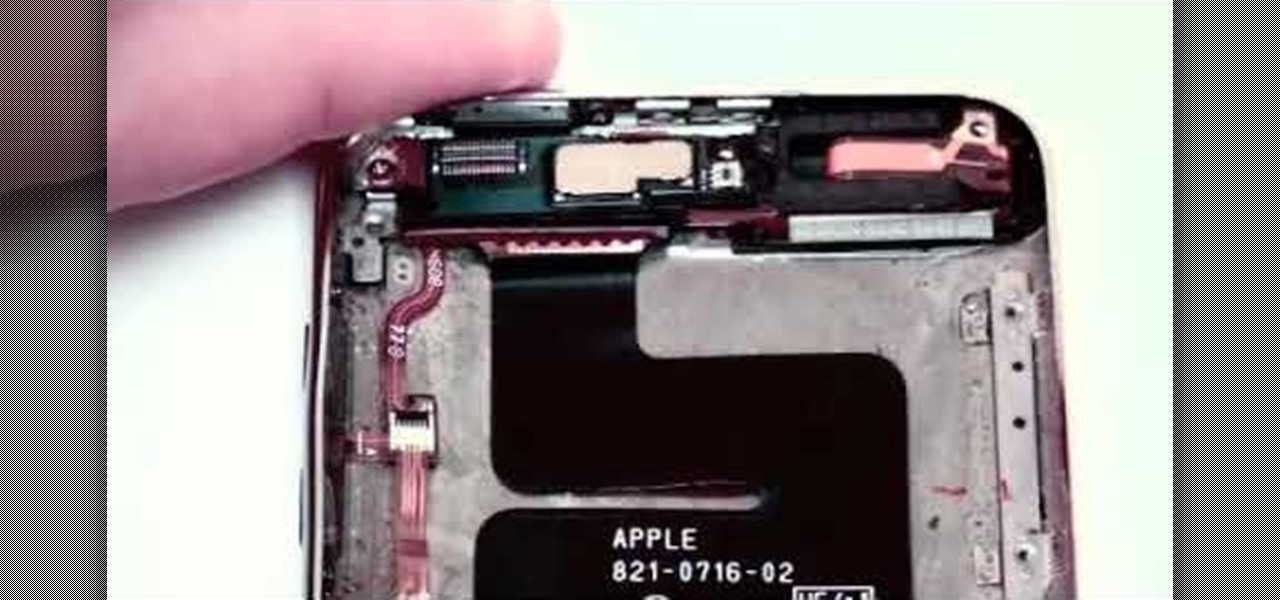
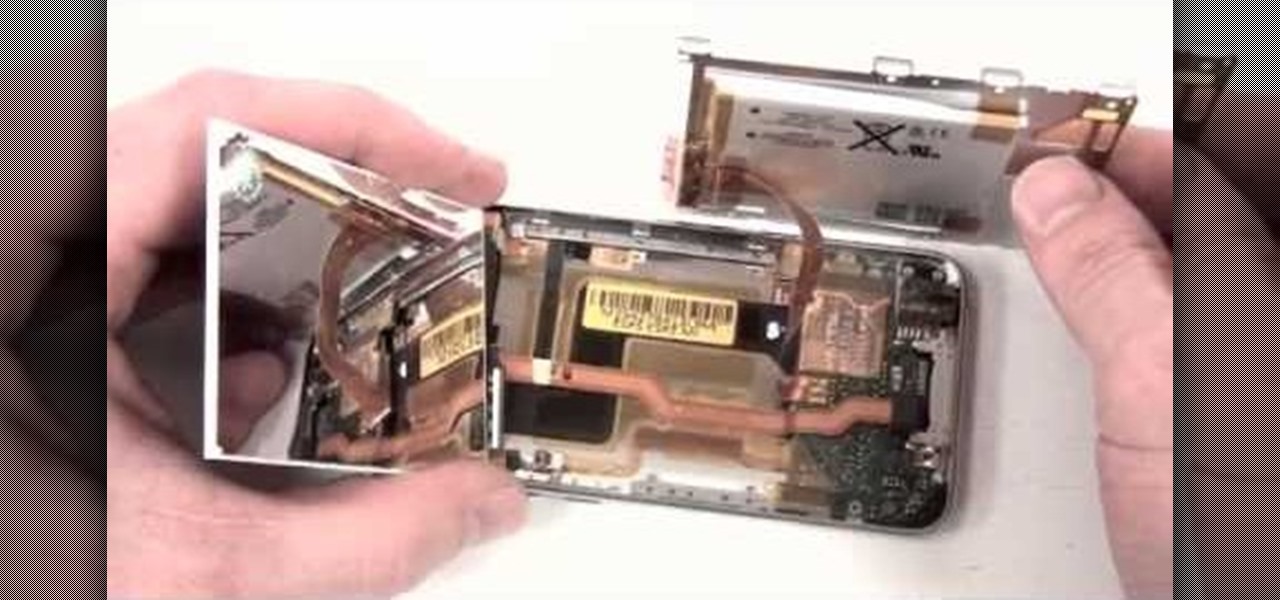
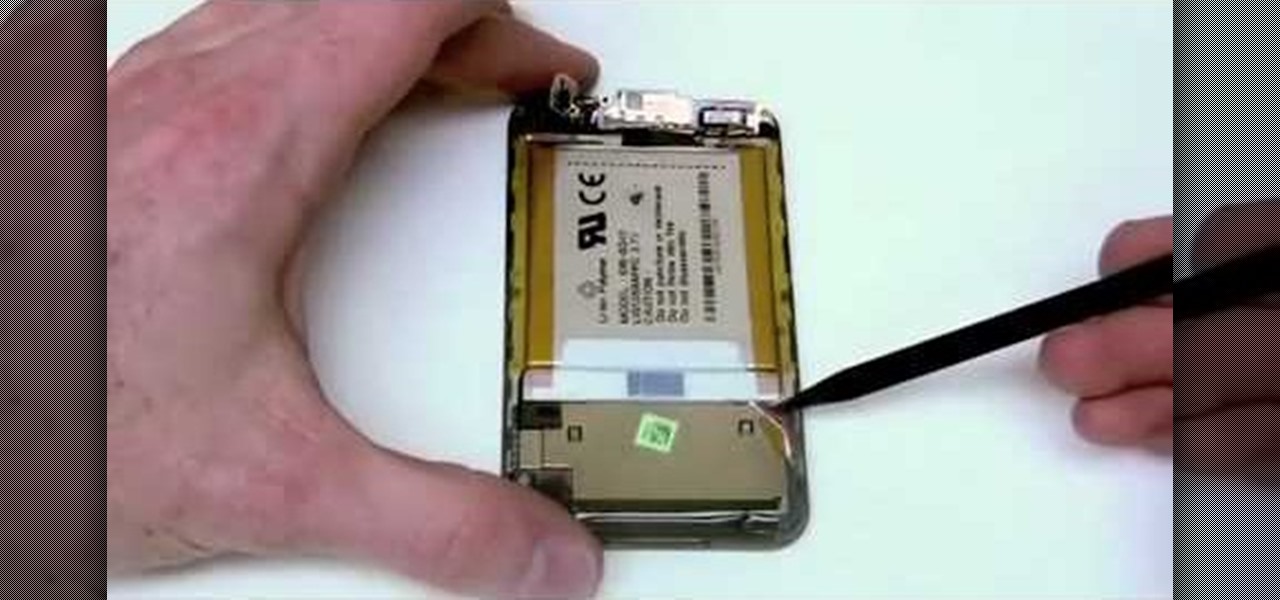
You have an iPod Touch, but it's broken. Why spend tons of money to have Apple or some dealer repair it when you can do it yourself? See how to disassemble the iPod Touch.

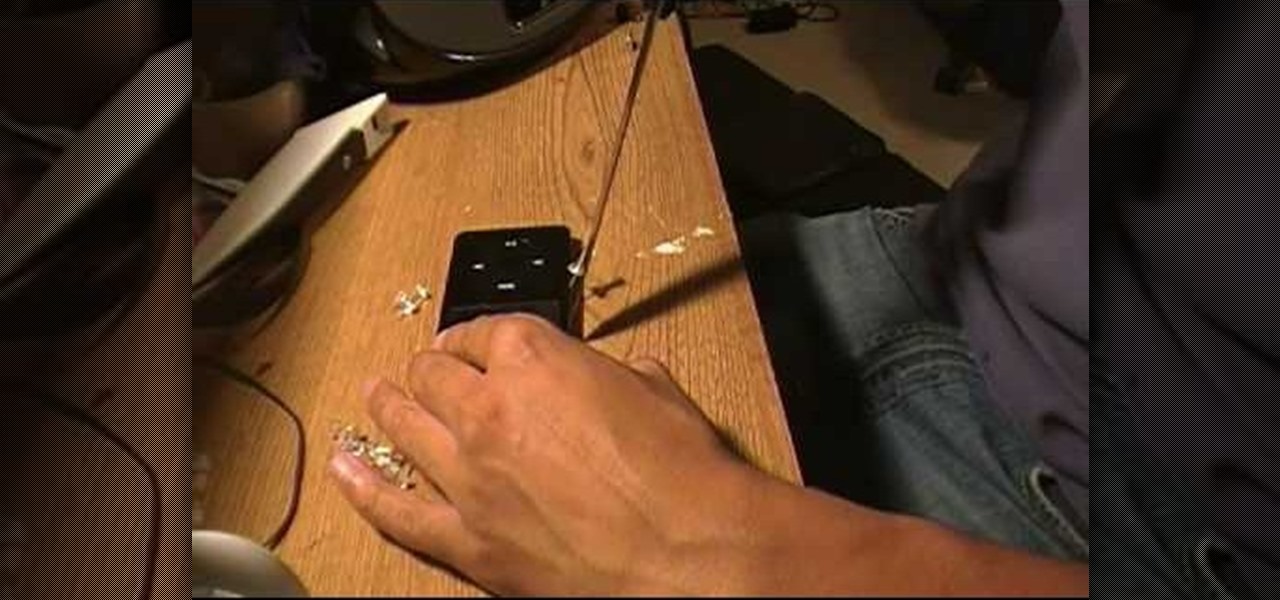
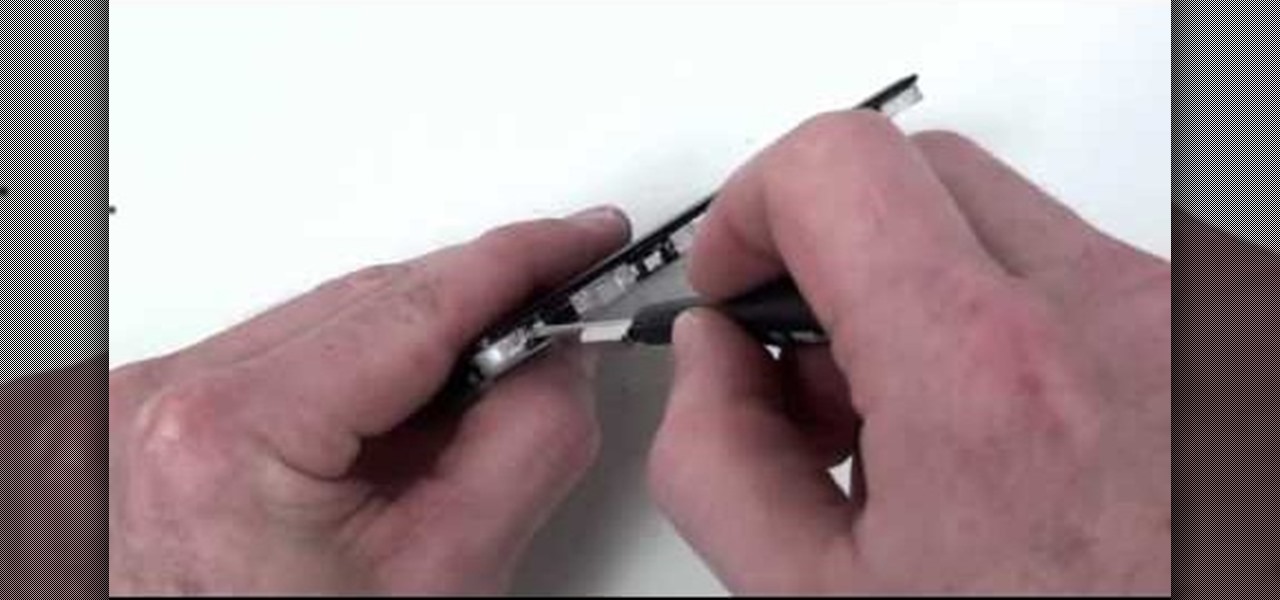
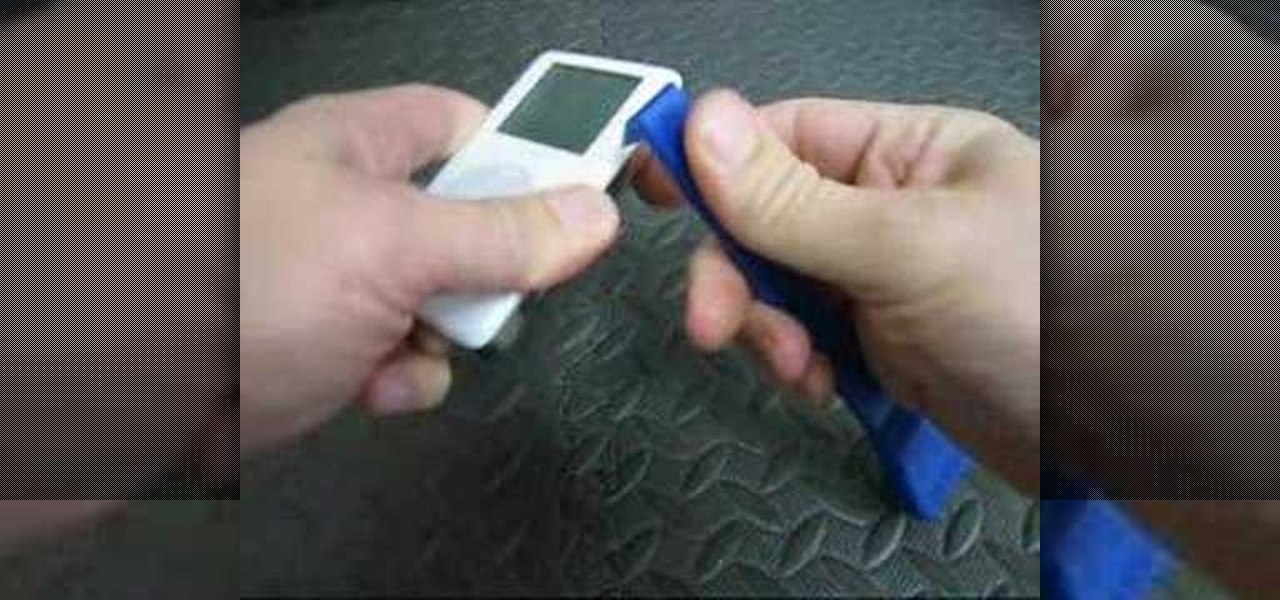
In this how to video, you will learn how to open a 6th generation Ipod Classic. First, make sure to turn it off and make sure the hold button is on. Take a prying tool to undo the clips inside the device by sliding it in between the cover and back. Once the clips are undone, place thumb tacks on the sides and tops while popping the base out. Be careful, as there are cables inside that you do not want to break. The orange part is the battery while the blue object is the hard drive. Once you ma...

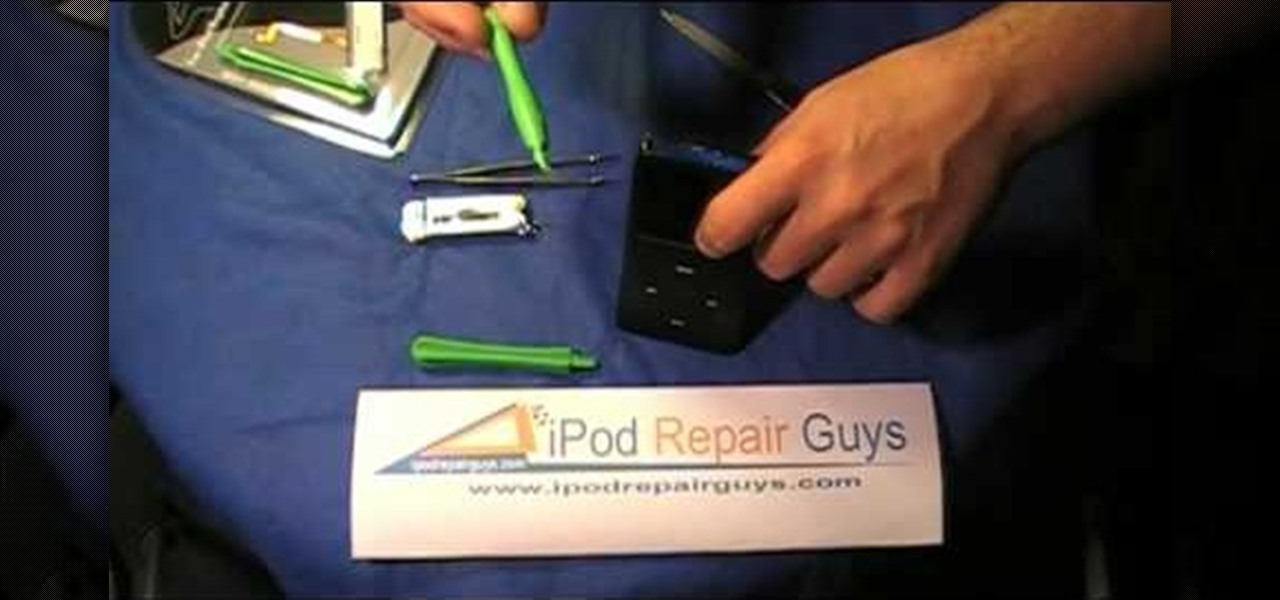
In this how to video, you will learn how open an iPod classic. Notice that the sides of the interior of the bottom case have tabs. There are metal locking clips at the bottom of these. The plastic clips on the front cover engage these to lock the cover into place. This means you will need a pry tool in order to remove the cover. First, you will need to use the pry tool and insert it into the side of the device. Try to get under the clip and pry it from the front base plate. Work around the si...

PowerBook Medic is the ultimate resource for Mac computers and electronics repair. They have helpful tutorials on most Apple products including the MacBook, MacBook Pro, PowerBook, iBook, iPhone, iPod, and more, covering topics from disassemblies, to RAM upgrades, to replacement hard drives.

PowerBook Medic is the ultimate resource for Mac computers and electronics repair. They have helpful tutorials on most Apple products including the MacBook, MacBook Pro, PowerBook, iBook, iPhone, iPod, and more, covering topics from disassemblies, to RAM upgrades, to replacement hard drives.

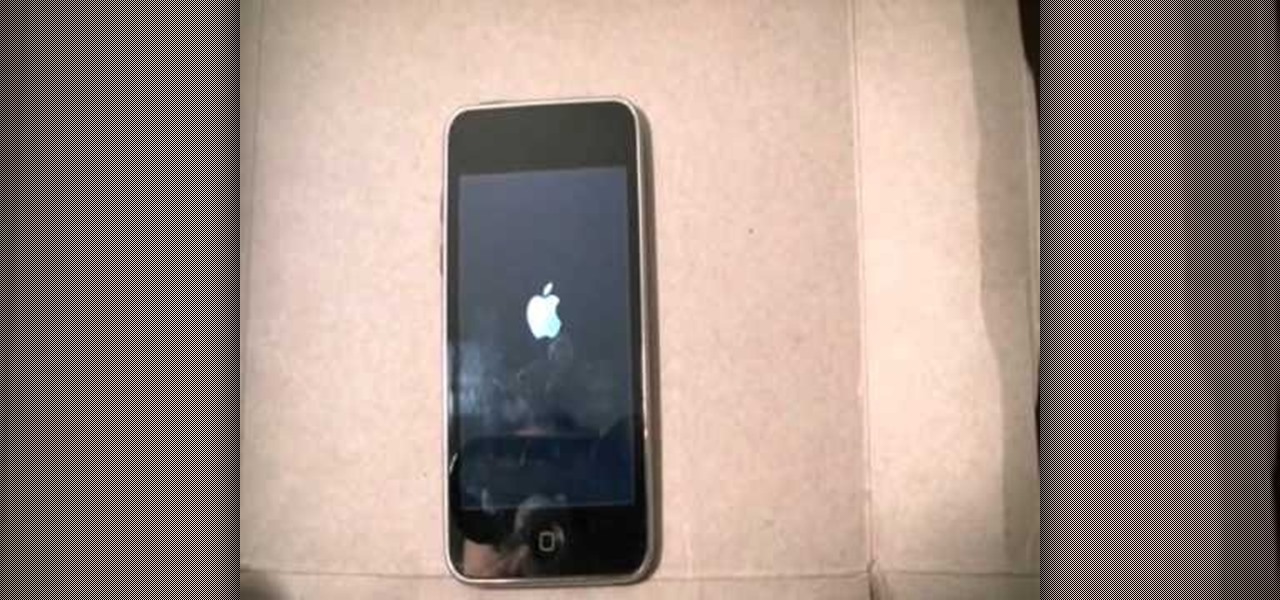
If you're still rocking a 2nd generation iPod Touch, the frozen screen you have no is probably not the first problem you've had with it, Fortunately this one shouldn't be too hard to fix and this video will show you how to unfreeze you screen and get back to music.

Accidents will happen. This brief how-to will guide you through the process of disassembling, cleaning and reassembling a sixth-generation iPod Class (A1238) quickly and efficiently without damaging any of the components, the first necessary step of any successful repair or restoration. This tutorial will also be of use to those who wish to learn more about the guts of their iPods without actually disassembling their units.

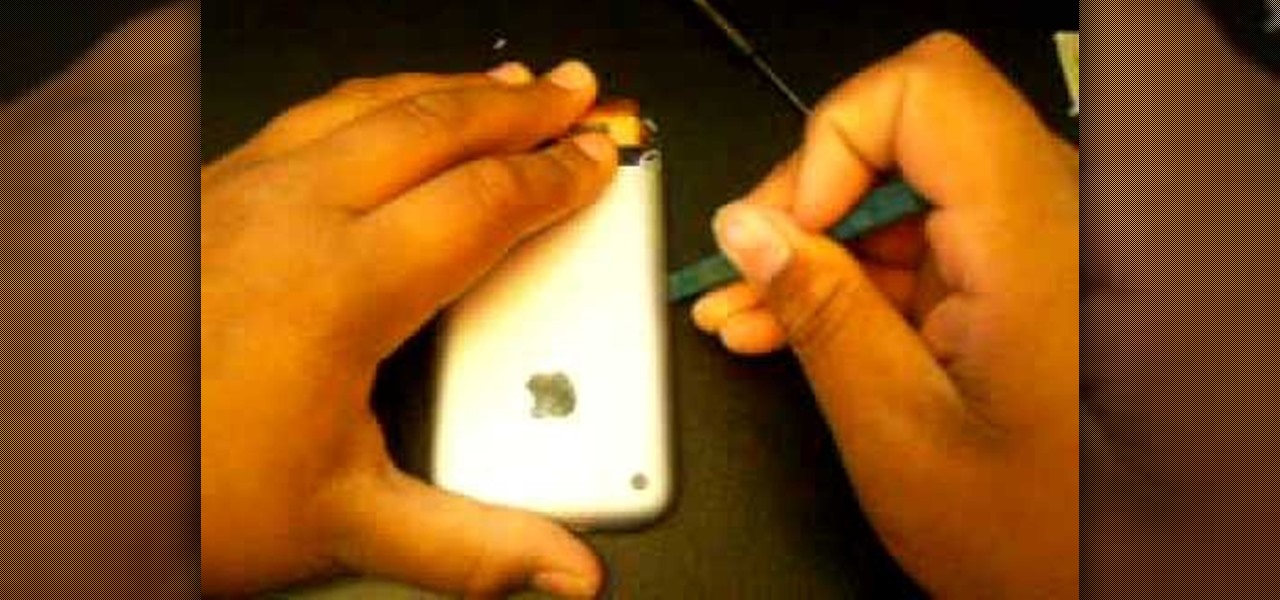
In this video, learn how to crack open, dissaemble and take the back off an Apple iPhone 2G (1st generation). Advice from the Internet: Don't try this unless you have done like-attempts before successfully. It is very difficult to replace an IPhone 2G back cover with a new one, so beware!

Is the battery in your Apple iPod just not up to par? Well, maybe it's time you replaced it with a high capacity battery. These detailed instructions will get you through the difficult, but easy process of doing so. Make sure you observe static safe precautions. Ground yourself before opening your iPod and don't walk around while performing this upgrade. This video tutorial will guide you on how to install a high cap battery in a 4th Generation iPod Photo.

Is the battery in your Apple iPod just not up to par? Well, maybe it's time you replaced it with a high capacity battery. These detailed instructions will get you through the difficult, but easy process of doing so. Make sure you observe static safe precautions. Ground yourself before opening your iPod and don't walk around while performing this upgrade. This video tutorial will guide you on how to install a high cap battery in a 1st Generation iPod.

Accidents will happen. This brief how-to will guide you through the process of opening up an Apple iPod Touch 3G MP3 player quickly and efficiently without damaging any of the components, the first necessary step of any successful repair. This tutorial will also be of use to those who wish to learn more about the guts of their iPods without actually disassembling their units.

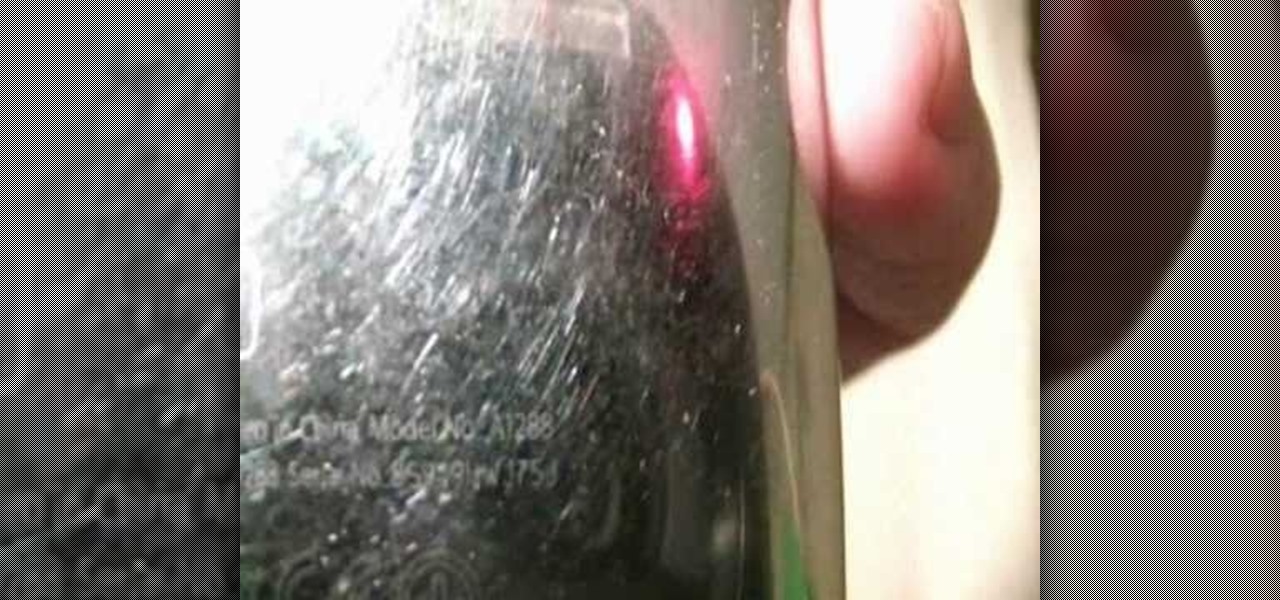
If or a friend have an iPod Touch and want to work on it, knowing what generation it is is essential. This video will show you a quick and easy way of identifying which generation of iPod Touch you have.

If you're 3rd generation 8GB iPod Nano has frozen or broken in some other software-related fashion, you probably have to restore it to factory settings. DOH! Fortunately this isn't a hard process, and this video will teach you how to do it.

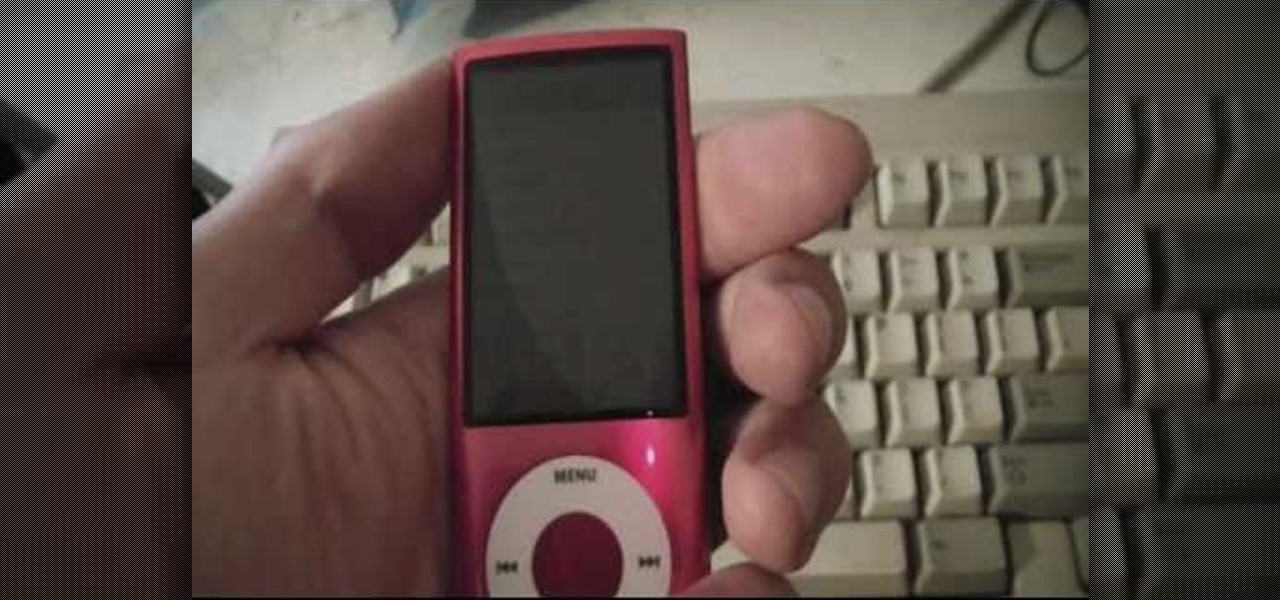
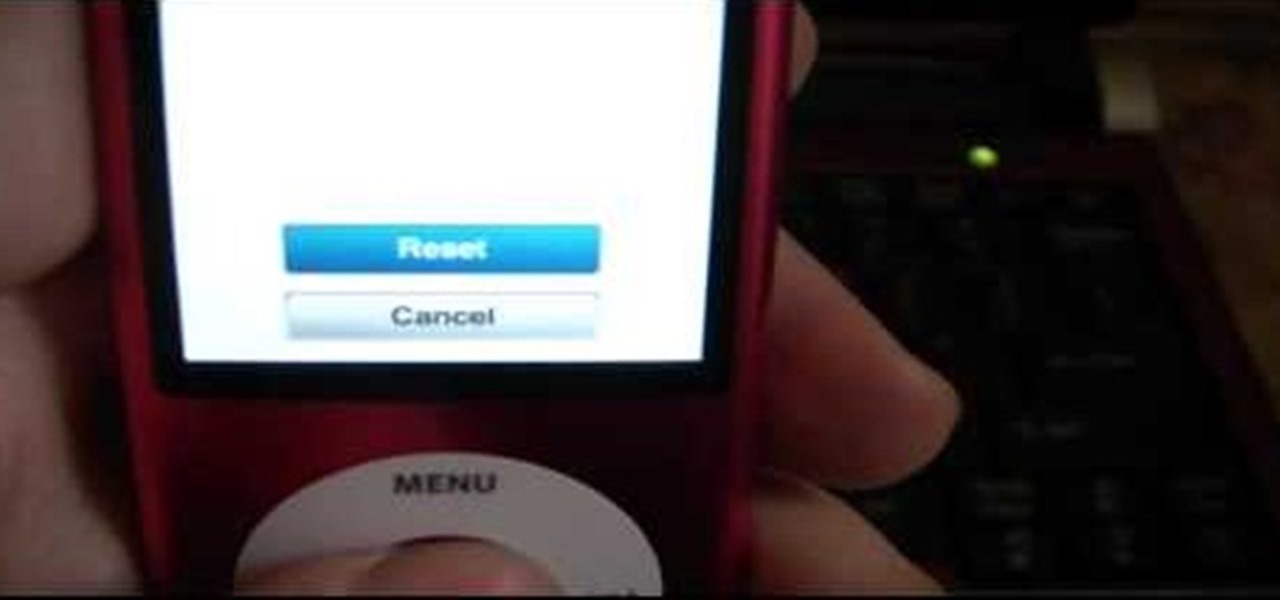
The iPod Nano is a great little device, but if you've messed it up somehow you may want to reset it. This video will show you how to do just that on a 3rd generation 8GB Nano, allowing you to change your language settings and other basic options.

In this video by PDA Parts, learn how to take apart and disassemble your Apple iPhone 2G (or, 1st generation iPhone, the same phone). By taking the back off and opening your iPhone, one can replace a broken screen. It is wise to listen to these instructions very carefully, as a small mishap can ruin your phone. Also, it should be noted, by doing this any Apple warranty will be void.

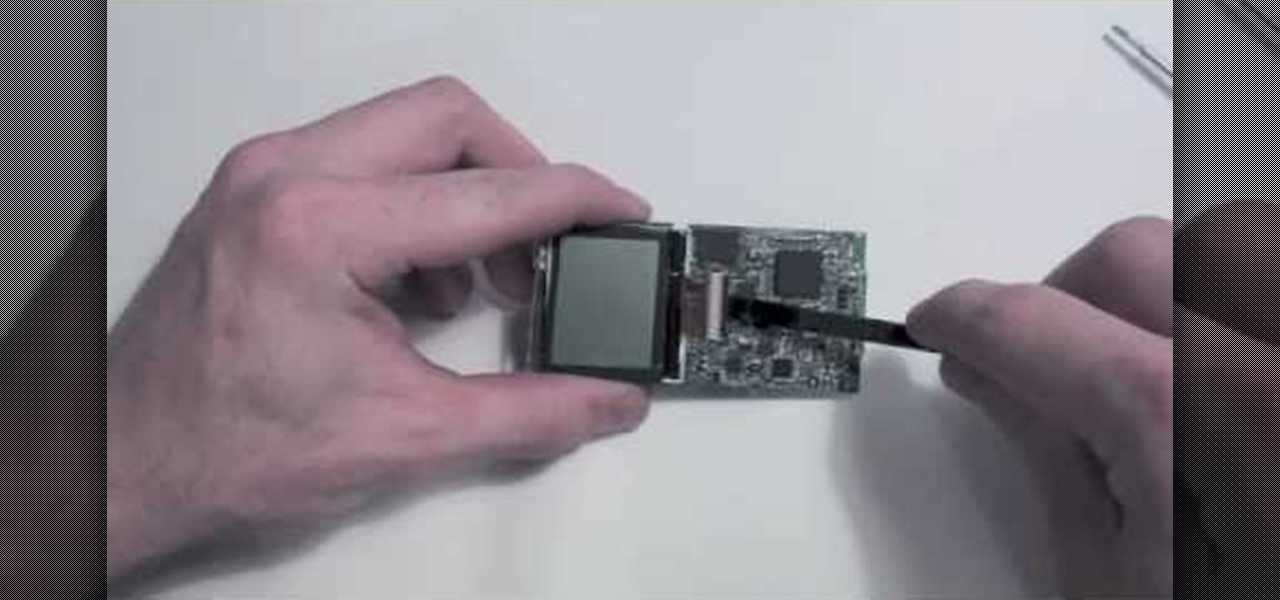
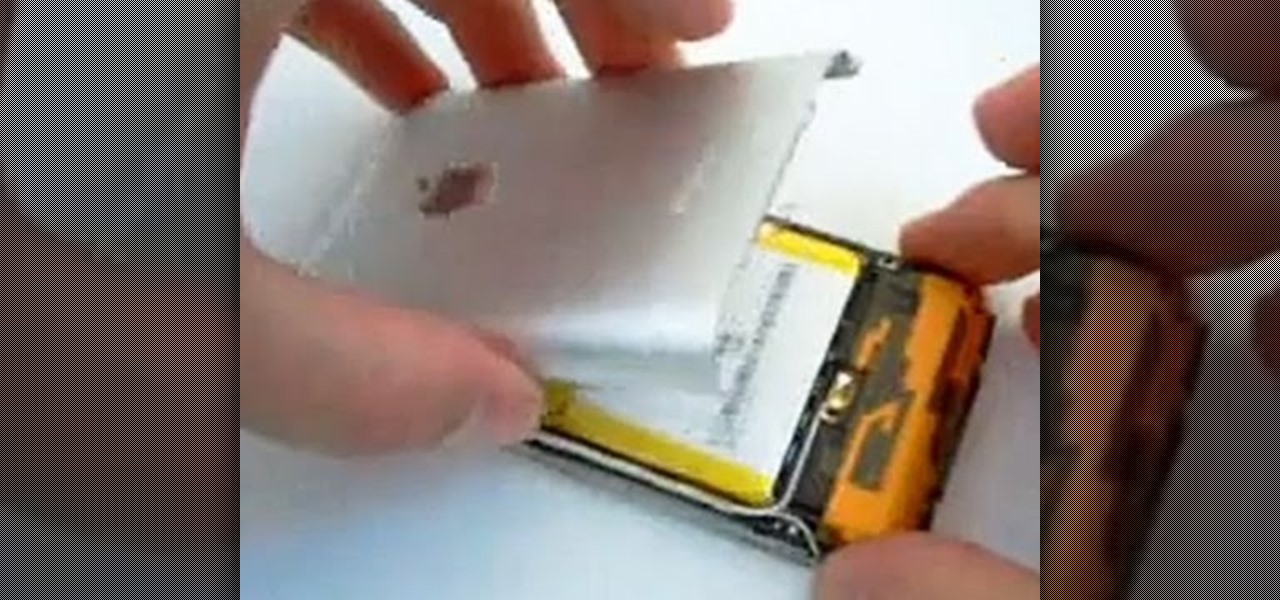
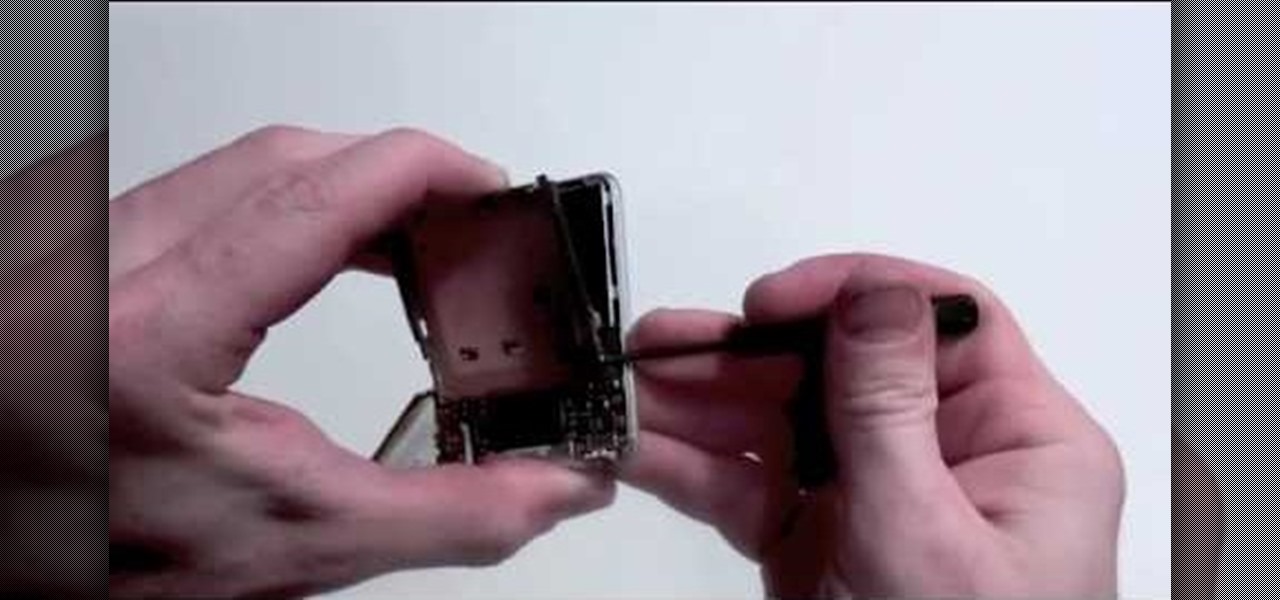
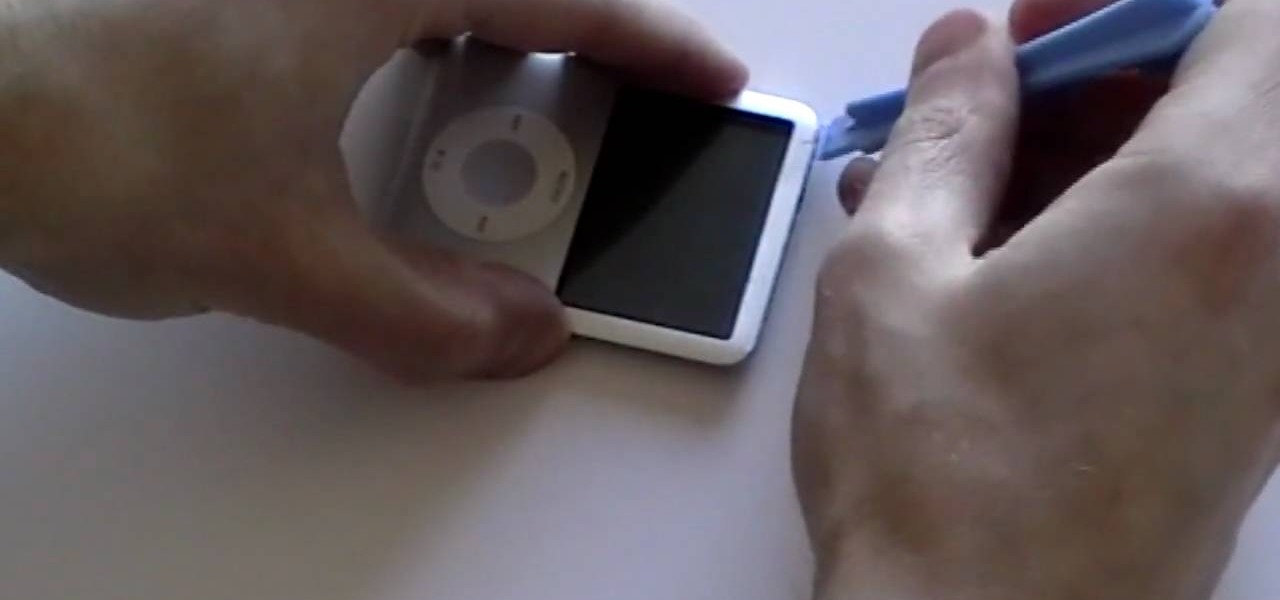
In this tutorial, we learn how to take apart an iPod Nano 3rd generation for repair. First remove the back casing using a guitar pick. Next, use a flat tool to lift up the battery carefully and remove it from the casing. You will see three wires that lead to the launch board, which are soldered into place. Now, use the flat tool to remove the back of the battery casing from the device. Now, remove the logic board by removing the 6 small screws inside of it. Next you will remove the LCD by lif...

In this how-to video, you will learn now to dismantle an iPod Nano 3rd Generation. First, run a plastic tool on both sides of the device. Once this is done, remove the back cover with your fingers. Next, unscrew the six screws on the circuit board. Store them in a place where they will not be lost. Next, remove the click wheel ribbon cable from the jaw connector. Lift the jaw connector with the tool and use a pair of tweezers to gently remove the cable from the jaw. Next, remove the small met...

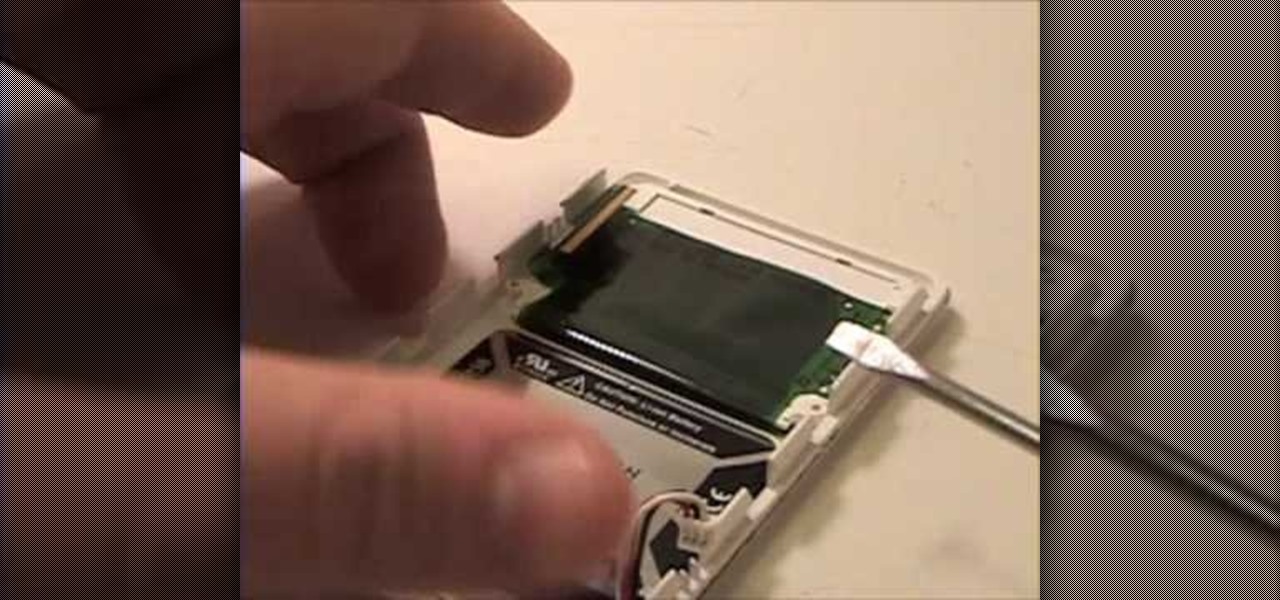
This video describes how to take apart a first generation iPod. To open the iPod, the video recommends using a putty knife or similar flat tool to gently ply open the casing. The presenter recommends being especially careful if this is the first time opening the casing. Once you have the first side open slightly wide work your way around the casing, making sure the entire casing is spread evenly around. Once all the sides are loose, the back casing just slides off. There are then two componen...

Adding interesting themes to your iPhone and iPod is like wearing vintage clothes to school rather than clothing yourself in a few finds from Abercrombie & Fitch like everybody else: You stand out. While we'd be happy with any (current generation) iPhone, iPod Touch, or iPad, installing a theme makes our iGadget extra special.

Interested in becoming better acquainted with the sixth version of Apple's popular iPod Nano? This home-computing how-to from the folks at MacMost will teach you everything you'll need to know. For more information, including step-by-step instructions, and to get started using your new iPod Nano yourself, take a look.

Having trouble opening the fourth generation iPod? Don't give up! Check out this instructional electronics video that illustrates the simple process of opening a 4th generation iPod. This video from ipodjuice.com demonstrates a technique that can be used to open even the most difficult 4th Generation iPod battery installation. Follow along and fix your iPod so you can listen to music again!

Learn how to reset a third generation iPod Nano from this video in simple steps. First take your third generation iPod Nano and switch it on. Now press the hold switch at the bottom of the iPod. Now hold the menu button and middle button together for a few seconds. After a few seconds your iPod switches off and restarts again. Now your third generation iPod Nano is reset and ready to use.

This video will show you how to replace the click wheel in a first generation Apple iPod Nano. If the Apple warranty no longer covers your iPod, it may be more inexpensive to do this simple repair yourself, instead of purchasing a new iPod. Watch this video iPod tutorial and learn how to replace the click wheel in a first generation iPod Nano.

This video will show you how to install a battery in a 4th generation iPod, after disassembling the iPod. If the Apple warranty no longer covers your iPod, it may be more inexpensive to do this simple repair yourself, instead of purchasing a new iPod. Watch this video iPod tutorial and learn how to replace a battery in MAC's 4th generation iPod.

You don't need to make a trip to the Apple Genius bar for something as simple as an iPod battery change. With a new battery, you can start using that dead 4th generation iPod again. Watch this video iPod tutorial and learn how to install a 4th generation iPod battery.


