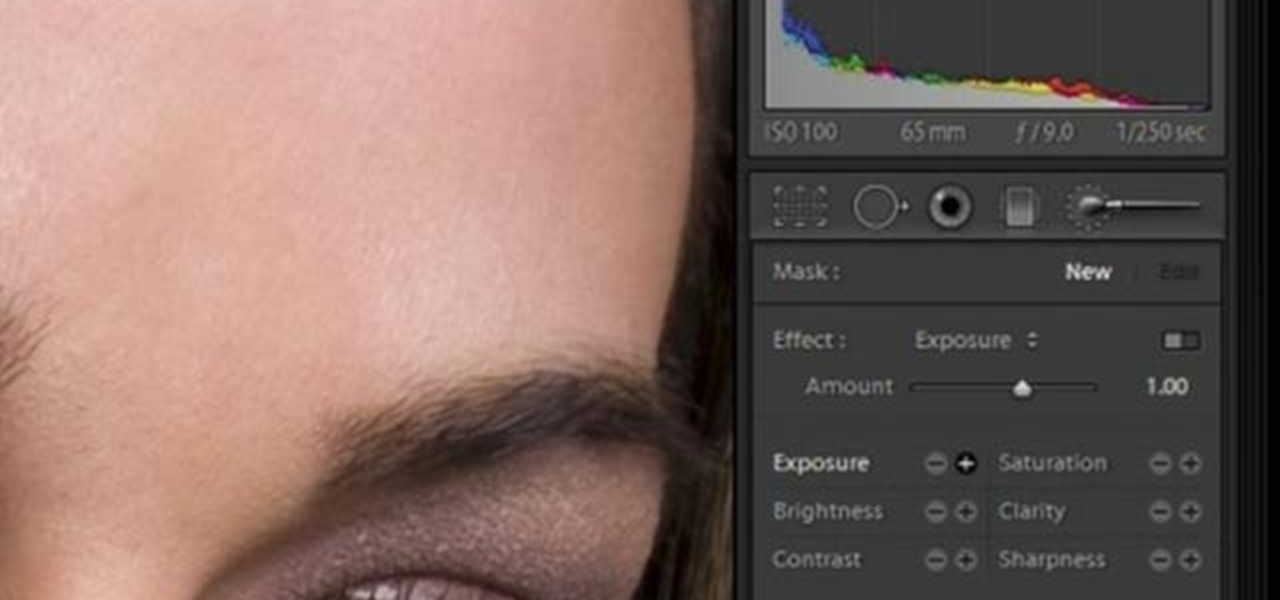
In this software video tutorial you will learn how to soften skin feature in Lightroom 2 in Yanik's Photo School. Select a photo and zoom in to the skin area. Click on the adjustment brush, or ctrl K. Here you can adjust 7 features; exposure, brightness, contrast, saturation, clarity, sharpness and color. But, if you click on the other 'exposure' dropdown menu, you will get these 7 options and additionally a 'soften skin' option. Click on 'soften skin' and it gives you the options to add nega...

This 3-part video tutorial series will show you a very thorough way to skin a deer. This method of skinning of deer will provide the best shape and condition for your next step - brain tanning. Follow along with each step of the way, and make sure you're using an ultra sharp knife to eliminate the dangers of accidentally cutting yourself.

Viewer be warned! This video series is not for the faint of heart! If you think you can handle the contents inside, then you're about to get an in depth lesson on the proper way to skin a squirrel. This three part video series will show you how to skin a squirrel.
This video explains the easiest way to get rid of the oil on your skin is to use blotting paper, and light dab it on oil spots on your skin. Do not rub it, dab it on the skin, the blotting paper will absorb the oil on your skin without adding dark colors onto your face that other papers would. If you have trouble finding blotting paper, a easy way to find some is go to a public washroom, and get the toilet seat paper that people use to put on top of toilet seats. They are the same material as...
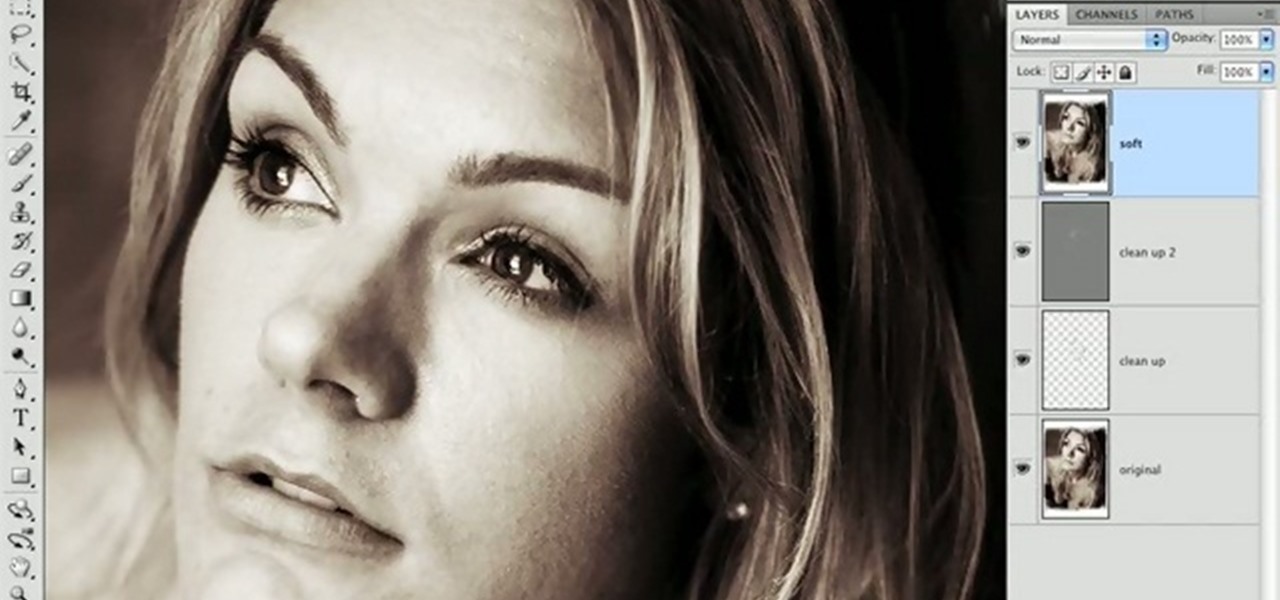
If the subject of your photos has skin imperfections, it is very easy to fix this in Photoshop. If you do not have the time to do each individual blemish, or wish to simply give the skin an overall fresher look, check out this tutorial.

This video provides a short tutorial on how to install custom skins onto the popular online FPS Team Fortress 2. Custom skinning will make the models in the game appear differently, adding a bit of flare to your gameplay.

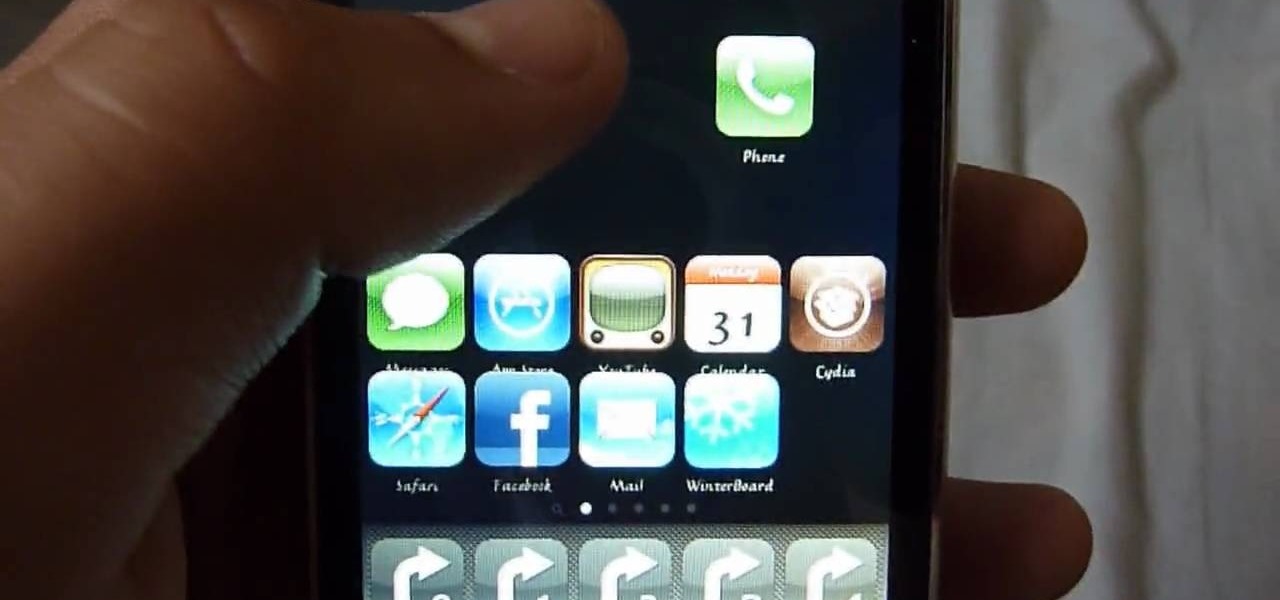
You know how you can personalize your computer desktop by pinning any picture you want as the background? You can do the same thing with phones - well, iPhones. Since nowadays it seems everyone and their mother has an iPhone or iPod Touch, make sure your iGadget looks different than everybody else's by installing a theme.

If you're taking a portrait with multiple people, you might end up with different skin tones as the light hits each subject differently. This tutorial shows you how to even out the skin tones for multiple subjects using the retouching tools in Adobe Photoshop CS5.

Learn about skin softening techniques and the controlling of color and tones when working in Adobe Photoshop! Whether you're new to computer graphics, new to Adobe Photoshop CS4 or a seasoned design professional just looking to pick up a few new tips and tricks, you're certain to like this free video software tutorial. For more information, including detailed, step-by-step instructions, and to get started managing skin tones in Photoshop yourself, watch this designer's guide!

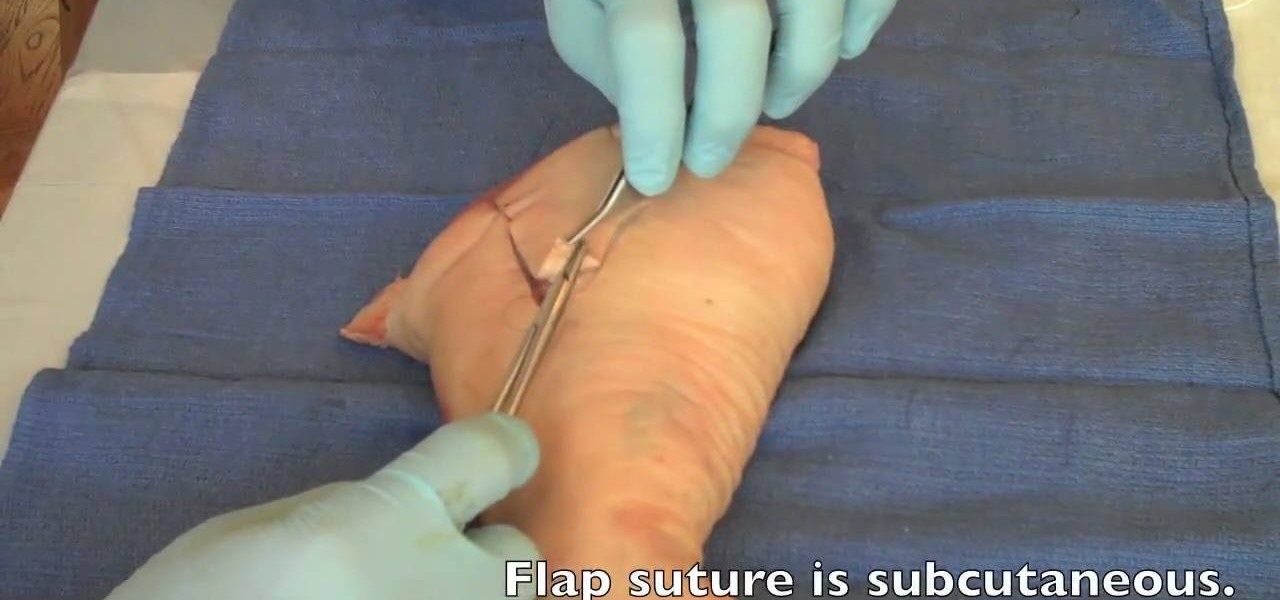
Many lacerations feature skin flaps dangling from the wound, begging to be reattached. It is very challenging to suture such a wound and reattach the skin without causing it to bunch up or hang too loosely. This medical demonstration video features a doctor explaining how to do just that, performing a flap suture quickly and efficiently.

Is the battery in your Apple iPod just not up to par? Well, maybe it's time you replaced it with a high capacity battery. These detailed instructions will get you through the difficult, but easy process of doing so. Make sure you observe static safe precautions. Ground yourself before opening your iPod and don't walk around while performing this upgrade. This video tutorial will guide you on how to install a high cap battery in a 4th Generation iPod Photo.

Is the battery in your Apple iPod just not up to par? Well, maybe it's time you replaced it with a high capacity battery. These detailed instructions will get you through the difficult, but easy process of doing so. Make sure you observe static safe precautions. Ground yourself before opening your iPod and don't walk around while performing this upgrade. This video tutorial will guide you on how to install a high cap battery in a 1st Generation iPod.

Take a look at this instructional video and learn how to hack into your iPod's firmware on a Mac. In order to hack into the 5.5g iPod's firmware, you need to download the Alterpod, a firmware editing software. With this program, you'll be able to download themes onto your iPod. Keep in mind that this hack is for the 5.5 generation iPod and does not work for the 6th generation or the older ones before 5.5. When downloading themes, make sure to download the correct version.

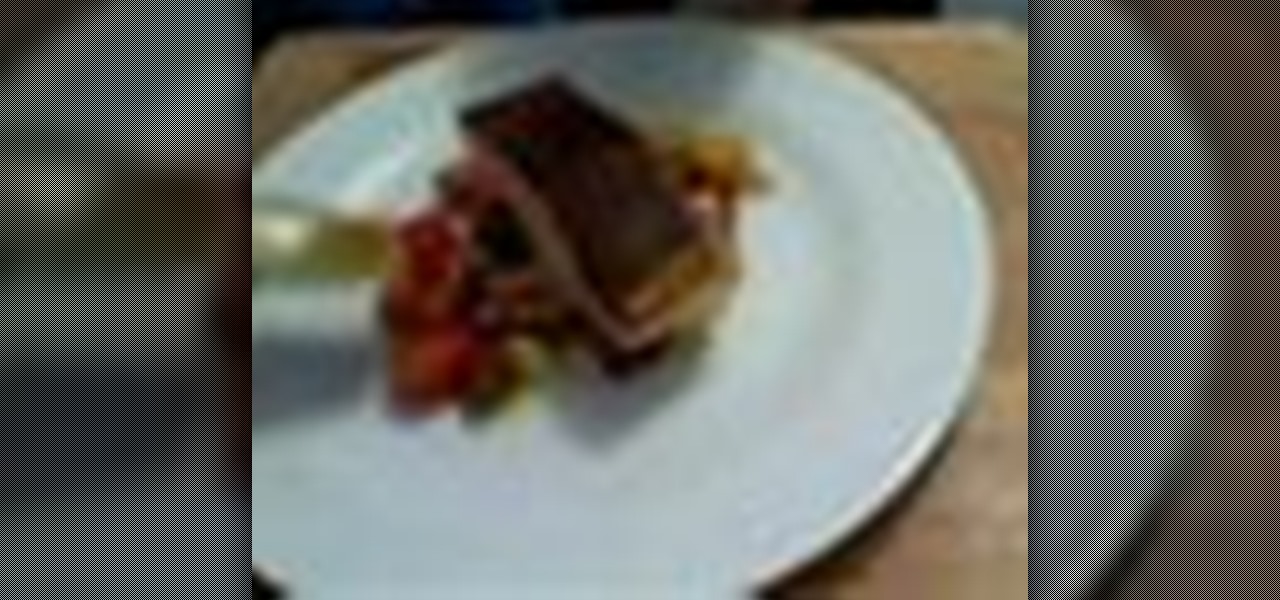
The hot, crisp skinned salmon tops a warm, soft, earthy mushroom and potato salad; both are surrounded by a cool, tangy tomato citronette (vinaigrette made with citrus instead of vinegar). You'll be amazed how delicious the skin of the salmon gets when cooked this crisp!

When you remove the multifunction switch from your Saturn S-series car, be sure to disconnect the battery and remove the airbag fuse so that you can safely interact with the switch.

Kanye West might or might not be the voice of your generation, but whatever your opinion of him as a man he does make some good songs. "Welcome to Heartbreak" is no exception, and this video will teach you how to play that classic track on piano.

Zombies aren't getting as much attention as vampires or werewolves these days, but they're just as darkly entertaining. Bring zombie love back this Halloween by dressing up as this really gross, rotting, bloody zombie.

The Simpsons theme song has raised a generation of American children, and even though the show has long since jumped the shark the glory of it's theme song remains. In this video you'll learn how to play a really accurate piano version of the song, complete with chords and long runs at certain points.

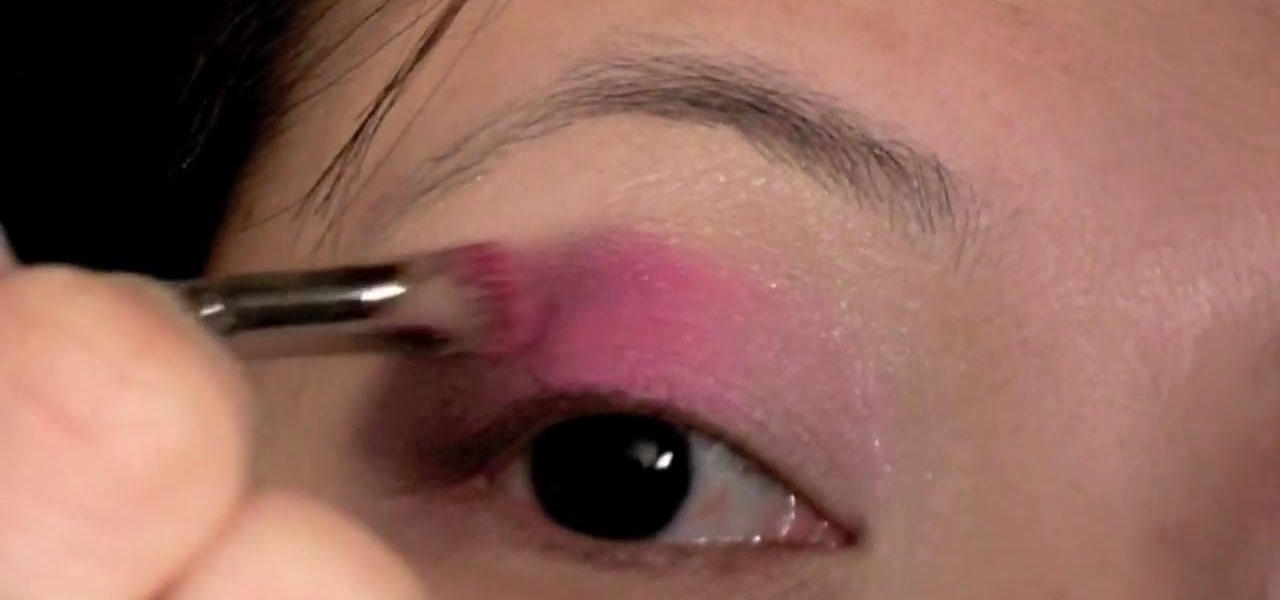
Blazing maned Molly Ringwald inspired a generation of girls who grew up knowing that a girl always looked pretty in pink. Pink in any intensity or shade is a universally flattering hue when used in makeup.

Shooting Times cookery writer, Mark Hinge, shows you how to properly skin a pheasant.

Explore the inner workings deep inside your skin. Watch this video to understand this visually stunning wonderment!

Happy New Year! You're probably wondering, "Wha? The New Year passed two months ago." But Chinese New Year, or the Lunar New Year, occured this year on February 3rd and lasts for fifteen days. Celebrating the purging of the old and the coming of prosperity and luck, Chinese New Year is all about starting over.

In this video, we learn how to reduce and prevent stretch marks with argan oil. This is great to keep the skin elastic and is enriched with antioxidants. First, grab your 100% natural argan oil and almond oil. Mix one part argan oil with one part almond oil, then add in a couple drops of rose oil. After this, stir it all together until combined. Use this on the area with stretch marks twice a day, in the morning and at night. This has such rich properties, it will keep the skin firm and help ...

Nili Nathan shows you how to make a homemade clay facial mask for oily skin. To make your own clay mask, do the following: You will need 3 tbs of green clay. Mix with some hot water, about 3 tbs. Add 2 drops of Rosemary essential oil, 2 drops of lemon essential oil. Mix well with a fork, until it becomes a paste. Add more hot water if needed. Apply evenly to your face and neck, leave on for about 7 minutes. Rinse off with warm water. Enjoy the deep cleansing, healing effect.

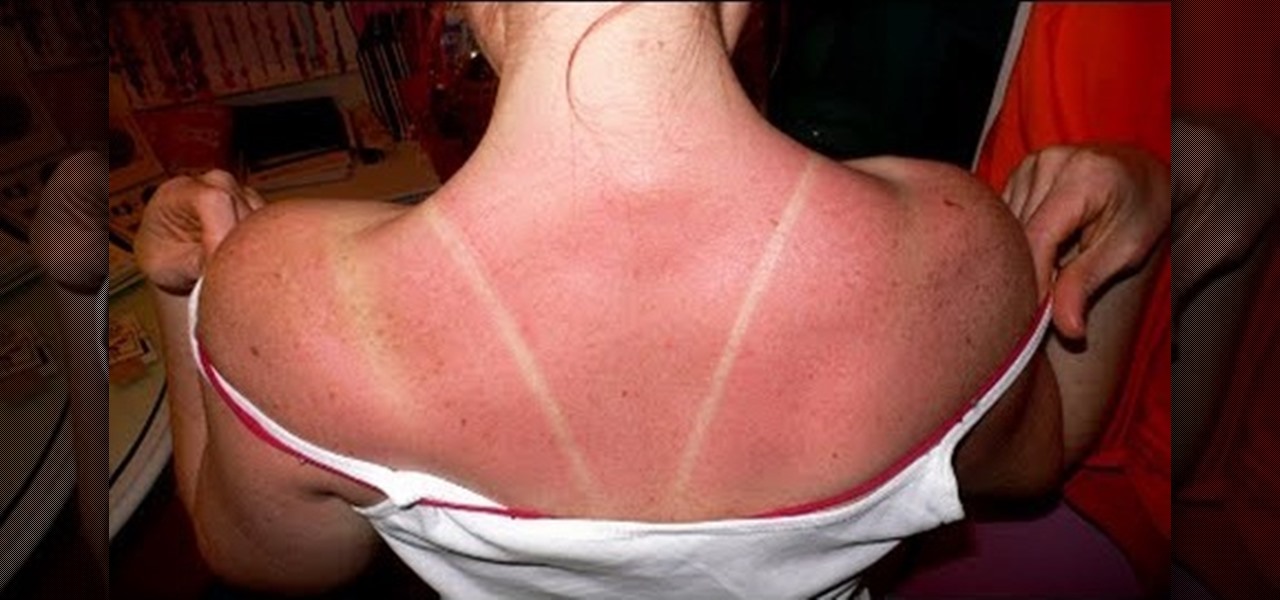
Dr. Schultz teaches how to treat a sunburn properly in very easy steps. For a regular sunburn, take aspirin to relief for that burning sensation. Use milk and water compress as tropically on the skin. Apply ointments 3-4 times a day. Take a bath not a shower with warm water. Aloe Vera will help the skin feel better. Lastly, avoid topical anesthetics. For a 2nd degree sunburn, apply topical antibiotic ointments after the compresses. If the sunburn gets worse consult for medical attention.

While Apple, Facebook, and Snapchat are still working on their first-generation AR wearables, startup North is already preparing to bring its second-generation smartglasses to the world in 2020.

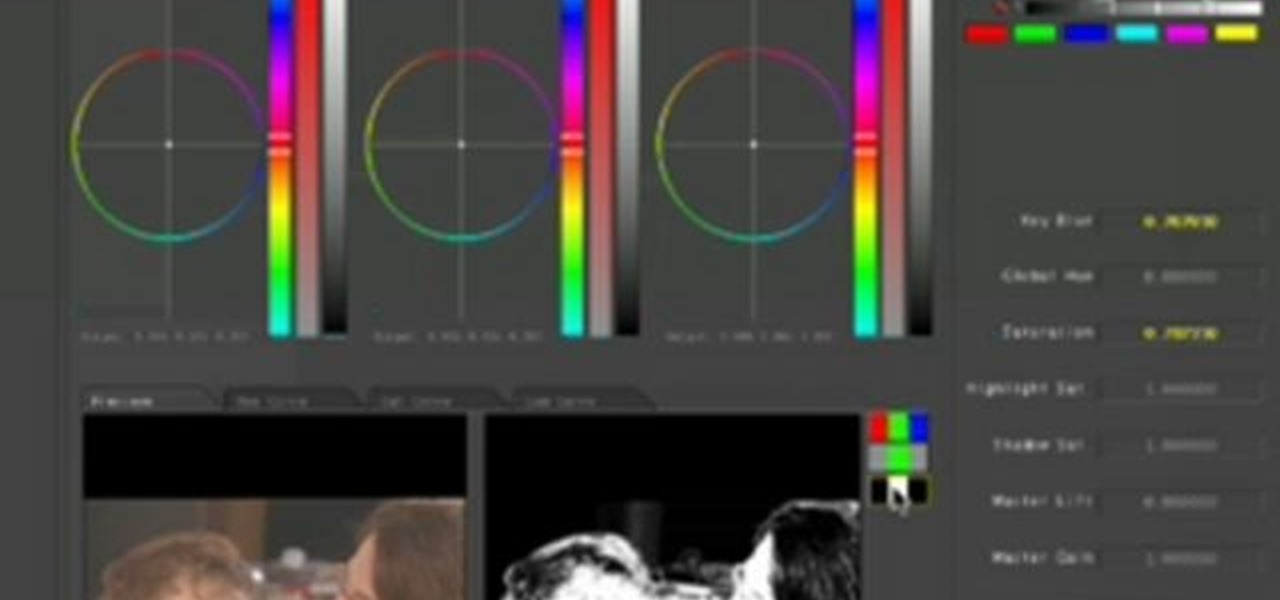
Secondary color correction is used mostly to adjust the skin tones of people in your film. This tutorial show you how Apple Color lets you quickly and easily adjust the skin tones of the actors and actresses in your film project.

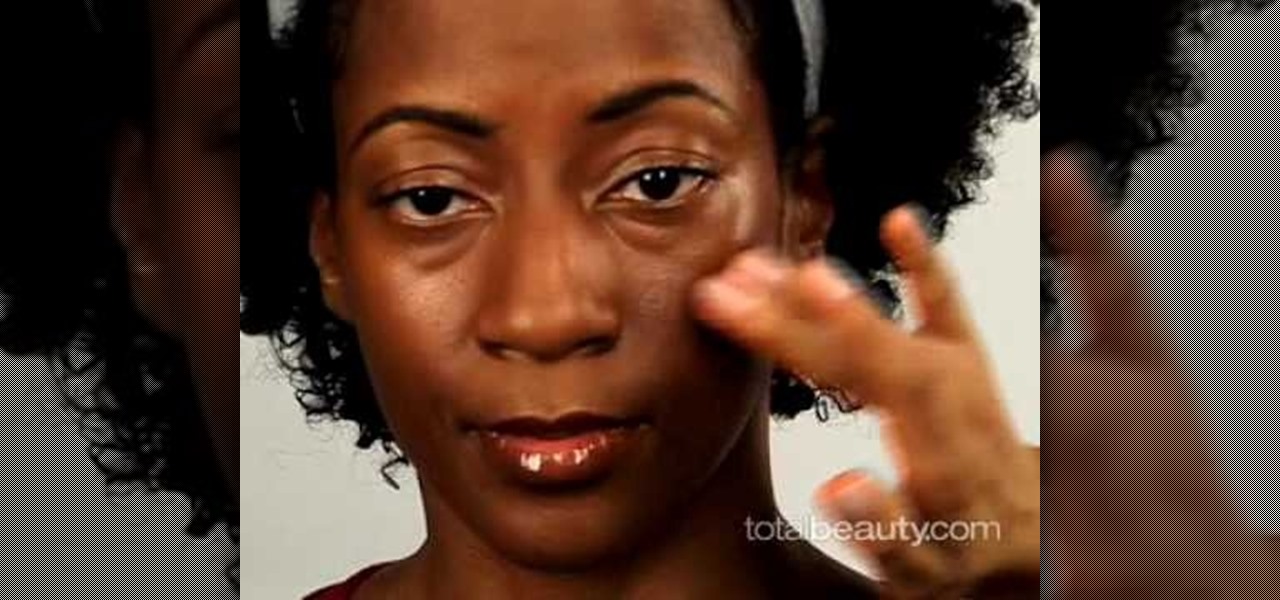
In this video, we learn how to match and apply foundation for dark skin. When you apply your foundation, you want to make sure you apply oil free on your skin to prevent break outs. Use cocoa butter on your skin as well before you apply foundation to make it go on easier. Find your shade by matching the foundation to the color on the palm of your hand. The shade on the bottle might not be right, you need to open it up and test it out on your skin first. When you find one that works for you, y...

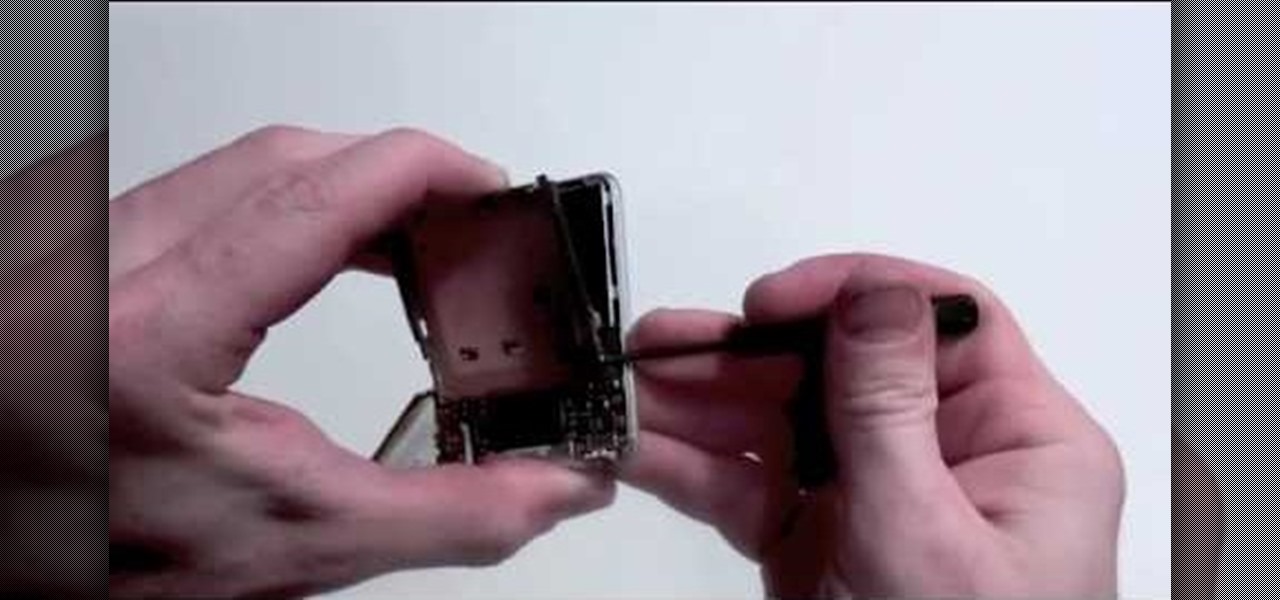
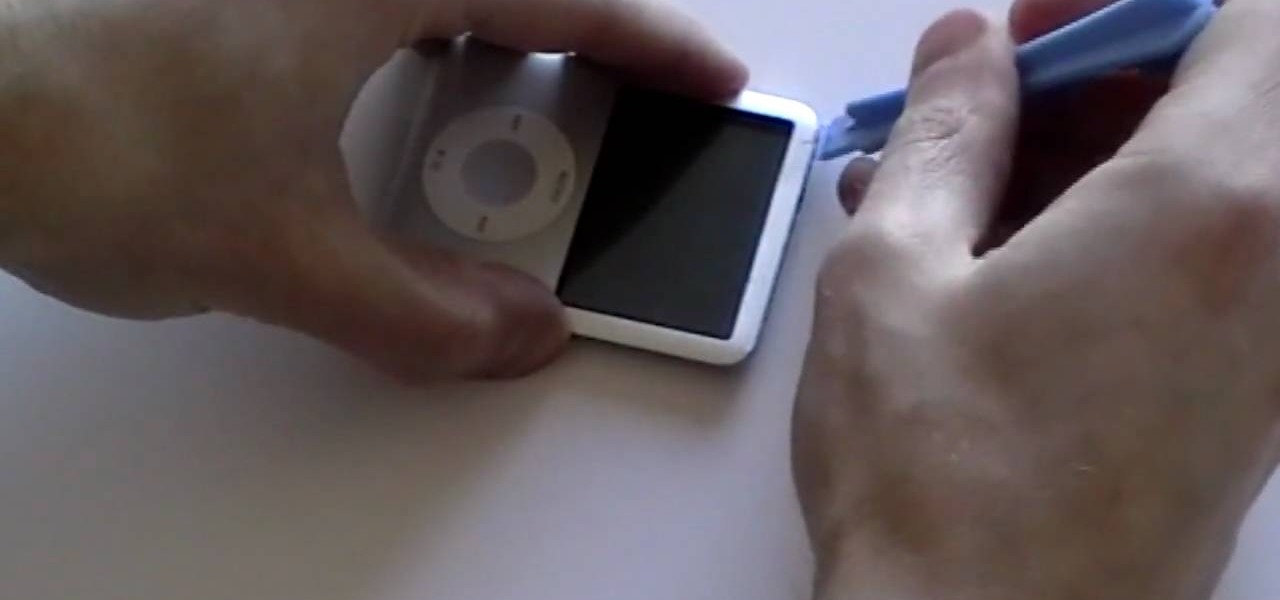
In this tutorial, we learn how to take apart an iPod Nano 3rd generation for repair. First remove the back casing using a guitar pick. Next, use a flat tool to lift up the battery carefully and remove it from the casing. You will see three wires that lead to the launch board, which are soldered into place. Now, use the flat tool to remove the back of the battery casing from the device. Now, remove the logic board by removing the 6 small screws inside of it. Next you will remove the LCD by lif...

In this how-to video, you will learn now to dismantle an iPod Nano 3rd Generation. First, run a plastic tool on both sides of the device. Once this is done, remove the back cover with your fingers. Next, unscrew the six screws on the circuit board. Store them in a place where they will not be lost. Next, remove the click wheel ribbon cable from the jaw connector. Lift the jaw connector with the tool and use a pair of tweezers to gently remove the cable from the jaw. Next, remove the small met...

This video explains how to get a barbershop shave on your own, using an easy method without causing skin to harden, smoothening the hair and skin, providing a deeper shave. Then, "Back shave" can also be done and that too in different directions. Cream will allow hair to come out smoothly. Now, take the razor and slice the hair down, if skin is not smooth, go back and slice the hair down again and clean it by applying water in dry areas or places where not shaved otherwise it will cause skin ...

In this video tutorial, viewers learn how to retouch images to have a glamour skin glow, using Adobe Photoshop. The video covers all the effects and techniques needed to achieve the glamour skin glow look. Viewers learn how to retouch skin tones and hair for a glamour portrait, including airbrush techniques. Viewers will learn how to create that super color saturated, soft, diffuse skin glow. This video will benefit those viewers who use photoshop and like to enhance images to the best of the...

Attention aspiring hunters! If you're going to go around killing animals to eat, those dead animals somehow have to end up back at your home, skinned and ready for butchering. Who does that part, you ask? Usually you, the hunter. In this two-part video tutorial, learn how to clean & skin a deer or doe.

The key to this technique is to find the right bronzer for the skin that you are applying the makeup to. Most bronzer's disappear on dark skin. So you want to find a cream based bronzer with a lot of pigments. You want a bronzer that is intense enough that you are able to see a subtle spot of color on the skin when you rub it on. To make your skin naturally warmer mix your foundation and your bronzer together. Start by mixing up a mixture that is three parts foundation and one part bronzer. A...

Temperatures plummet... a shelter, an igloo, can be built out of nothing but snow. It has to be the right kind of snow, cut from a well packed snow drift. The best snow is laid down in one single storm, it's hard and compact.

We realize that celebrities change their hair color a lot, and oftentimes without consideration as to their skin tone. But that's because they're frequently gearing up for movie role that require a certain shade of hair color.

We really hope that by now you're not careless enough to head out for a day at the beach without a single drop of sunscreen. While many gals prize deep bronzy tans that seem to make us glow and look skinnier, real tans are horrible for your skin (even if you don't get a sunburn) because anytime your skin changes your it means your skin's outer layer has been damaged and is healing itself by creating more melanin, or pigment. Which is not so attractive, right?

This video brings you fresh ideas on frozen processed Idaho potato skins that are ideal for appetizers or your bar menu. It is suggested in this video many creative ways to serve Idaho potato skins. The classic way presented is Nacho Style. The chef suggests using mango, papaya or roasted pineapple salsa instead of the traditional salsa on your potato skins. Caviar and crème fraiche is another suggestion. Other interesting suggestions are caramelized onions and bleu cheese, herb goat cheese, ...

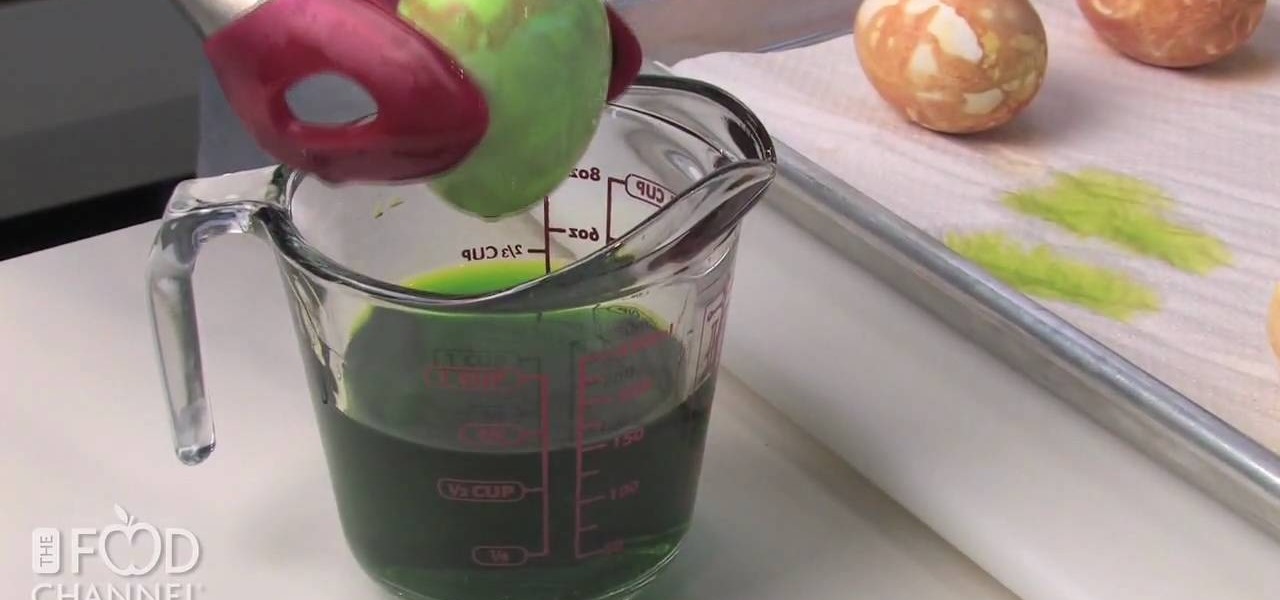
Naturally dyed eggs is the way to go for Easter time. Aside from just using your normal dyes for Easter eggs, add a unique look by just using onion skins. Onion skins will dye your Easter eggs with a cook natural color, great for eating or for decoration.

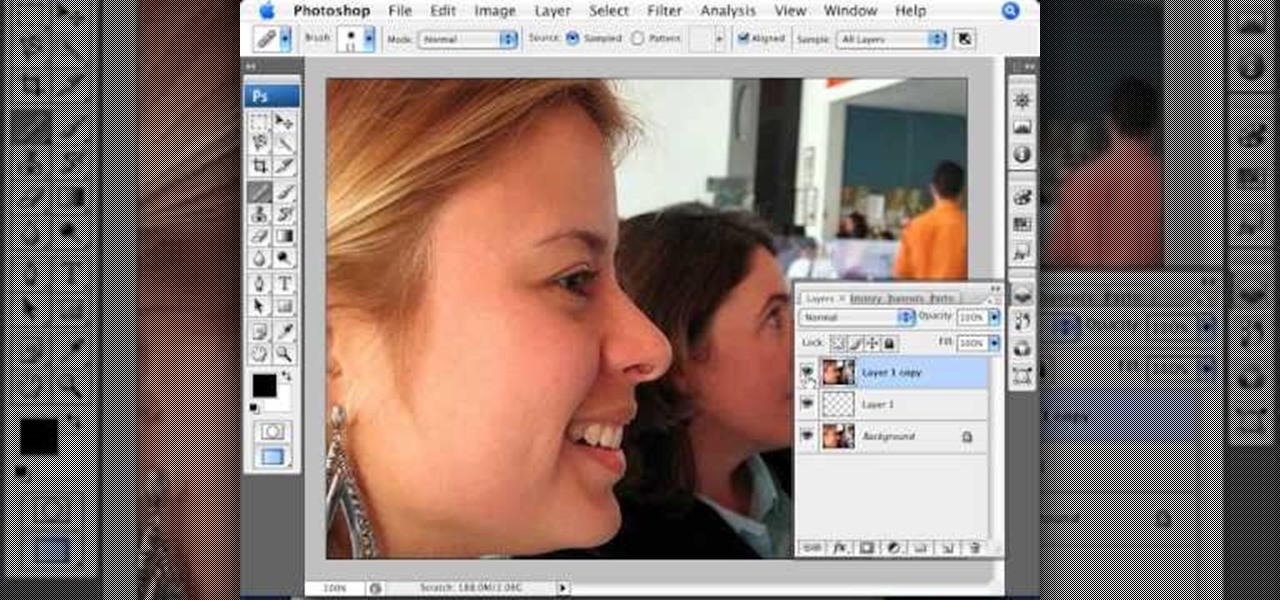
This video explains how we can have a smooth skin in the pictures using Photoshop tools. The healing brush tool is used to delete all blemishes, red spots or black marks from the skin in the photo. While doing this it is important to select smaller portions and then go ahead instead of selecting bigger portions of the skin. Later the median filter is used so that the smoothing is just optimum. This actually helps in getting the right image specially for close up photos.


