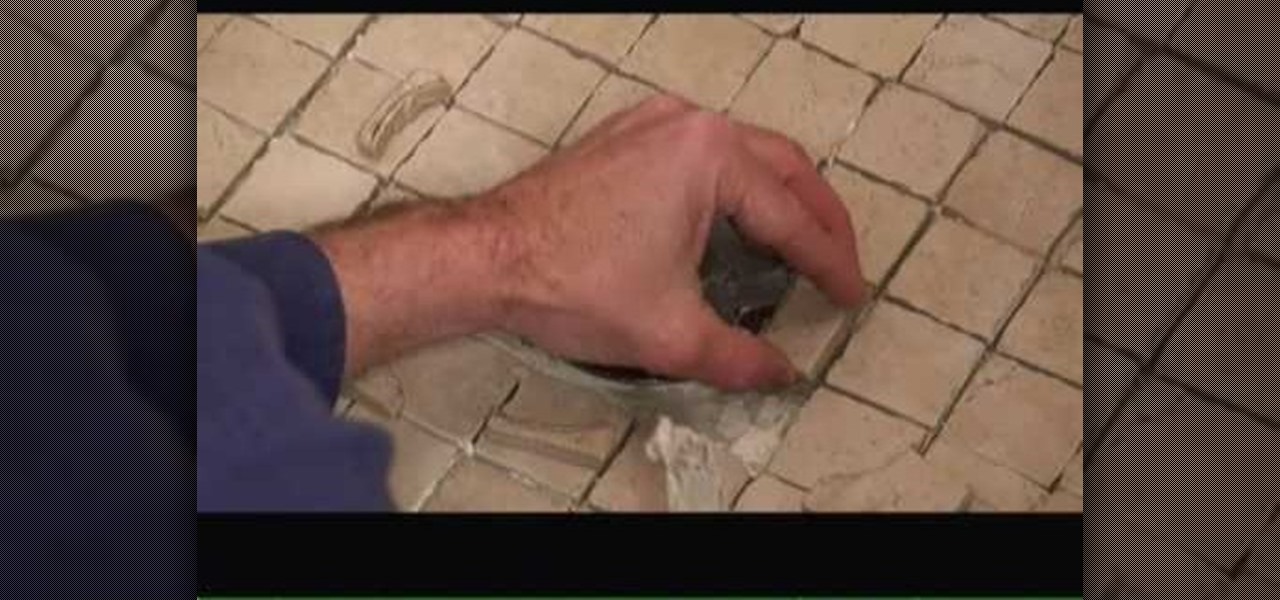
In this tutorial, we learn how to tile a shower floor and curb in your own bathroom. To start, you will need to apply the foundation of your tile with a smoothing tool from corner to corner of each of the corners. After the mortar is lied, grab your tile and press it down firmly onto the mortar. Use your hands to press down on all the corners of the tile, then place another one next to it and continue until you reach the end of the shower. Use a straight edge to cut tiles where the are too lo...
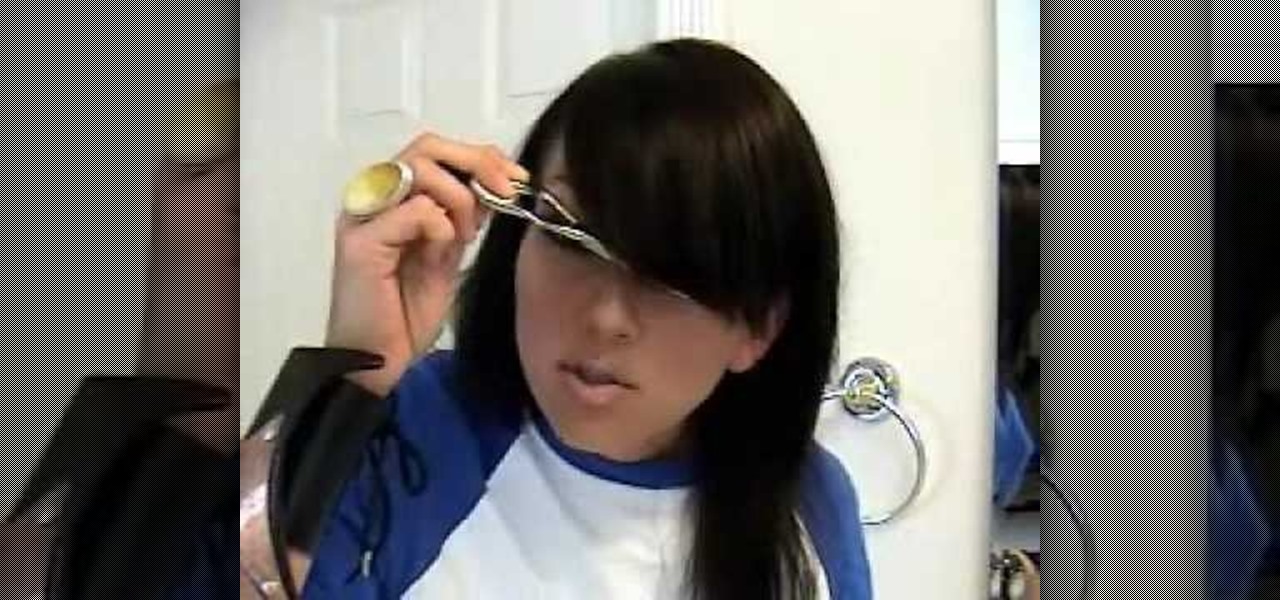
In this video, we learn how to cut side swept fringe bangs. To do this, you will either need hair scissors or a razor that is meant for cutting hair. Start off by having dry and straight hair. Next, you will curl the bangs so they are to the side of your head, using your blow dryer and a large round brush. Next, decide where you want your bangs to hit on your face. Then, brush your bangs down with a comb and use your razor or your scissors to cut the bangs to the right length. When you are fi...
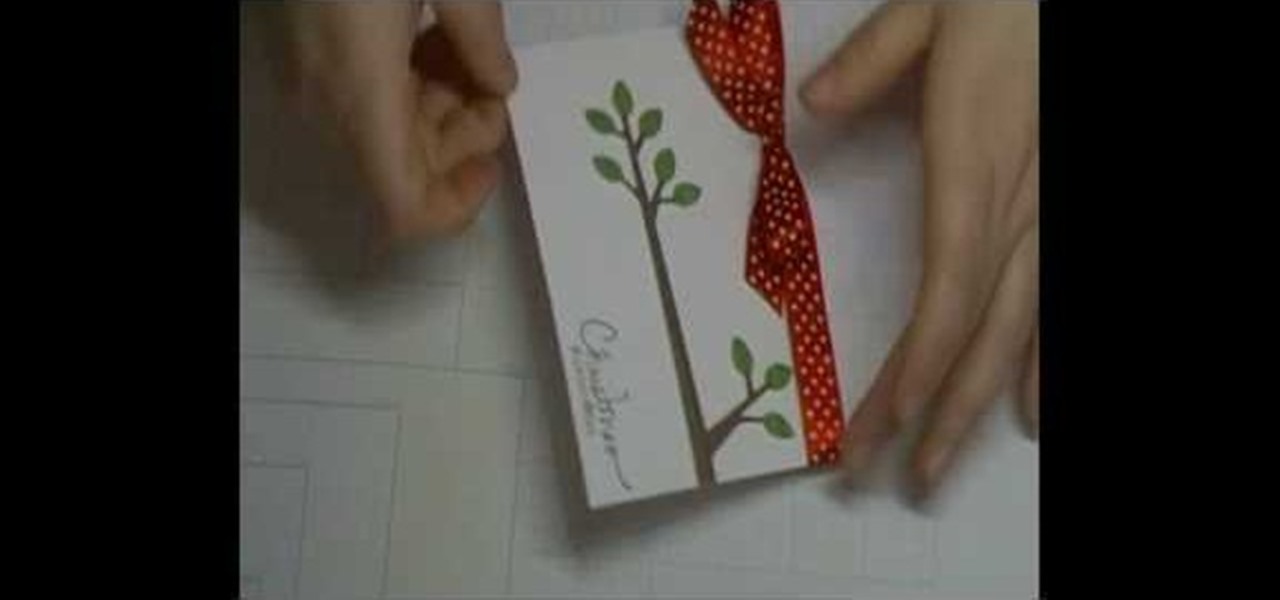
In this tutorial, we learn how to use Cricut Serenade & Joys for a simple Christmas card. First you will need to take a piece of white card stock and tie a red and white polka dot ribbon to the top. After this, you will need to take a tree branch stamp and stamp it on the side of the card like it's growing out of it. After this, make sure the color on the leaves is green and the branches are brown. Now, you will cut out another piece of card stock in a punch out to create the ornament that wi...
In this tutorial, we learn how to decoupage a picture frame. This is the art of gluing paper onto a smooth surface, then applying lacquer over it. First, gather all of your tools, including foam brushes. Next, stick the papers you want onto the smooth surface, using glue. Then, smooth out the surface using a roller and a credit card to press down onto it. Do one last run through with the roller, then apply the lacquer onto the top of it. Once finished, let this dry 15-20 minutes. When dried, ...
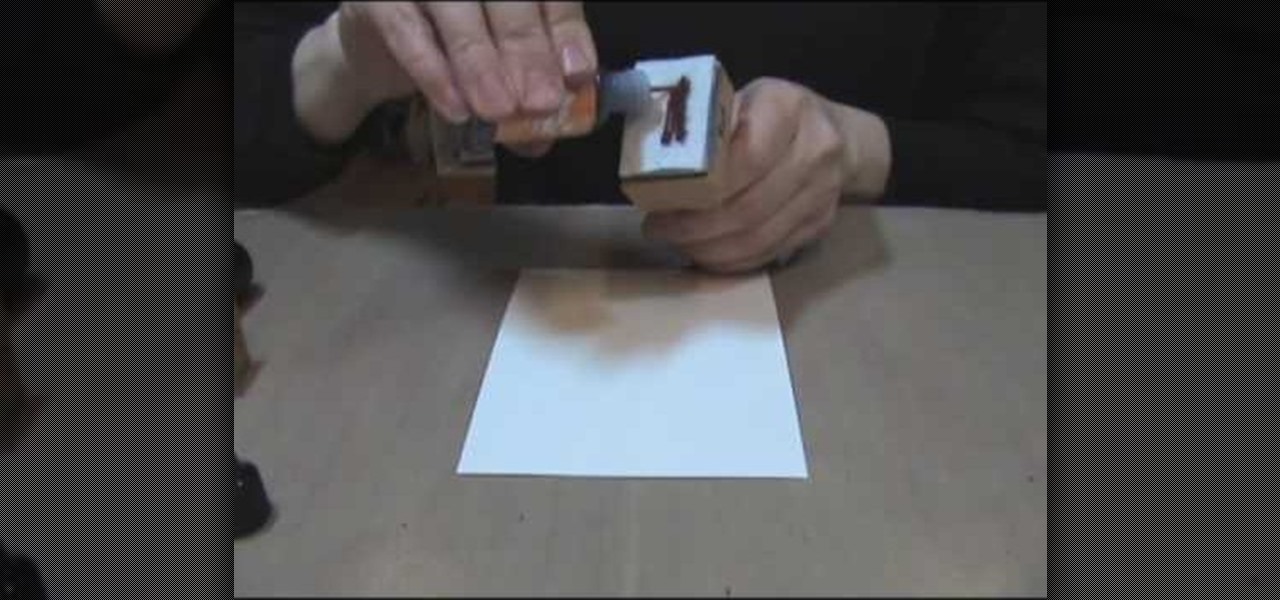
In this video, we learn how to make zebra and tiger prints with Ranger's alcohol inks. First, you will need some alcohol ink in black, gloss paper, a stamp, and felt. Now, take your felt and cut it into small strips. Make lines like a zebra or tiger would have. Next, push these strips onto the stamp bottom, arranging them to look like a zebra. After these are stuck on securely, trim off any edges and make some pointed. After this, you will squirt the black ink onto the bottom of the stamp on ...

In this tutorial, we learn how to bisect a line segment. First, you need to adjust your compass so the distance from the sharp part and the drawing part is the size of the line. Then, put the sharp part on one side and draw your arc with the pencil. Do this on both sides of the line so your image shows two arcs that intersect each other. Since you have these two intersecting lines, you can draw a line between these to show where the middle of the line would be. Use a ruler to draw this straig...

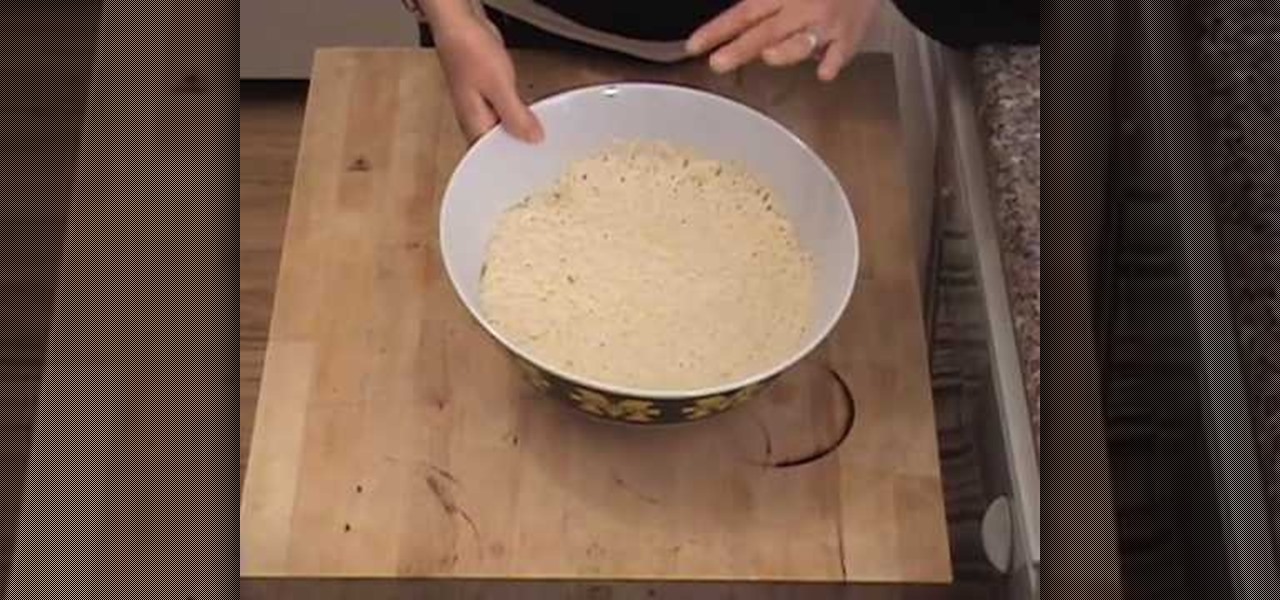
In this tutorial, we learn how to make Mediterranean pita bread. First, you will need to gather, flour, sugar, yeast, salt olive oil, and water to make this. Now, measure out 1 tsp of sugar and empty 1 packet of yeast into it, then add 1/2 c of warm water. Let this sit for around 15 minutes until it's foamy. Now, measure out 2 c white flour with 2 c wheat flour, then add in 2 tsp of salt and mix these up in a large bowl. Now, add in 1 c warm water to the dough and then add in the yeast mixtur...

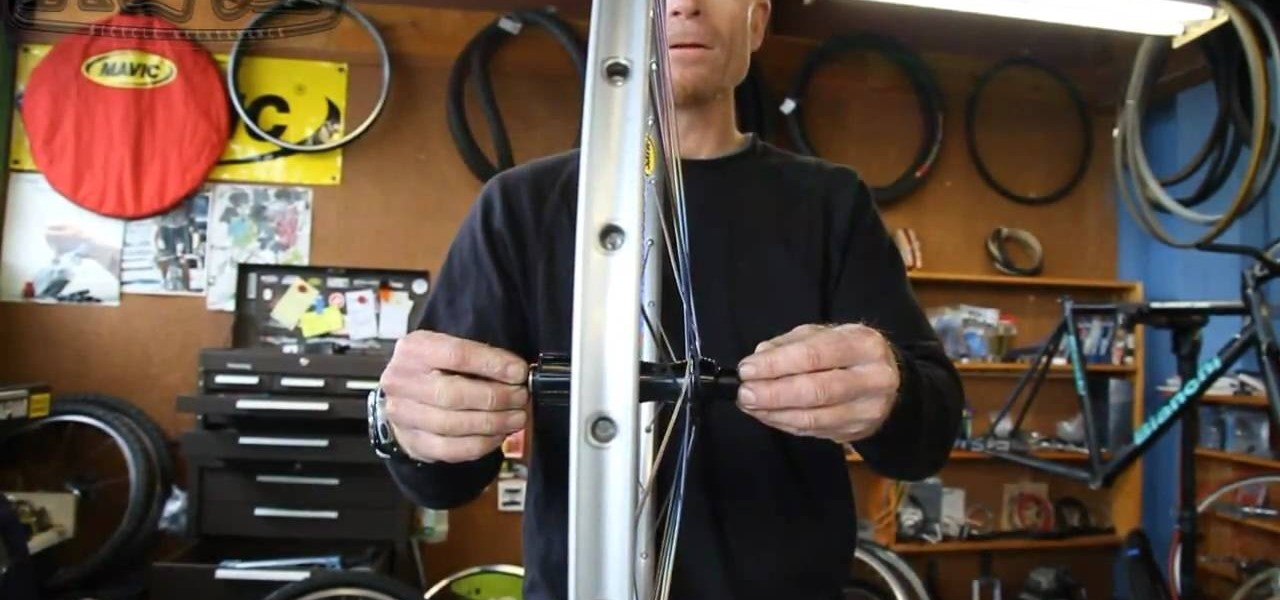
In this video, Mike shows us how to dish a rear bicycle wheel. First, you need to measure the distance from the wheel to the hub and axle. Do this on both the non-drive and drive side. Set the dish on both sides, then find the gap from each of the side. Now you will know if the rim needs to be pulled more to one side. Loosen the non-dry spokes and tighten on the dry side spokes. Do this by loosening the non-dry a quarter turn each all the way around, then tighten the dry side a quarter turn e...

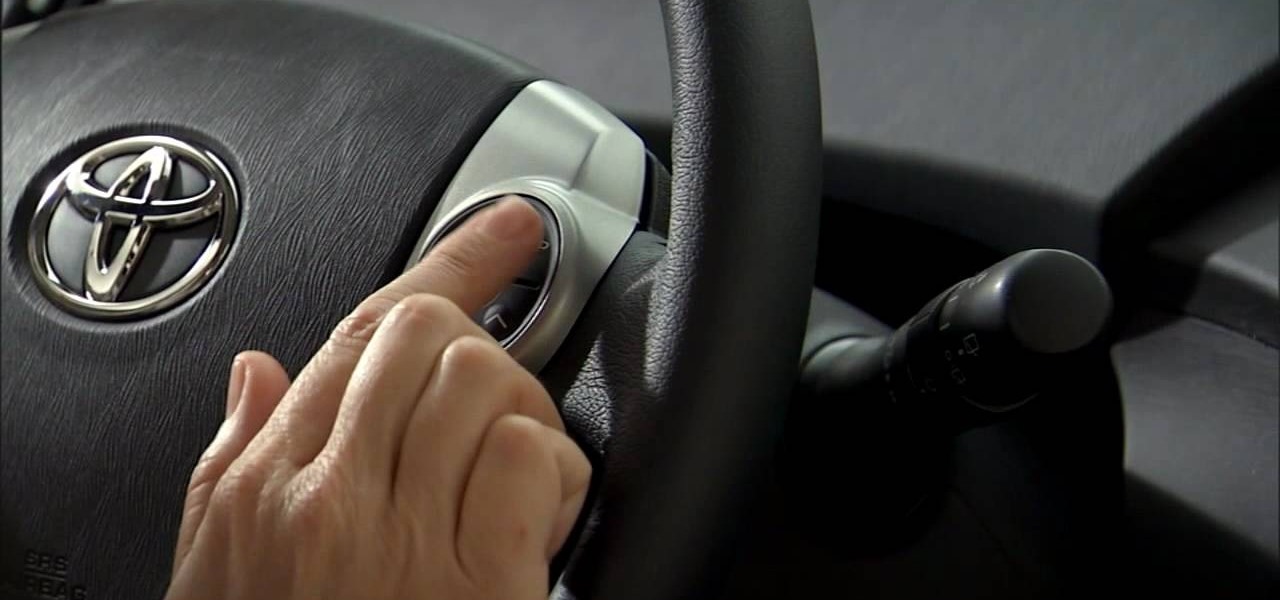
In this tutorial, we learn how to utilize the informational display in the 2010 Prius. This is in the middle of the panel display and appears after the welcoming screen. It includes a clock at the top and can be changed when you press the correct button on the steering wheel. Pressing the display button will bring up different screens to give you information on how your vehicle is running and give you history of it. It will also provide access to settings of your car so you can change the clo...

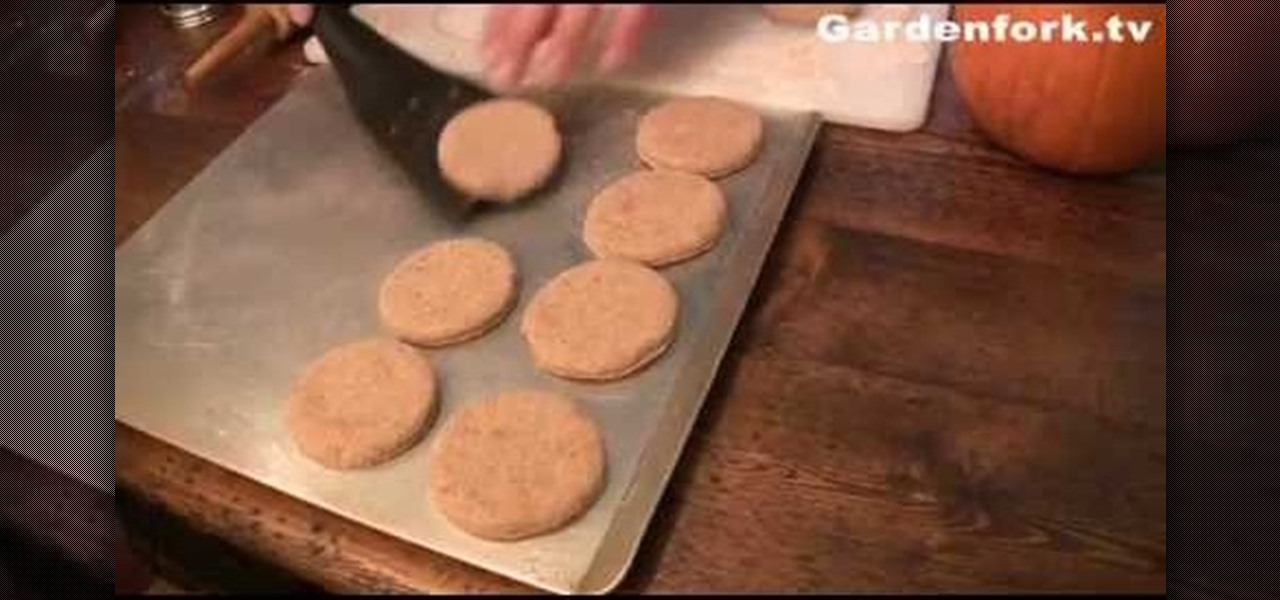
In this tutorial, we learn how to make dog biscuits. You will need: beef broth, whole wheat flour, peanut butter, and baking powder. Now, pour in 2 c flour with 1 tbsp baking powder, 1/2 c peanut butter, and 1 c beef broth. Combine these together using a fork until everything is mixed together completely. Add in more broth if the mixture is too dry, then when finished roll out on a floured surface. After this, cut out biscuits using whatever shape you would like. Then, bake these in the oven ...

In this tutorial, we learn how to break an arm in half & blow up a head in film. To do this, you will need: a tripod, after effects, and actors. First, you need to record a shot with the background and the person whose head you want to blow up. After this, put the clean plate clip over the head of your actor. Now, you will be able to clear out the person and add a mask that is exploding in the frame instead of the head. Add in some fake blood and sound effects, then you will be finished with ...

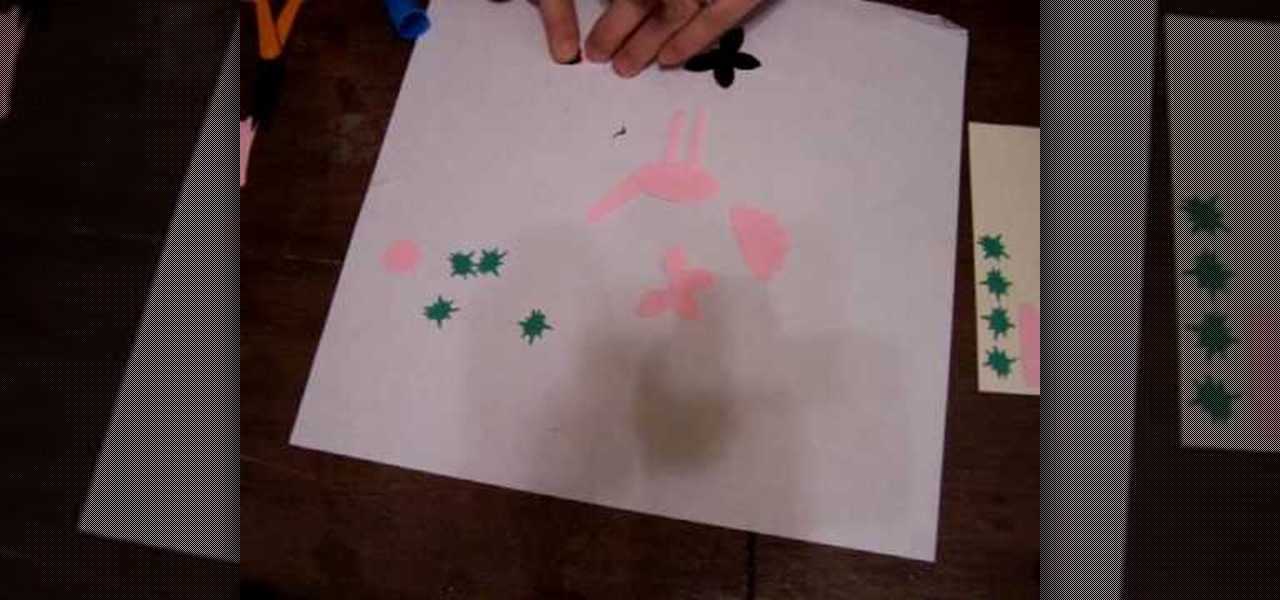
In this tutorial, we learn how to make a flamingo using Stampin' Up punches. First, you will need to punch out two five petal punches (black and pink), pink scalloped punch, large oval pink punch, 1/2" circle punch, and 2 long window punches in pink. Also, four green star punches. First, put the long lines together to make the legs, then attach to the oval shape and another long one to make the neck. After this, make the beak, head, and wings of the flamingo as well. To finish this, draw on e...

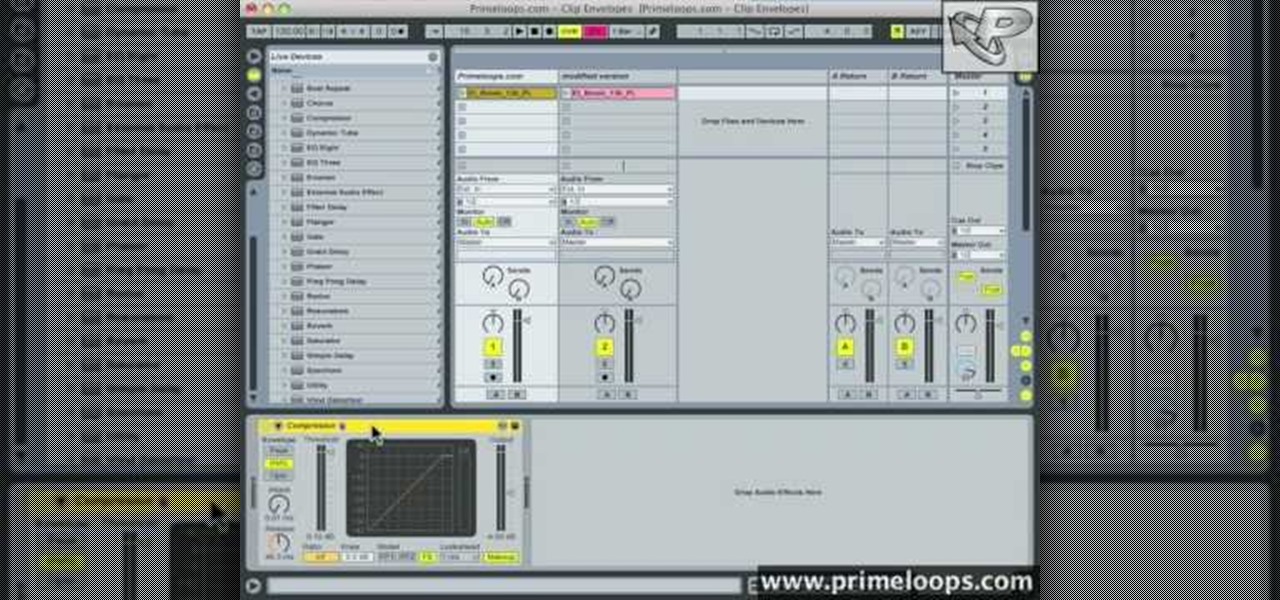
In this tutorial, we learn how to use clip envelope modulation in Ableton. This allows you to change parameters over time. You can access this by selecting your audio clip, then hitting the "E" button in the lower left hand corner. Now, you will see the envelope section where you will be presented with drop down menus. These will allow you to choose parameters and modify the tuning or position. This is an easy way to do extreme tuning changes in your audio. Continue to play around with the cl...

In this tutorial, we learn how to gel your flash to blend it with ambient light. First, you will need to be indoors with lights on and grab your camera. Make sure you have a separate flash on the camera, then take an amber colored film strip and place it over the flash. Next have your subject sit down and start taking pictures. Use different shades of amber and when you see the pictures it will have the background light more dim than the subject in the picture. When finished, you will have a ...

In this tutorial, we learn the basics of grilling with Lowe's. All foods can be cooked to perfection on the grill, but you will need to have the right tools. Meat thermometer, skewers, basting brush, grill cleaner, and a spatula are all tools that are key to grilling perfectly. Grill your own special way, but make sure you clean the grill after you are finished. You can do this by closing the lid and putting the grill on for a couple of minutes. Then, clean the grill with a clean cloth and ge...

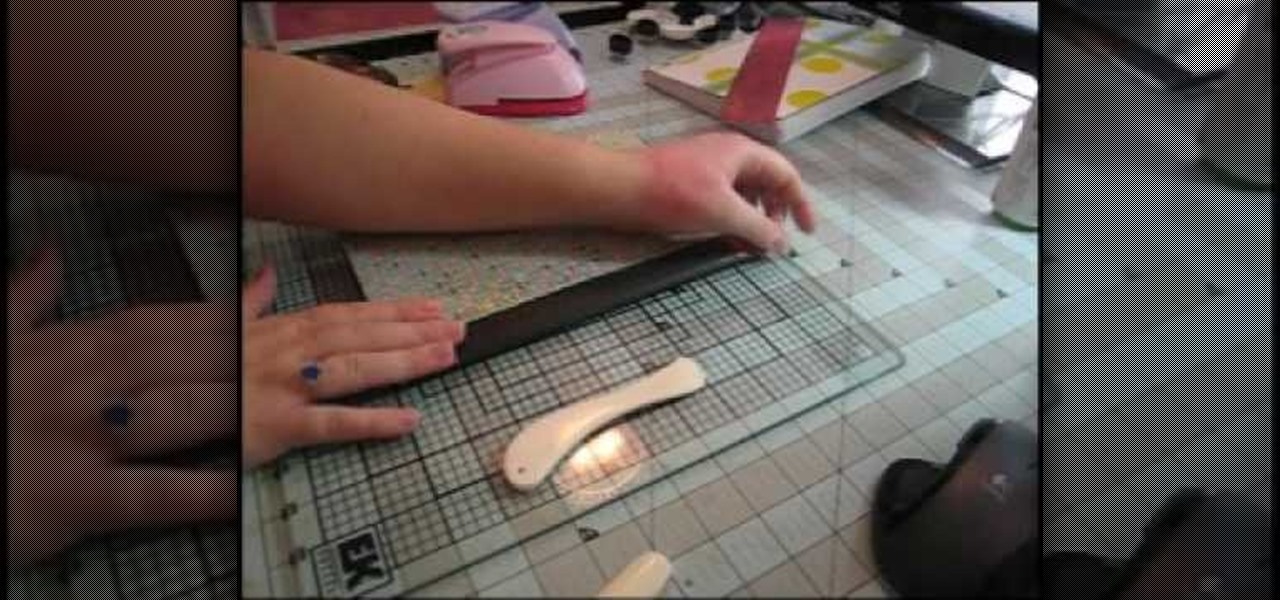
In this video, we learn how to turn a composition book into a decorative notebook. First, measure your composition book, then measure out that same size on a piece of decorative paper. Next, put adhesive on the back of this on all four edges, then diagonally. Now, you will have a solid attachment for the paper to be placed on top of the composition notebook. Use a straight edge to push it down and it's completely flat. Then, use scissors to cut any excess paper off of the edges and corners. Y...

In this tutorial, we learn how to make a Max from Where the Wild Things Are. First, you will make the ears and the tail for the costume. Use felt for the ears and a furry type of fabric for the tail and the body. Cut out all of the different materials, then sew them onto a large off white colored hoodie. Once you have finished sewing these on, put the hoodie onto your body to make sure everything is secure in place. After this, put on shorts and sew the tail to those, then you will be able to...

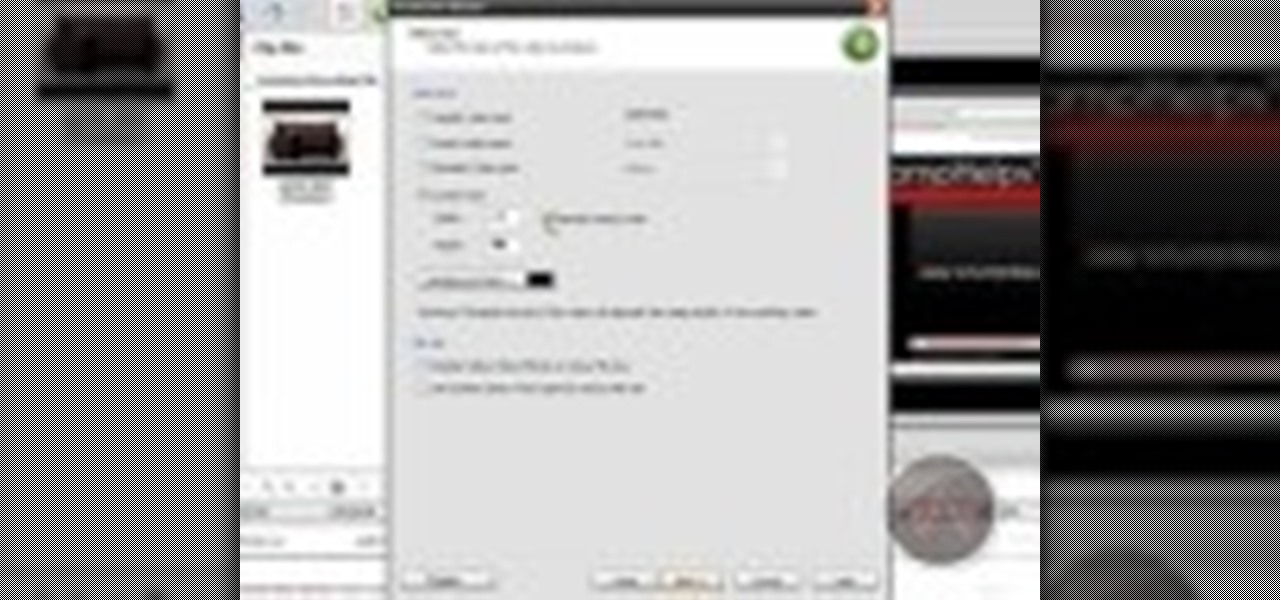
In this video, we learn how to enhance the audio in your Camtasia Studio 5 videos. First, set your video to 640x480 and then choose the option to zoom yourself. Now, click the zoom in button to zoom in on the time line with your audio. Then, right click the audio and go to "audio enhancement". Once here, click the first option under background noise removal, then click the remove background noise button. Now, when you play back your audio, you will hear a huge difference in what you just play...

In this tutorial, we learn how to capture HV30/HV20 HD video in Sony Vegas with Bill Meyers. First, go to "file" then "capture video" if nothing is happening, you can fix this. Go to "options" then "preferences". Now, click on the video tab and if you are uploading in high definition, you will need to un-click the box that says "use external video capture application". When finished, click on "apply" and you should be able to capture live video. Instead of seeing the blank screen when you cli...

In this video, we learn how to clean brushes using Genesis cleaner for reborn dolls. First, dip the brush into the cleaning solution and allow the dye to drain off of the brush. After most of the paint is gone from the brush, dip it into water and continue to clean until the water running over it runs clear. Continue to repeat this process for all of the different brushes you have used. When finished, lay the brushes down on a flat and dry surface, then let dry overnight or until they are com...

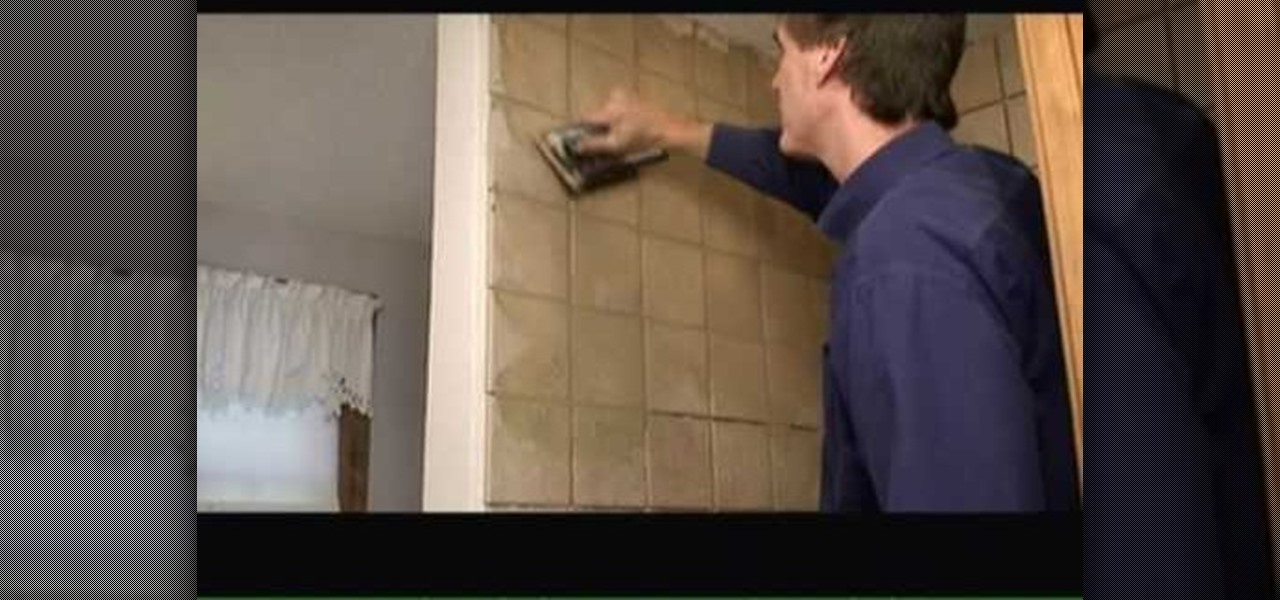
In this tutorial, we learn how to grout tile in your custom tiled shower. First, you need to score away anything in between the seams of the tile. Now, grab a bag of sanded grout mixture and grout enhancer. Next, wash the surface of the tile with a damp sponge to take off any impurities. Then, mix half the bag with half the enhancer and stir until combined. Use a tool to rub the mixture onto the walls and leave it on for 15-20 minutes. Now, go over the area with the mixture and go over it wit...

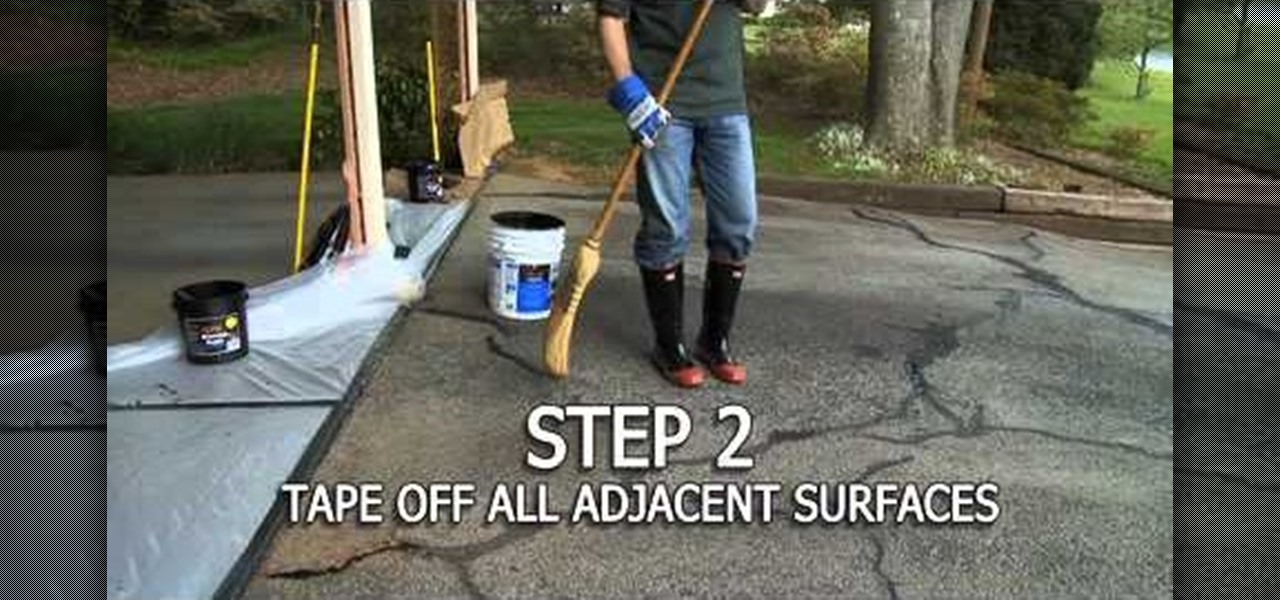
Once you've patched all of the cracks and potholes in your home driveway, it's time for protecting it from further damage. Sealing your driveway will protect from further ghastly and bothersome cracks and potholes. Lowe's knows what works best— QPR's Professional Grade Driveway Sealer.

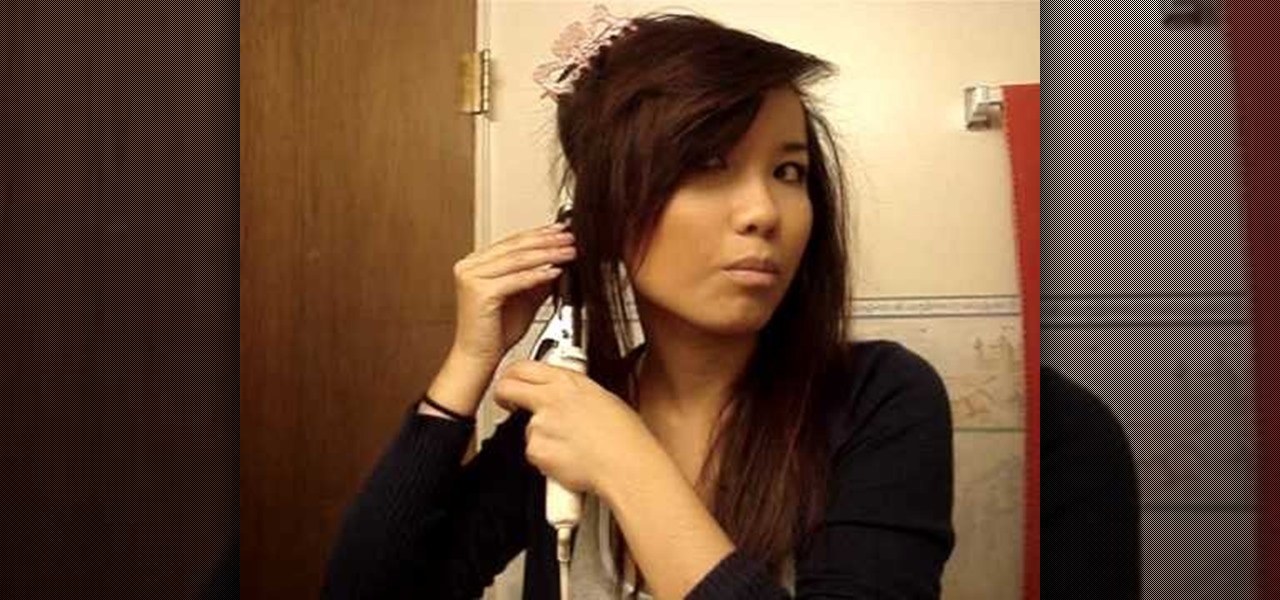
Make yourself princess for a day by creating the lovely Rapunzel-like curls presented in this video. Don't get us wrong - straight hair is sleek and modern - but when we're in the mood for romance we make a beeline for the curling iron.

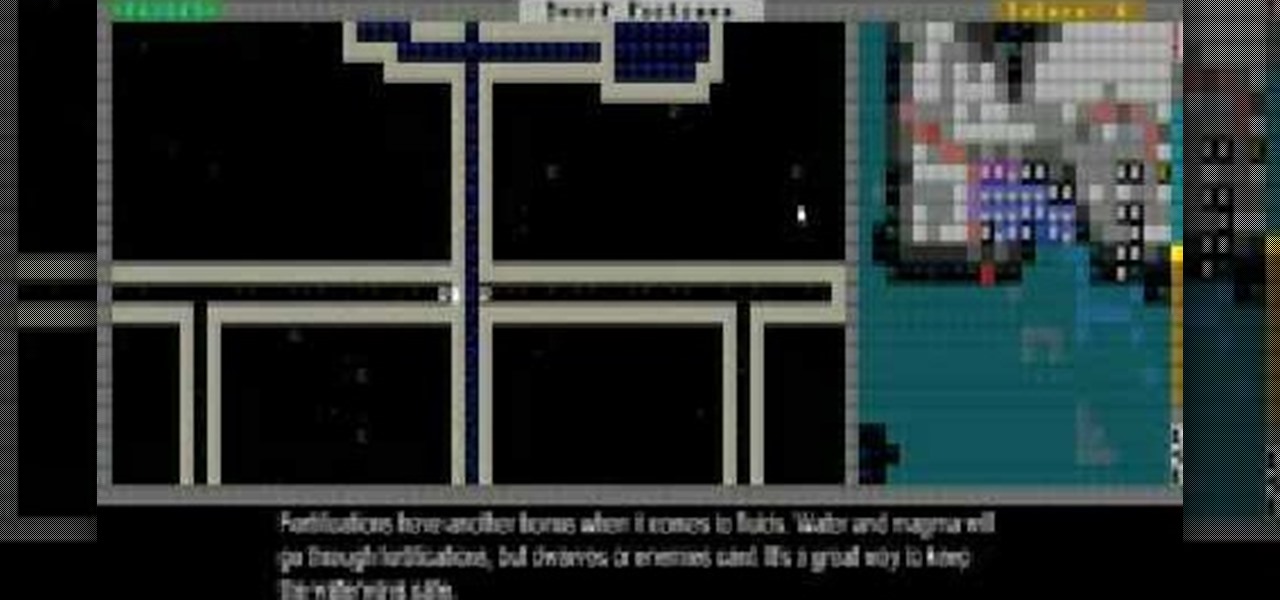
If your fortress is pretty big and advanced, watch this video. It will give you some advanced tips on building a nearly complete fortress, then show off the creator's beautiful, 20-tutorials-in-the-making fortress.

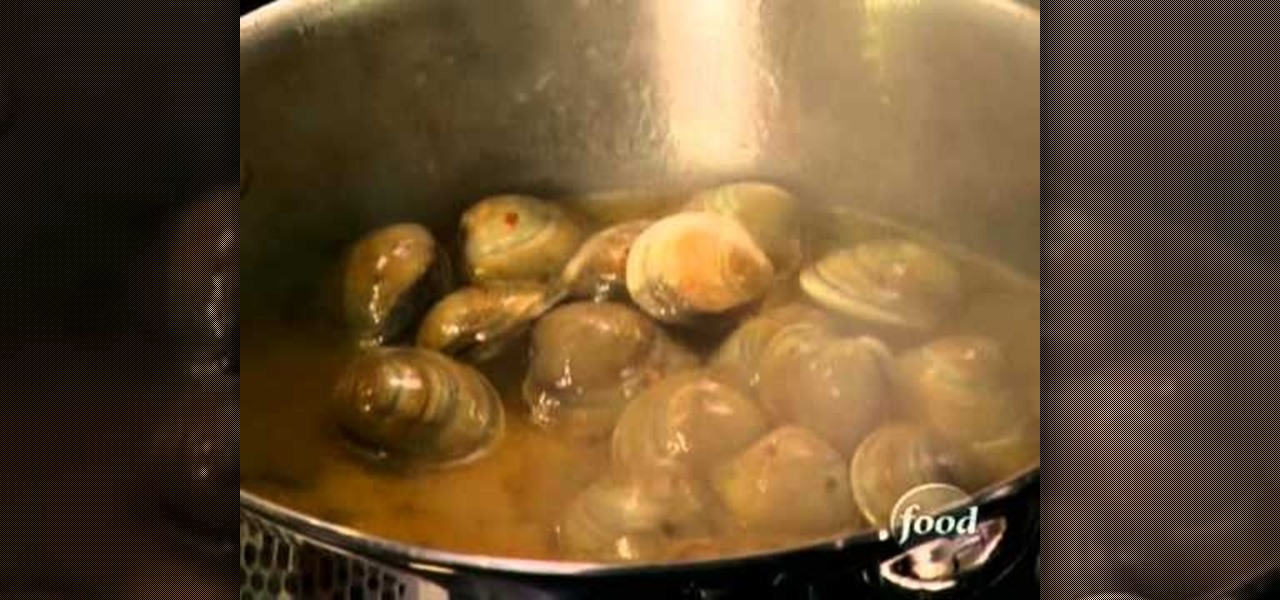
Health nuts berate creamy sauces because they're too full of fat, carbohydrates, and calories, but who said you couldn't indulge every once in a while? If you love pasta and you love creamy foods then this linguini, topped with a creamy white clam sauce, will be your heaven on earth.

What's in a name? Well, your chemistry grade, for one. In this free video science lesson from Internet pedagogical superstar Salman Khan, you'll learn how to name alkyl halides. Whether you need help studying for that next big test or could just use a hand finishing your homework, you're sure to be well served by this video lesson. For more information, including detailed, step-by-step instructions, take a look.

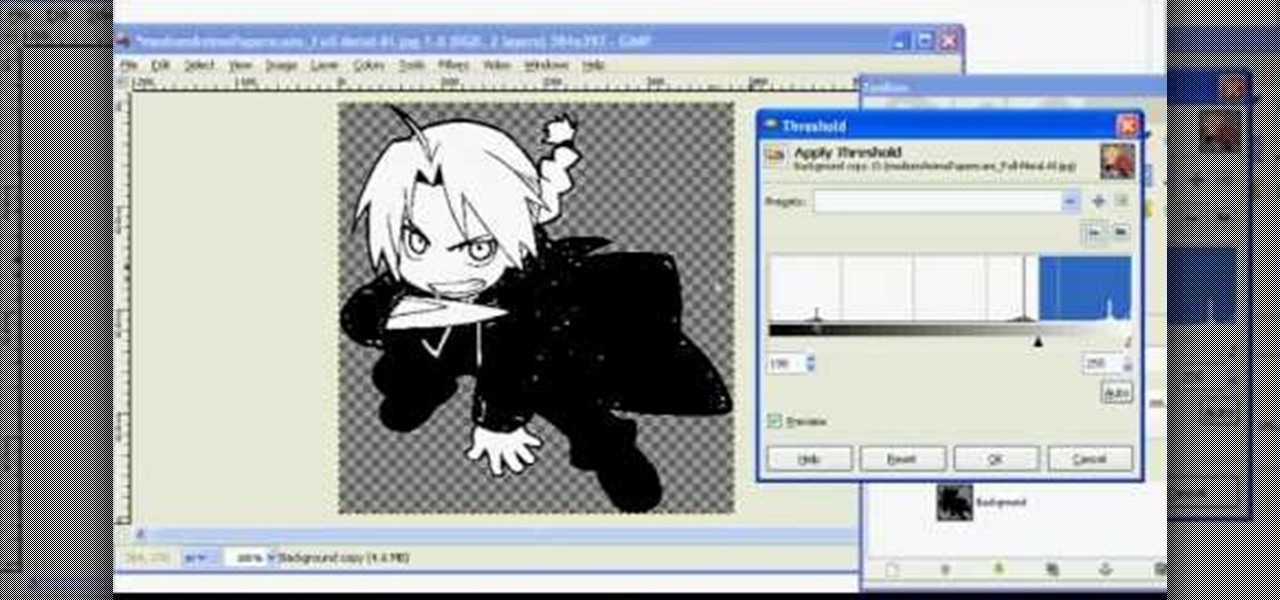
In this tutorial, we learn how to make 2-layer stencils in GIMP. First, cut out the background before you begin. Now, right click on your main layer and then select "add alpha layer". After this, select the magic wand tool and delete all the white areas on the outside of the picture. Now duplicate the layer, then hide the top layer and select the bottom layer. Now, go back to threshold and move it all the way to the right to get an outline of the image. From here, go back up to the top layer ...

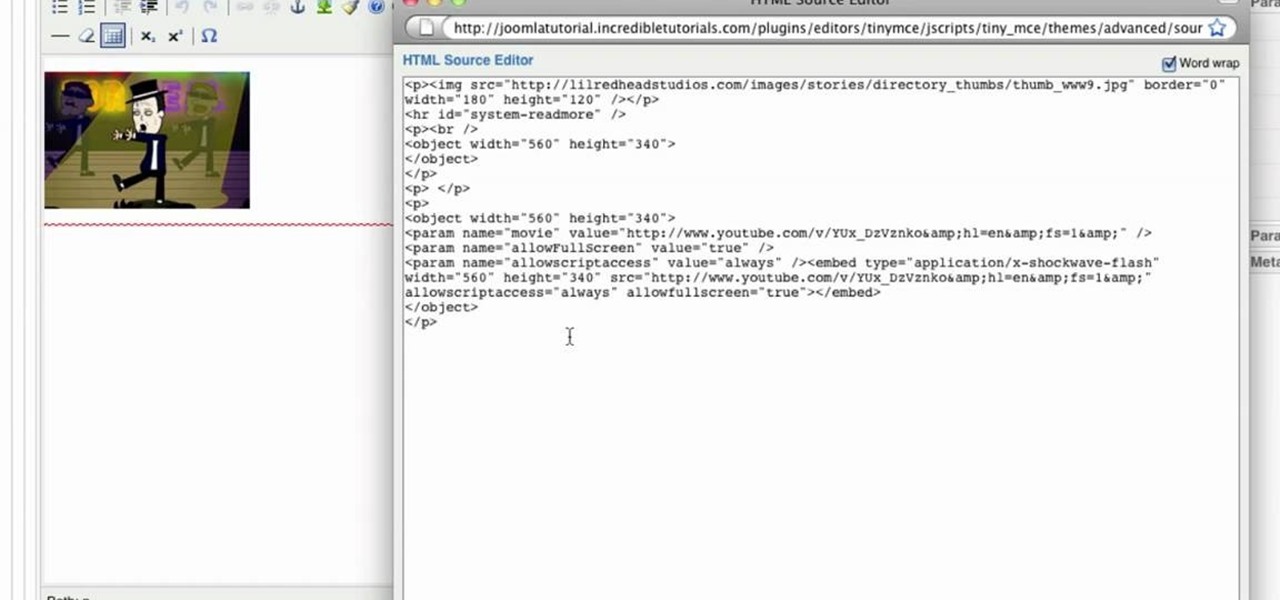
In this tutorial, we learn how to install plug-ins on a Joomla website. First, download the AllVideos plug-in through extensions.joomla.org. To upload, go to the extension manager and then enable to plug-in. Now, go to extensions, then plug-in manager. Once here, you will have access to all your plug-ins. From here, you can control which ones you want enabled and disabled. After you do this, you will be able to use the plug-in that you just uploaded to your website. Do this with all the diffe...

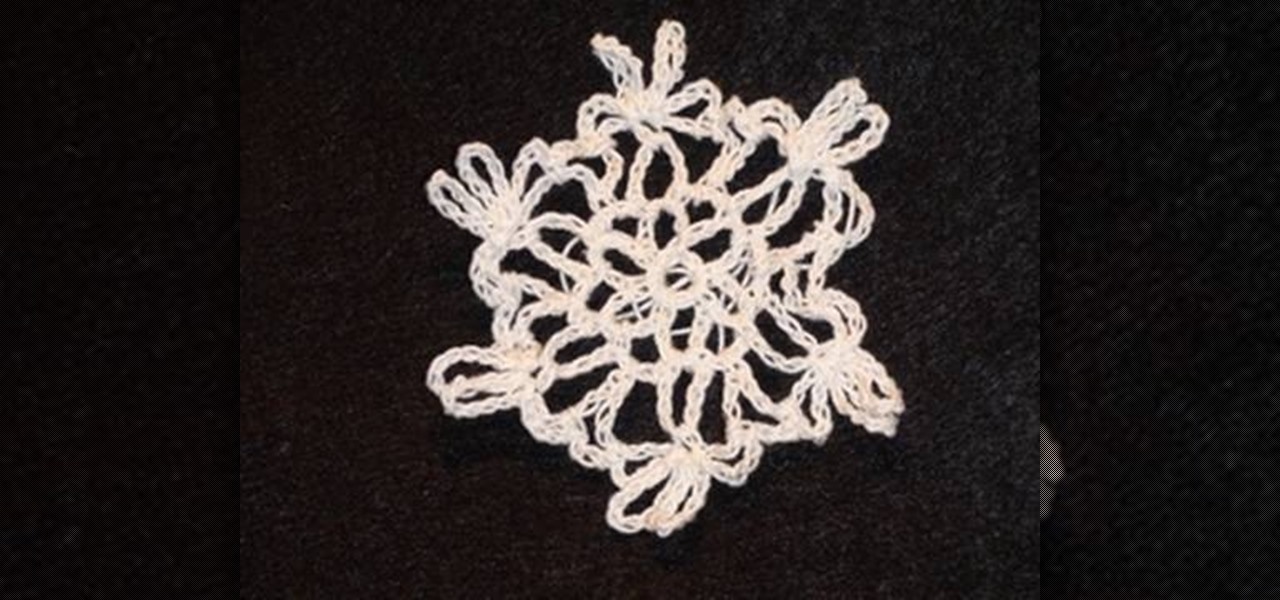
In this tutorial, we learn how to crochet a left handed snowflake. Start out with a chain 7, then join. For round 1, you will do a chain 6, then single crochet in the loop five times. Then, chain 3 and join at the beginning of the chain. For round 2, chain 3 in the next loop, then chain 8 and single crochet in the same loop, five times total. After this, chain 3 a single crochet and then triple crochet at the base of the beginning loop to join. For round 3, single crochet in the same loop, th...

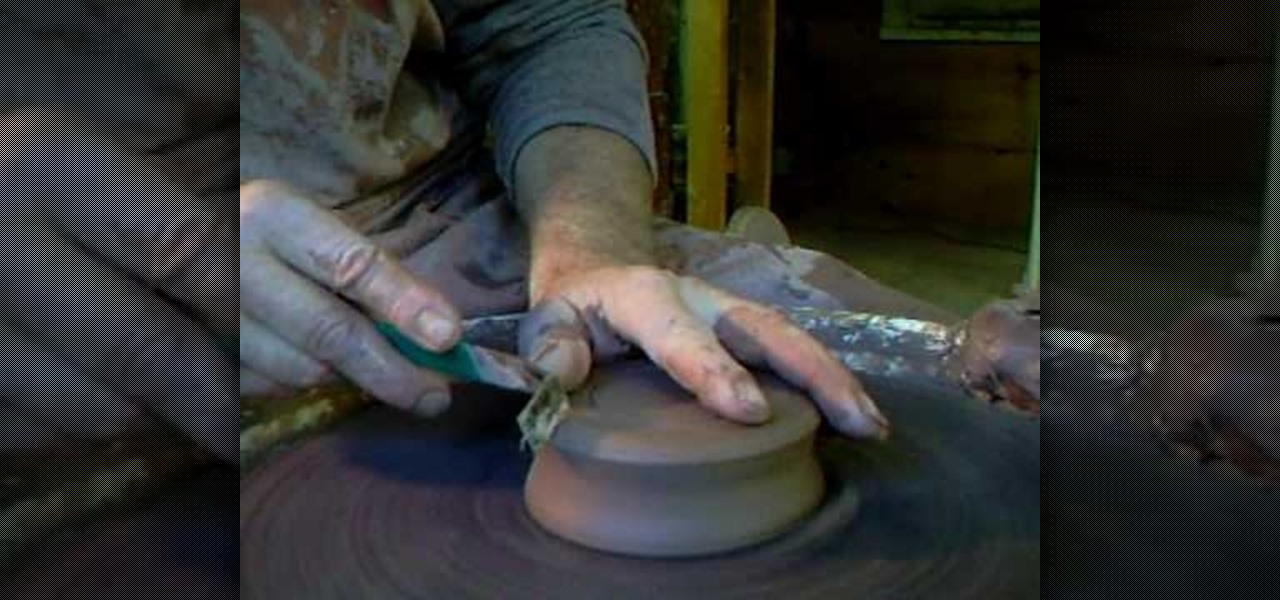
In this tutorial, we learn how to make simple pot stands. Start with your clay on the table and use water and your hands to start to shape it. Press down on the ball until it forms into a low bowl shape. Then, start to add more clay and water to the sides of the pot so that it's thicker on the edges. After this, place the pot stand onto a ceramic drying area, then you will be able to glaze it and fire it. Clean off your spinning table after you are finished, then enjoy your pot and pot stand!

In this video, we learn how to program Geolocation on the iPhone. First, start up Xcode and start a new project. Name this "where am I" and then expand out your groups. Now, type in "corelocation/corelocation.h" and "mapkit/mapkit.h" in the view controller and space file. Type in the rest of the code to the program, then open up the program on your computer. Drag and drop the tabs into the viewing window, then grab buttons and other tabs to go onto the screen for the phone. Once finished, sav...

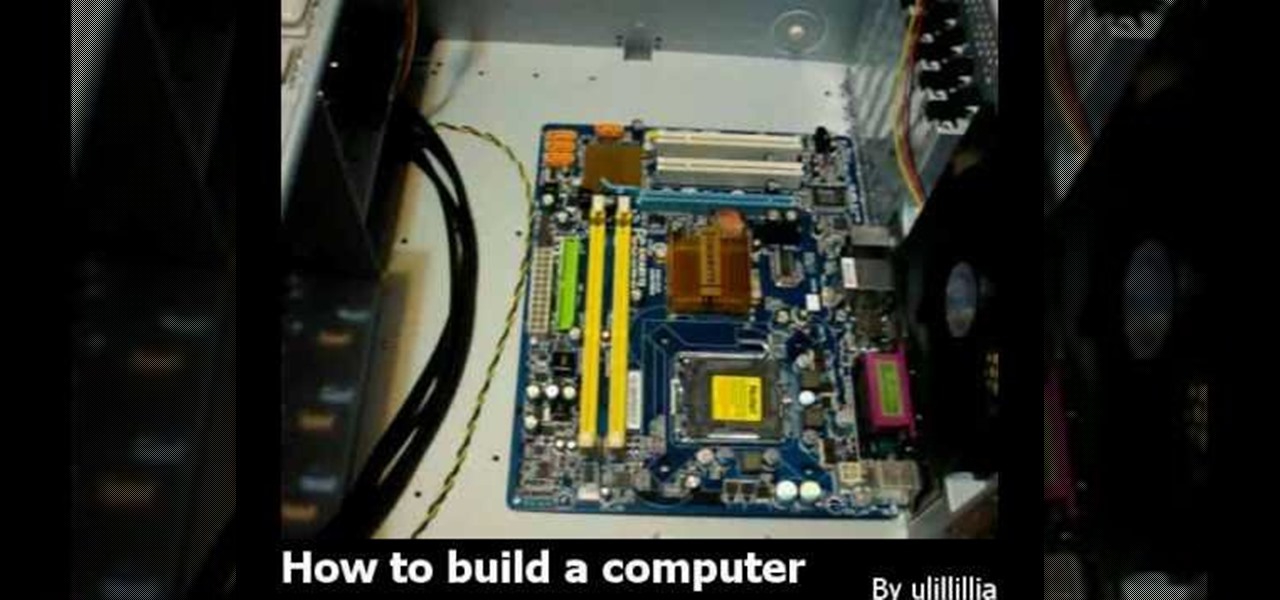
In this video, we learn how to build a computer. First, you will need to make sure you have all the appropriate parts for your computer. You will need to have the hard drive, cables, ram, video card, motherboard, sound card, CD burner, etc. When you start to build your computer, you will need to pay attention to where you are connecting everything. Soldering will be needed for a lot of different things and you will need to make sure you are connecting everything in the right spot. When you ar...

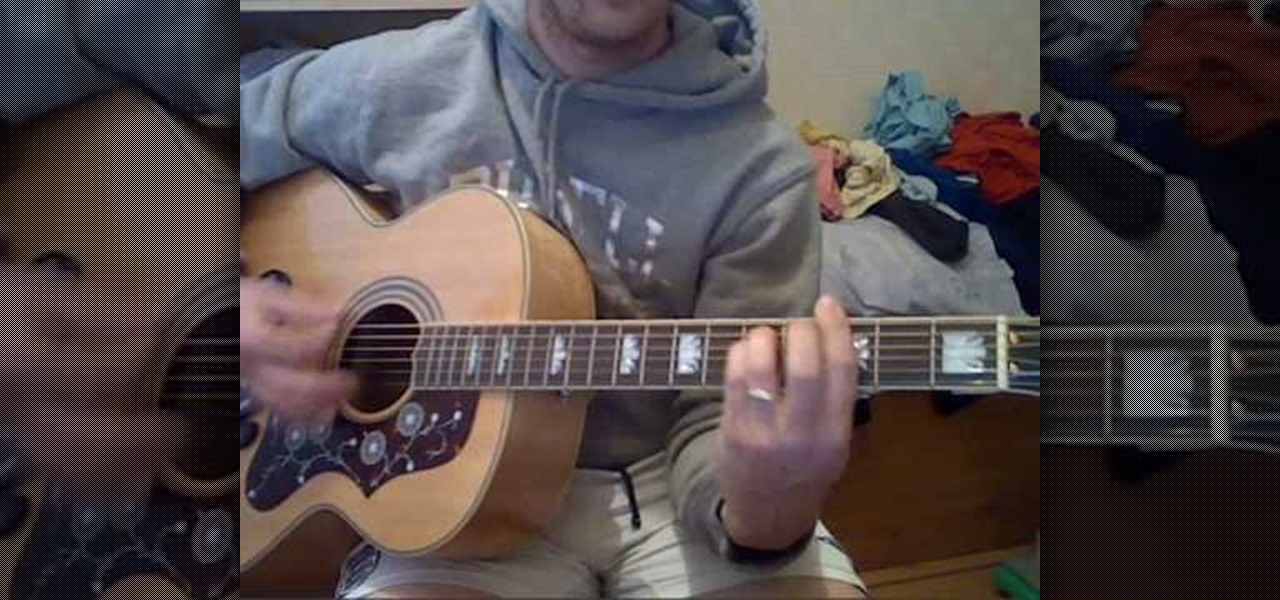
In this video, we learn how to play "And I Love Her" by The Beatles on guitar. Start out with the intro and an F sharp minor. Then, move to an E 6 and move to the second fret second string. Place these separately, then all together to play the entire intro together. Now, place an F sharp minor, C sharp minor, F sharp minor, C sharp minor, C sharp minor, then E, B, and E again. Continue on throughout all of the verses, then add in the chords to the chorus. Play all together, then when finished...

In this video, we learn how to tie the qianjing on a erhu. First, measure and cut 60 inches of Qian Jin string, then place one end on the neck and make a downward loop. After this, loop the rest of the Qian Jin over the neck, across the loop which you just made. Then, loop five times around the neck going down. Loop over the strings then use the thumb to space the strings between the neck. Next, move another five strings around the poll in the same direction. To finish, tie the end of the loo...

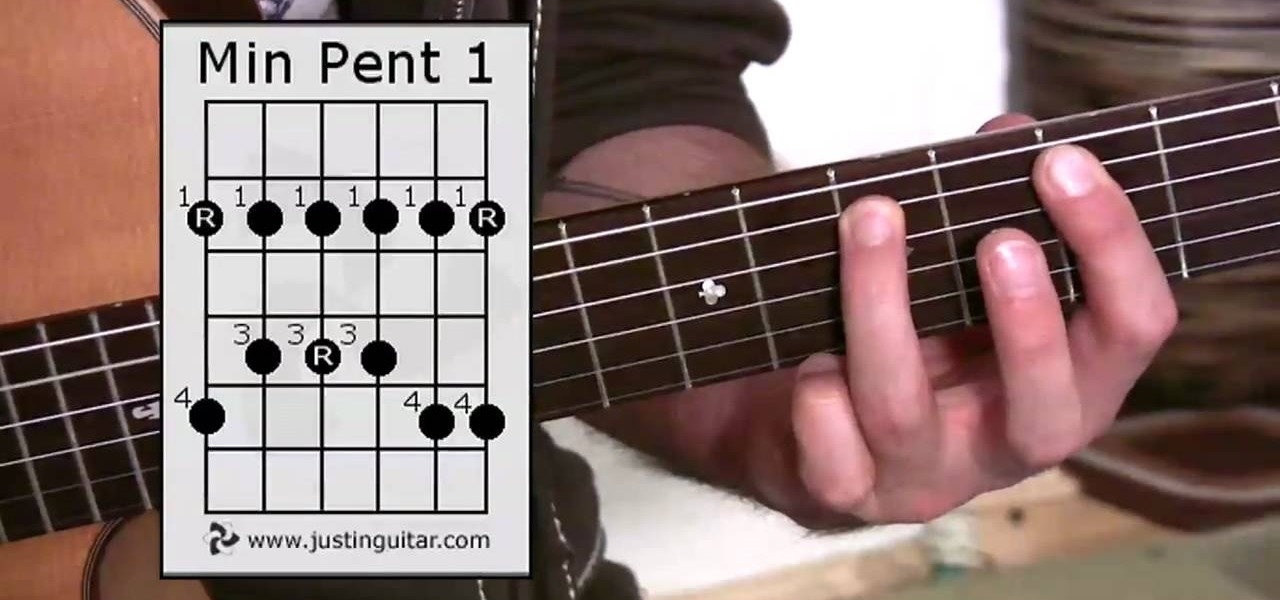
Justin teaches us how to play the minor pentatonic scale in this tutorial. This is a useful scale that you will use as long as you play the guitar. Start with your first finger in the fifth fret of the thickest string. Play A, then reach up with your fourth finger in the eight fret. All fingers should be in ascending order with the different frets. Move onto the next string, playing first finger and third finger. Go onto the next string with the fingers changing in between the frets as you go...

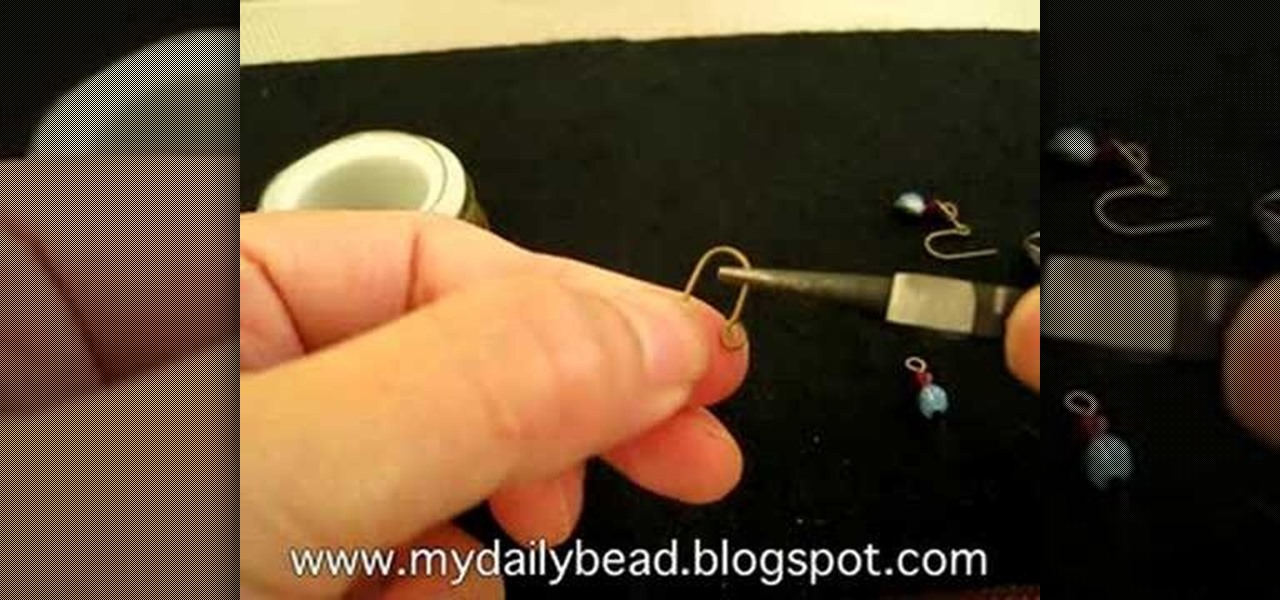
In this tutorial, we learn how to make earrings with Swarovski Crystal & coiled wire. You will need: 6 mm round bead, 4 mm Swarovski crystal, 2 inch head pin, and coiled wire. First, place the beads on to the head pin then bend the pin to 90 degrees. Cut this around 8 mm with a wire cutter, then use pliers to curve the bottom of the pin into a loop. Now grab the wire and cut it into a small strip. Form a loop at the bottom, then twist it into a wired circle. Attach this to the loop on the ear...

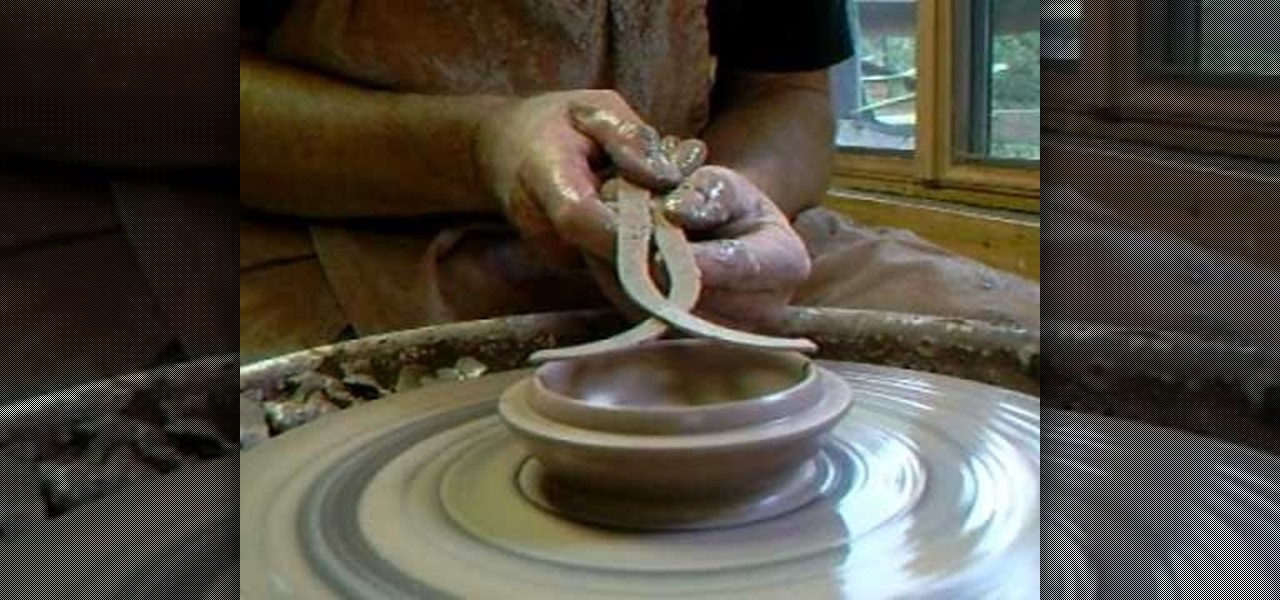
In this tutorial, Simon Leach teaches us how to make lidded boxes. First, grab your pot and dip the top of it into water to get it wet and soft. Now, grab a small amount of clay and set it on your spinning table. After this, get your hands wet and start to craft a lid out of the clay. Make an inner base as you are spinning the clay by carefully placing your finger on the side of the top. When finished spinning, place the top down and see if it's the correct size for the pot, then glaze and fi...

In this tutorial, we learn how to crochet a left handed streamer hat. For the first round, you will chain four, then double crochet through the loop. After this, repeat nine times from the beginning then slip stitch to join the beginning chain 3. For round 2, attach contrasting color of yarn, then chain 2. Single crochet in the previous chain 1 then go over the double crochet. Work 2 single crochets in the next crochet 1 then work a single crochet in each space. Slip stitch to join with the b...

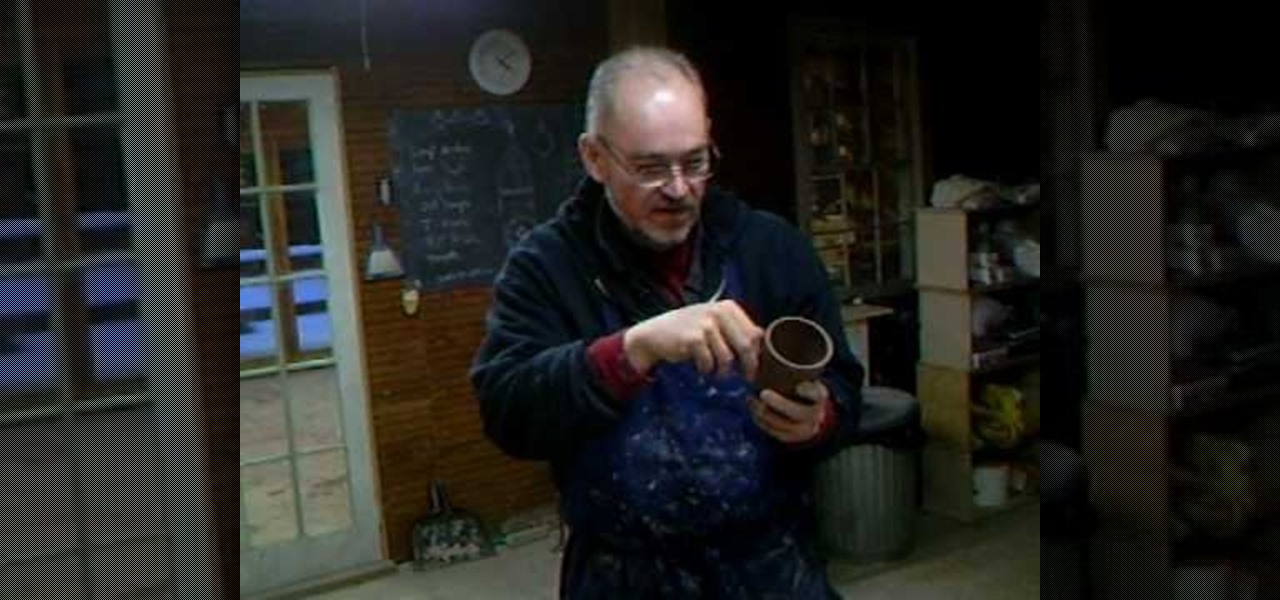
Simon Leach teaches us how to put handles on your ceramics in this tutorial. The key thing is to never let the handle fall as you are adding it to a cup, always keep it supported. Look at the handle as you are placing it on and think about proportion and size. If it's sticking out too far it's going to get knocked off. You need to have an elliptical shaped handle when you are shaping them so they can be gripped properly. Don't score the bottom part when you are joining the handle to the botto...

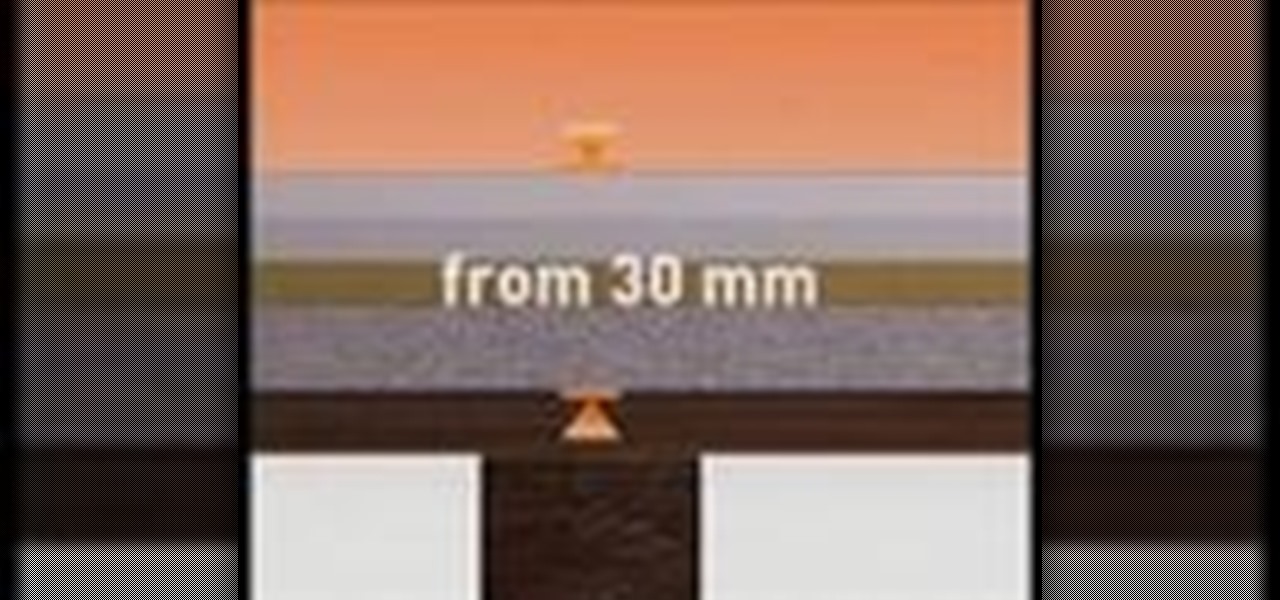
In this video, we learn how to install dry acoustic flooring with Fermacell. To start, you will level the floor and apply compound if you need. Next, you will lay the Fermacell around the room on top of the leveling compound. Push the flooring tightly together so there are no spaces in between them. You may need to cut the flooring to make sure it's the correct shape for the wall. After this, apply flooring adhesive to the seams to make sure they are secure as they are laid down. After this, ...


