In this tutorial, we learn how to make a Halo Needler prop. You will need: knife, scissors, pink straws, paint colors, cardboard, paint brush, and pencil. First, draw the pattern out on a piece of cardboard. Next, cut this out and make four layers of it. After this, glue or tape it together and then line glue everything together. Now, cover this with paper mache until all parts are fully covered and dry. Next, color with your paint and then let it dry until the paint is no longer wet. This wi...
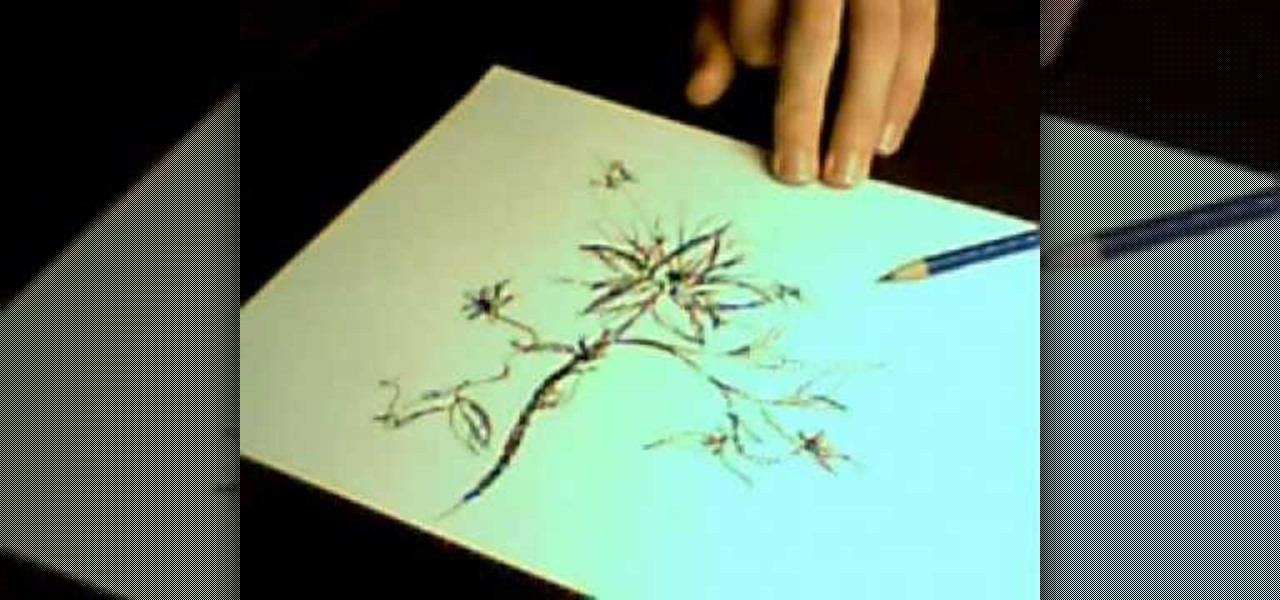
In this tutorial, we learn how to draw a wild magical flower. Start out by using a pencil with a light touch to create the outline for the flower. Make wispy lines to create the leaves and the flowers. Also, draw in the middle of the flower to create additional details. Then, draw in the leaves with the middle vine going down off the page. Continue on the draw in additional flowers off of the vine. Use the wispy edge of the pencil to create a more majestic and magical type of flower. Color in...

In this tutorial, we learn how to use the camera on the Samsung Galaxy I7500. First, press and hold the camera key on the side of your phone. Next, you will see the camera appear on your screen. To take a picture, press and hold the camera icon. You can review your picture by tapping the gallery icon on the top left. Here you can zoom in and zoom out, view other photos, set it, share it, and delete it. When you are finished, simply go back to your menu and then you are done, enjoy using your ...
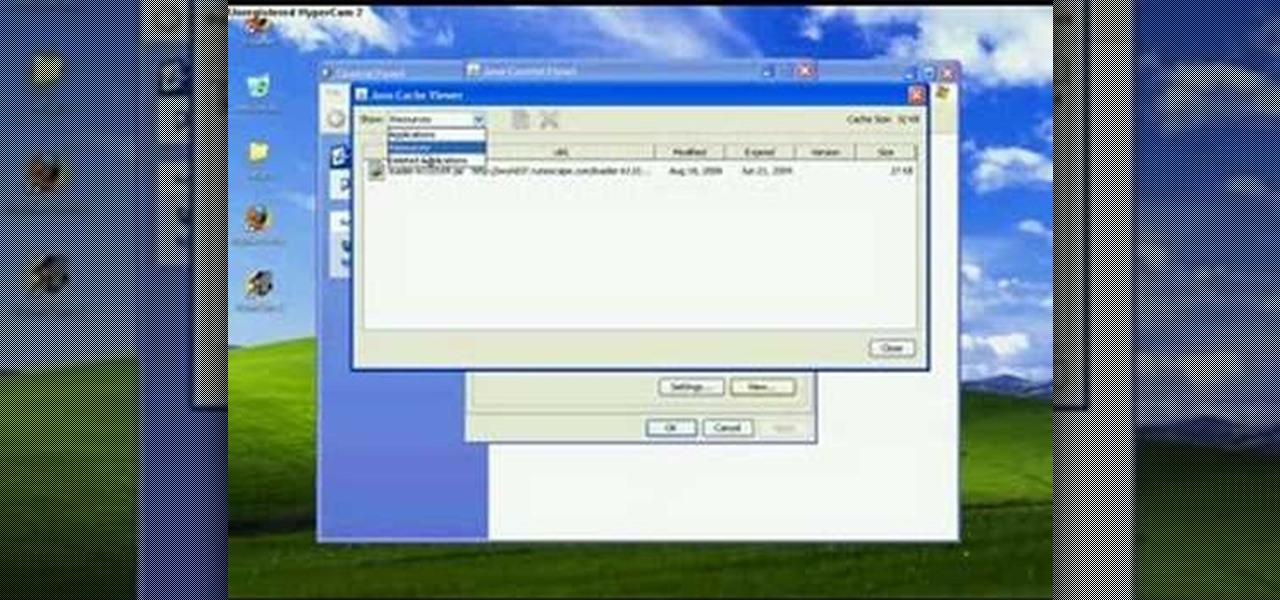
In this tutorial, we learn how to clear your Java cache. First, go to the control panel and then open up Java from the thumbnails menu. After this, you will right click on the program and then go to 'view cache'. From here, select all of the Java and click inside the boxes to do this. Then, push 'ctrl+a" and it will start to clear. After this the cache will clear out and you will be finished. It may take a few minutes to load depending on how much information you have loaded in the cache. Exi...
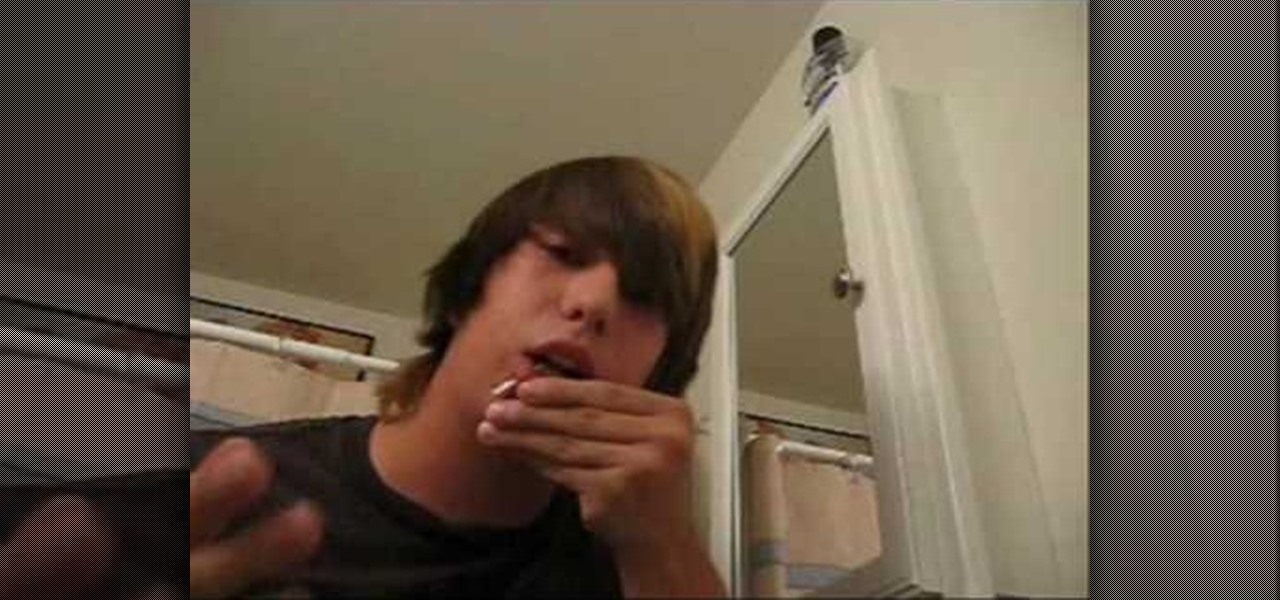
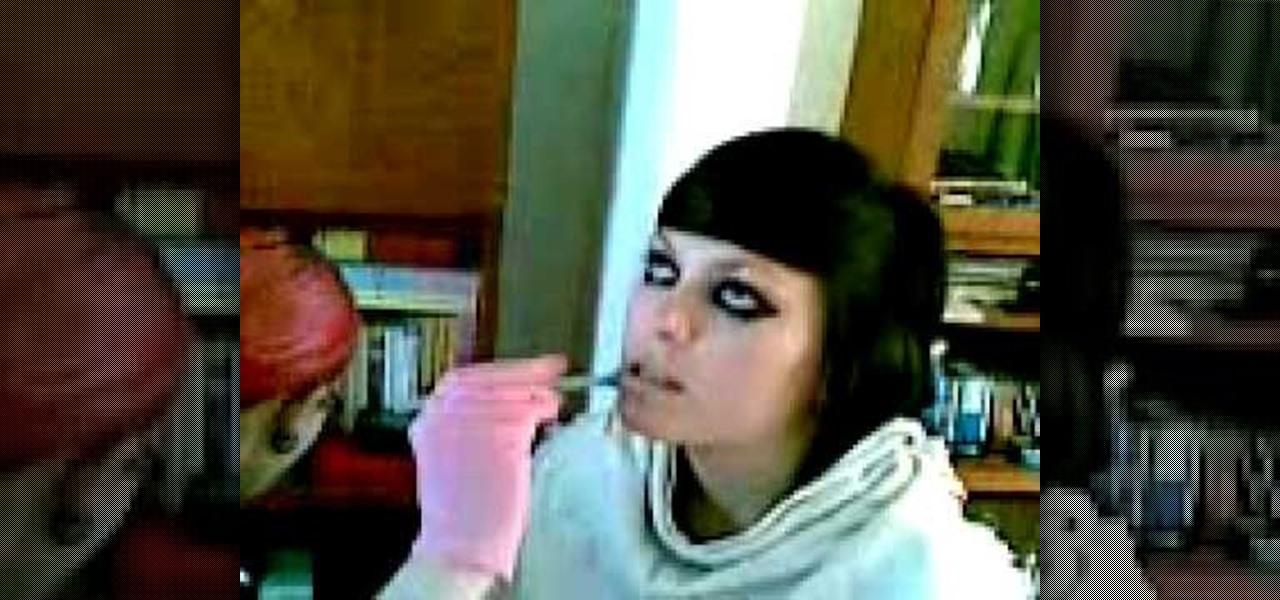
In this video, we learn how to pierce your own lip and avoid infection. First, mark the spot on your lip where you want to pierce it and then check it in the mirror. After this, grab your needle and clean it off with antiseptic or mouth wash that has alcohol in it. Push the needle all the way through the spot on your lip and then place the jewelry into your lip. Once finished, you will need to rinse your mouth out with mouth wash that has alcohol in it. Make sure to clean this regularly so yo...
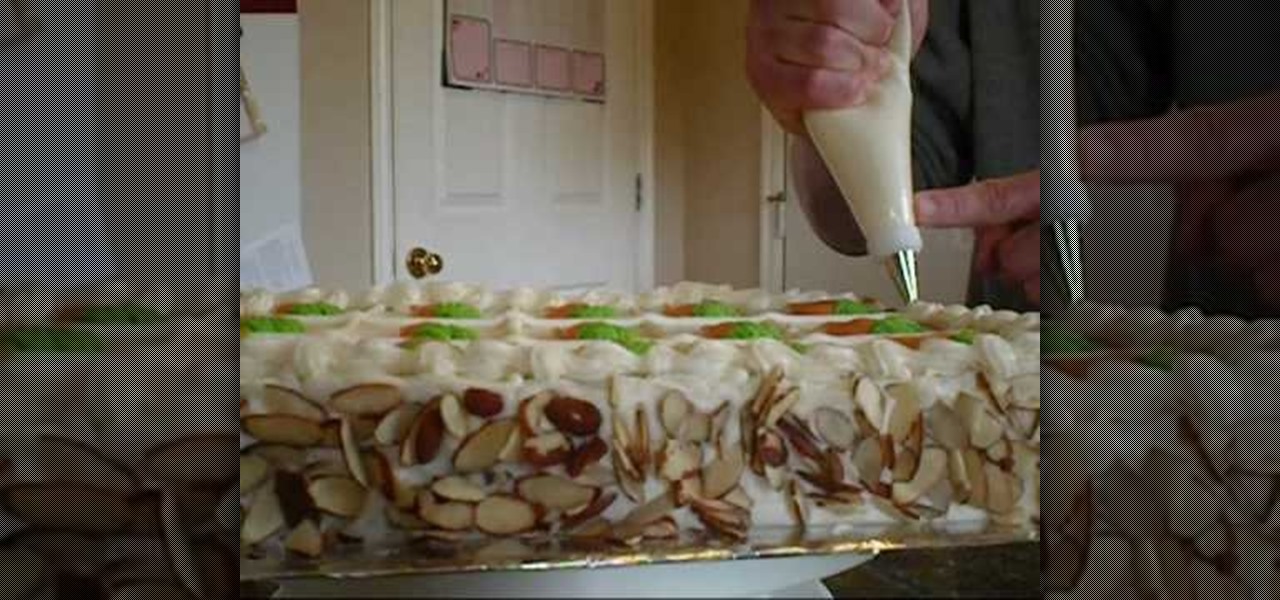
In this tutorial, we learn how to decorate a carrot cake. First, apply icing all over the top and the sides of the cake. After this, apply sliced pecans to the side of the cake using your hands to press them on. After this, use your icing to create squares in the cake to make equal size pieces. Then, use orange and green icing to create carrot shapes on all of the individual squares. Once you're finished making the carrots, you will be ready to cut this up and serve. If you want more icing, y...

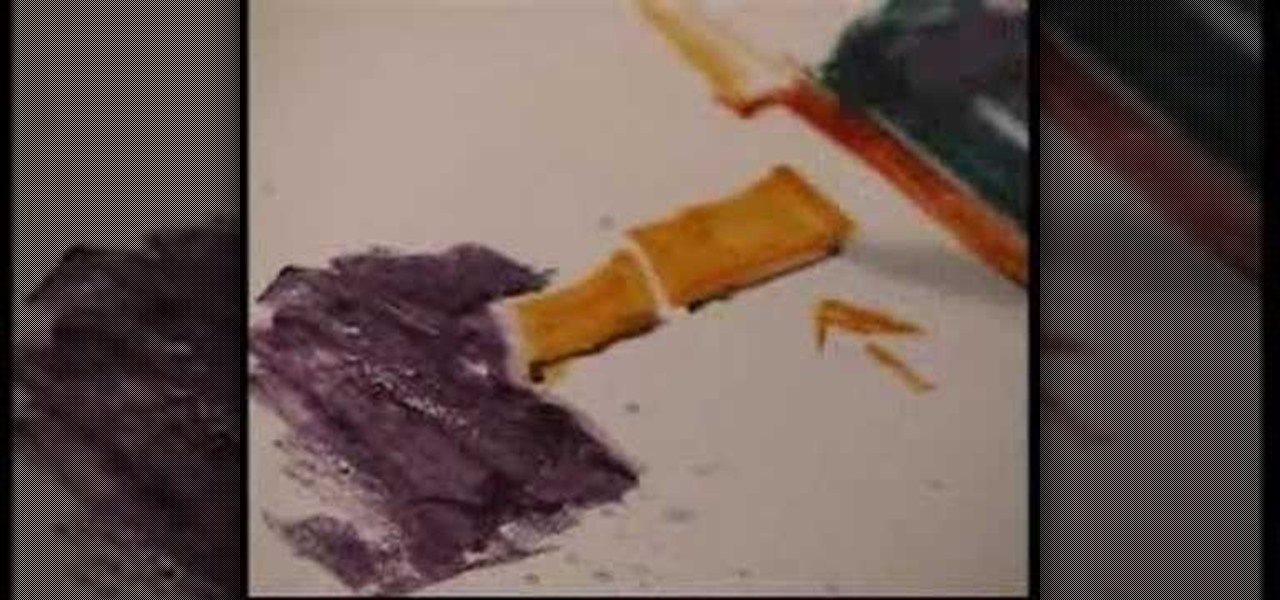
In this video, we learn how to use watercolor pencil techniques. The rendering process is similar to those with graphite. You will use strokes, giving them different lengths and colors to create texture. You can do crosshatching on the paper so everything is darker and you are hiding the white. Burnishing is when you lay down dark colors to the surface of the paper and work more colors in, the white will work as a blender. The end result will be a very smooth finish with a slightly waxy feel....

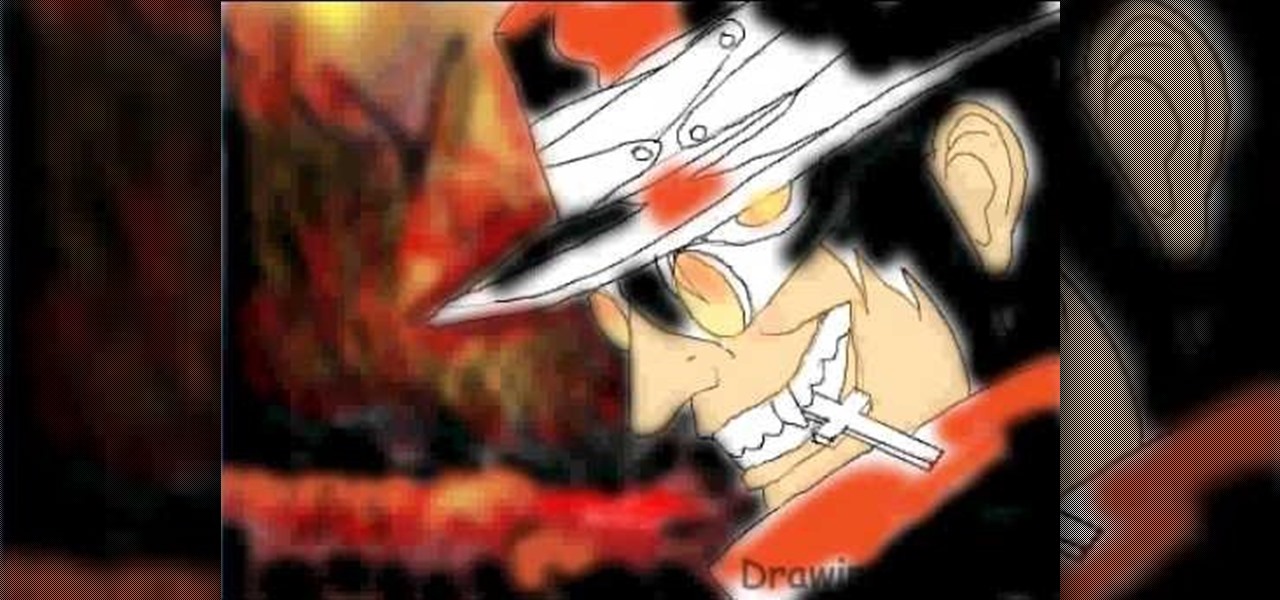
In this tutorial, we learn how to draw the cartoon vampire character Alucard. Start out by drawing the outline of the face, along with the hat and the collar as well. Then, draw in a cross in the teeth, with just the upper teeth and fang showing. Then, draw in all the details of the face, along with the hat details. After this, color in the skin and then the rest of the clothing around the face and on the body. Color in the background as well, with black and reds to create an eerie glow with ...

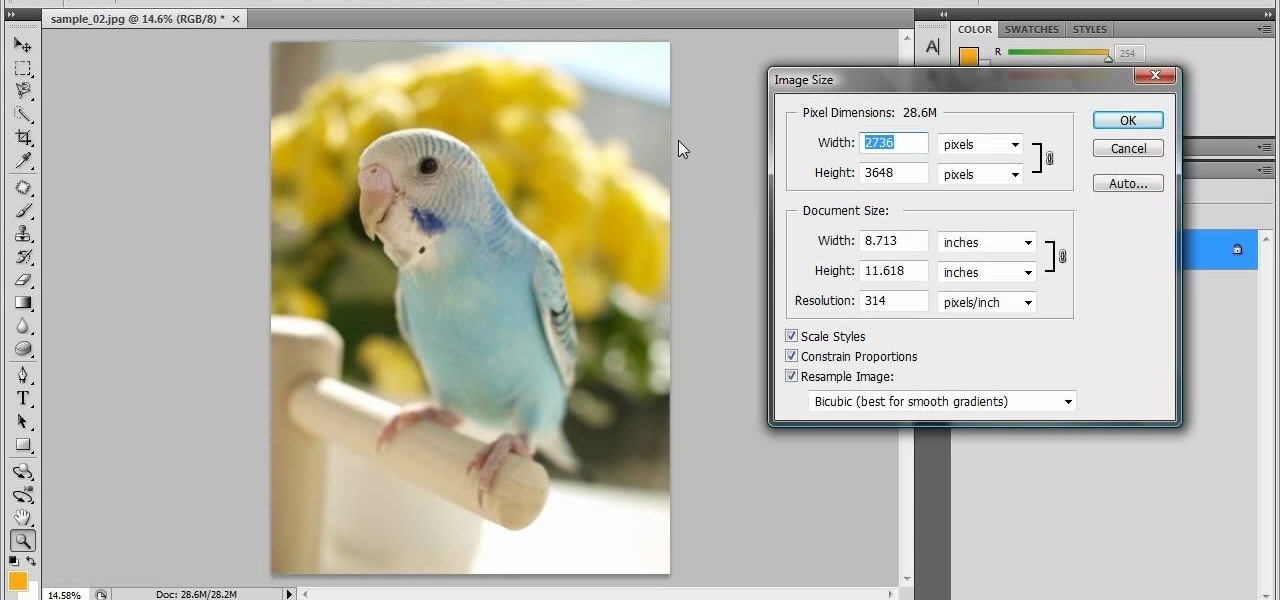
In this tutorial, we learn how to resize photos in Photoshop CS4. First, open up Photoshop and then open up your picture. The quality of your picture will effect the outcome of what it looks like when you resize, so use a high resolution picture for the best outcome. Now, go to image and then image size. From here you will change the width and height to what you need it to be. Then, you will need to click on the boxes at the bottom, click on all of them. When finished, you will save this and ...

In this video, we learn how to make a simple paper airplane that flies far. First, fold the paper in half and make sure it's perfectly even. From here, unfold the paper and fold the edges into where the crease is. After this, do the same on the other side and make it perfectly even. Then, fold the side over to the middle again and do the same on the other side. Next, make sure the creases are solid and then fold it in half. Now, to make the wings you will fold one side down, putting the tip d...

In this tutorial, we learn how to do a big anime inspired hairstyle for cute pictures. First, part your hair slightly to the side of your choice. Next, tease your hair in the back and then straighten your bangs with a flat iron. After this, comb your hair so it flares out on the bottom and hair spray it. Then, tease it more on the higher side so you have a very messy and volumized side. Then, slick the other side of the hair back. When finished, you will have a big anime hair style ready to g...

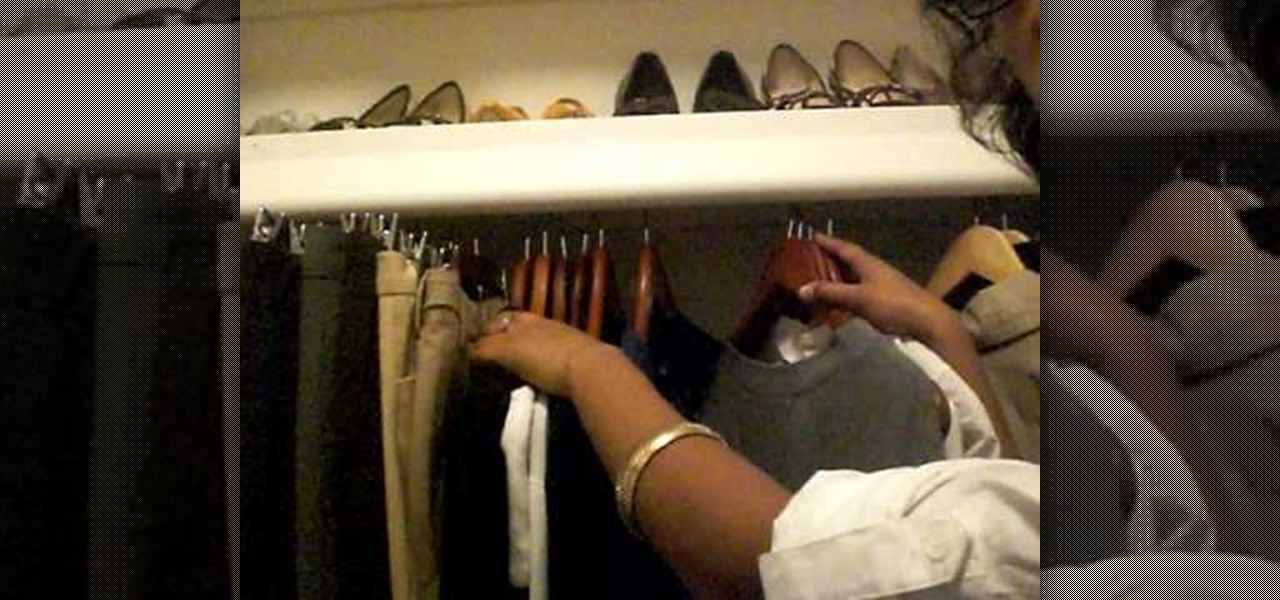
In this tutorial, we learn how to organize your closet by establishing a wardrobe system. If you have tops that you wear during the day, put these on a different colored hanger than your nighttime tops. Color code these in your closet and then hang up your nighttime tops with a light wood or your choice hanger. If you have other random tops, you can hang them according to how you would wear them the most. Dresses can be hung on another color hanger and then pants can be worn on another color ...

In this tutorial, we learn how to upgrade the firmware on a Linksys router. First, you will need to know what you already have, go to 192.168.1.1 on your browser to find this. Next, search for the name of your router that you got from the site. From here, click on the downloads on the page. Then, you will pick the model number for it. Download this on your computer and it will run through the download process. When done, go back to the router website to make sure it was upgraded and then you'...

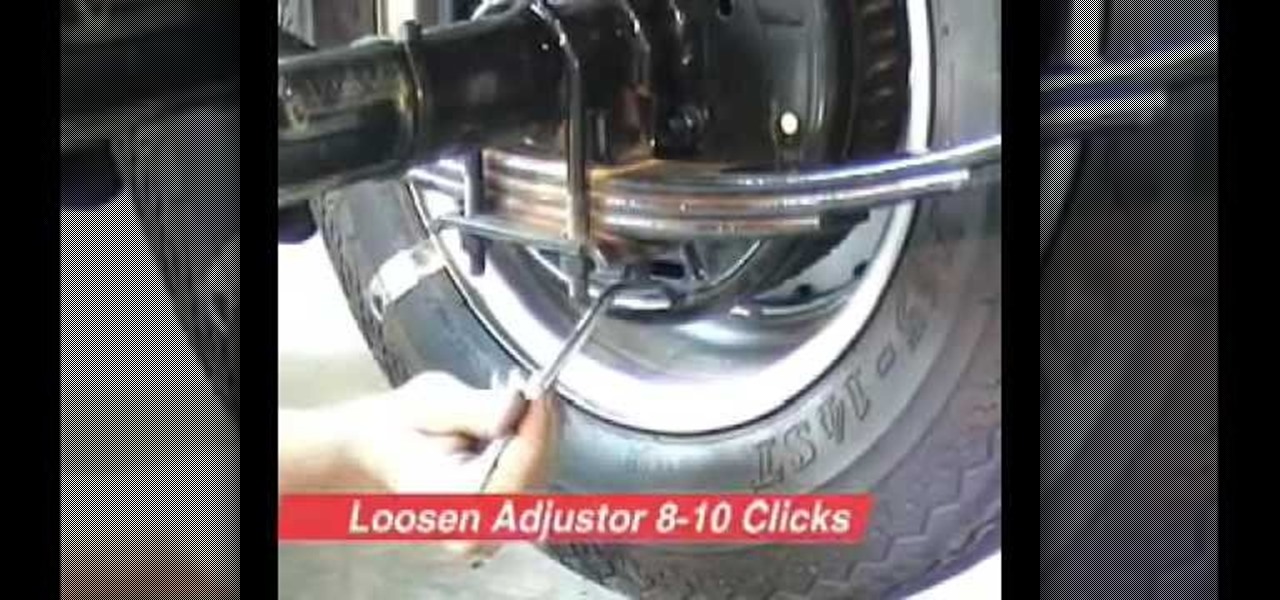
In this video, we learn how to bleed and adjust trailer brakes. First, level the trailer and use a jack stand to support it. Now, hand bleed the brakes using the master cylinder. From here, let any air out of the break line, doing this on all the different brake lines. Next, fill up the master cylinder with oil to make sure it doesn't run dry. Open the pressure valve and then close it as your run through the process. When finished, you will need to adjust the brakes by lifting the trailer. Af...

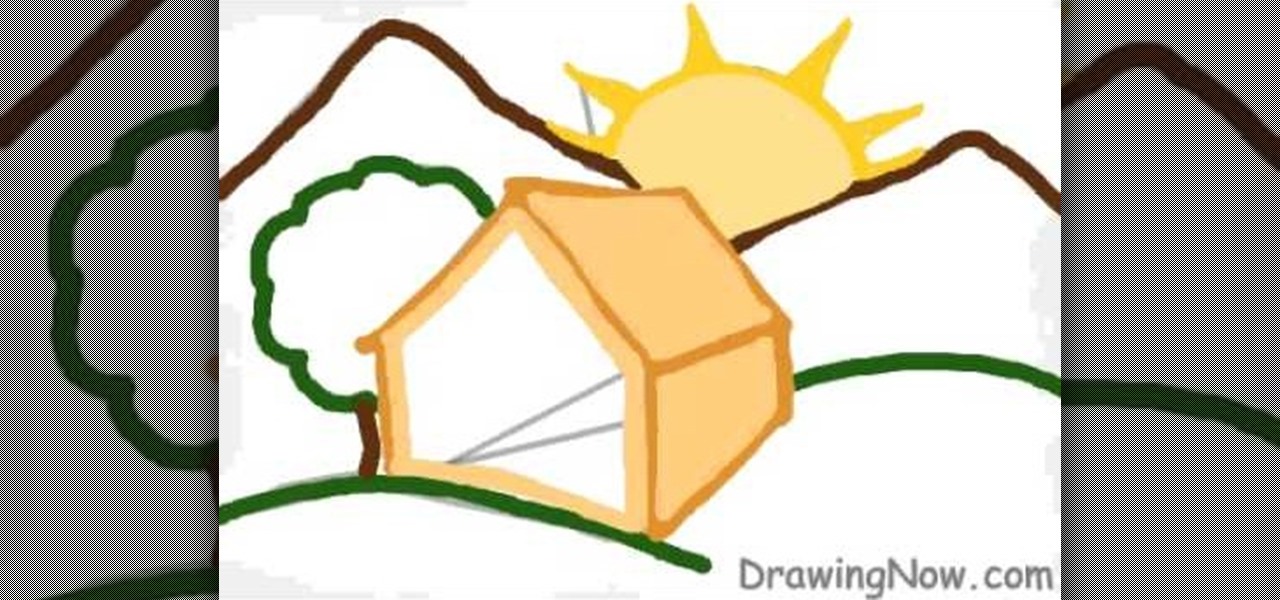
In this video, we learn how to draw a cartoon cottage scene. Start out by drawing the outline for the house, a tree, the sun, and mountains. After this, add color to the mountains and everything else in the scene. From here, color in the sun and then start to create the cottage. Make sure to add details to it, like a roof and a door and windows. Then, color the ground green to make it look like it's set out in the wilderness. Once finished, add in shading to make it look more realistic and th...

In this video, we learn how to pierce your lip at home the professional way. First, sit the subject down and put a cloth around their upper body. Then, grab a clamp and place it where you are going to pierce the hole. After this, push the needle through the spaces in the clamp and follow this by sticking in the jewelry. Apply cleaning products into the mouth that are for cleaning the wound specifically. When finished, make sure to take proper care of the piercing and the jewelry as well so it...

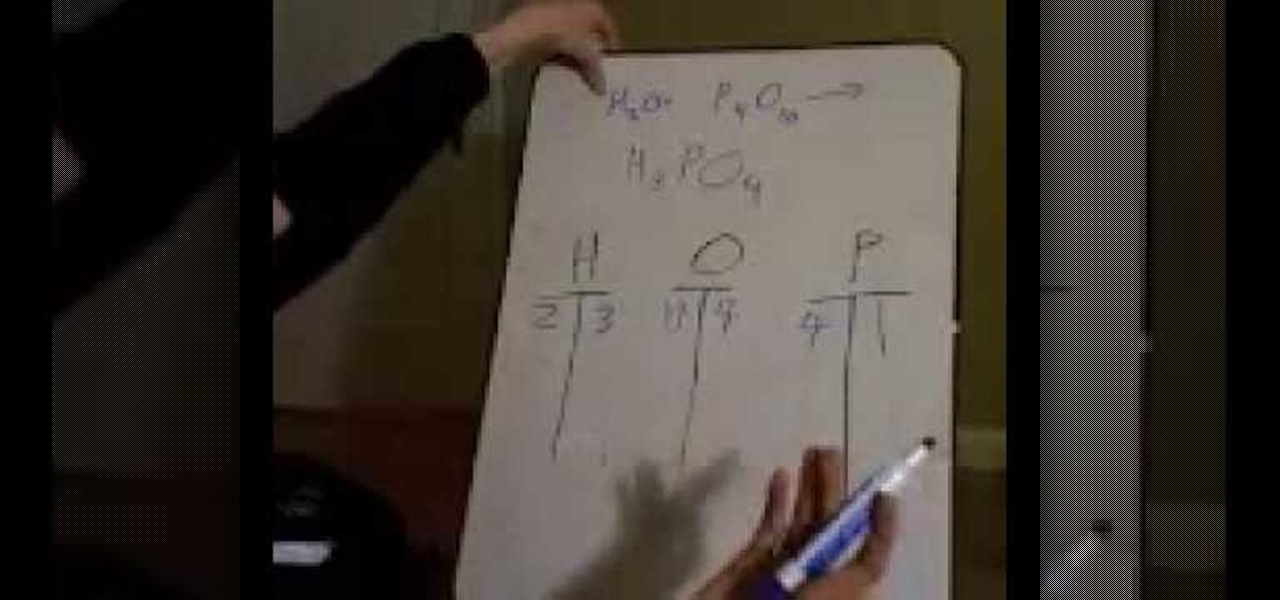
In this video, we learn how to balance chemical equations using a simple method. Start out by writing your two chemicals next to each other. After this, you will need to write out how much of each atom each of the chemicals has. Now you will have a better idea of how you need to balance out each of the different equations. Make a chart of all the elements that are involved, then you can solve it. Use simple addition to add together the atoms of each and then write out the correct answer in th...

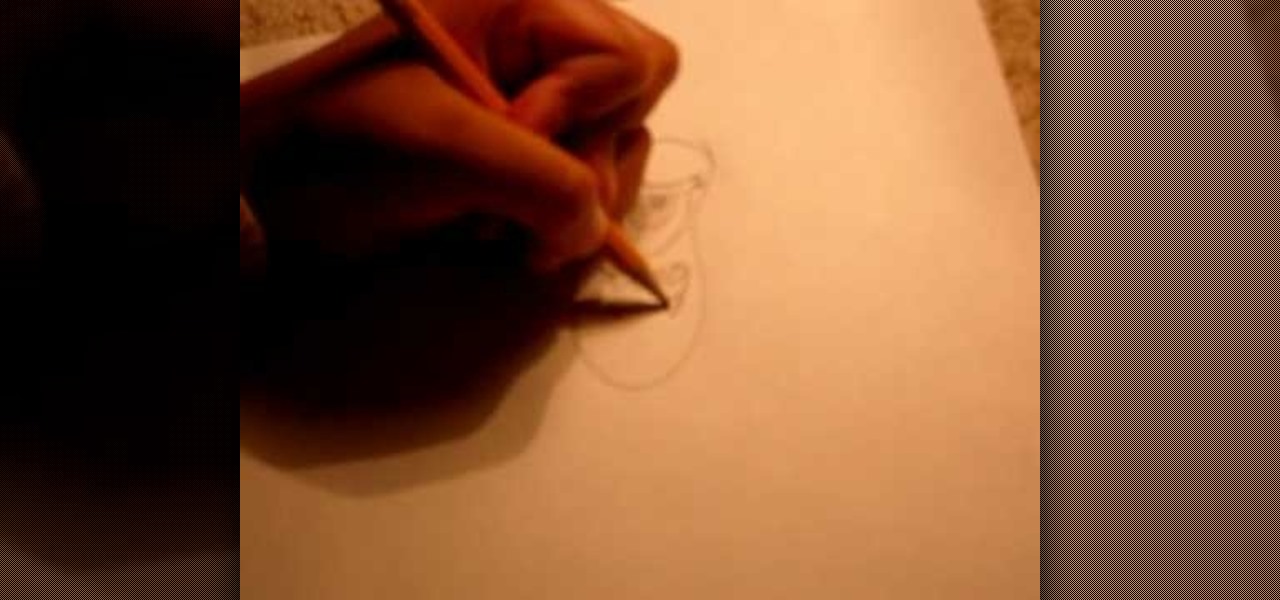
In this tutorial, we learn how to draw a foot. To start, you will first need to draw the outline of the foot. You can easily do this by first drawing out the ankle and then drawing the rest of the foot. Look at your foot if you need help to figure out where the different contours are. Then, draw in the toes and add in the toenails. Once you do this, you will be able to add in the shading around the foot as well as the lines to the skin to make it look more realistic. When finished, sign with ...

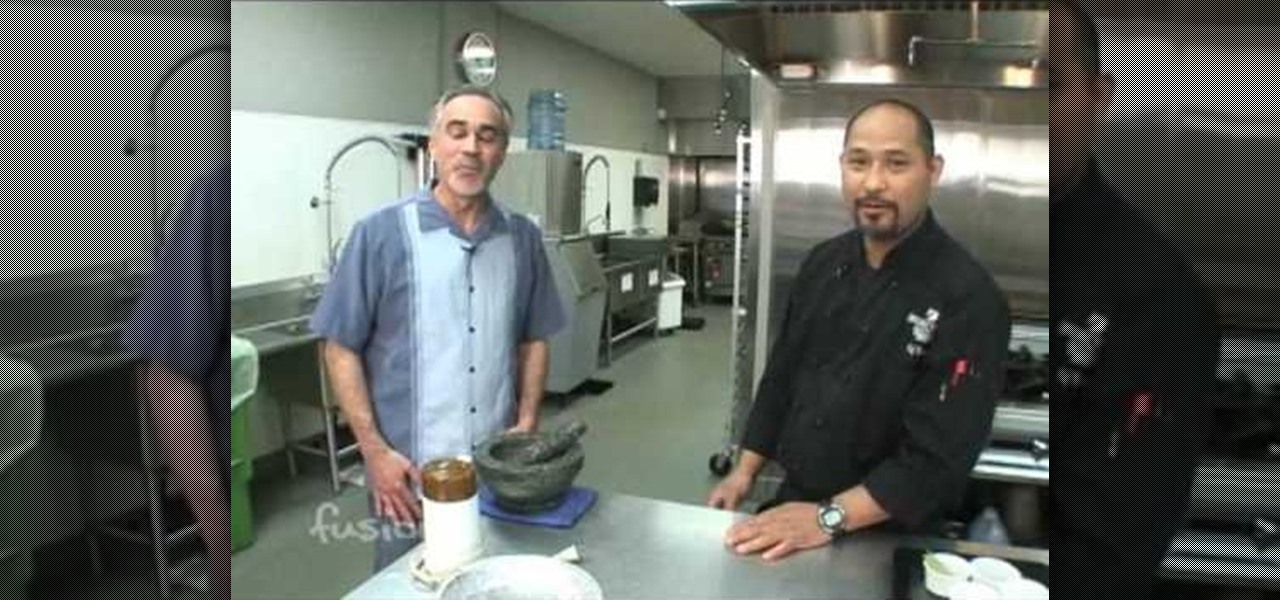
In this tutorial, we learn how to grind your own spices. Spices grow all over the world, which can give them all unique tastes. Start off by grabbing the spices that you want to mix together. Use your favorite spices to make your own unique tastes. If you are roasting, you should not roast or toast the spices all together at once, so they don't incorporate smells. After you do this, you will use a mortar and a pestle to crush down the spices. Start pounding on the spices to release the oils a...

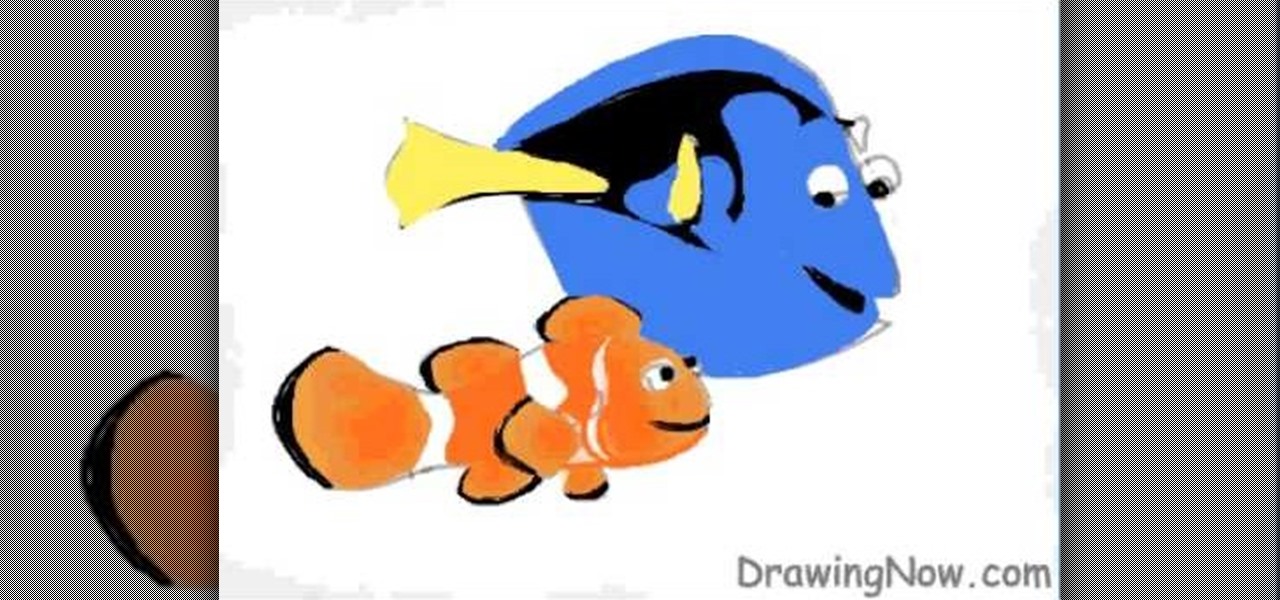
In this tutorial, we learn how to draw Nemo and Dory from Disney! Start off by drawing the bodies of both Dory and Nemo. Make sure to get the pattern of Nemo draw out correctly. After this, draw on the eyes and the fins for both of the characters. From here, use a black marker to draw on the scales of the fish as well as the rest of the details on the face. After this, color in Dory with yellow, black, and blue. Then, color in Nemo with orange, black, and white. When finished, color in the ba...

In this tutorial, we learn how to get big teased hair with clip-in extensions. First, put half of your hair up and then clip the extensions in from the root until they are secured in place. After this, you will grab sections of hair at the top of your head. Hair spray the hair and then brush the section of hair against the way it grows. Continue to do this until you have teased all the hair on the top of the head. Brush your hair softly when finished, then style how you want and spray with ha...

In this tutorial, we learn how to draw Plankton. Start out by drawing a long oval shape for Plankton's body. After this, draw on a large eye to the upper middle section of the eye. Next, you will draw in the mouth underneath the eye and make sure to draw in an angry expression and pointed teeth. Next, draw in the eyebrow on top of the eye followed by legs on the very bottom of the oval. The legs should be soft triangle shapes and nothing more. You can color this green to finish up the drawing...

In this video we learn how to draw Neji Shippuuden. First, draw the outline for the head, use lines in the middle of the face to figure out where to place the facial features. After this, use a pencil to draw on the hair around the face and then draw on the headband. From here, add on the details to the hair and then start to add in shading around the face to make it look more realistic. After this, draw in the shoulders on the side and then draw in the rest of the details of the face. Finish...

IN this video, we learn how to use your inkjet to print on a shrinkle. To start, you will grab the paper for the shrinkle. Then, you will print the outline out on a normal piece of paper. From here, stick the shrinkle over, frosted side up, on the paper. Then, feel the piece of paper back through the printer and print exactly the same image over again. Don't print anything too dark, or it will bleed out on the back. From here, you can peel off the shrinkle and then cut it out. This will finis...

In this tutorial, we learn how to do a ninja sketch. First, you will draw out the outline of the body. Draw in two arms that are crossing and then draw in blades in the hands. From here, draw in the hair, which should be spiked and short. After this, draw in a mask around the face and then start to draw in the clothing. Draw in lines on the clothes for the folds, then create a band around the arm and a skirt around the waist. To finish, you will draw in fishnets around the legs and then woode...

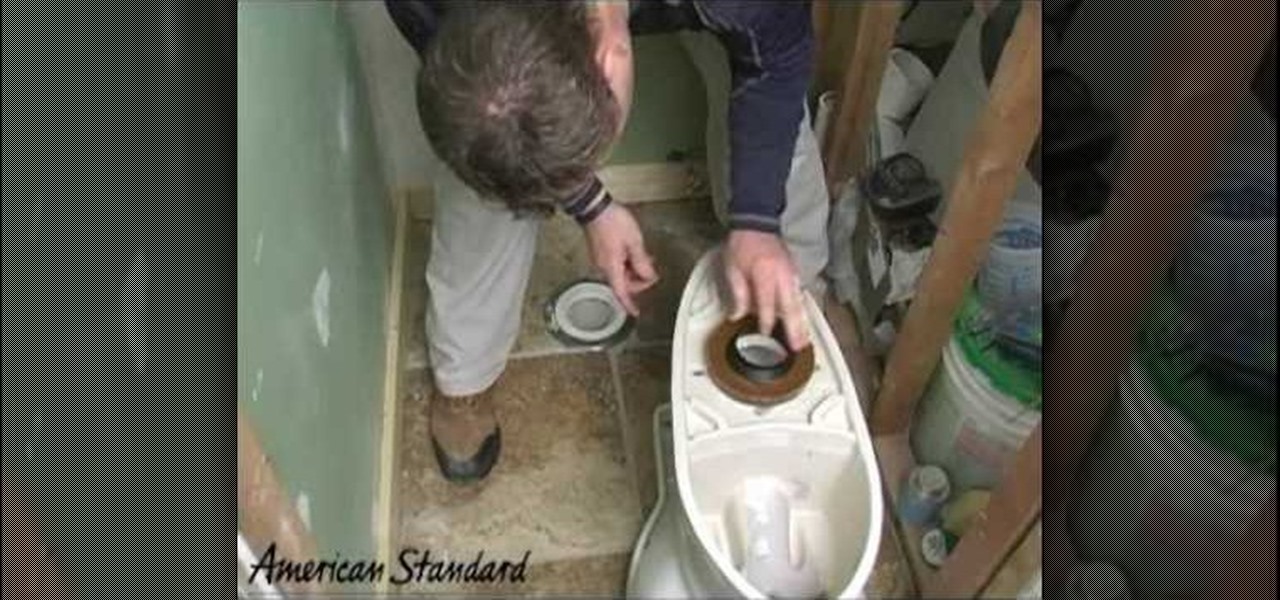
In this tutorial we learn how to install a toilet bowl for your bathroom. First you will apply the ring around the bottom of the toilet and on the floor where the toilet base will go. Apply plumbers wax to make sure this is sealed. Then, flip the toilet over and line up the holes. After this, slowly let it down and push it when you know the holes are in place. Next, you can push down and screw the bolts onto the base of the toilet. When finished, you will be able to connect the water and get ...

In this video, we learn how to connect to Xbox Live with a laptop & Ethernet cable. First, connect your computer to your Xbox using an Ethernet cord. After it's connected, you will have to change the wireless network setting to 'shared'. To do this, go to the start menu and then go to 'my network places'. Now, go to 'view network connections' and then you need to highlight the connections. After this, right click and then bridge the connections. From here, right click and go to 'properties' g...

In this video, Tonya shows us how to make whipped shea butter for your hair. Ingredients are: organic shea butter, green tea butter, aloe vera butter, peppermint essential oil, tea tree essential oil, and rosemary extract essential oil. Pour all of your ingredients into a large bowl and then mix together with a spoon until it's well combined. Use as much of each ingredient as you want to make the right consistency for you. After this, use an electric mixer to mix this all together until it's ...

In this tutorial, we learn how to use the world clock feature in Ubuntu. First, you will go to the upper right hand side of the screen and click on the calendar. From here, click where it says "locations". Then, click on where it says "edit and then click from the preferences where it asks for a location name. Then you can click on the time zone drop down menu and see the times of a ton of different places. Add these to your clock and then when you're finished, you can have the weather displa...

In this tutorial, we learn how to draw substitutions in Toon Boom Animate. When you are inside of the program, you will see the 'drawing substitution' preview window on the side of the screen. Create the animation how you like it, using different shapes, colors, etc. You can use the high camera map to see how it looks an make a mat to put around the stage. Once you're finished, save this to your computer and then extend out the timeline. To animate him, hit F5 and then drag out the length of ...

In this tutorial, we learn how to make a Saw 2 death mask. Start off by grabbing an old helmet and covering it with plastic wrap. Then, make paper mache over it. From here, cut a piece of rubber into small strips. Then, draw and cut three stripes on a piece of cardboard. Then, use two strips for the shoulders and one for around your waist. Then, make the front chest piece with cardboard. From here, make a square with Styrofoam and cut out a piece of an egg carton. Now, draw the eyes and mouth...

In this video, we learn how to make rock salt animals with your kids. You can use any kind of animal including a snake or alligator. To start, cut out the shape on a piece of white construction paper. After this, you will need to mix up some water color in a shallow dish. You can make this by mixing up water with some food coloring. Now, dissolve the rock salt into it and then let the child brush the mixture onto the top of the piece of paper. Let this dry overnight, then when finished it wil...

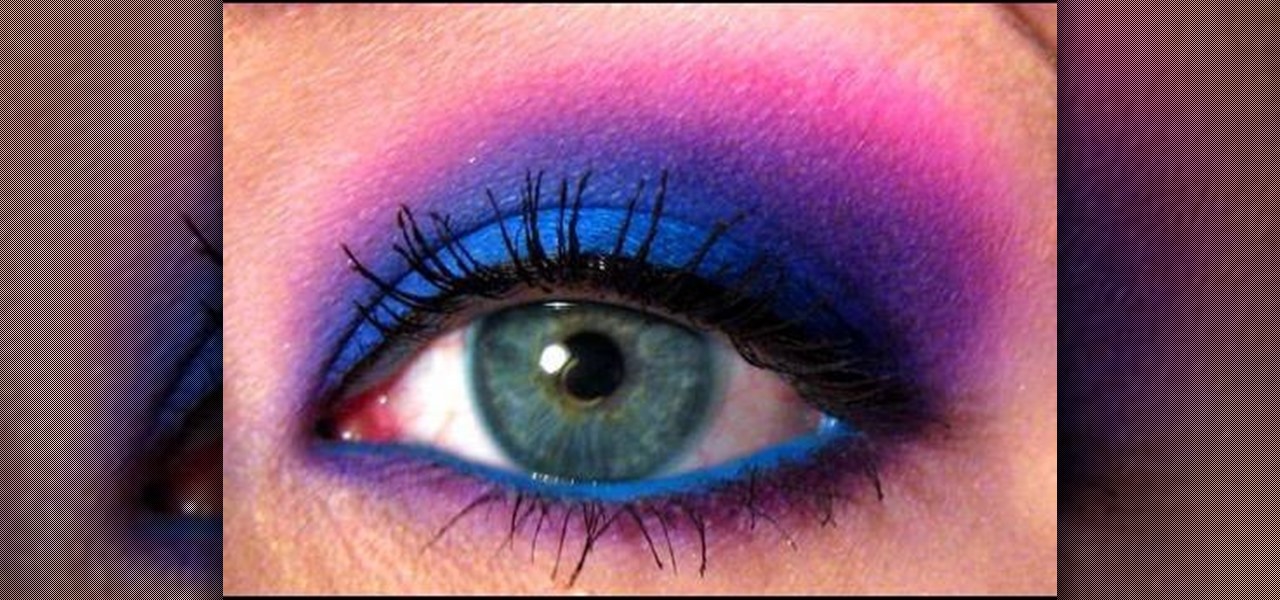
In this tutorial, we learn how to apply a "Cheshire Cat" inspired wearable makeup look. Start off this look by applying a bright blue eyeshadow on the lower part of the eyelid. After this, apply a medium sea blue in the crease of the eye and on the outer edge of the eye. From here, brush hot pink above the blue and then blend right above the crease to make purple. Make sure the pink is visible above the purple. Next, you will apply blue eyeliner on the waterline followed by purple liner under...

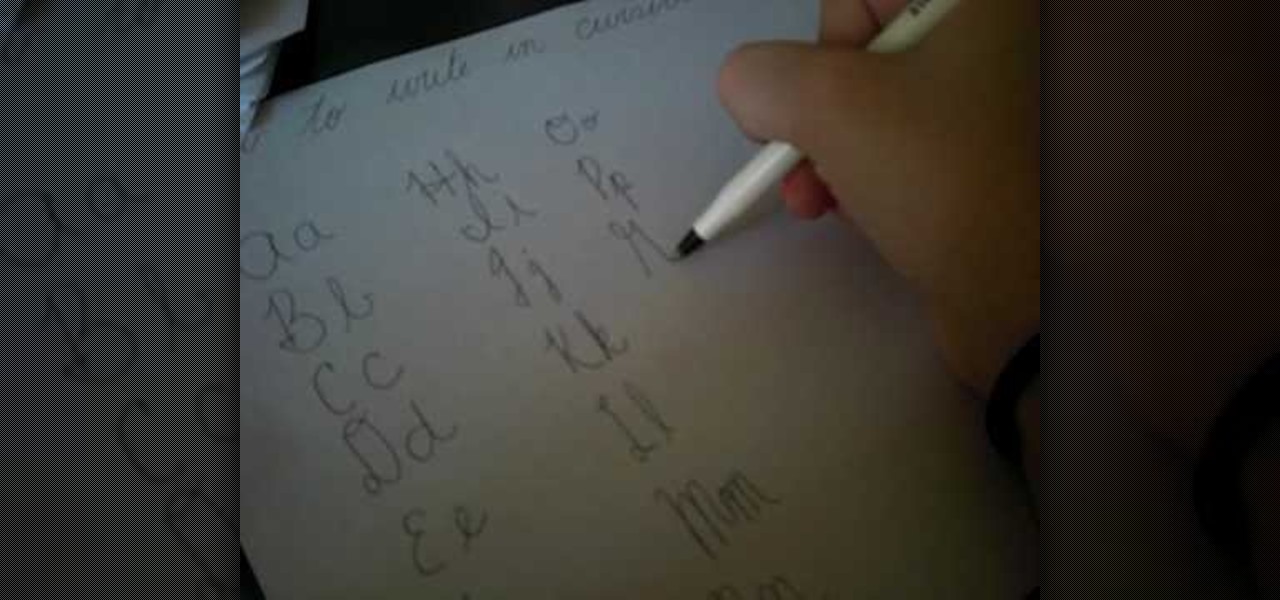
In this video, we learn how to write in cursive. When you are writing in cursive, you will want the angles of your letters to flow together so you can connect one letter to the next without stopping your pen or pencil. The capital letters and lower-case letters will all look different from one another. Practice writing out each of the betters with their upper and lower-case to get a feel for how to write them out correctly. Once finished, start to write easy and simple small words and make su...

In this tutorial, we learn how to solder for cheap. Start out by forming the wire to get it ready to solder. The trick here is to create some tension between the two ends, do this by going back and forth hitting the wires. Now, grab a torch and start to flex the wire while holding it in front of the open flame. After this, grab some of the flux you keep in a bottle and apply it to the piece. Continue to apply heat to the wire until it turns cherry red, then apply the solder with the connectio...

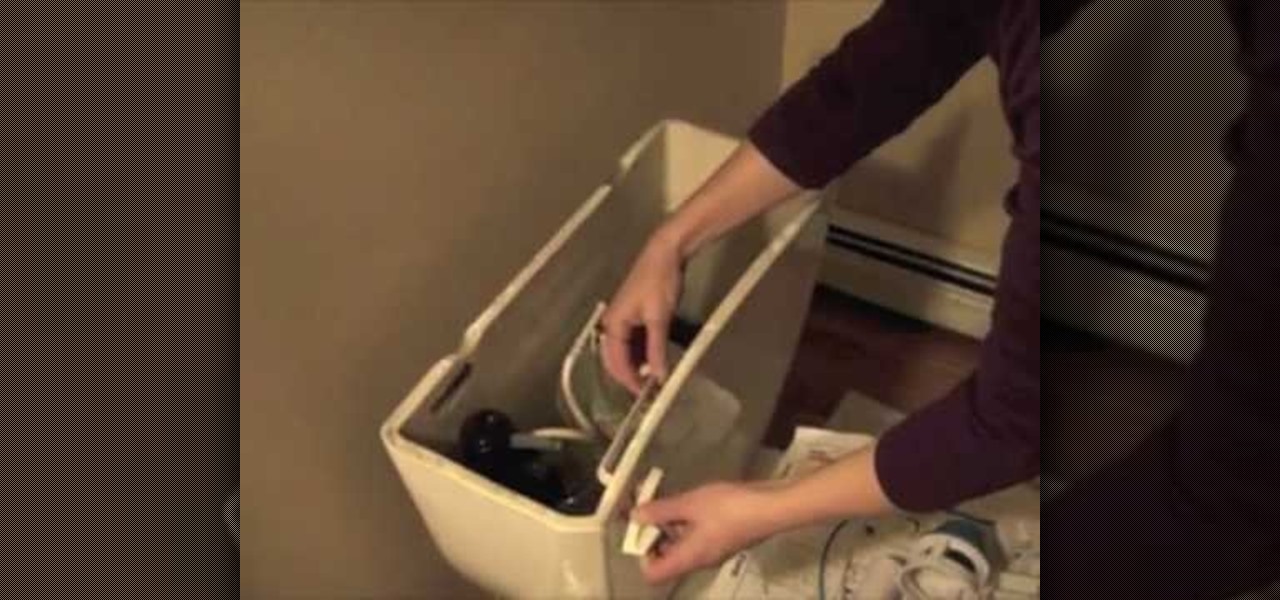
In this tutorial, we learn how to install a dual flush toilet kit. First, grab the directions from the box that the toilet came in and read them! After this, you will take the lid off the tank of the toilet. Then, install the flusher into the tank of the toilet after removing the flapper and the chain. Continue to install the kit according to the directions and secure it inside the tank. When finished, place the top of the toilet back on the tank and then turn the water back on. Test this out...

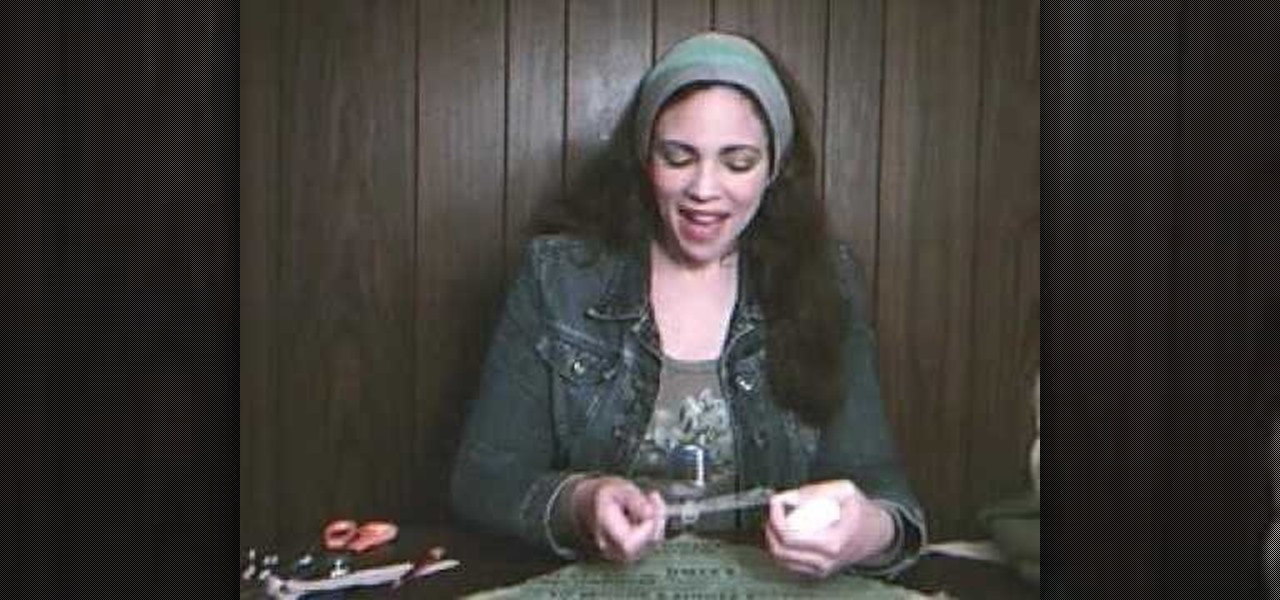
In this tutorial, we learn how to recycle an old t-shirt into a no-sew head scarf. First, lay your shirt out flat on a table and download the paper pattern from the video. From here, measure sixteen inches from side to side on the t-shirt that you are using. After this, follow the paper pattern on the shirt and cut out the pattern with scissors. Once you have finished this, use a fabric bonding agent to make the edges less frayed and fold them into each other. This is great for the environmen...

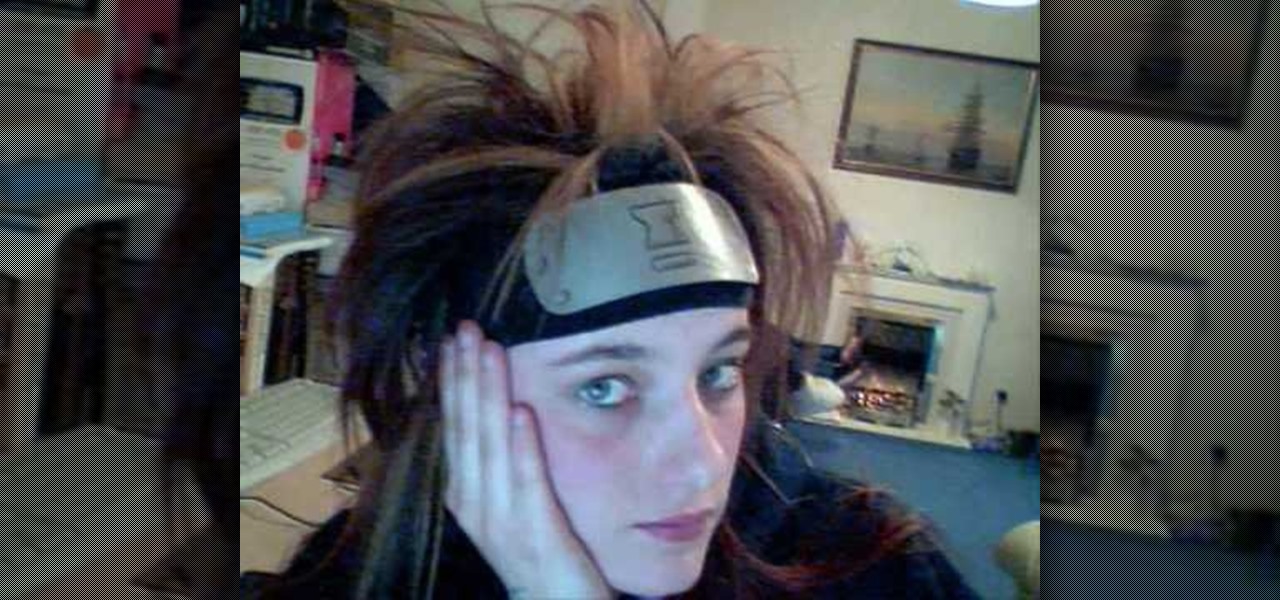
In this video, we learn how to make a decent Naruto headband. First, get a paper plate and figure out how big you want it, draw on the template so you can see it through the paint. Then, apply metallic paint with a paint brush using the template you drew as a guide. Next, you will wait for it to dry and then cut it out. Round the edges like it's a real headband, then draw on the hair band the village insignia. Once finished, glue this to an old sock and wait for it to dry. Then, you can attac...

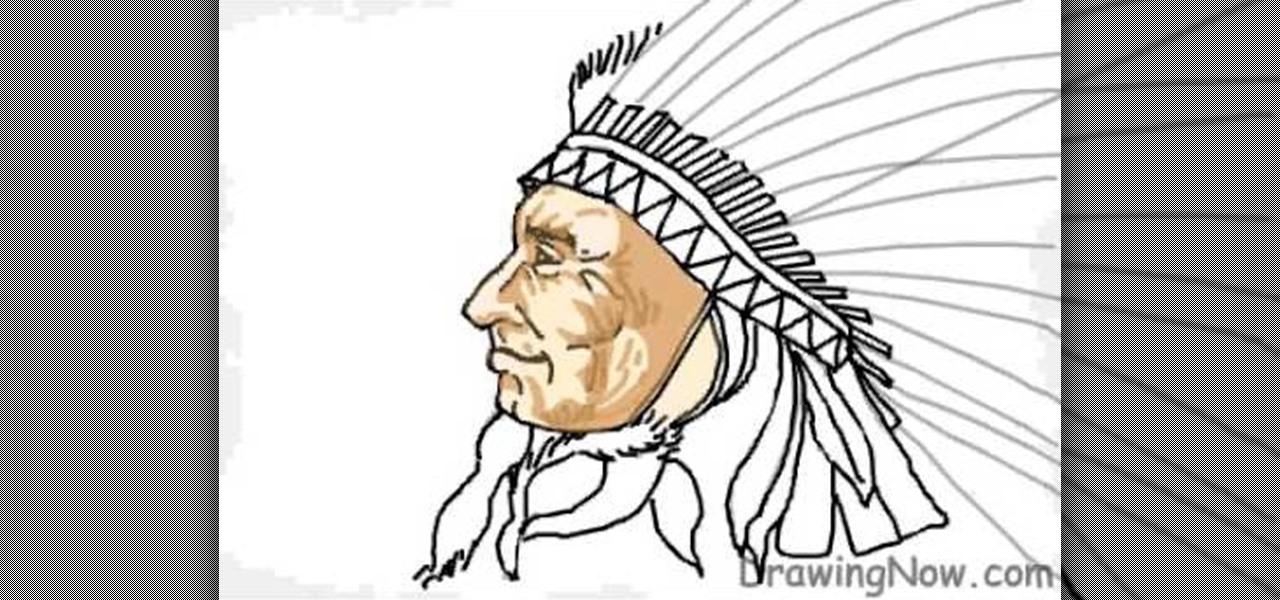
In this tutorial, we learn how to draw the head of a Native American Indian chief. First, you will draw the outline of the head as well as the head dress that he is wearing. Draw in lines to show where the jaw lines, cheeks, and other facial features are. After this, draw in the details of the face then get to work on the headdress. Add in details to this, then start to add in colors to it, making it as colorful as you would like it to be. When finished, add in some feathers at the bottom and...

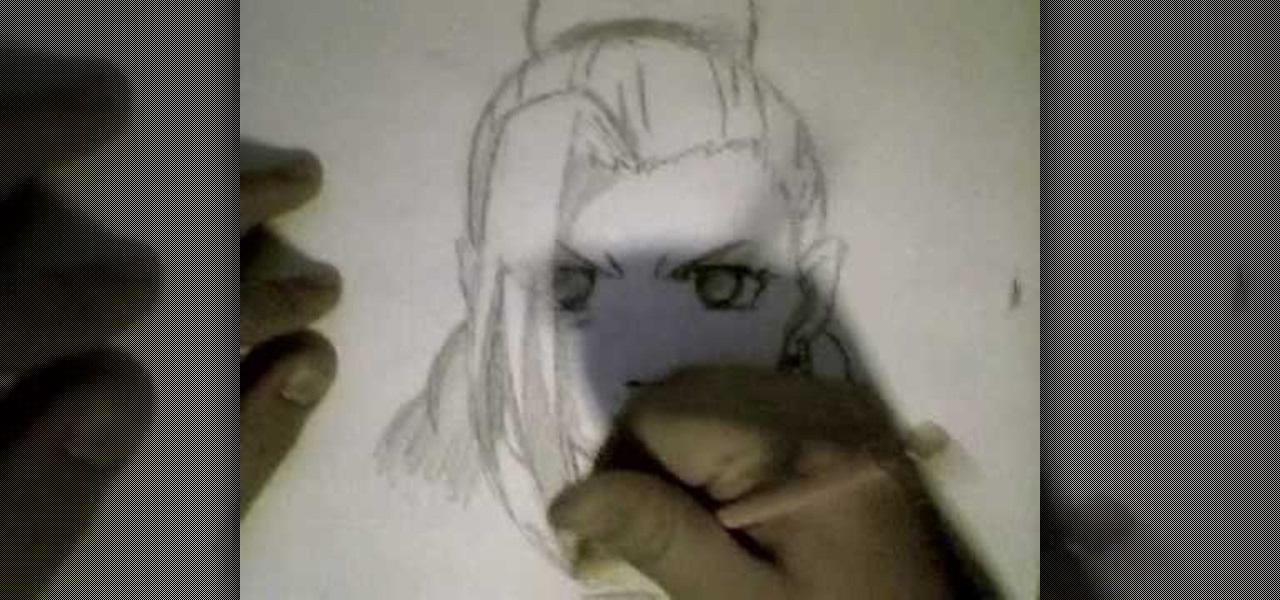
In this video, we learn how to draw Ino from Naruto. Start off by drawing a circle for the head, then drawing lines in the middle to create reference for where the facial features will go. After this, draw in the hair on the top of the head along with the eyes, eyebrows, and creases of the eye. Then, draw the jaw line around the face and erase the lines you used for reference. After this, add in additional lines and hair to make it look more realistic. Use shading around the face to show ligh...


