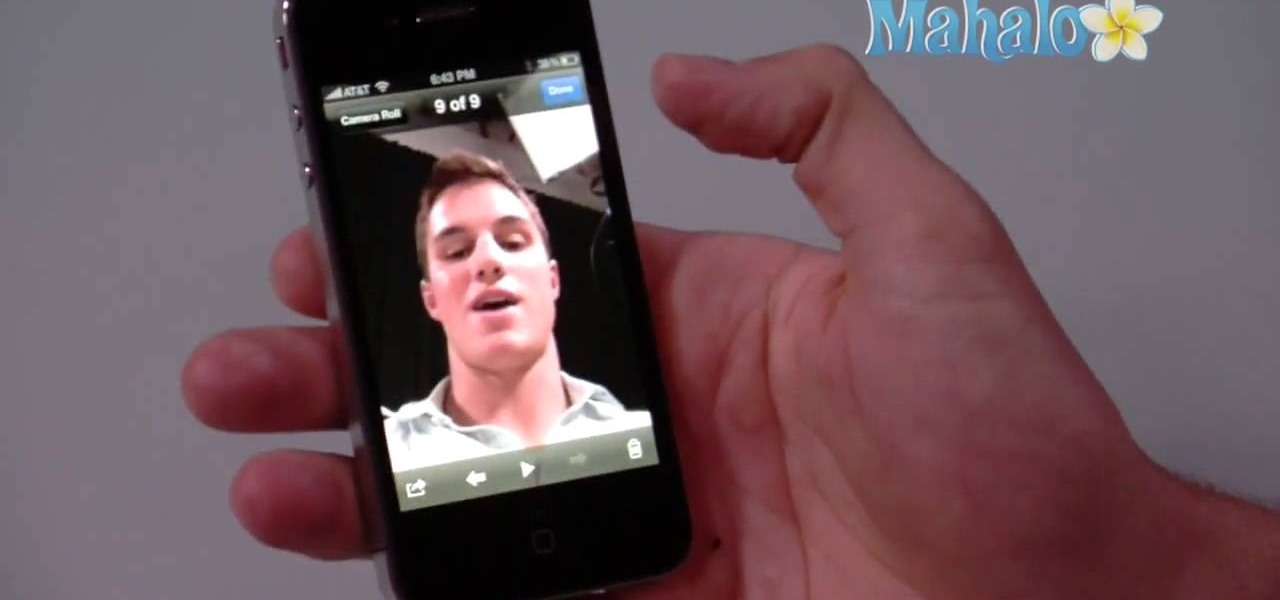
The iPhone 4 is unique because it comes with not one, but two cameras. The front facing camera on your phone can be used to take your own picture, for games or to use the new FaceTime app to video call your buddies. This tutorial will walk you through how to use this fun new feature and how to make the most of it.
This video is not so much about the technical aspects of outdoor photography (desert photography, specifically) but rather about what to look for when taking pictures out in the wild.
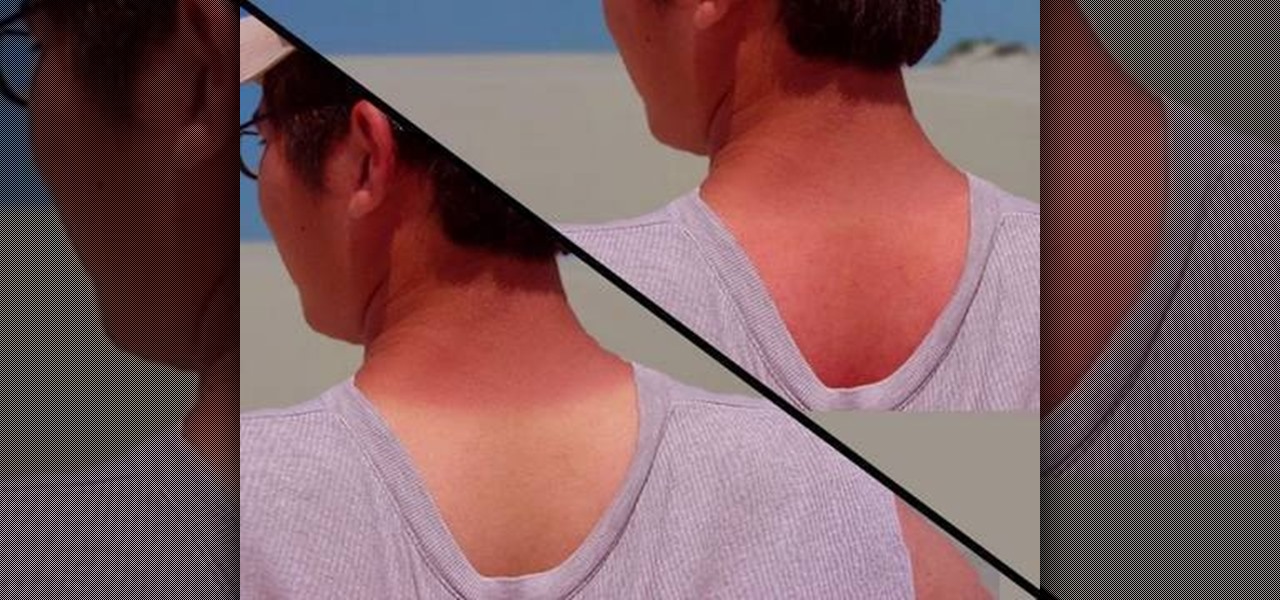
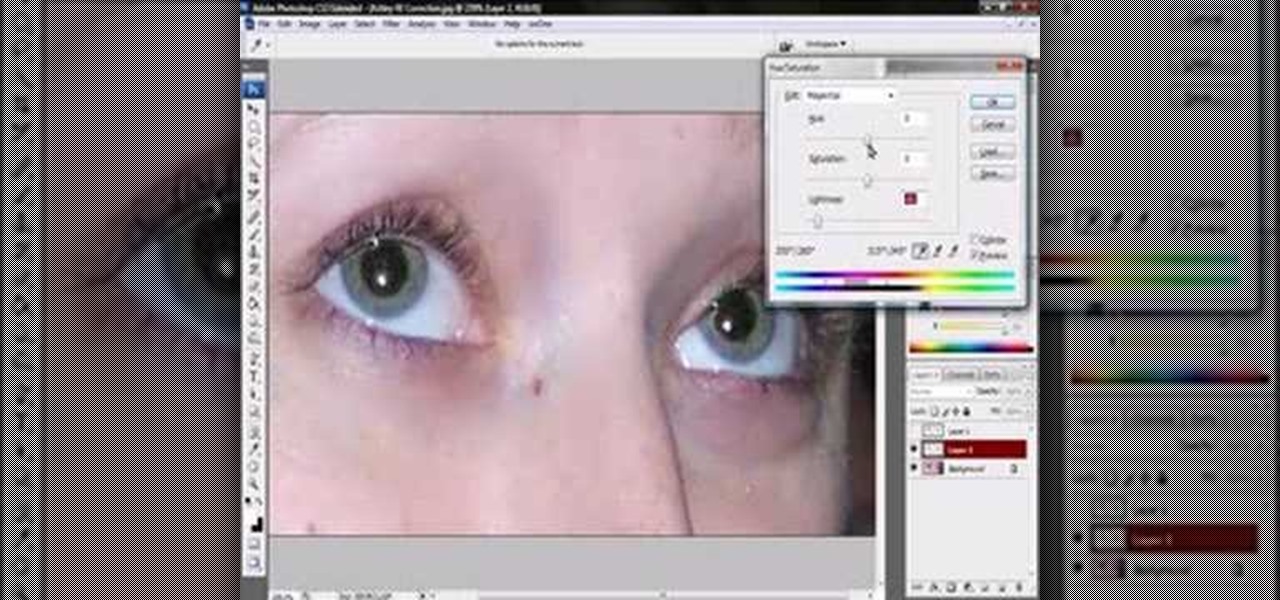
Get rid of pesky, embarrassing tan lines with this Adobe Photoshop CS5 video tutorial. Whether you're new to Adobe's Creative Suite or a seasoned graphic design professional after a general overview of Photoshop CS5's most vital new features, you're sure to be well served by this video tutorial
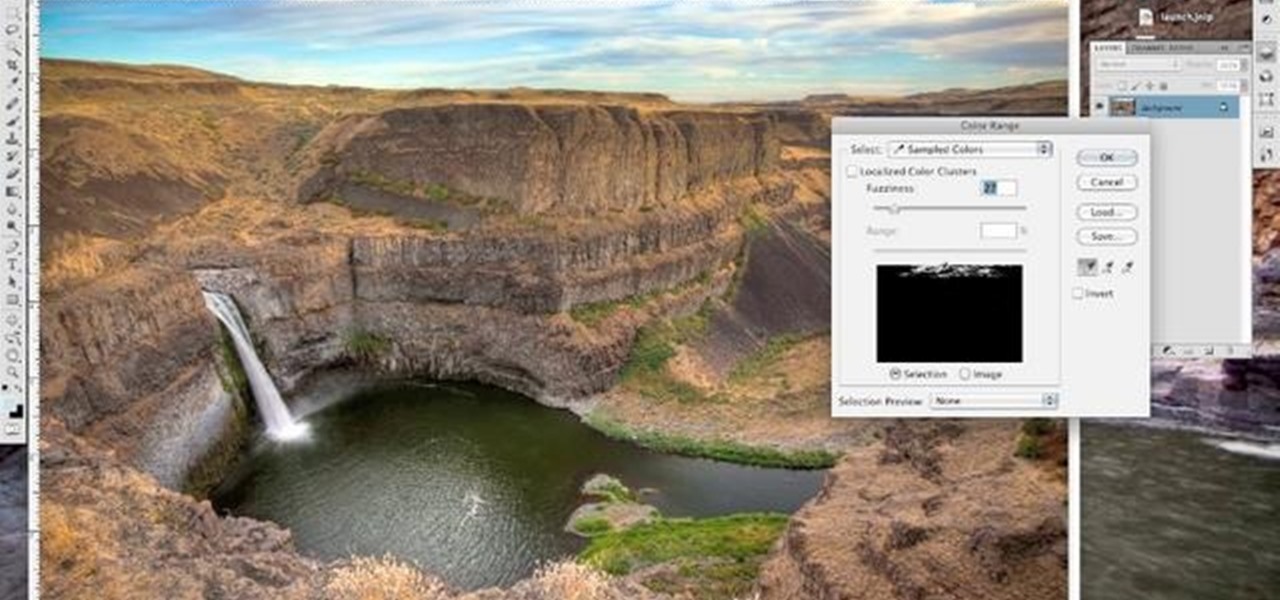
Sometimes an image needs a little something more than nature gave it. In this clip, learn how to add depth and intensity to your photograph by darkening the sky, just right. This tutorial, hosted by a professional photographer, will walk you through every step you need to follow to achieve this mood in your pictures.
Thanks to modern technology, we don't have to visit our nearest Target or Rite Aid to get our pictures professionally retouched and printed. With many printers offering photo-quality ink and paper companies that offer photo-quality paper, you can use your home printer to create professional-grade photos.
Thanks to the influx of purse-sized digital cameras and wads of blurry, hastily taken drunken photos posted on Facebook by partying college students, the quality of photography by the masses has gone down the deep end.

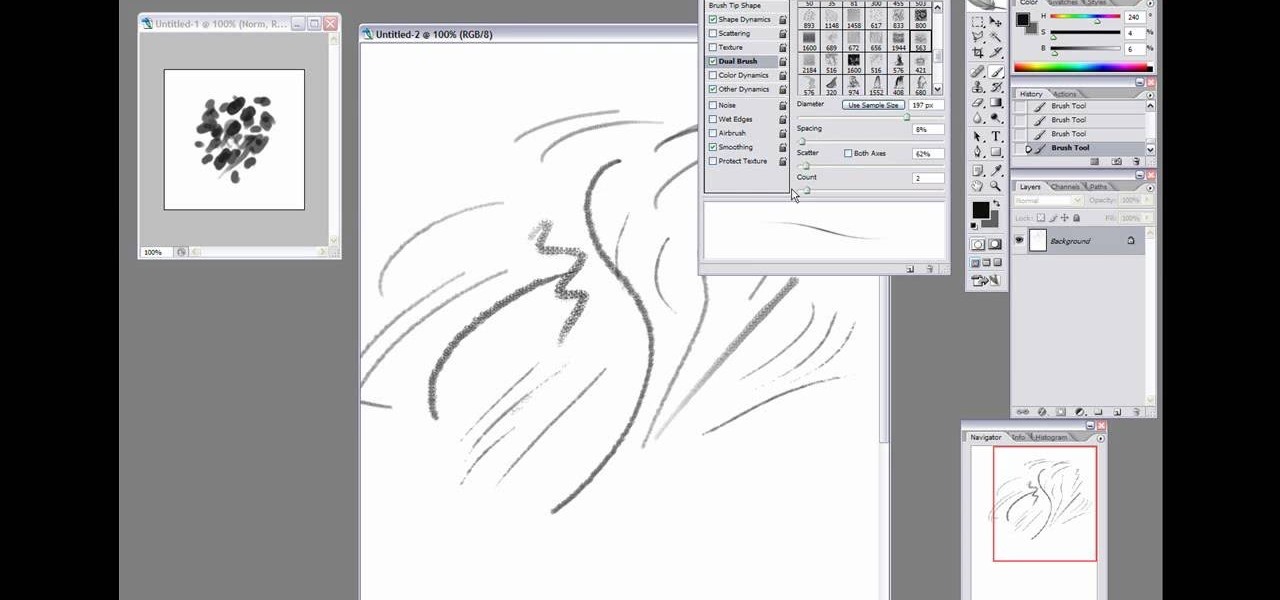
Did you know you can create your own brushes on Photoshop? You're probably already overwhelmed by the variety of brushes, brush diameters, and other various picture settings that Photoshop offers, but if you're a professional artist or graphic designer it's sometimes necessary to create your own brush for a project.

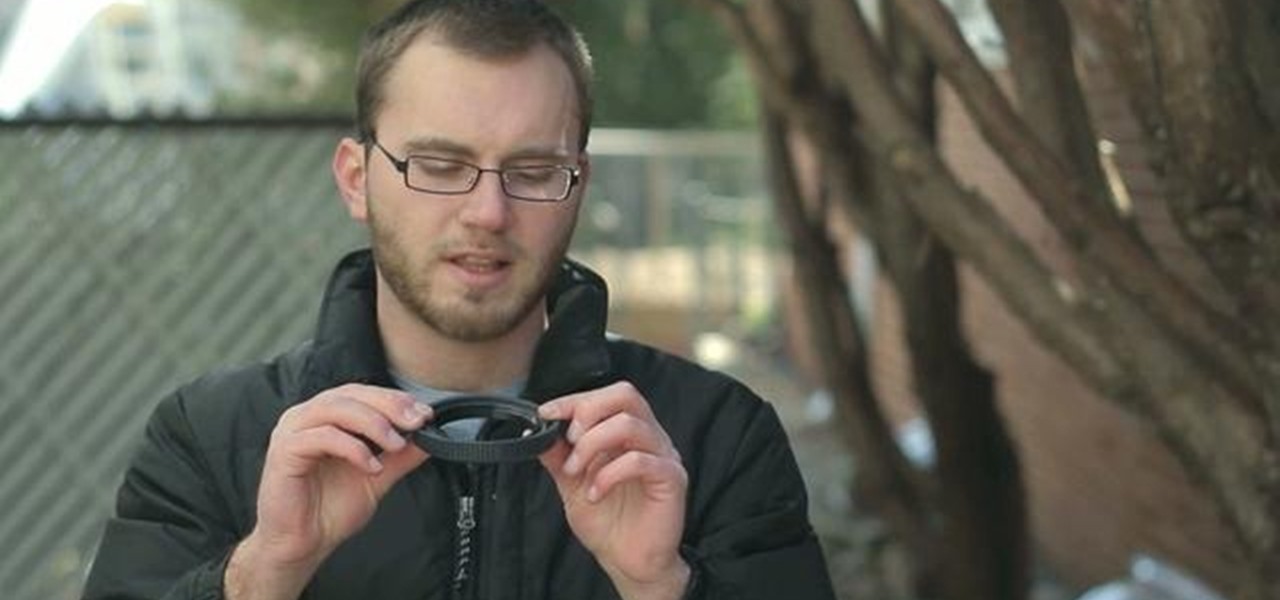
A great way to get picture perfect shots and protect your camera in the process is to use a lens hood. When shooting on your DSLR outdoors, a lens hood will definitely come in handy. In this tutorial, learn how to get the best and most affordable lens cover for your camera and make sure you take an amazing shot every time.

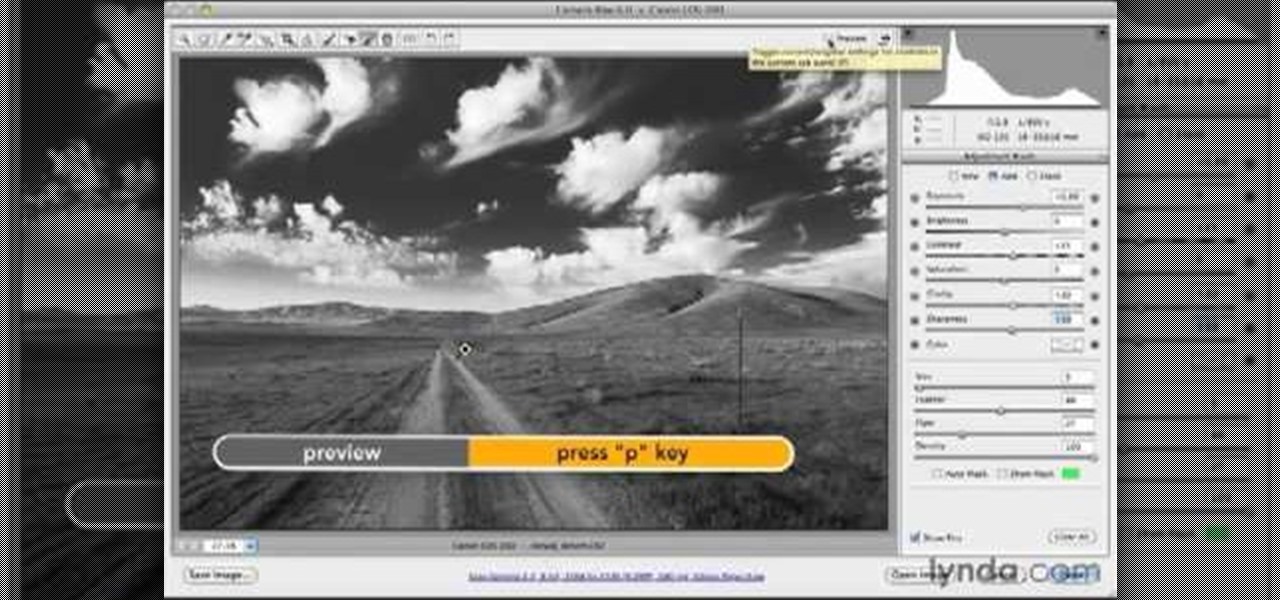
Use Photoshop CS5 to create dramatic black-and-white landscapes with this free video tutorial from Lynda. Whether you're new to Adobe's popular image editing software or a seasoned graphic design professional just looking to better acquaint yourself with the unique features of Photoshop CS5, you're sure to find something of value in this video guide.

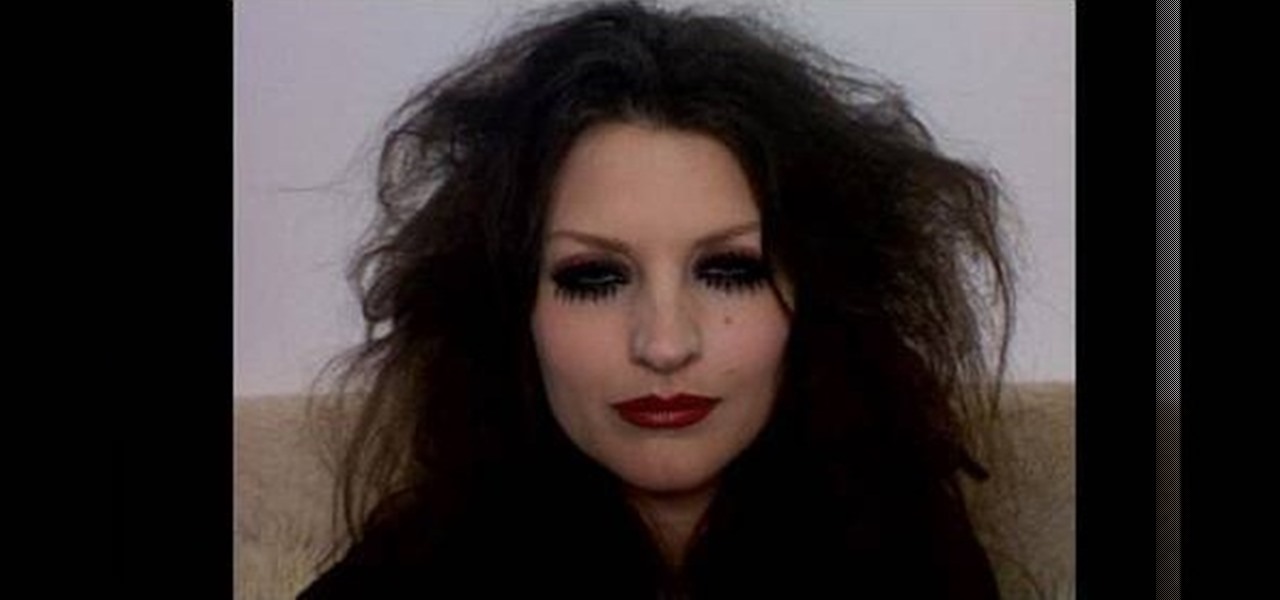
"You're lucky, he's lucky, I'm lucky, we're all lucky!" If you're quick to spot who said this great line in the ultimate 1975 cult classic, "Rocky Horror Picture Show" then you will enjoy this tutorial. In this makeup lesson, learn how to steal the look of the character Magenta (played by the amazing Patricia Quinn) with the help of makeup and hair created by a Fashion Face expert.

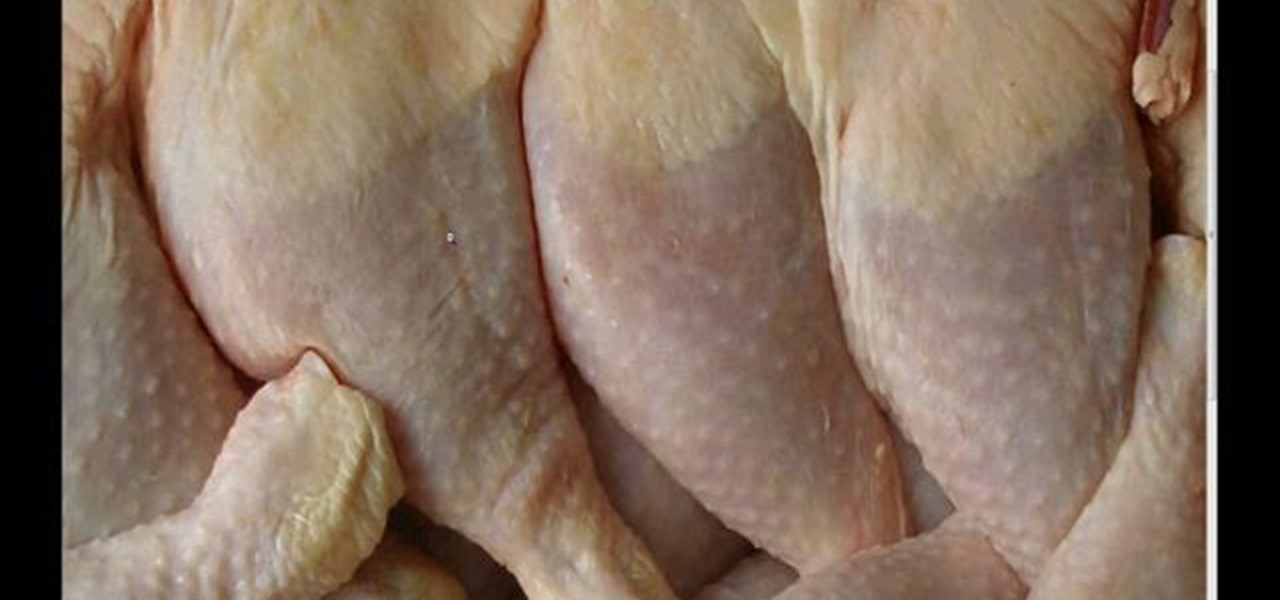
If you've ever wondered how you could possibly create hairy balls in Cinema 4D, wonder no more. This video tutorial shows you how you can use the software and a picture of chicken legs to reproduce the texture of human balls and a scrotum. Follow along with smearballs as he shows you how to copy and clone the texture of chicken legs, create the balls themselves, and the scrotum. Check it out yourself!

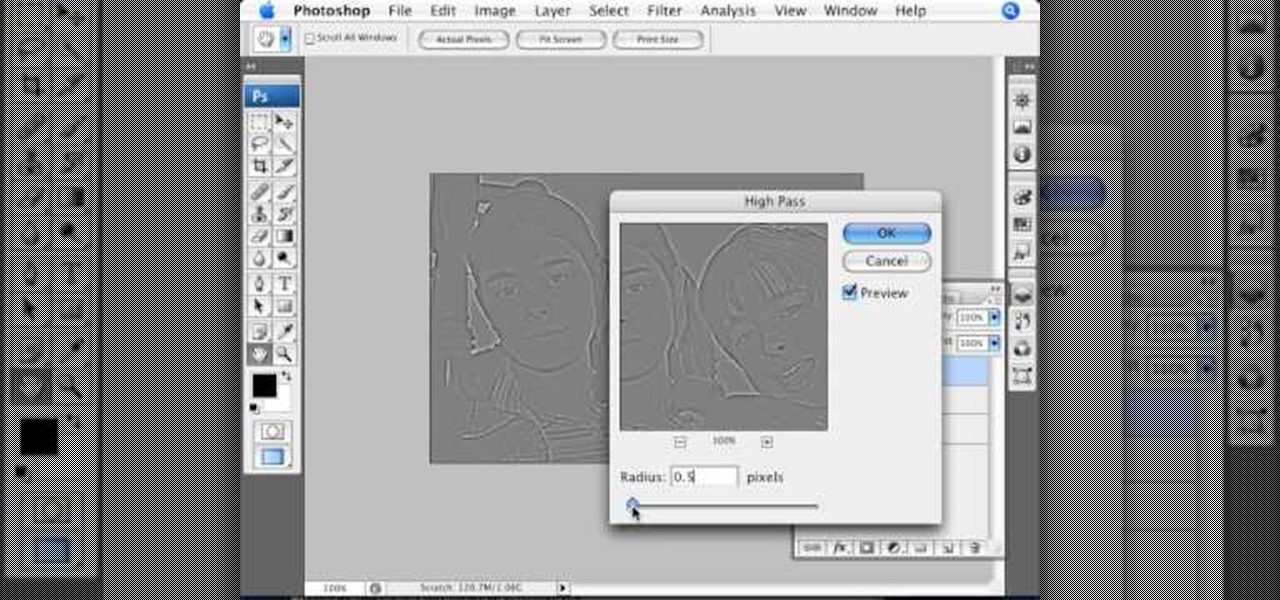
This Photoshop tutorial video teaches you how to make any photo look like it was hand drawn. The image selected should have a relatively simple background, because a too detailed image will not turn out properly. Use the high pass tool and the sketch paper tool and you pretty much have your hand drawn image. Follow this video for extra tips on how to get your image to look like hand drawn perfection.

Do you have a lot of pictures, but you don't want to go through the trouble watermarking them one by one? This is a video that explains how to batch process your images for watermarking. It goes through creating a watermark, writing an action and batch processing it in Photoshop.

Check out this DIY video tutorial from Curbly, the best place to share pictures of your home, find design ideas, and get expert home-improvement advice.

This how-to video is a guide on how to make a Jack-O-Lantern of Barack Obama, the Democratic Presidential Candidate, in spirit of the upcoming election and Halloween. You will need a pumpkin, a picture of Barack Obama, carving tools, and newspaper. This is one jack-o-lantern you'll want to keep up after Halloween. Watch this video tutorial and learn how to carve a Barack Obama pumpkin for Halloween.

Jordan shows us a simple way to remove the red eye created by the flash of a camera using Adobe Photoshop. No matter where the red eye came from, you can remove it easily from any picture after watching this Photoshop tutorial. There are many ways to remove red eye and some are dirtier than others, but this method will give you a nice natural looking pupil in the end.

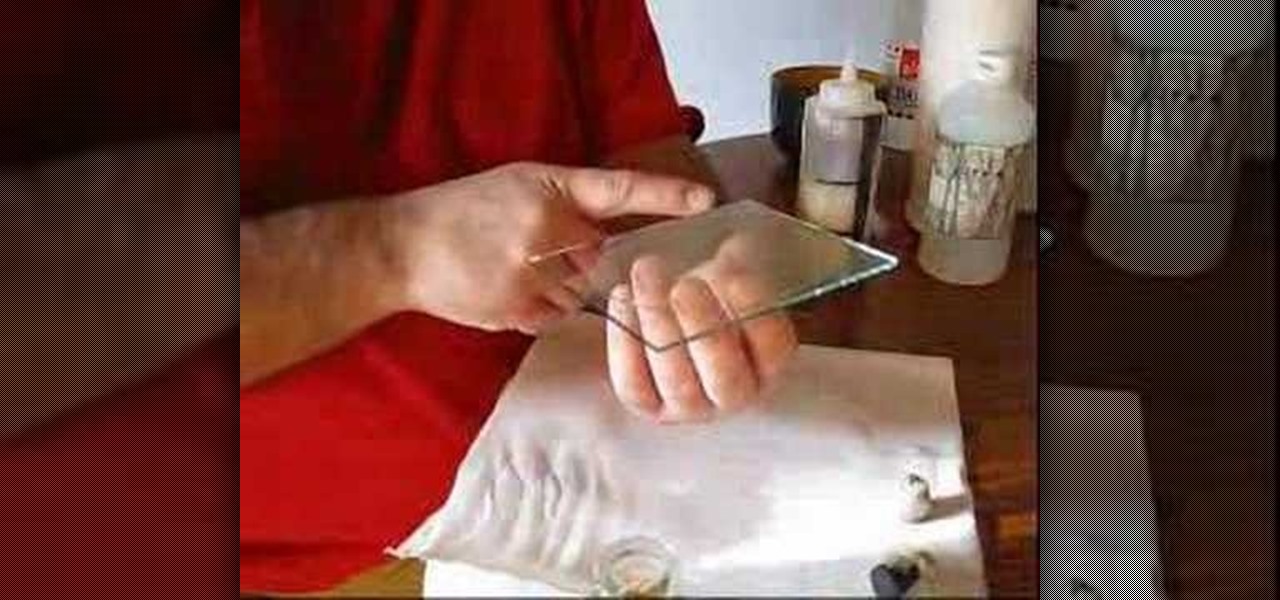
Quinn Jacobson demonstrates how to flow a 4x5 glass plate to make a wet plate collodion negative. Learn how to prepare equipment for taking Collodion pictures by watching this video photography tutorial.

If you're out and about, and you take a great photo with your Apple iPhone, you can add it to your MobileMe Gallery with just a few taps. This video tutorial from Apple will show you it's as simple as clicking "Send to MobileMe". Then there will be beautiful pictures for all your loved ones to see, right from the Internet.

With Apple's MobileMe, you can easily allow your visitors to download beautiful, full quality photographs from your MobileMe Gallery. Check out this video tutorial for all of you newbies out there on sharing your pictures with friends and family, from the Internet. All this can be done, from the safety of your Mac or PC, with the world wide web.

Looking for a way to use up your leftover wood? Watch how to make a simple but decorative shelf, perfect for holding pictures or knickknacks.

Now that you have some photos in your library, you can use one as your desktop background and a whole collection as your screen saver.

With iPhoto, you can add effects to your picture quickly and easily.

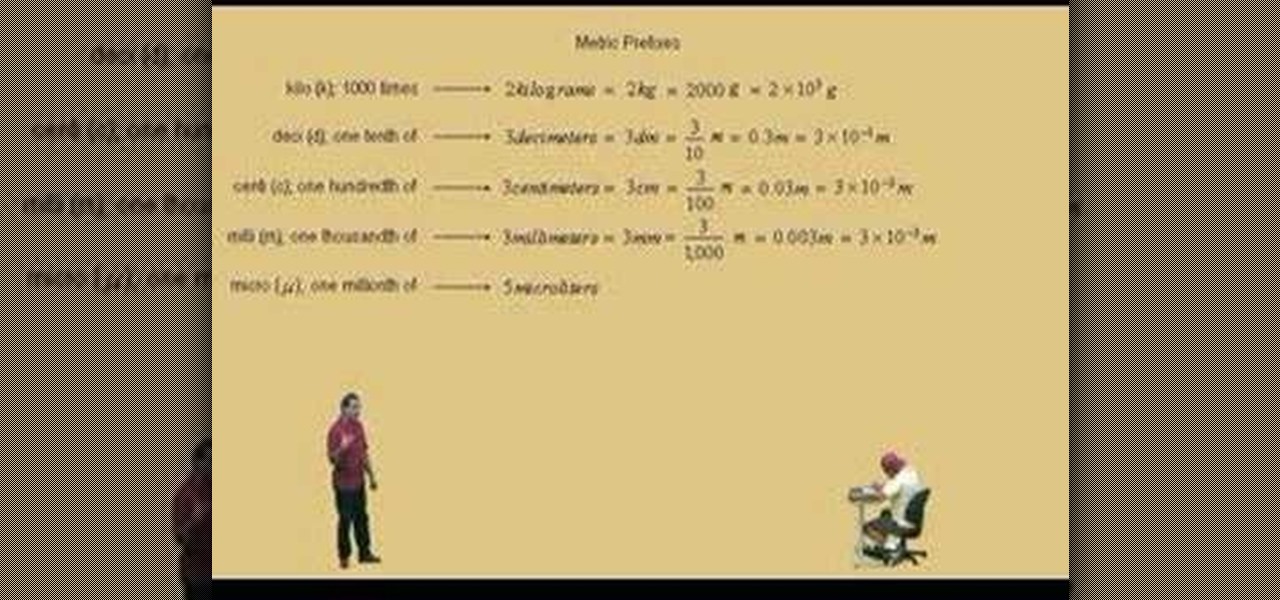
Lawrence Perez, from Saddleback College, and his assistant Charlie, give this pre-algebra lesson on metric prefixes. There's kilo, and deci, and centi, and well, you get the picture.

You can make a great picture effect with just an ordinary shoe box, some paint, a magnifying glass, and a piece of plastic. Try this for a great camera lens trick.

Transform bright light from a foe to a friend with a simple polarizing filter.

James (The Amazing) Randi speaks on spoon/key bending and hidden picture reproduction. These were tricks pulled by Uri Geller to show he had psychic powers. Arthur C Clarke was one of many who spoke out against Geller and sought to distance the paranormal studies from Geller's bogus performances.

Len's flare is more than little star-shaped rectangles appearing in backlit pictures. Even when you don’t see a starburst, you may be the victim of lens flare if you use inexpensive lenses. In this video tutorial you will learn to use the patch and sponge tools to remove lens flare from your images.

Here are 2 designs for making hand held camera shooting a little nicer. By getting your hands off the camera and moving them apart more, you get a much stabler picture. This is a DIY steadycam.

Everything you need to know about checking a person's blood pressure. Be sure to warn the patient about inflation and deflation. Make sure they remain sitting for 3 minutes. Great details for special need patients like diabetics. This very detailed video is well produced and great picture quality. Be warned, the video is 44 megs in size.

In this video, we learn how to draw stained glass style doves. This is a complex picture to draw, so start off with just one dove drawn in the middle of the paper. Add in the feathers for the wings as well. After this, outline the dove in black and then erase any background lines. From here, draw in the black eye on the head, then start to draw another dove over this one. Draw it's head touching the left wing of the first dove. After you finish this, draw the third dove over the other two. It...

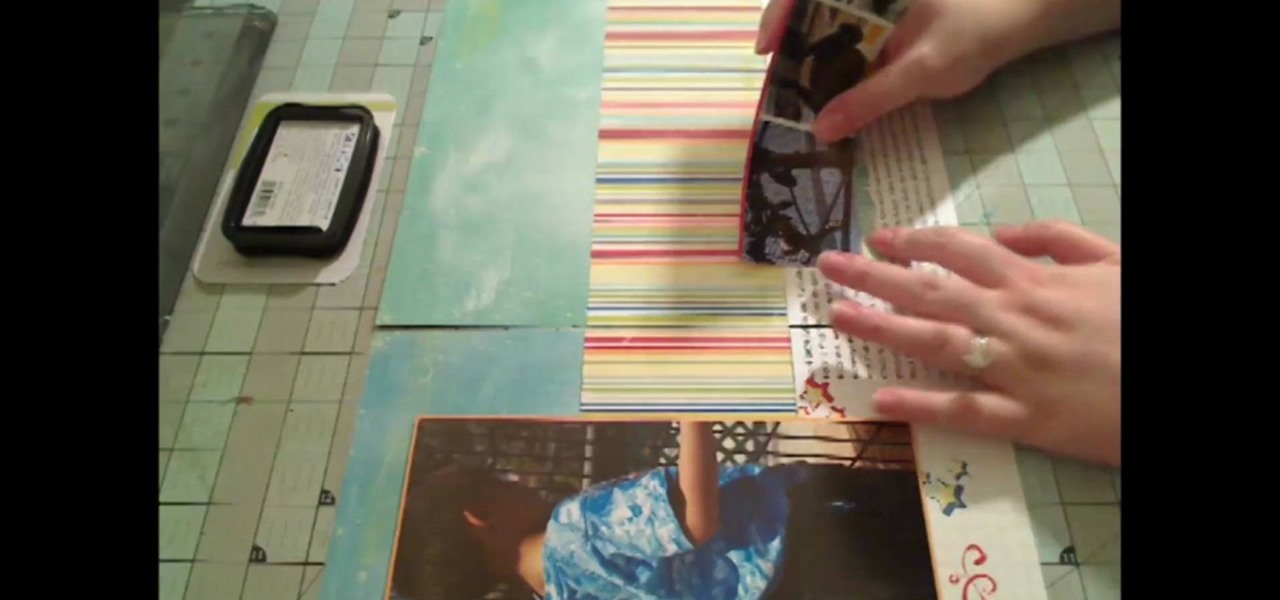
In this tutorial, we learn how to make a 12" by 24" two-page scrapbook layout. First, you will need to gather all of your papers and stickers that you want on your pages. Also, grab your pictures you want to use. Next, figure out where you want to place your photo, then glue it down. After you do this, add on an additional photo in another space of the paper. Place a background underneath the picture first if you want to give it a matted look. Also make sure to place in any stickers that you ...

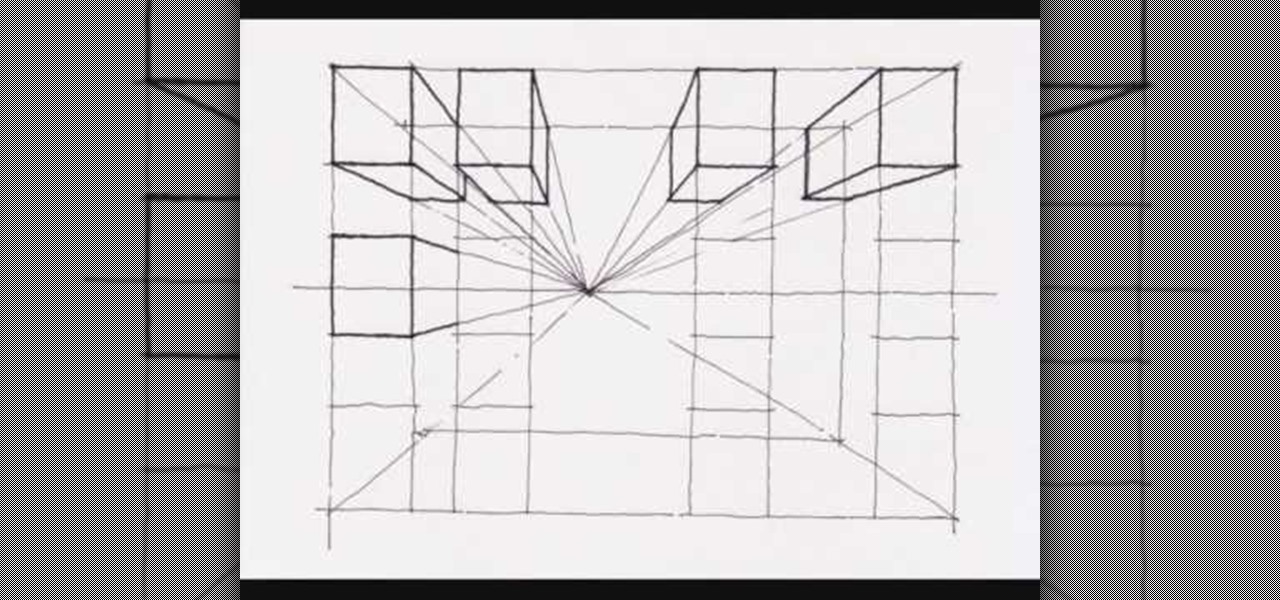
This video demonstrates how to create a one point perspective drawing. You begin by making a horizon line across your paper and adding diagonal lines from the corners which will all converge at a single point along your horizon line. You can then create boxes by creating squares or rectangles around the lines extending from the central point. The outer edges of your rectangle can further be connected to your single point in order to create a 3-dimensional shape for the boxes and cubes which y...

In this tutorial, we learn how to draw steps in perspective. Start off by drawing a dot in the middle of the paper. From here, draw lines using a ruler coming from the middle diagonally on the top middle and sides. Now, you will be able to draw your pictures using these as a reference point. The lines at the top will show the steps that are at the top and farthest away the closer they get to the dot in the middle. After this, fill in the details of the picture making different items around th...

In this tutorial, we learn how to draw and color a room with art markers. Start off by drawing a basic room, using a vertical vortex as your map of where everything goes. Draw in the stairs as you see them, then draw the hallways, windows, picture frames, and more. Draw in the carpet that is on the floor, then add in any other details you may have in the home. After this, start to add color to your picture as you prefer. Color the walls and the floors in different colors that blend together a...

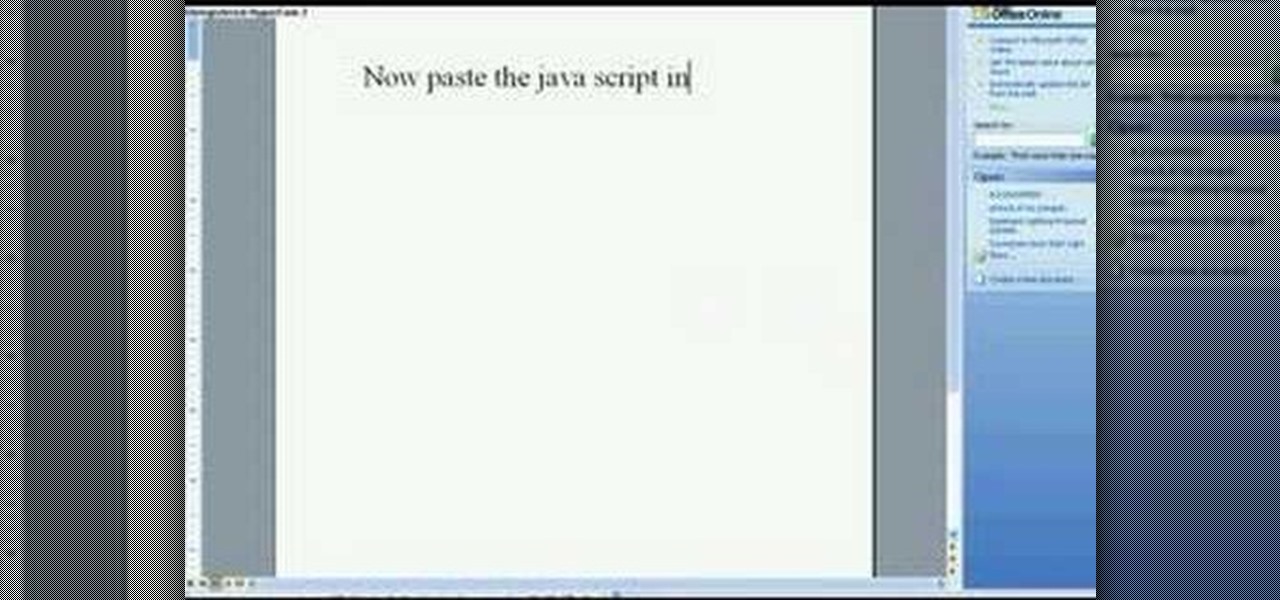
In this Computers & Programming video tutorial you will learn how to make Google go crazy. This is a cool cheat that makes all the pictures in Google to fly around the page. First do a Google search for 'Google go crazy' and open the first link. Then in another tab search for anything with images, for example 'guitars '. Then remove everything from the address bar of the images page and copy and paste the java script from the 'Google go crazy' page in to the address bar. Click enter and all t...

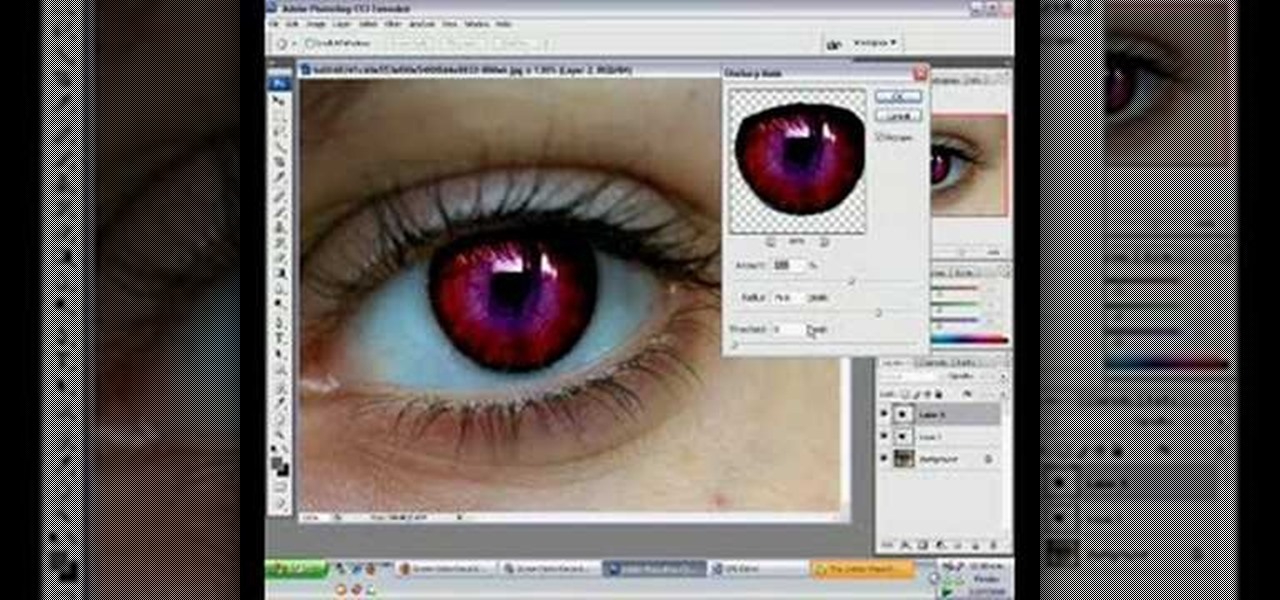
In this tutorial, we learn how to use Photoshop CS3 to change the color of someone's eye. First, open up your picture in Photoshop and zoom in on the eye. After this, use the lasso tool to surround the entire eye and then press All+J to start a new layer. Next, move the colors on the eye to change what color you see. Next, you will be able to change the hue and brightness of the picture until it is the exact color that you want. When you are finished with both of the eyes, make sure to save i...

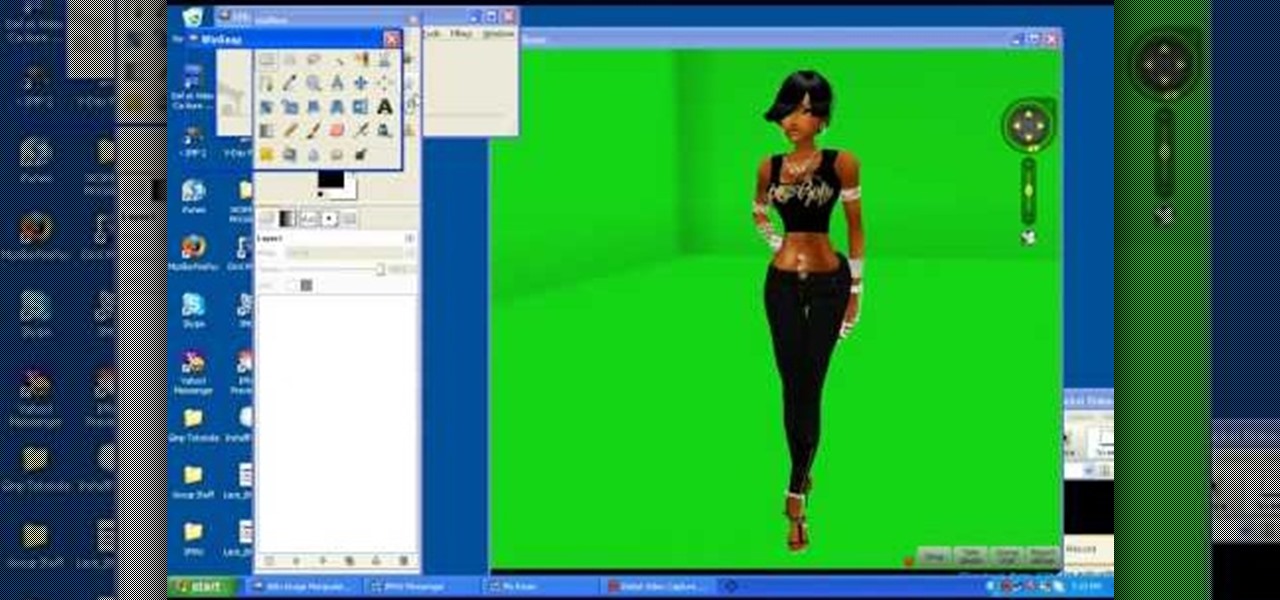
This video tutorial belongs to the Computers & Programming category which is going to show you how to capture screenshots on a Windows PC with GIMP. Open up 'My Room' and make sure the box is taking up the whole screen. To take away the bubbles, press ctrl + B + B. That is you press B twice. Then you go to GIMP, click on file > create > screen shot. Then on the WinSnap window, click 'grab' and drag the box on to the My Room box. Now the picture comes in the back. Select the crop tool and crop...

The video demonstrates how to draw Goku in MS Paint. The whole picture is drawn using the curved lines. First the jaw part of the face is drawn and then the back ground of the face. After this the hair is drawn, it is drawn like many big leaves which are separated with vein in the center. The ear is drawn after that, which is seen in between the hair. The nose, eyes and the brows are completed next. A pointed nose is drawn. The picture is completed by drawing neck and the gown. Goku's back si...

Learn how you can draw an "imaginary box" and then replace the box with 3-D everyday objects. You can learn to do just that by watching this video. There are hundreds and hundreds of objects that you will be able to draw after learning how to draw this imaginary box and build off of it. You can draw a floor lamp, a refrigerator, a house and so much more just by using this neat artist' tip. The lines of the box help you to center your picture and make it look more realistic and the shading is ...

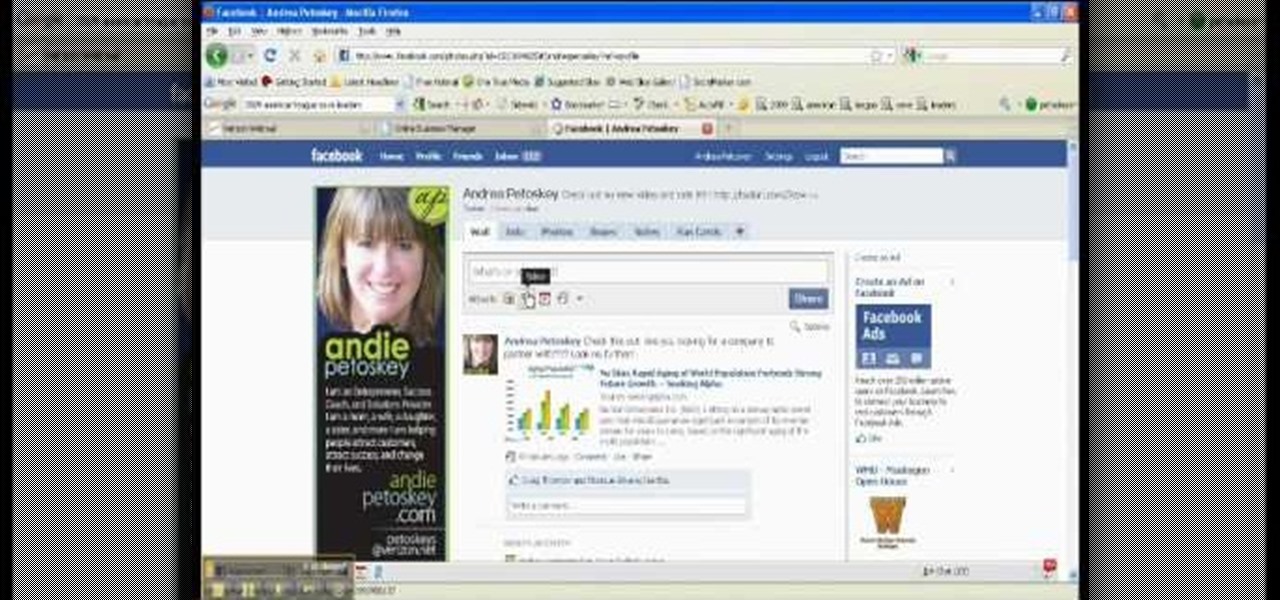
This is a video narrated by Andie Petotsky herself. This video demonstrates how to create an album and upload pictures on Facebook and is one of the many videos of the series "Sixty Second Solutions".


