To create a winged out eyeshadow look you first take a paint pot as a base. Apply to the eyelids and under the bottom of the last line. Blend with finger after you're done applying with a brush. Next, take a brush and place black eyeshadow above the lash line on the eyelid, while doing this, brush outwards in the corner of the eye to make a cat-eye. Don't place the eyeshadow too high on the eyelid or it will change the shape of the eye. Make sure to place the eyeshadow in the corner creases o...

Tom Skowronski teaches the secrets of using an outdoor green screen. An excellent summary is given below. First check the advantages of using green screen outdoor like a lot of space, sufficient light. In the same way check some disadvantages like noises from birds, children. For the screen materials you can use paper which is cheaper but it cannot be controlled if wind blow. You can also use a board or even paint a wall green which will be better. Now to set up the screen use the screen rods...
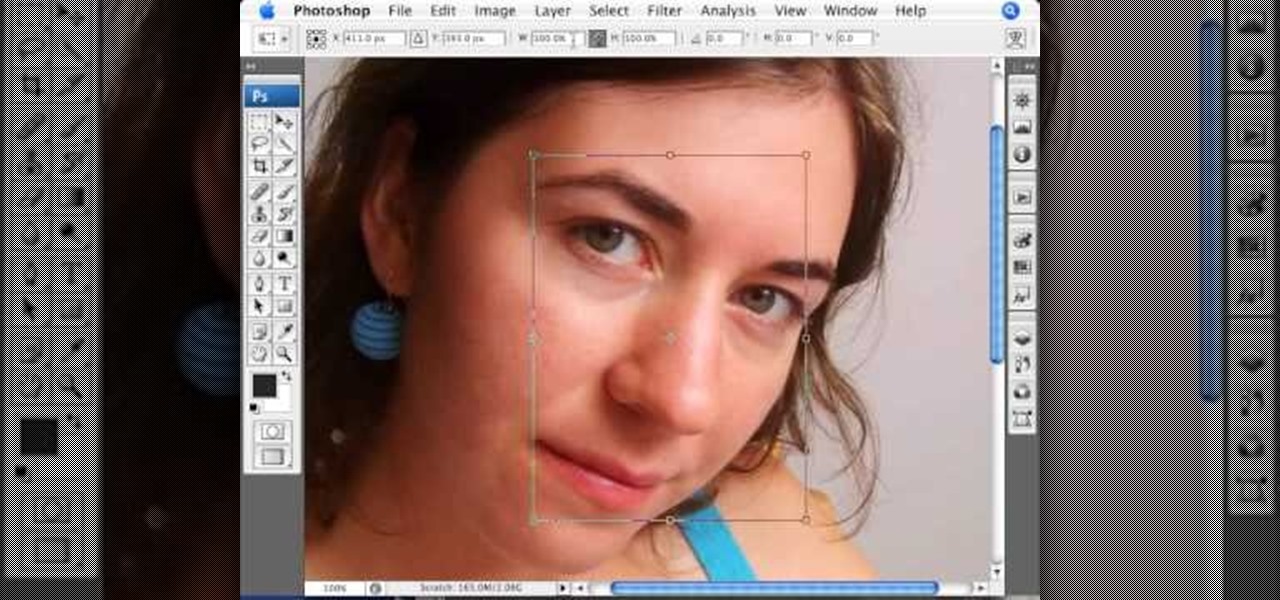
This Photoshop tutorial on performing a nose job using Photoshop contains detailed instructions on the use of Photoshop tools to, depending on taste, enhance the appearance of an individual. The person narrating the tutorial specifies the necessity of subtlety with the modification of the picture in order to remove any appearance of modification. The way described is essentially to select the general nose area, feather the selection by an optional amount, and set it in a separate layer. Then ...

Air. It's all around us. Put it to work with this home science how-to, which demonstrates a cool method for crushing aluminum cans with a little bit of ice water and a whole lot of air pressure. To follow along with this experiment at home, you'll need a soda or paint can, a large bowl of water, some ice, and a stove top.
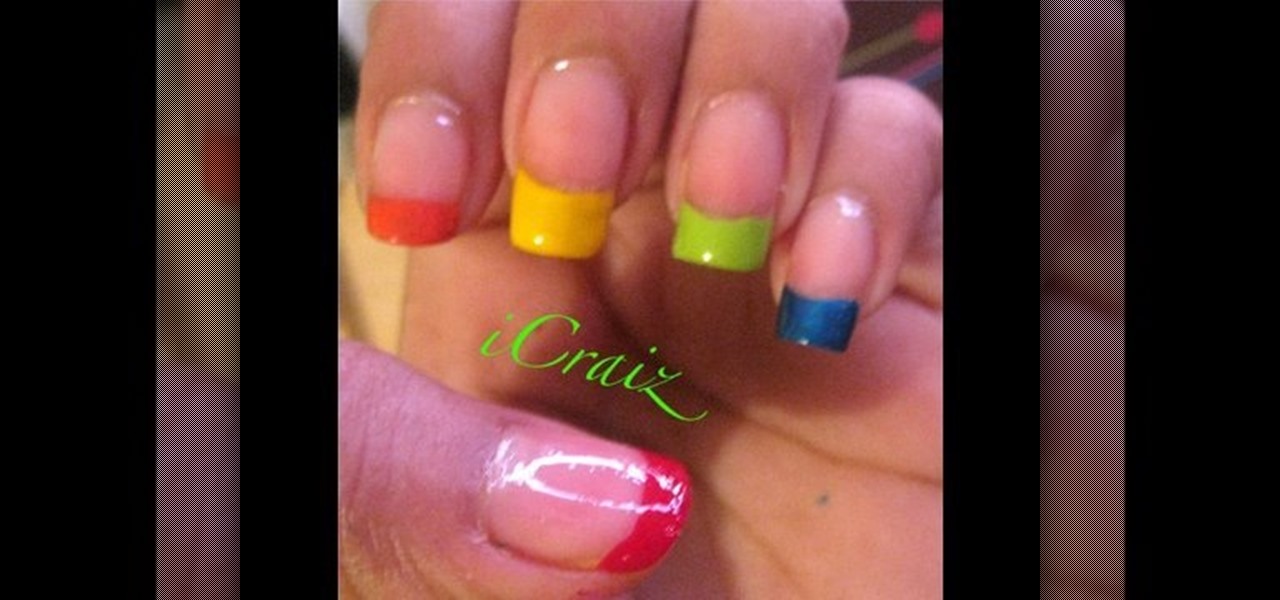
Colorful fingers really look amazing and nothing stays colorful like rainbow tipped finger nails. Going to the nail salon can get expensive and at times can be unneeded, as they aren't always perfect. I will show you how you can make your own rainbow tipped finger nails from the comfort of your own home. Whether you are a perfectionist about your nails or if you are fine with a little unevenness about your finger polish, follow this video and you will have amazing rainbow tip finger nails.
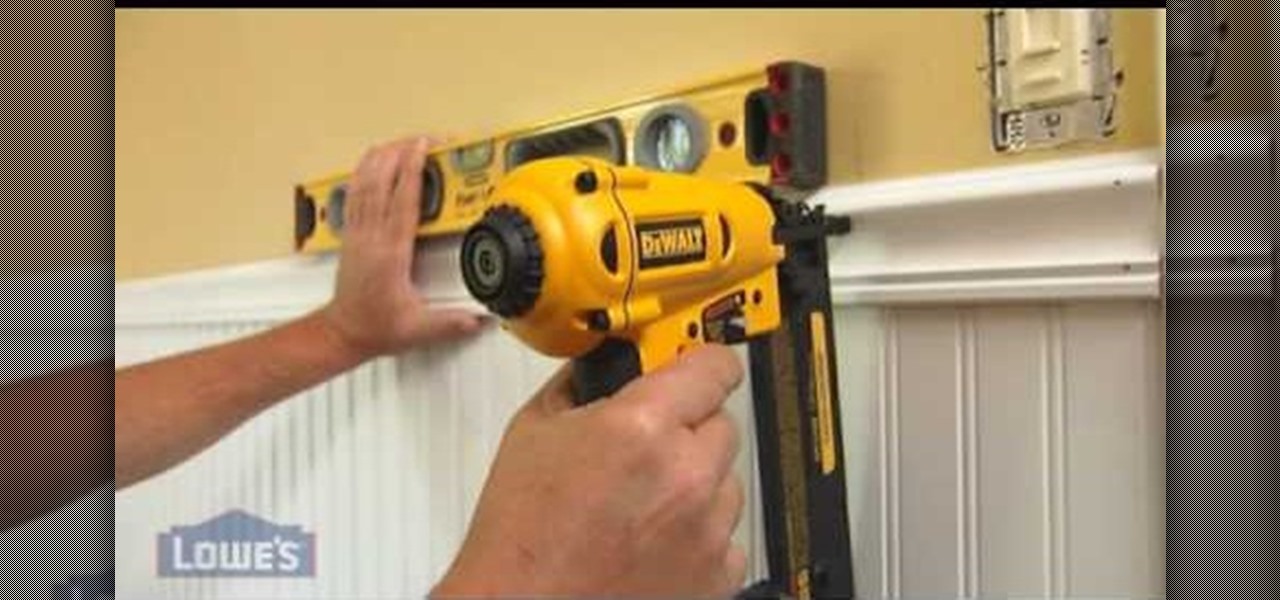
In this how-to video by Lowe's department store you are showed an intermediate do-it-yourself installation of beaded plank paneling and molding. He shows where you can get information on how to do this but then goes on to show the different paneling and molding you can make. He goes on to show how to measure and cut the paneling to your desired length. After describing how to measure and cut the panel he goes on to show how to prepare the paneling with the paint. He goes on to show the differ...

This is an excellent kids tutorial to draw a koi fish easy and simply using a Adobe Photoshop. The artist shows you how to hand draw the body, add the fins and other features of the fish. Then you create guidelines to make a perfect pattern of scales on the fish. Next he starts texturizing the fins as well as creating a realistic flip of the tail. He then takes the outline of the fish and puts it on one layer then traces it over on the next layer. On subsequent layers, the artist paints the f...

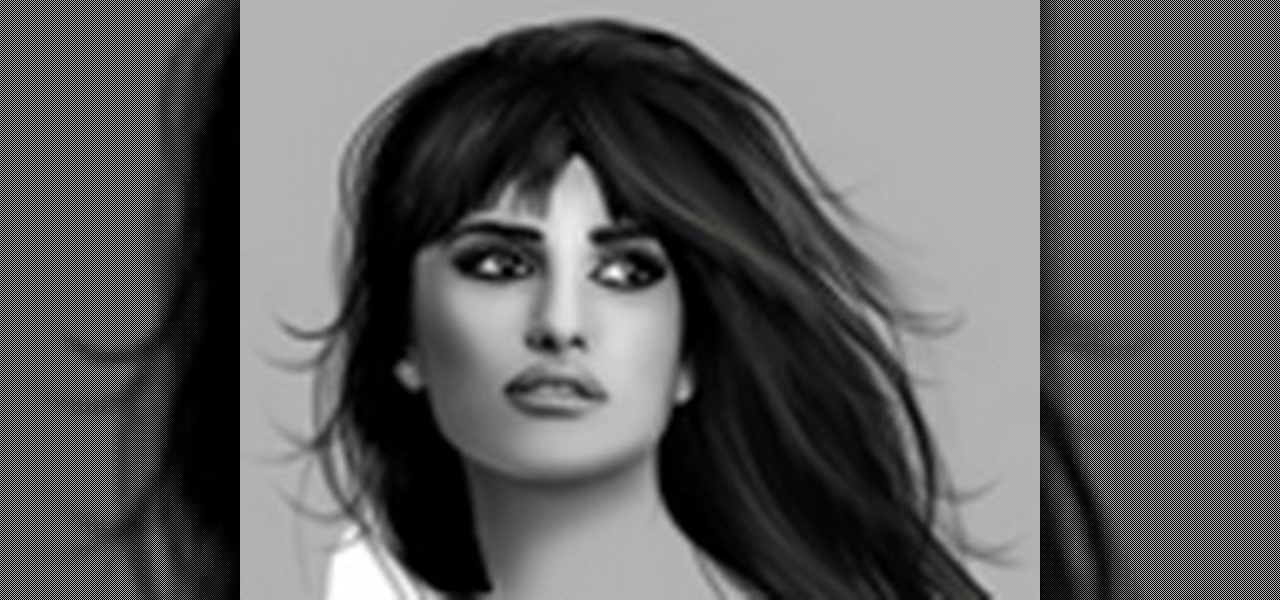
Stephanie Valentin will show you how to draw realistic hair in Photoshop. Add a new layer of paint to shape the hair, and do it with a round brush. Create hairs all around the shape with a smudge tool. Then add a new layer and draw a line with a soft round brush and smudge tool. Repeat the last step several times drawing more hair if you want. Add a new layer and add some light with a smudge brush and a round brush. When done, adjust the layer of opacity. Again, add another layer and add ligh...

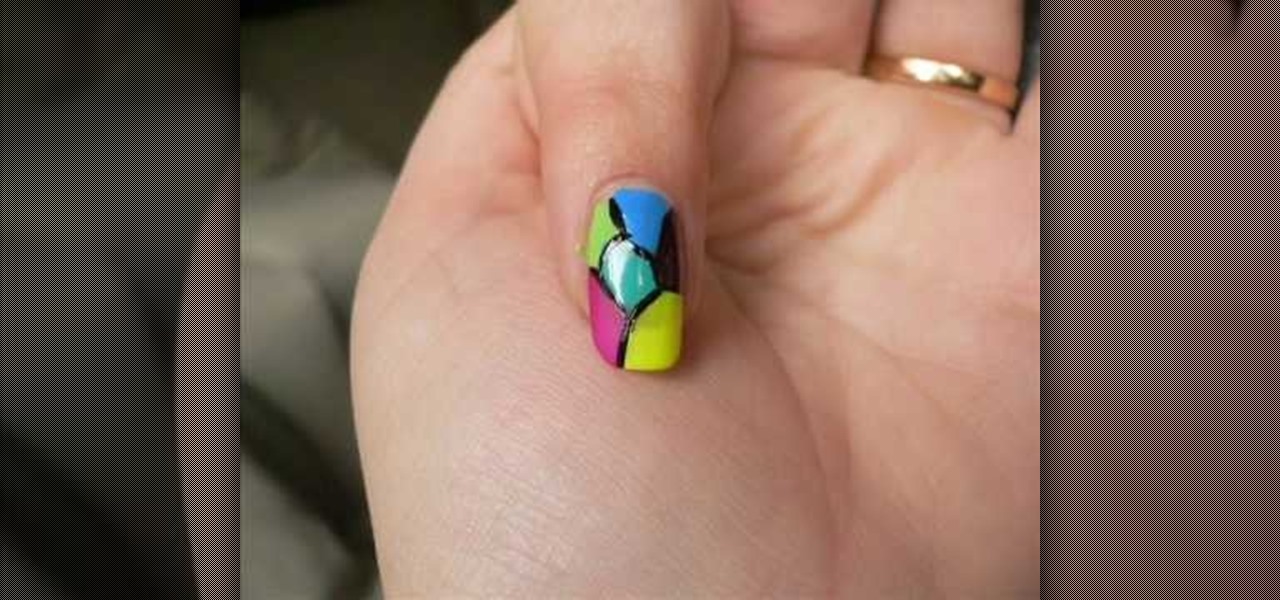
This video relates to Neon Mosaic Nail Tutorial. This video teaches how to make the nails good looking and also pleasing. In this video she teaches how to select the colors of nail polish and also she teaches the steps to be followed regarding which color nail polish to be applied first and also to create a mosaic by using multiple colors. She also add some border line to create and pleasing look. She also narrates to change the colors in applying to each nail. She also teaches how to create ...

Watch this video and learn to be happy with stretch marks and the appearance of your body. -It is normal to have stretch marks, 78% of women have stretch marks.

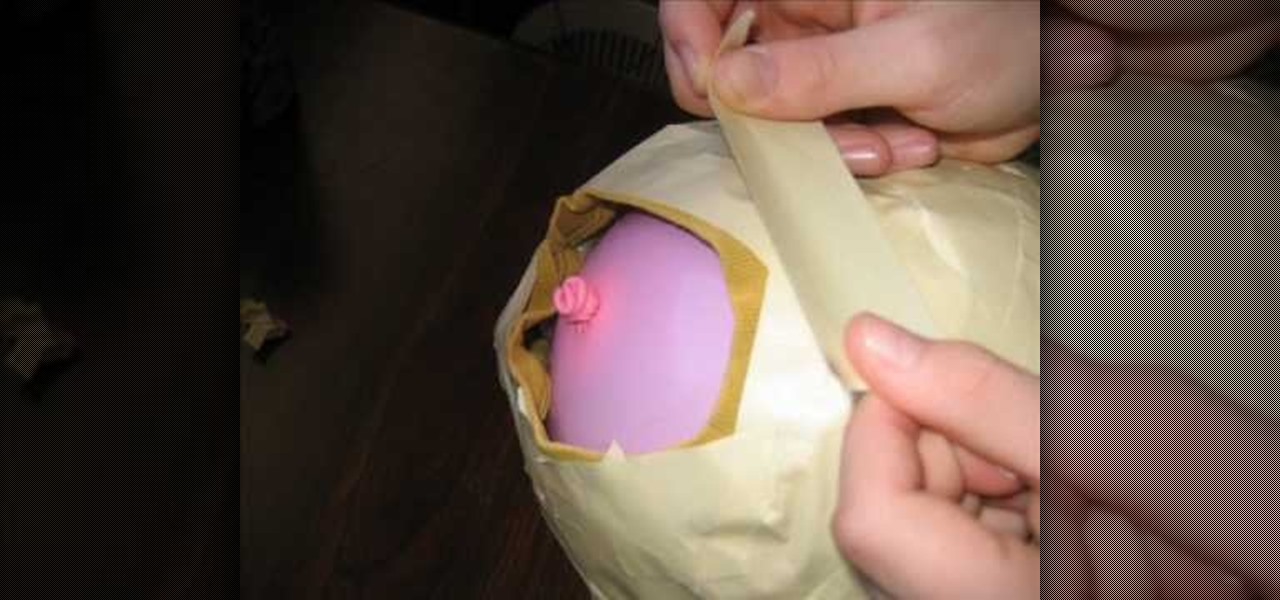
No matter what you think of Slipknot's music, you gotta admit they have a cool, horror movie look. This video will walk you through how to make your own Slipknot full head masks. You'll be surprised how simple the process is.

There are tens of thousands of iPhone applications out there. Some are fabulous. Some are stinkers. From boredom-busting games to truly useful utilities, Fox News Tapped-In tell you which are worth a place on your iPhone. Their concise video reviews and how-tos let you see the apps before you download. Plus, they show you tips and tricks you never knew were there. If you own an Apple iPhone or iPod, check this vodcast out.

This beauty video demonstrates how to create a bright, summer makeup look.

Want to make a Rubik's Cube just like Erno Rubik? Of course you do, but before you start making all of the intrinsic mechanisms of the classic Cube, maybe you should start out a little simpler.

Go beyond the traditional 3D workflow to an immersive creative experience with the software Modo, created by Luxology. Modo is the next evolution of 3D modeling, painting and rendering for Mac and PC. Modo includes 3D sculpting tools, animation and network rendering, and advanced features such as n-gons and edge weighting.

Sure, you can buy one, but making an Advent calendar is a nice family project—and you can use better treats!

Devolped by the same team of engineers responsible for LightWave 3D, modo, lowercase, delivers the next evolution of 3D modeling, painting and rendering in a single integrated and accelerated package for the Mac and PC. And now, modo is a true end-to-end solution that includes true 3D sculpting tools, animation and network rendering! More than just features, modo is a truly elegant integration of technology, raw horsepower and refined workflow. With such a wealth of inbuilt features, however,...

Devolped by the same team of engineers responsible for LightWave 3D, modo, lowercase, delivers the next evolution of 3D modeling, painting and rendering in a single integrated and accelerated package for the Mac and PC. And now, modo is a true end-to-end solution that includes true 3D sculpting tools, animation and network rendering! More than just features, modo is a truly elegant integration of technology, raw horsepower and refined workflow. With such a wealth of inbuilt features, however,...

Developed by the same team of engineers responsible for LightWave 3D, modo, lowercase, delivers the next evolution of 3D modeling, painting and rendering in a single integrated and accelerated package for the Mac and PC. And now, modo is a true end-to-end solution that includes true 3D sculpting tools, animation and network rendering! More than just features, modo is a truly elegant integration of technology, raw horsepower and refined workflow. With such a wealth of inbuilt features, however...

Modo delivers the next evolution of 3D modeling, painting and rendering in a single integrated and accelerated package for the Mac and PC. And now, modo is a true end-to-end solution that includes true 3D sculpting tools, animation and network rendering! More than just features, modo is a truly elegant integration of technology, raw horsepower and refined workflow. With such a wealth of inbuilt features, however, things can get confusing, which is where this tutorial comes in. In this modo vi...

Devolped by the same team of engineers responsible for LightWave 3D, modo, lowercase, delivers the next evolution of 3D modeling, painting and rendering in a single integrated and accelerated package for the Mac and PC. And now, modo is a true end-to-end solution that includes true 3D sculpting tools, animation and network rendering! More than just features, modo is a truly elegant integration of technology, raw horsepower and refined workflow. With such a wealth of inbuilt features, however,...

Want to make makeup like the Joker? Watch this how to video. Products used:

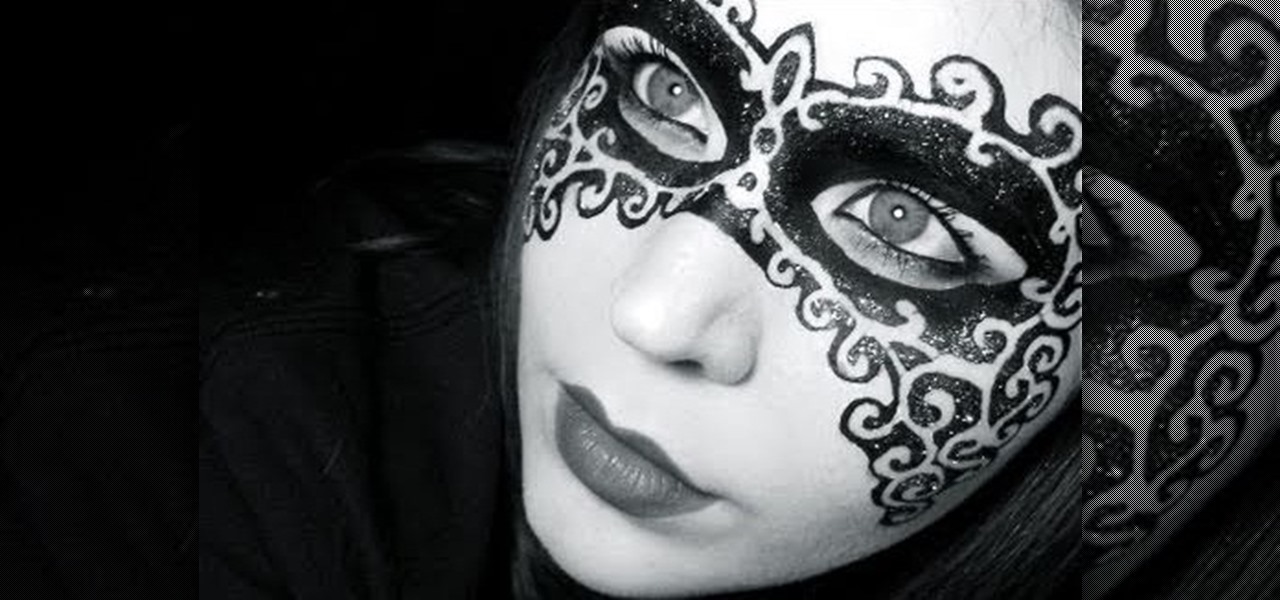
What we love about this "Mask of Mystery" is that you can use it for a large variety of Halloween costumes. Delicate scroll patterns ending in curlicues and dubbed over with glitter make this painted on mask perfect for dark fairies, Moulin Rouge can can dancers, Mardi Gras participants, and even sorceresses.

In order to make your own designer brads, you will need the following: clear or colored ultra thick embossing enamel, brads, glitter, ink, acrylic paint, a heat gun, and tweezers.

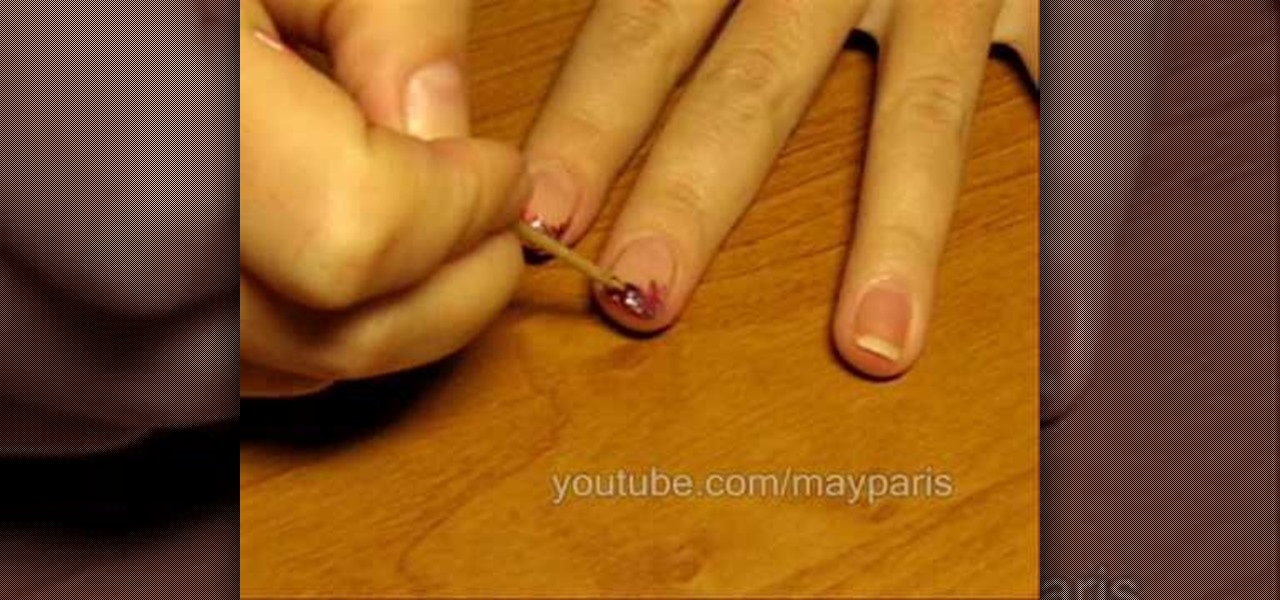
In order to create/paint a vintage French manicure, you will need several different nail polishes and a toothpick. You can use any combination of color that you want: e.g. neutral and purple and golden rose 10 and golden rose 31.

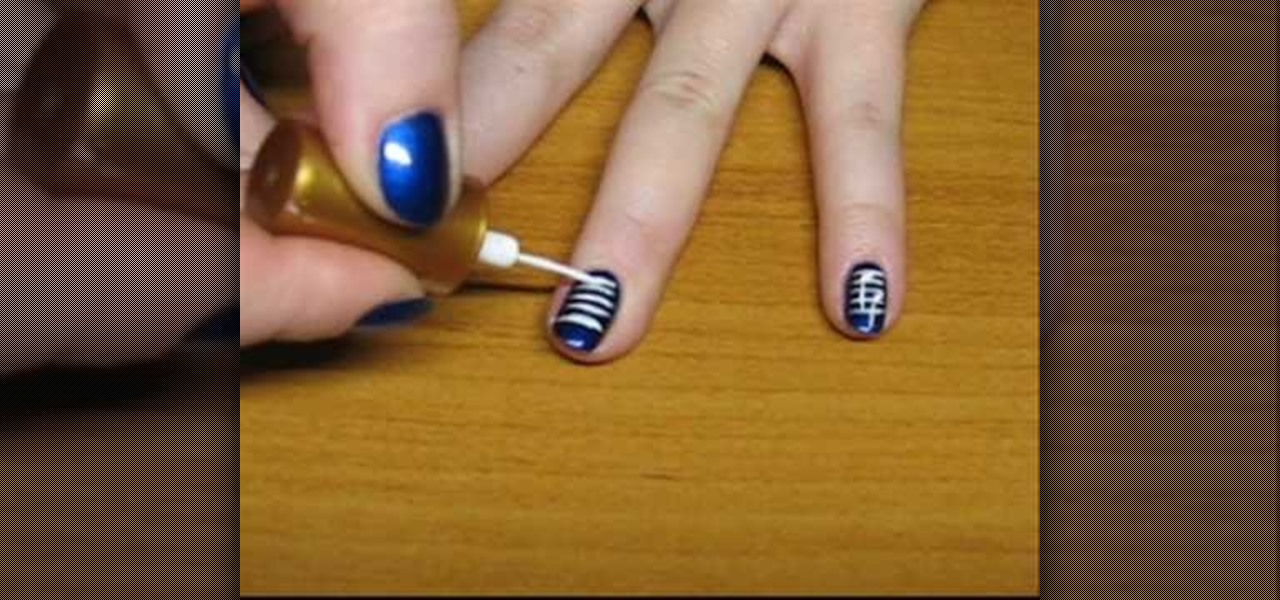
In order to paint musical notes on your nails, you will need the following: a base coat, a matte polish, topcoat, and a colored polish.

In this tutorial, we learn how to make a stylish Halloween bag tag. You will need: ink blending tool in black soot color, black paint, orange paint, white card stock, stencils, cutters, scissors, and glue. First, place your white card stock underneath the stencil, then cut out the shape of a house. After this, mark lines in opposite directions onto the shape. After this, you should have the shape of a spider web. Next, add the ink pain on the top to highlight the spider web and you will be ab...

Take your dessert from bland and boring to something special for your next dinner party with help from this video! In this cooking tutorial, learn from Sue McMahon, cookery editor at Woman's Weekly, how to temper chocolate. To complete this recipe you will need the following:

This video tutorial shows you how to paint an interesting design on your nails using pink, white, and blue polish. Begin with a base color. Pink polish is used here. Next do a side swipe using blue. This swipe starts about halfway down the nail and comes up to the top of the nail. Then add a little blue shimmer to the blue polish. Next use white polish with a thin brush to outline the blue. This line can be a little thicker. Then add a shimmery dark blue line next to the white line. Now place...

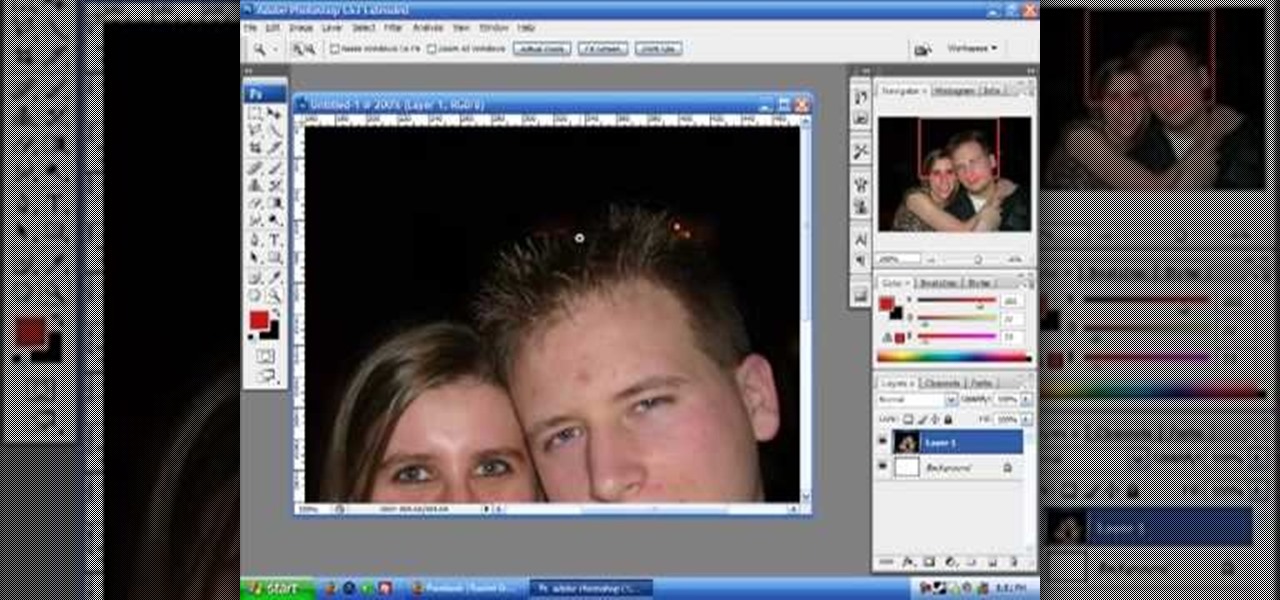
This how to video will show you how to remove blemishes and do other touch ups in Photoshop. First, open the image you want to touch up in the program. Now, choose the polygon tool and select the background of the image. Now, go to adjustments and change the brightness and contrast. You can also add a blur in the filters. Use the smudge tool to touch up any errors from using the blur filter. To fix blemishes, use the patch tool. Select the area you want to fix and drag it to an area of simila...

This is a video tutorial showing its audience how to draw an anime mermaid. The first step in drawing an anime mermaid is to gather your supplies. For this drawing you will need a photoshop type of program. Next you can open up the program. First you will need to open a new window and color it white. Then you can begin drawing. Then you can draw the head and the eyes and mouth first. Next you should draw the body. Next you should draw the mermaid's fin with your drawing tool. When you are fin...

1. First of all select 'filter' at the ‘top tool bar’. Now select the 'artistic' from the ‘drop down’. Then select 'fresco' and then click 'ok'.

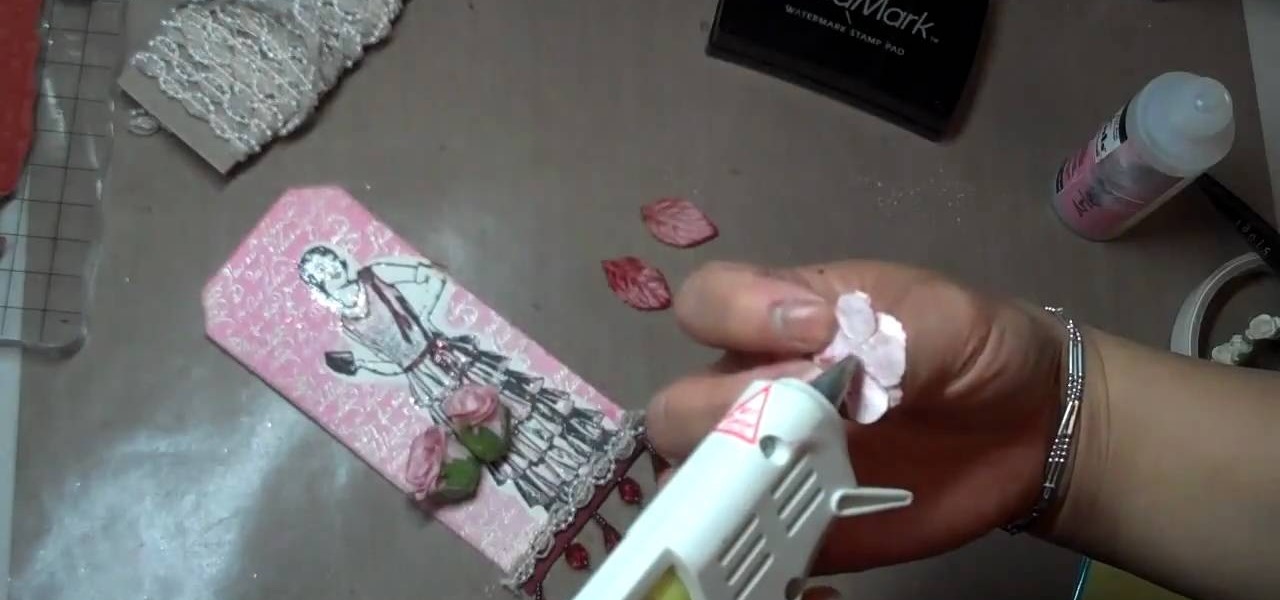
Mybutterflykisses12 shows viewers how to make a vintage lady tag! First, You will need a stampof a vintage lady and some cardstock. Dab your stamp with black ink and stamp it onto card stock that is shaped like a tag. Next, you can stamp on vanilla script above the figure. Next, apply clear embossing powder to the tag and then heat this with a heating gun so it can set. Next, place an opaque stamped image of the same woman over the original on the tag. Cover the stamped image before you apply...

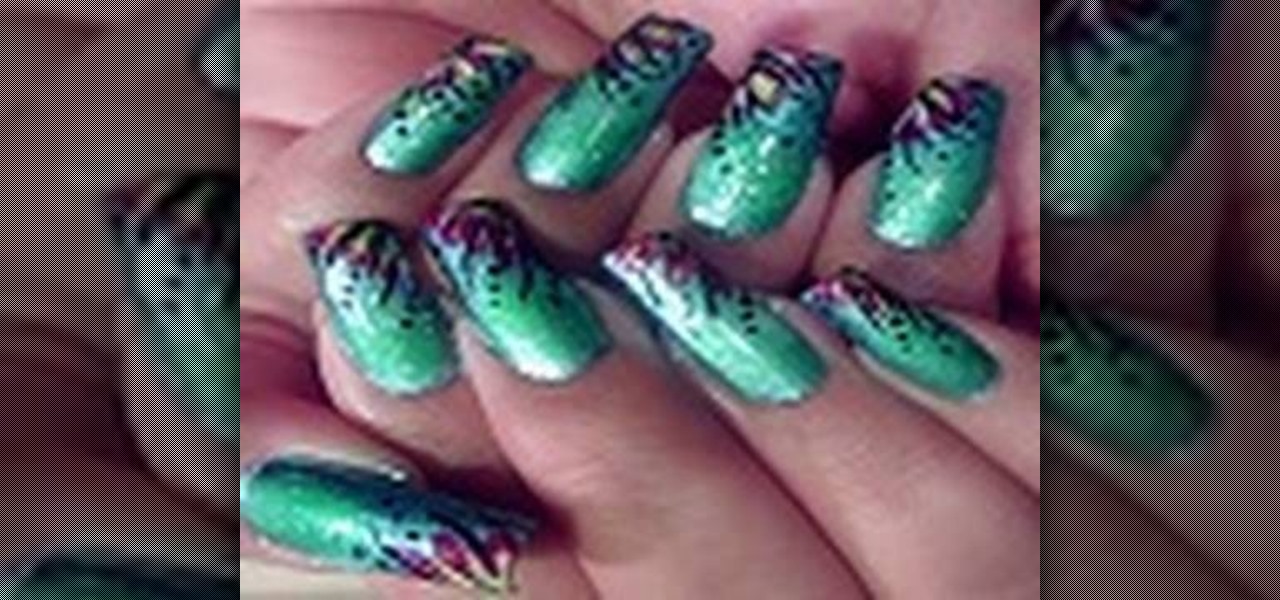
Love4Nails shows viewers how to paint nails with an aqua bohemian flower design. First, you want to apply a light blue nail polish as your background. Next, get a makeup sponge and brush green nail polish on this sponger. Place this green on the bottom part of your nail only. Now on the top, use your same makeup sponge and apply white nail polish on the side top of your nail and a little over the green. Next, use a shimmer polish and apply this over both the green area and the light blue area...

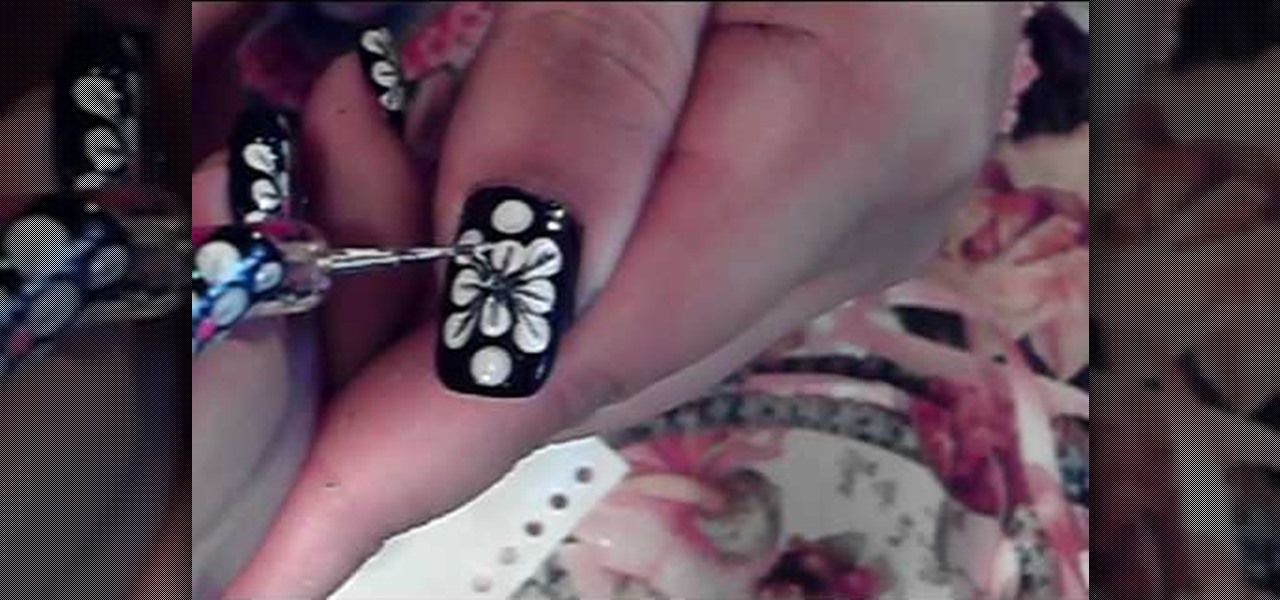
This video is about how to paint short nails with a white flower art design. The first step that you will have to do is to apply any background color on you nail. After applying the background nail polish, get a piece of paper and place the white nail polish on. After wards, use the dotting pen to start dotting the nail. Make four dots in the middle of the nail forming a flower. Then, just simply add another 3 more dots to both ends of the nail. After adding all the dots on the nail, the next...

This video is about making a marble greeting card. The materials required for making them are marabu marble starter kit which consists of six marble paints,a marabu konturf paste, a polyester ball, a bowl, kebab sticks, a pencil, a cutting knife, a glue, sweat pieces of card, three cards of different colors and a bucket of water. The video starts by folding one piece of card into half and then cutting the ball into two pieces. Keeping the piece of ball as the center draw a flower around it on...

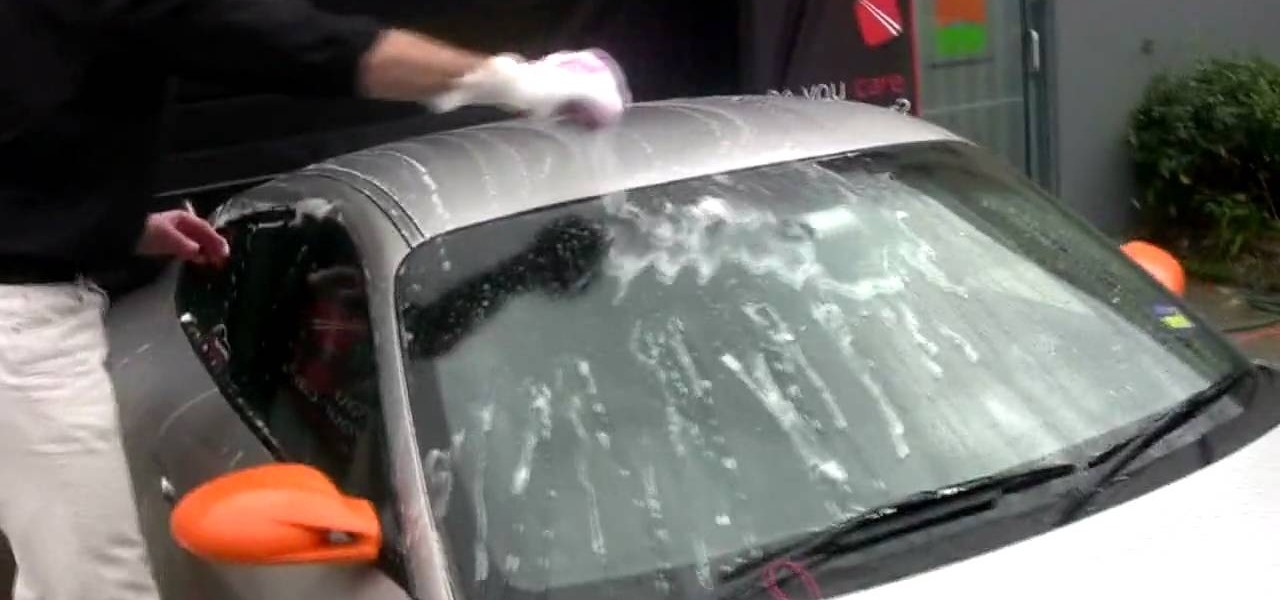
Every time people wash their car paint can easily be scratched off on accident. To avoid that CarCareProducts (CCP) demonstrates how to clean your car in a safe and efficient way using the two bucket method. In the first bucket add a small amount of PH Neutral wash shampoo and in the second bucket should be filled with clean, clear water to refresh your mitt as you wash your car that way all the dirt is collected into that bucket and not the one with shampoo. The first step to cleaning your c...

In this how-to video, you will learn how to make your own hand-crafted snowman. You will need two Styrofoam balls, tooth picks, a white sock, plaid fabric, orange pipe cleaner, black fabric paint, pins, hot glue or tacky glue, twigs, buttons, red baby socks, and any other decorations you want. Place a tooth pick to connect the two balls. Insert the balls into the sock and cut the excess. Next, pin the sock to the balls. Cut the scarf from the plaid fabric and wrap around the snowman. Now, cut...

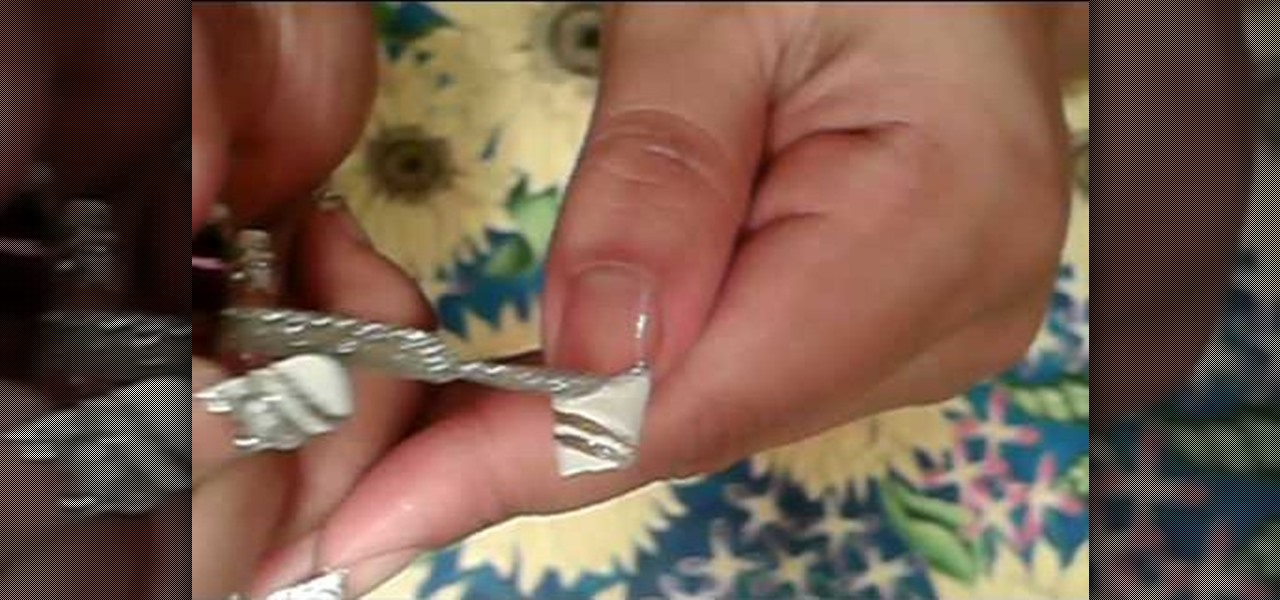
The process of painting your fingernails, with a French manicure with silver accents, is a multi-stepped process. Before you begin, put a hydrating base-coat on your bare nail, and let it dry. Then take white nail art polish, and draw three parallel diagonal lines across the nail, starting from the top of the nail (where the white meets the skin" to the bottom. Once you have completed the three lines, take white nail polish and create a French manicure, filling in the nail from the skin line ...

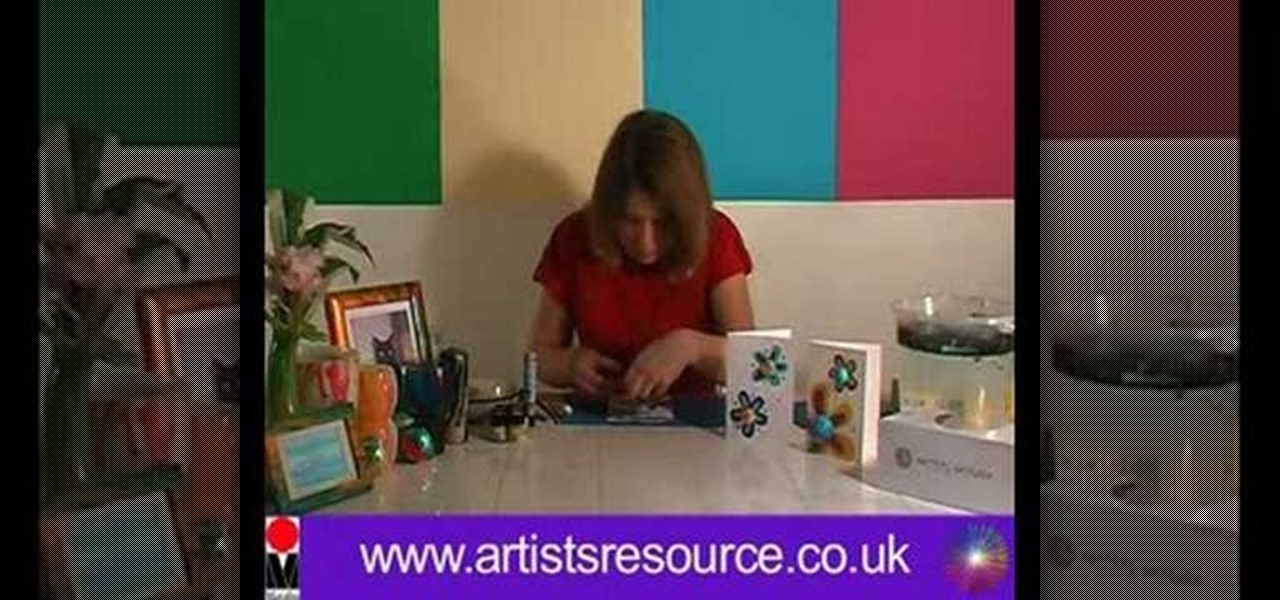
In this Arts & Crafts video tutorial you will learn how to make a stained glass picture frame. This video is from Artists Resource. You will need a Marabu GlasArt kit, some white spirit, a china graph pencil, scissors, a ruler, sheets of scrap paper, lead tape and a picture frame. Take the frame and remove the clips. With the ruler and china graph pencil mark off and draw 6” squares. Rub off the center lines with a tissue. This is where the photo will fit. Next you fill the squares with the g...


