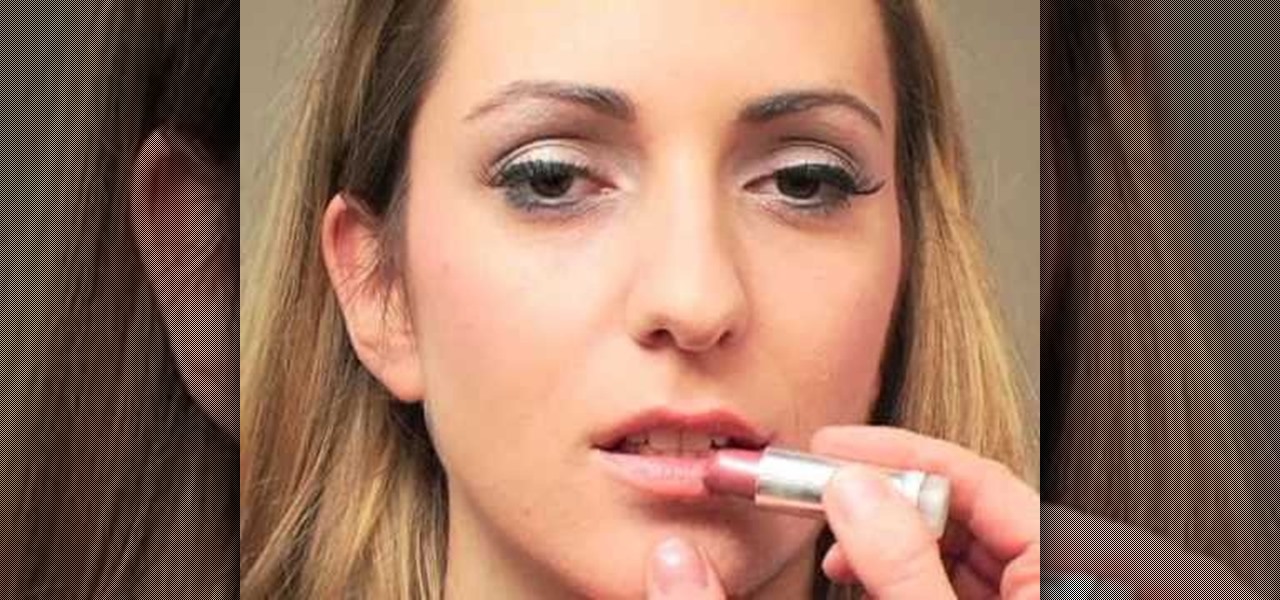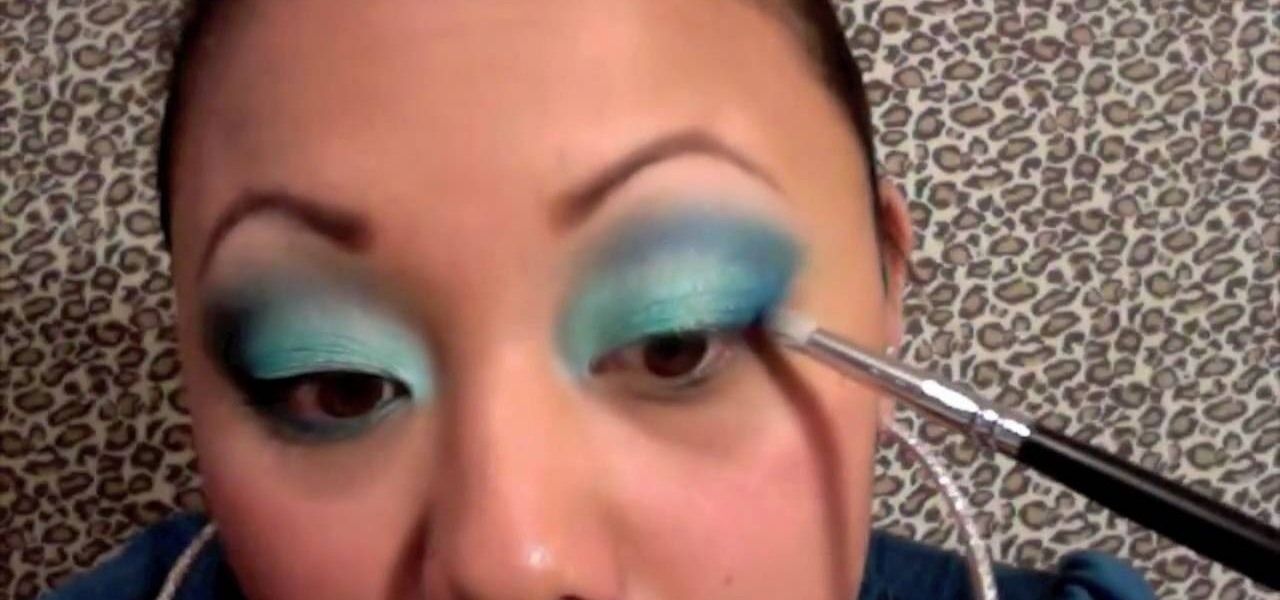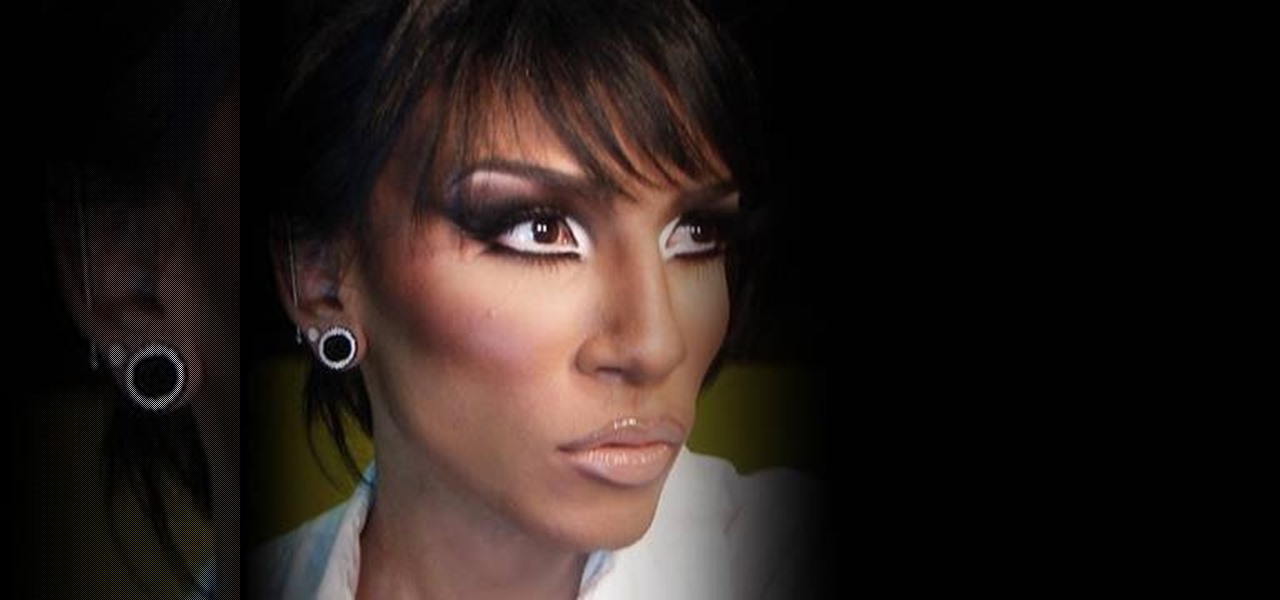
In this video, we learn how to create the Misty Maven drag queen makeup. Start off by applying a primer to the eye, followed by white eyeshadow over the entire eye and underneath the eyebrow. Next, apply a gray shadow in the crease, brushing it out to the outer v of the eye, making a wing shape. Next, take a sparkly black eyeshadow and apply it to the base of the crease and blending to the outer edge of the eye. Next, take the white shadow and apply it to the inside of the eye down to underne...
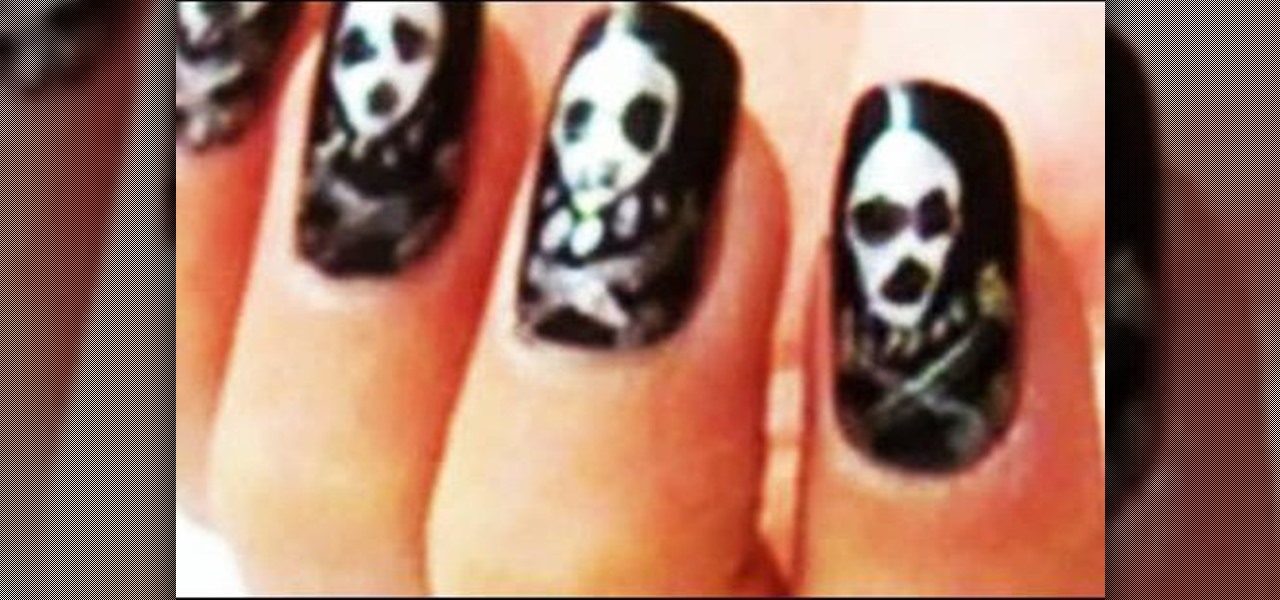
In this video, we learn how to create Halloween inspired skull nails. First, apply a base coat to the nails before applying anything else. After this, apply a black nail polish to the entire nail and allow it to dry. Now, take a silver nail polish, and draw a skull shape onto the nail. Use your black nail polish to create the eyes in the skull, then use a nail brush to create the shape of the head and bones underneath the skull. Let the nail dry, then repeat this on all your nails for a spook...
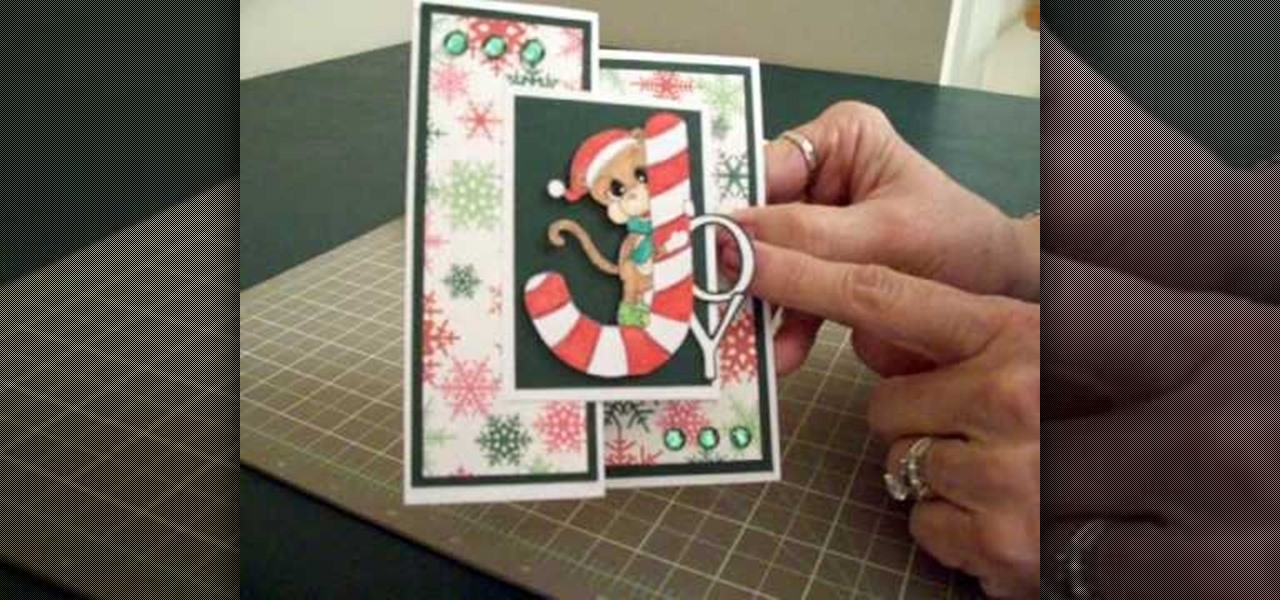
In this video, we learn how to make a Joy S-fold Christmas card using Cricut George. First, fold the card and mark it so it's in the S shape, then stamp the background of the card with colored snowflakes in different sizes and shapes. After this, use a black outline along the sides of the papers, then add in a black piece of paper to the middle of the top fold. Apply a monkey with a Santa hat to the front and wrap him around a J shaped candy cane. Add in the letters "o" and "y", then add in a...
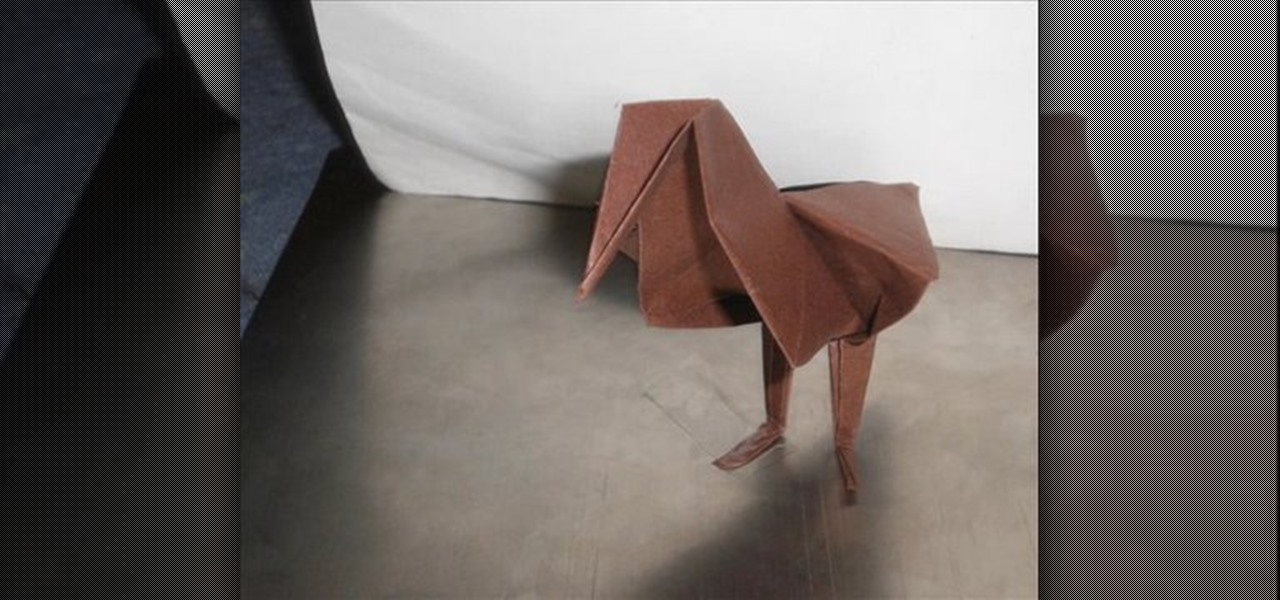
Thanks to popular folklore, few of us would be happy to cross paths with a black cat or a raven on our way home. The creatures supposedly bring you bad luck (though, frankly, we've seen our share of black cats who were chubby and adorable).

In this tutorial, we learn how to apply half dead zombie makeup for Halloween. First, clean off your skin completely and then dry it. Next, apply glue to the skin while using a sponge, then apply toilet paper on the forehead skin and layer it with glue. Next, apply more glue to the skin and then make a hole in the toilet paper. Following this, apply foundation on top of it, then set with powder. Next, apply red, blue, black, and purple eyeshadow to make a bruised look on the face. After this,...

In this video, we learn how to paint blue and white corner flames on your nails. First, paint a pearl base on the nail and let it dry completely. Now, grab the black nail polish and paint waves on the nail going from the top to the bottom. Next, grab the white nail polish and do the same thing, making the mark next to the black marks. Let this dry, then grab light blue nail polish and fill it in on the corner of the nail. Let this design dry, then paint white on the blue to make small lines a...

In this video, we learn how to create a fresh pink spring makeup look. Start off by applying a pink eyeshadow to the eye, then brush a purple color on the inner corner of the eye. Next, take a dark purple and gray, then blend them into the outer crease of the eye. Now, blend together all of the colors. Next, apply a layer of black eyeliner, then brush on mascara to your upper lashes. Next, apply black eyeliner to the bottom of the eye followed by mascara on the bottom of the eyes. When finish...

In this tutorial, we learn how to make a Freddie Krueger glove. You will need: a saw, sandpaper, silver spray paint, black paint, brown paint, old glove, tin from a can, plexi glass, shiny cardboard, and a hot glue gun. Start off by using your paper roll to cut off a strip of it that will start on the joints of your hands, then cut this in half. After this, make a cut in the top of it and on the sides of it. Do this again for the four fingers, then wrap it around the glove fingers. After this...

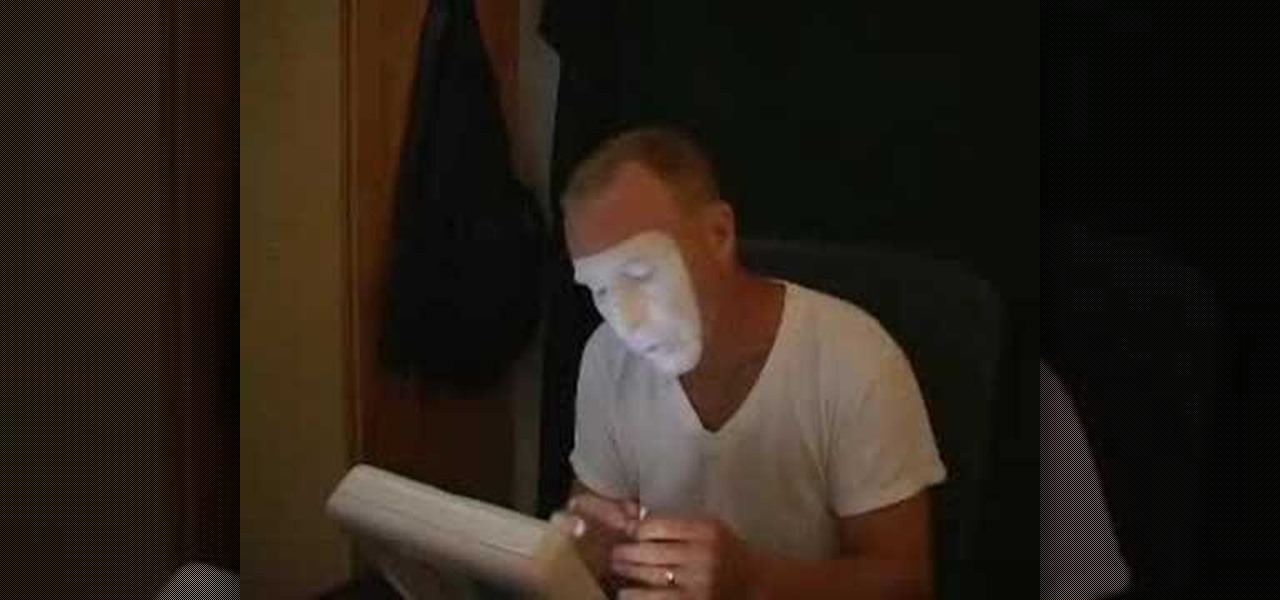
In this video, we learn how to apply mime and clown makeup. To start, outline your face in a mask shape. When you are done with this, apply white paint to the face until it's on thick and you can't see your skin color any longer. If you make mistakes, use a q-tip to clean up, then run it around the edges to make it a clean line. After this, use a q-tip to remove some paint from the eyebrows. Now, take black paint and paint it onto where the eyebrows are at. When you're done with this paint th...

In this tutorial, we learn how to get a baby doll inspired makeup look. First, apply primer to the eyes, then outline your eyes with white eyeliner in the shape you want your eyes to be. Next, use black liner to outline around the white that you just applied, then a brush to blend it out. After this, use a shimmery white color to highlight underneath the brows, then brush a purple over the black liner to make it a softer color. Next, apply more white to the areas that you originally drew the ...

In this video, we learn how to draw a cartoon fish with scales. First draw a circle for the body of the fish, followed by the details of the face and then the fins and tail. After this, color the background to look like the color of the sea. Now, take a black paintbrush and outline the details and body of the fish. Start to add in scales around the body that are small and colored red. After this, draw bubbles coming out of the fish's mouth. Color the fins and tail yellow, then color the eye b...

In this video, we learn how to draw a manga chibi eye. Start off by drawing an outline of the eye with the round middle and the lines on top and on the bottom. After this, start to add in the small details of the eye, like the pupil and shine marks on it. Next, start to shade in the eye and make the lines thicker. Continue to draw in black until the back of the eye is covered black and another portion of the eye is white. Switch back and forth between different pencils to help you color in di...

In this tutorial, we learn how to roast peppers on the burner of a gas stove. All you need to do this is a gas range and a pepper. First turn your gas range onto high, then set your paper right in the middle of the burner. As the pepper starts to char, it will infuse the flavor into the entire pepper. Keep the pepper on the heat until it is black on the side, then you can use it to add into different recipes! After once side is black, make sure you use tongs to turn it on different sides, so ...

In this video tutorial, viewers learn how to draw a vampire. Begin by using the paint bucket tool to fill the entire background in black. Then start drawing the vampire in transparent blue. Sketch the outlines of the face and draw curves for the guidelines of eyes, nose and mouth. Now erase half of the face and fill it in black. The other half of the face is filled with tints of blue and purple airbrush. Finish by adding the details with opaque shades of blue, purple and white pencil lines. T...

In this video, we learn how to reset your Apple iPod. To restart the device, place one finger on the "menu" button and the other on the select button. Hold down these buttons simultaneously until the screen turns black. When it turns black, you will see the Apple logo appear in the middle of the screen. Now, the device will restart and the color will come back to your screen along with the regular menu options. It might take several seconds for your normal screen to show up, but just wait for...

In this video, we learn how to do makeup like Lady Gaga from the "Bad Romance" music video. To begin, apply ivory foundation all over the face with a foundation brush. Now, blend the makeup out with a sponge then apply a finishing powder. Next, apply a pink and white eyeshadows that are both pale on the entire eyelid up until the brow bone. Once you get to the lid, put on a brown color to the upper eyelid above the white eyeshadow. Now, apply the white eyeshadow to the bottom of the eye and a...

Ombre and zebra prints are two of the hottest fashion trends this season, but you'd never see the two trends mishmashed together on on person. Until now.

The crystal-clear blue seas of summer have inspired everyone from painters and poets to the creators of "The Smurfs."

In this tutorial, we learn how to change an IP address in Windows Vista. First, open up cmd on your desktop and a new window will pop up. When the black window comes up, type in "ipconfig". You will now see your IP address, leave this window open and open up the control panel. Once in the control panel, click "view network status and tasks", then click on "view status". After this, click "properties" then click "internet protocal version 4" and click on "properties" again. Now, type your IP a...

The first step is to select a photo of a black, glossy car. Using the Lasso- polygonal tool, select the outline of the car. Once the image outline is complete, the dots animate around the image. The next step is to deselect the areas on the car where the chrome paint is not required. To do this, follow the same procedure as above holding the ‘Alt’ key (a minus sign appears next to the cursor). Once the selections are done, go to ‘Image’ menu, select ‘Adjustments’ and click on ‘B...

This video shows you how to make delicious prawns with a garlic butter sauce.You will need 30 tiger prawns,3 cloves of chopped garlic,1/2 of

In this how to video, you will learn how to draw a Cookie Monster cupcake. First, draw two circles for the eyes. Follow this with a furry texture oval shape for the face. Add a mouth with a cookie in it and draw the bottom as a cupcake wrapper. Draw the pupils of the eyes. Next, color the face a blue color. You can draw the cookie inside of the mouth a brown color. Use a black color to outline the areas around the mouth. Fill in the chocolate chips of the cookie with a darker brown color, and...

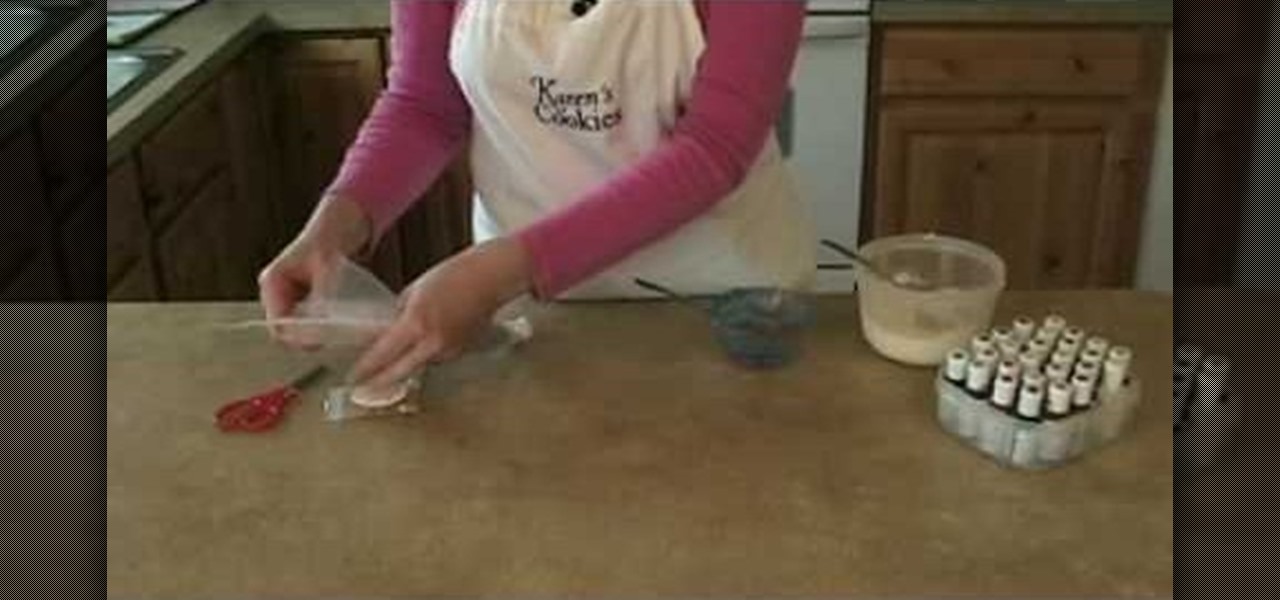
Karen shows you how to mix your colors and fill your bags. This example uses red blue and black. Begin by mixing blue. Start with royal blue coloring and add it to your frosting and mix it well. Dump the colored frosting into the middle of a sheet of plastic wrap. Roll it up in the plastic wrap, twist the edges, and now you have a little pouch with your frosting. Now take a bag with a coupler, and stick the plastic pouch of frosting in it. Pull it tight and rubber band the top of the bag, the...

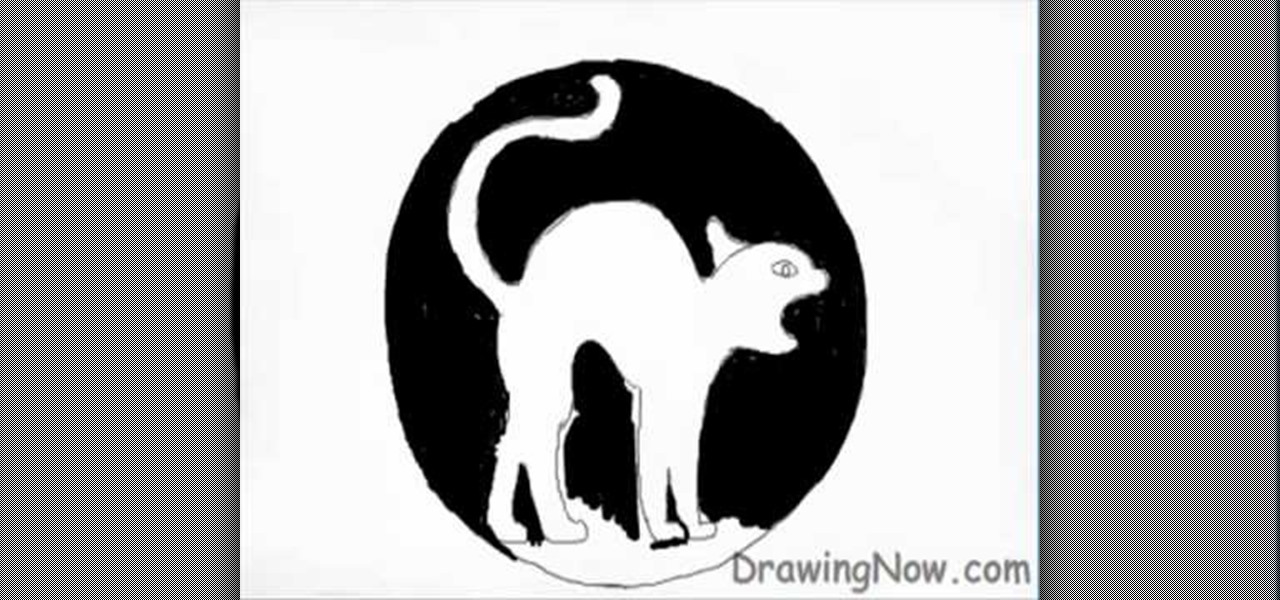
We are shown how to draw a Halloween cat in a several easy steps. First A large circle is drawn. Then in the middle a cat is drawn with an arching back, tail held high. After the cat is completed the background around the cat is filled in with black, giving a silhouette illusion. After the background is completed in black, small details are drawn in white. The fur of the cat, whiskers on the face, hair raising on the arched back and even a gleam in the cat's eye. After this the drawing is com...

River City Graphix Tutorials demonstrates how to make a reflection in Photoshop. First, fill the background layer with black. Then, select the text tool and a color of your choosing. Type the words that you would like to reflect. Next, duplicate the layer to make a copy of the layer. Hold shift and bring it down, setting it on the bottom of the other layer. Select the rectangular marquee tool, right click to get the free transform tool. Right click again and then flip the image vertically. Se...

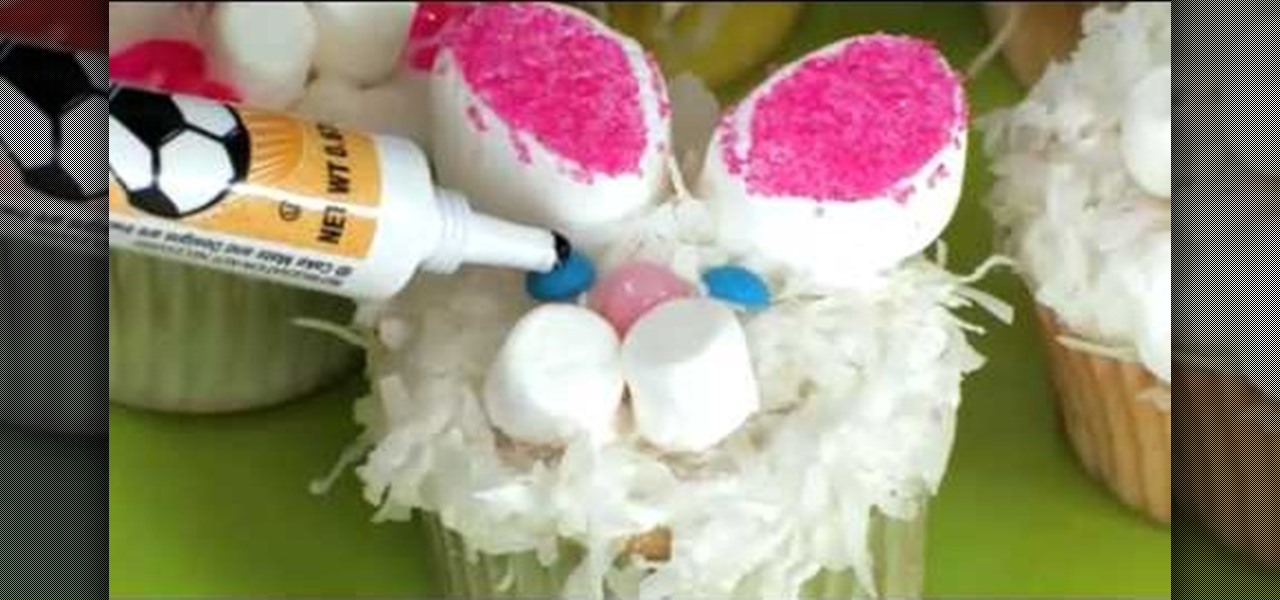
This Family Fun video shows how to make very cute Easter Bunny cupcakes. This is a great project to do with kids. You will need some cupcakes, white frosting, shredded coconut, pink decorating sugar, pink jellybeans, small round blue dot candies, marshmallows, and pink and black decorating gel.

Manjula will be demonstrating a great recipe for asparagus and ginger. It is preferred to be used as an appetizer or salad.

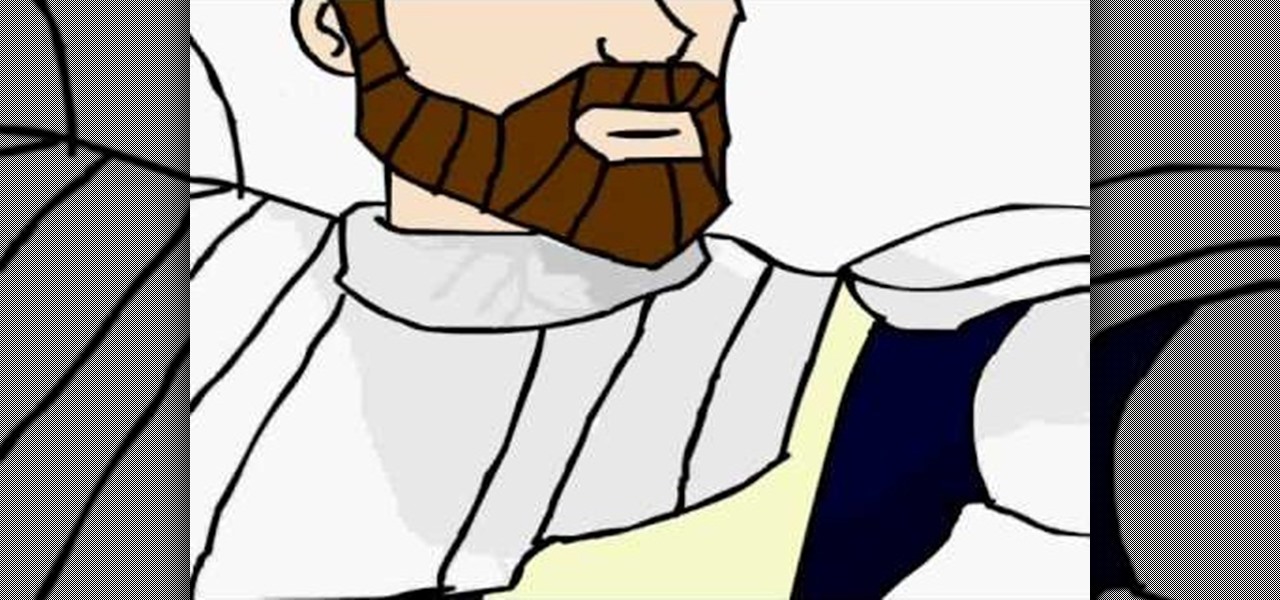
This artist shows how to quick paint/draw Obi-Wan Kenobi utilizing his mouse and pc. He starts out with a rough sketch of his character, making a black outline of his figure. He then goes back over his initial sketch with blue lines, cleaning up the lines, making them smoother. Once the blue lines are completed, the first black line sketch is erased and the blue lines smoothed out even more! Piece by piece, color is applied to each part of the character. It is placed roughly at first but smoo...

TooSmartGuys teach viewers how to hack their iPhone using Black Ra1n and Sn0w. First, if you have a jail broken iPhone you should back up your apps by downloading a program called App Back Up. Now, plug your iPhone in and let iTunes load. Allow it to update and you should see the iTunes icon on your phone and the cord picture. Open up Blackra1n and click the button that says make it rain. Your phone reboots and there will be a new app on there called blackra1n. Launch this app and you can put...

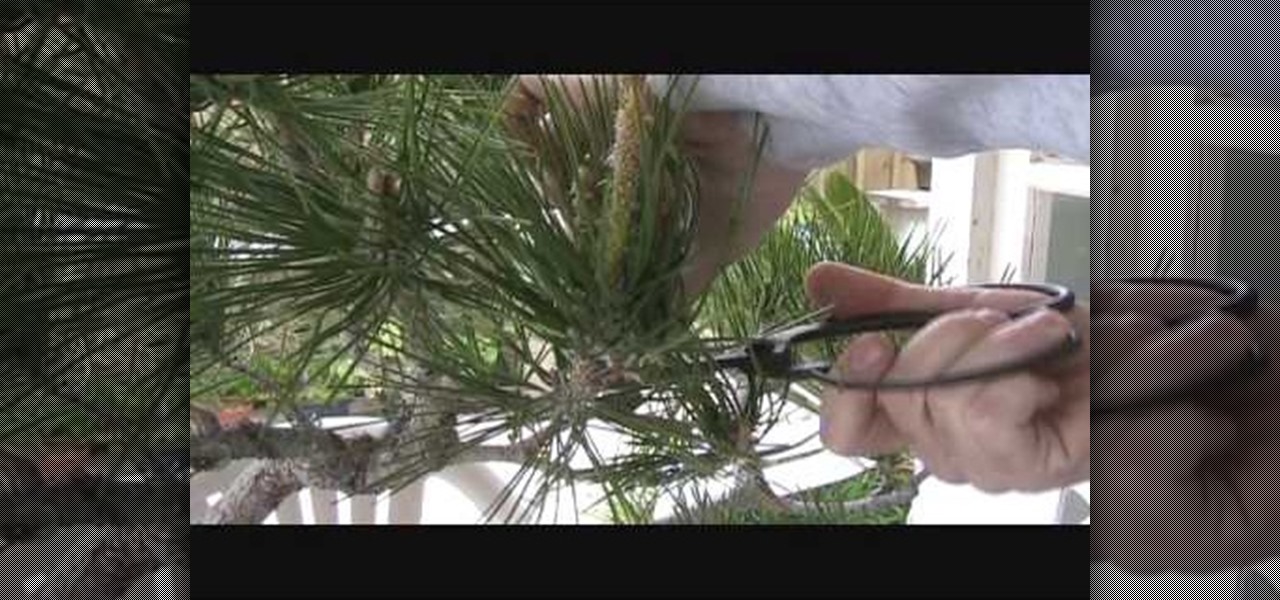
In this Home & Garden video tutorial you will learn how to prune & clean a Japanese black pine bonsai for spring. First you got to prune off the branches that you don’t want and allow only the branches that you want in order to design the tree. After about a year of pruning off the branches cut off the studs created by the left over branches so that the area is flush with the rest of the trunk. Then cut off any dry stubs around the foliage. Next cut off the foliage that is growing out of the ...

This video teaches you how to achieve an eye catching stained glass nail art effect without attending a nail salon. To achieve the striking effect, one needs between 4-7 nail polish colors, and a fine lined nail art nail polish in black. Beginning with the base color, one applies the desired outlines for the "panes" using the nail art brush. Once that is dry and you are satisfied with the outlines, you can begin applying your desired colors to the "panes" achieving the effect of pieces of sta...

Hi everyone, happy new year. Today we will be repotting a Japanese black pine bonsai tree with Charles M. We will first check the health of the pine tree by checking the fungus cultures. It is a healthy tree if there is a lot of fungus. We will first prune some of the roots to be used in the new soil. We will loosen up some of the roots to be able to repot it. We will make sure not to throw away any fungus cultures to make sure to preserve the tree. Enjoy the video on how to repot a bonsai tree.

This video illustrates how to make a temporary tattoo with black eyeliner. This process includes the following steps.Step 1Take the picture you want to make tattoo of.Step 2Reverse the picture and paste it on a paper.Step 3Take a tracing paper and trace the outline of the picture using a eyeliner.Step 4Now reverse the tracing paper and paste it on the place you want.Step 5Now take a cloth, wet it and place it on the tracing paper so that you get the outline of it on the place you want.Step 6N...

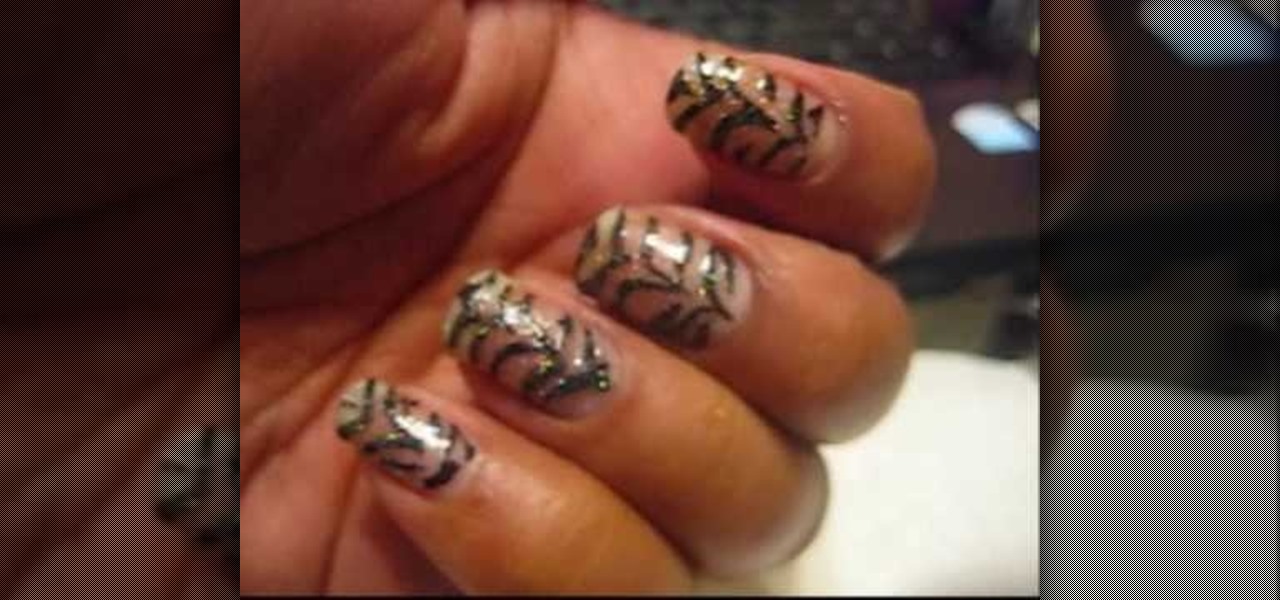
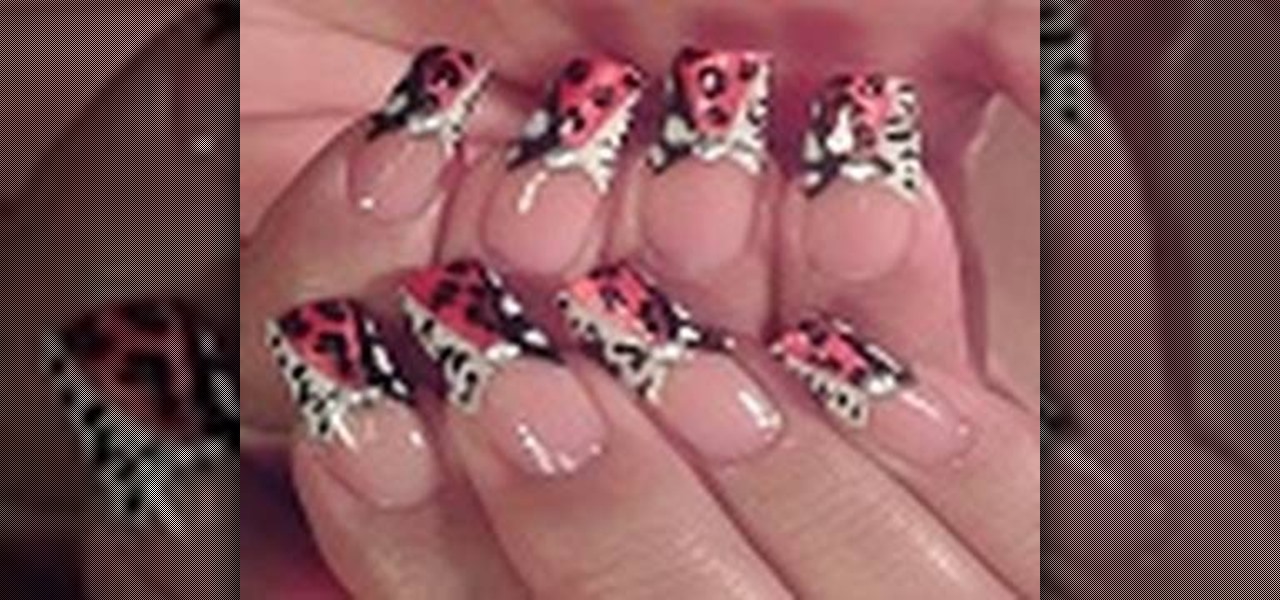
This video is a tutorial on how to paint your fingernails with a sassy animal print. The video begins with a an example of the finished nails being shown and the various alternatives used being explained. The first step completed is to dip the tip of the nail in a gray off white color and then use the color red to make small dots covering the entire surface of the nail. The red dots are then accentuated using the color black to give them a black shading. The final step taken by the nail artis...

This video will show you how to make a Bok Choy Stir Fry. For this recipe, you will need: olive oil, a pan, scallions, ginger, a wooden spoon, chicken breasts, bok choy, salt, black pepper, soy sauce, and rice vinegar.

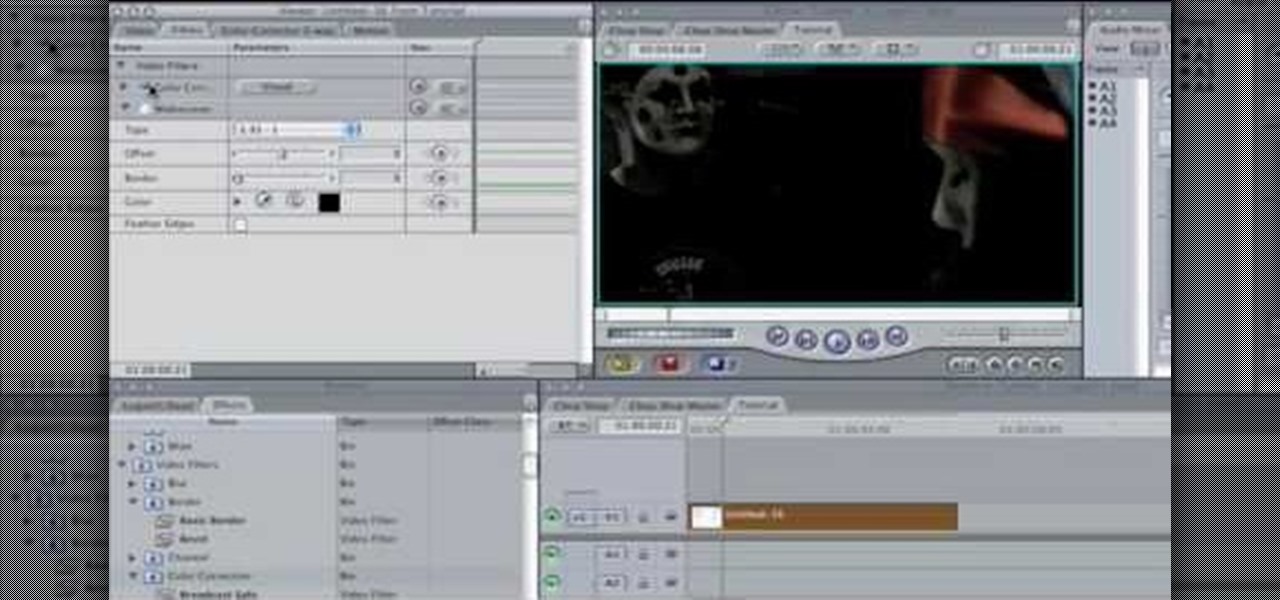
In this Software video tutorial you will learn how to apply the Film Look effect in Final Cut Pro. This is an advanced technique. This essentially takes a video and makes it look like a film. Select the video clip that you want to work with. Then select the ‘color corrector 3 way’ filter. This is under the ‘Effects’ tab. The key to any color correction is to crush the blacks. So, decrease the blacks with the slider. Then increase the whites as films have higher white level. Depending on the s...

In this how-to video, you will learn how to censor your eyes using the software Fun Booth. First, click the left arrow on the program until you reach the section My Props. Click the plus sign and upload a black image. Place and reshape the image so that it fits your eyes. Now, click save prop. As you move your head, the black image will follow your eyes. Click file and press record if you want to make a movie using the censor bar. Viewing this video will teach you an easy way to make a censor...

Love4Nails teaches how to paint your nails using green polish. Start by using a lighter color. In this case, she uses white. She then side swipes the nail using dark green. Start from a corner at the bottom of your nail and using a swirling motion paint to the top. Next, she uses nail art polish in black to outline the side of her nail that's been painted in green. Creating a "V" she outlines the other side of the nail. She then uses a gold striper polish inside the "V." Use dotting paper and...

In this video, Mr. G demonstrates how to draw a wintery snowflake. You will need a plain pencil, or a blue and black colored pencil for this drawing. Start by writing your name and the date on a white sheet of paper. Then, begin lightly drawing the base of your snowflake. After you have drawn your base, Mr. G will show you how to make the lines darker to form the shape of your snowflake. Then, you will learn how to detail your snowflake by drawing small triangles inside the basic shape that y...

This video explains how to paint your nails in a red, black and silver art theme. The instructor begins by showing off her finished nails and the different colors she had chosen to use for her own nails. The instructor asks the user to choose the solid color and highlighting color to use, it is also necessary to choose various types of glitter to use as well. The color red is first used to color just the part of the nail away from the finger and then rhinestones are then used to decorate the ...


